DFW C.V Progress 2
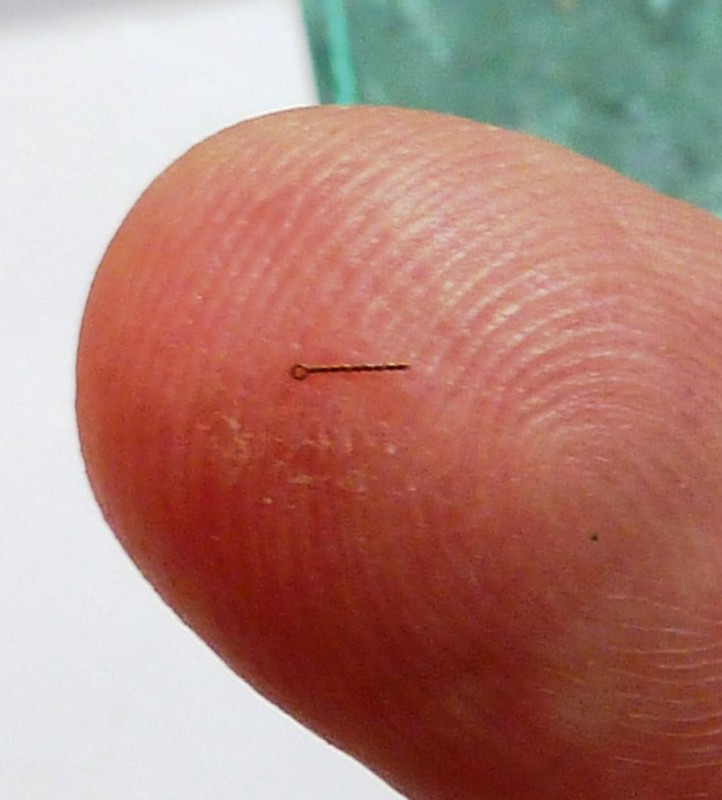
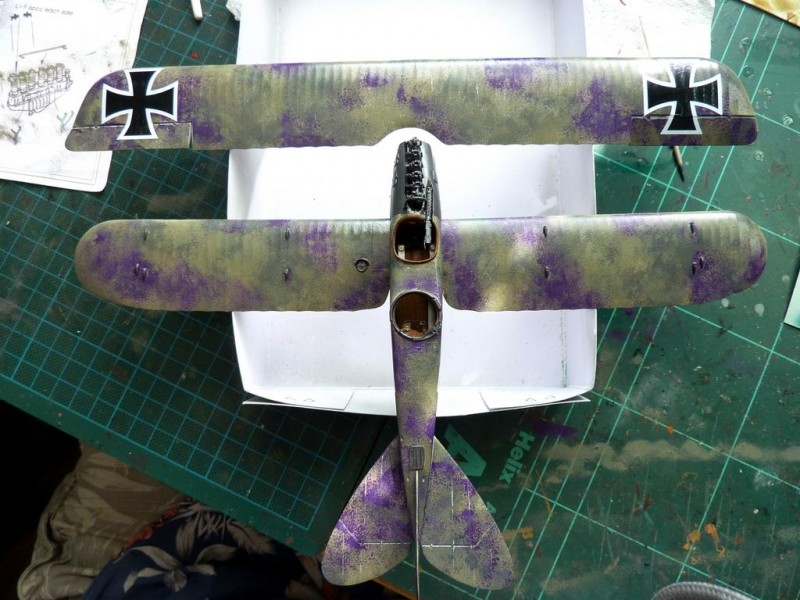
A little more work, prior to setting turnbuckle anchors. As you can see in the main photo, they're pretty small.
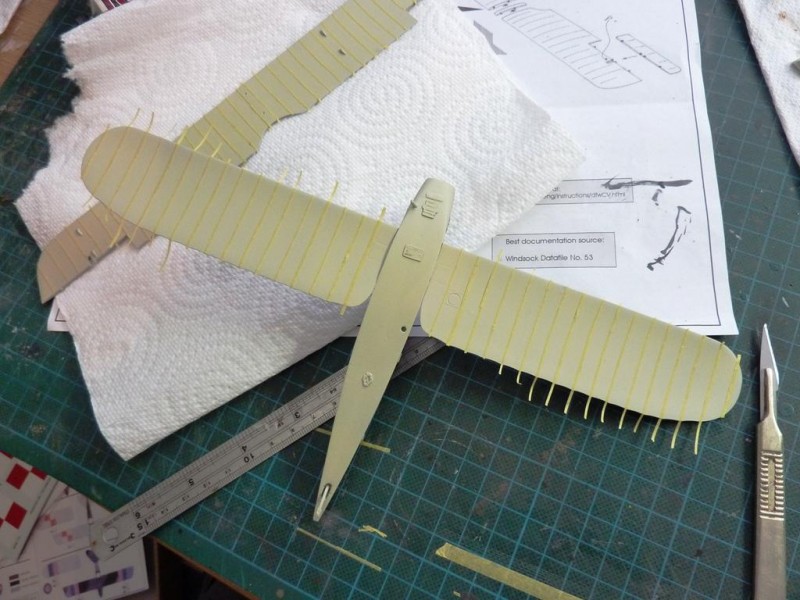
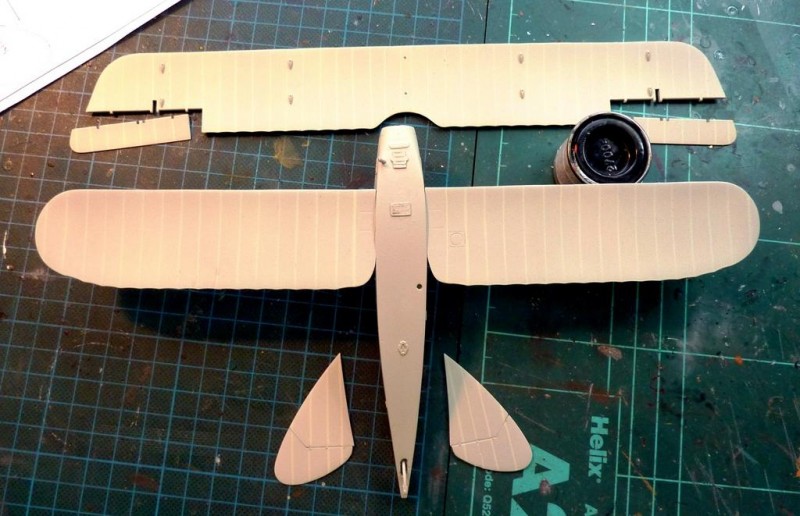
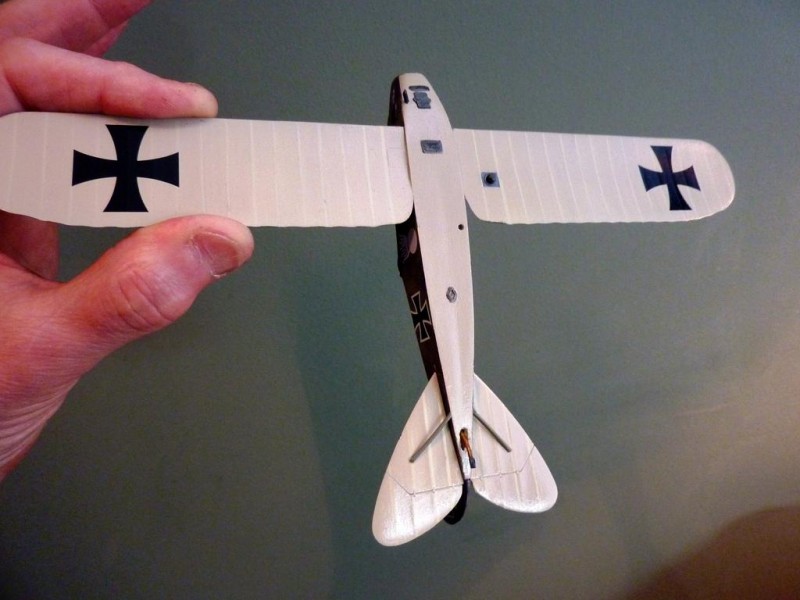
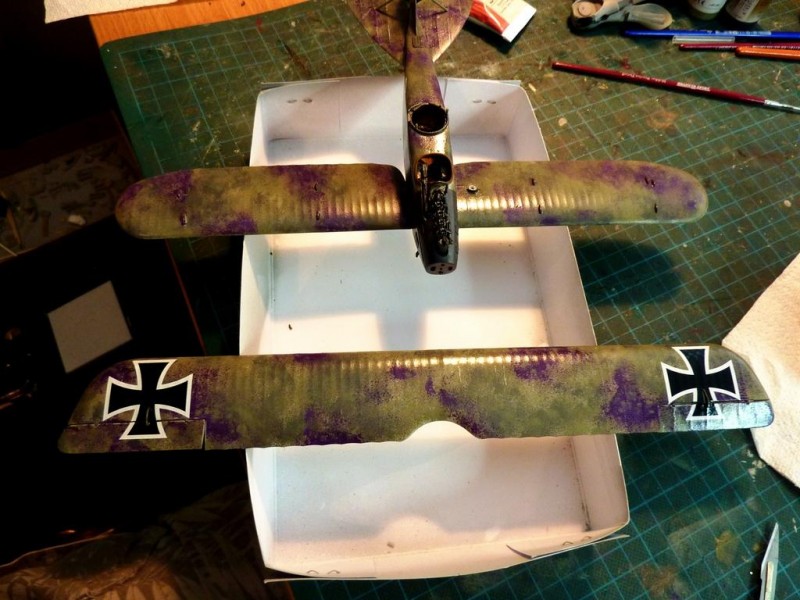
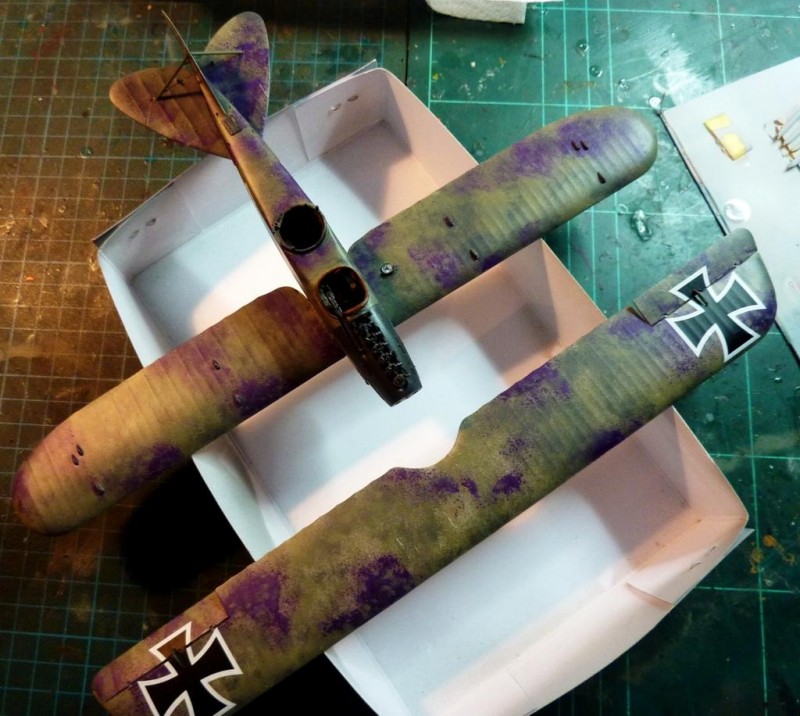
I mentioned previously that I was trying out the AK Interactive set of three CDL paints. I sprayed the undersides of the wings, etc., with the CDL version 2, which is a little lighter than CDL (I didn't use the Bleached Linen paint here.), then masked the ribs with 2mm widths of Tamiya tape and sprayed the areas again with the main CDL version. When the tape is removed you get the lighter rib tape effect.
I should mention that if all surfaces are finished in CDL only, then light can penetrate to reveal a shadow or darker effect of the ribs where they interfere with the light passing through the linen. Naturally, with the top surfaces painted, this effect is negated, so the effect here is as field-applied, lighter rib tapes.
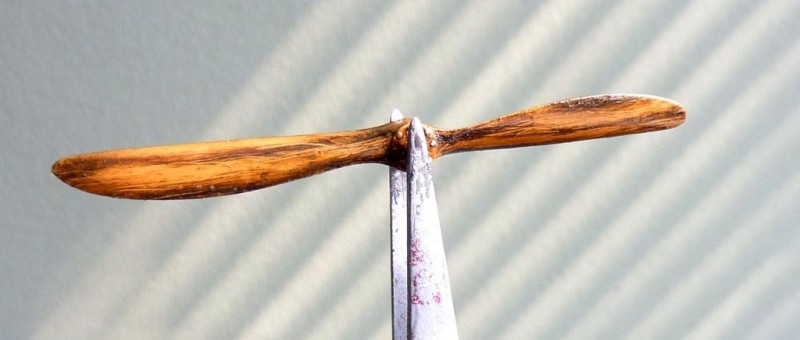
A little more colour has been added to the prop, by way of black and orange, to liven-up the wood and laminate effect. It's really very small.
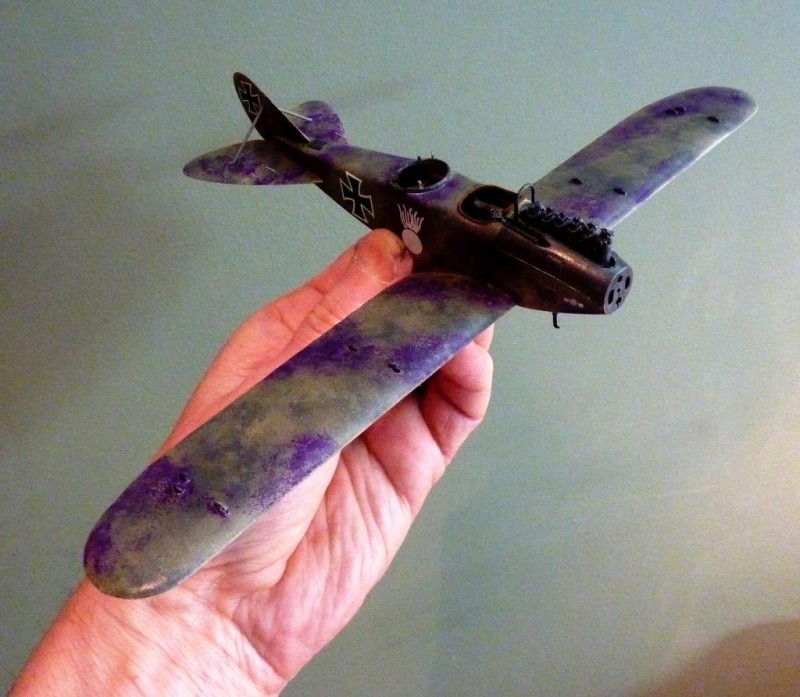
I used a sponge to apply grey-green/dark grey and purple mottling, followed by a couple of coats of Future and then the decals; there are only 11 decals altogether.
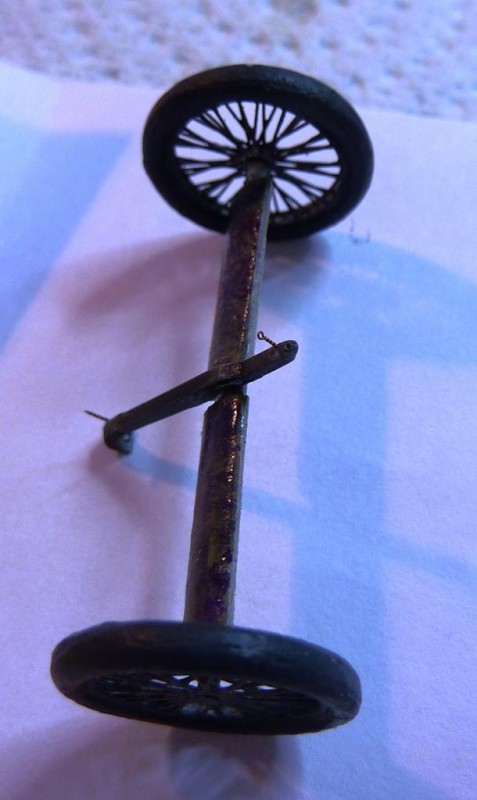
A sharp contrast shot here, but I wanted to show the primitive arresting hook, controlled by two wires passing through the underside of the fuselage into the cockpit. I've set a couple of turnbuckle anchors in place for the rigging in due course. I think these were removed in the field. You can imagine the jolt where a hook connected with a bit of grassy cover on landing...
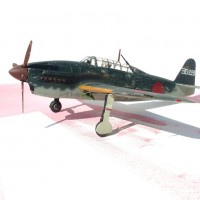
A couple of photos of the aircraft, with only empennage control horns to add.
Then a final coat of Future.
And then with a coat of Army Painter Anti-Shine Matt Varnish, ready to 'rest' for a couple of days prior to the application of turnbuckles and top wing set (hopefully).
That is really neat. Cool idea using the sponge to get the mottled camo. Looks good. I just finished a 1/48 Eduard Roland C.II in the same camo colors. Loved the purple and green look. Your model is coming out great, going to be a nice masterpiece with great details. Those turnbuckles looks very very challenging.
4 attached images. Click to enlarge.
Nice one, Paul. I used a different set of flat profile etch turnbuckles for a Halberstadt I did last year but they weren’t suitable in my view. Still prefer Bobs Buckles in the scale but of.course Gaspatch do a wonderful range, too.
This is impressive on so many levels, Rob. The quality to speed ratio is off the charts. The painting, detail, finish, and technique are superb. I love the colour scheme and specifically how genuine the sponged mottle effect looks. All at speed that's given me a nosebleed.
Kudos +++
Plenty of time yet to make a pig’s ear of it.
That's the spirit!
You, sir, are the MAN...!
The man hiding in the corner from a very small aircraft.
Rob, I don't know how you see those turnbuckles, let alone fit them accurately! And the painting is innovative and spectacular. Can't wait for the dull-coat to dry!
Just realised there are some double runs, and the plane has double bays as well so have had to order yet more turnbuckle stock. So far like knitting socks for gnats.
Rob, well played, Sir! Knitting! Saints preserve us!
Taking shape nicely Rob!
That paint job is spectacular, Rob. And that turnbuckle! My fingers are too fat to make something like that. Can't wait to see this finished.
So are mine, really, but I keep telling myself to ignore the inevitability of decrepitude and general unsuitability and plod on regardless.
Beautiful!