Hasegawa 1/32 Fw-190D-13 conversion
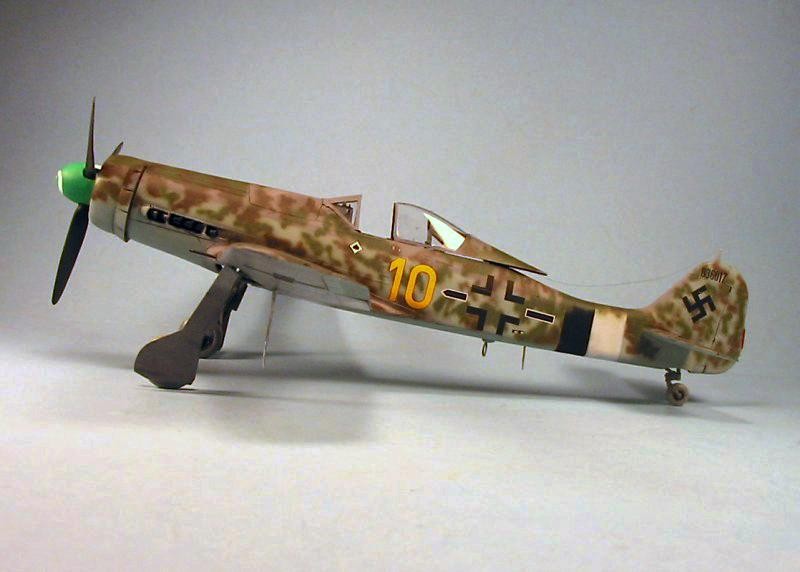
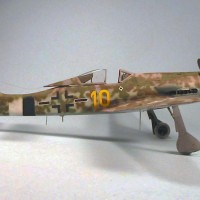
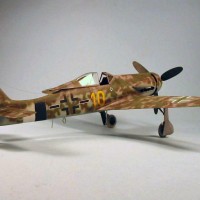
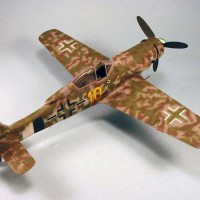
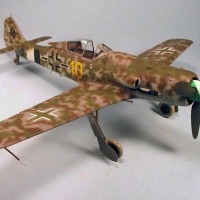
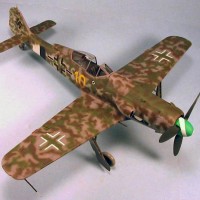
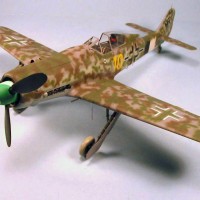
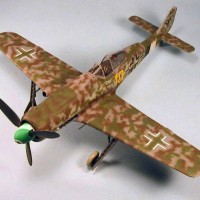
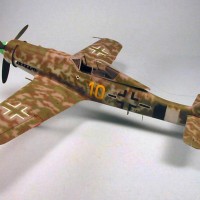
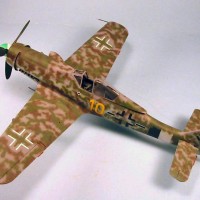
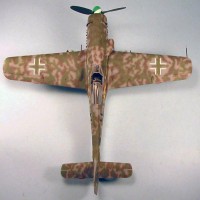
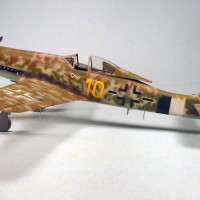
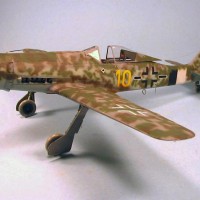
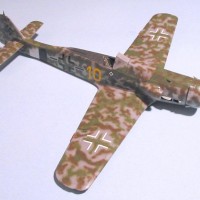
Of all my Fw-190 models, this is my favorite. The time I got "Yellow 10" right. The Hasegawa Fw-190D-9 is turned into the D-13 with Jerry Rutman's resin conversion set. This was built back in 2004.
The “Dora” series of Kurt Tank's Fw‑190 fighter first appeared on operations in September 1944, initially equipping III/JG 54, which served at Hesepe and Achmer as low‑level cover for the Me‑262s of Kommando Nowotny during October‑November 1944.
The aircraft differed from the previous radial engine fighters of the “Anton” series by the replacement of the BMW 801 with the Jumo 213A inverted‑V‑12 liquid‑cooled engine. Externally, the nose was lengthened 24 inches and a 19.5‑inch section was added immediately ahead of the tail section, while the chord of the vertical fin was extended aft 5.5. inches by moving the rudder post, increasing fin area by 2.5 sq. ft. to compensate for increased side area of the extended fuselage. Armament was reduced from four MG 151 20mm cannon and two MG 131 13mm machine guns to two MG 131 in the cowling with 475 r.p.g. and two MG 151 in the wing root with 250 r.p.g., all four weapons firing through the propeller. The Jumo 213A‑1 engine was rated at 1,776 h.p. at takeoff, and 1,600 h.p. at 6,000 meters altitude. With MW 50 injection, power was increased to 2,240 h.p. at sea level, 2,000 h.p. at 3,000 meters, and 1,880 h.p. at 6,000 meters. Unfortunately, power fell off above 8,000 meters, so the Dora‑9 was not the solution to the altitude problem that had plagued the Fw‑190 from the outset.
At first, the Langnasen Dora as it was called, was viewed with suspicion by the pilots of the Jadgwaffe, since the Jumo 213 was viewed as a bomber engine forced on the fighter by the RLM; that Tank himself told the pilots the Dora‑9 was only an “emergency solution” pending introduction of the Ta‑152 did nothing to dispel this attitude. Once the pilots of III/JG 54 began operations in defense of the jets, they discovered that the Dora‑9 could out‑climb and out‑dive the radial‑powered Antons, as well as a speed increase that made the airplane competitive with the Spitfire XIV, Tempest II and was more than a match for the P‑51D Mustang. During six months' combat from initial introduction to the end of the war, flying with several of the Front Geschwadern like JG 26 and JG 2, the Langnasen Dora would eventually be considered among the best German fighters of the war; no less an expert than Chuck Yeager called it the most impressive piston‑engine fighter he ever flew during post‑war evaluation.
Further development of the aircraft resulted in the Fw‑190D‑11, which introduced the Jumo 213F engine that also powered the Ta‑152H. Armed with an additional 2 30mm MK 108 cannon in the outboard position as a proposed Schlactflieger, only 7 prototypes were constructed, of which only one ‑ the V61 ‑ was in an operational unit, the famous Parrot Staffel of JV 44.
The final development of the type to see operational service was the Fw‑190D‑13, which replaced the two fuselage‑mounted MG 131s with an MG 151 motorkanon, and was powered by the Jumo 213EB. Only two prototypes were completed before the end of the war. One was delivered to JG 26 in late March 1945, where it became the mount of Major Franz Goetz, who had relieved “Pips” Priller as Kommodore on January 28, 1945. A prewar enlisted pilot, Goetz had worked his way up through the ranks and was a 63‑victory experte from JG 53. Goetz made no claims while flying this airplane through the final month of the conflict.
Interestingly, the one‑and‑only Fw‑190D‑13 to see service was one of several Doras collected from JG 26 after the war and taken to the United States for testing and evaluation at Wright‑Patterson Air Base. After a desultory test program over the year following V‑E day, the Dora‑13 ended up at Freeman Field Indiana, where it was chosen to partake as a captured aircraft in a victory celebration on Air Force Day in Georgia. At this moment, something strange happened: the wing of the Dora‑13 was exchanged with that of a Dora‑9 on the field, for reasons no one has ever explained. Following its appearance at the show, the Dora‑13 was left on the field. At some point in the 1950s it was purchased and ended up in pieces in an abandoned lot in Atlanta, where it was discovered in the late 1960s by aviation historian Jerry Crandall. In the meantime, the Dora‑9 that had the Dora‑13 wing was taken back to Wright‑Patterson, where it was restored for display at the Air Force Museum. No one paid any attention to the wing difference.
In the 1970s, the Dora‑13 was acquired by Doug Champlin and rebuilt to be operational, though it was never flown (a good thing, since many of the hand‑made systems were not that good, and the likelihood is it would have crashed on its first attempt at flight). Information had been obtained about the airplane and it was marked as Yellow 10, with the Gruppen Kommodore markings it had carried when flown by Major Goetz. In the early 1990s, the swap of wings was discovered. At the time there was nothing to be done about it, inasmuch as the Air Force was uninterested in pulling their Dora out of display for a wing swap. (It is interesting to note as an aside that when Tamiya measured the Air Force Museum Dora in the early 1990s for their 1/48 Fw‑190D‑9 kit, they faithfully recreated what they had seen, down to the incorrect wing with only the one shell ejection chute in the wing center section.)
During this period, Jerry Crandall managed to obtain sufficient photos of Yellow 10 shortly after its capture in 1945 to confirm its paint scheme and markings. Almost nothing in the restoration was right! In fact, Yellow 10 had a camouflage paint scheme unlike anything else in the Luftwaffe, an overall RLM 81 and 82 dapple applied over the overall RLM75 scheme it had been delivered in.
Good things come to those who wait. In 2003, the Air Force discovered they needed to overhaul their Fw‑190D because of corrosion. This would require disassembly. A swap of wings was concluded, and Yellow 10 finally had the chance to be whole again after nearly 60 years in separate pieces. Since then, Yellow 10 has been stripped and cleaned, with incorrect parts rebuilt for a more accurate look, and Jerry Crandall supervised a repaint of the airframe following reassembly in early 2004. Yellow 10 finally looks mostly like it originally did in April 1945, though Jerry says it should have been painted by modelers, since the colors are “slightly too harsh and too hard.” (There's just no pleasing some AMS sufferers, is there?) Today, it is at the Seattle Museum of Flight for those who want to see it.
Overall, this 1/32 Hasegawa kit is the best Dora kit released by anyone in any scale. It is virtually fool proof in assembly, with precise fit of the wing and fuselage sub-assemblies, and landing gear that will only fit at the correct alignment angle.
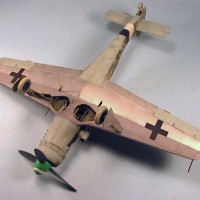
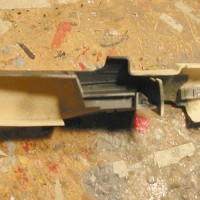
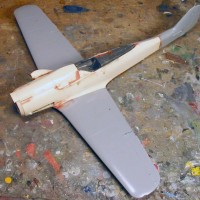
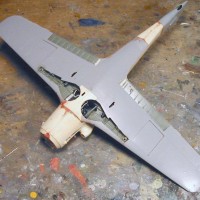
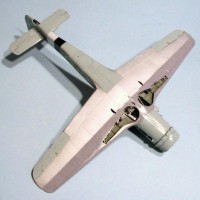
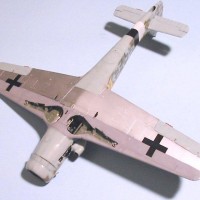
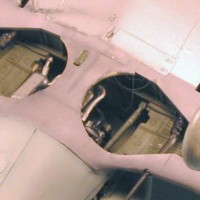
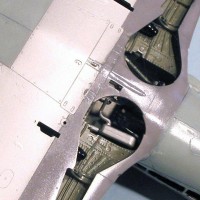
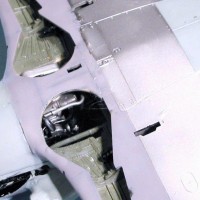
The conversion kit provides two complete forward fuselage halves, the flat upper gun bay cover, the correct lower wing center section with the single ejection chute, an MG 151 motorkannon with associated ammo tank/rear bulkhead and ejection chute, spinner with gun barrel opening, enlarged Ta-152-style supercharger ram air intake, and wider-chord prop blades. The forward fuselage replacements have the widened cowling area forward of the cockpit associated with the use of the Jumo 213F and 213EB engines in these types. Additionally, there is a replacement lower wing panel with the fairing and ejection chute associated with the MK 103 30mm cannon, if the modeler is going to construct the Fw-190D-11. At $40 for the set, it is a good bargain. (These are the tan bits in the photo)
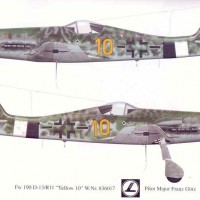
I finished the model with the Eagle Editions EC# 59 - “Yellow 10 and Friends.” The decal sheet was designed by Jerry Caldwell, and is completely accurate (unlike the Super Scale decals that are done from the incorrect profile in Donald Caldwell's book). This sheet has been reprinted and the last time I checked at Eagle Editions they had some. Jerry Rutman sold all his kits to Greymatter Figures, so it's possible you can still get the conversion from them.
Construction began with cleaning up the resin replacement parts. This involved grinding down the fuselage halves along the centerline to get the proper centerline seam, and clearing away the excess resin around the wing attachment area.
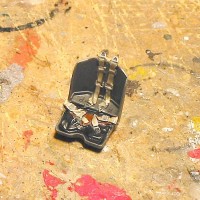
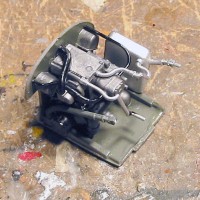
It was immediately apparent that the fuselage halves are about 150% as thick as the original injection-molded parts. This means one is going to have to grind out a lot of resin inside the cockpit and engine plug areas, in order to get the kit parts or any resin replacement parts to fit. When I saw how much resin I was going to have to grind away, I decided not to use the Cutting Edge resin cockpit tub I had planned to, and instead went with using the kit parts. Since the Fw-190 cockpit is not all that visible when the model is completed, this made things easier as I could modify the kit parts to fit inside the resin fuselage more easily. I also had to modify the bulkhead walls of the engine plug in order to get proper fit after I had ground out that area, and had to modify the exhaust backings so that the exhausts would eventually stick out the proper distance when attached.
After a couple of hours of dremeling, test-fitting the cockpit and engine tubs, dremeling some more and test-fitting some more, I had things to the point where the interior parts seemed to fit.
I then assembled the wing sub-assembly with the wheel wells, so I could test-fit the wing to the fuselage halves when taped together, to insure I had gotten the fuselage the proper width. I ended up grinding off a bit too much of the upper rear fuselage centerline aft of the cockpit. The solution here was to cut away that section along panel lines, and replace it with that section from the original kit fuselage half.
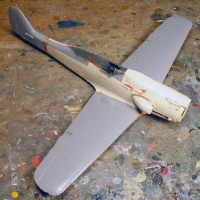
Once I had everything fitting together, I painted and detailed the cockpit and the engine plug, and attached them inside the fuselage half. I then glued the resin fuselage together, and attached the rear fuselage and vertical fin sub assembly. I had done all this well enough I only needed some bondo along the centerline of the fuselage and around the gun bay cover. Once this was sanded smooth I applied Mr. Surfacer 500, and then sanded it down to have a seamless fuselage. I rescribed panel lines where necessary, then attached the wing sub assembly and the horizontal stabilizers.
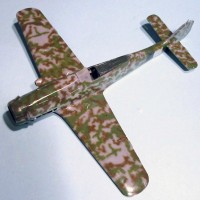
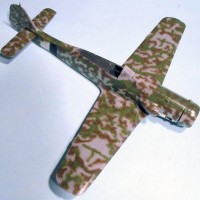
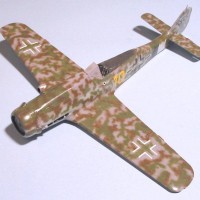
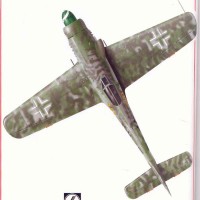
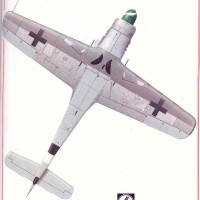
Calling the paint scheme of Yellow 10 complex is an understatement. Fortunately, Jerry Crandall has supplied profiles in his book on the subject, showing the airplane at the various stages of its painting. I followed this as follows:
I first painted the rear half of the lower wing Aluminum. I then masked off this area, and pre-shadowed the model along the panel lines with black. At this time I painted the black stripe of the JG 26 Reichverteidigung band. I masked that, then painted the white stripe and masked it. I then painted the ailerons and the rest of the lower surfaces RLM76 Lichtblau. This was followed by painting the upper fuselage, the upper surfaces of the horizontal stabilizers, and the upper surfaces and forward half of the lower surfaces of the wings in RLM75.
I then unmasked the upper area of the Reichverteidigung stripe, and proceeded to apply the dapple camouflage. This is in RLM81 Braunviolett, and RLM82 Hellgrun. I used Tamoiya Khaki Drab and Deep Green for these colors.
The prop blades were painted Tamiya Black Green and the spinner was painted with Tamiya “Park Green.” When all was dry, the model was given an overall coat of Future and the natural metal area was unmasked.
After all the work on the paint scheme, applying the decals was an anti-climax. The Eagle Editions sheet is totally accurate, and printed by MicroScale. The decals go down without problem under a coat of Micro-Sol.
I attached the landing gear legs and the tail wheel, so the model could sit clear of the work bench after I applied three coats of thinned Dullcote, after applying a light exhaust stain with Tamiya “Smoke.” The real airplane was only in operations for less than five weeks, and was not frequently flown, from the account provided by Donald Caldwell in “JG 26: Top Guns of the Luftwaffe.”
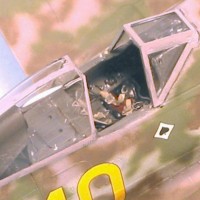
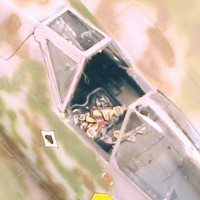
I attached the D/F loop and the other lower antenna, and the Morane antenna, then attached the wheels and the gear doors. After that I attached the prop, then assembled the headrest inside the canopy and installed that in position. A friend had pointed out to me with the Fw-190A-8 that, in actuality, the Fw-190 canopy was attached to the rails at the forward lower edge, and that it squeezed in as it slid back open. This is not possible to do with a 1/48 or 1/72 kit unless one is using a vacuform canopy, but it is easy in 1/32 to put a drop of CA glue on the canopy there, squeeze it in just a bit, and attach it properly. I made the antenna wire from nylon repair thread.
To me, the Fw-190D-13 is the best-looking of all the “Long Nose” sub-types as far as the aesthetics of its lines are concerned. When one adds to that the one-of-a-kind camouflage paint scheme, it is the coolest-looking Luftwaffe airplane ever, and certainly one of the best-looking fighters of the war.
For those who want to do this airplane but don't want to go through all this effort, Eduard has a Fw-190D-13 in 1/48 that is the only 1/48 kit that has the correct widened forward fuselage. It isn't as fiddly as the original Fw-190A kits, but it takes some effort. You can get a very accurate rendition of this airplane if you take your time with it. Hobby Boss did one, but it doesn't have the widened forward fuselage or the Ta-152 prop.


I sense another "trend" going on here...(nice camo job, TC).
Thank you, sir.
Fantastic model and great write-up. Really nice.
Beautiful, I have had the privilege of seeing the real thing at the Flying Heritage and Combat Armor Museum up here in Everett Washington, you captured it wonderfully!
Paraphrasing Orwell (Animal Farm): "All comments are equal, but some comments are more equal than others." 🙂
Another beauty! Love the scheme on this one.
Tom, my iModeler handle gives me away - this is the coolest Luftwaffe plane I agree and you have done a cracking job with it!
Tom...i just caught this...you have outdone yourself...absolutely outstanding piece of work...fine as frog hair
Thanks!