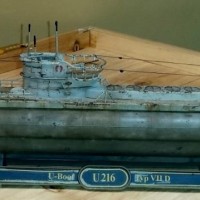
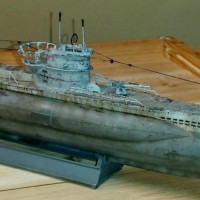
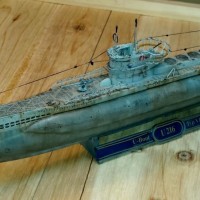
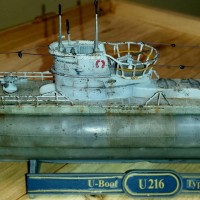
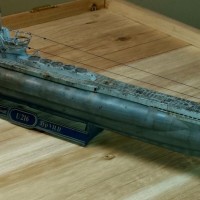
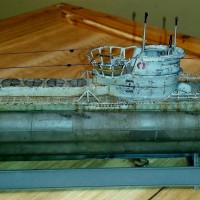
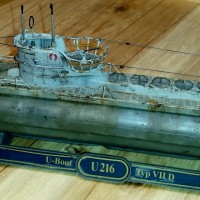
Revell 1/144 U-216: Type VIID U-Boat
This is an "olde but goodie" model I built some time ago, maybe over 10 years ago. Once in a while I go into the basement and look at my old, dusty built models put away in storage. These models in storage are much older then my current builds and do not incorporate my newer, and more advanced modeling techniques. I just dont have enough room to display all my models and these days I often sell the better ones, or only build commissioned builds.
I decided it would be fun to re-work some of these older built kits. This is especially true based on the fact that I enjoy the finishing process these days, more then the building. So I have many built kits that could use some new finishing, including this U-Boat. I am sorry but I should of taken pictures before I re-worked it so you can see what I did, the "Before and After" pictures would be neat. I will remember this next time.
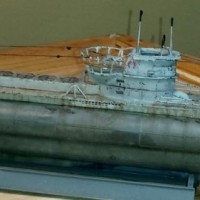
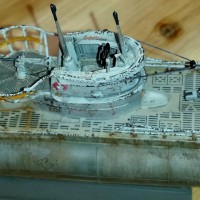
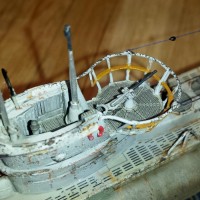
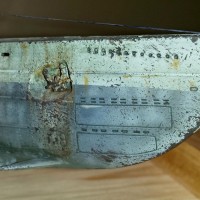
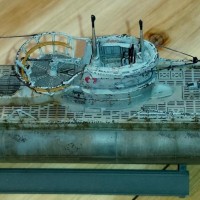
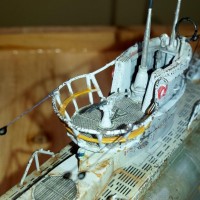
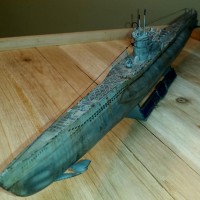
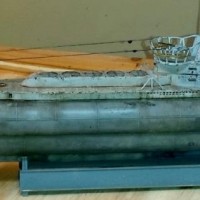
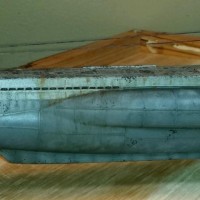
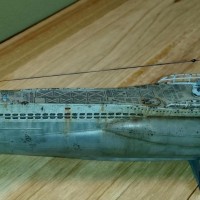
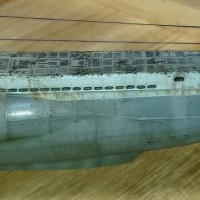
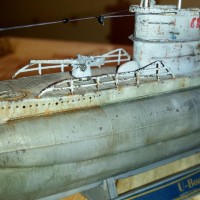
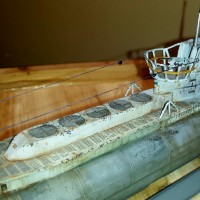
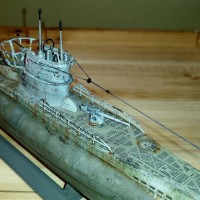
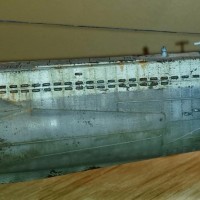
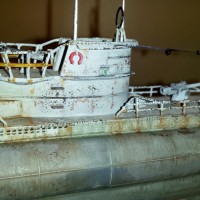
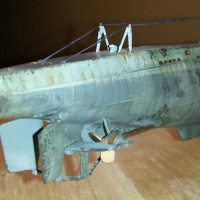
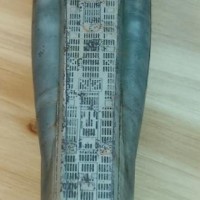
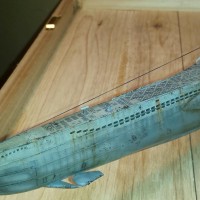
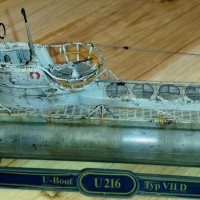
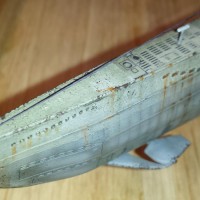
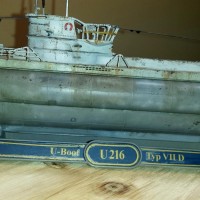
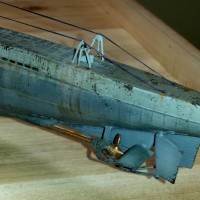
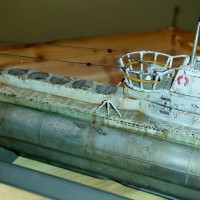
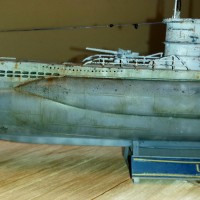
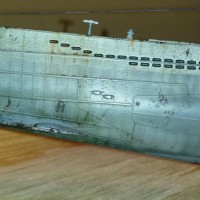
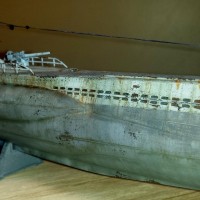
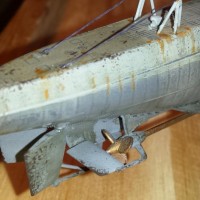
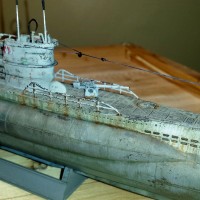
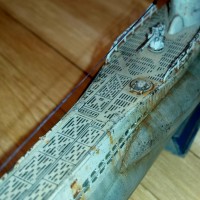
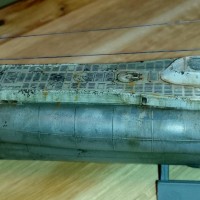
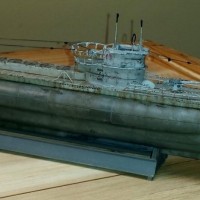
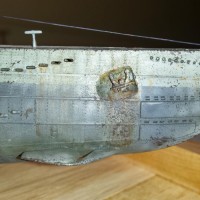
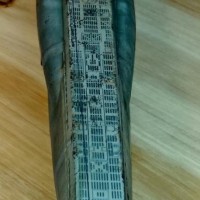
So, with this re-finish project I basically dusted and cleaned it with water. I Repaired some broken pieces, and attached some basic rigging. I then used a pre-shading cloudy pattern spray technique and painted some various acrylic grey colors in a random, cloudy pattern over the old, enamel mono-chromatic grey finish on the Hull, and Conning tower sides. I tried to focus this pattern within panel lines. I left the deck as it was for now. I wanted to blend in all this pre-shading so it formed one grey color but with lot's of tonal variation to simulate a real, worn-looking hull and provide much more visual interest. So I used my Ammo/Mig streaking wash for Grey Armor and applied it over all the vertical surfaces that I just painted. I let dry and wiped it with a dry polishing cloth to remove 90% of the wash. The remaining wash stained the painted surfaces blending all the various cloudy pattern pre-shading grey colors. I then used some Vallejo rust colored acrylics to dab some rusty paint chips in appropriate spots on the U-Boat. To blend these chips I used my Ammo/Mig rust staining wash applying over the chips and brushed it all downward. I rubbed most of this stain off with a rag and thinner dipped brush leaving some subtle streaking and blending into the base paint. I did a panel line and detail wash to make details pop with the Tamiya Panel-Liner wash. I re-painted some details with Vallejo Acrylics to enhance the details. I then wanted to do some more darker paint chipping with the old primer and rust would show through the boats grey base paint. This is a common effect noted on many U-Boat pictures in service, and fairly worn. To accomplish this I used the sponge method dipping a small piece of sponge into some Vallejo acrylic paint. I then randomly and lightly dabbed the semi-wet sponge onto the model as needed. I made sure I used a towel to blot the sponge to remove excess paint prior to attacking the model with the sponge. I also applied the chips to areas that should exhibit extra wear like steel edges, steel rails, hand-grips, and bow/stern edges. I finally used a very fine sanding sponge and rubbed it across the hull. This sort of blended the colors even more, created a semi-gloss steel look, and allowed some lighter grey to pop out on raised ridged areas. I sealed this all in with a semi-gloss acrylic varnish.
That completed the re-finish and I was happy with the outcome. Looked much better then the previous look. Much more visual interest and realistic appearance. This was a quick, fun project that I was able to complete in one day. I will be doing this again soon with some of my other old naval models. They are easier to do this with b/c dont need extensive re-decaling.


Lovely finish on that, Paul...I like it!
The Sub looks great
Tom
Clearly worth the effort of the revamp.
Great work Paul!
Nicely done mate, the weathering is awesome!
Excellent U boat!
Fantastic, Paul. It looks absolutely real and worn!
Bravo!