The Three Soldiers pt.1
This article is part of a series:
Dedicated to my big brother.
My model showcase is a tribute to my brother and other Vietnam Vets. Just like the original statue at the Vietnam Veterans Memorial, each kit depicts a sense of unity and sacrifice; I wanted to depict alternate mental conclusions of the model – “What if…?”
This project consisted of four distinct phases of construction, three of which were building the same model. A process that became quite meditative.
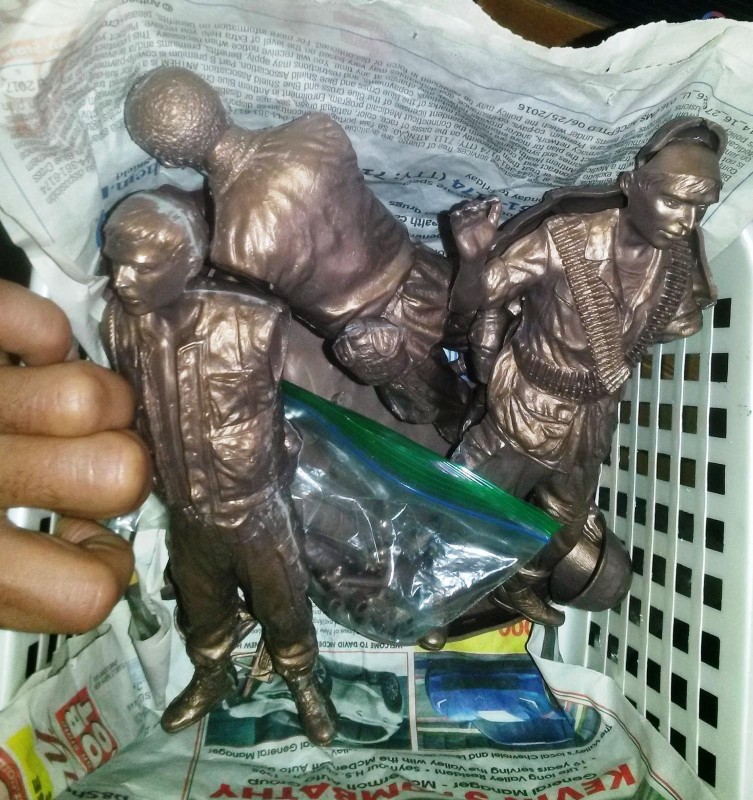
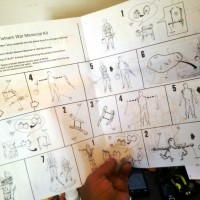
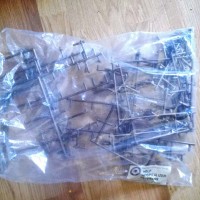
Monogram's “Three Fighting Men” kit is a ‘Snap-Tite' , twenty-six parts molded in a copper-colored, metallic-swirled plastic. An instruction pamphlet no decals required. These models came in poly bags instead of cardboard box.
This being a snap kit, meant to be ready for some deficiencies. The models were kept in poly bags for a very long time (bags were dull & scratched) and resulted in some damaged parts. The M-16s were all bent or warped, one muzzle broken; a wrist was cracked off. I properly removed all the parts from the sprue, trimmed any flash with the back of my X-acto, sanded with 250P – 400 grit and gave them a good wash with some warm water & Dawn detergent (to remove any remaining release agent from the manufacturing process).
I test fitted the parts without snapping them together; some of pegs had too much flash. I decided to dress all the interior pegs with snipping and sanding, knowing I would glue them together anyhow. The arms were first – some CA gel and kicker along the edges helped to fill small gaps and blend the seams, there were quite a few. Those retaining bosses were cut off because I intended to put the torsos together separately in case of unforeseen issues. Now I had to tackle the issue of damaged parts.
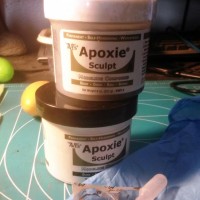
The M16 barrel is bent. Solution: hot water method. You can heat up resin with a dryer, over an open flame or any source of direct heat. I decided to use boiling water because this method is more forgiving if you make an error. I dipped the pertaining part in a bowl containing the hot water for a few seconds, bend to the wanted position and dip in a bowl of cold water, repeat – Voilà! One of the barrels had snapped off, usually to correct this I would pin it, then glue back together. The muzzle is too thin and weak so I had to re-sculpt it. I first took a straight pin, heated the point with lighter and gently seeded it into the rifle, then used my trusty Aves (epoxy sculpting 2 part compound) to sculpt. I've done better work, just rushing for no reason, however acceptable (not master class). Although I managed to keep all the parts organized, I failed when I showed the kit to my five year old nephew, who was fascinated with the small weapons. Obviously, one of the sidearms is now gone. Instead of beating the truth from him I decide to sculpt this as well, but recasting would be faster. I am out of my resin casting supplies so a piece of polymer clay will suffice. I made a 2 piece mold with the clay, baked it, coated cooking spray, then filled both halves with (water) thinned Aves, put together and let cure. Chipped the clay away with my fingers, sanded the flash and - PRESTO! New gun!
The canteens each had Aves laid on the edges to fill and potential gaps.
Putting the together the bodies made me pause, I noticed some peg holes and thought “Oh how convenient, what the hell are they for?” and referred back to instructions. Some the smaller appendages are secured with peg & cap, I was prepared to glue to the body. They still needed to be secured to the body. Some secured with CA gel or clear Gorilla glue (water activated). I laid a bead of putty along the edges and snapped the bodies together with glue on the interior pegs. The feet of all figures had major gaps that were filled with putty, but still had to be leveled out with a bit of sanding – from 250 to 800 grits. When dried and/or cured, all the seams were properly sanded.
The purpose of having three duplicates is to showcase three statue options. When I think of a park statue, I imagine a large bronze piece. So one scheme will be bronze; another - gold and the other based on the actual statue.
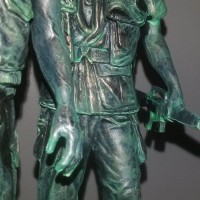
The first of the group was satisfactorily done in a few days. Since this was to be bronze, I was thinking ahead to a weathering process. A faux patina would be cool. I decided to prime the pieces in black, the only thing on hand that day was a can of blackboard paint. I went with it, it was enamel based and dried matte – perfect. It highlighted a few faults in puttying; I dressed those faults, re-sanded and primed those areas again. I brushed on two thin coats of Folk Art's Brushed Bronze; it has a matte finish with metallic highlights, so you don't have to buff this stuff out. I sealed it with a matted spray. Next, I mixed up my own turquoise with Apple Barrel Laguna (blue/green) & Caribbean Blue (light blue) and gave it wash with particular attention to facial detail and deep crevices. I let it dry for 24 hours allowing the paints to cure. Finally, I drybrush the highpoints with Lumiere Metallic Bronze to tone down the wash and add some punch to it. The base got the same treatment. To secure the models to based I used the clear Gorilla glue. One down.
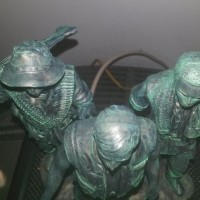
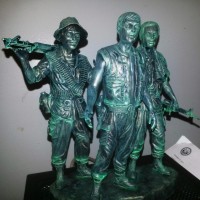
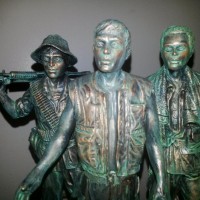
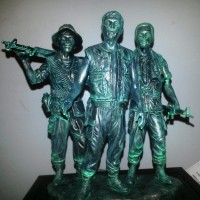
Lawrence, this is great art. You are showing consistent capacity to take the ‘improbable’ and turn it into something special. What you have done is really impressive! Creativity at a very high standard!
I am choking up. TY a lot! I still feel novice. I got back into modeling as part of Art Therapy @ my VA, ur comment means a bunch!
Only discovered this thread just now, amazing work Lawrence!
Thanks much!
I think the patina looks very convincing. I really dont know what else you may do to enhance that build. Cracking job.
I had to think about that a lot. It came to me as I looking variant action figures.