1/72 Horsa Glider. D-Day, Operation Deadstick – Part 1 of 3
This article is part of a series:
Horsa Glider in D-day: Operation Deadstick
A bit of HISTORY
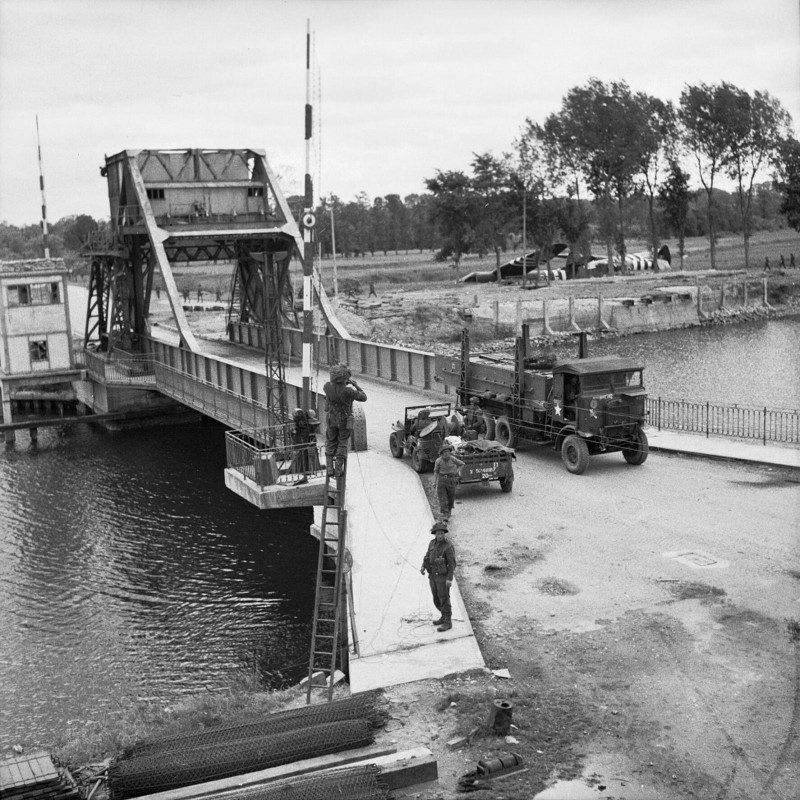
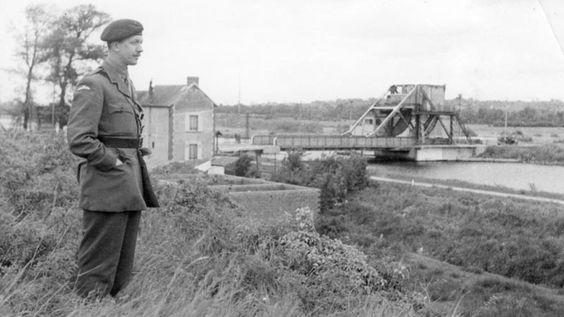
For the commemorations of the 75 years of the D-Day landings I've chosen ‘Operation Deadstick', better known as the capture of ‘Pegasus Bridge'. The mission was vital to the success of Operation Tonga, the overall British airborne landings in Normandy. Failure to capture the bridges intact, or to prevent their demolition by the Germans, would leave the British 6th Airborne Division cut off from the rest of the Allied armies. If the Germans retained control over the bridges, they could be used by their armoured divisions to attack the landing beaches of Normandy.
Responsibility for the operation fell to the members of 'D' Company, 2nd (Airborne) Battalion, Oxfordshire and Buckinghamshire Light Infantry (2nd Ox and Bucks), 6th Airlanding Brigade of the 6th Airborne Division. The assault group comprised a reinforced company of six infantry platoons and an attached platoon of Royal Engineers. They flew from England to Normandy in six Airspeed Horsa gliders. Through what was later described as the "most outstanding flying achievements of the war", the gliders delivered the company to their objective. After a brief exchange of fire, both bridges were captured and then defended against tank, gunboat and infantry counter-attacks, until relief arrived.
THE KIT & BUILD NOTES:
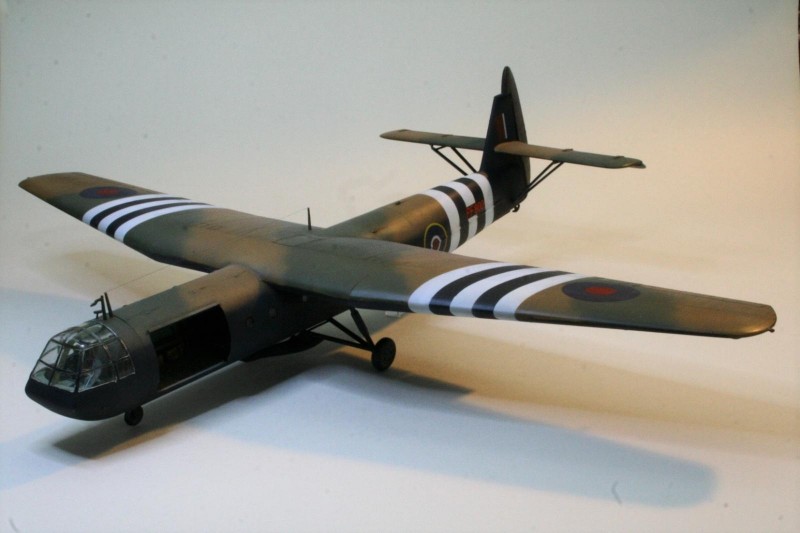
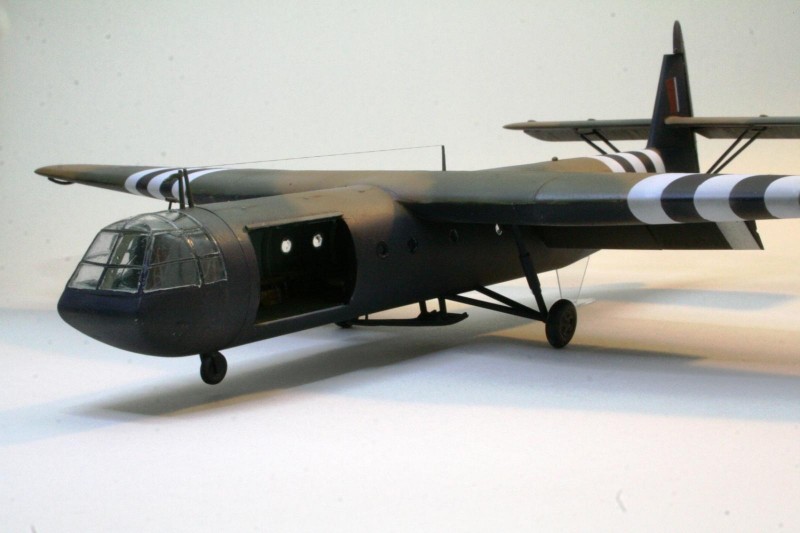
For my build, I've chosen Major John Howard's plane, who led the assault and which glider landed "buried in barbed wire and almost on the bridge".
As the Horsa is not a very popular subject, there aren't many kits available, so I took the Italeri's. The kit is quite simple, with few detail and sometimes bad fitting. The instructions are not that good and with some (not so minor) mistakes. The sprues don't have numbers on it, so one has to rely on the image on the instruction sheet which has numbers.
Primer, paint and varnish by Mr Color (how ended up posting this article in their facebook page as you can see at the end).
BUILDING
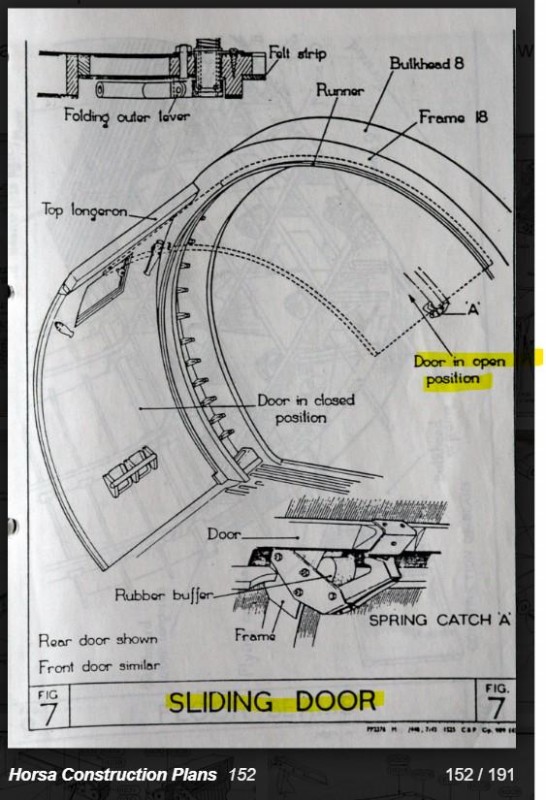
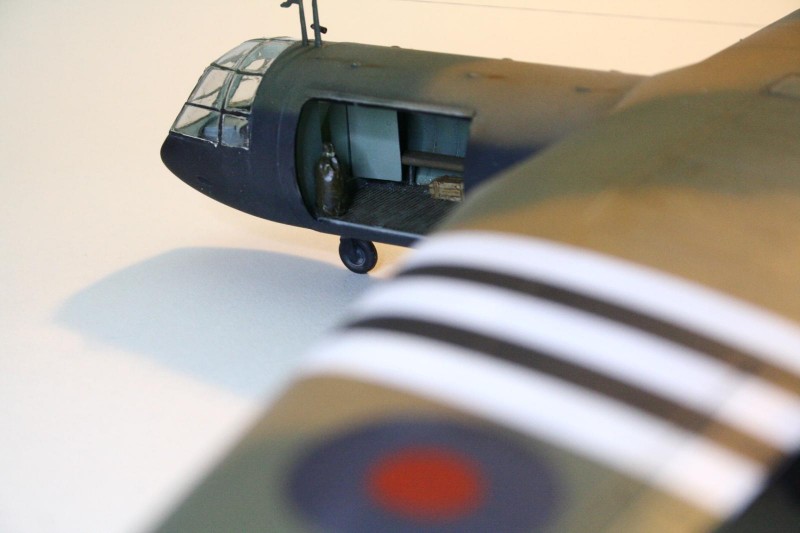
Some important information is missing with other leading to errors: on the Horsa MKI, the doors slide up, and in the instructions that was not shown. Worse, there are some steps to attach to it and assemble it downwards 
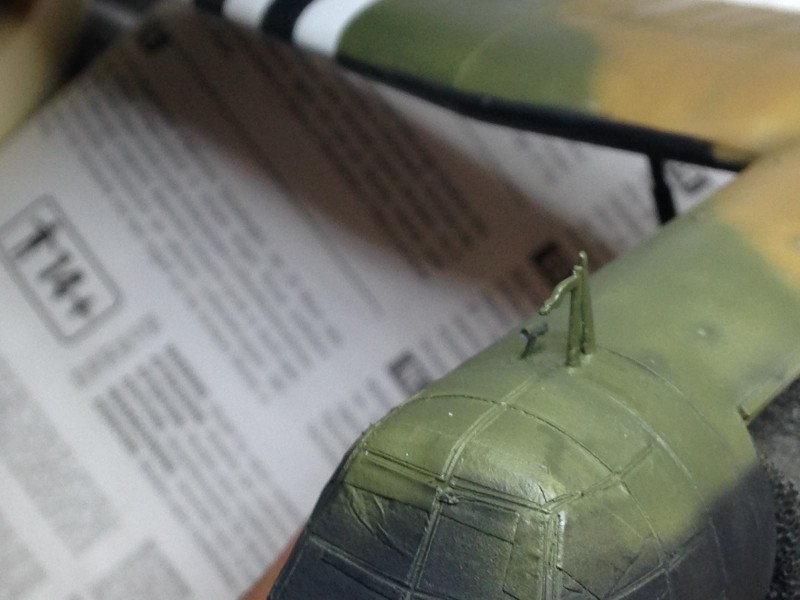
Or the pitot, that the instructions led to a wrong mounting… As always, I like to rely on the plane drawings and photos…
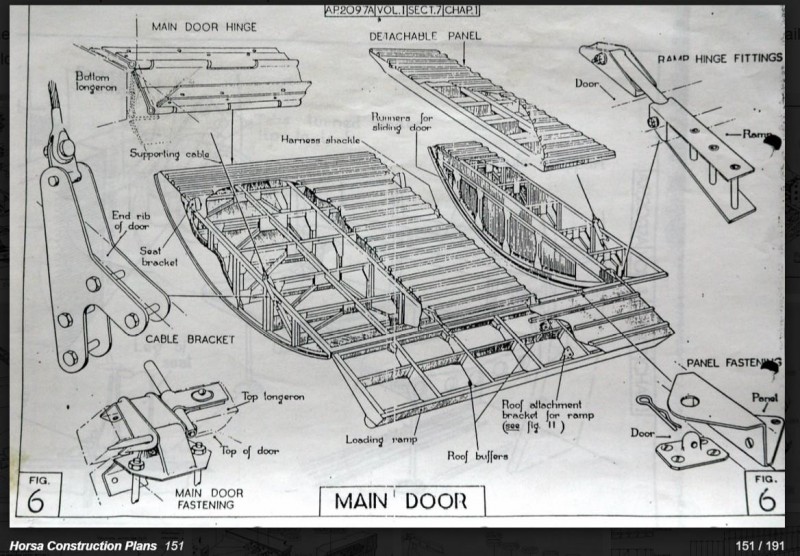
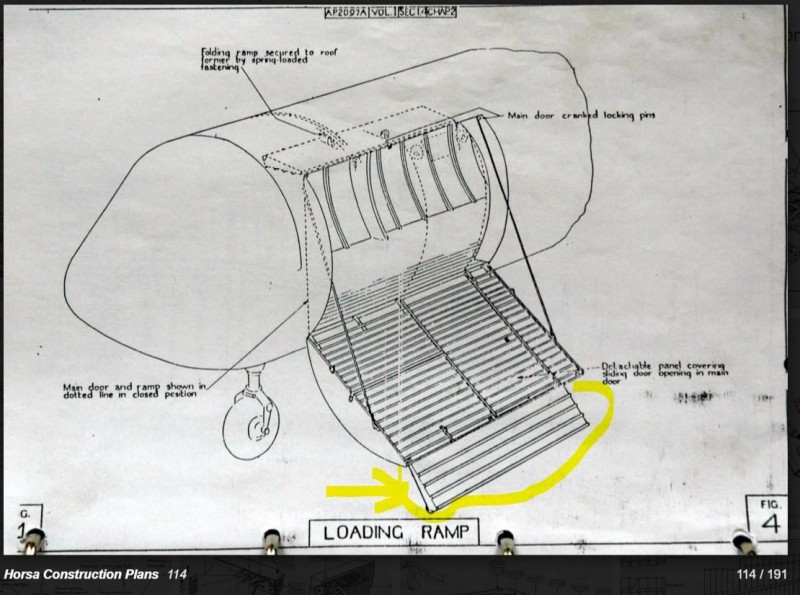
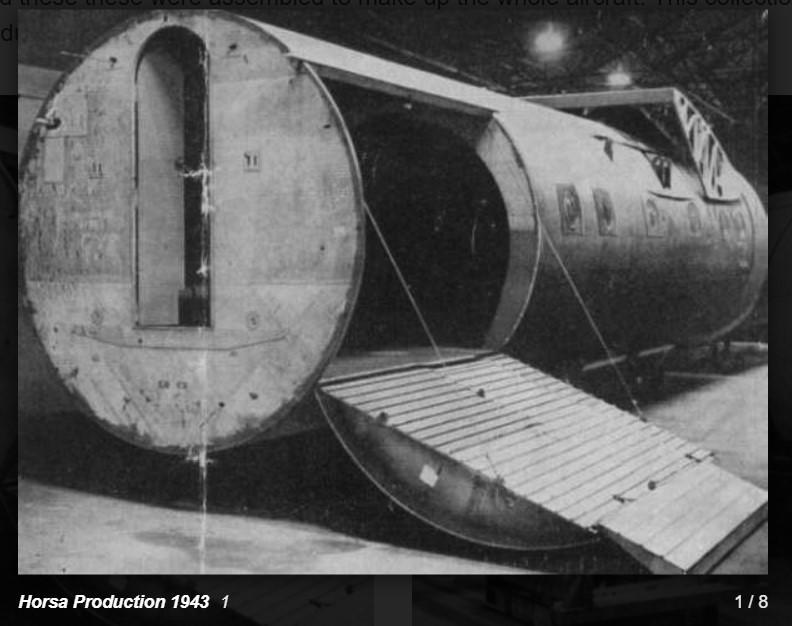
There are also some parts on the sprues, marked ‘not to be used' which are in fact important. Like the main door/loading ramp, which I used.
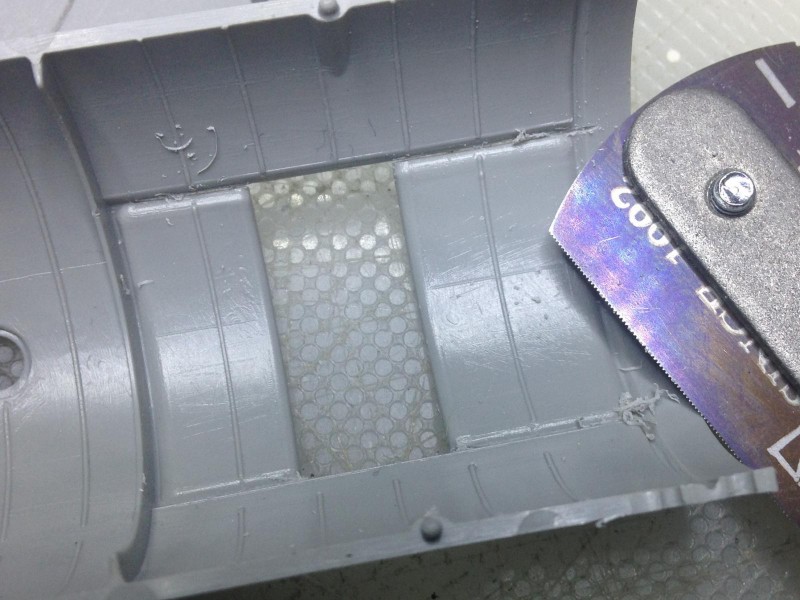
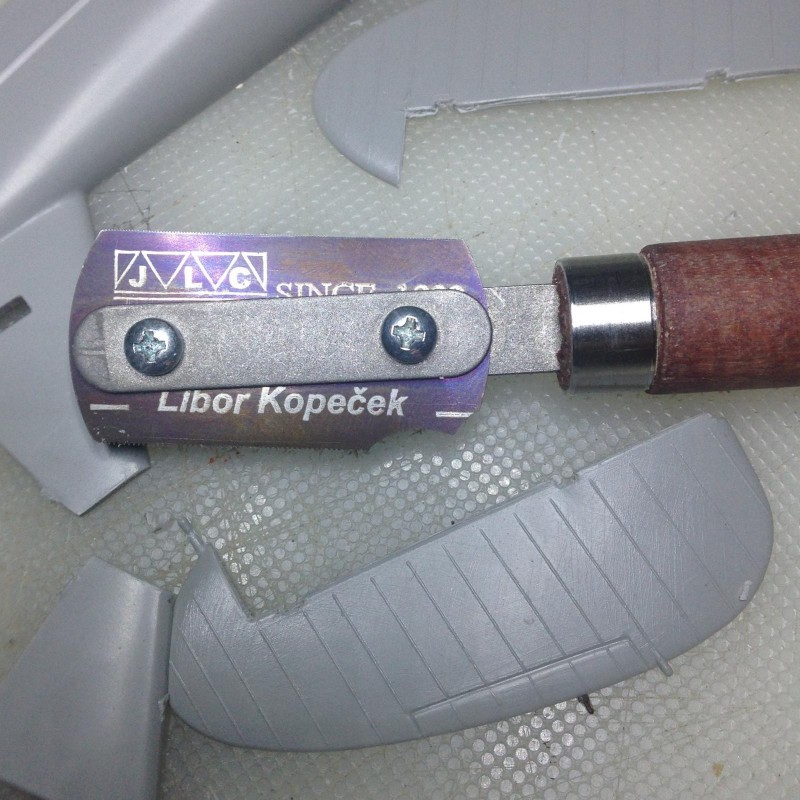
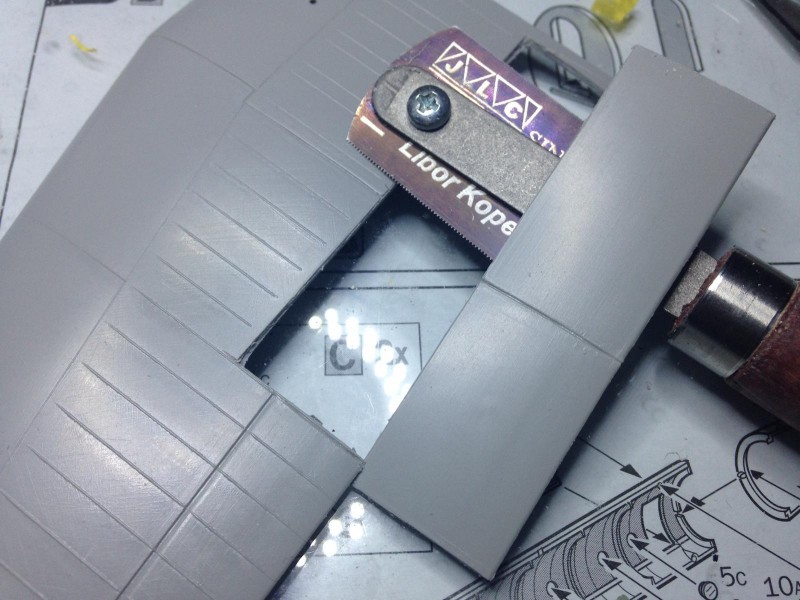
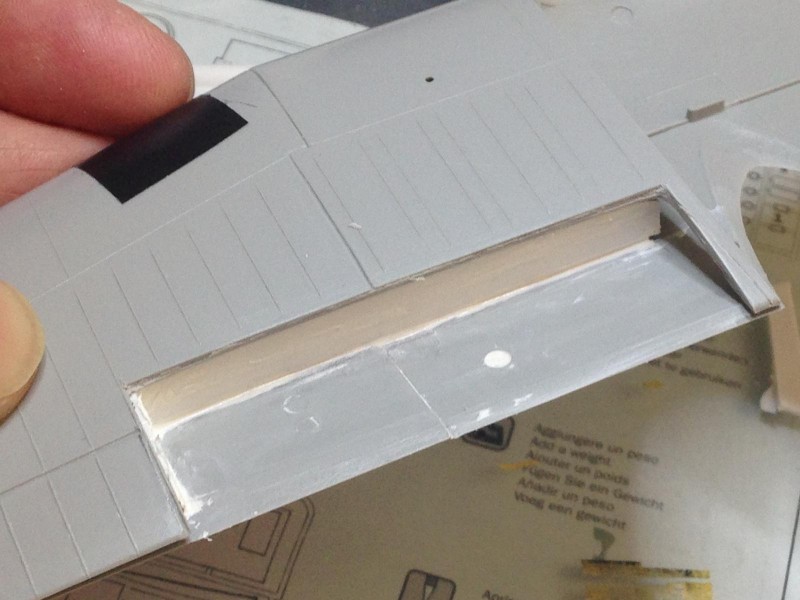
Having that, I opted to cut the main door, ruder, flaps, etc to give her some ‘life' and also to resemble the photos from the real plane/mission I was depicting.
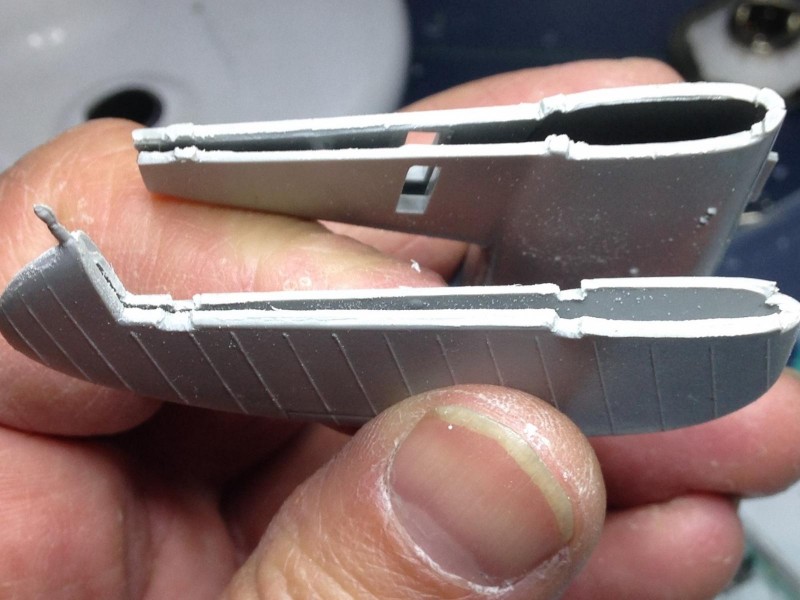
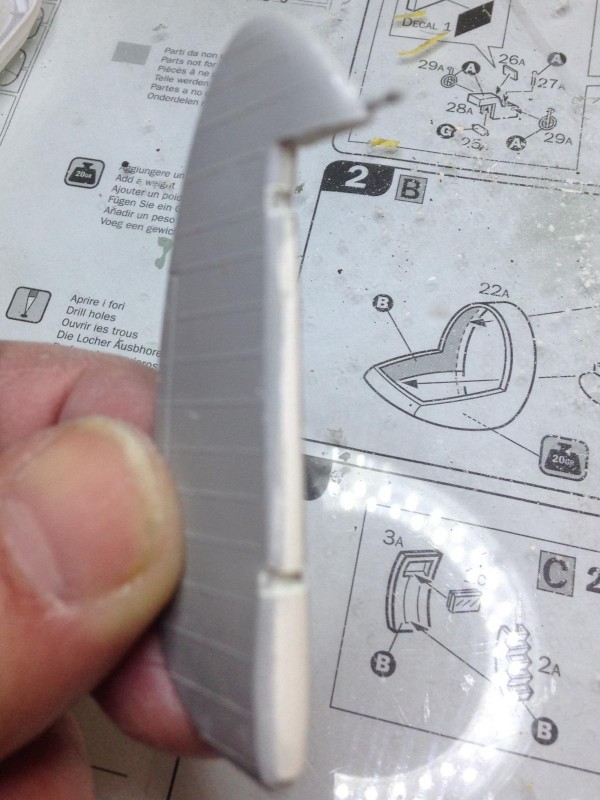
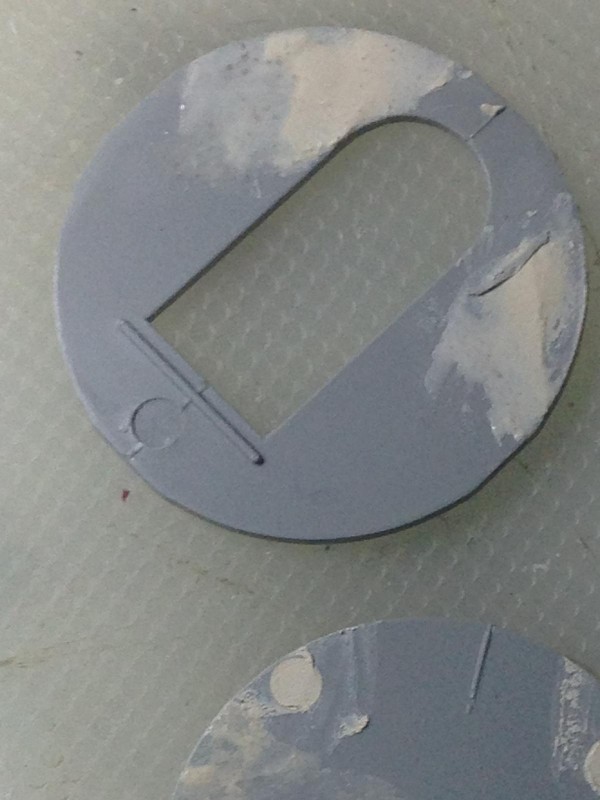
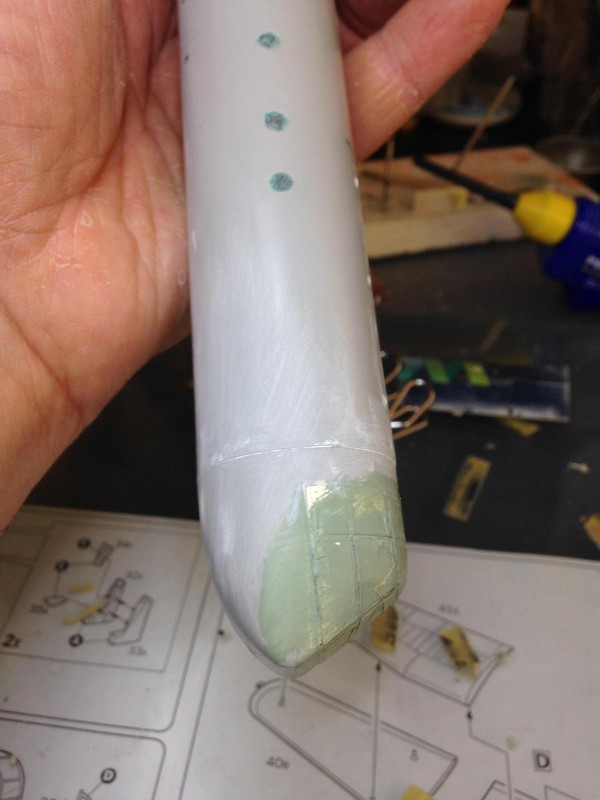
Some important parts are not present. Luckily, I've noticed that on time (white part, here before sanding)
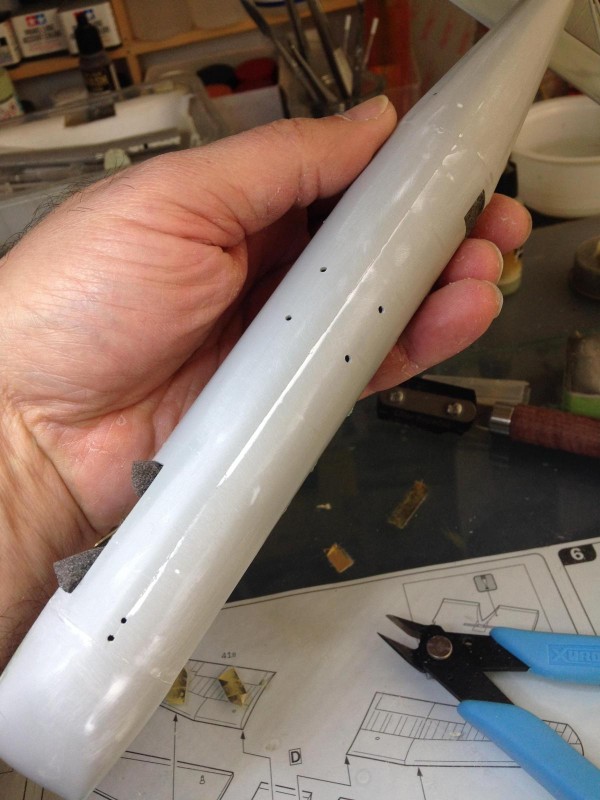
Not to mention pin/ejector marks…
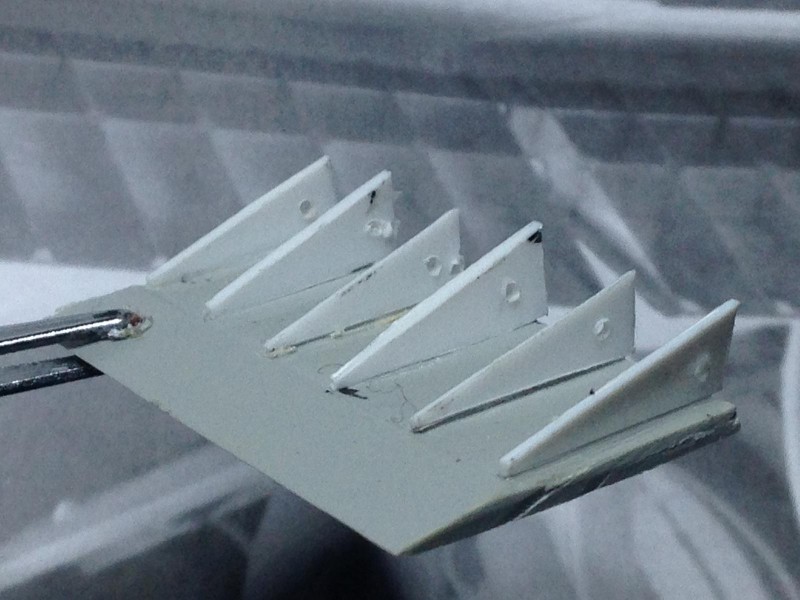
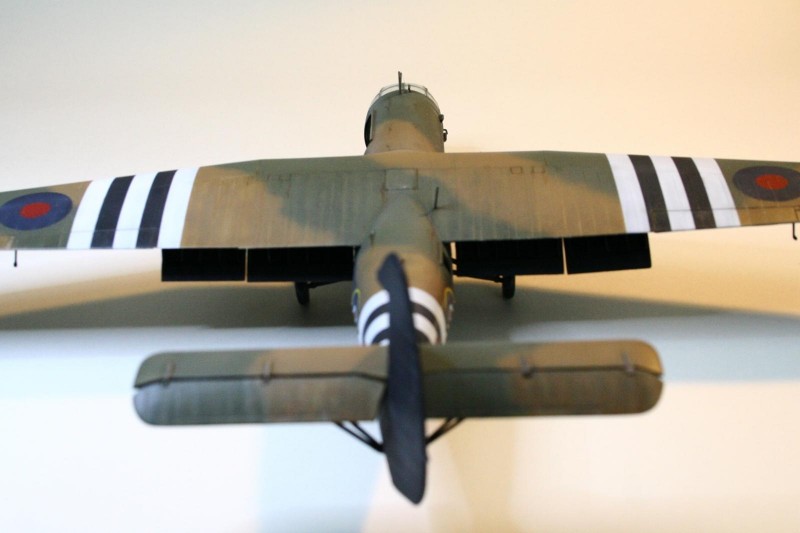
As I opted to build the flaps open, some scratch had to be done
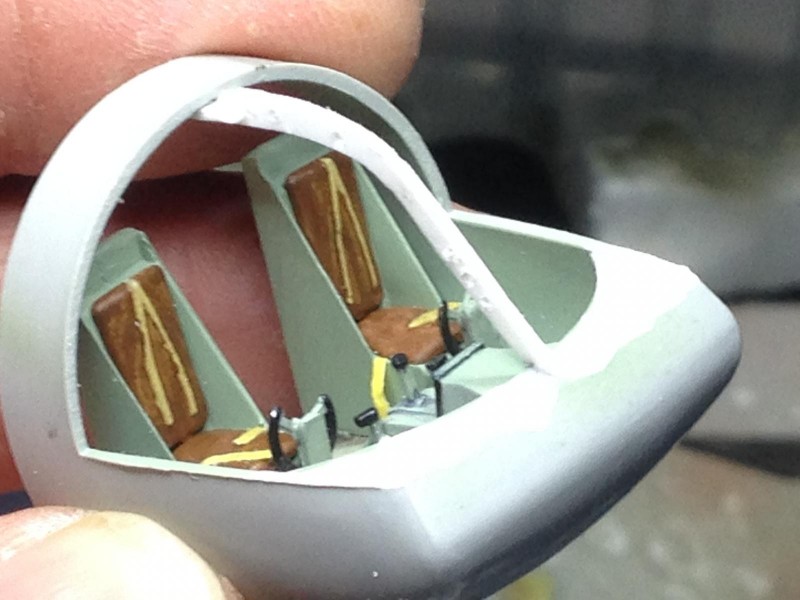
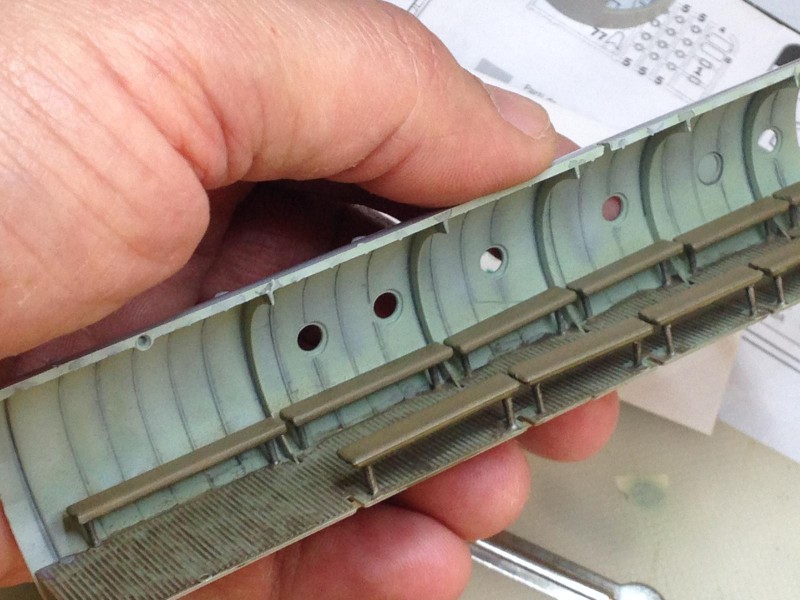
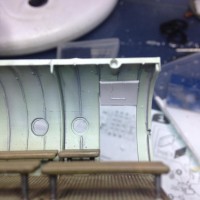
The interior is not very detailed but, as is not visible, opted to leave it as is.
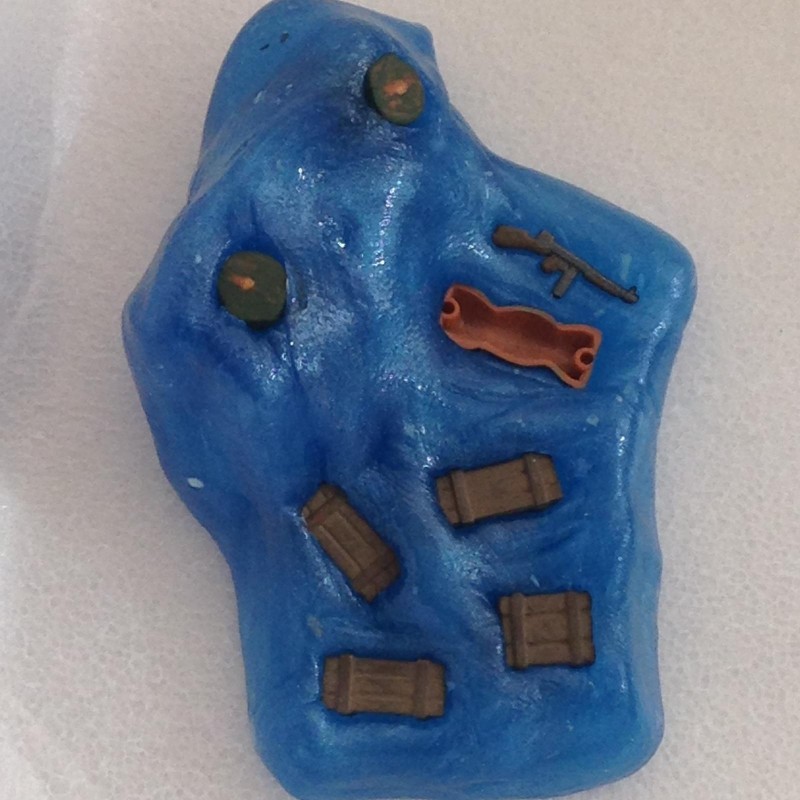
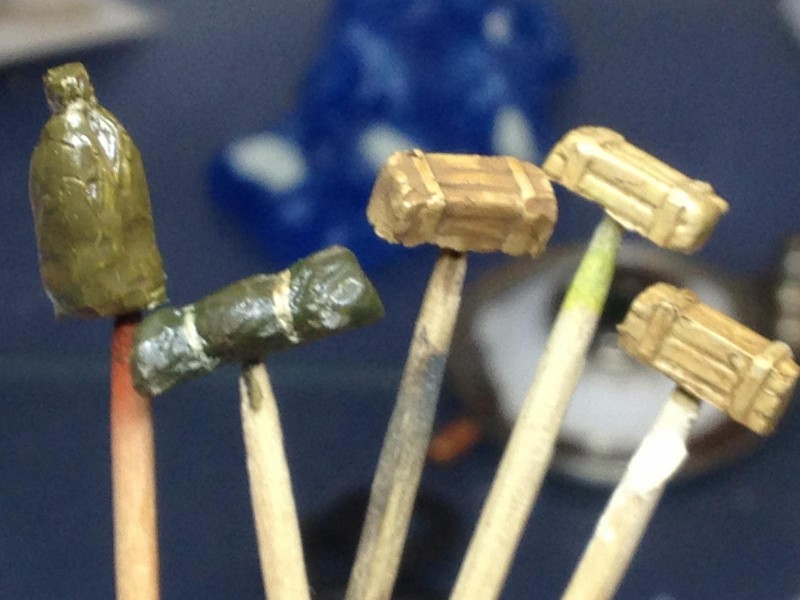
Well, I've casted some stuff to put in ?
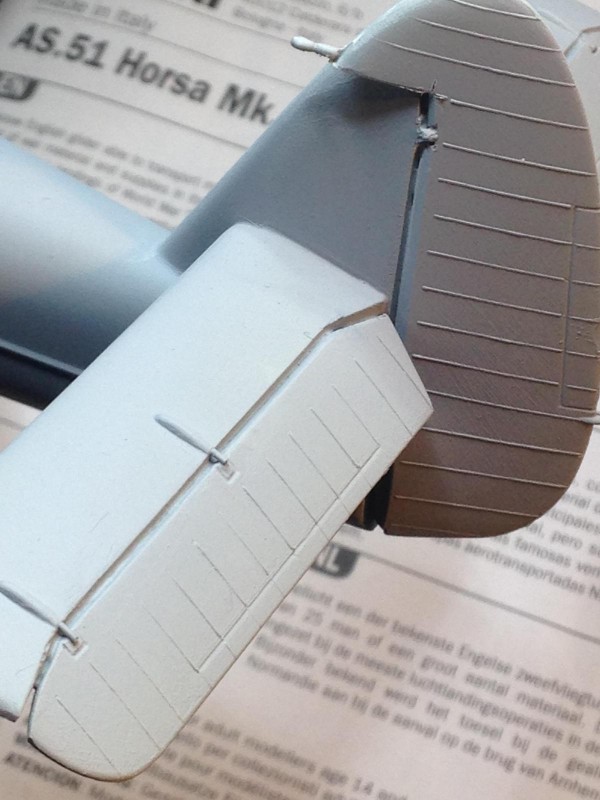
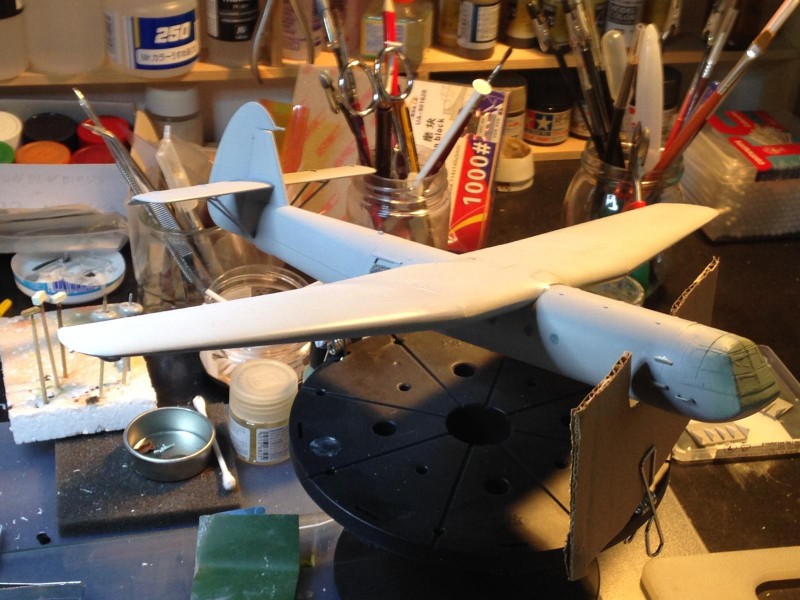
Here the assembled and primed tail, showing some sanding already to be done
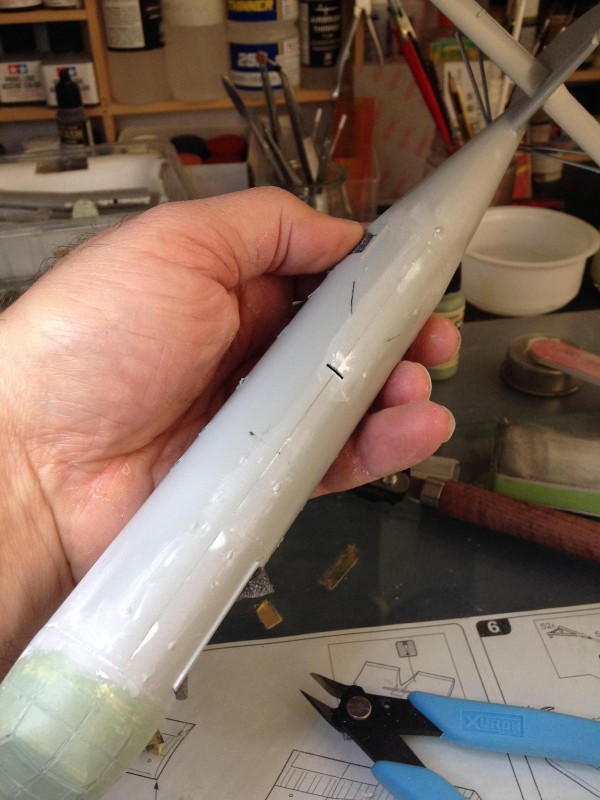
The fitting, oh the fitting… hooray for putty!
NEXT: the wing fitting… as ‘good' as the rest…
some details were only concluded and/or scratchbuilt after painting
PAINTING
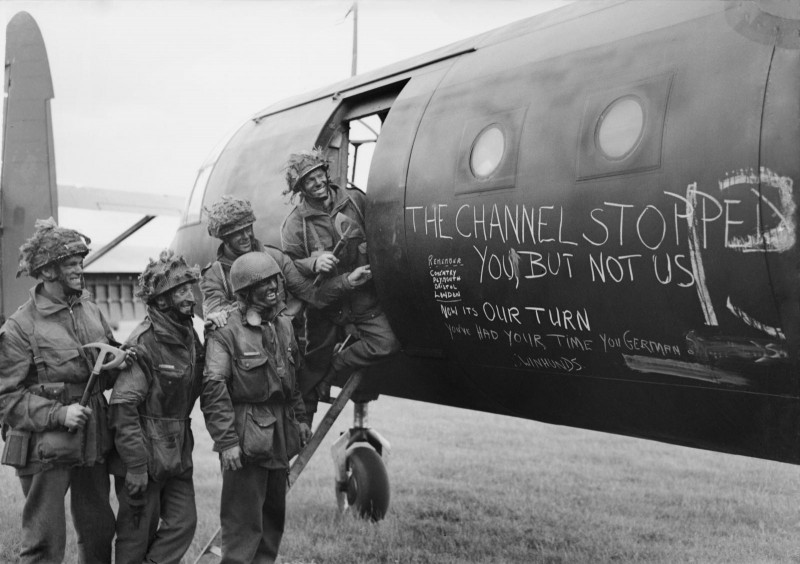
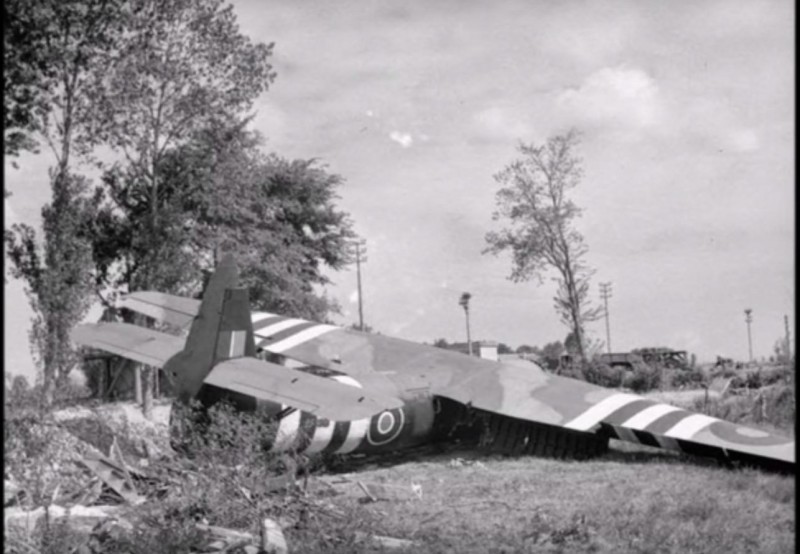
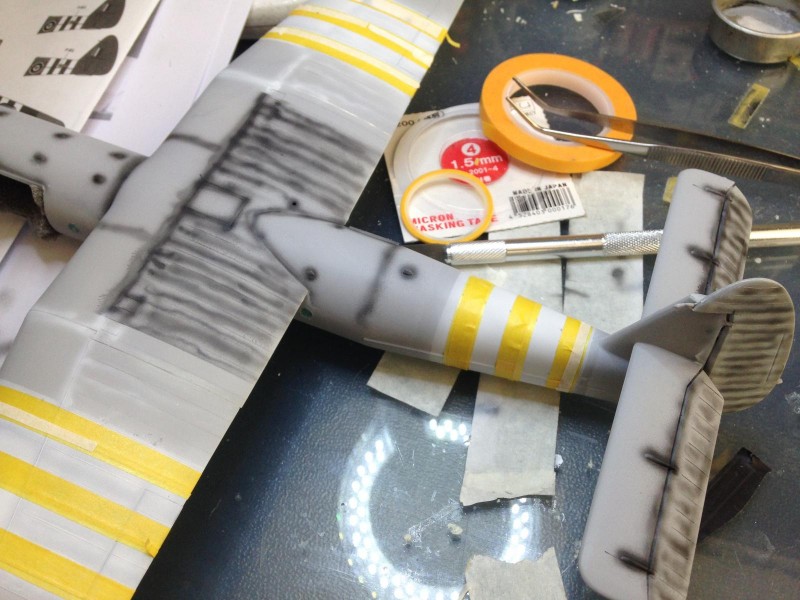
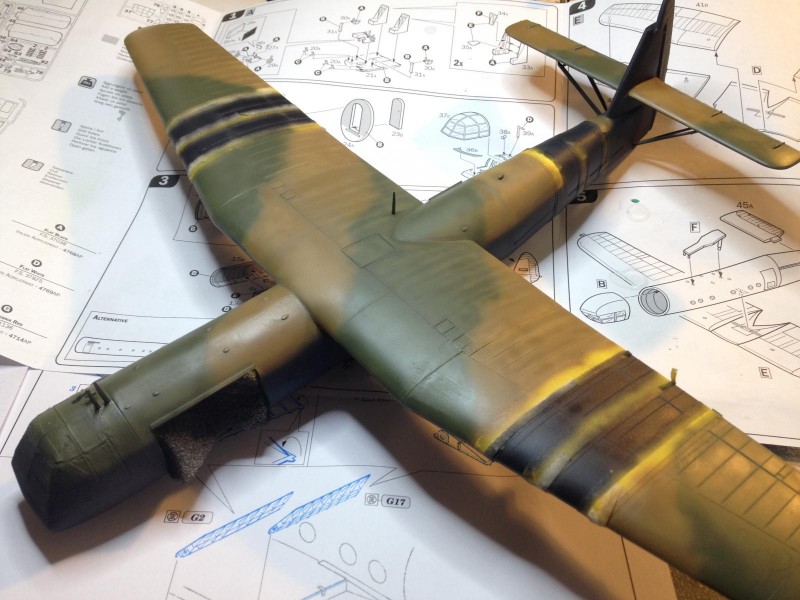
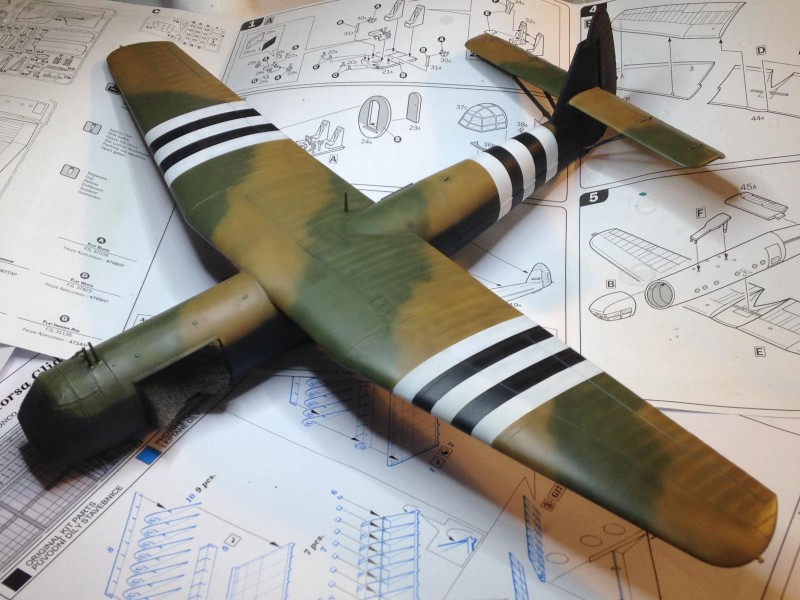
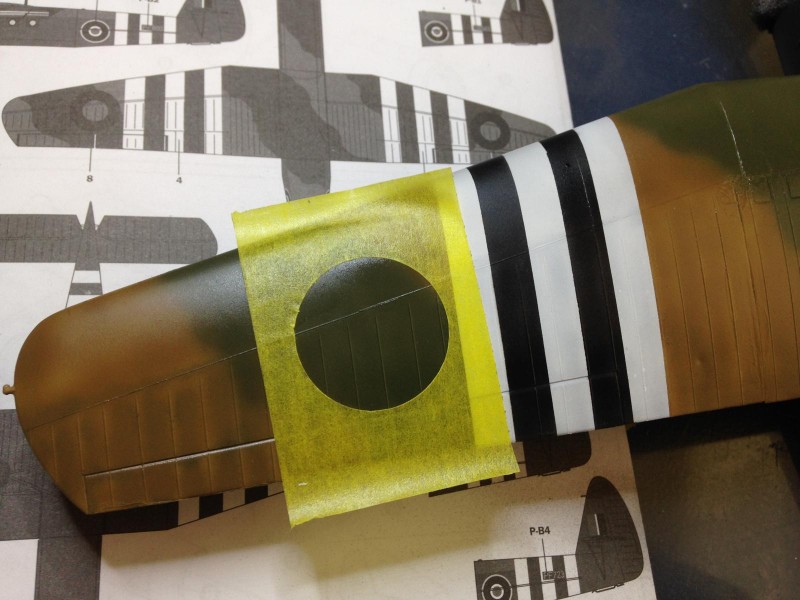
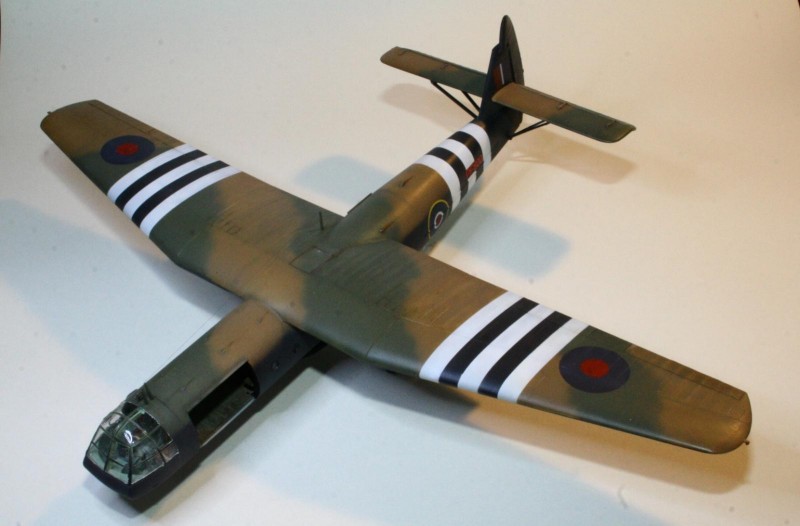
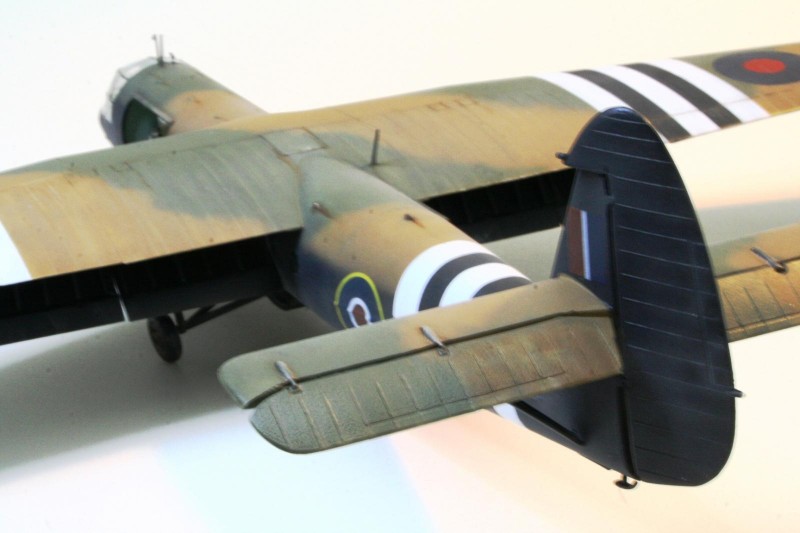
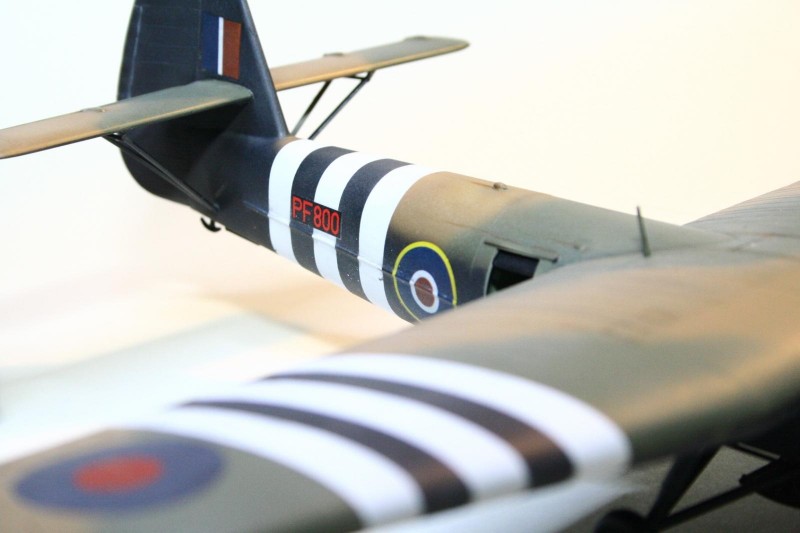
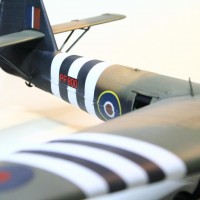
Time to decide if I'd paint the invasion stripes or use the decals. Reference photos helped me to conclude that the decal stripes were too wide. And slightly misplaced on the instruction drawings :-
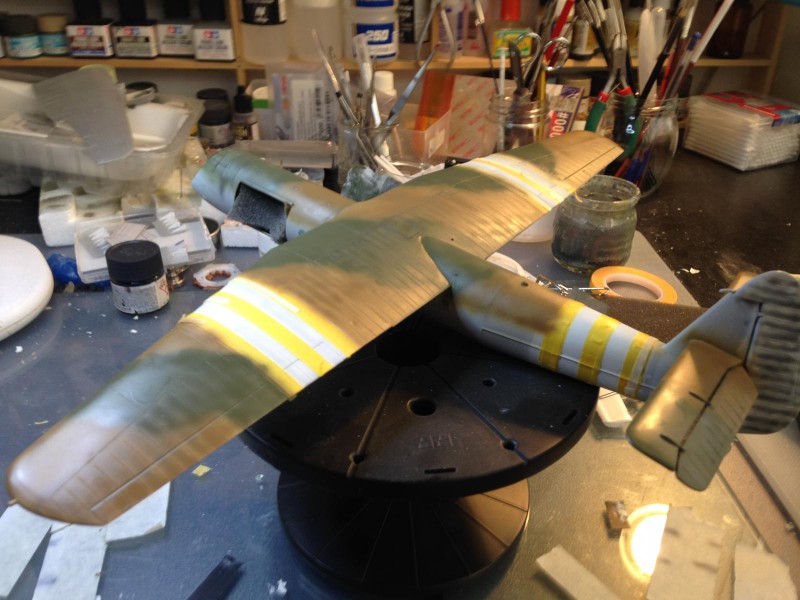
So, lets mask and paint ?(as I secretly wanted to)
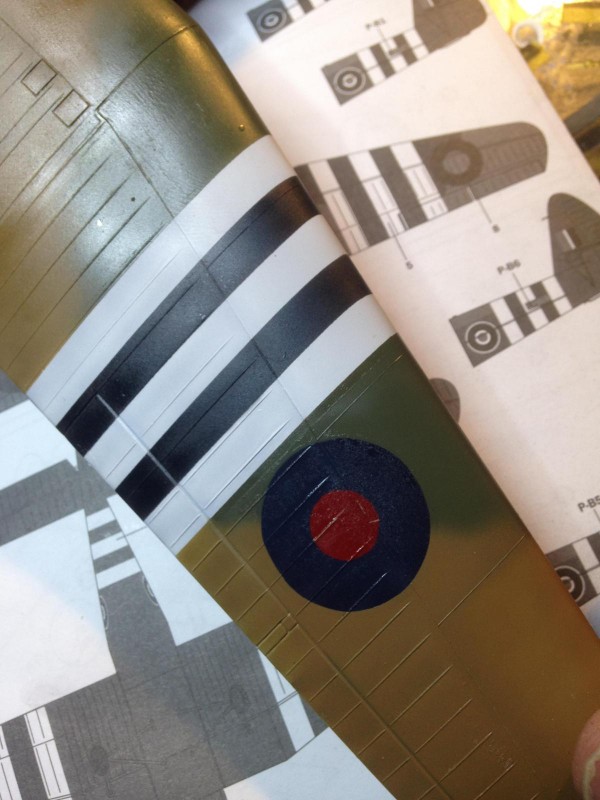
The roundel decals where too thick and with some strange colors, so…
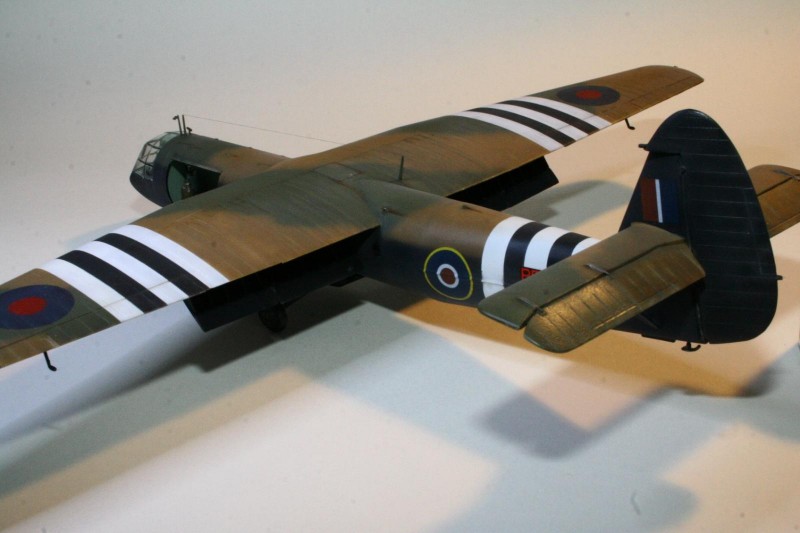
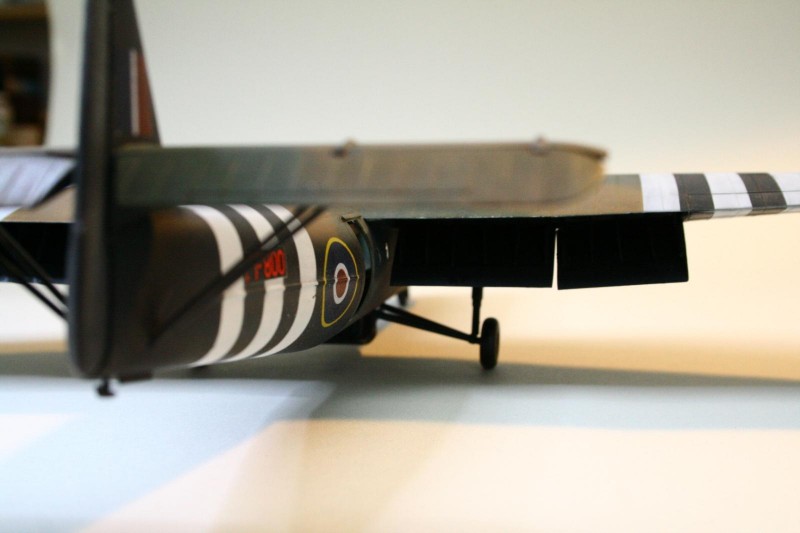
Now it's time to apply some gloss varnish followed by a subtle weathering: keep in mind that those planes had a short life and that the invasion stripes where freshly painted (this is D-Day).
FINAL SHOTS
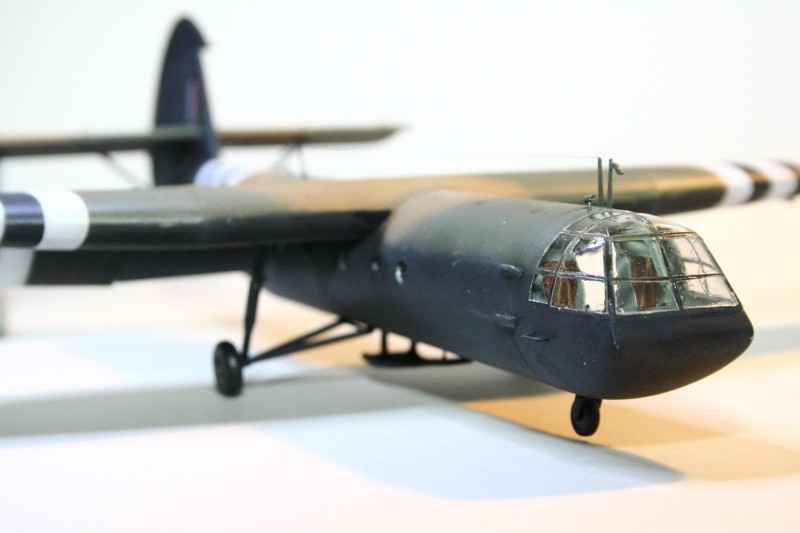
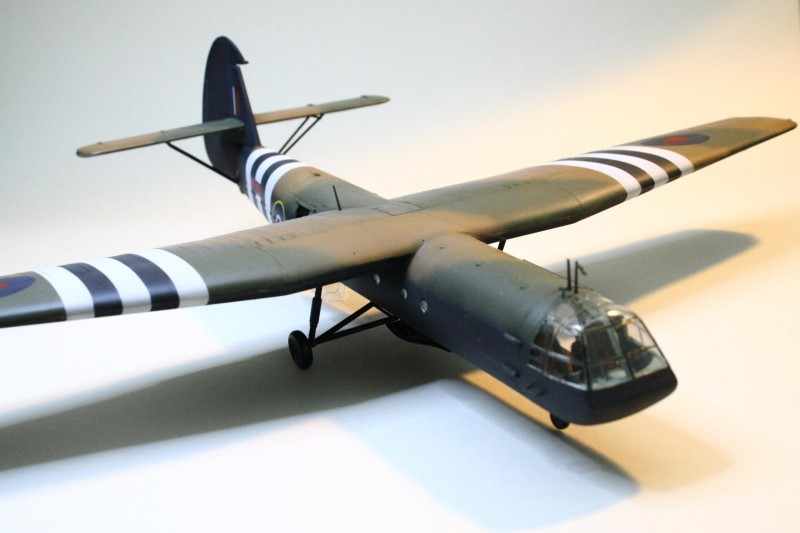
Hope you'll like the final result. The loading ramp is still missing as I'll only glue it when the diorama is ready. Yes, there will be a part two


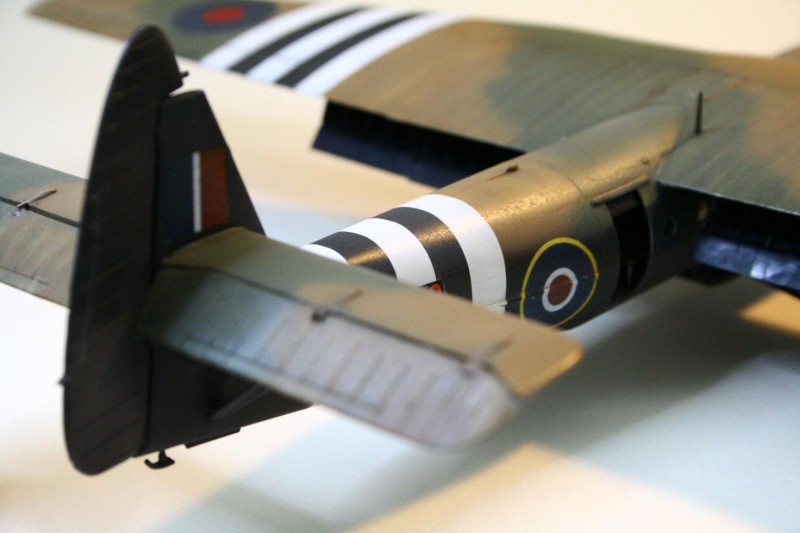
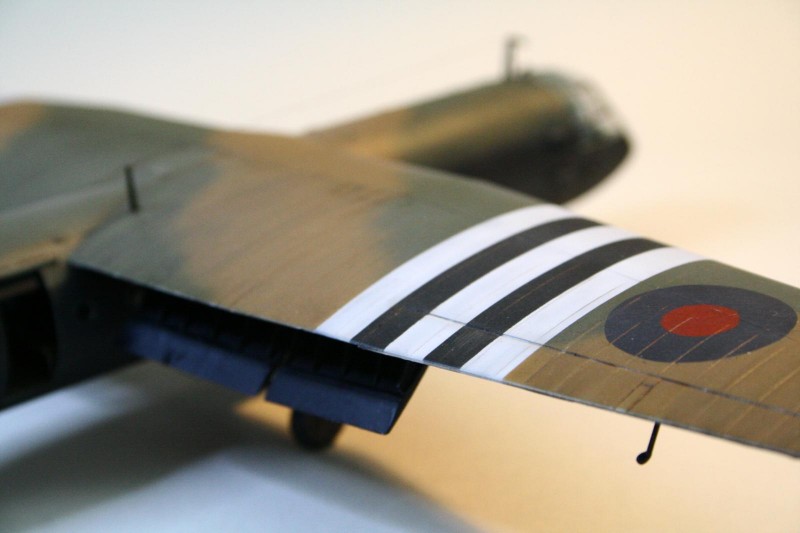
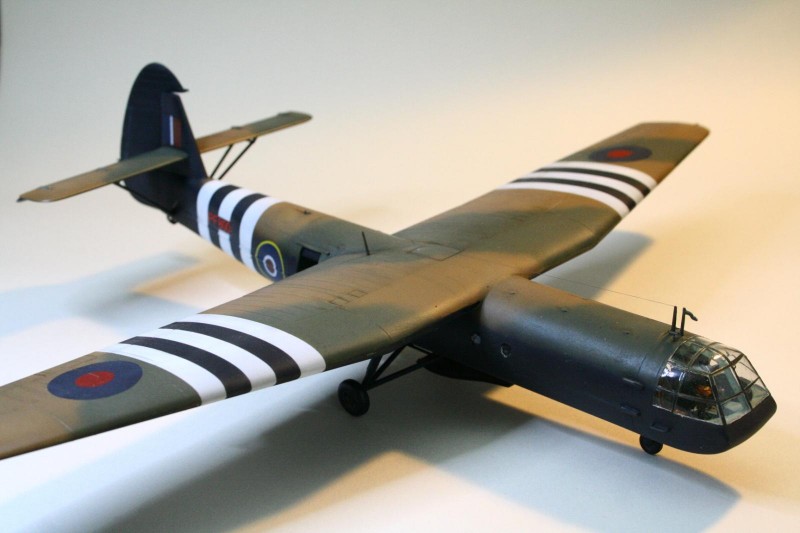
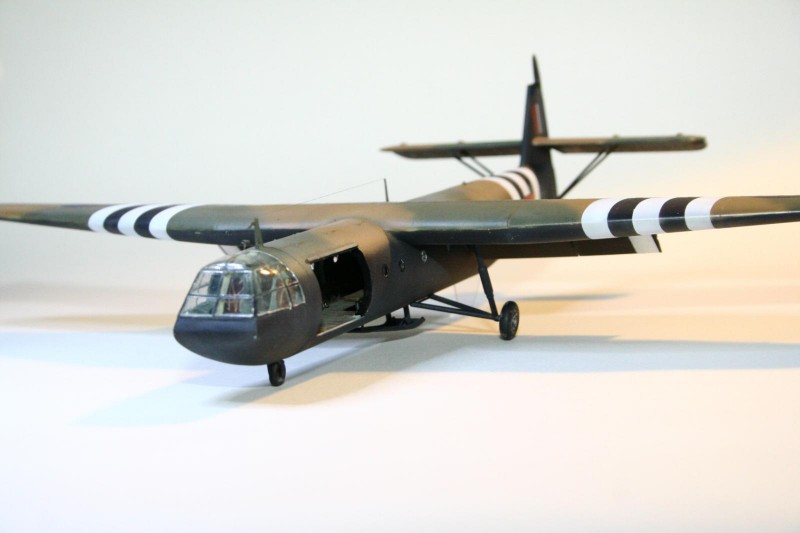
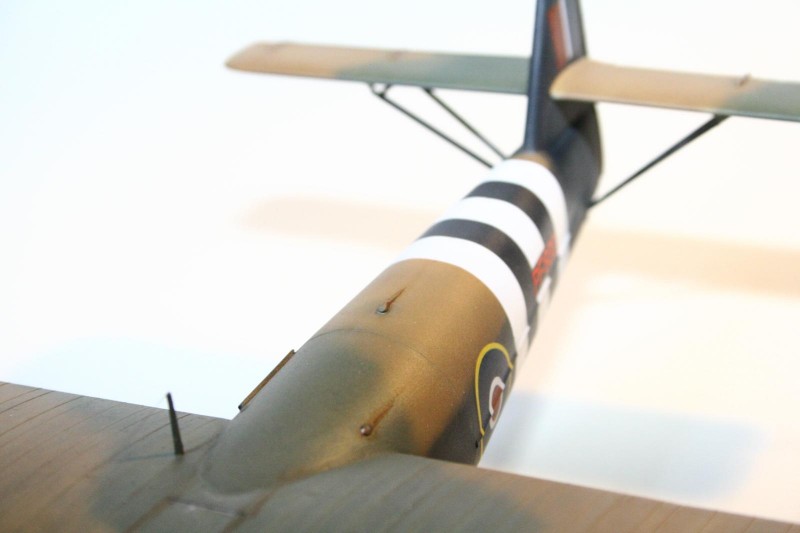
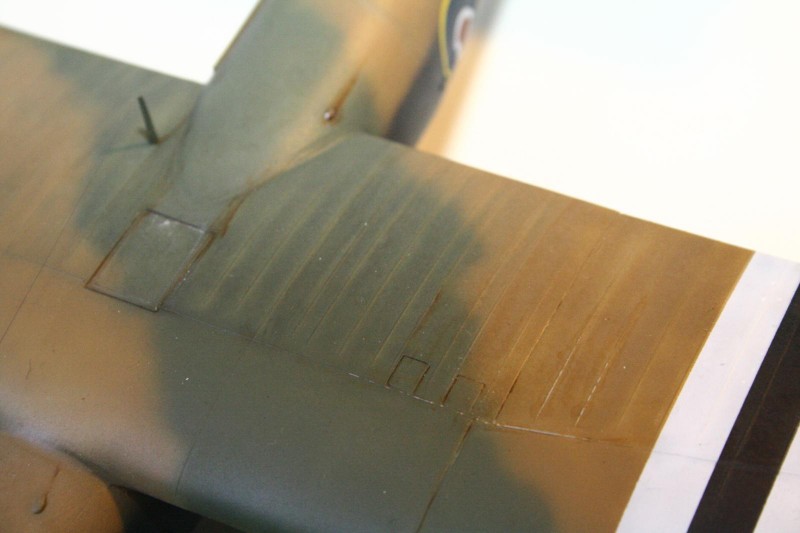
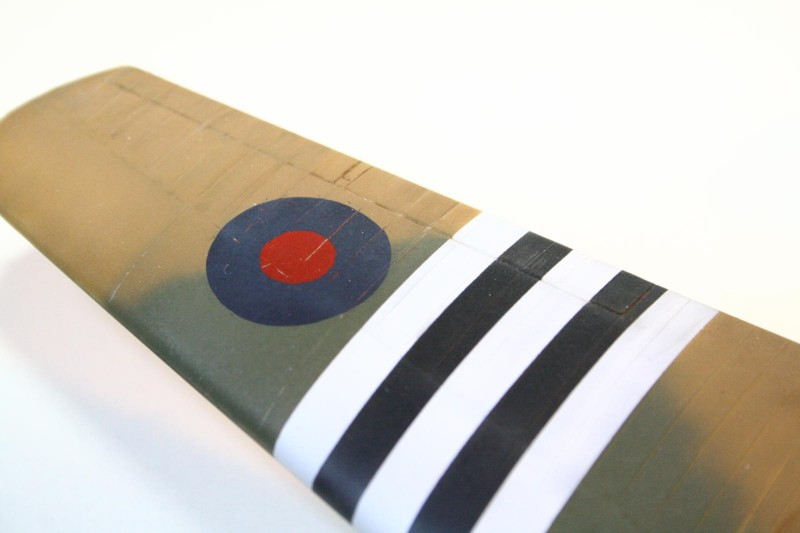
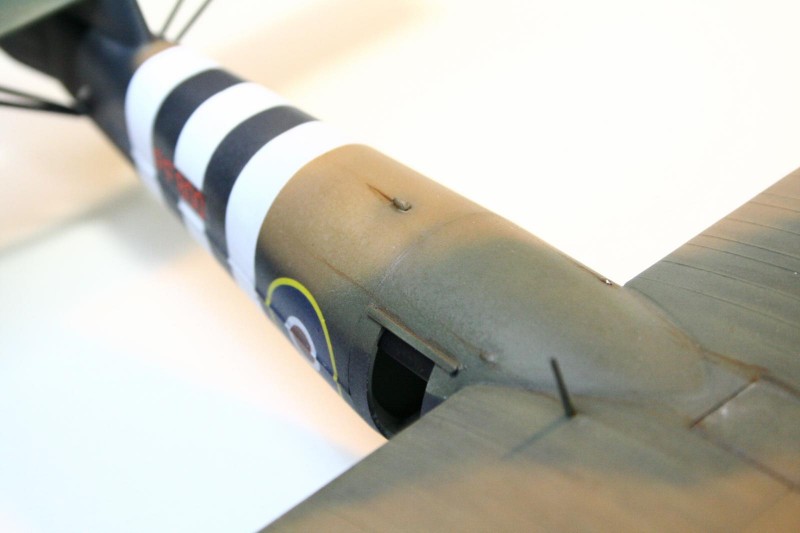

Really nice work on this old chestnut of a kit. Looking forward to the whole thing.
Thanks Tom! Me too
Really great work Manuel, can't wait to see it set in the diorama
Thks Ian!
I'll try my best on time to D-Day
Lovely work on this! Looking great!
Thks Greg! It's not an appealing bird but, if you know this story, you can't miss building it
Great craftsmanship!
thks
Fabulous post! Great work, Manuel!
Thks David! the new BBCode om iModeler editor helped a lot putting up this post.
If anyone is listening: a 'save draft' option would be top.
Great work.
Thanks! Tried my best
Fantastic work Manuel! You could fool me thinking this is the newer kit from Bronco at 1/35 scale. No kidding the Italeri kit? Fine work indeed, bring on pt.2
Thanks Pedro, you're too kind!
Yes, it's really the Italeri kit.
And some scratch.
And some putty.
And some paint instead of decals
but in the end I ended up loving this bird
cheers
You asked for it
Part 2 is done and Part 3 is almost completed too.
Cheers,
M
Podziwiam malowanie! Super!
Dziękuję! Thank you!
Hello Manuel,
I've just come through your building. Very nice!
I'm actually working on it and I'm on the final stage before painting, dealing with a doubt how to proceed. I would generally keep out for after painting session all the parts that could give troubles on airbrushing. But in this case there are in particular two parts (the rear wing supports and the main landing gear) that really scare me in gluing after paint! The rear wing support are really strange to attach to the main body and the holes that supports the V-strut and mainwheel unit are huge!
I've seen that probably you started with the rear wing support mounted before painting, but without the landing gear. Isn't it?
What's your suggestion and advice? I'm really a beginners and this kit is testing my (limited) abilities...
Cheers,
Simone from Italy
Hi! Thanks for your message!
Yes, it's a tricky kit but, with patience, everything will be OK.
I honestly can't remember exactly what I have done but I think I had to improve the rear V-strut.
Regarding the landing gear, I placed it before painting but without wheels.
The instructions have some mistakes regarding the doors and ramp, see the reference photos I placed on the post.
By the way: decals are not that nice, so I painted the roundels and stripes.
If you need any help, feel free to ask.
Good luck and stay safe
Cheers
Manuel
Hi Manuel,
thanks for answering!
I was skeptical to place V-strut and gears before the painting just because I didn't want to have issues in spraying beneth them. Anyway, there's too much work to do on those pieces that probably worth the risk of attaching everything before (even if maybe airbrushing will be bit more tricky).
Regarding the doors I've discovered the error just thank to your job! It's incredible but I didn't know the doors were sliding internally. I had decided to keep single door opened anyway (no ramps) - as I've seen in many pictures - but I will adapt the port inside.
As per the decals, I had read they are not nice and the stripes are wrong also in dimension. Therefore for sure I will paint the stripes, I'm just trying to find the right position and dimensions on the kit, since it's not plenty of painting scheme for Horsa out there, neither good reference photo for comparing with the model scale.
Simone
Hi Simone @Sirsimons!
As said earlier, I found wiser (to me, of course) to attaching those structs before. Regarding the stripes, I did as saw on a wartime notice with the measures to paint them. I found that info online but, honestely, can't remember where.
Where is a photo with measures. Sorry for the dust, the dio return recently from an exhibition and I didn't clean it yet.
Hope it helped, feel free to ask.
Stay safe.
Manuel
1 attached image. Click to enlarge.
Hi Manuel,
thank you very much for the picture, it's really usefull!
Everywhere it's indicated the difference between stripe width for single engine airplane (18 inches) and twin engines (24 inches) but no specific reference for the gliders!
Cheers
Simone