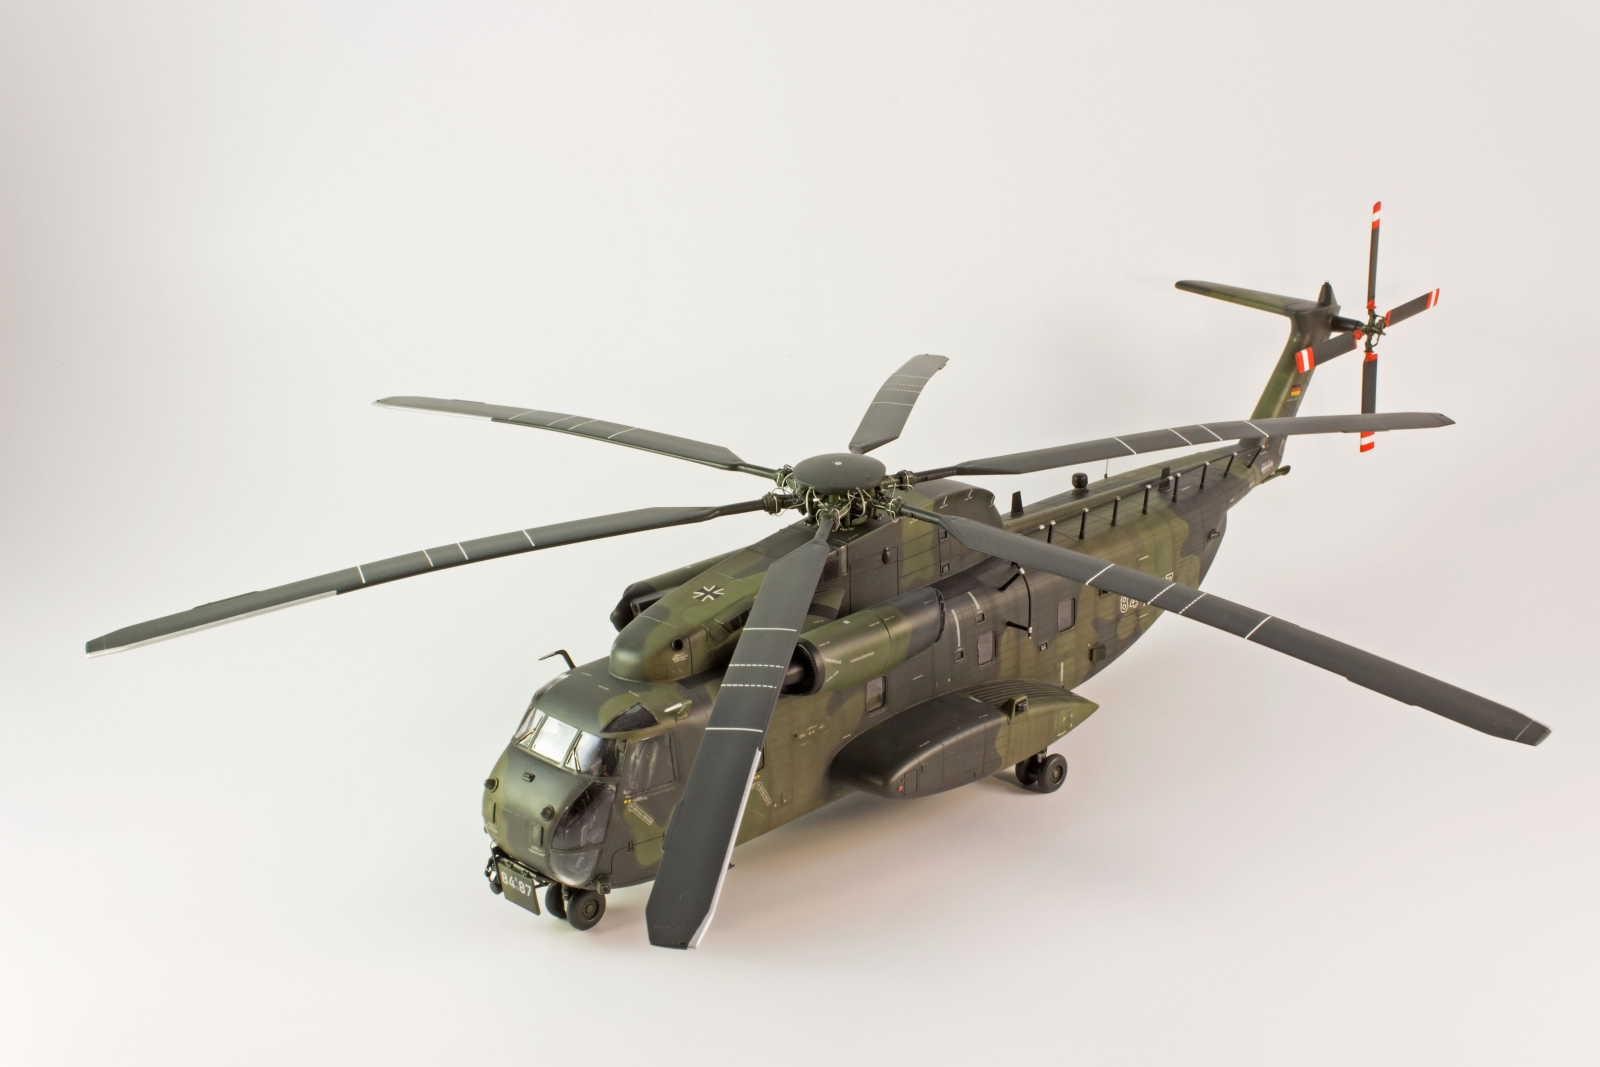
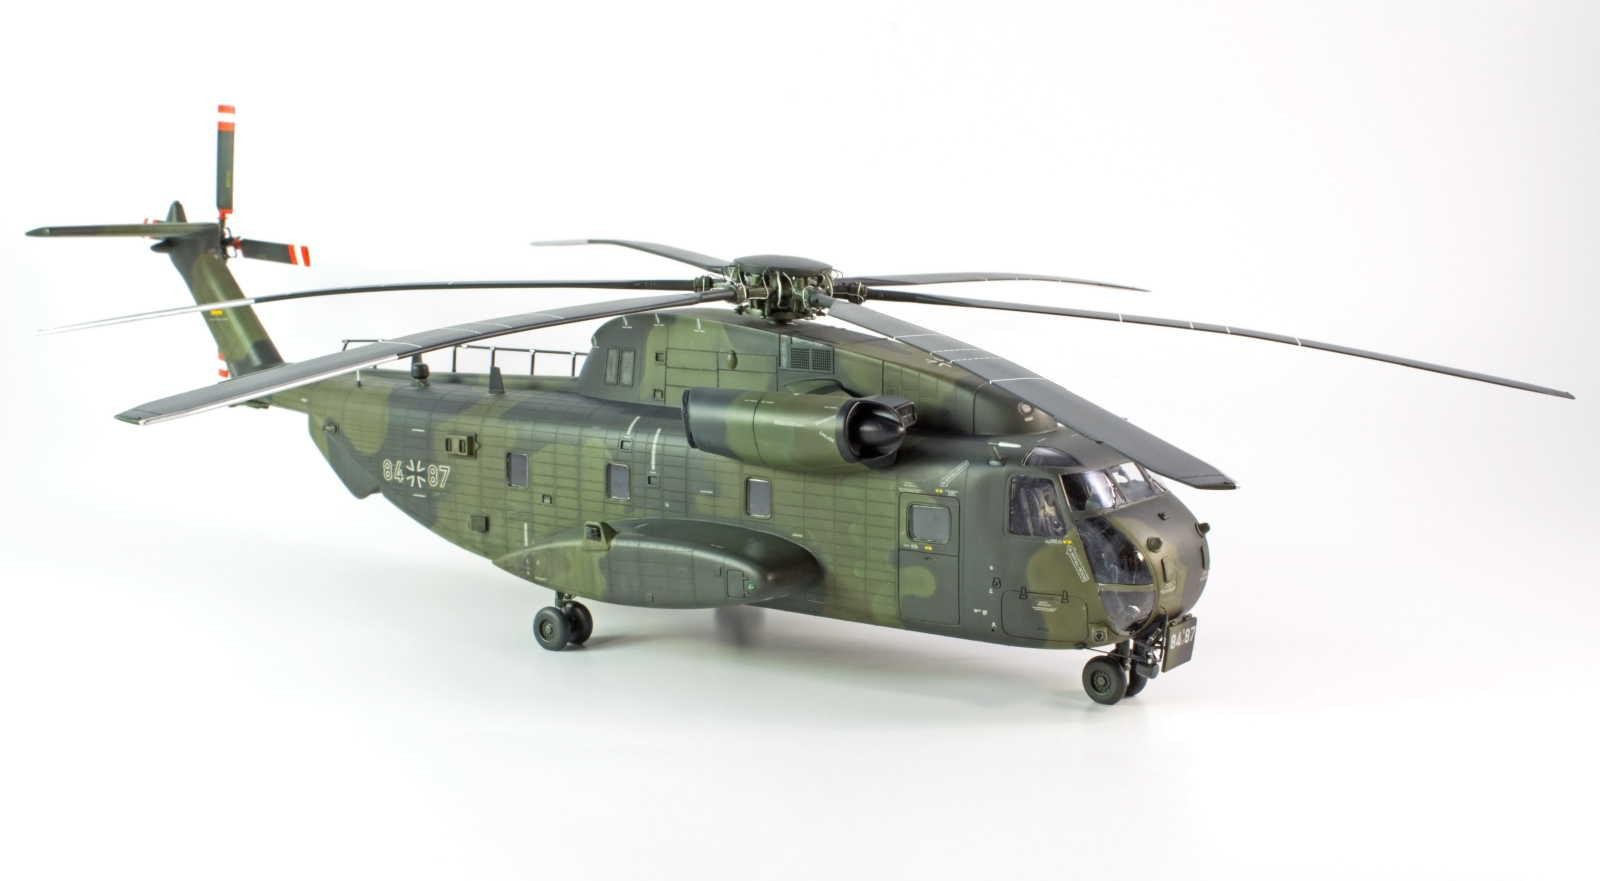
1/48 CH-53 The “super workhorse”
In 1966 the German military proceeded with the evaluation of both the CH-53 and CH-47 Chinook. This procedure aimed the replacement of the H-21 and H-34G helicopters. In June 1968, the purchase of the CH-53 helicopter was approved, and 110 were ordered. Following the delivery in 1969 of two pre-production helicopters from Sikorsky the production aircraft were license built by VFW-Fokker at Speyer in Germany. The first German-built helicopter flew from Speyer on 11 October 1971, and since then, these machines have been upgraded continuously, in order to answer the different demands posed on them.
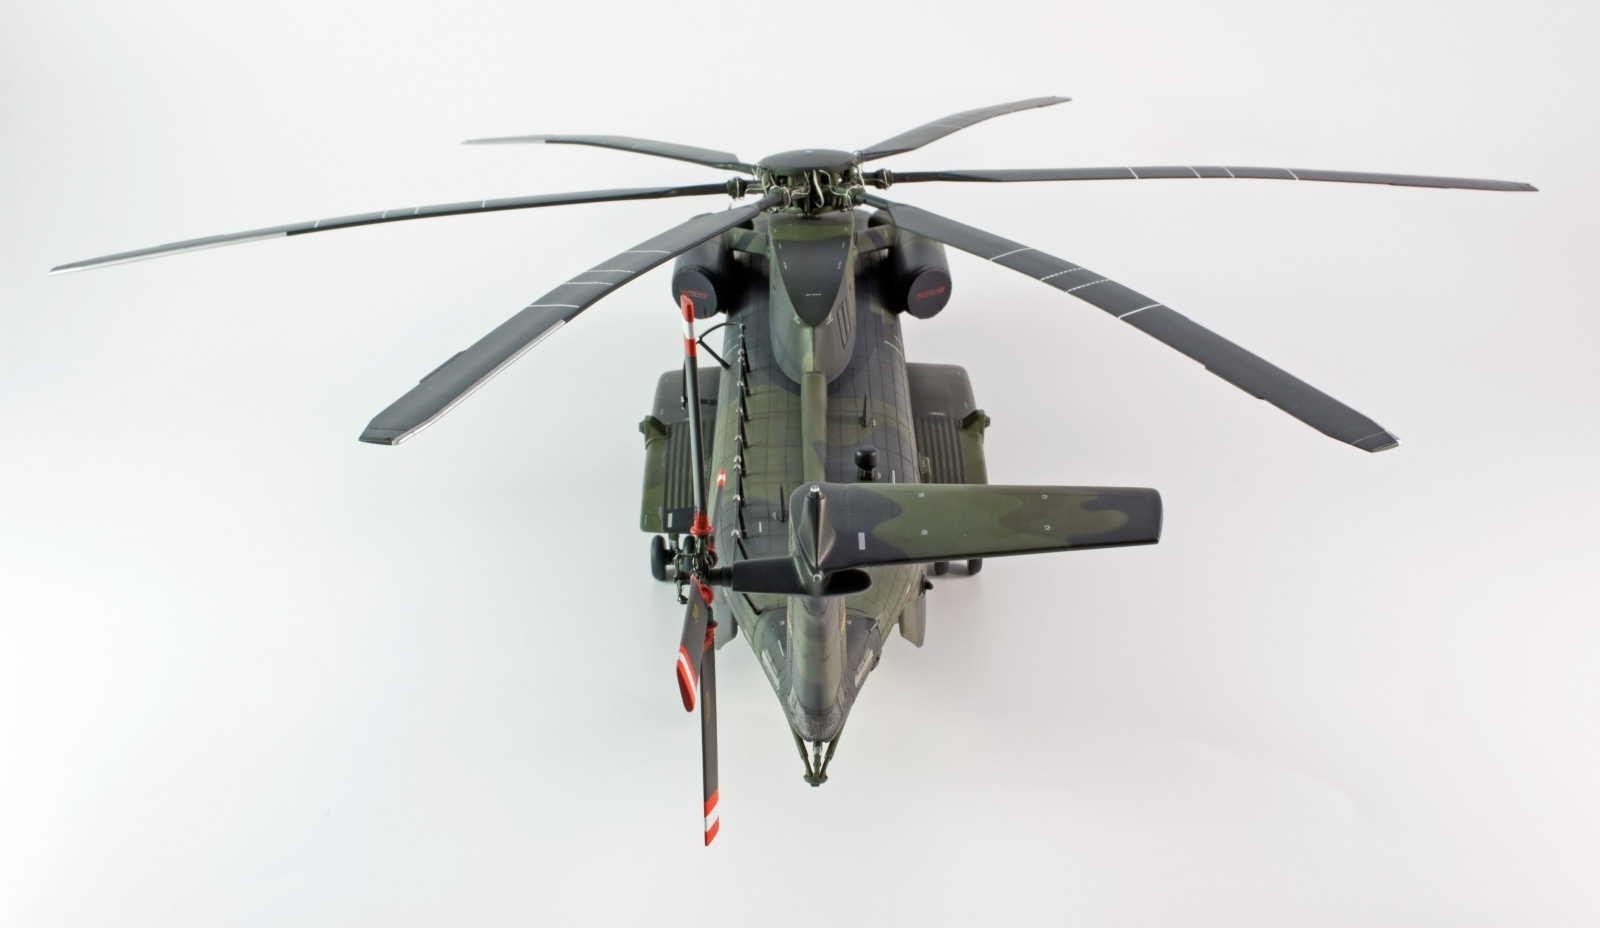
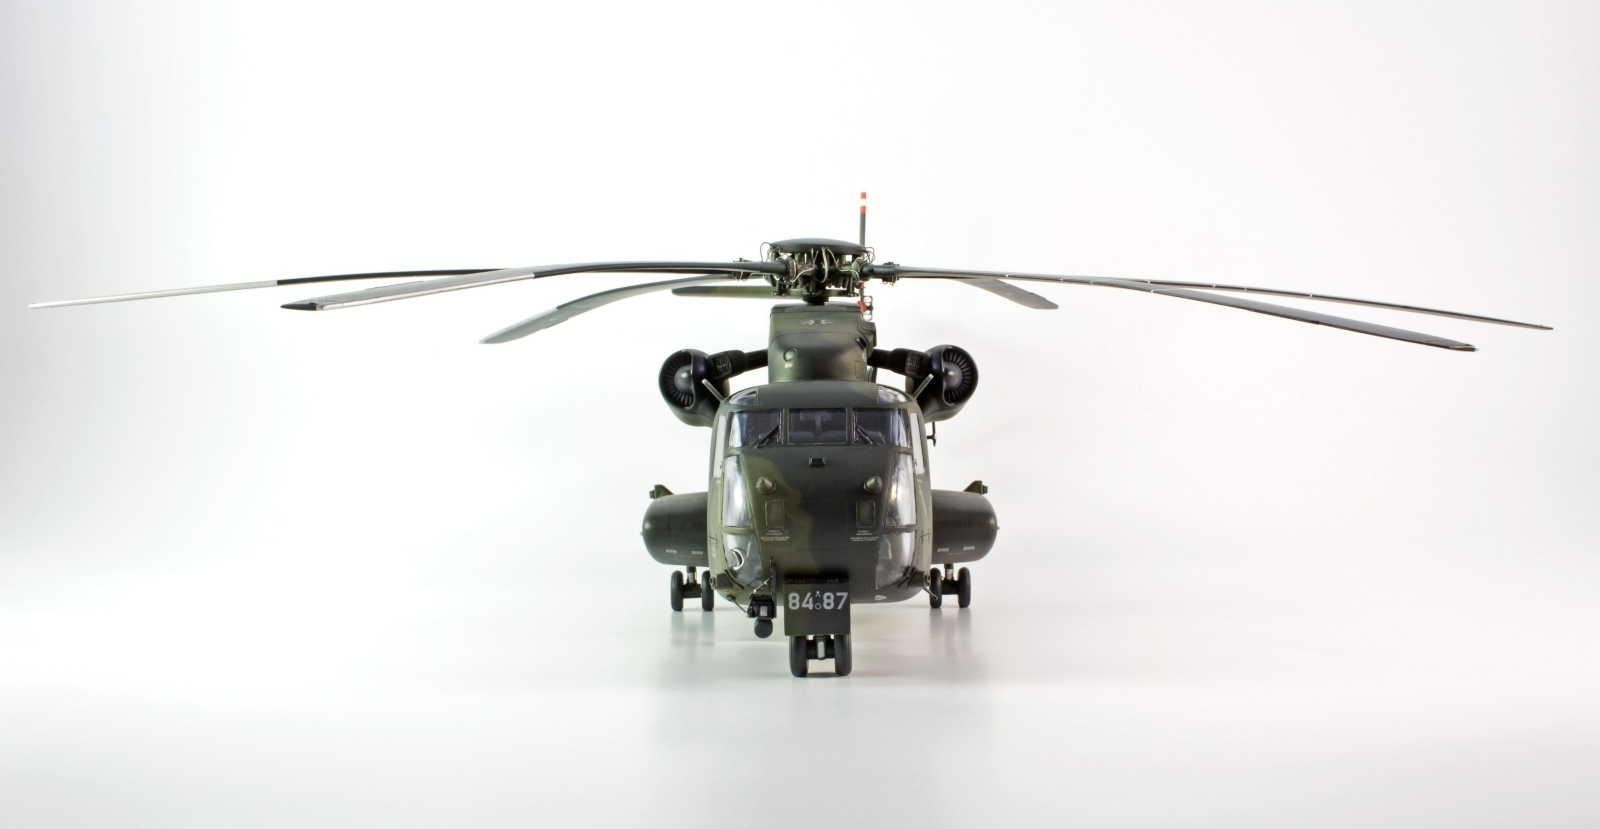
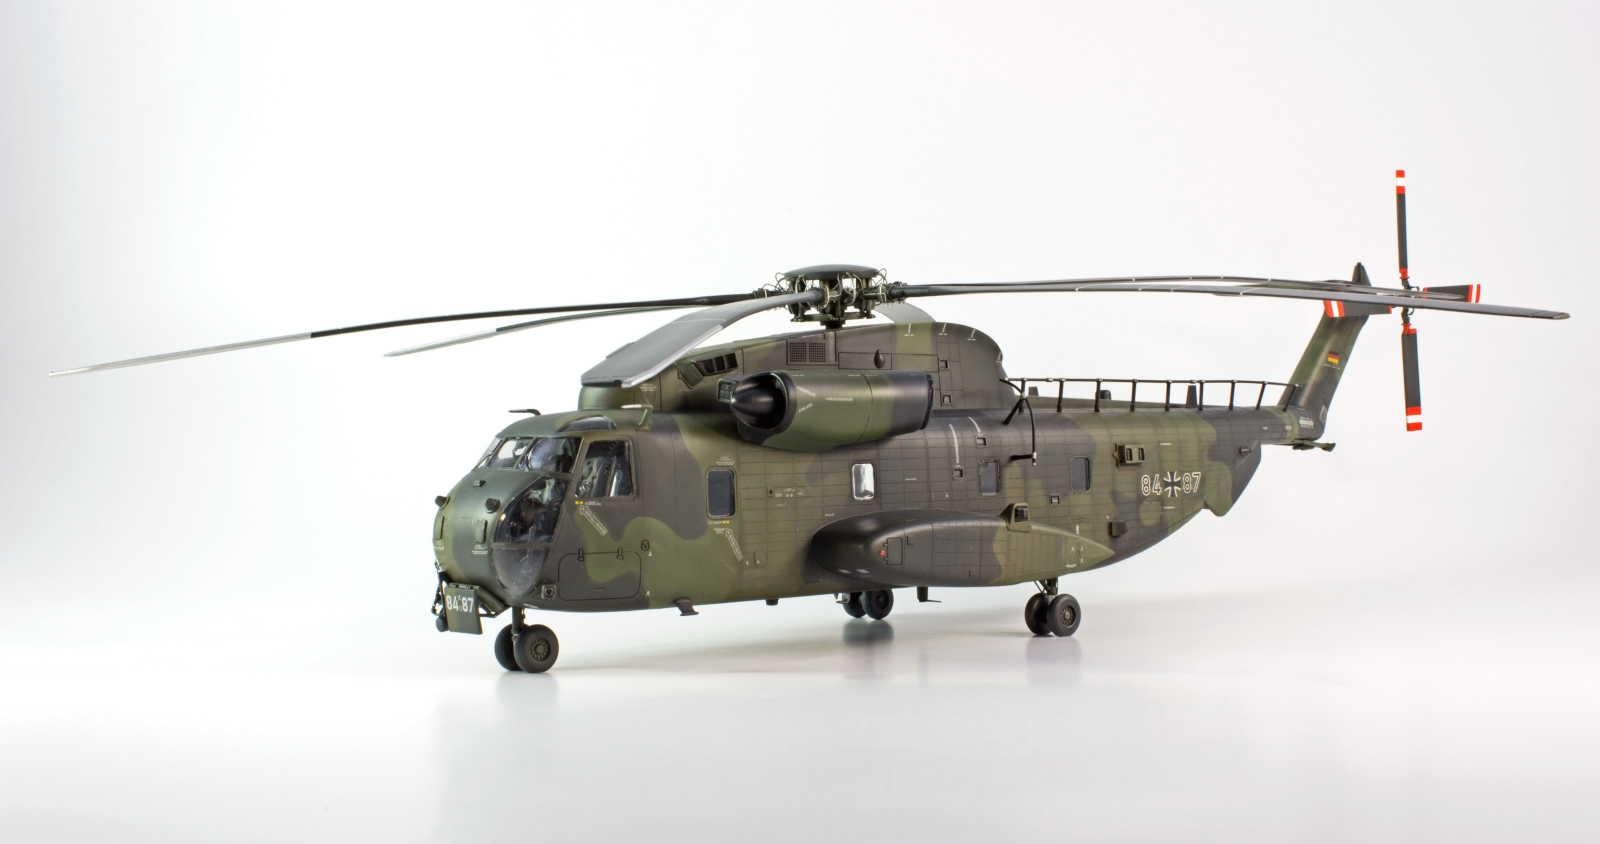
The Sikorsky CH-53 is a big machine, and in 1/48 is quite impressive. The kit comes packed inside a lid opening box, which is quite unusual in Revell kits. Inside the box there are xx green plastic sprue containing circa 160 plastic parts. These moulds were first issued in 1985. For this boxing, Revell provided the necessary parts to upgrade the kit to GA (German Advanced) specifications, as well as the sprue issued in 2003 containing the plastic parts needed to model the GS variant of this helicopter. Amongst all this plastic the modeller can find the necessary components to depict the new improved rotor blades (IRB) made from fibreglass and titanium as well as seat armour, new head rests and air intakes for the engines. They also include the FLIR and its mounting, the new cockpit instrument panels, the HF towel rail antenna and other small antennae and sensors.
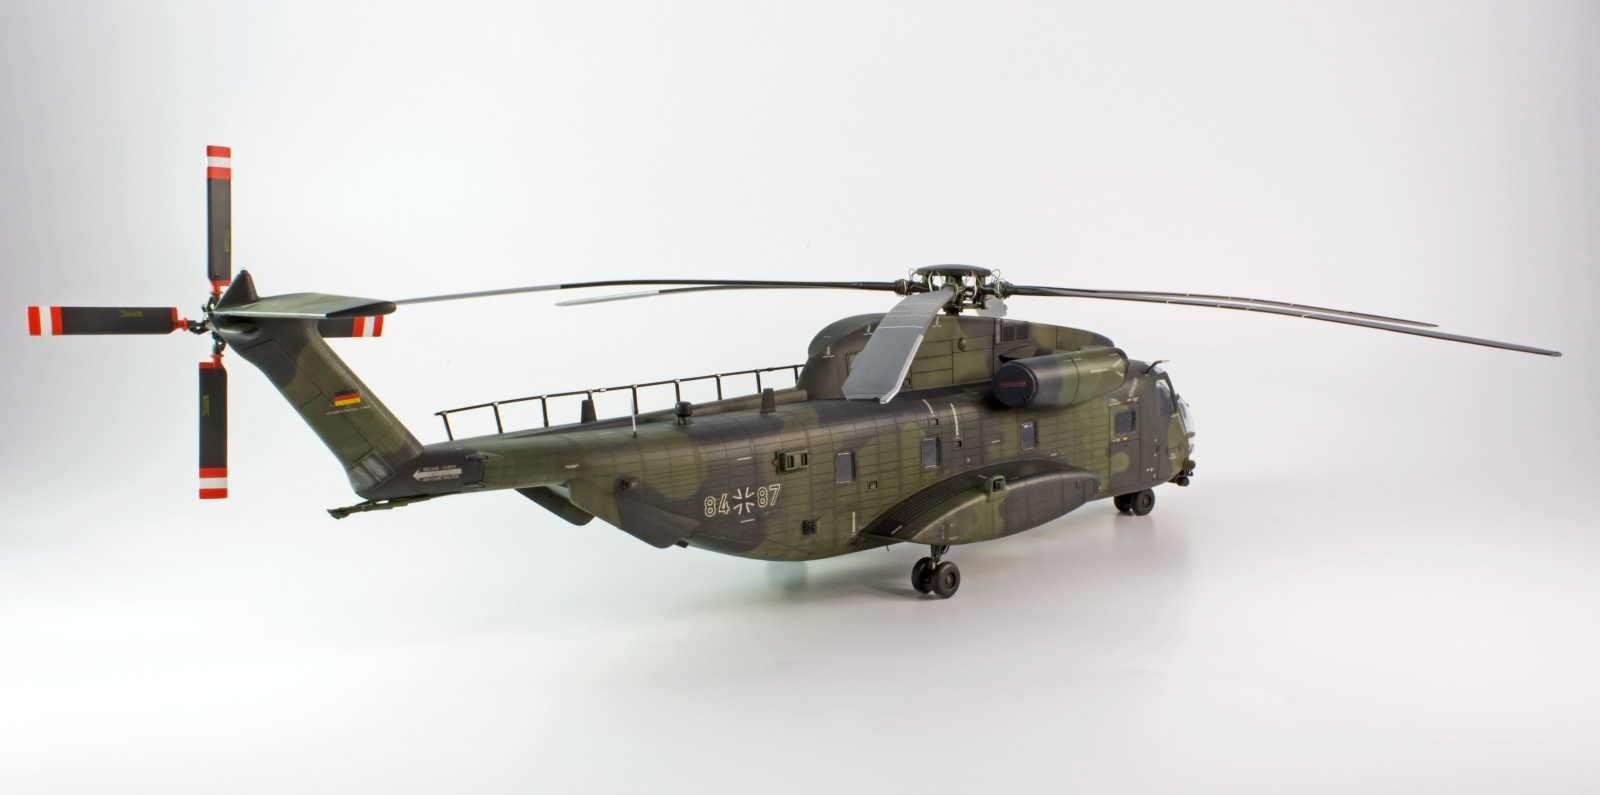
As a bonus, the modeller also gets the plastic parts to build a rather soft detailed jeep and a howitzer. These parts were issued when the kit first came out. The fuselage does not present pre-drilled holes for the placement of all these add-ons; therefore, the modeller has to locate the correct placement of the parts following a measuring guide provided on the instruction sheet. The decals provide options for two machines, one in overall olive drab and another in a three tone camouflage scheme.
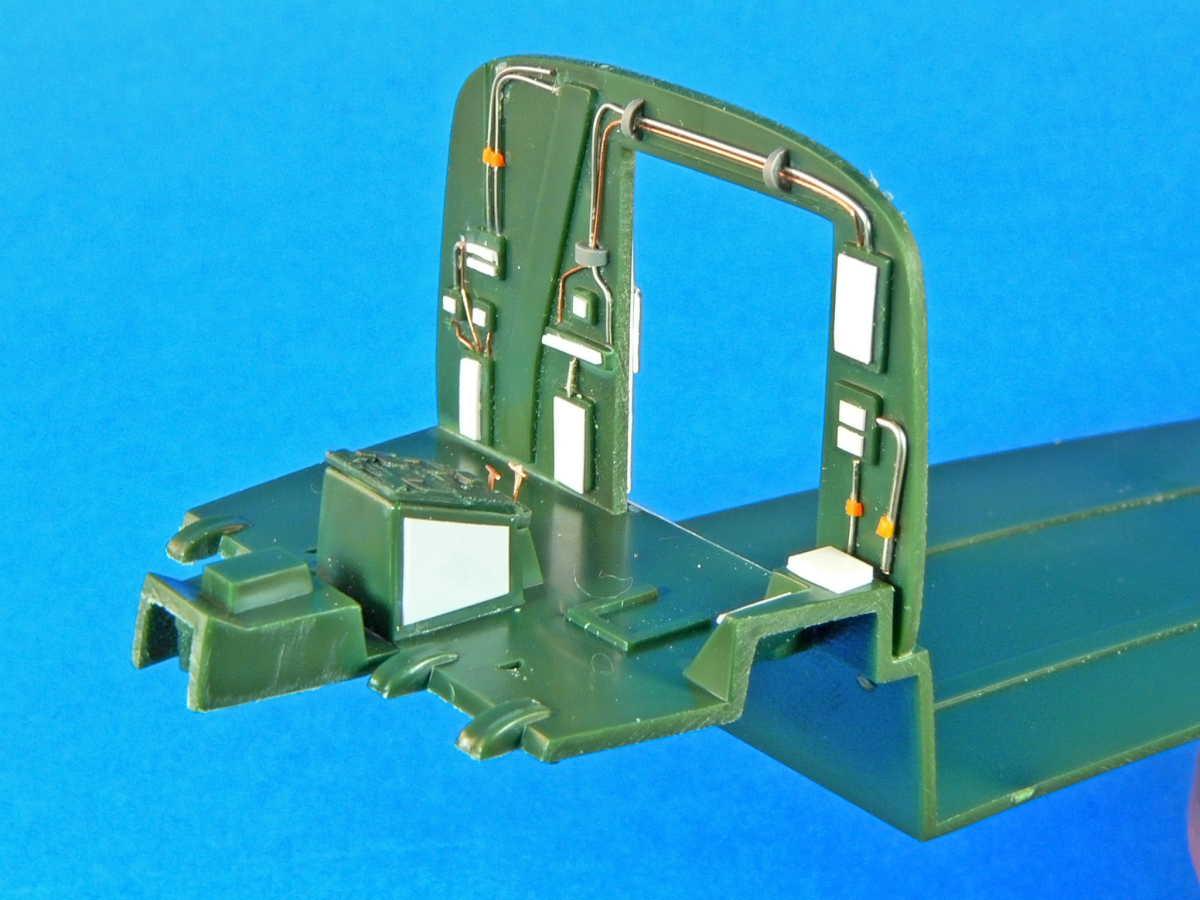
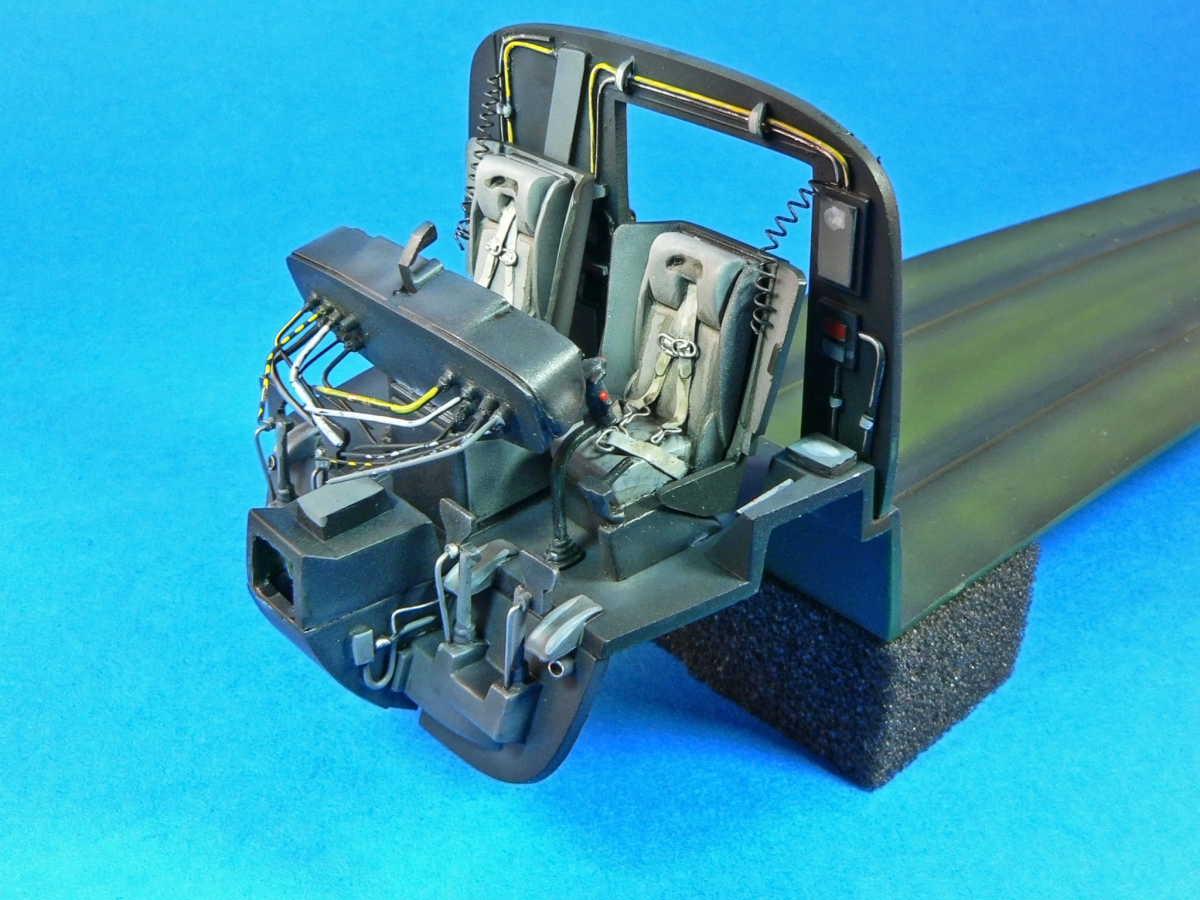
Detail was added to the cockpit via the application of copper wire, plastic card and stretched sprue and painted with vallejo acrilycs.
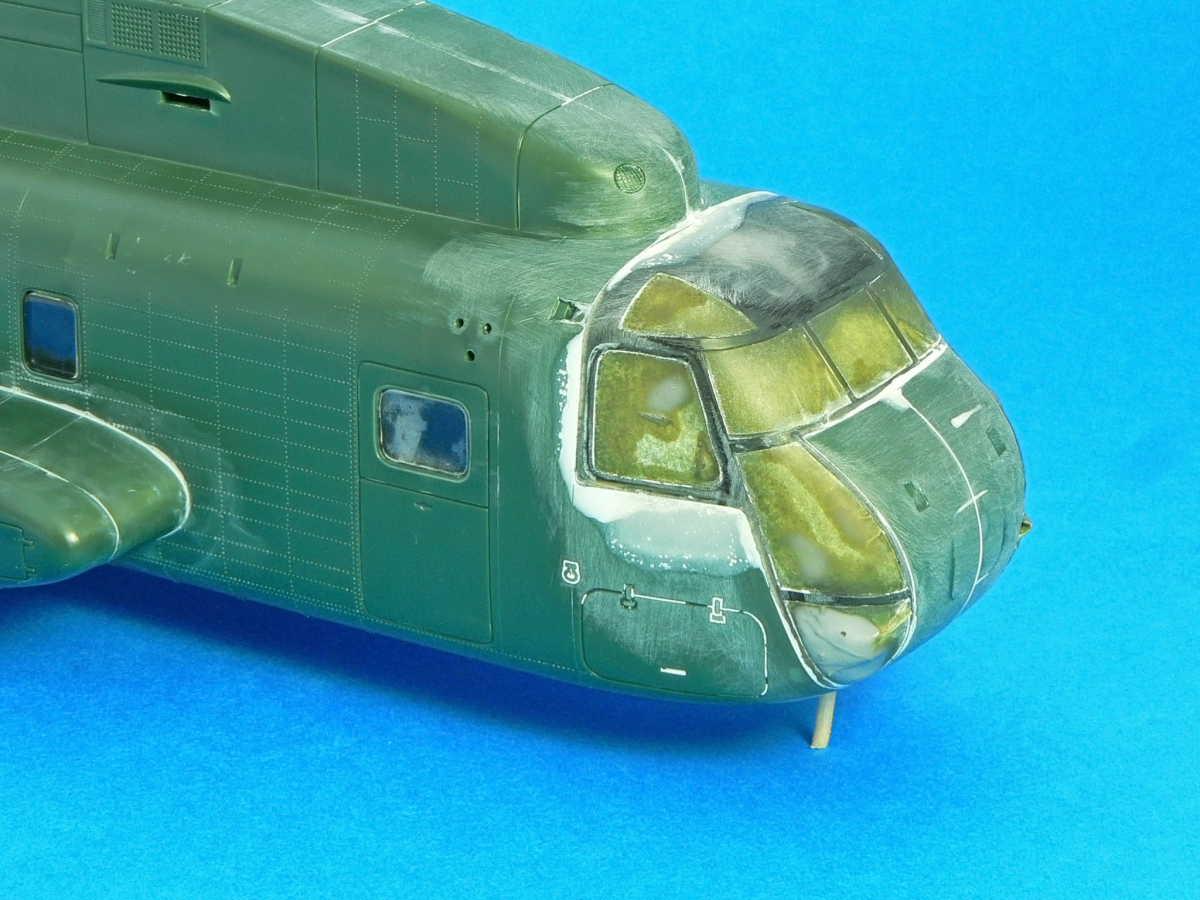
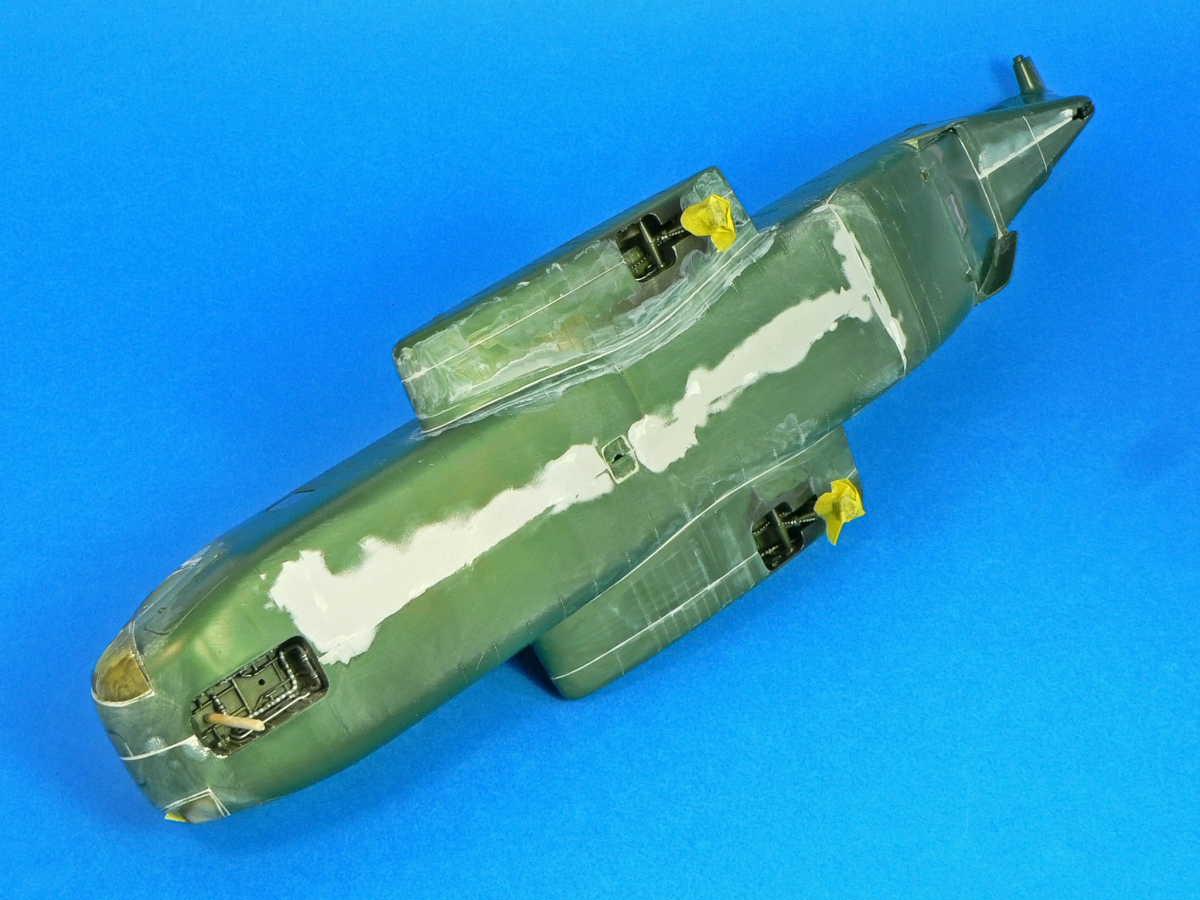
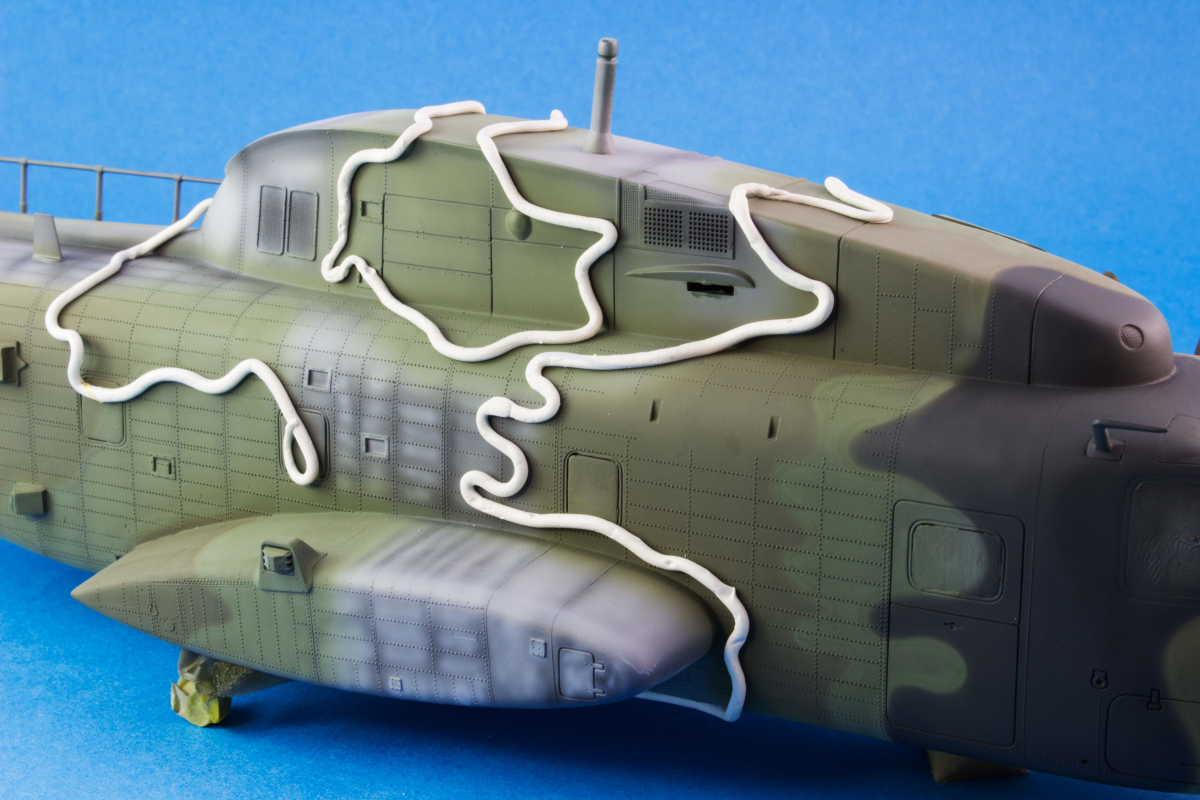
One of the tryckiest actions on this build consisted in blending the clear part to the fuselage. For this porpuse, Mr. Dissolved Putty was applied on the resulting seam between the clear front part and the fuselage and blended in with both sanding sticks and wet and dry sanding paper.
The joining of the fuselage halves created a step which was dealt with Tamiya Basic putty, and several sanding sessions.
A grey mix of Vallejo polyurethane black and white primers was applied on the fuselage and the detail accented with a pre-shade of Black and White paint. Both greens on this build were from the Lifecolor rangeand consisted of UA 001 and UA 002 respectively which were aplied with the help of white-tack rolls.

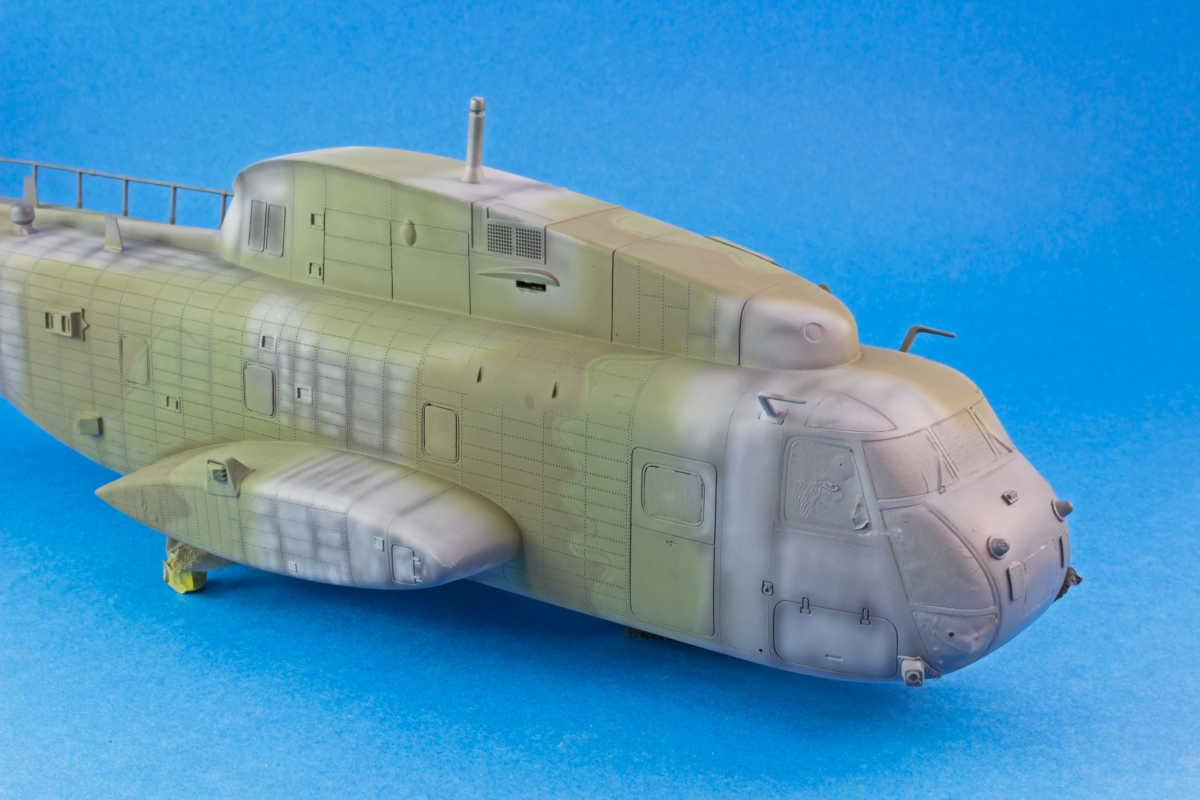
The base paintjob done. RAL 6003 was depicted by Vallejo Model Air 71056 Black Grey.

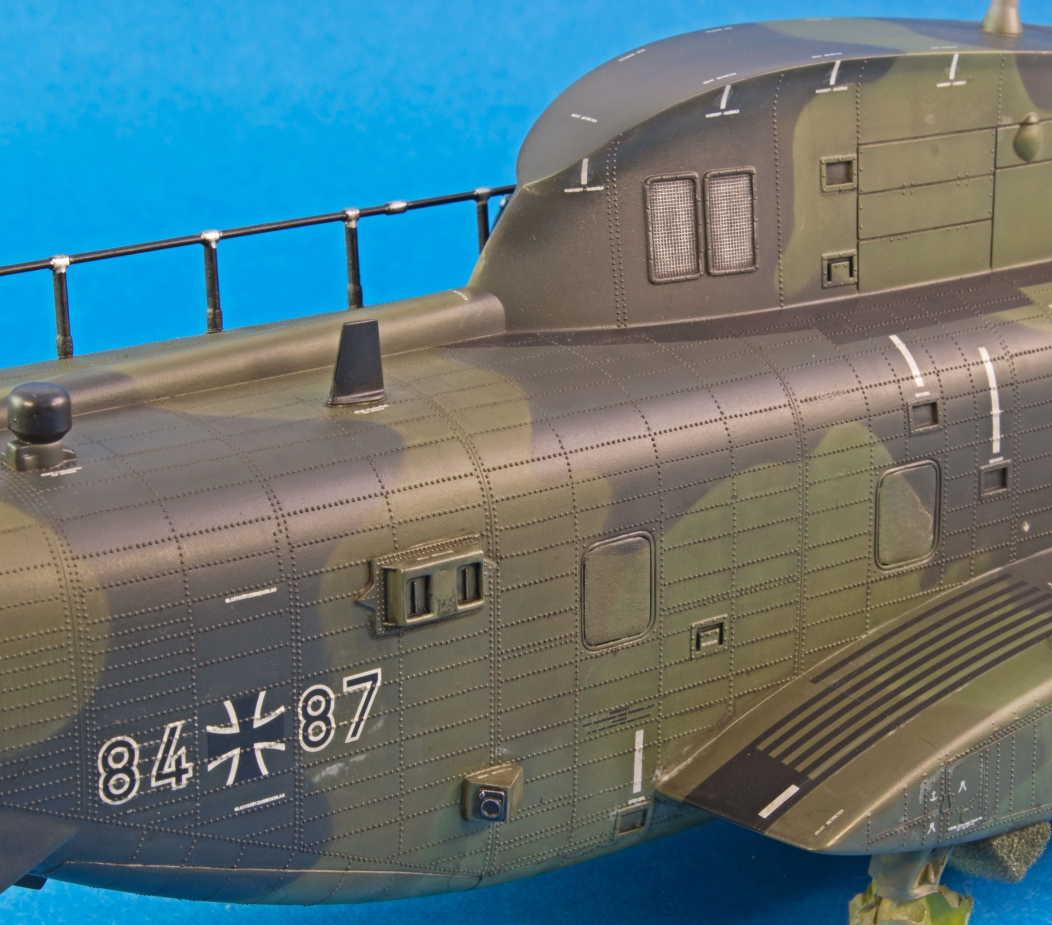
The surface detail was dry brushed with Humbrol 63 Sand and 83 Ochre in order to accentuate the detail. When dry, Com.Art 21001 was employed to recreate light dust streaks.


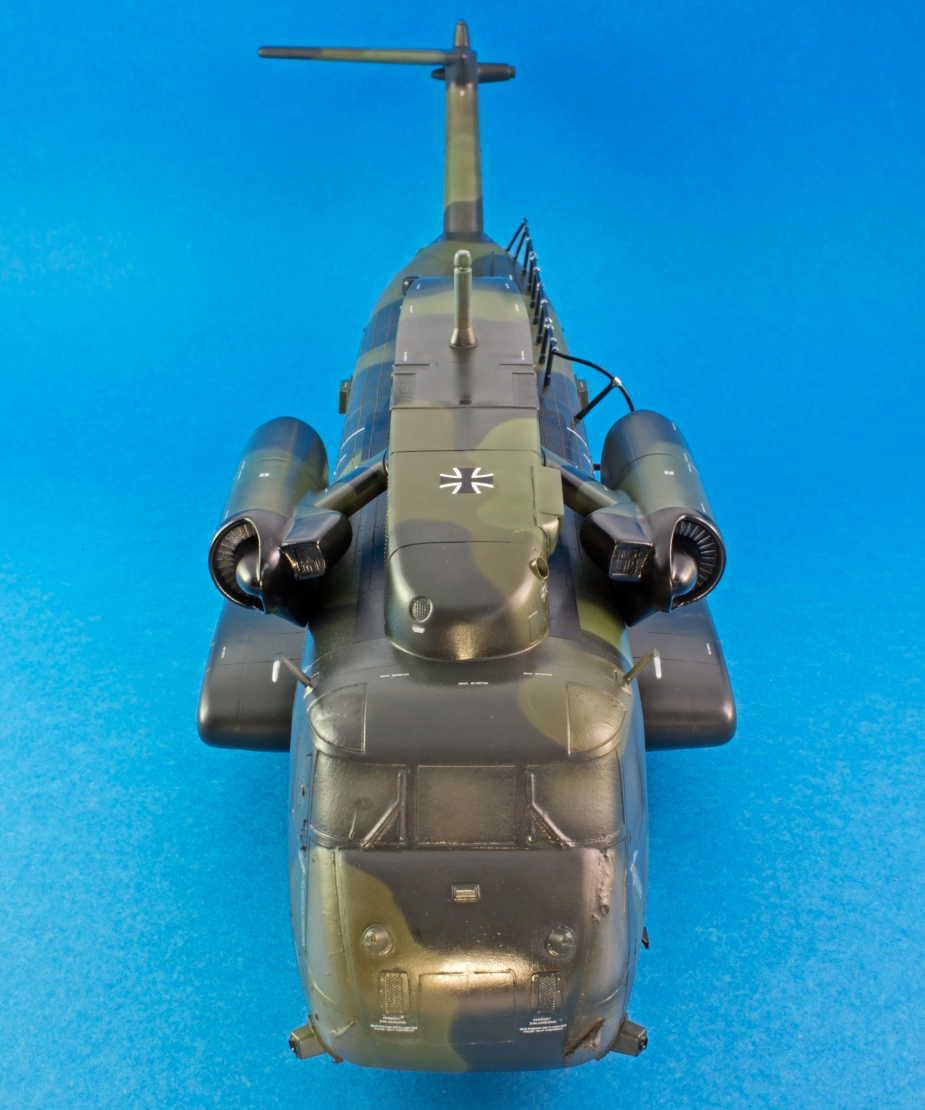
Despite the long hours spent on this kit, i am very satisfied with the end result. And... it`s a big machine!


Welcome to iModeler. Nicely done, Jose, build and presentation.
That's exactly what I was gonna say...word for word.
Thanks for the welcome and for the comments on this build!
José, you chose one of your best and unarguably hardest models to present your first Highlight here at iModeler! Anyone who knows this fourty year old moulds from Revell can only admire your model, and wonder how some good modelling techniques can do magic, because you could trick anyone into thinking this is an all new kit in the market.
That Bundeswaffe livery is one of the prettiest I’ve seen. Congratulations and keep them coming my friend. Boa escolha!
Thanks for the comment! I think i have a soft spot for kits like this. I also admire this scheme. A friend sent me several photos of these helis on a "Hot Blade" exercise venued in Portugal, and they`re stunning and inspirational!
Muito obrigado por me apresentares a este sítio! Abraço e até breve!
Very nice, you’re hard work has paid of big time.
Thnaks for the comment! I really think taht with some TLC, even less appreciated kits can be under the spotlight!
Fantastic job, the detailing work in the cockpit is inspirational
Thanks Ian! I really dig to dress up these old moulds, and then paint them a tad over the board. This allows some definition behind the clear parts!
3 attached images. Click to enlarge.
hello Jose,
What you can do with a Revell Scale Model is shown by you.
My compliments. Regards, Dirk / The Netherlands.
Thanks for the comment! Older Revell kits seem to be sound bases for extended work!
that is just amazing and welcome aboard
Thanks for the warm welcome and for the feedback on the model!
Cheers!
José Pedro
Outstanding, Jose'! Great work from what sound like a great kit!
Thanks for the reply! The kit, although with some fit challenges, turns out to be a great piece. And I really like the rivet work present on the surface.
Cheers!
José Pedro
Excellent work! The detail and paintwork are fantastic. Well done.
Thanks for the feedback!
Cheers!
José Pedro Pires