Automatic SANDING TOOL. Cheap & Easy.
Hi all !
maybe it is difficult to guess what´s going on in this article... but just a tool that can help us in our daily routine when we are making our kits.
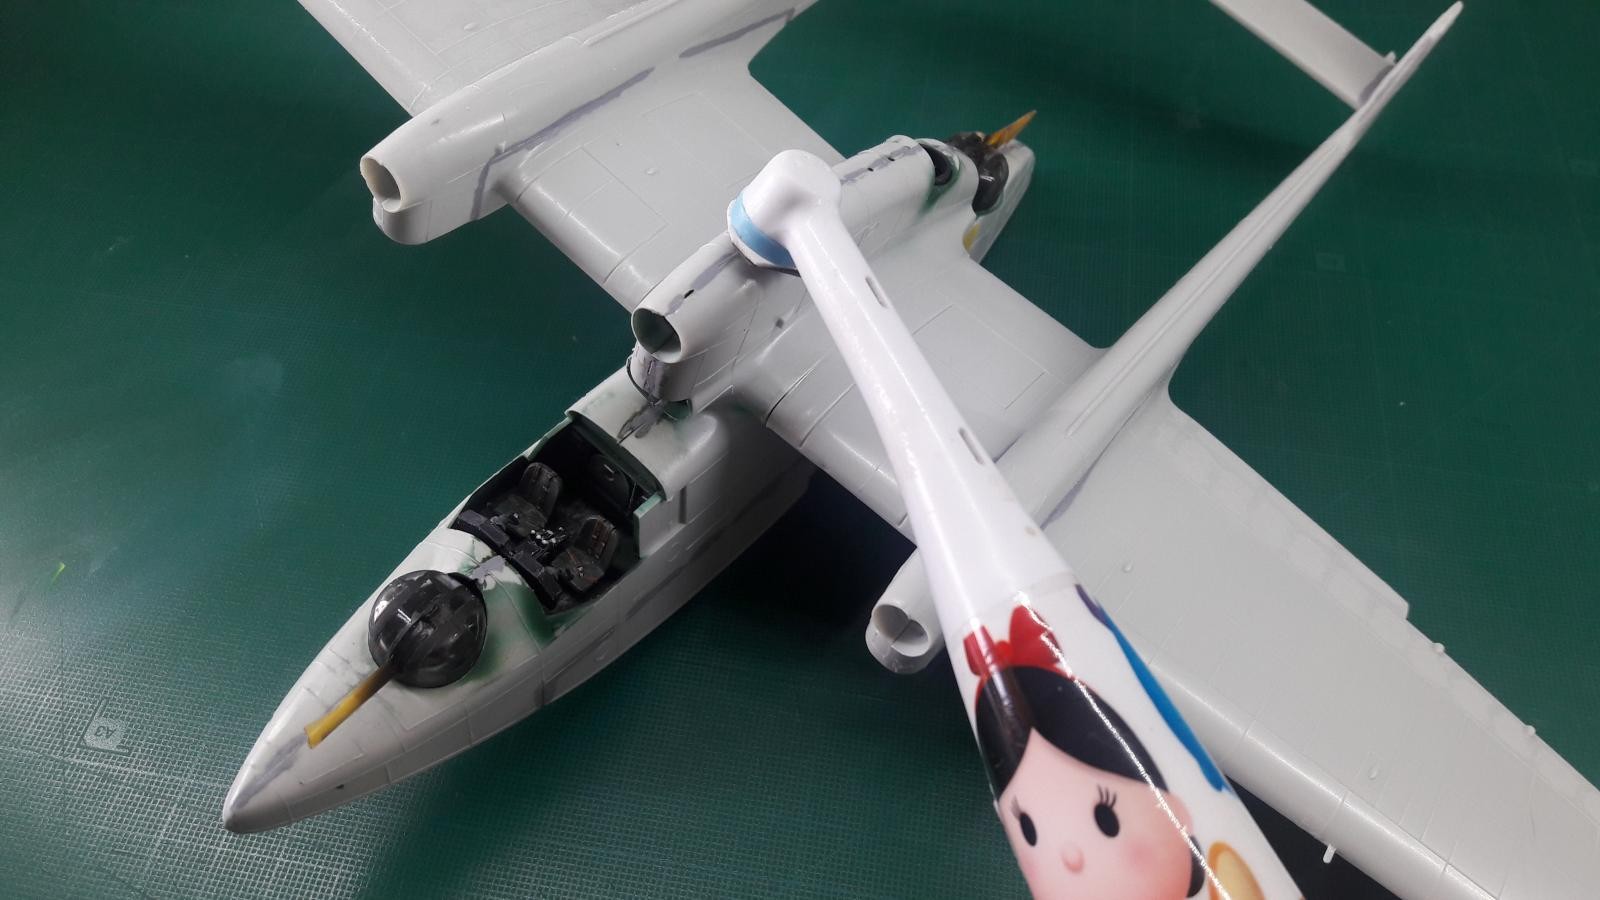
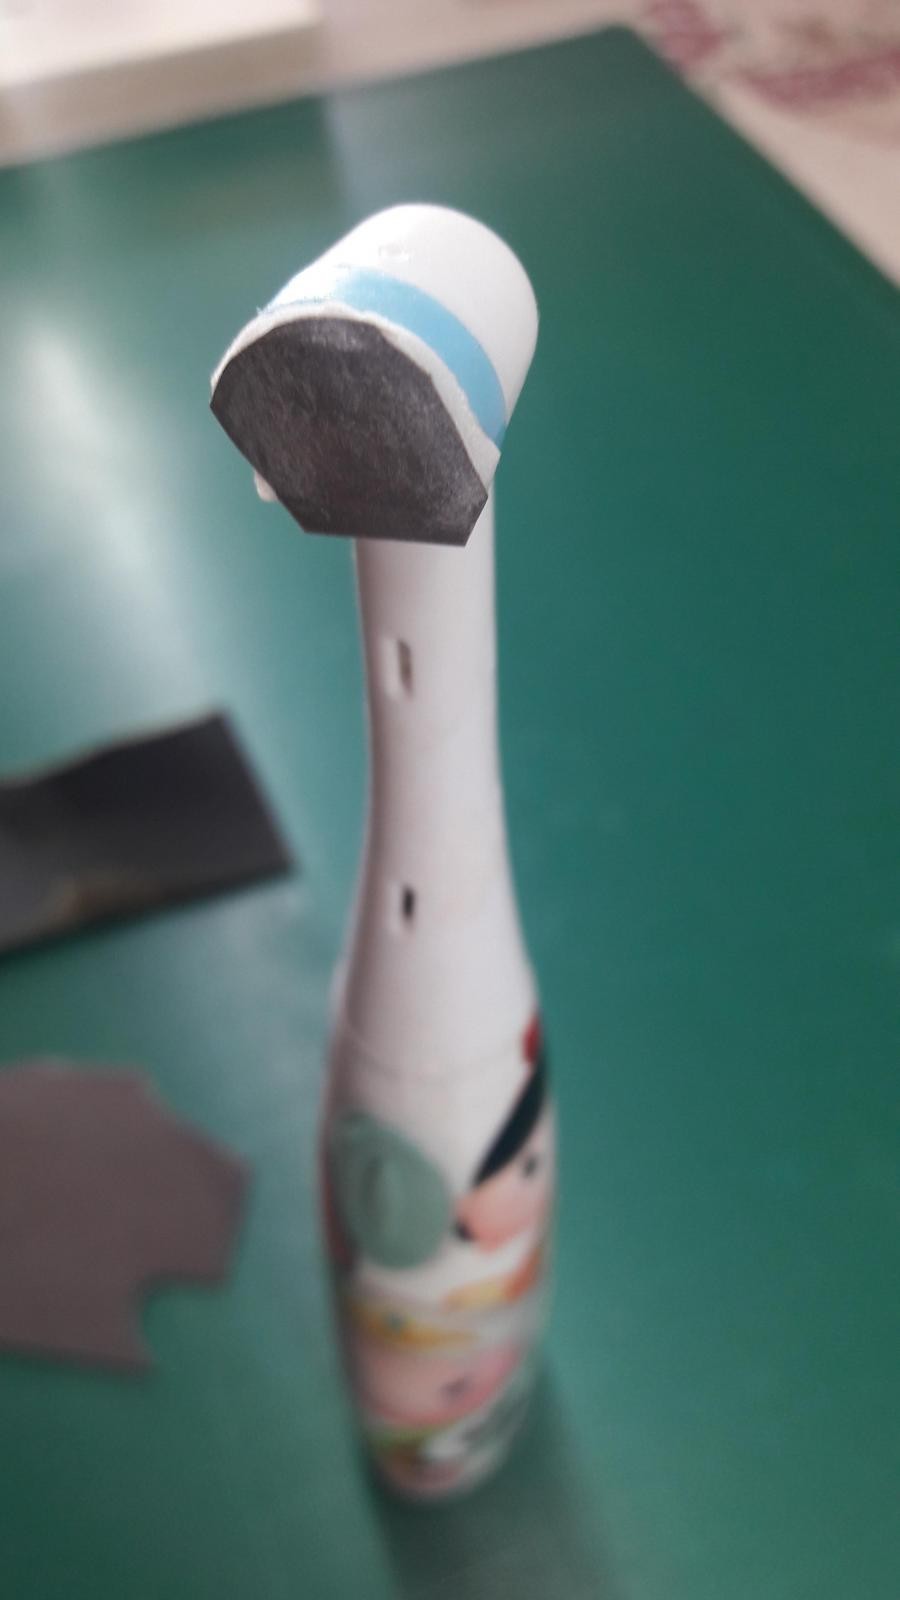
It is just a sanding tool that I made by myself and is lightweight and can give you access to difficult parts of the kit.
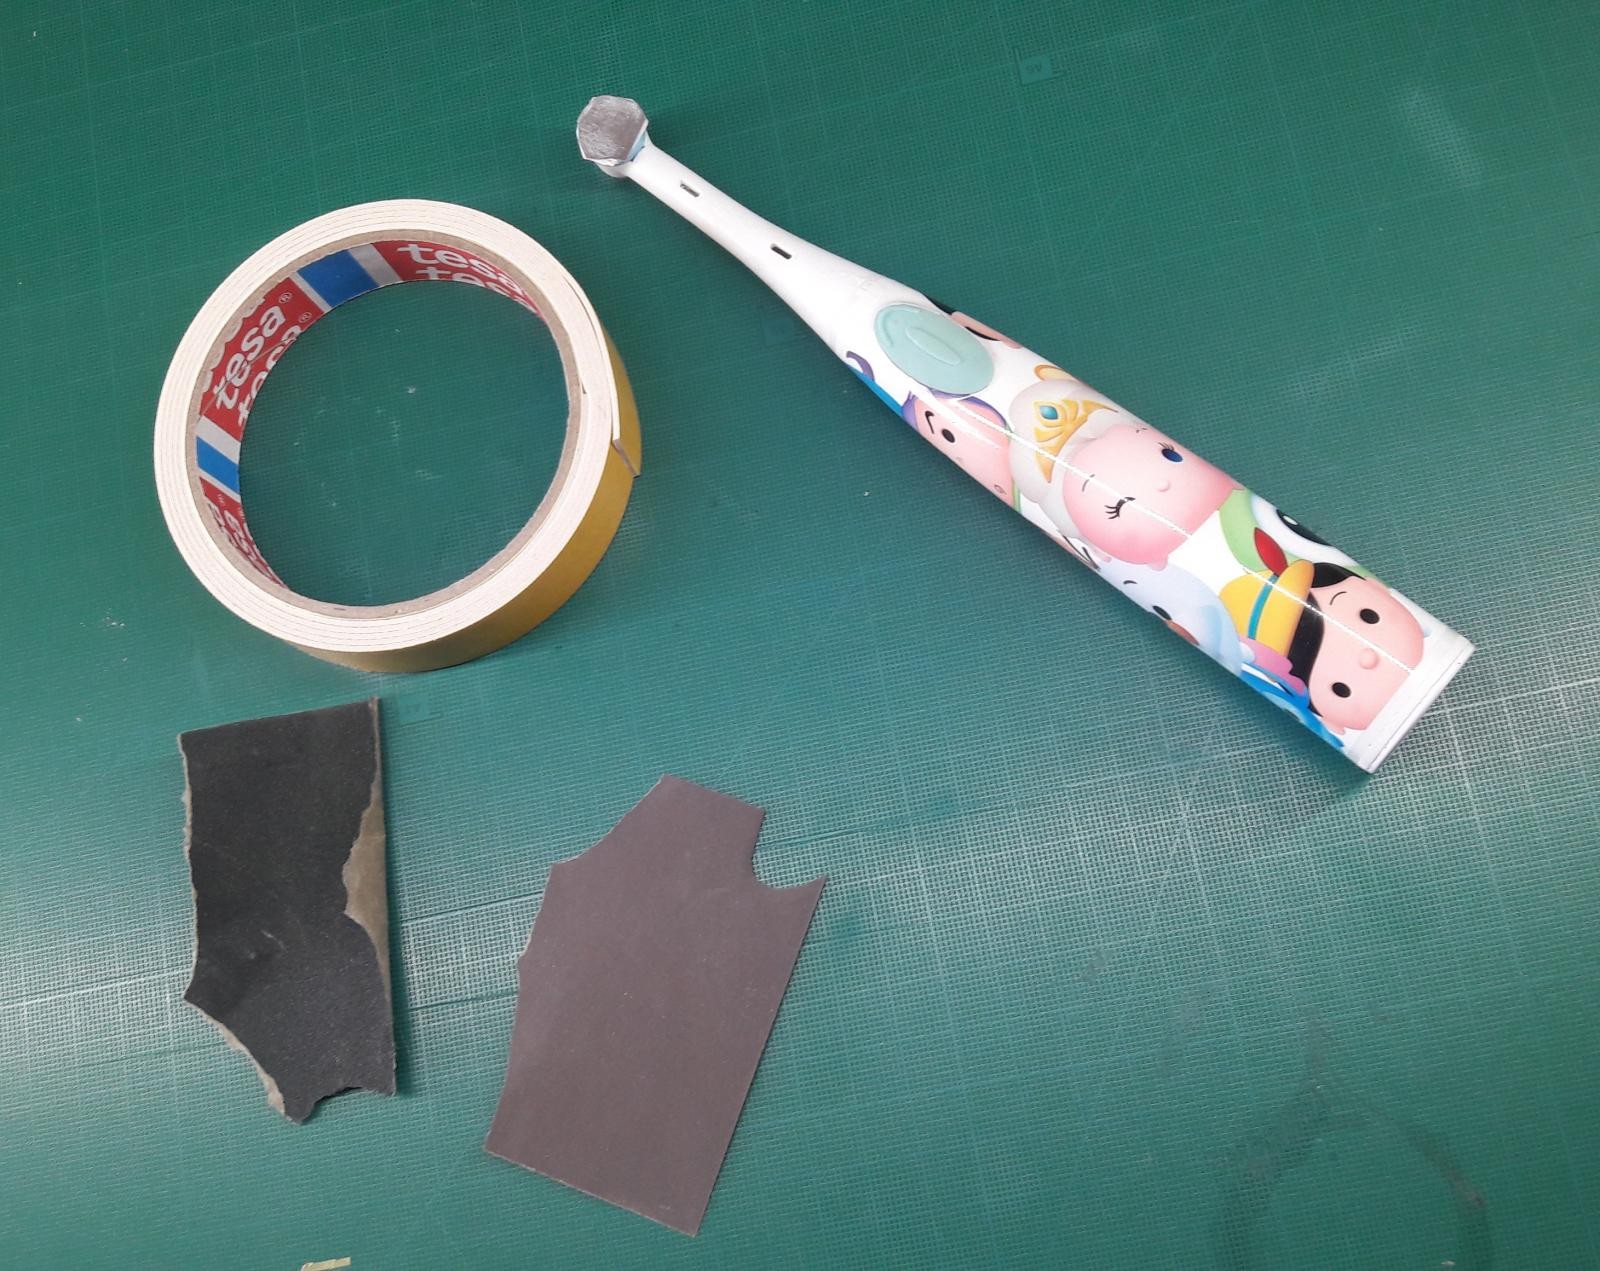
All you need is:
-electric toothbrush for kids. (from the supermarket, it was 3 euros?)
-double-sided tape.
-sandpaper.
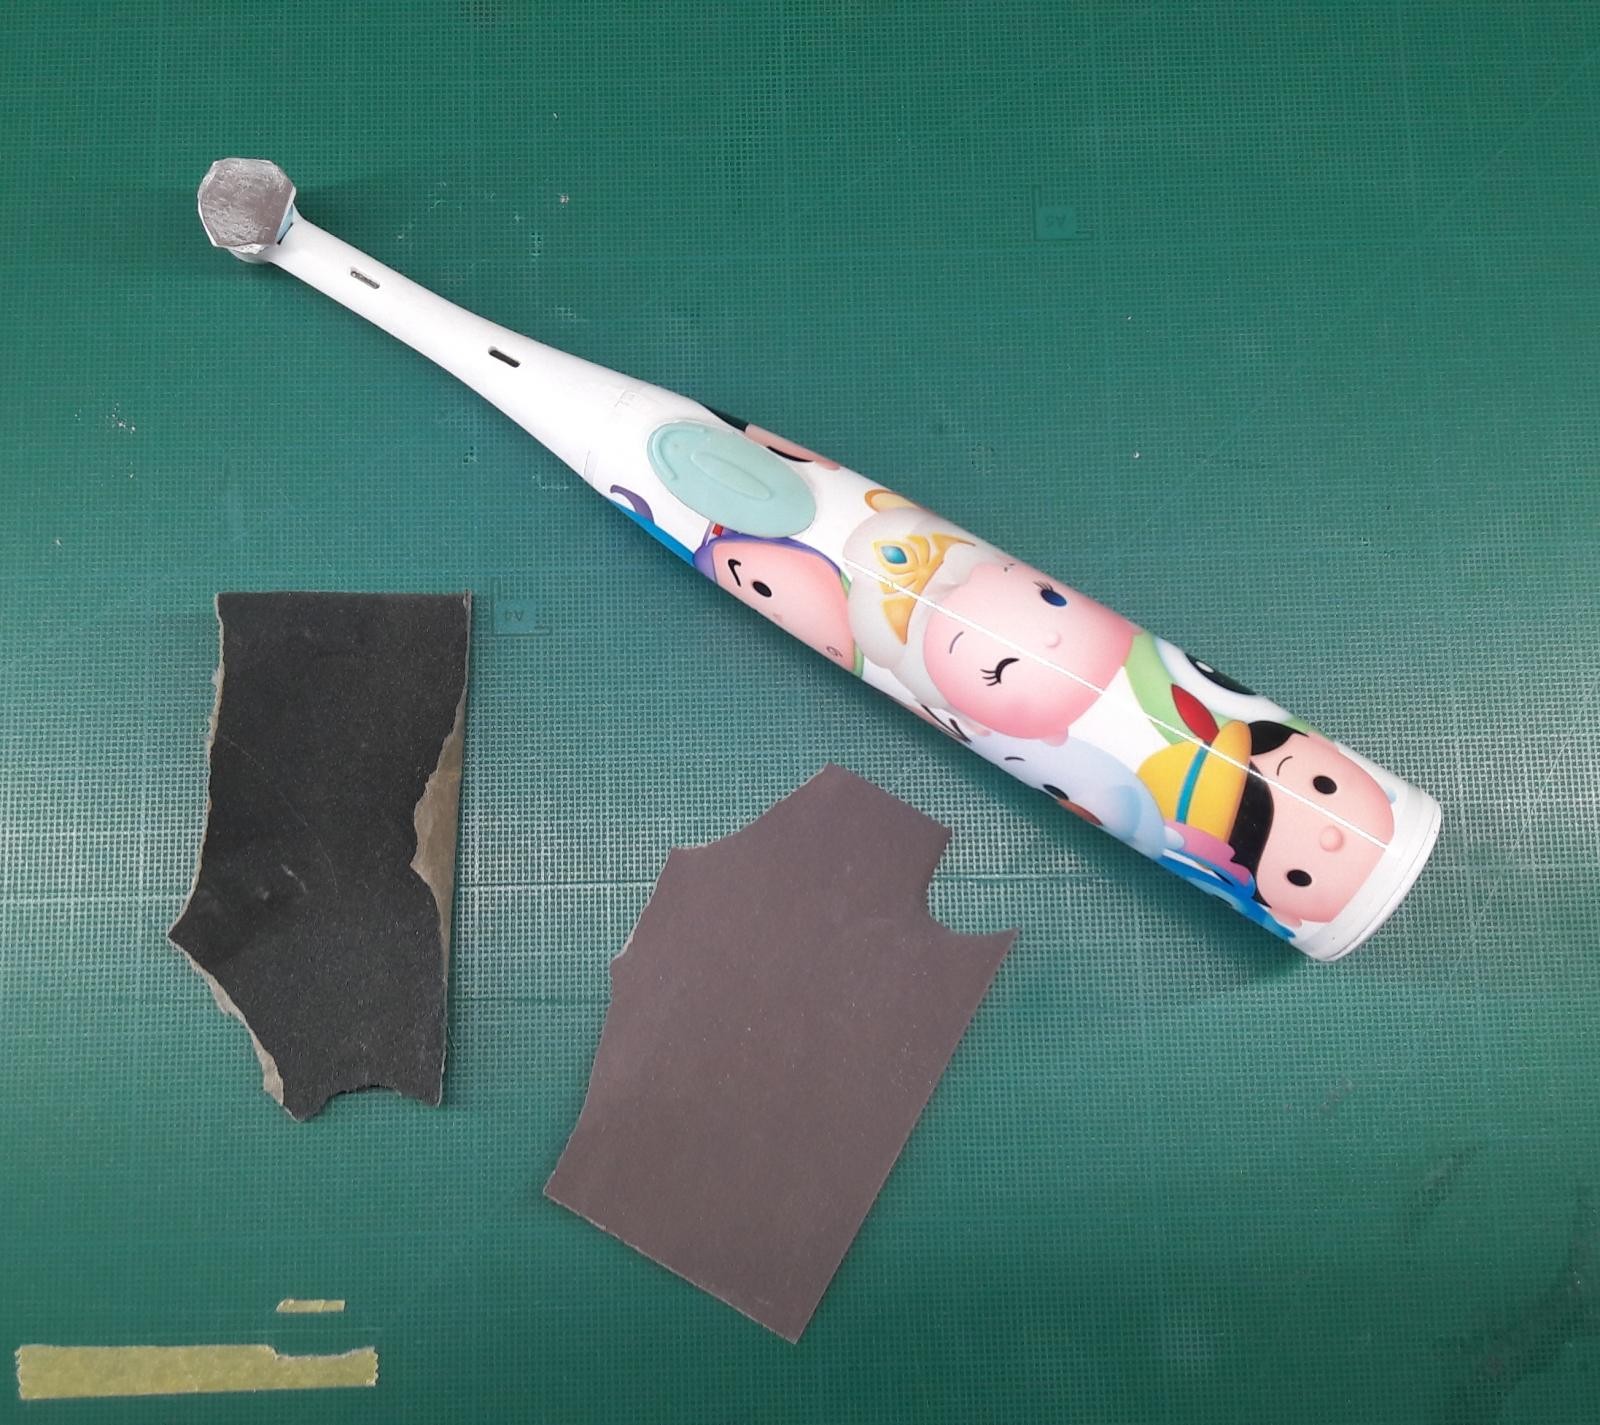
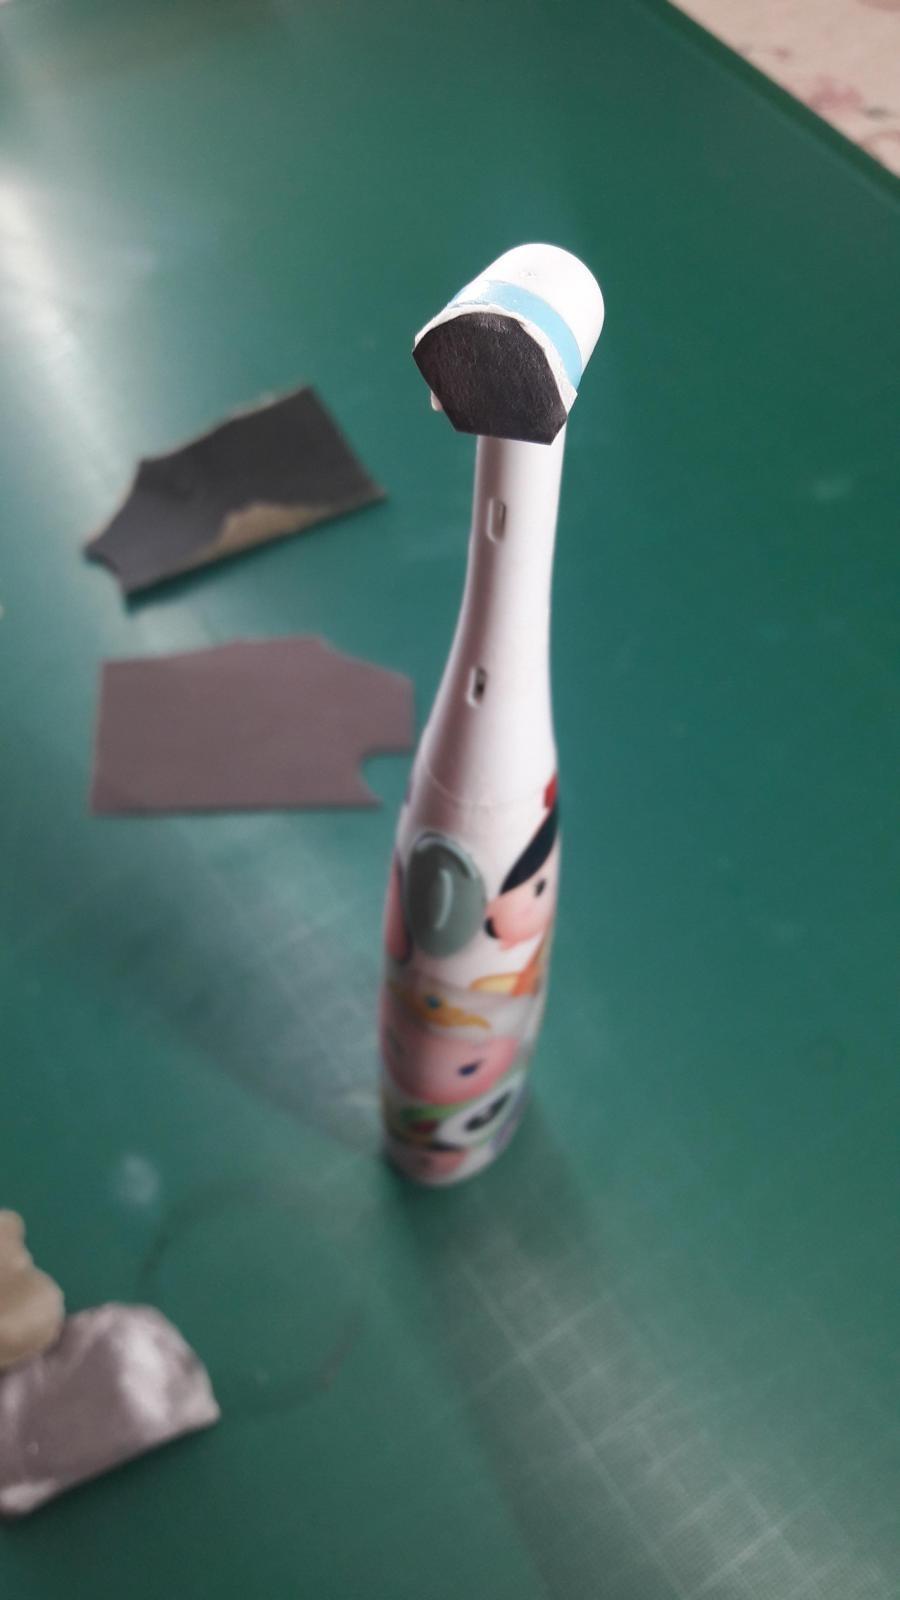
All you need to do is to remove the bristles from the toothbrush, then place the double-sided tape on it, in this case with the rounded head shape and finally a piece of sandpaper of the same shape on it. And you got it!
I use it a lot because it is lightweight and you can change the sandpaper whenever you want. No wires around and for basic sanding helps because it adapts to the surface.
Well... maybe a little bit funny this article but I wanted to share it as it helps me a lot!
I hope you enjoyed it. 😉


Ingenious Alogano!
Thanks David!
Cool tool! - now would you be interested in posting your progress on the bw in the groups section? - looks like it could be a really interesting to follow that build. No pressure, just a thinking it would be of interest 🙂
Hi Erik!
of course, I would like to post the progress on the BV but how can I join it?
Brillant.
Will try that right away ...
😉
Excellent tip. Thanks for sharing it, Alogano.
‘Liked’
Thanks David, small things for my new friends!
Never thought of that...good information - thanks. 🙂
😉
A great idea!
🙂
The idea looks interesting, but is it efficient? And I mean does the sanding paper sticks good and won’t fly off in the first minute and do you get a controlled sanding? Thanks for sharing your ingenious idea
Hi Pedro.
From my experience and each moment I used it the sandpaper didn't move at all. I guess it will also depend on the quality of the double sided tape.
I will dry that- thank you for sharing that ingenious idea!
Thanks Roland! send pictures once you make yours! and feedback!
Best use for a cheap motorized toothbrush I've ever seen!
🙂
Add my "kudos" regarding an interesting and useful tool ... that won't likely "break the bank." I think it's a GREAT idea and one that will be found useful and is just the kind of "tip" that belongs here!
Thanks Jeff! you will have to make your own one!
Like the others said, great idea and thanks for sharing. I too, would like to see the progress on that model.
Thanks Gary. Glad to know you like the tool 😉
The model will go step by step as it is a little difficult to make but a great challenge for me, once I finish "one small secret" that I will show later on, I will upload more pictures.
Thanks again!
QED! Thanks much
Amazing! This is something I will definitely use. Thank you very much. We need more such DIY gadgets!
😉
It's a nice idea, ALOGANO!
It reminds me of "Mr. Polisher", a product by GSI Creos, Japan.
http://www.mr-hobby.com/itemDetail.php?iId=293
However, the product costs 1,944yen including tax (approx.17euro). Your tool seems much less expensive and equally functional. Thank you for sharing the idea.
Thanks Sun. As Morne said DIY gadgets!
I bought a similar device from Mr Hobby. The problem with that one is that the stem gets damaged very easily. This idea looks a lot better and sturdier. Thanks for posting it.
Hello ladies and gentlemen
My two cents:
Buy a number of heads and set each one with a different grade (caution: same grade number does not qualify same "roughness" on different brands, the system does not seem to be "unified")
Instead of tearing the sandpaper, as every changing head has the same diameter, find the right punch to cut it so it will adhere more tightly (no flappy exceding sandpaper)
_ You may even consider gluing a piece of foam under the sandpaper so it can conform to whatever profile the part you are sanding has.
And your idea to look after everyday items instead of specialised tools was good (it does not work at every attempt, but...) By the way, if looking at punches, go search ebay for jewelers tools, you might be surprised
A great Idea Alogano. You've stirred up my grey matter & reading the other replies made me think that using a piece of sanding sponge on top of the double sided tape would be useful if you were concerned about flexibility. I'm off to the shops to buy an electric toothbrush. Thanks!
Thanks Tony !
glad you liked it. Good idea about the sanding sponge ! I will try !
I see I'm not the only one who takes their toothbrush to the modelling desk! Good stuff 😀
Tip: buy one with a blinking LED light. Once the battery is depleted you can take it apart, use both the blinking LED and the tiny electro motor in another, motorised and lit modelling project! 😀