B-25 “Gunship” double build in the making
I would like to show you pictures of two B-25G in 1:48 which are currently under construction.
Both are based on the excellent Accurate Miniatures shapes and are equipped with different after market parts.
At the moment I have closed all halves of the fuselage and started to putty - pictures will follow soon.
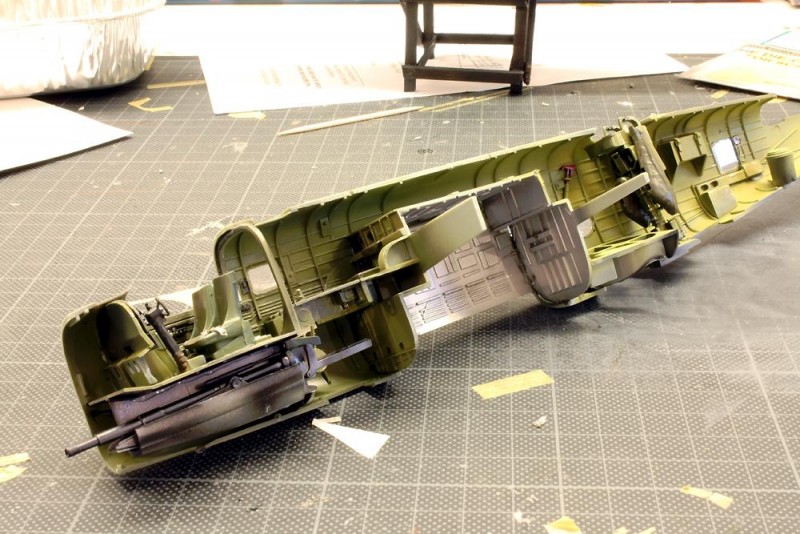
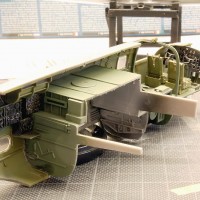
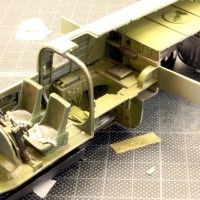
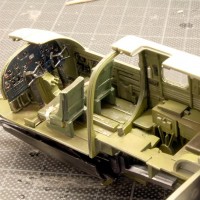
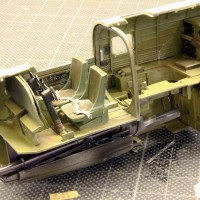
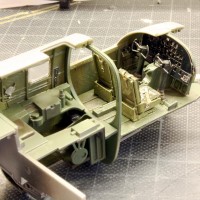

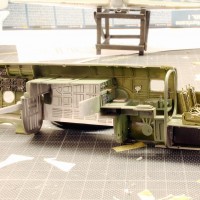
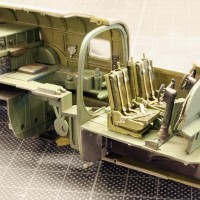
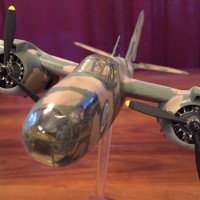
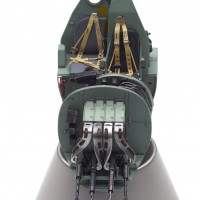
Fuselage halves have been closed and sanded, wings will follow soon. That is a pleasure of a build!
5 attached images. Click to enlarge.
Dunno if it's too late to deal with this or not, but most operational B-25Gs had that single-gun tail position (which the italerei kit provides). All the B-25Gs in the 310th Bomb Group I could find photos of when writing Bridgebusters had the position, as do the B-25Gs in photos of the 38th BG in SWPA.
Other than that, things are looking really nice here. My friend who was flight engineer/turret gunner on the B-25G preferred it to the B-25H because his position wasn't right aft of the gun, which had as much fire go out the breech as out the barrel when fired. Another navigator who was trained to fire the cannon told me they called themselves "cannigators."
Also, it felt like the airplane came to a complete stop mid-air when that thing was fired. Even Pappy Gunn, the guy who invented the gunship, had trouble hitting anything with it, though firing the gun scared the daylights out of everyone - the guys being fired on as well as the guys doing the shooting.
Nice work on this.
coming along nicely
Nice! that's some interior work.
Great work. I have an AM B-25 in my stash, and I'm working up the courage to build it. There's just so much going on in the interior!
Mike
One of my favorites birds of WW II. These are looking great! Can’t wait to see more pics.
Great work! I wish this kit would have been produced as an "H" (4 X .50 Cal in the nose) model!
There's always the Monogram kit, which you can find at OK prices despite the fact it was only ever released once, way back in 1975.
Actually it was 1977. And a very good kit.
Thank you all for these motivating comments- and thanks for the background stories, Tom! How vivid and immediate it becomes to hear the voices of those men who have flown with these incredible constructions at the risk of their own lives!
The surfaces are now ready for the careful and layered application of "OD" and the light grey of the underside. Under the pre-shading there is a layer of Alclad, which has been masked with masking liquid. This should give a nice chipped impression in places.
6 attached images. Click to enlarge.
Surfaces of both Mitchells have been painted by now- and the masking was rubbed off to display some chipping. To take appropriate photographs is not so easy because of the very glossiness after having applied a clear coat. Next step will be getting those challenging decals on the bows of these gunships!
7 attached images. Click to enlarge.
"A smile for the camera"...
The Italeri decals work excellently - it's not easy to cover a round shape like the bow of a Mitchel, but the individual parts are perfectly tailored and the most beautiful thing is that they seem to suck themselves greedily to the surface 🙂
Well, I am very impressed with the quality - and probably a little relieved that this step has been mastered.
7 attached images. Click to enlarge.
Gentlemen, the first of these two B-25Gs has been finished! I hope you like the pictures; tomorrow I would like to get pictures of the second one in the gallery
12 attached images. Click to enlarge.
Gentlemen, start the engines!
Here are some final pics of the second B-25G; I hope you like them.
11 attached images. Click to enlarge.