1/48 Minicraft Grumman XF5F-1 Skyrocket (continued)
This is a continuation of an article I posted a few weeks ago at the start of this project. If you are interested in the previous part, you can find it at https://imodeler.com/2019/minicraft-xf5f-1-skyrocket. I probably should have done this in the WIP Group, but here is the completion of the project.
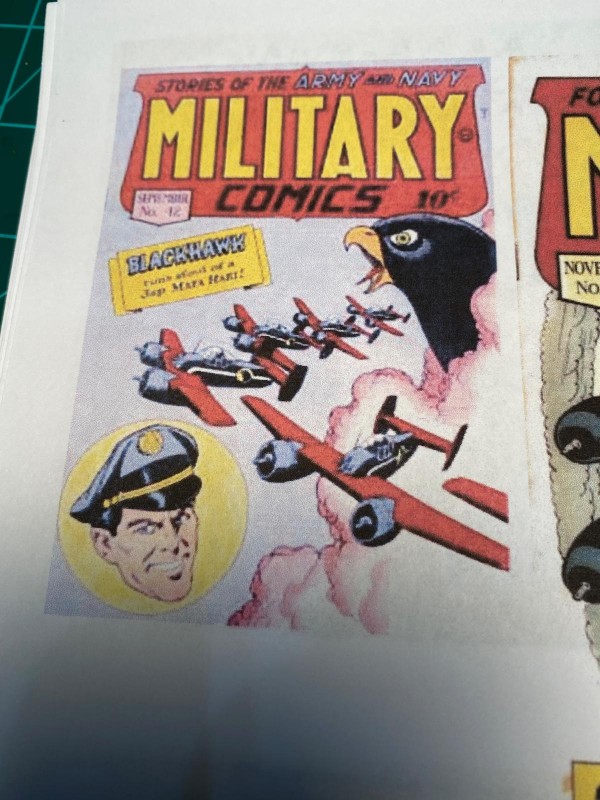
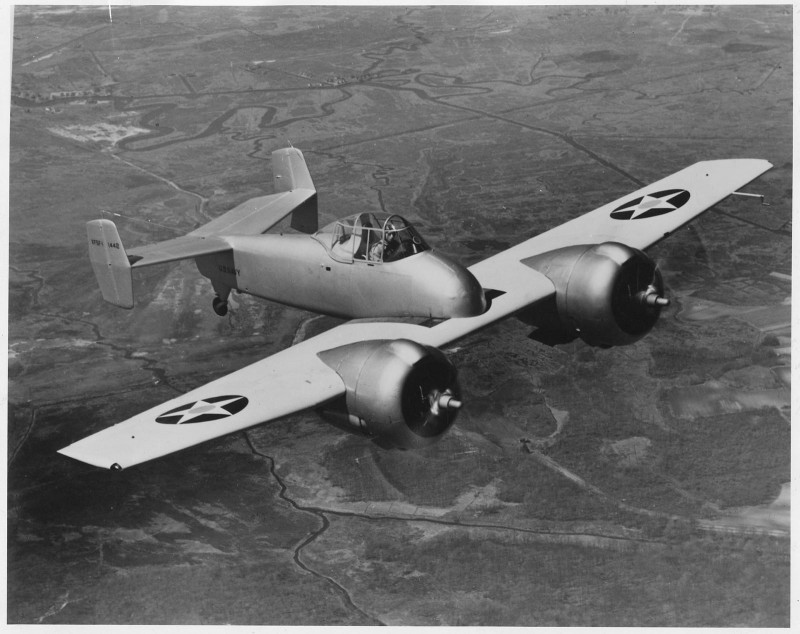
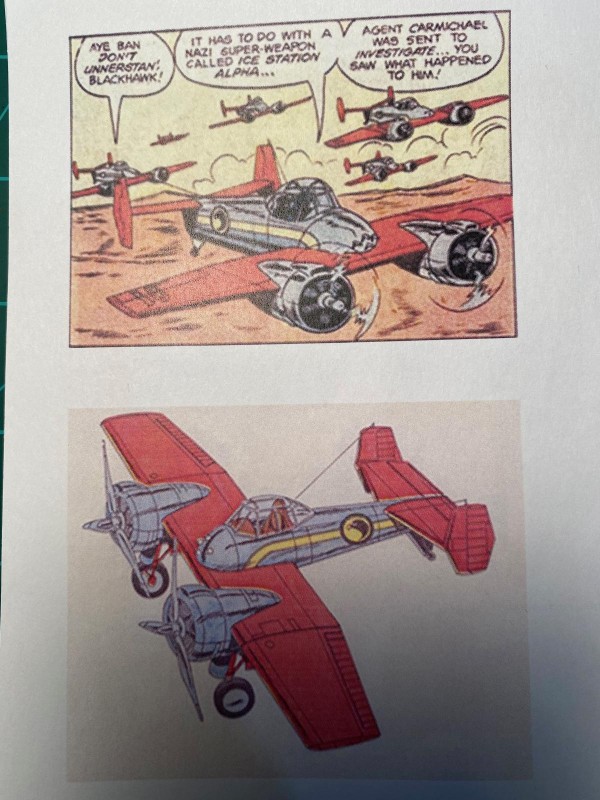
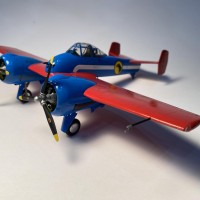
I got interested in the Blackhawk comics that were popular in the 1940s & 1950s. The thing that was interesting is that instead of a fictional plane, they actually flew the XF5F-1 Skyrocket, which was an early prototype fighter.
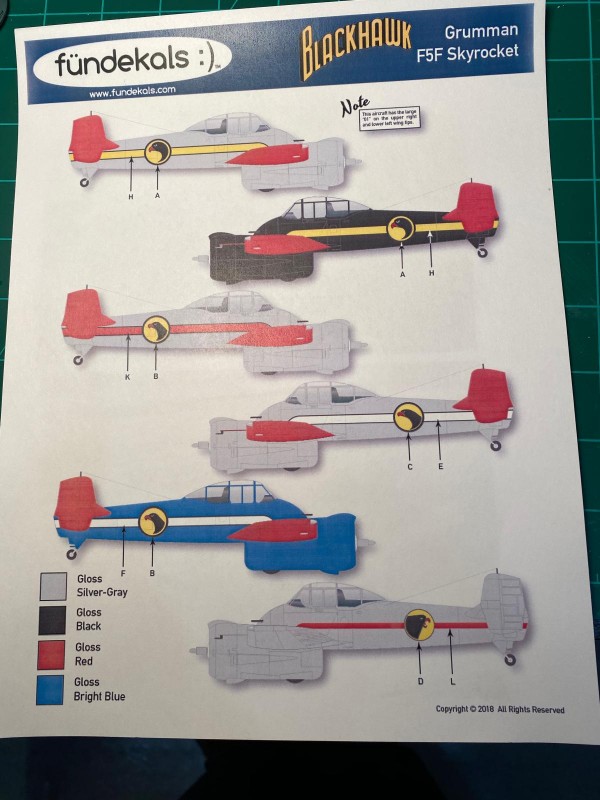
Over the years the Blackhawks had several really cool looking paint schemes. Two things sealed this project for me: I had an old Minicraft model of the Skyrocket and I discovered that Fundekals had a sheet of decals for this plane.
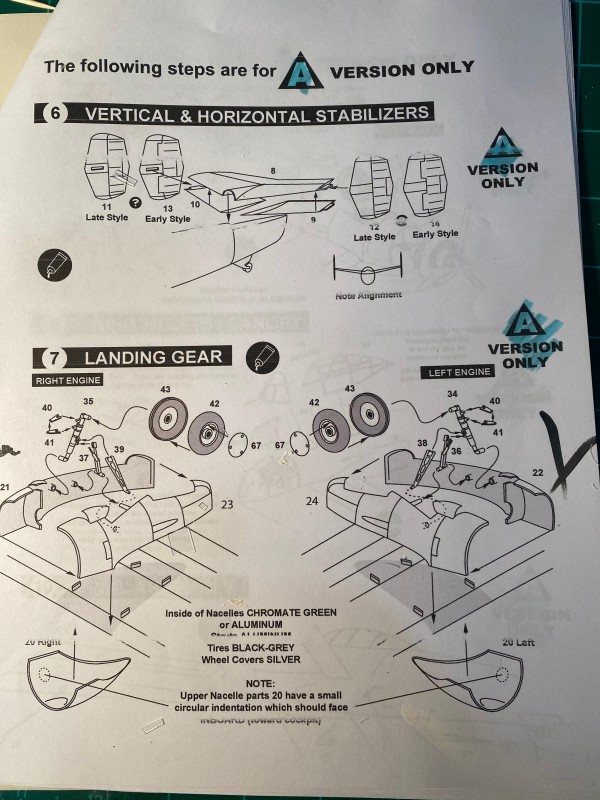
I had previously built the short-nose Skyrocket and it was a really nice kit. The kit that I had, however, was the long-nose XF5F-2 version. Upon opening this kit from the mid-90s, I discovered that the box contained all of the parts for both versions (except for the canopy, which was only for the long-nose version). Things got a little confusing when I realized each version had different engine pods, different gear doors, different vertical tails, and so on. The instructions were only for the long-nose version, and I was worried I would bungle the parts for the different versions. I found some instructions on the Scalemates website that covered both versions which really simplified things.
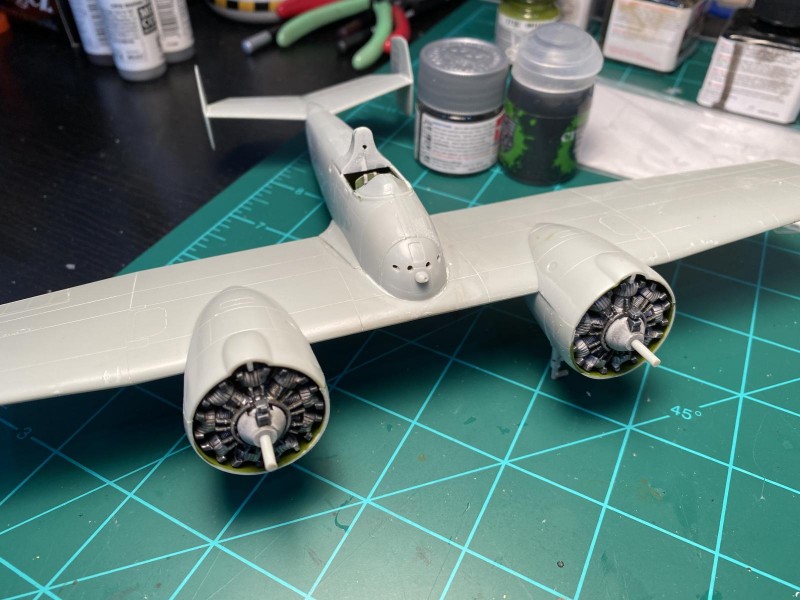
The build was fairly easy except for the fact that the parts for the engine nacelles had warped over the years in my garage and required some creative massaging to get them to fit correctly. I wanted to try some new things on this kit, and contrary to my usual results, they all seemed to work great.
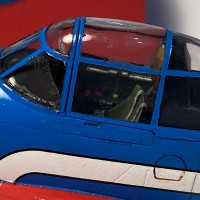
The Skyrocket never advanced beyond the prototype stage, so it was never equipped with a gunsight. I figured the Blackhawks would need one, so I scratchbuilt a gunsight & installed it in the cockpit.
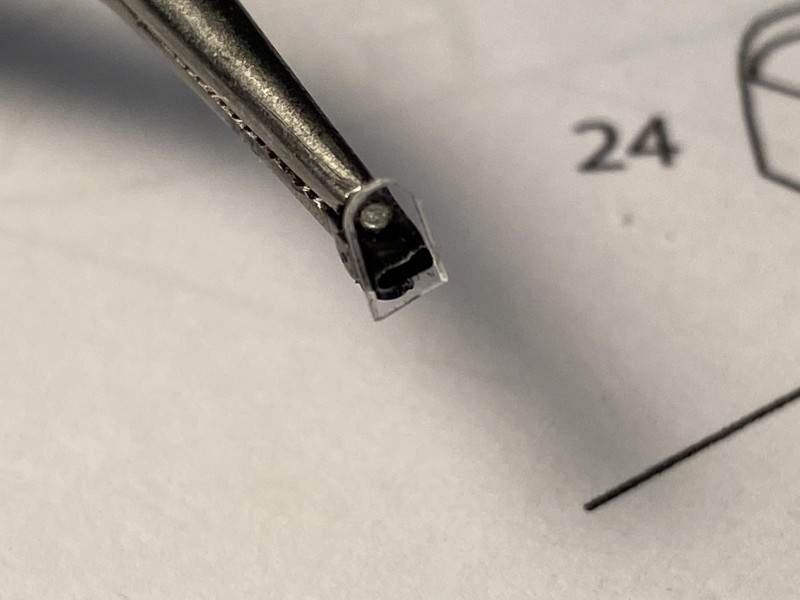
I used some Eduard photoetch for the cockpit that I fortuitously purchased when I got the kit 20+ years ago, so that all went into the cockpit. I had never tried a photoetch seat before, but I folded the one for the Skyrocket and it came out fine.
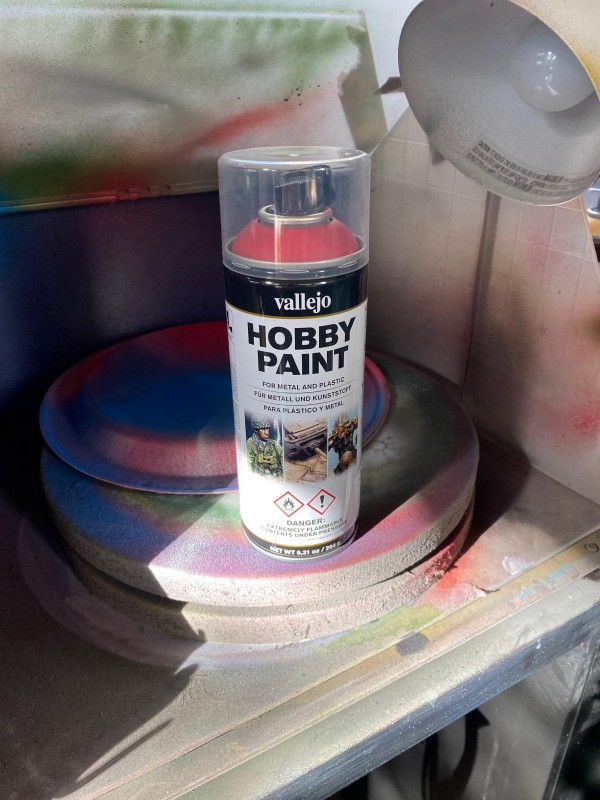
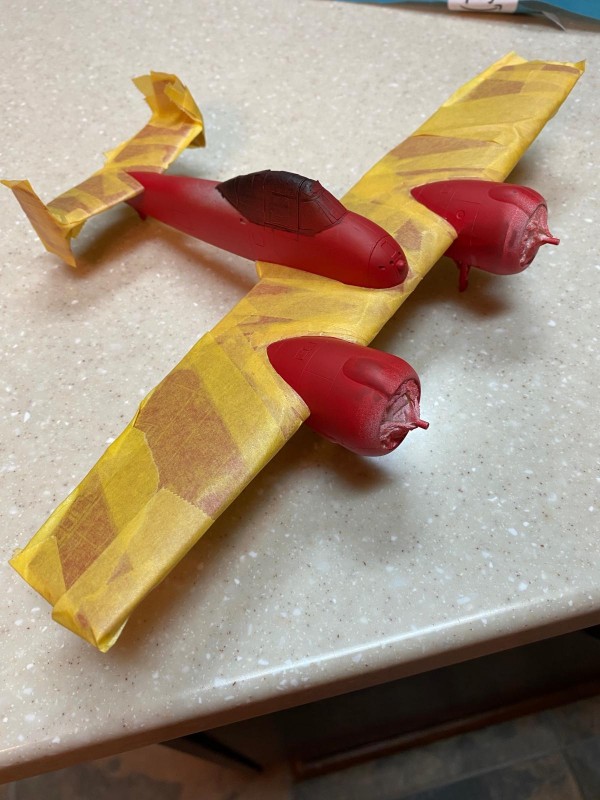
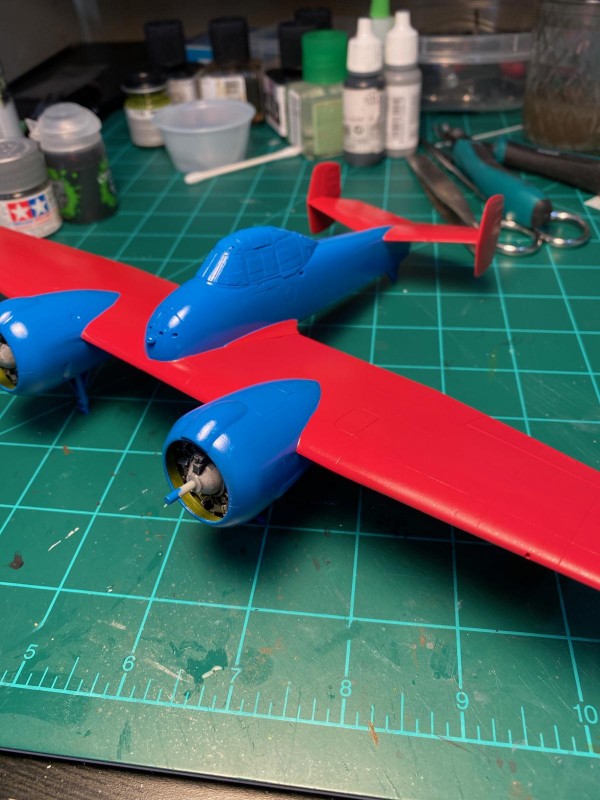
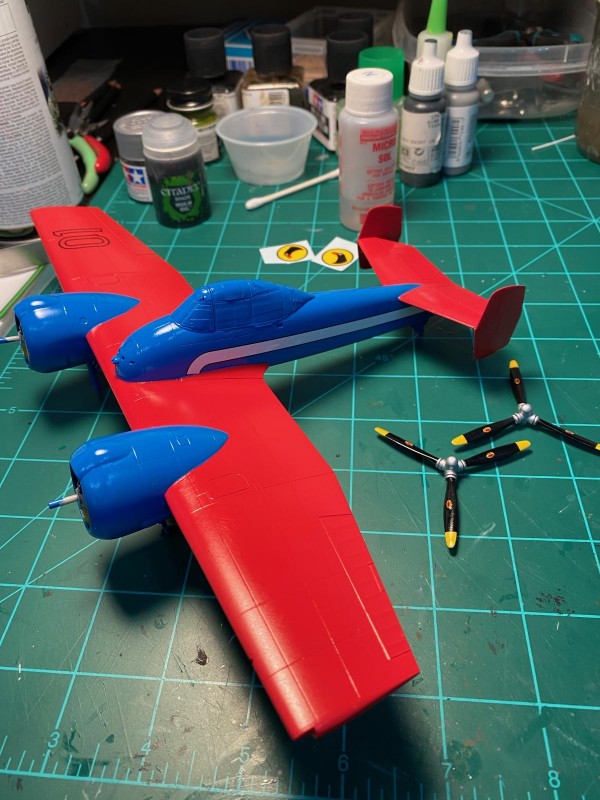
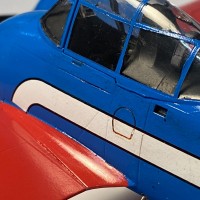
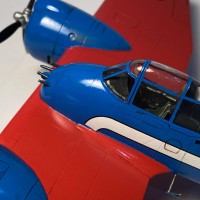
The first step was to determine which paint scheme I wanted. Over the years, the Blackhawks had several different paint schemes on their aircraft. The Fundekals set included the decals to build any of the different paint schemes you might wish. I went for the scheme with red wings and tail, with a light blue fuselage and engine pods. I did this because I wanted to try Vallejo paint in the spray can, and they had the right colors for this scheme.
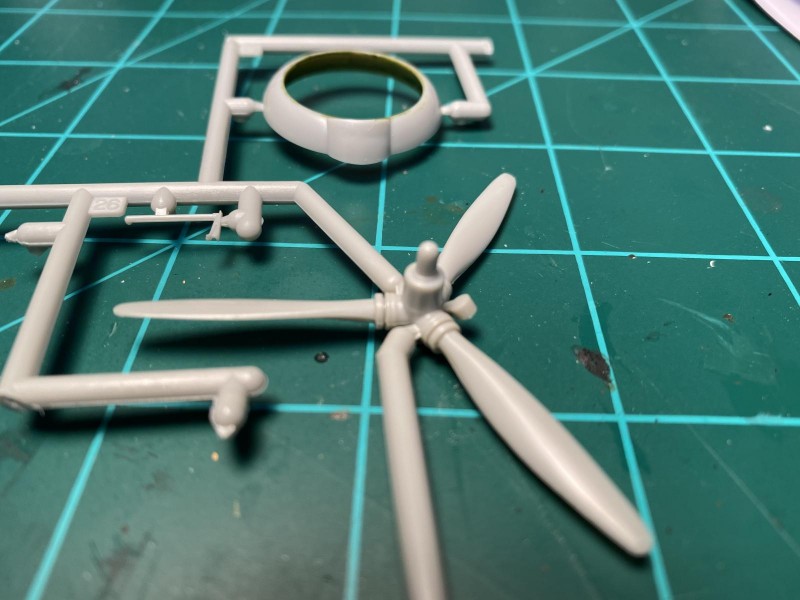
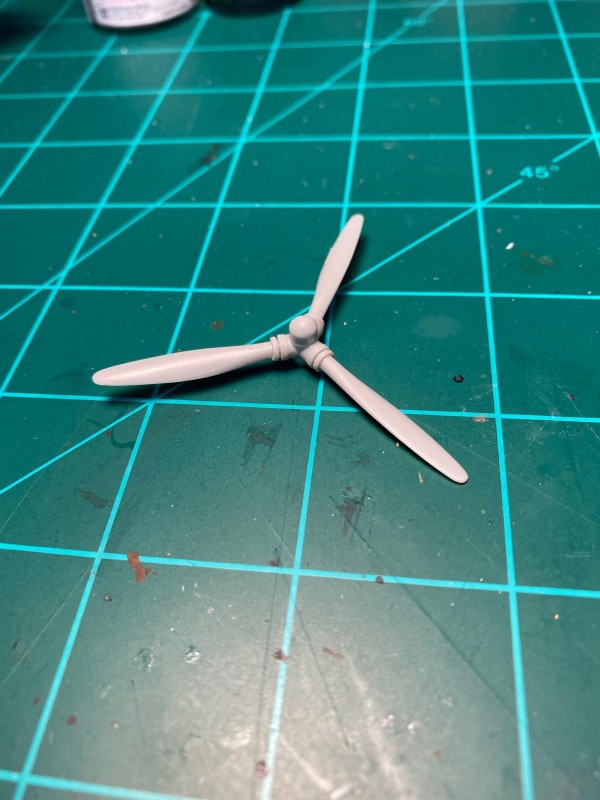
The hub on the propellers in the kit were in a funky shape that was used in the 1930s, but the hub in the comics looked more like the prop hubs seen in WW2. I did some cutting and filing and sanding to get something more acceptable to the Blackhawks.
When it came to paint, I used Vallejo's paint in the spray can instead of my airbrush. After I sprayed the red on the wings and tail, I was curious to see if the blue would adequately cover when I sprayed it over the red. After both colors were sprayed, I discovered that the paints went on thin, didn't hide details, covered well, and dried very smooth. I prepared for decals by spraying a coat of Tamiya Clear Gloss from a can.
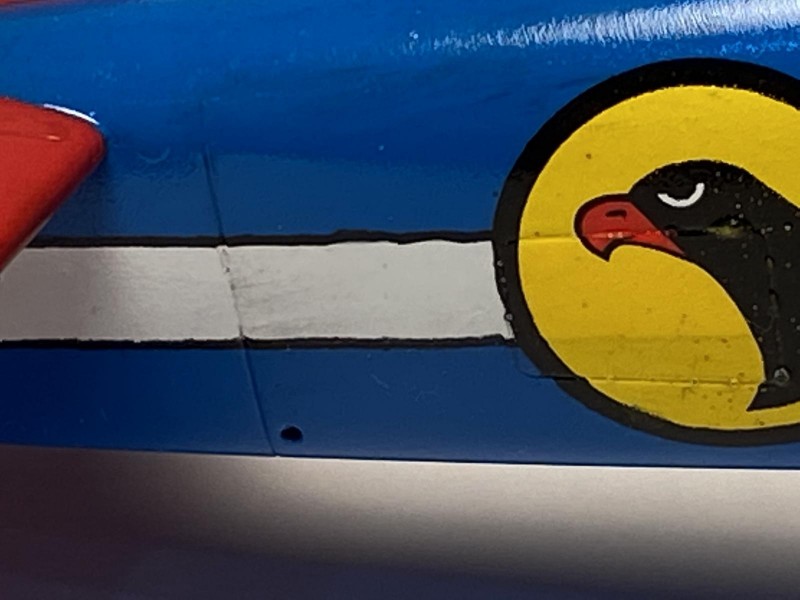
I had never used Fundekals previously, but they are awesome. Even the long stripes on the side went on easily, smoothly, and settled nicely with a little Microsol/Microset.
After the decals had dried, I sprayed on some more Tamiya clear to seal them in. I had a little trouble here. I have previously had some problems with Tamiya clear gloss dissolving my decals. I had overcome this problem by spraying a couple of very thins coats first, then a heavier final coat. This last coat of the clear dissolved a couple of the decals slightly in a couple of places. Let me know if you have had similar problems, or maybe you can tell me how I am ham-fisting the overspray.
After everything dried, it was time to finish up. I figured the Blackhawk mechanics would keep the planes fairly clean, so I did very little weathering. I highlighted a few panel lines with a dark rust wash (black looked too dark in the panel lines), and then used a black wash in a few other places. I added a little black soot behind the exhausts using some black pastel chalk. I added all of the little bits and I was done.
The surprising thing about this build was that I tried several new things and they all worked. Having everything work on a build really breaks the tradition of what normally occurs when I build. Time to go figure out what is next in the queue. Cheers.
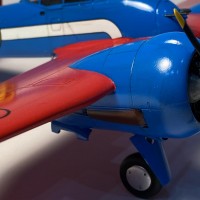
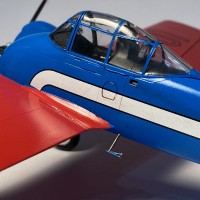
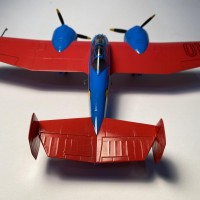
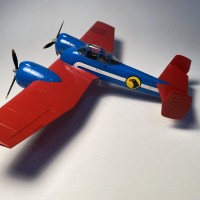
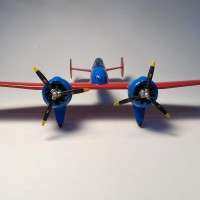
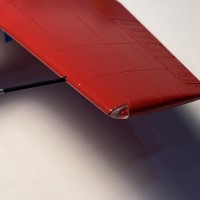
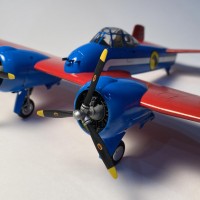
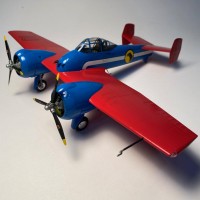
Blackhawk flys again! Great colour scheme. I use "Future" over decals before using rattle can clear to stop them dissolving.
Thanks Haslam. I will give Future a try. I have used Future as a final coat over decals on other builds. Do you still need to spray Tamiya clear after the Future?
Hi George, I usually just brush the "Future" carefully over the decals, let it dry properly and then overcoat with the rattle can with light coats .
An imaginative build! Nicely done.
Nicely done George, unique subject as well as wonderful paint scheme. I gave up on Tamiya clear coats, especially when on the top of the can it states "do not spray on decals and stickers". They're correct as it tends to melt them. For high gloss finish I apply Future with a brush. Works for me.
That's interesting. I just went and checked my can of Tamiya and it doesn't say anything about not using on decals. Is it a new warning or has it been there for a while.?
George, @gblair
This is a very cool build...a very cool color scheme, and a very cool plane. It just looks so neat with those huge radial engines and twin tails ! Thanks for posting it here for all of us to enjoy... I have both the 1/48 short and long nosed versions in the stash. Other than the engine nacelles, did the kit present any other problems ? I have been toying with the idea of building the short nose in the original colors of aluminum and yellow, while the long nose was going to get a "Tri-color" scheme with red surrounds on the National insignias. One is also going to have the wings folded, I just haven't decided on which one yet... Please don't mind my picking your brain for knowledge, as I line up my plan of attack on these two.
"liked"
Thanks everyone for the positive comments.
Louis (@lgardner): This is a great kit, and I enjoyed building it both times (I previously built the short nose version in a fictional British scheme). The first time I built the kit several years ago, I didn't encounter any problems at all. I suspect the warped nacelles had something to do with spending 20+ years in the hostile environment in my Central Texas garage. Except for the nacelles, I used virtually no filler at all. The cockpit is pretty good, but is quite visible under all that glass in the canopy. The canopy is crystal clear and thin. An Eduard set really helps, if you can still find one. I searched around a little to see if the set was still available, but came up empty, including Hannants in England, which always seems to have a stock of every photoetch set ever made. I can't wait to see the wing folds on this plane. You are a braver man than I am. In my research I discovered that at some point near the end of its life, Grumman installed a nose wheel in the long-nose aircraft. Looking forward to your build, Louis.
Thanks for the feedback George. I'll definitely keep this in mind... As far as folding the wings, I am attempting to save a little real estate in the display case, plus it will look cool with one folded and the other one not... I'll see how it goes, and possibly do a build log along the way.
George @gblair, Sorry I didn't chime in earlier. My weekend was pretty busy. Not much posted but a bunch of bench time. I love this build. Makes me want to search out a few kits myself just to have them on my shelf. Peaked my curiosity a lot about the the concept of a tricycle gear. If the props were as big, she would have stood pretty tall.
Well done!
@jamesb The picture that I had of the tricycle gear on the Skyrocket looked a lot like the nose gear from the Grumman Tigercat. It looked like the nose on the long-nose was extended to allow for the retracted length of the nose gear. My plan was to carve a plug out of balsa wood for the new nose and then vacuum-form the new nose. I gave that idea up about 20 years ago, but the plug that I carved was still in the box for the long-nose version when I got the idea to do the Blackhawk plane. I would bet that Scale Aircraft Conversions has a landing gear set for the Tigercat. I would really like to see someone try the extended nose. :o)
I did a little research and found some info on the following website:
https://warbirdtails.net/2017/10/11/grumman-fast-twins-part-2-the-f7f-tigercat/
The article says the photo is an XP-50 and is a descendant of the XF5F & precedes the Tigercat. But when you look at the photo it sure has a lot of similarities with the Skyrocket.
1 attached image. Click to enlarge.
The Tigercat wings are at a higher level, so that gave it a slightly higher stance to accommodate the big blades plus it has pretty tall legs. One of my favorites at airshows. A few years ago we had two flying at the Houston show. Pretty awesome.
Thanks for sharing that.