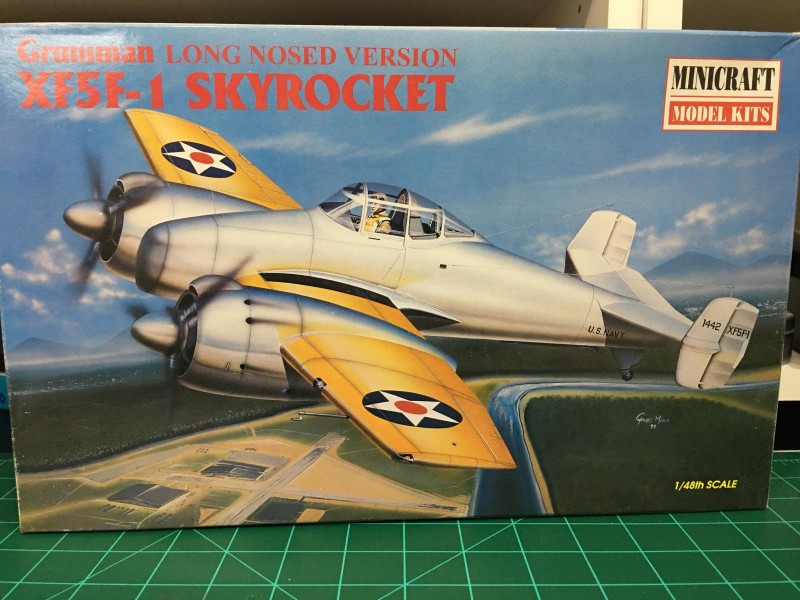
Minicraft XF5F-1 Skyrocket
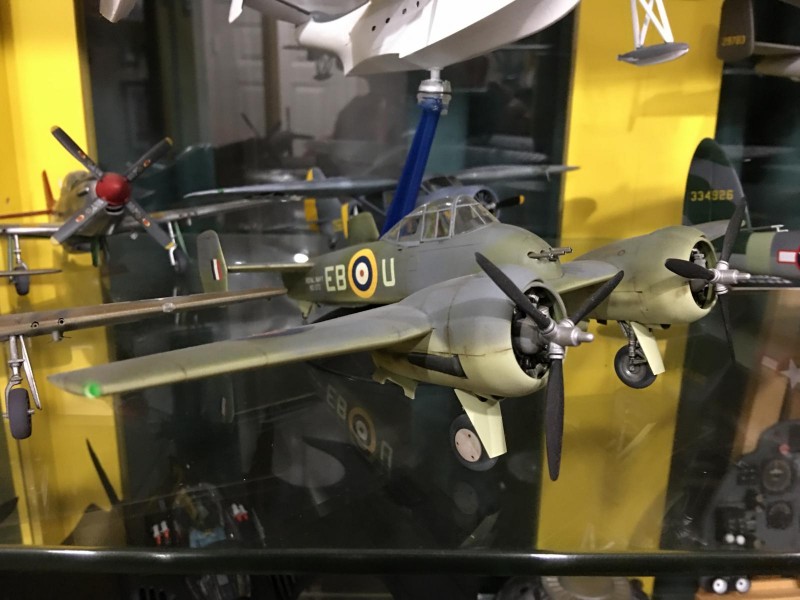
I haven't posted anything for a while because I haven't built any models for a while because I was involved in building some buildings and scenery on my N Scale layout. Sorry, poor excuse. After I got to a stopping place, I really had the urge to build something with wings. I was cruising my garage stash and found a Minicraft Skyrocket that had been lurking on the shelves for a lot of years.
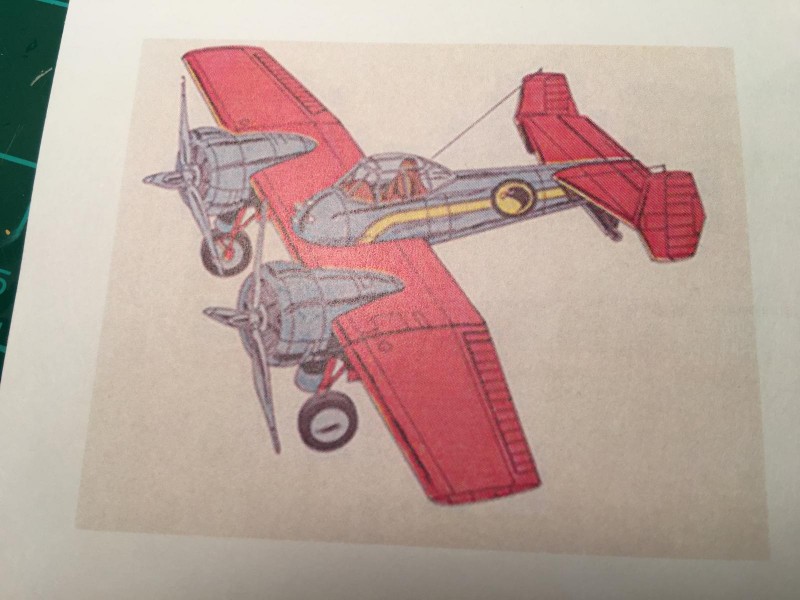
I had also recently gotten interested in an old comic book series called the Black Hawks. This is a very old series from the 1940s, but the interesting confluence here is that the Black Hawks flew the Skyrocket.
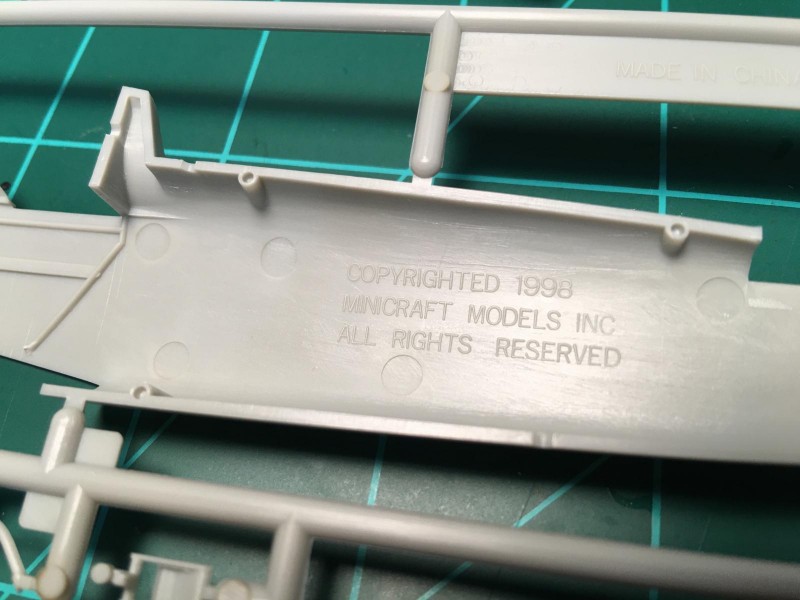
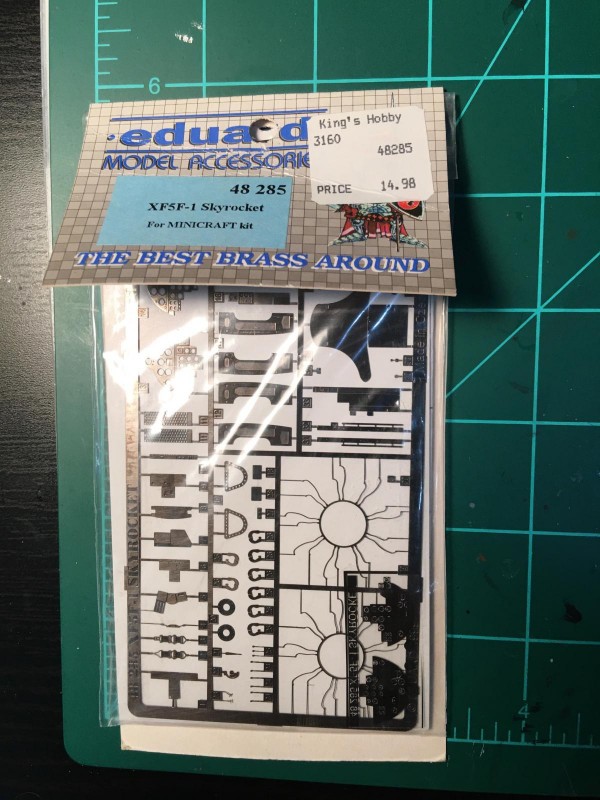
They flew the short nose version and the kit I had was the long nose version, but upon opening the box I discovered the parts for both versions. Yeah! I also found I had previously bought the canopy masks and the photoetch for the plane, all of which were probably as old as the model (20+ years). Yeah, again!
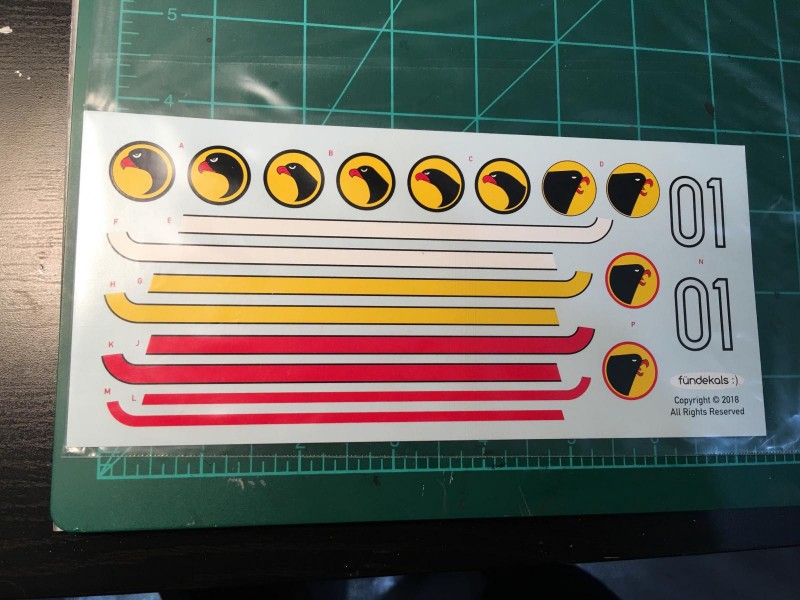
Another happy coincidence was that I discovered a company called Fundekals had a set of decals for the Black Hawk Skyrocket that would allow you to build any of the color schemes used in the comics. I ordered them and had them in just a few days. Thanks, Fundekals. Yeah, for the third time.
I had previously built the Skyrocket with a hypothetical paint scheme, and I remembered it being a fun build.
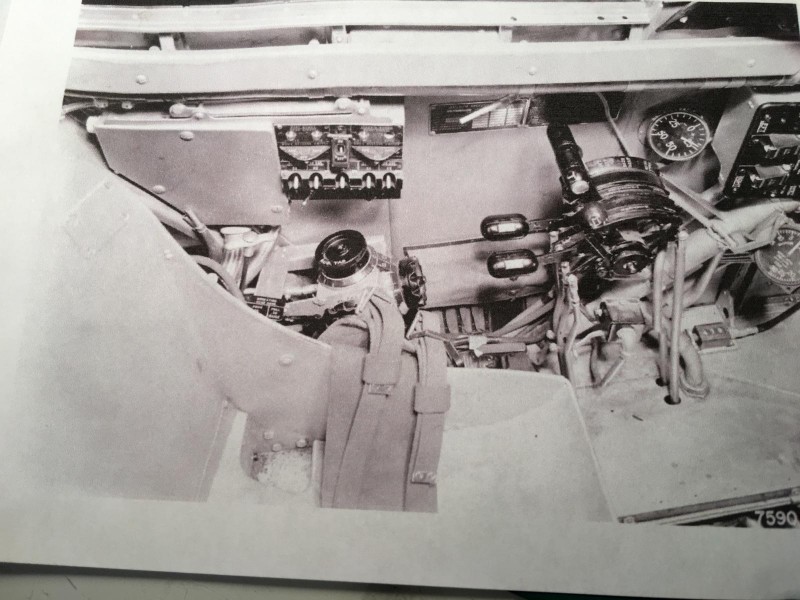
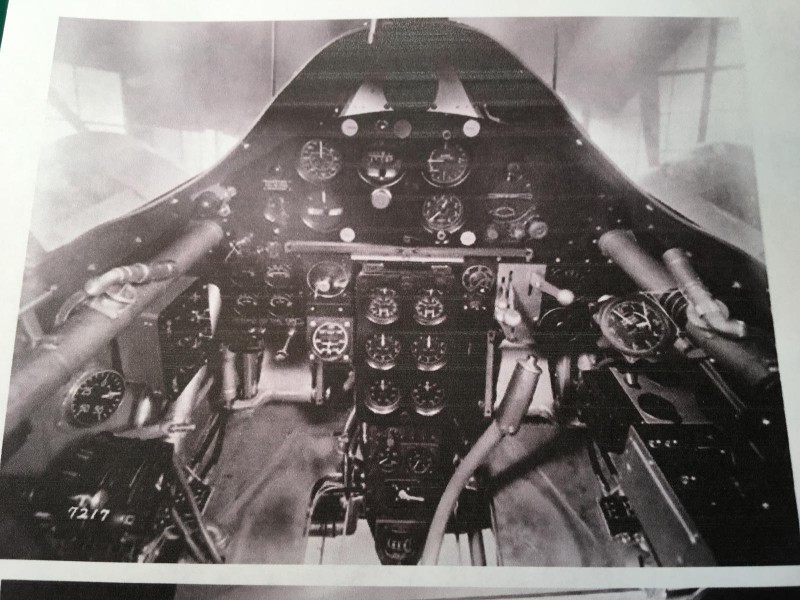
So, as I launch into this build, bear in mind that I am a casual modeler not really interested in a bunch of detail. Having said that, I decided to try to go a little above my usual non-standards on this build. I found a few old photos of the cockpit, but they were from a couple of different versions of the XF5F. I wanted to mash some of the features from both cockpits into this model.
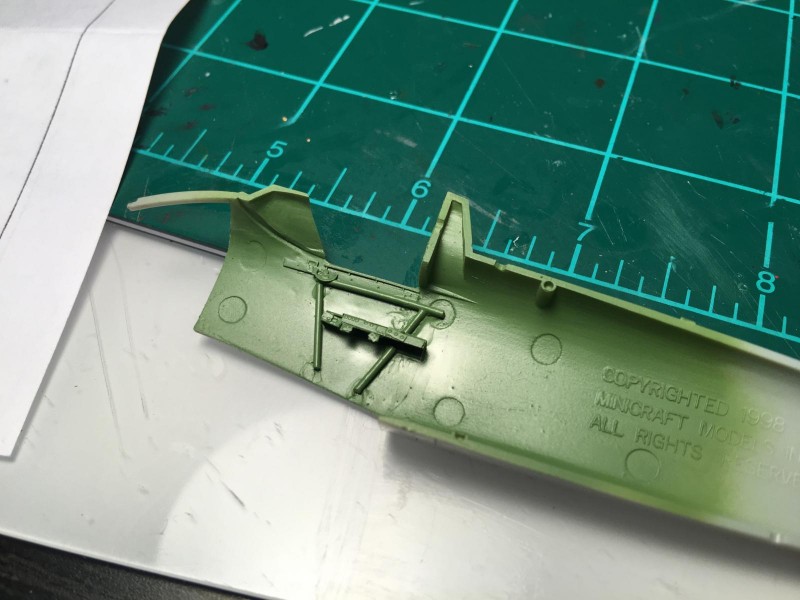
I broke my Dremel out & scraped off all of the detail from the inside of both fuselage halves, which was smoothed with some sandpaper in preparation for the new details and the photoetch. I added a little detail using some sprue, added the photoetch, and then sprayed some interior green all over.
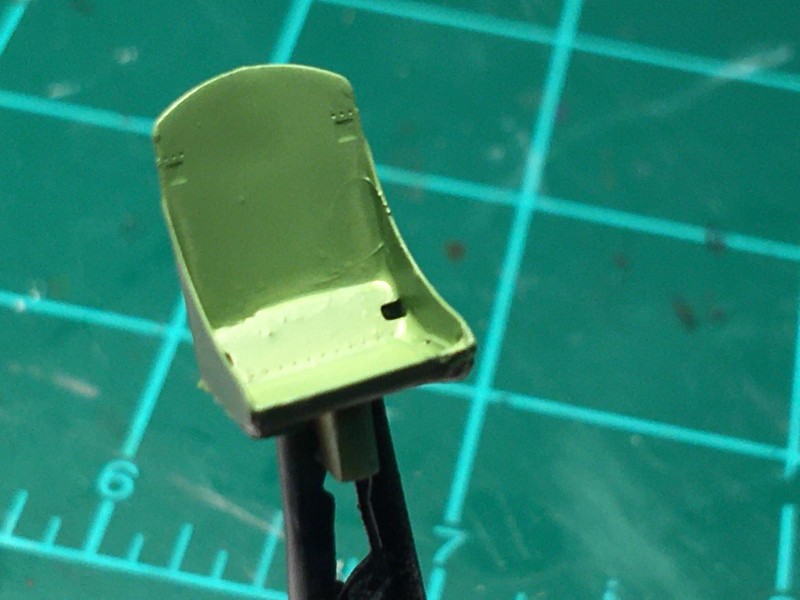
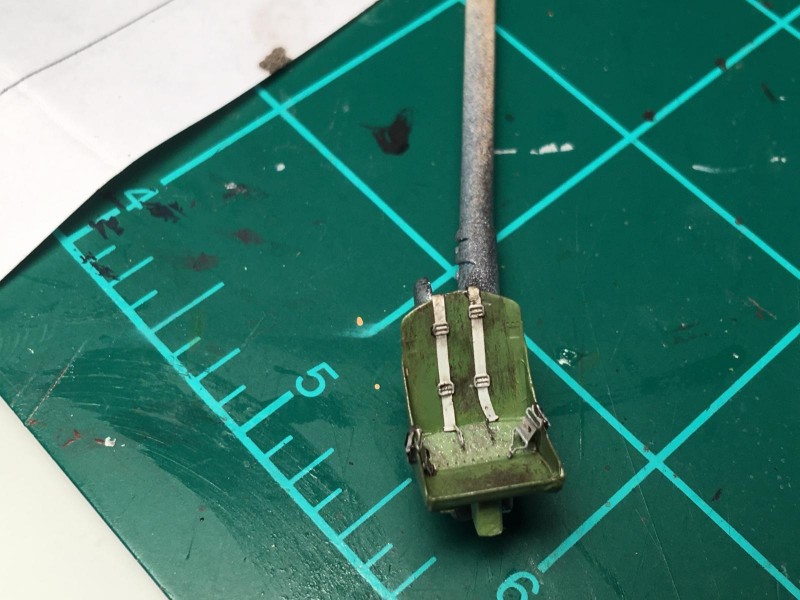
I had never attempted to build a photoetch seat before, but I dove in and I think it came out OK.
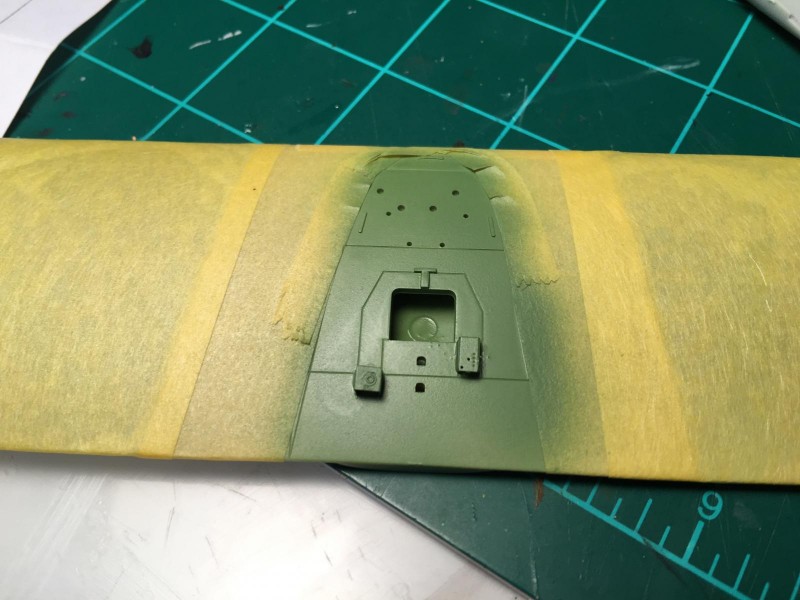
The instrument panel went together well, although the small levers were a challenge for my shaky hands.
Well, everything seems to be going alright, so far.
It is just a matter of slapping some plastic together and then some paint. I will update when I get close to the end.
I hope everyone has a great Thanksgiving. :o)
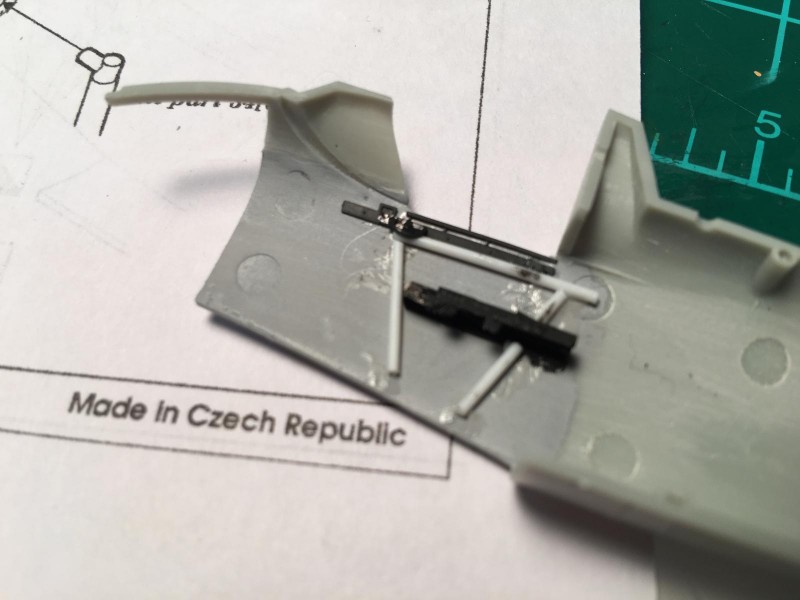
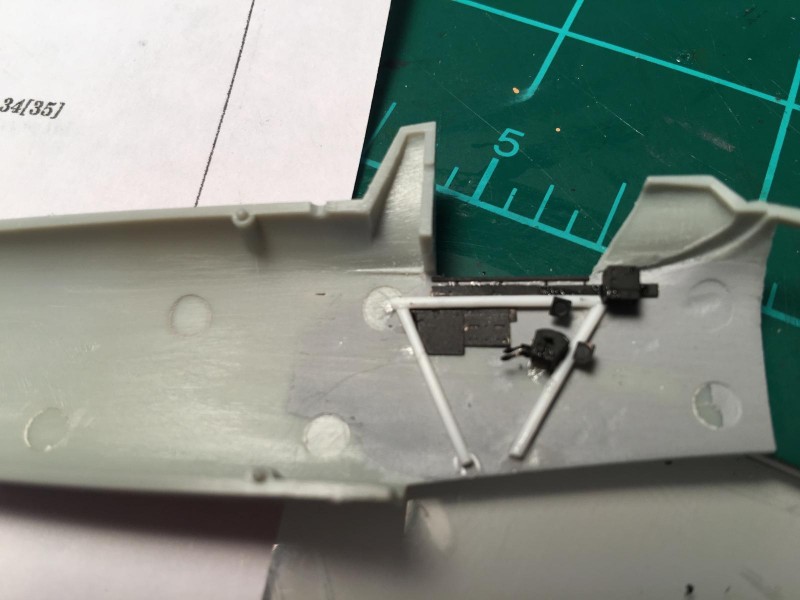
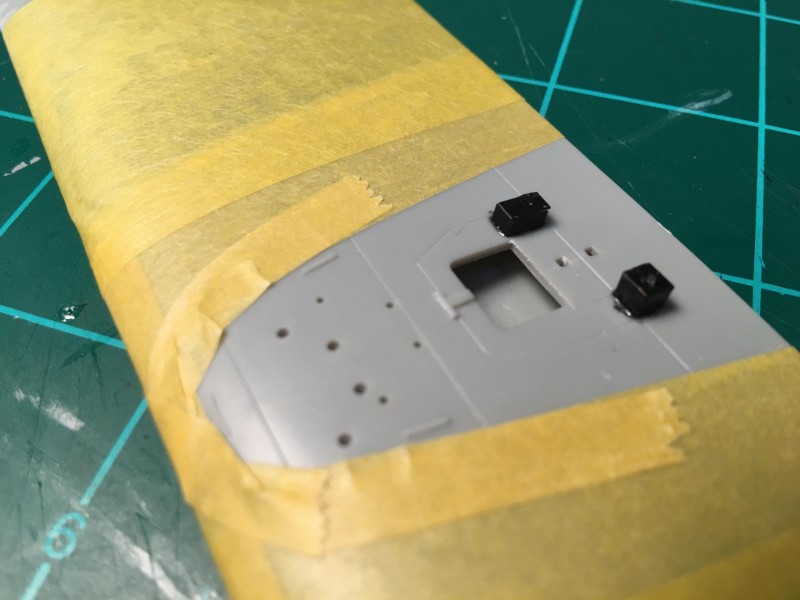
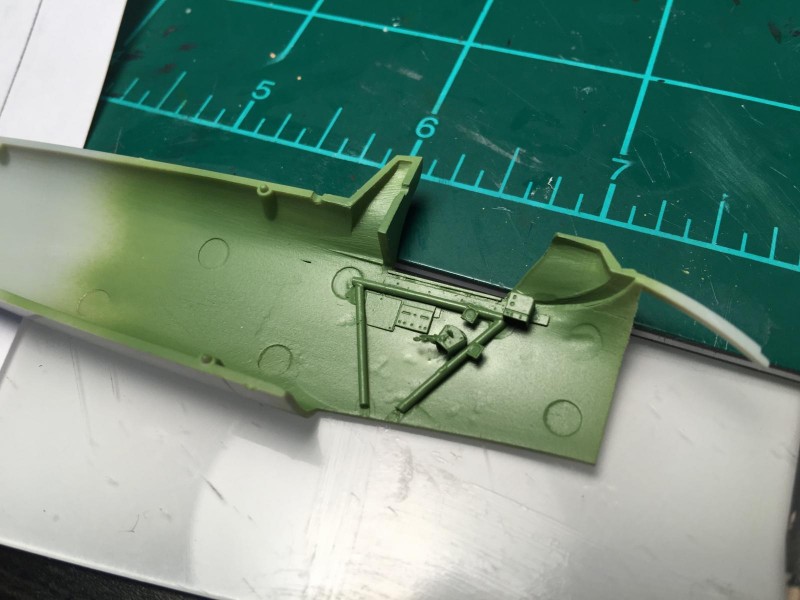
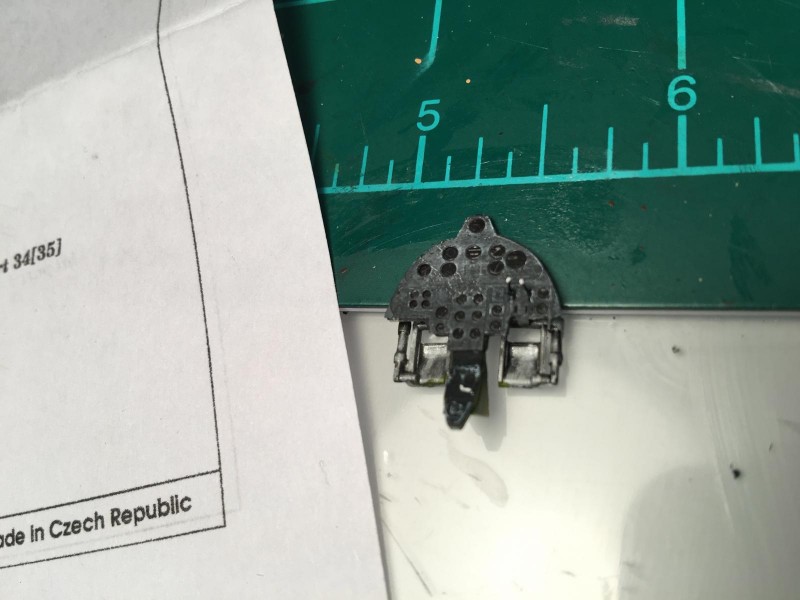
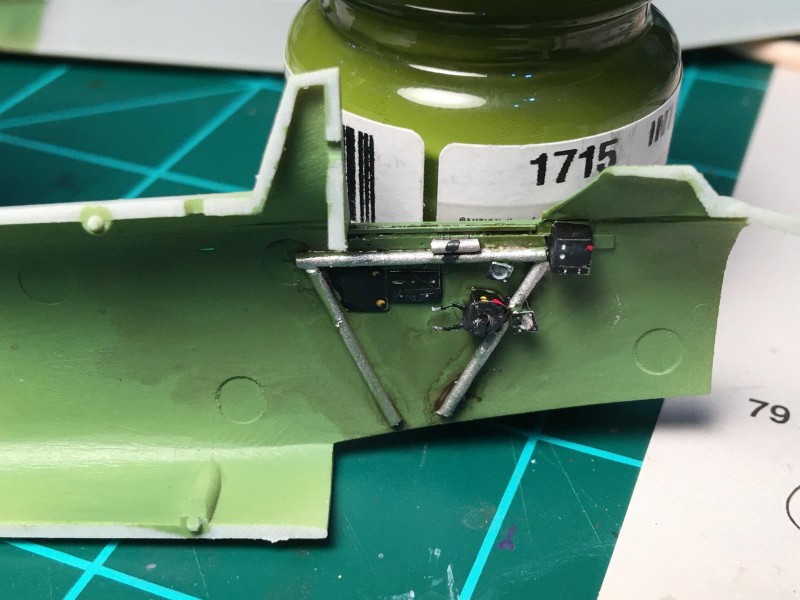
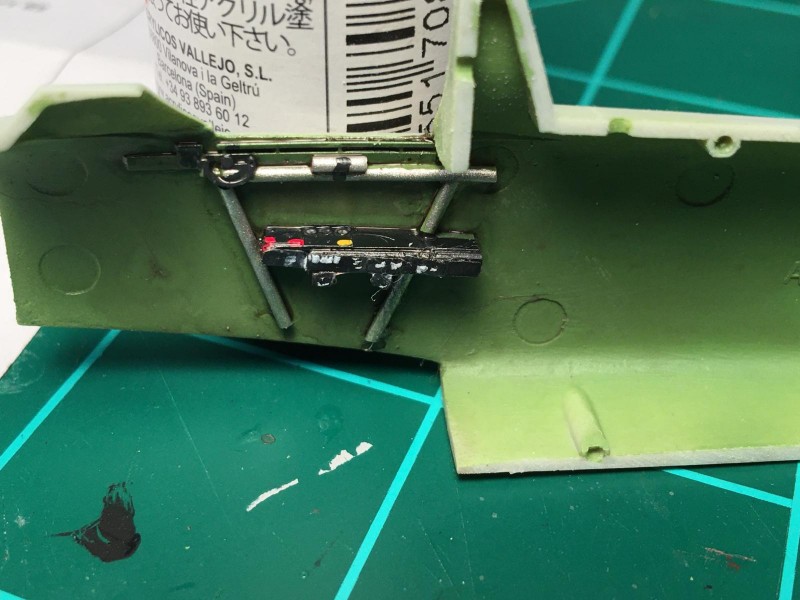
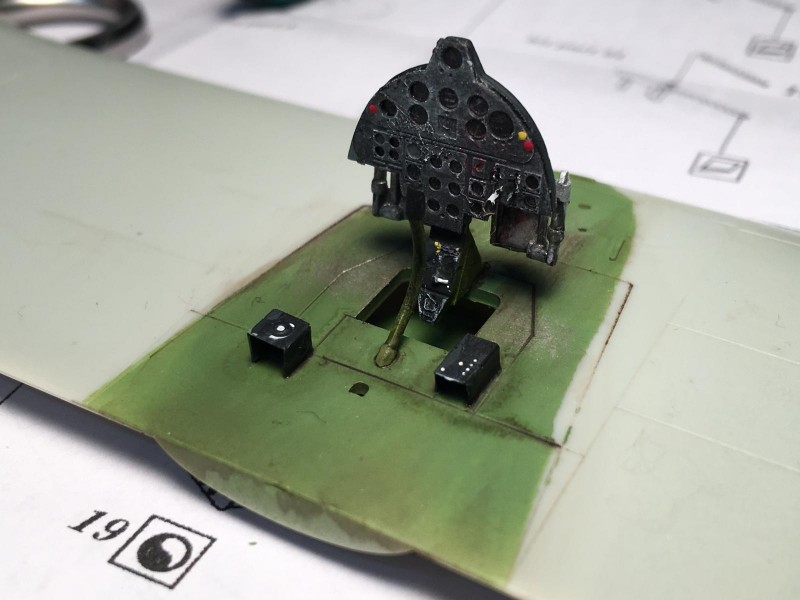
Nice work, and hey post some pics of the RR work. Certainly counts!
I loved the Blackhawk comics. I'll be looking forward to seeing you do this.
I forgot to add something new that I tried when I was painting the photoetch. I just finished an art class that used a type of paint called gouache (pronounced "gwash" if you have never heard of it). It is a very thick water-based paint with a consistency similar to artist's oil paints. The property that I wanted to investigate is the fact that once it is dry it will still activate by adding water. So I brushed some white gouache over the photoetch panels, let them dry, then went over them with a slightly wet brush. The paint came off easily, leaving white in the recesses of the photoetch. I plan to explore this process some more. I added a comment on the photo that shows the end result of this process.
Hey George, guaches are almost mandatory school material for my kids, using it of our hobby is great idea just sad that it didn’t occur me earlier. Thanks!
Nice post George and a really interesting subject. Will be following to see how your expericence with gouache turns out.
Following. I have this same kit started and will likely build it into a what if tri-color scheme. In fact I was just browsing around the web looking for inspiration yesterday, believe it or not. I was surprised there were no f5fs on imodeler. You beat me to the punch. Best of luck, the pit is looking great! One thing that I remember from my build thus far was how well the wing halves fit. Shocked the heck out of me!
I am looking forward to the rest of this build. I don't think the Blackhawk comics ever made it to Australia so I must do some research.
Nice project!
I got a little bit more done while working around Thanksgiving at my daughter's house, Christmas shopping, and so on. I thought this might be a fun build to try some new ideas, some have worked out well and some not so much.
I had built this kit before, but it was the short-nose version. This kit is the long-nose version, but it had the parts to build both. The problem was that there are basically two sets of everything: two pairs of engine nacelles, two pairs of rudders, and so on. Unfortunately, the instructions were only for the long-nose version. Things were getting very confusing trying separate out which parts went where and to which version. So, I went online and found a set of instructions that included both versions (thanks scalemates.com).
1. Can't miss with clear instructions
One of the few things that was duplicated for both versions was the canopy. The short-nose, early version had sighting tube that protruded through the front canopy, while the later long-nose version did not. What this meant was that the early canopy had a hole in the windscreen for the tube, and the later one didn't. This kit, being the later version, had no hole in the canopy. I check my references (one of my comic book sources) and found that the plane in the comics is an early version with the short-nose, but without a sighting tube in the windscreen. Very fortuitous!
1. No sighting tube
I had built this kit before and remember it as fitting together well. The plane is basically a set of wings with a fuselage pod and two engine pods attached. The paint scheme for this plane consists of blue engines and fuselage, with the wings and elevators being red. I wondered if I might save a ton of masking and paint the various sub-assemblies separately and then simply glue them together. I decided to go the conventional route, which turned out to be a good choice. The fuselage had several large sinkholes on the left side of the fuselage that corresponded to the details that had been molded on the cockpit wall, which I had removed to use the Eduard photoetch. No big problem. The fuselage fit onto the wing perfectly without any need for filler.
1. Note the expensive jig to hold the vertical stabilizers vertical while the glue dries.
1. Separate fillet is a nice touch
The problem came when I assembled the engine nacelles. Twenty years of storage in my garage had not done the parts any favors and the parts were twisted, creating large gaps when assembled. A couple of feet of masking tape later, and the parts were glued together...hopefully straight. When I take the tape off, I figure there will be a lot of filler and sanding to clean-up the joints.
The last thing I have done is to scratchbuild a gun sight for the cockpit. The model had no provision for a gun sight (except for the early sighting tube which wouldn't work here), but I figured a comic book fighter airplane would need one. The only thing that made this construction difficult was its small size.
1. Completed gun sight front
1. Photoetch from my spares box to represent knobs to adjust gun sight
Things should move quickly now, so I should have more to show soon. If you celebrate Thanksgiving, I hope you had a good one. If you don't, I hope you have a great week.
Cheers