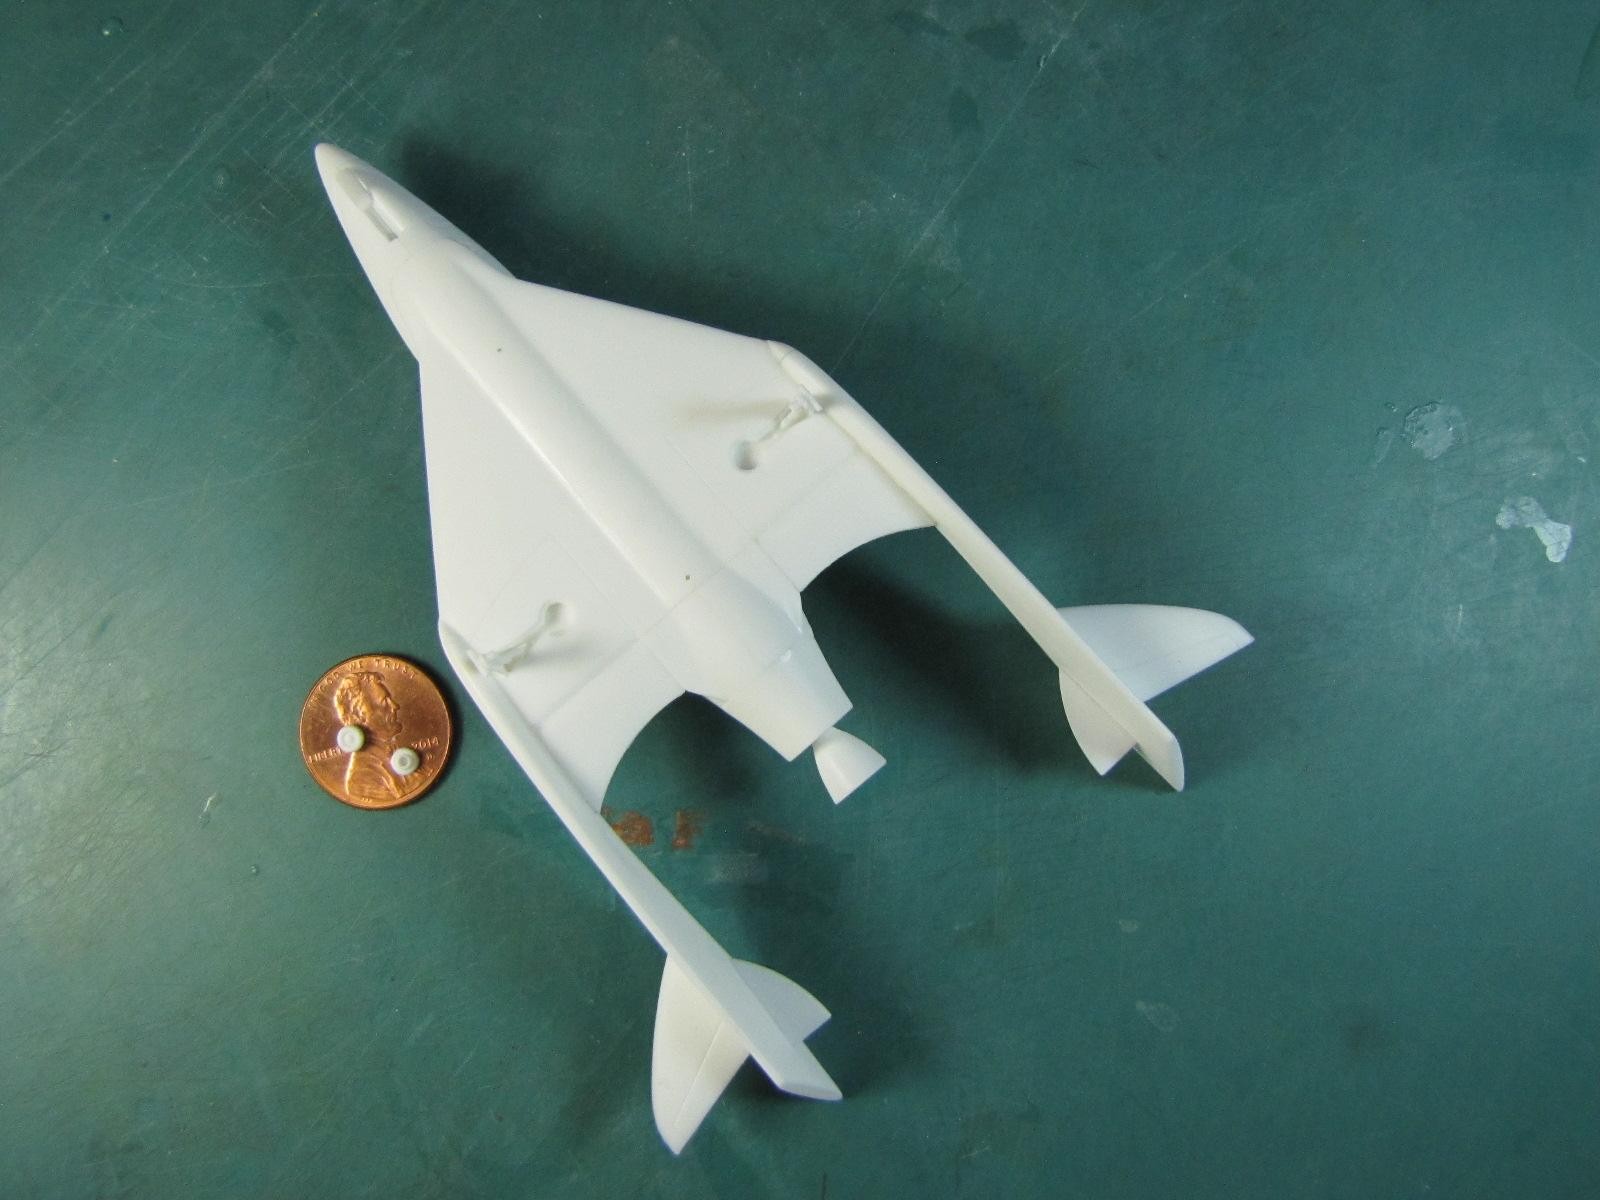
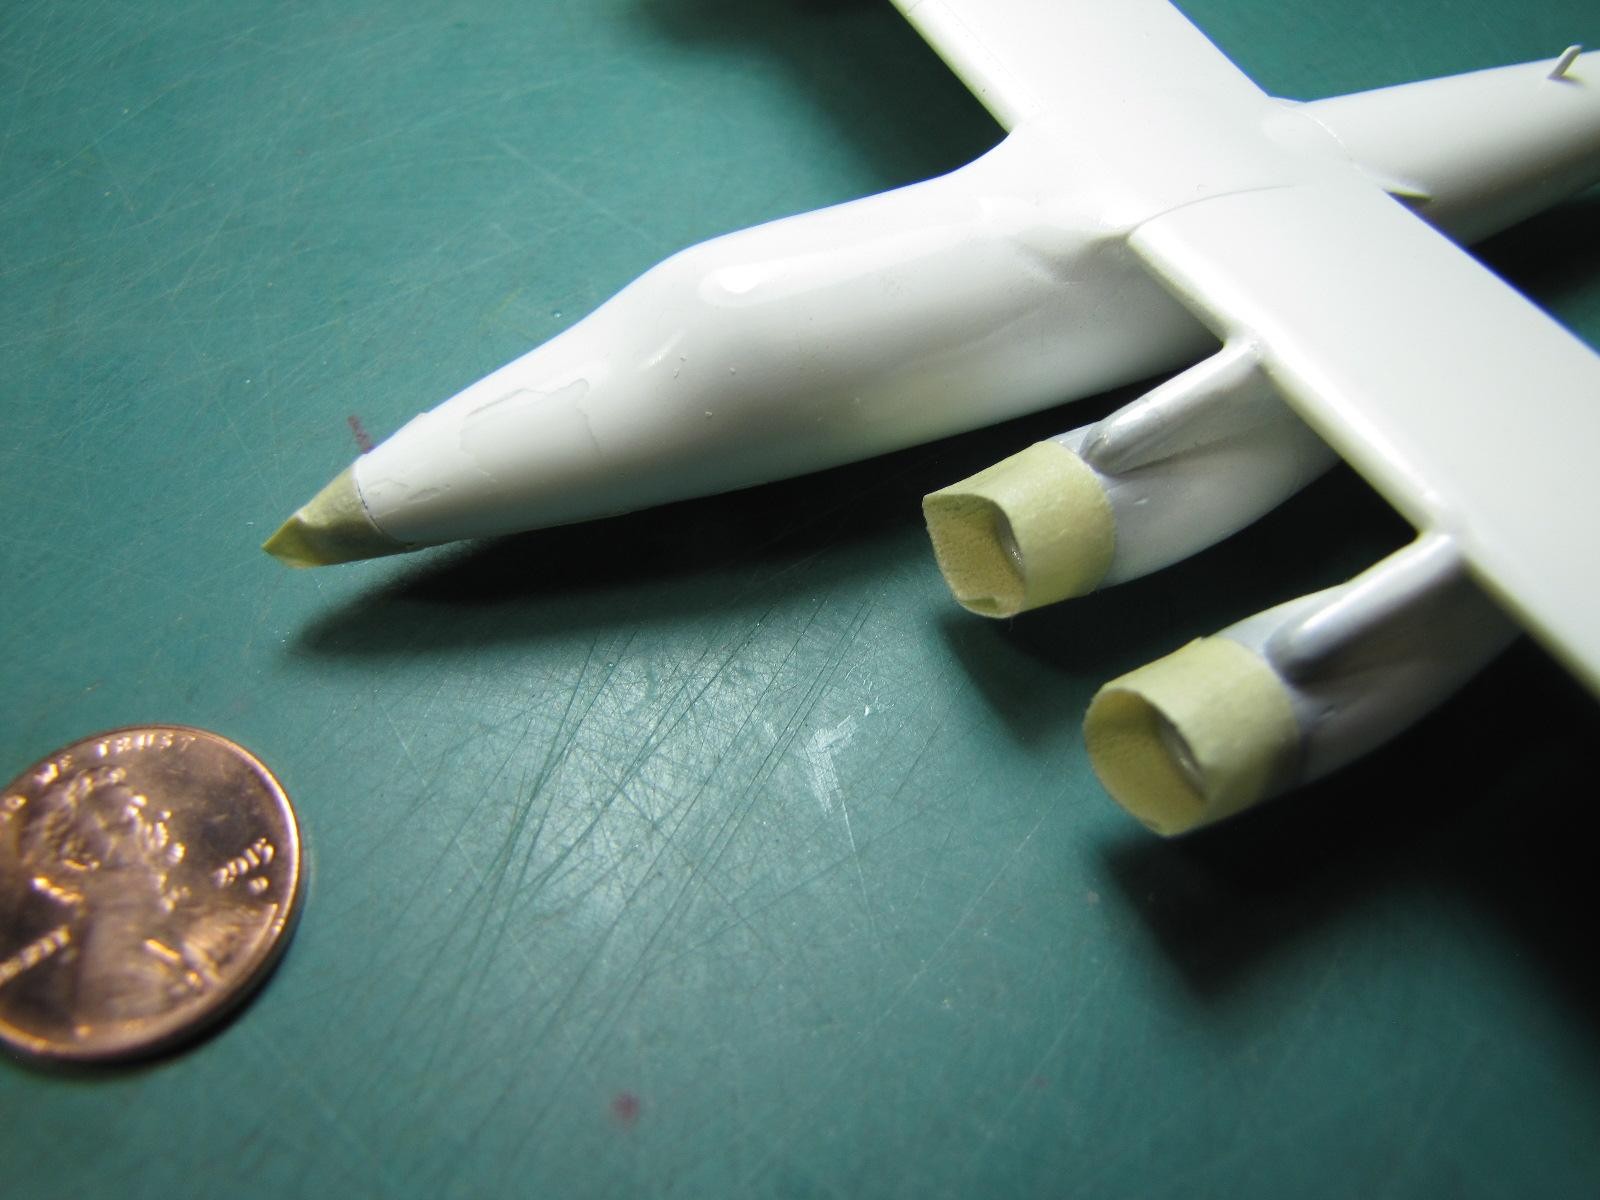
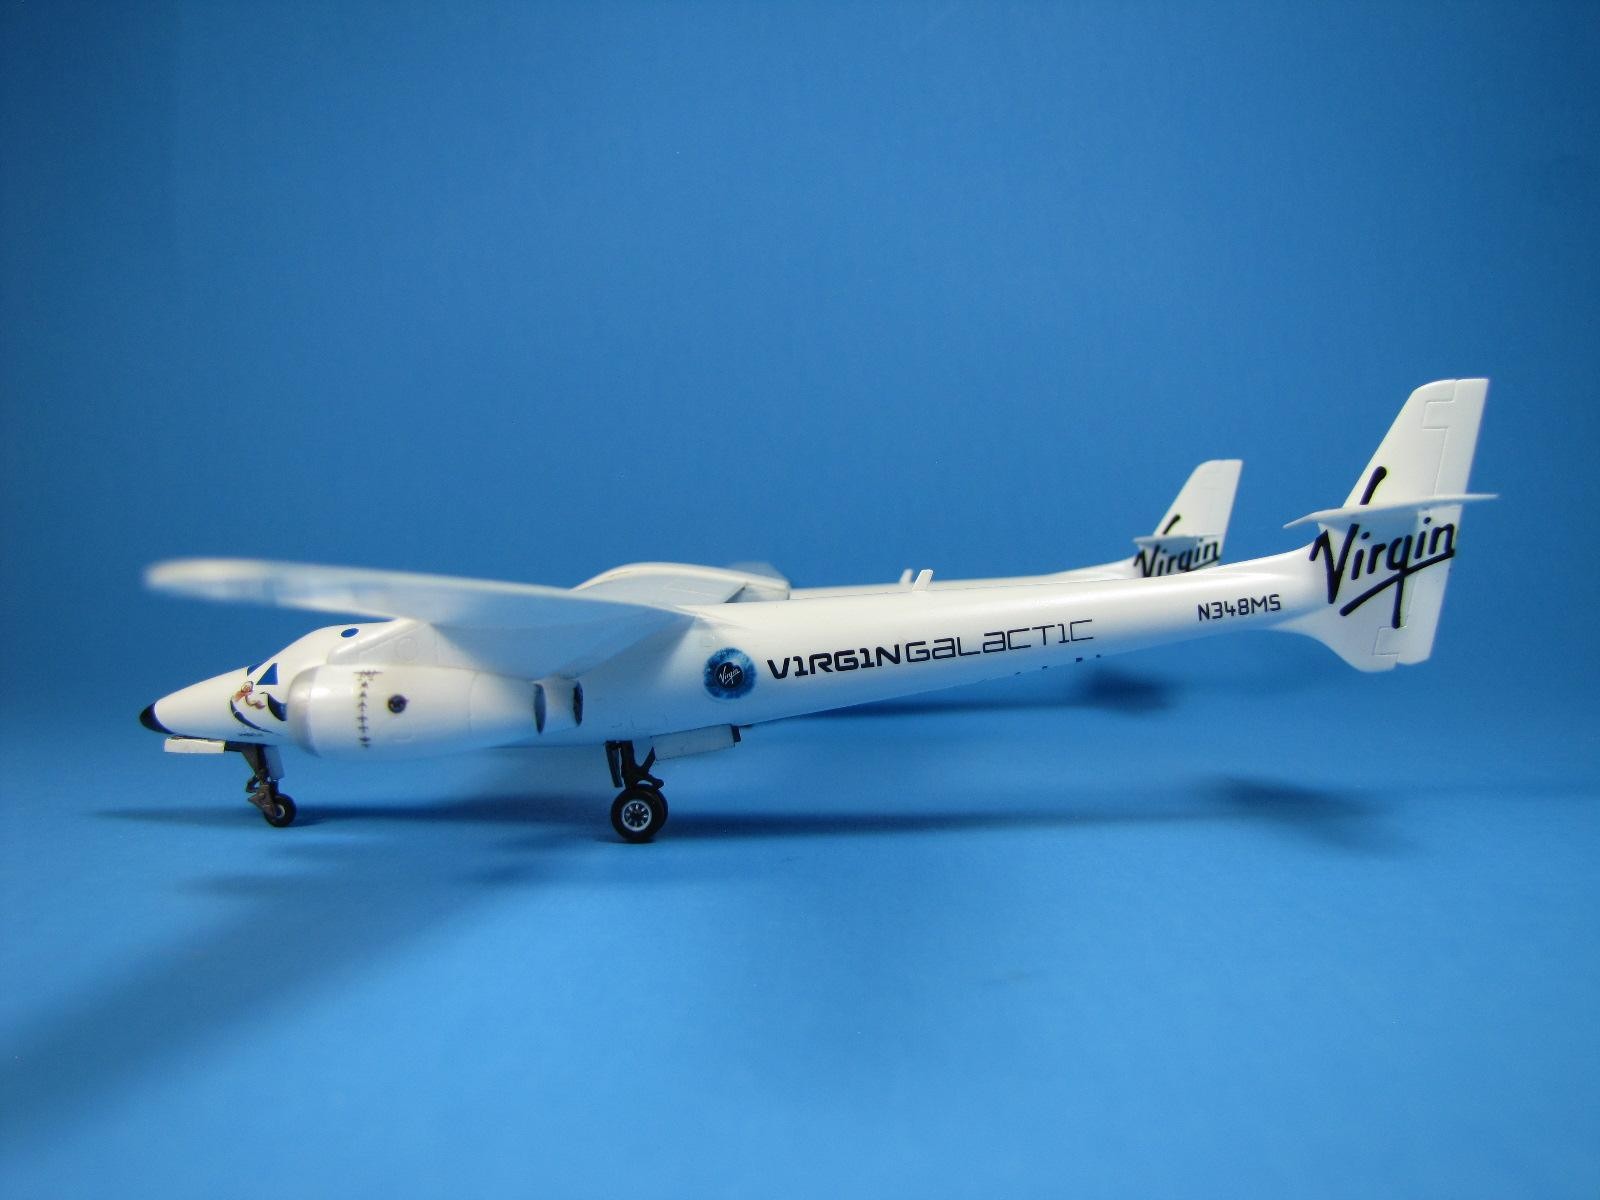
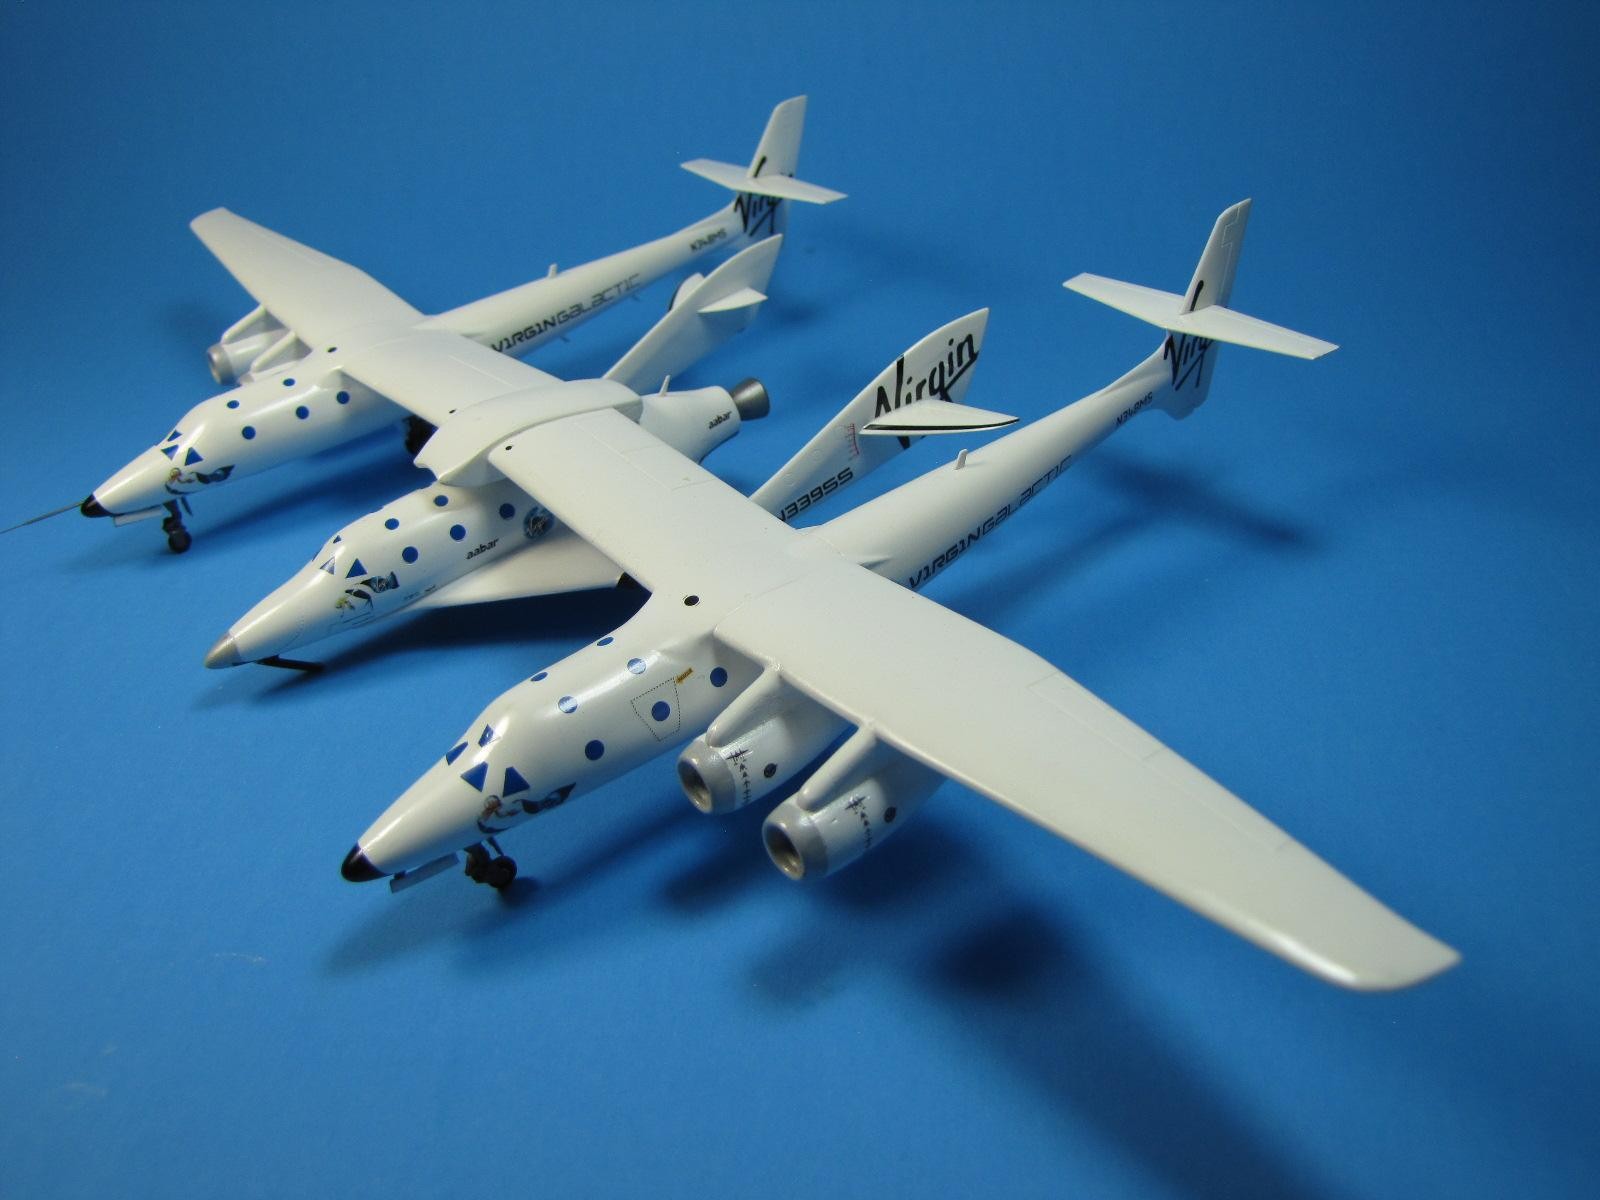
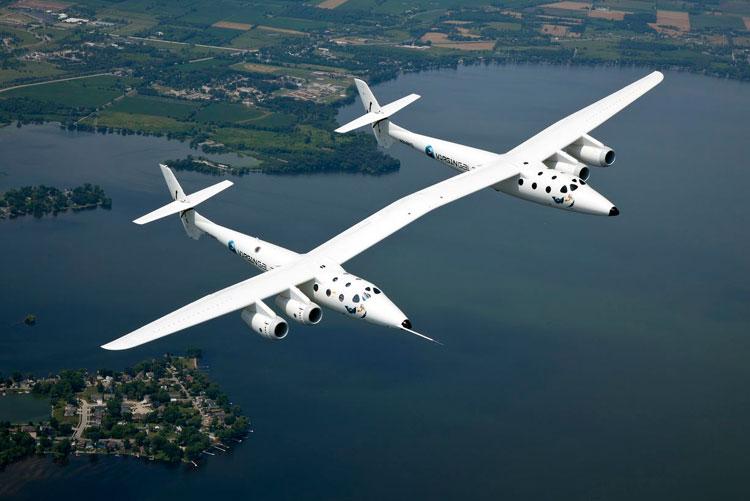
1/144th Revell SpaceShip Two & White Night Two.
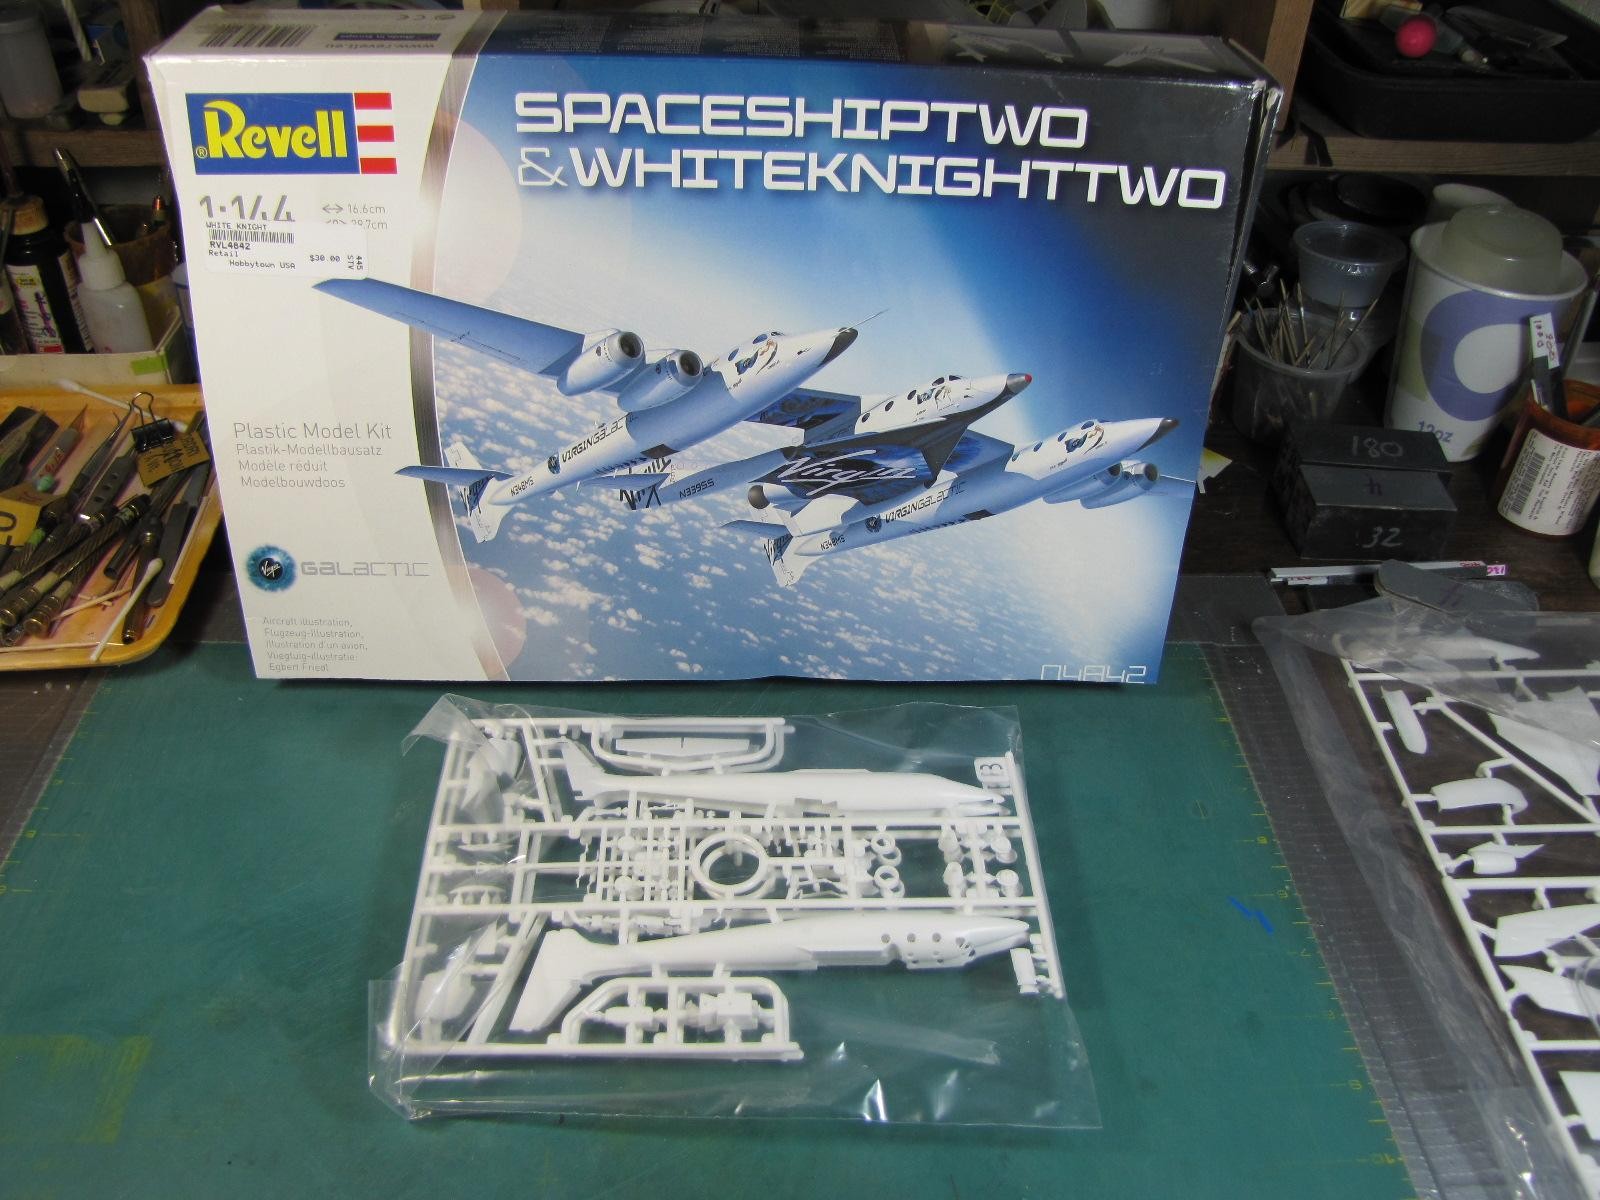
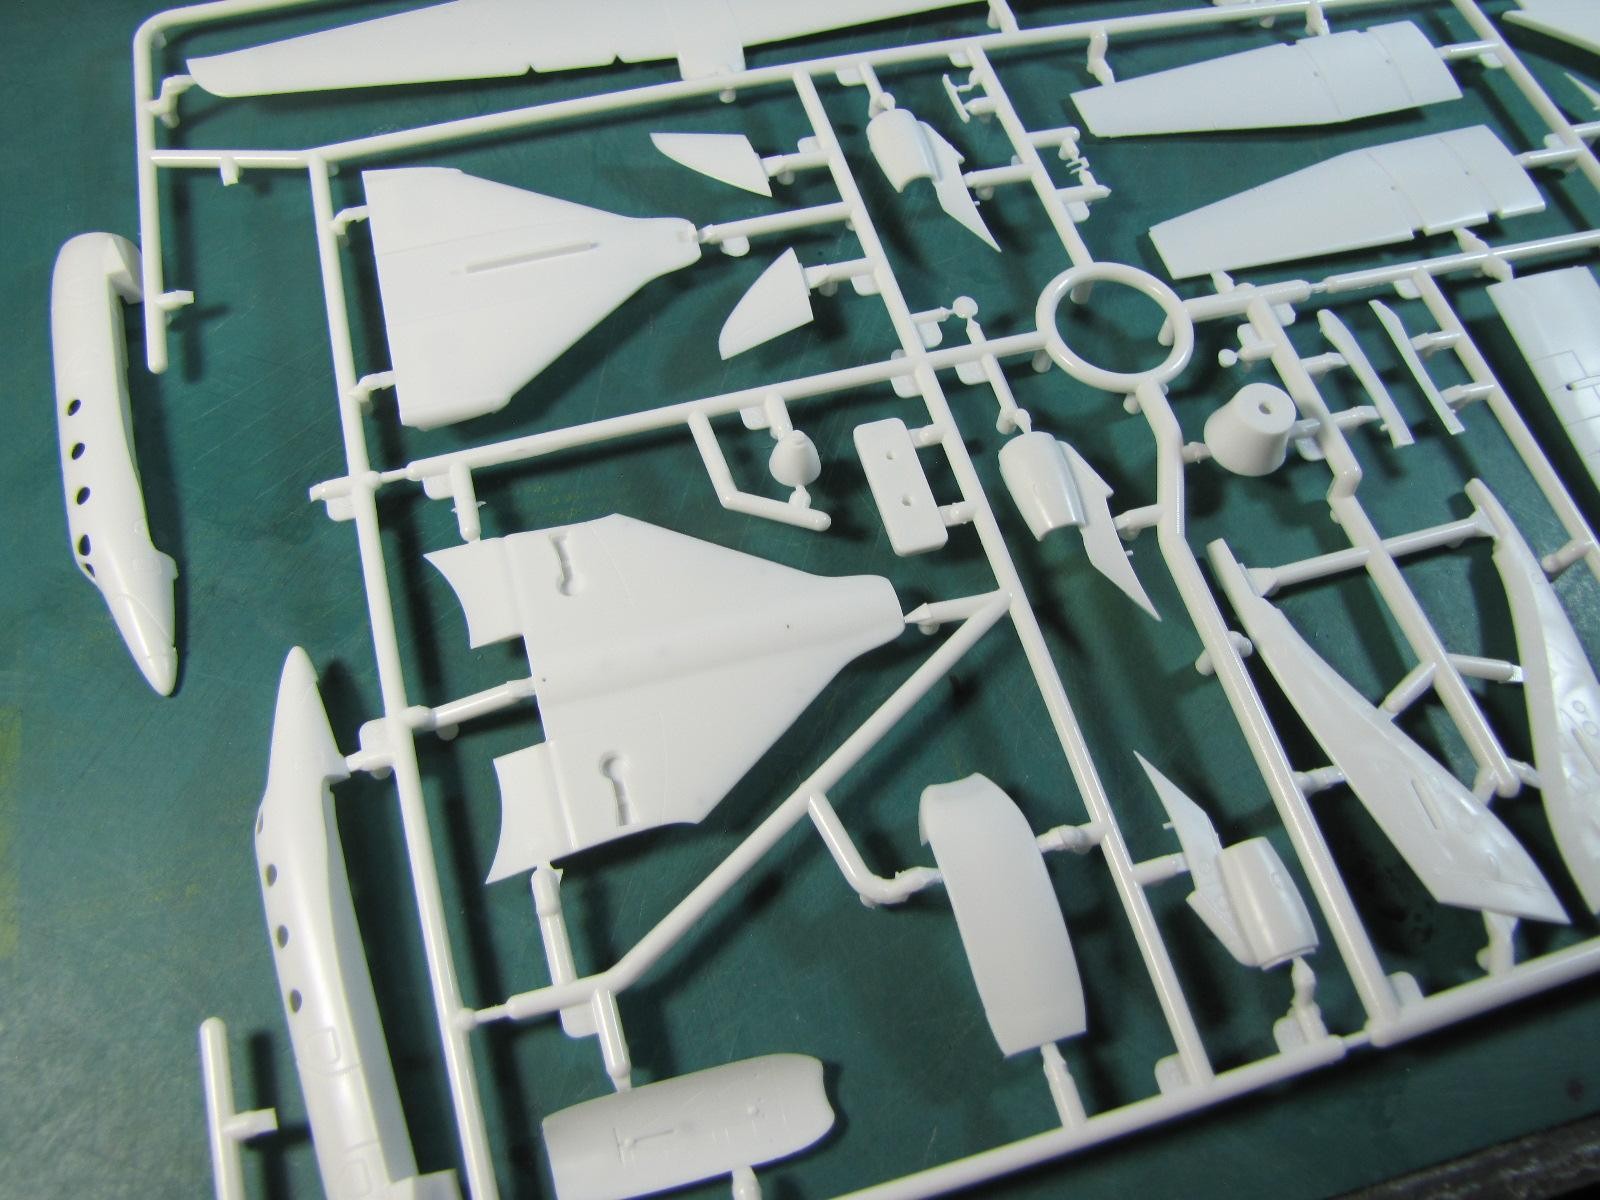
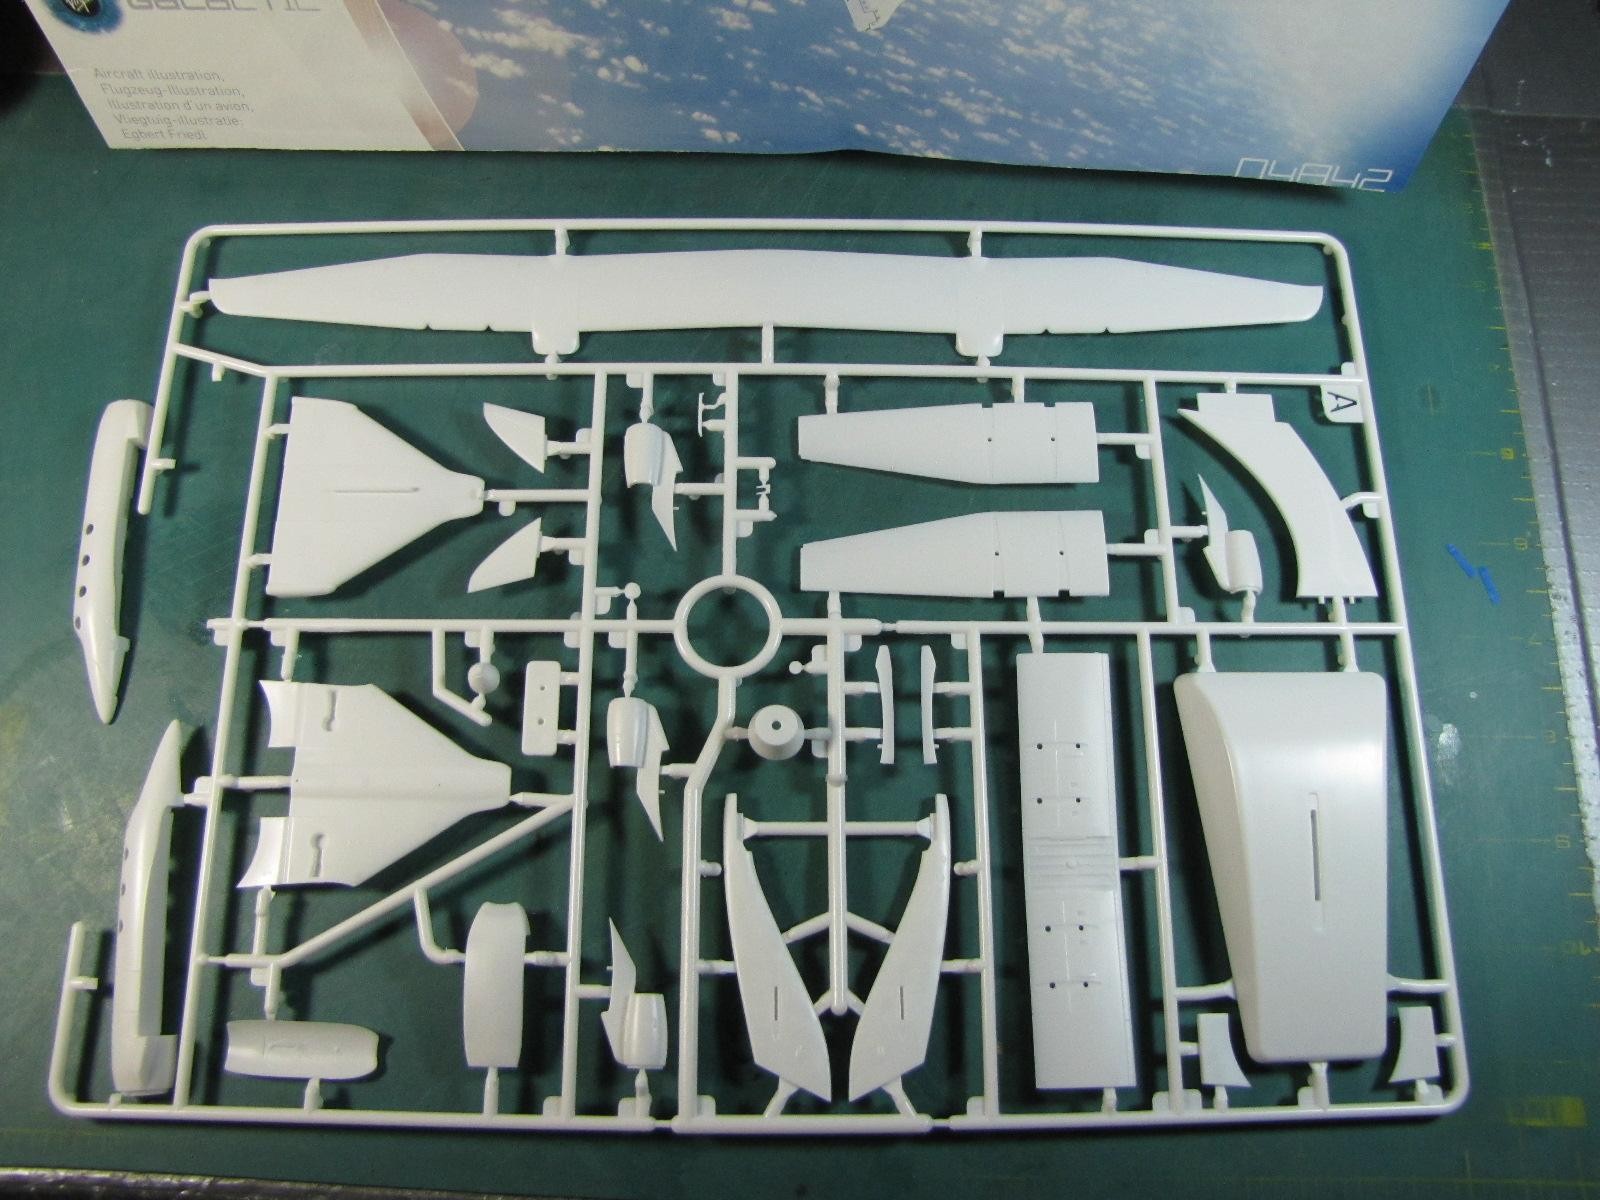
A real treat it was to find this model for sale at my hobby shop. I forgot what it cost, but I did not care as I wanted it. None of the parts had hardly any flashing and the instructions were very easy to follow.
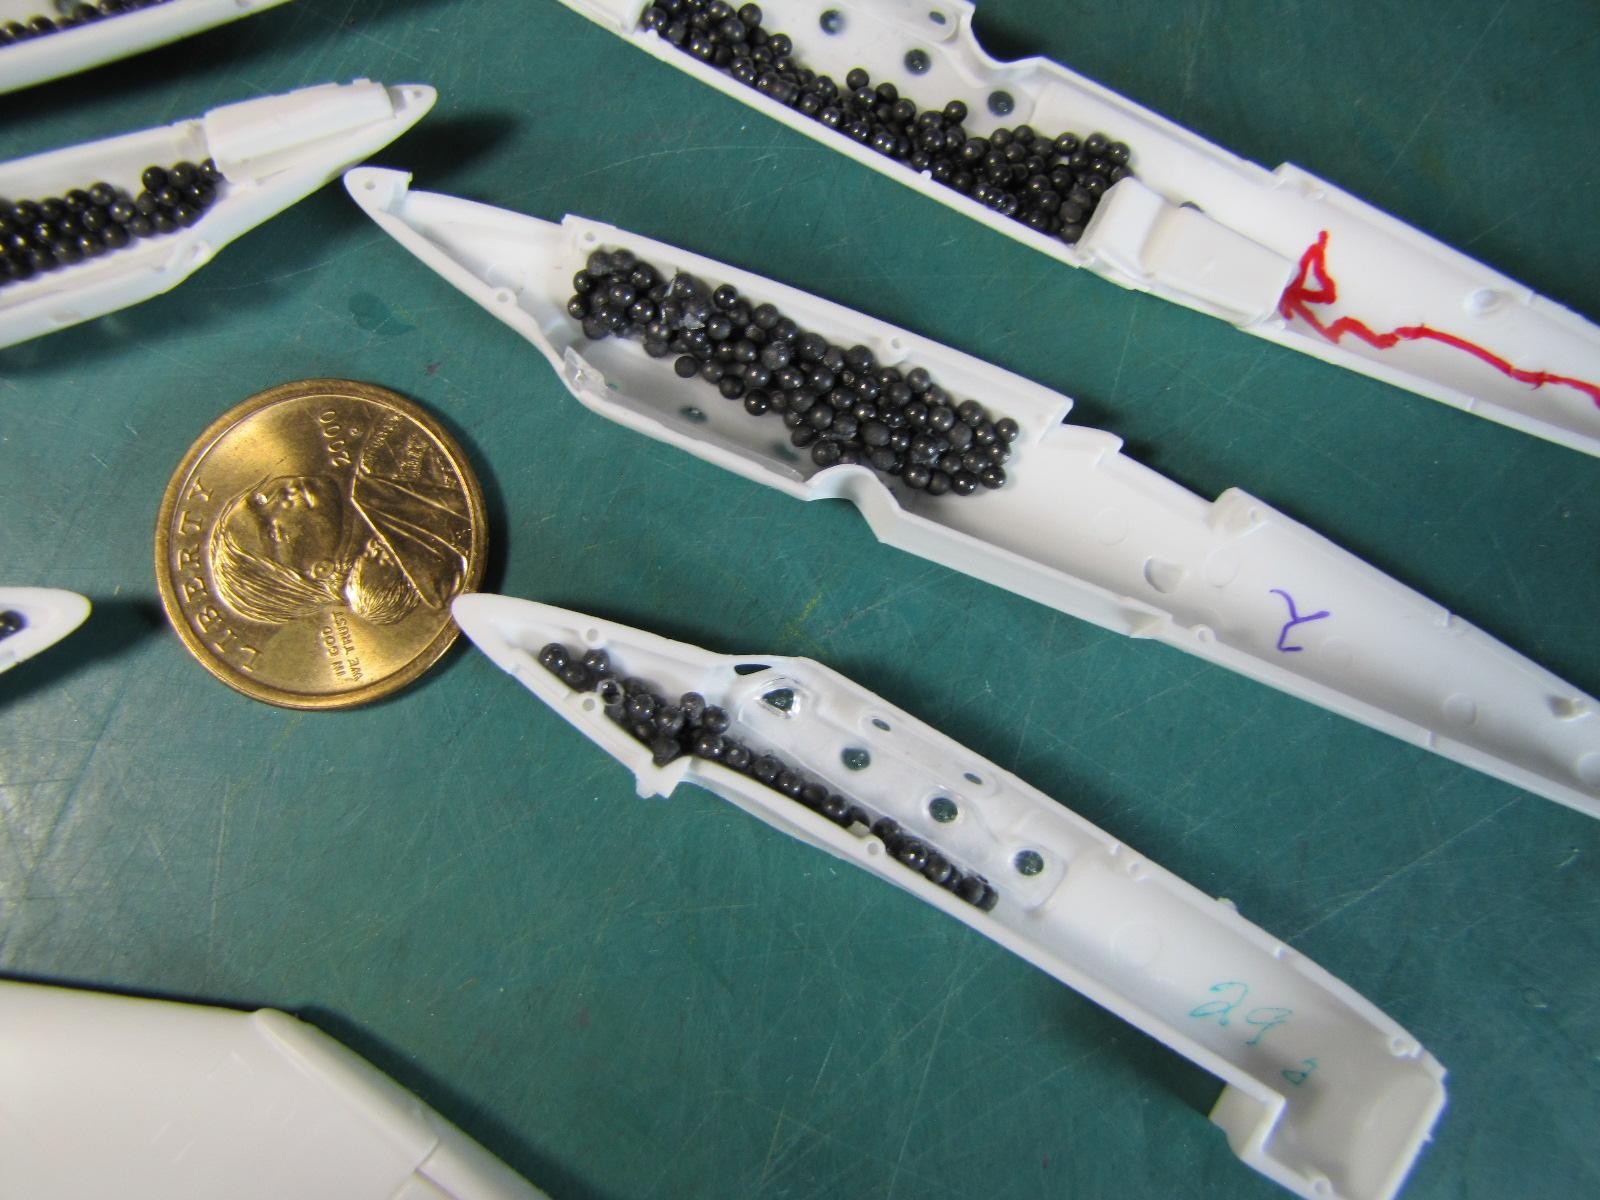
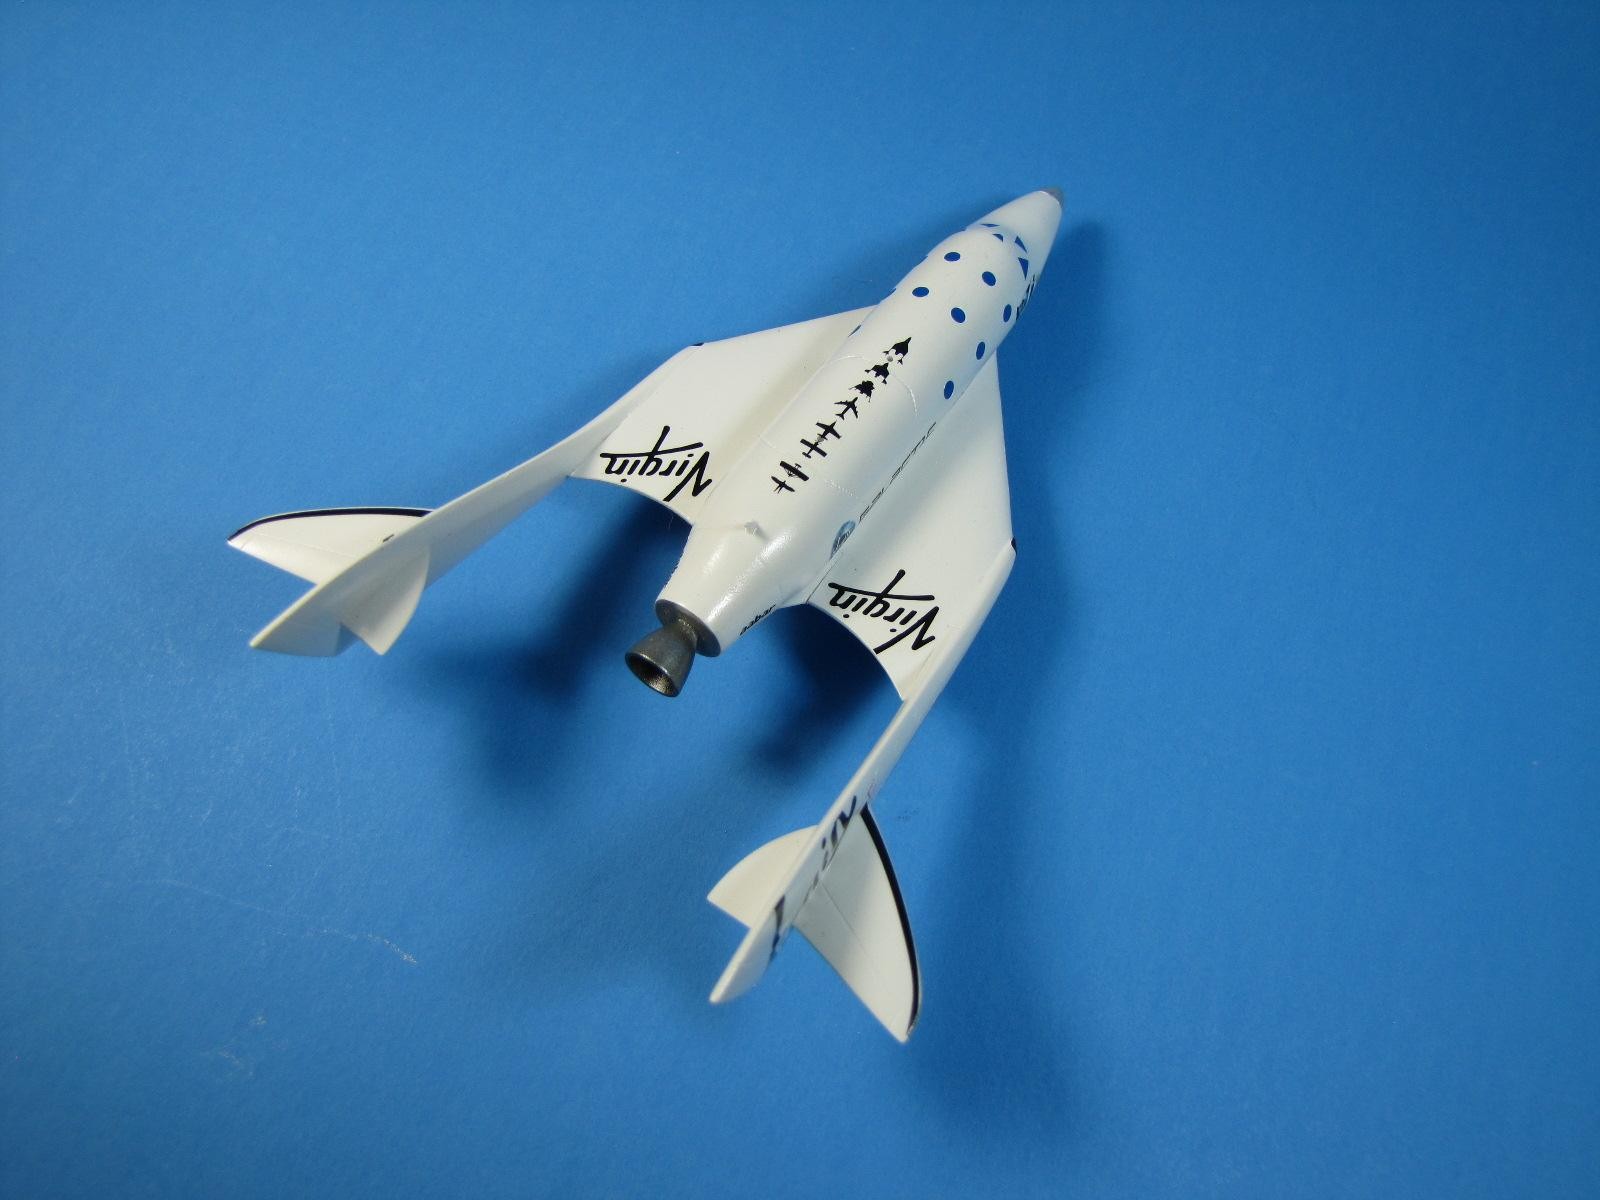
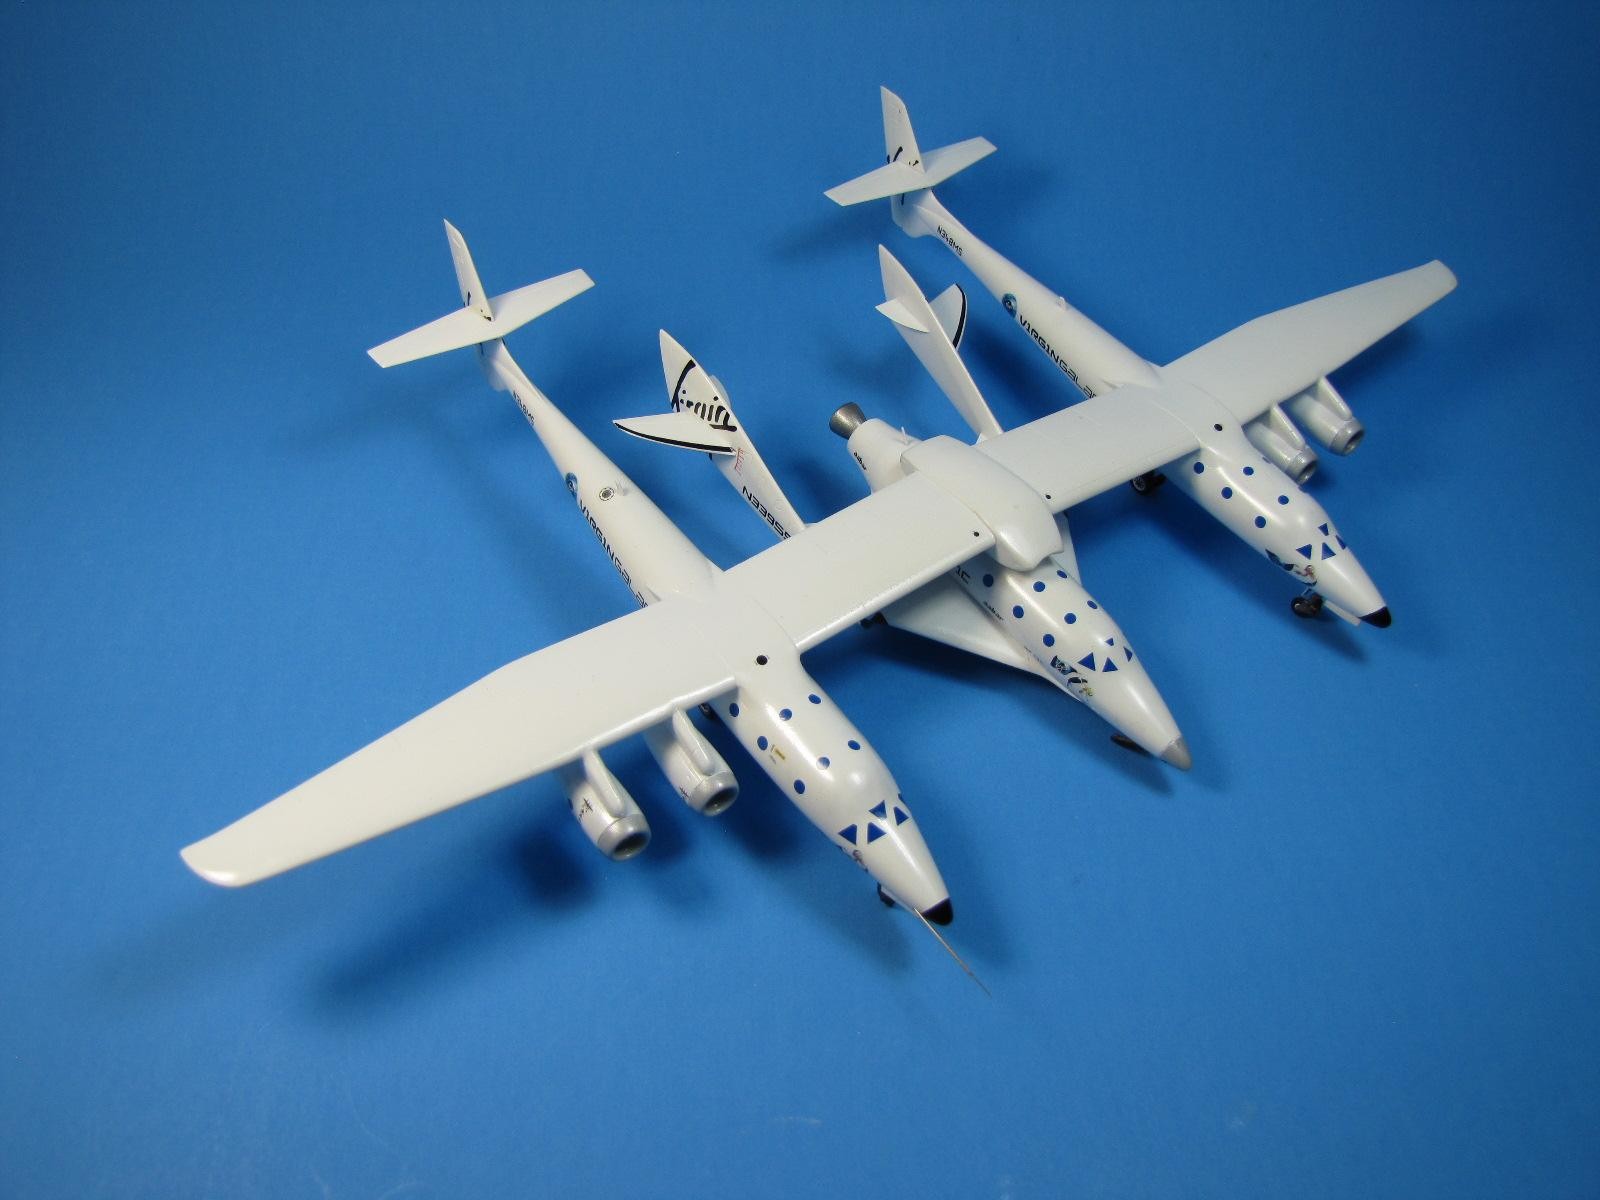
One photo show's the addition of my "b-b's" that were added to keep it setting on it's front end. I use white glue on the insides, then drop in some b-b's. I dry fit the model together and set it on my work table that is flat & level. If it set's on it's nose, I take the model apart and remove some b-b's and tape the model back together and set it back on the table. If it doesn't set nose down on the table, I add more weight. I may have to repeat this process a few times until I get just the right amount of weight to keep the model on its' nose.
If you get too much weight in the model's nose area::
"Over time the nose gear can sag and/or break, which happened to one of my models back in the early 1980's."
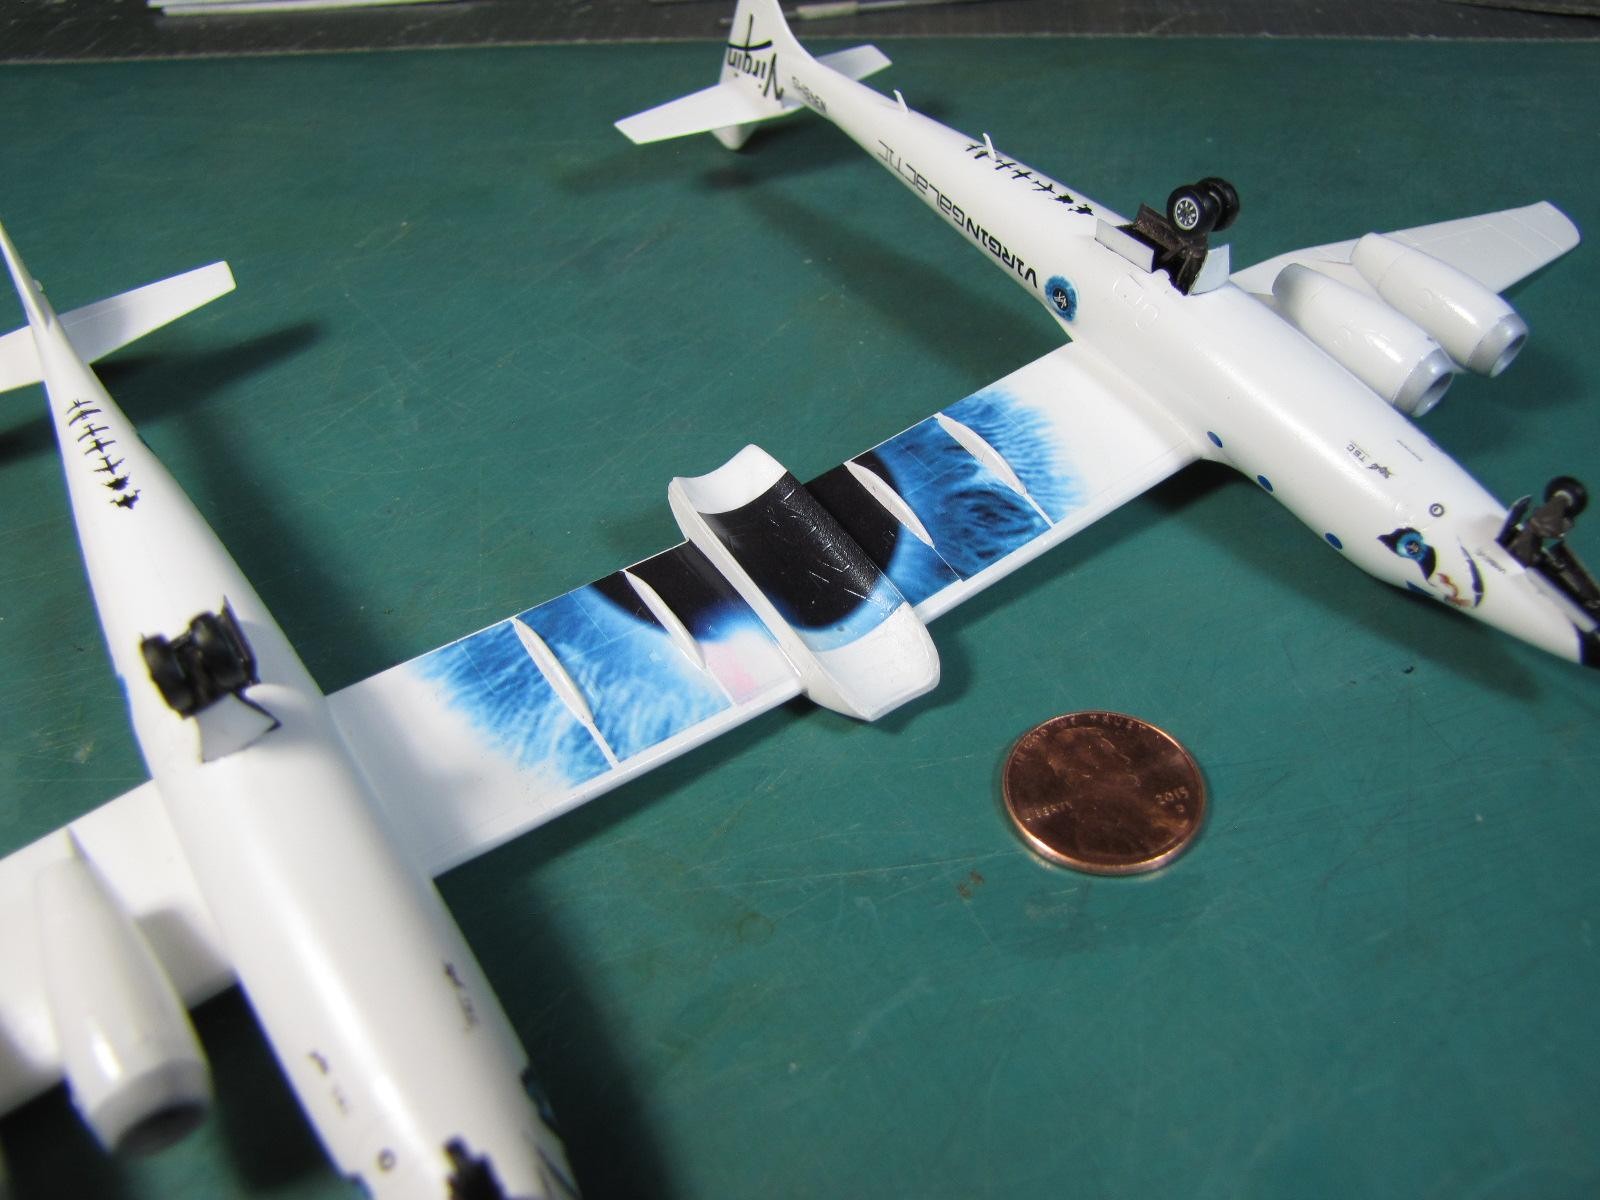
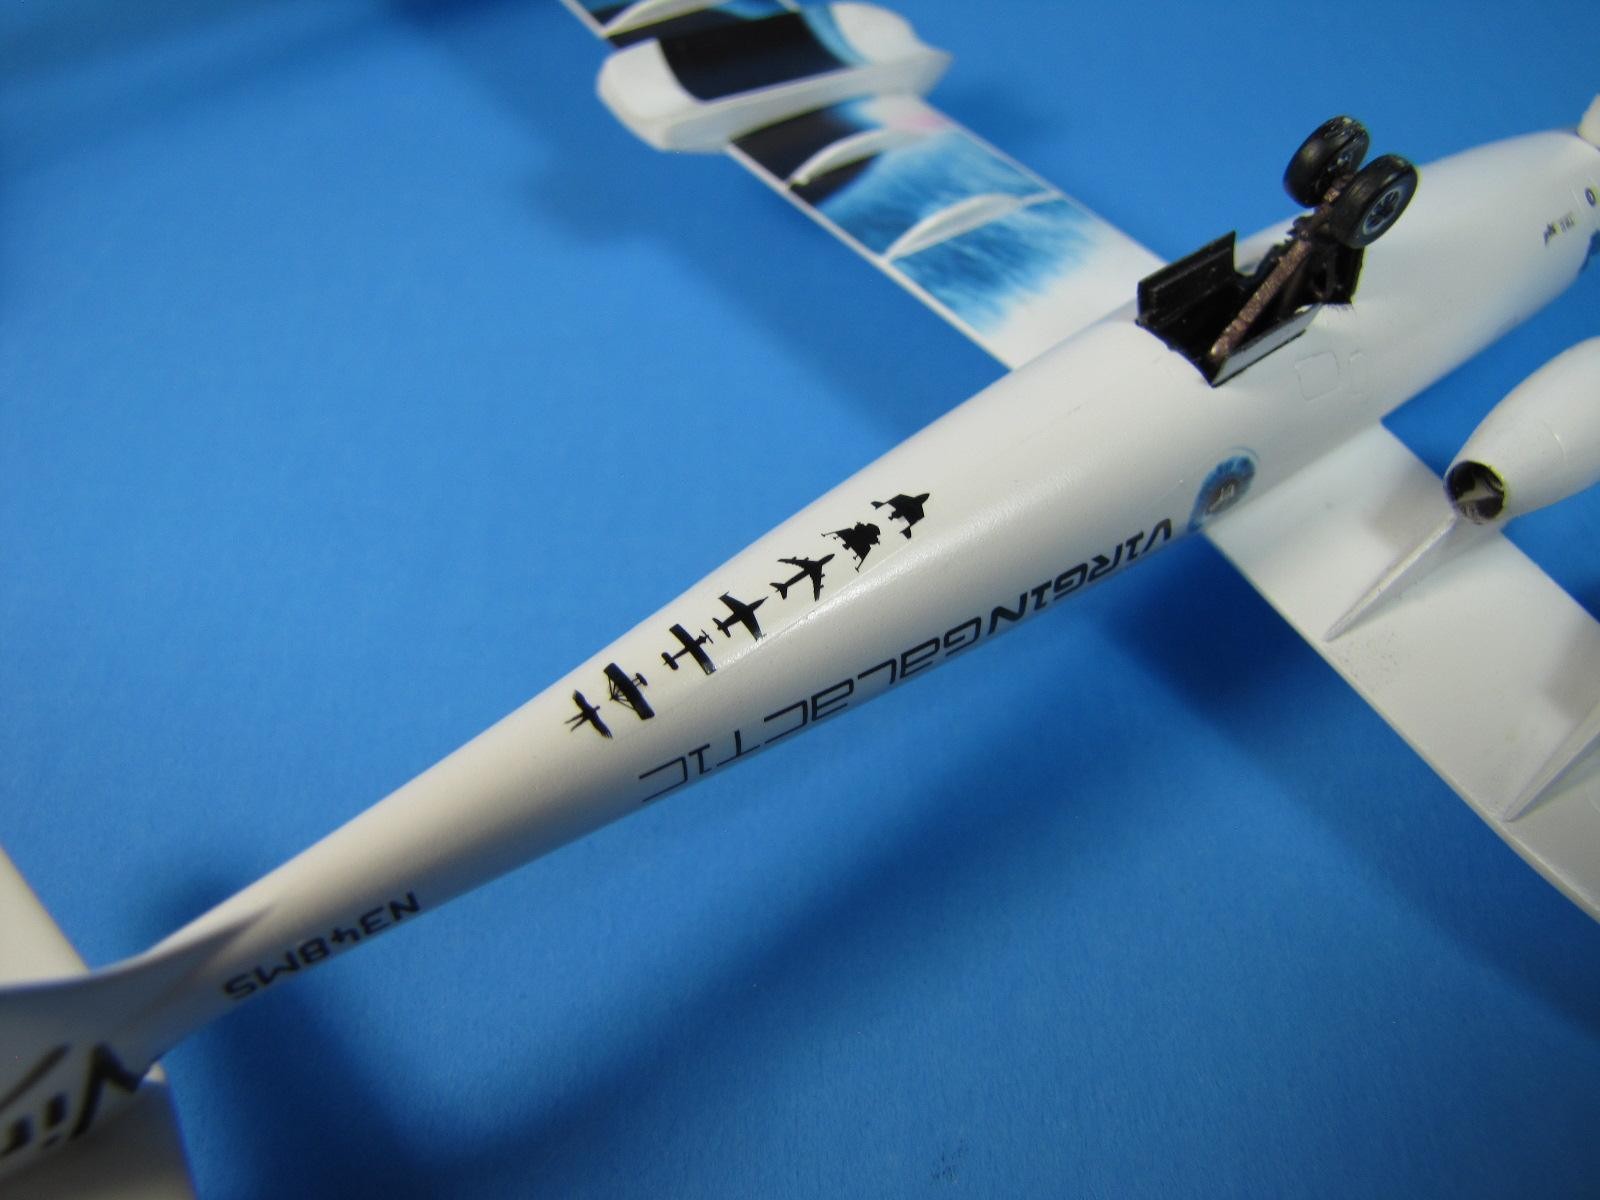
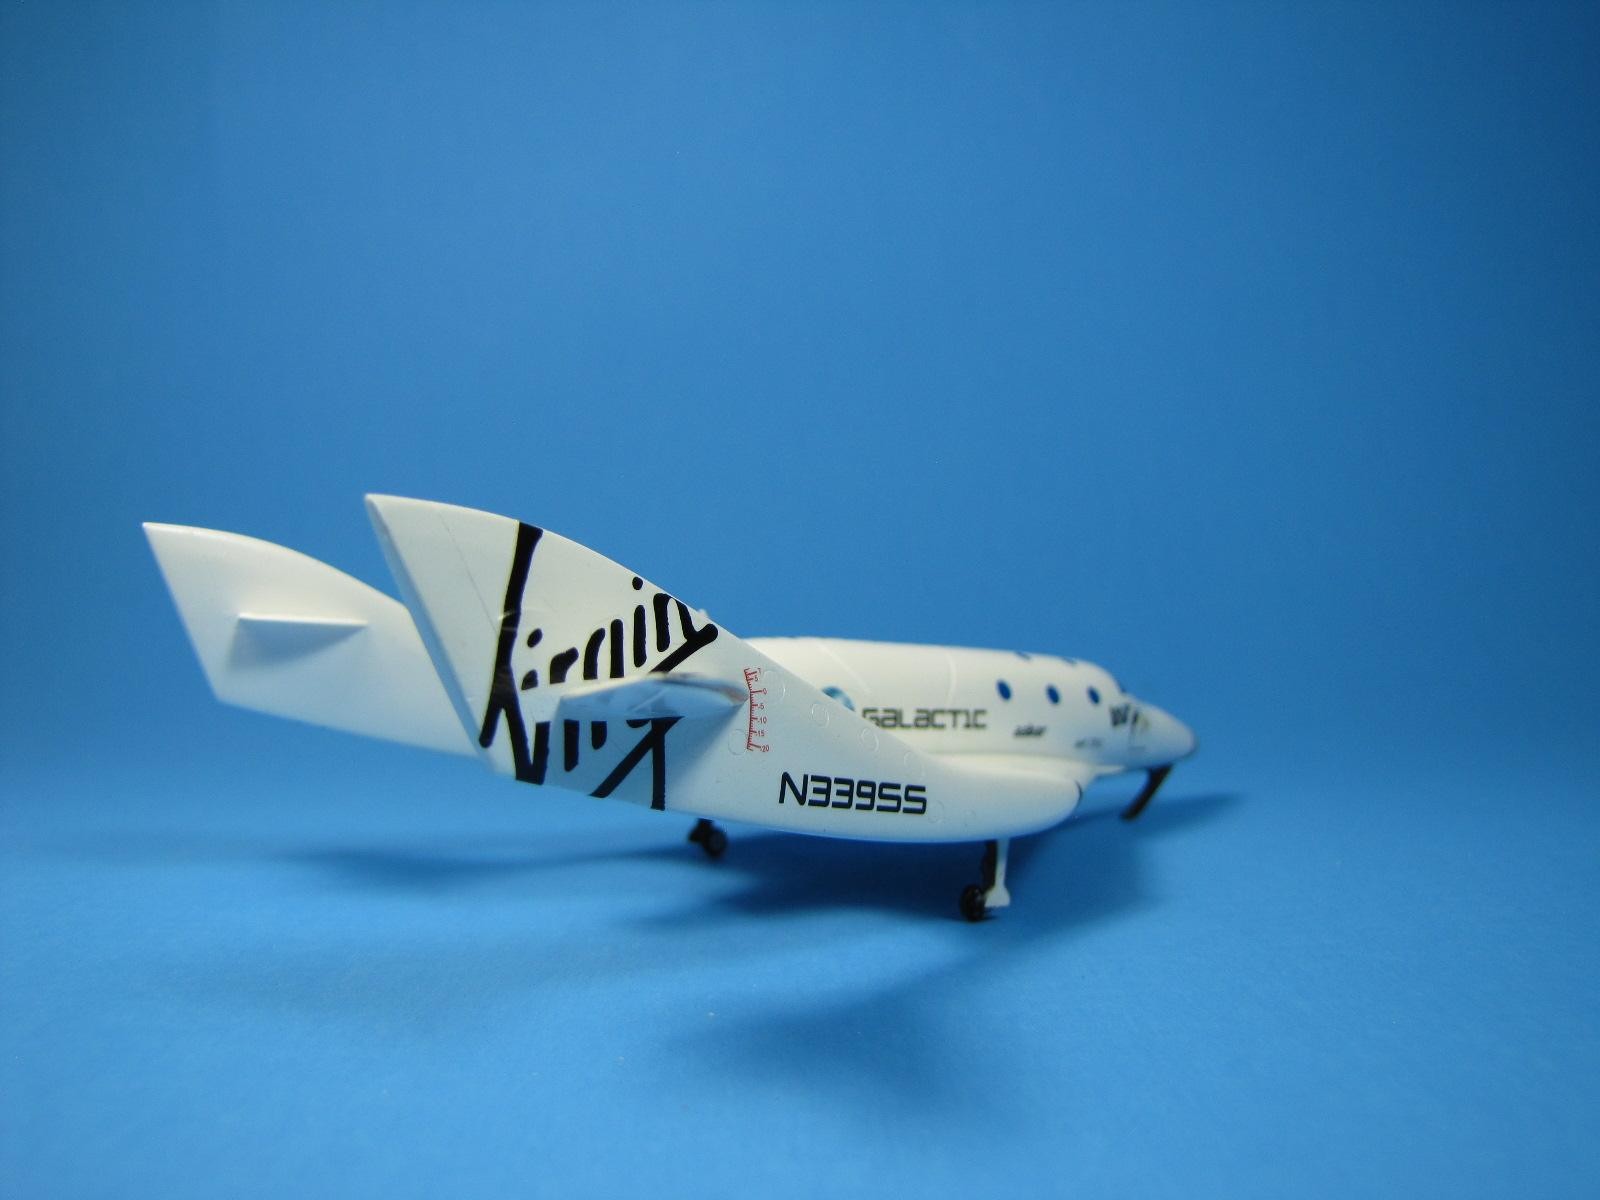
I glued in all the clear windows and sanded them flush with the 3 fuselages, then painted over them. I felt that is was easier and faster to use the window decals, rather than mask all the window's off. My paint is the usual Tamiya X-2 Gloss White mixed to a water-thin base by adding 4 parts of Denatured Alcohol; (D.A.),to one part paint.
The kit decals were "A-Number One" In 1985/86 a fellow modeler told me to mix a full bottle of Micro-Set with a full bottle of Micro-Sol, then refill both of my bottles. Next, I place a couple of drops of this "SET/SOL" mix on the decal while it's still on the paper backing. I place some clean water and another drop or more of my "Set/Sol" on the model's area where the decal is to be placed, then just slide on the decal and position it into it's place on the model. I use some rolled-up clean toilet paper and place it on the edge of the decal, and "presto" the paper suck's up the excess liquid. I use a 1/2"wide wet/dry soft brush and smooth out the decal and just let it air dry. The last operation is to clear coat the entire model with my water clear Future Floor Wax,
(F.F.W.) which has been mixed with 4 parts of D. A.
After the F.F.W. drys, it's photography time.
Go find one of these kits as they are a joy to build, then fly it out to Mars and I'll meet you there. Rodney!


Fantastic job on this kit Rod, I saw it for sale once and was tempted but all those tiny windows put me off , I didn't realise there was a decal option as well , pity that...
Still well done on a very unusual subject.
Neil: Maybe it's still out there for sale...if not...and you still want one...
Mine is for sale...price is determined on the "TV Slogan"..."WHAT'S IN YOUR WALLET."
I don't think the window decals came in the kit but were made by me. I'll have to go look at all my
"in progress" building photos.
Back again Neil:
There are no windows on the decal sheet, which means that I made them and I should have posted the decal photo.
1 attached image. Click to enlarge.