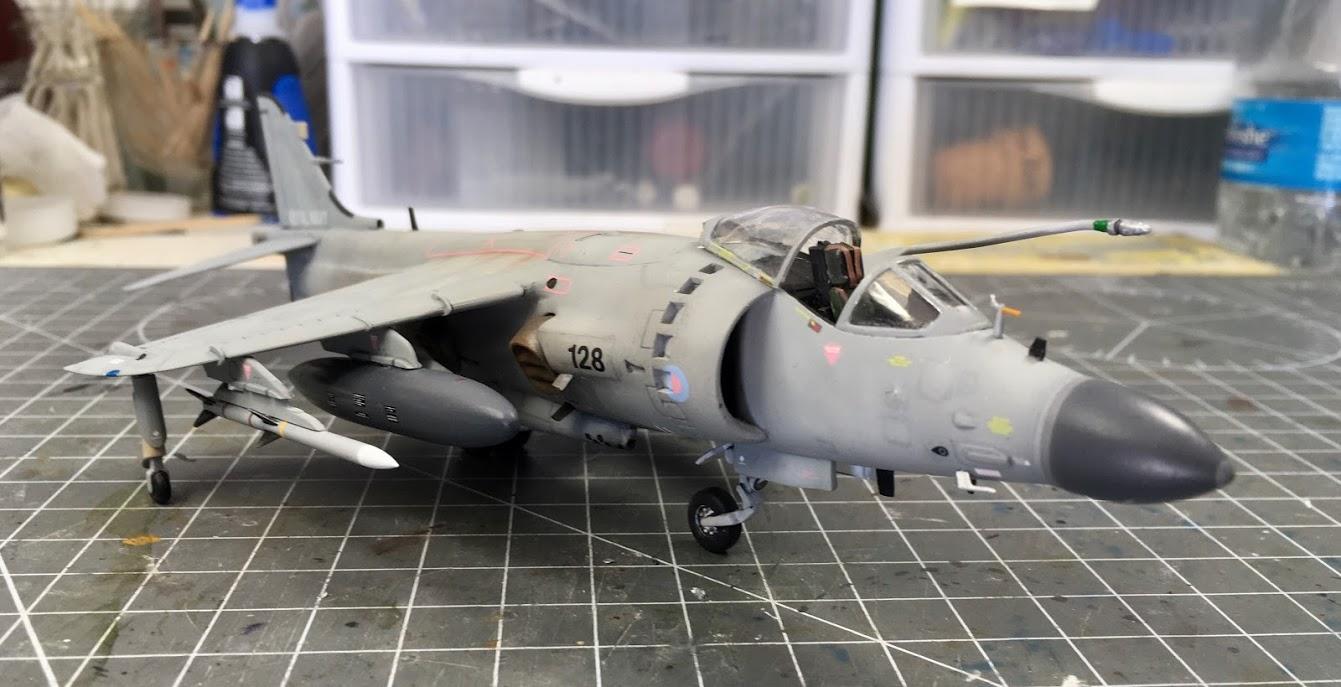
Sea Harrier FA.2, Airfix 1/72
Introduction:
One of the advantages of building in 72nd scale is that kits are small and cheap enough to allow me to build aircraft that I'm “kind of” interested in (basically every airplane ever made). As an example, I picked up this new Airfix Sea Harrier FA.2 when it was on clearance at my local hobby shop. Never one to turn away from a bargain, I shelled out my $15 USD and away I went.
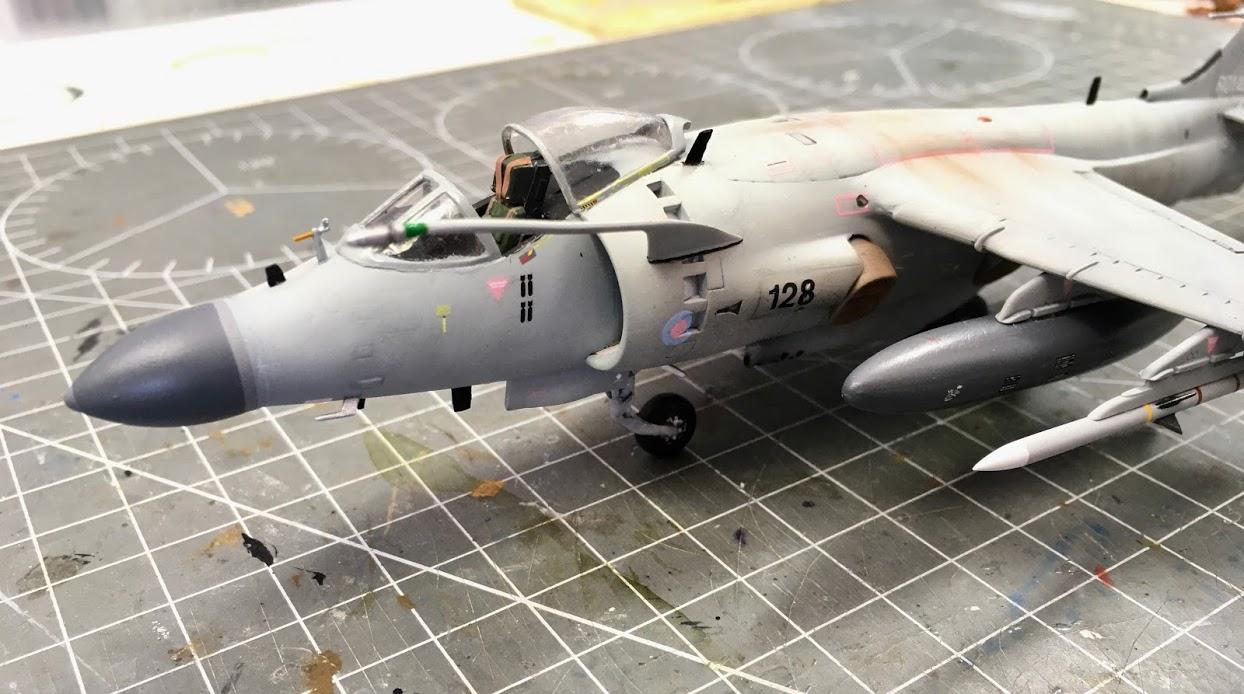
I feel something of a connection with the Harrier, as the first tethered flight of the prototype Hawker P.1127 occurred on October 21, 1960, a mere 5 days before I was born. I also well remember the success of the original Sea Harriers in the Falklands War of 1982, where they got a lot of press over their 20 air-to-air victories. The FA.2 was an outgrowth of the FRS.1 Sea Harrier with a stretch in the fuselage behind the wing, and an upgraded radar in the nose, which gives the FA.2 a distinctly “beaky” bird-like look, and much better air-to-air capability. The last ones were retired from the Royal Navy in 2006, but the V/STOL concept lives on in the F-35s that are currently working up on HMS Queen Elizabeth.
The Build:
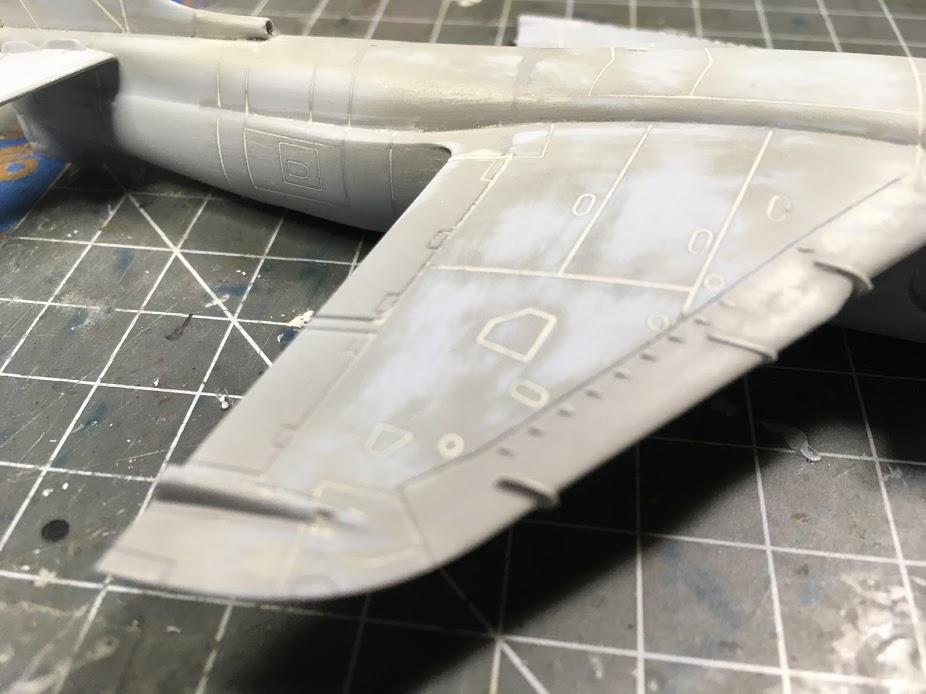
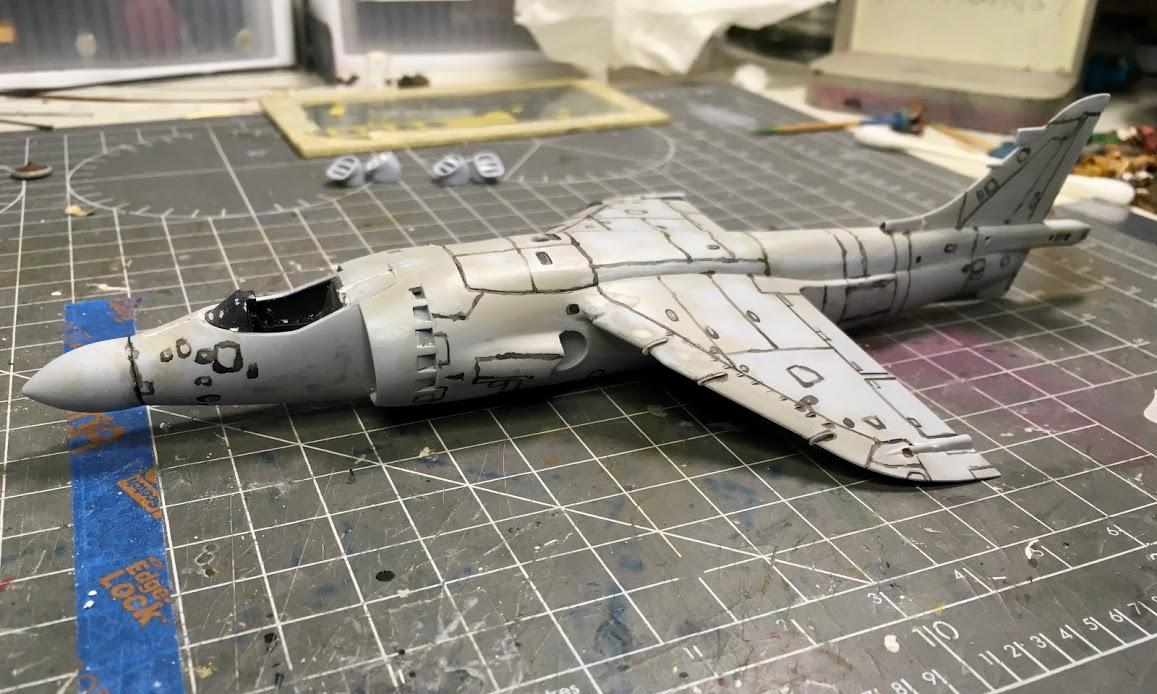
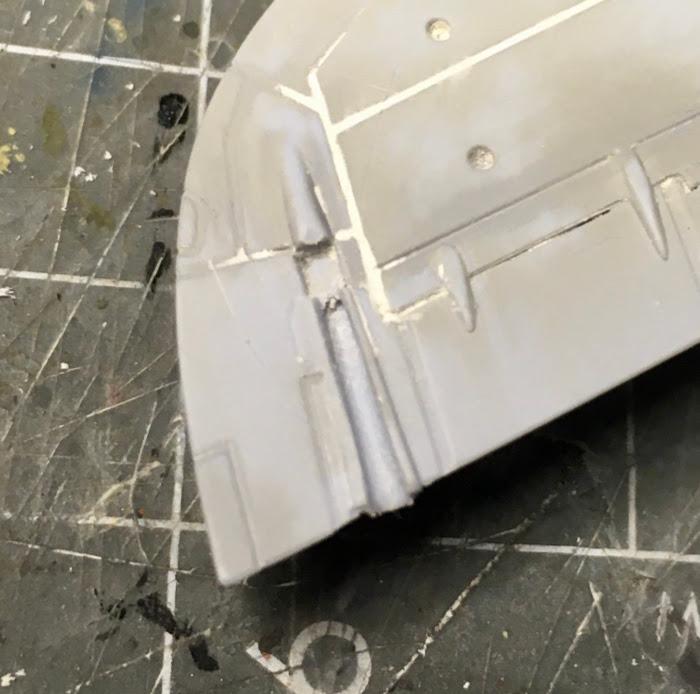
This kit is definitely “old” new Airfix, as it was first issued in 2010, and it has the deeply engraved panel lines and somewhat iffy fit of the early Hornby-era kits. The cockpit was done completely stock, save for seat belts made from Tamiya tape. Fit was far from perfect, with the nose and intakes requiring some putty to blend them in. I would have posed the canopy closed, but the fit was not good enough. The outrigger gear bays were molded solid, so I used a chisel and file to open them up. After getting everything together, I filled the overdone panel lines with Perfect Plastic Putty, which took less time than you might think, as I was able to wipe the excess off with a damp Q-tip (cotton bud) before it dried.
Finishing:
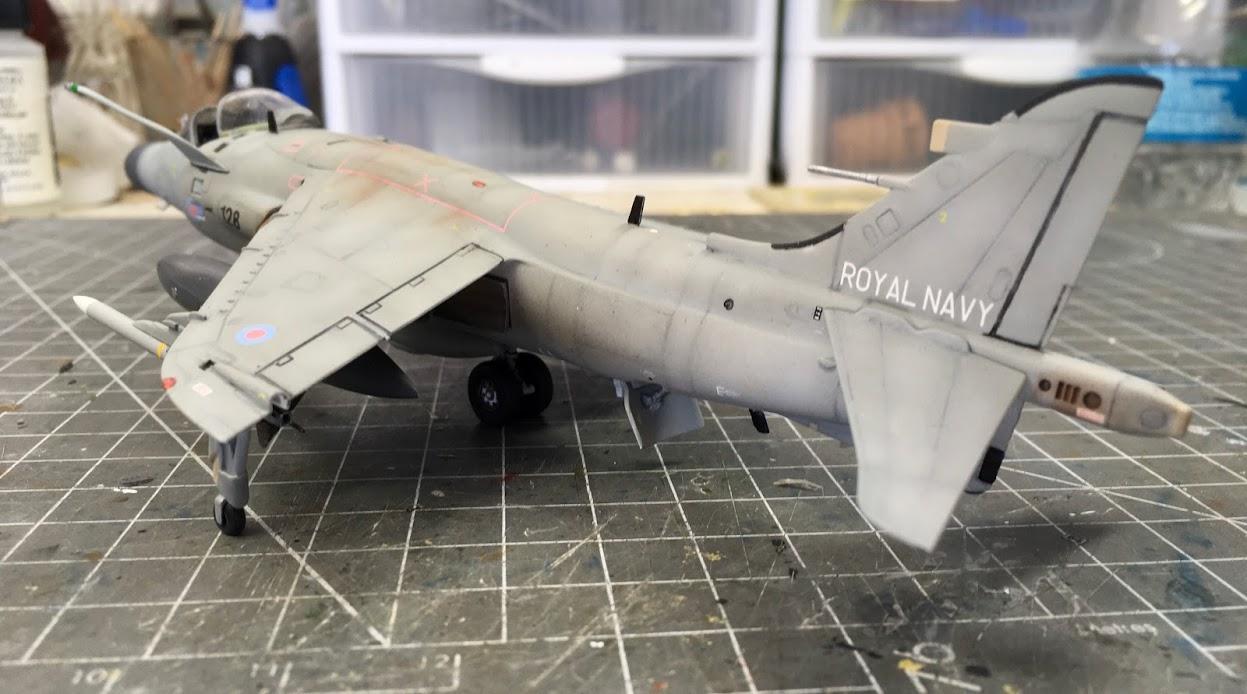
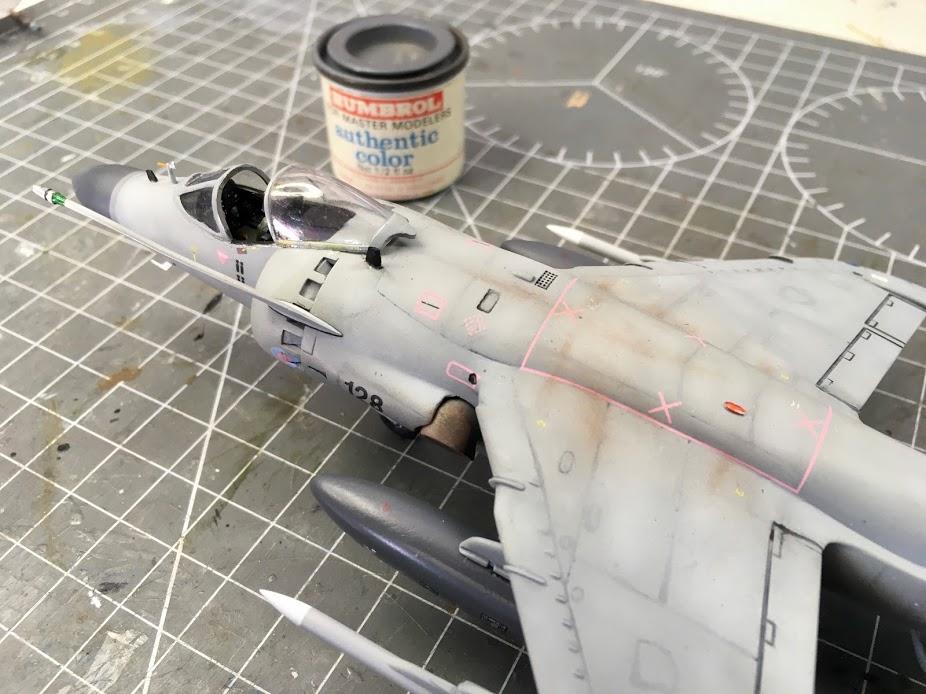
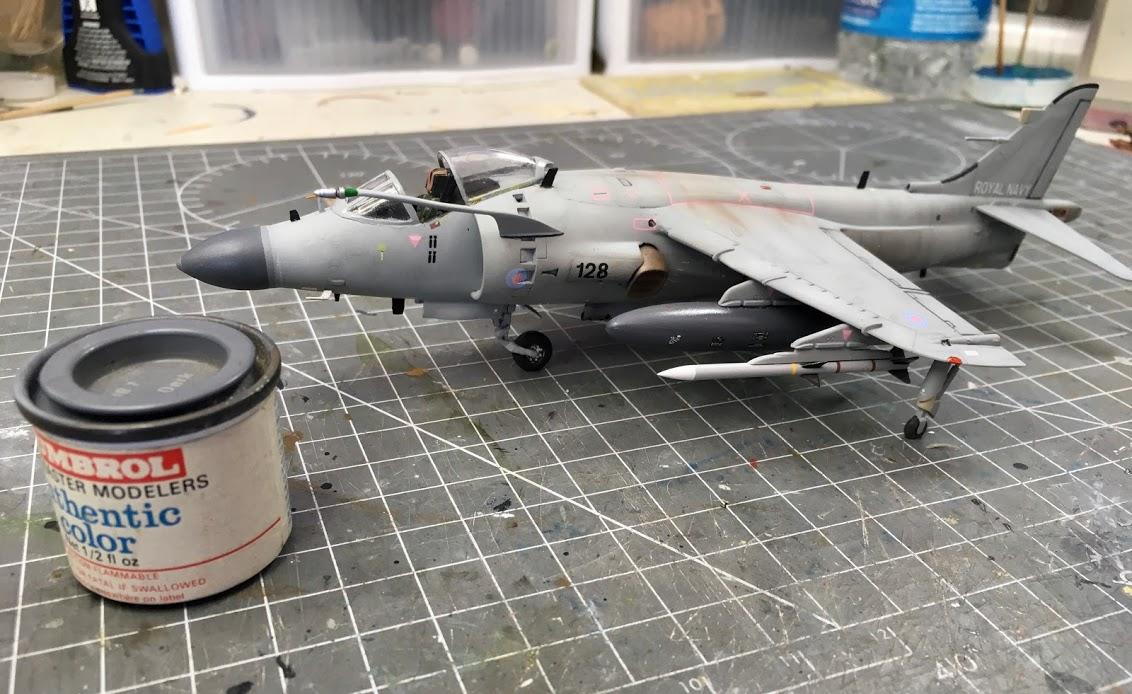
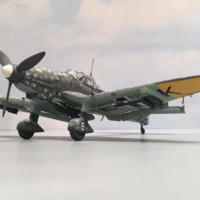
The minimized panel lines were given a wash of black Tamiya Panel Line Accent as a pre-shade. The monochrome paint scheme was done with Tamiya paints: XF-83 Medium Sea Gray 2 (overall airframe), XF-54 Dark Sea Grey (tip of radome and band around aft end)(both lightened generously with XF-2 white for scale effect), and XF-24 Dark Grey straight from the bottle as a stand-in for Extra Dark Sea Gray (radome and external tanks). Post-Shading with even lighter XF-83 added highlights in the mid-panel areas. The engine nozzles have a nasty seam right down the middle that took some work to eliminate. They were painted with Metalizer Stainless Steel from a rattle can, and weathered with Tamiya Smoke and pastels. Decals are the included ones from Cartograf. They are fantastic and most needed no setting solution. They did take ages to get on though; there are a ton of stencils that barely show up on the finished model, and the other markings are the low-viz type that purposely blend in. The only ones that have any individuality are the 4 bomb mission marks on the port-side nose, and an illegible graffito of some sort scrawled onto the port external fuel tank. Markings are for a No. 800 Squadron FAA aircraft from HMS Invincible during Operation Deliberate Force, Mediterranean, July 1995. Flat finish is from Vallejo, and it is VERY flat (hides a lot of construction sins). Some subtle "Gentlemen's Scale" weathering was added with pastels.
Final Assembly:
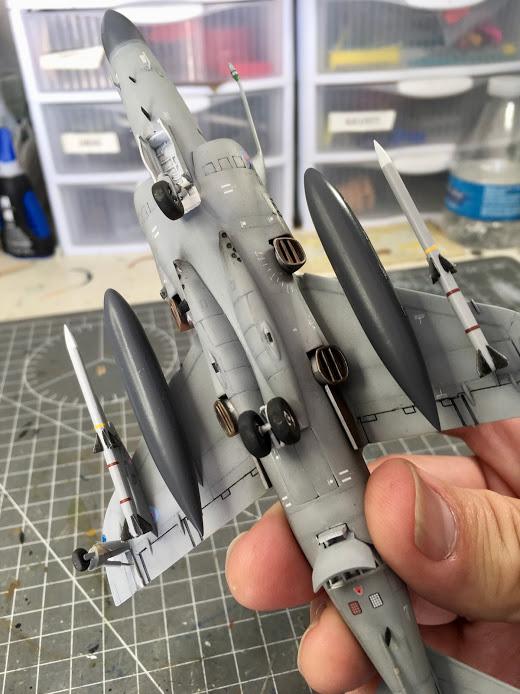
After decalling, I adding the landing gear, and to my delight all 5 wheels touch (well, there might be half a millimeter of air under one outrigger). I added the millions of little blade antennas that cover this thing (some are from the kit, some are plastic sheet cut to size). I debated on whether or not to add the refuelling probe, as you know that thing's gonna get knocked off right away. In the end I thought it added a warlike feel to the build, so I used PVA to attach it so that if it gets jostled, the weak joint will give way before the probe snaps.
Conclusions:
I enjoyed the build, it was a definite change of pace from my WWI builds. I have another Airfix Harrier (the GR.3) in the stash that I wouldn't mind building (also bought on clearance). The fit issues aren't all that bad, and the finished bird has a kinda funky charm to it that grows on you. As I said in the intro, it sure doesn't take up much space in the display case (Humbrol tin only for reference, no vintage paints were harmed in this build).

That's a beautiful build, Andrew.
I love the weathering, too!
Thanks, Spiros. Have to keep it light in 1/72.
Extraordinary!
Thank you very much.
Well done on that exaggerated panel lines. Looks much more realistic now!
Thank you. Those trenches had to go, especially with a light color.
This is a real nice Harrier, Andrew.
Thanks for detailed building progress.
Thank you.
Great build! Thanks for the tip on filling the panel gouges - I'll try that next time I tackle one of these Airfix kits. I use a baby wipe to smooth out the Perfect Plastic Putty and it works great also...
Thanks! No babies in the house anymore, but I think I’ll pick up some wipes and try it your way.
Looks great! Hard to believe how long the Harriers been around. The P-1127 showed up on an episode of the old TV show The Saint. I was in the Navy when the Marines just got their AV-8A's. They sure were noisy.
Thanks, Robert. Those first-gen Harriers had a good run.
Nicely done Andrew.