Mustang for 2…or…
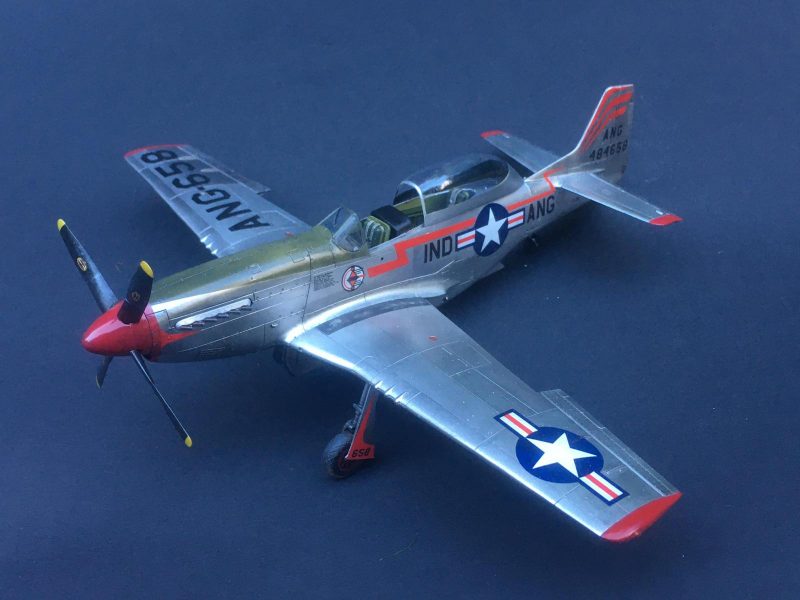
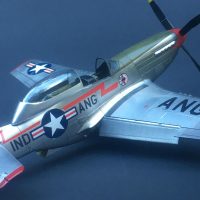
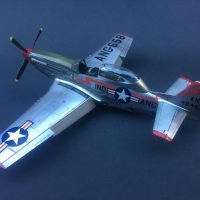
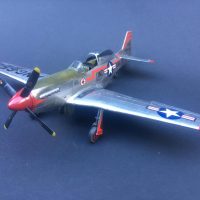
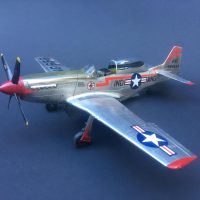
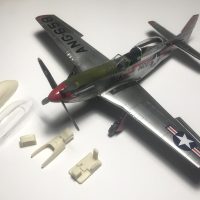
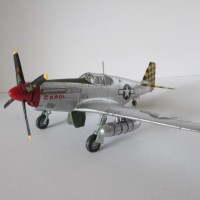
The grocery getter. After my Alclad debacle I decided to strip all the usable parts from the airframe and call it a day. Around that time a friend of mine scored a TF conversion kit with the intention of doing Toulouse Nuts. With nothing to lose with my botched project I thought I'd give a go at doing a conversion. I'd been eyeballing the resin molding kits at Hobby Lobby for a while thinking maybe a racer conversion. I took the plunge with the starter kit and some Bass wood...and a lot of YouTube videos. It's not that bad! Making the master parts was pretty straight forward with all the photos out there and many from my collection. The canopy was the last hurdle. I made the canopy plug from Magic Sculpt and refined the wood frame with Tamiya Primer to get it perfectly smooth. The first few attempts resulted in a very bubbled finish. The heating of the PetG can be tricky and it boils down to eyeballing the "sag" as the plastic warms up. The model is finished with Alclad Aluminum, Dull Aluminum, Stainless, Polished Metal, and Tamiya colors. The decals are from Mike Grant. Over all this was a fun project and I've got the molds to make quite a few...bring on Toulouse, Crazy Horse, Lady Jo...maybe Little Witch
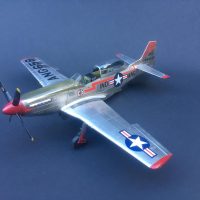

Jim @jimh
I stopped by and visited your old friends the other day... and my wife took this picture of me standing next to Toulouse Nuts.
They have her covered and she's doing well. The day this picture was taken it was approaching 100 degrees, and nearly 100 percent humidity. It was a VERY hot day and it shows... man I look old ! I need a haircut too...
It's great to see you back here posting again. I like what you're doing. What did you do for a vacuum machine ?
Nice pic Louis, just a bit of heat and humidity I see to brighten up that smile next to that Mustang.!
Great shot Louis! Tempus Fugit for sure. I found a dental vac on eBay for $80...it was recommended by a friend on a Facebook modeling page. Toulouse is looking good. I know everything from Collings is pickled for now, but AA is a good place for them. Be on the lookout for a B-17 in the very near future.
Will do buddy... please keep in touch, and thanks for the information on the vac machine. Yes they have several of the planes pickled here at AA for the time being. Several of the guys working here asked me to tell you they said hello, and to stay safe.
Betty Jane is getting closer ... They have completed the majority of the paint work on her too. Here's a more current photo of your old ride.
Stay safe and healthy my friend...
Excellent work on the Mustang's Jim, Before discovering Vallejo metallics. It was the Alclad finishes I was using for awhile. (right only one F-86 Sabre in Alclad). Used it on like metallic areas on the airframe, (guns, exhausts, unpainted panels, etc.) I liked it but, but just be careful with the clean ups and lots of air around you, not good for enclosed spaces. Looking forward to more of this series of Mustangs your working on.
There was an unforgiving learning curve to it, but I’ve got it figured out. The Alclad black primer is junk...switched to Mr Color gloss black and their clear coat for the Alclad base. It works like magic. BUT, check out Model Car World for their line of natural metal colors. I’ll be switching to them as soon as they have the full line completed.
🙂 ... Greetings ... 🙂 :
Good looking build Jim, a Mustang is always a welcomed sight. looking forward to it's completion.
That's a wonderful job so far, Jim. I so much like it when a salvage operation brings on a nice result after a mishap.
Louis, @lgardner, this is such a nice photo! You are an all weather man, extreme temperatures and humidities included!
Looking great!
I like everything about these pictures of the real plane @lgardner and of course about the build too, Jim!
Glad you guys like this! I’ll be posting more soon, decaling this weekend. I picked up some PetG plastic locally so fingers crossed it works!
Got the vac machine and pulled the first canopy. It worked! Although I let the plastic sheet sag too much before forming, it left some nasty bubbles. It also showed the flaws in the plug, so I refined it more with primer and wet sanding. It’s currently in silicon so I can Cast resin copies and make more than one canopy at a time. The airframe is basically done, just have to glue on the prop blades and the clam shell doors. For grins I painted the flawed canopy just to see what she’ll look like. More to come!
1 attached image. Click to enlarge.