The Sound and the Fury

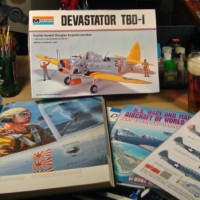
I hadn't built a model airplane in several years, but like a lot of us, have a stack of unbuilt kits to choose from when the itch strikes. I was born a year before the middle of the last century and love the mid-50s Navy aircraft. I had the Hobby Boss 1/48 FJ-4B kit on the shelf and picked up the SAC metal landing gear, a resin cockpit, and some PE. By the time it was done, I snagged a Grand Phoenix kit of the same airplane to get the Hound Dog missile control pod and pylon. I also had the Eagle Strike decal sheet I wanted to use.
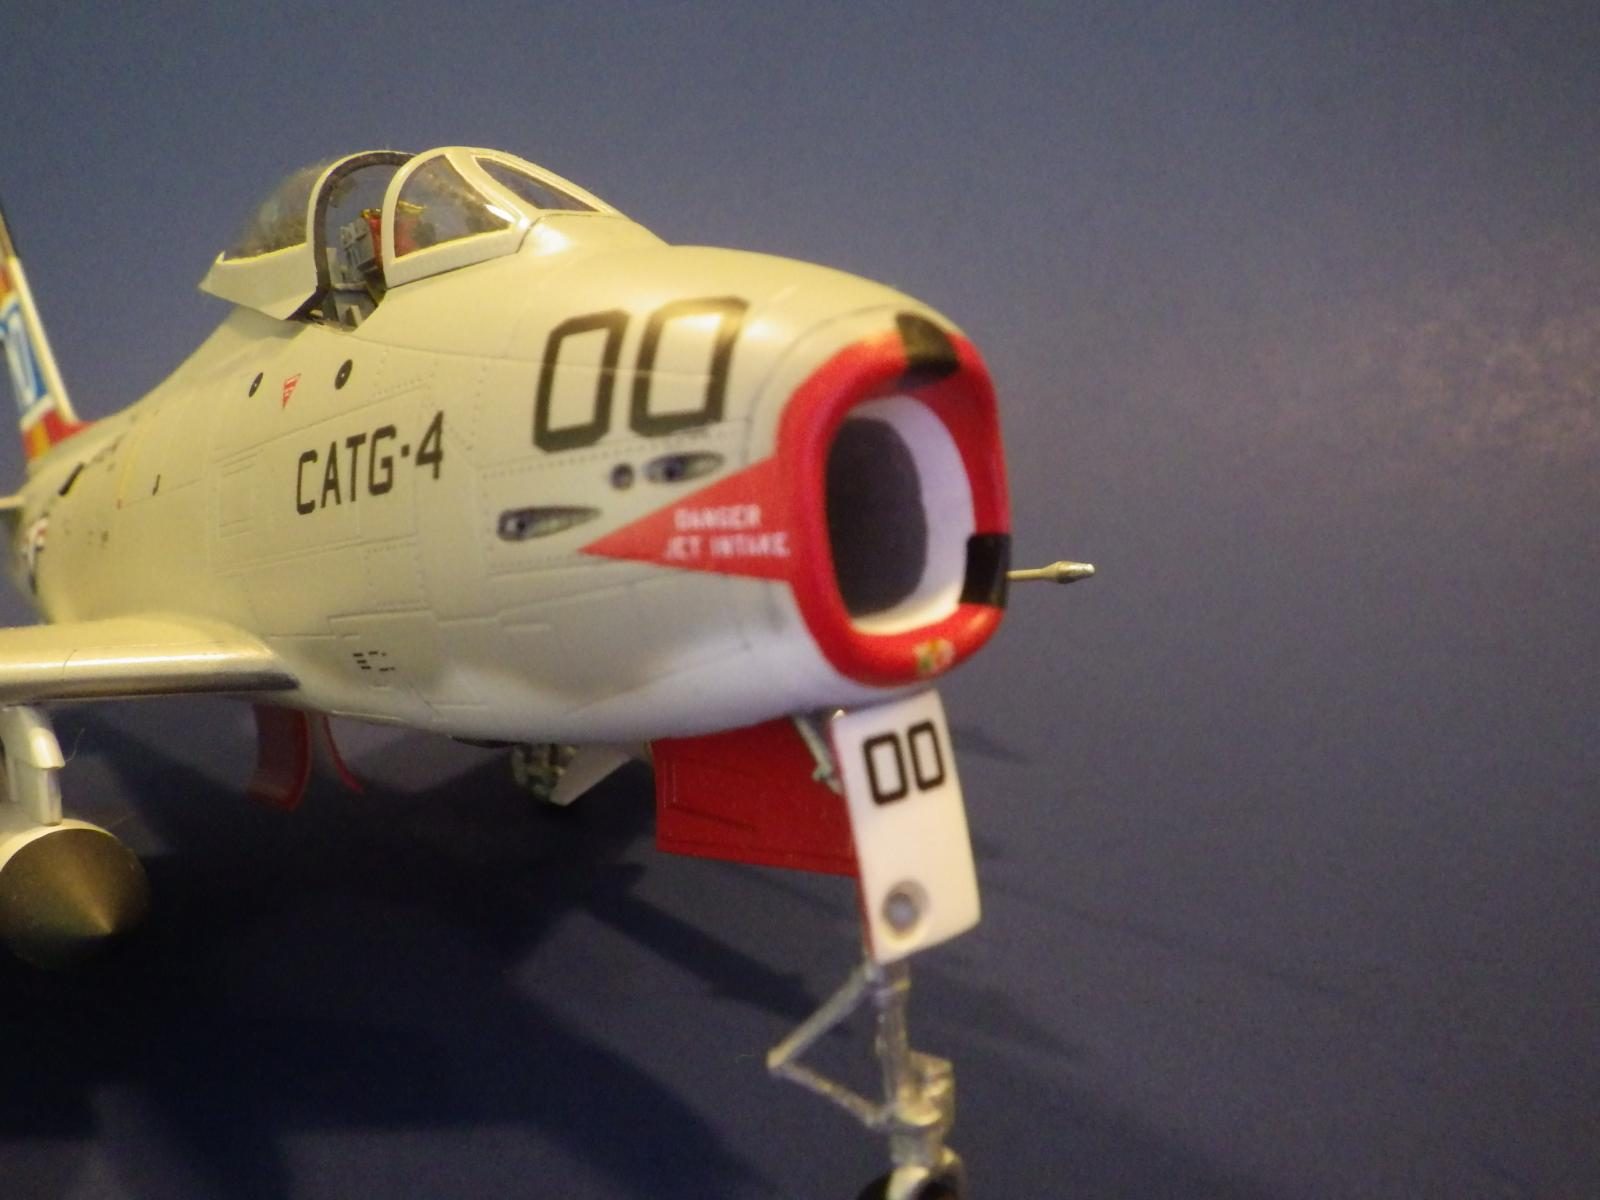
As I started the kit, I noticed the aft fuselage forward of the horizontal stabilizers was wrong. The "crease" forward of the stabilizers should run straight forward and fare into the fuselage, but the kit has it swooping down and then back up. Bondo time. I also found out the nose was too narrow. I partially fixed that by spreading the fuselage halves forward of the wind screen by 0.040" top and bottom. This then forced the same thing upon the intake trunk, nose gear well, and the inlet lip.
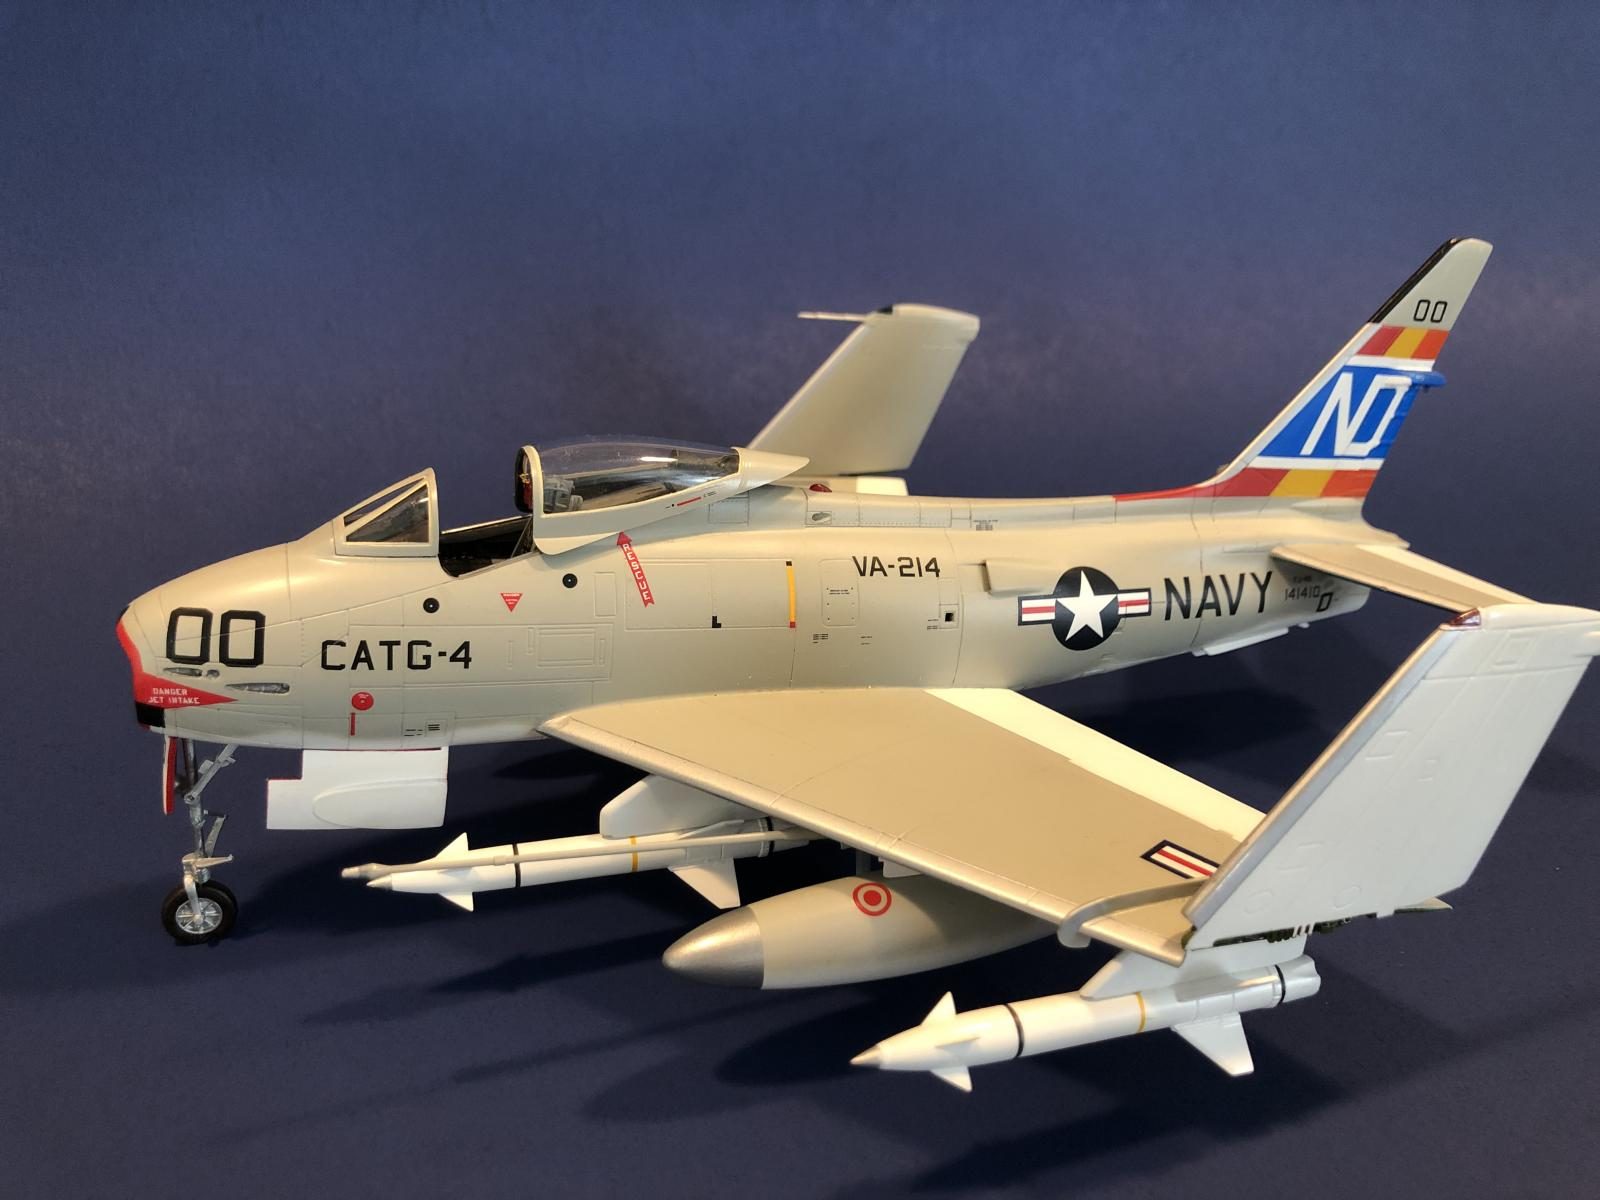
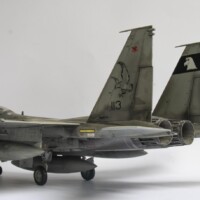
The last problem was the kit decals and the Eagle Strike decals. Both have the colors in the multi-color vertical bands on the vertical stabilizer wrong. Hobby Boss had them as black, yellow, red front to back and Eagle Strike had blue, yellow, orange. As you can see from the color picture of the actual aircraft, it's red, yellow, orange front to back. I cut out the blue/white section of the ES sheet to use over the correct colors I paint. Not a big deal.
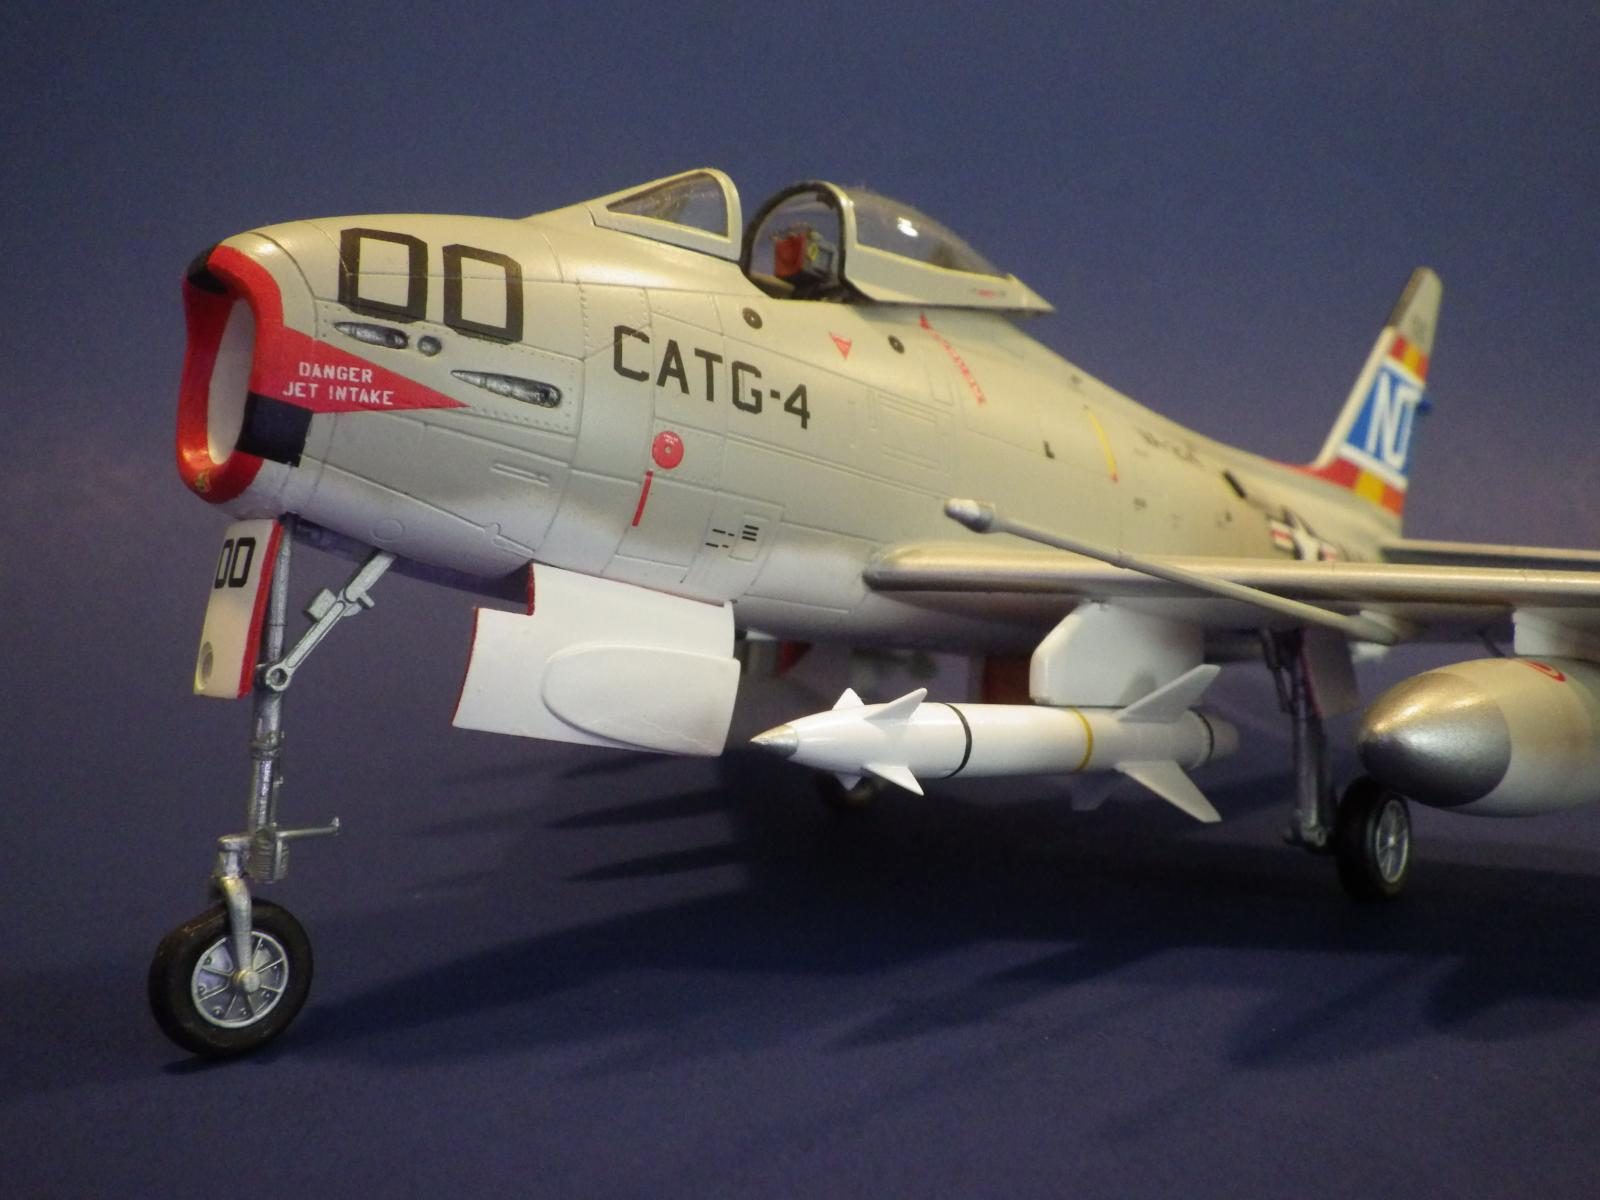
The SAC landing gear is quite nice but the mains are molded identical to those in the kit - in what I call the bone yard position - completely collapsed. I cut the oleo lose and bent the trailing link down a bit and then spliced in a piece of rod to extend the oleo. The SAC nose gear is fine as is.
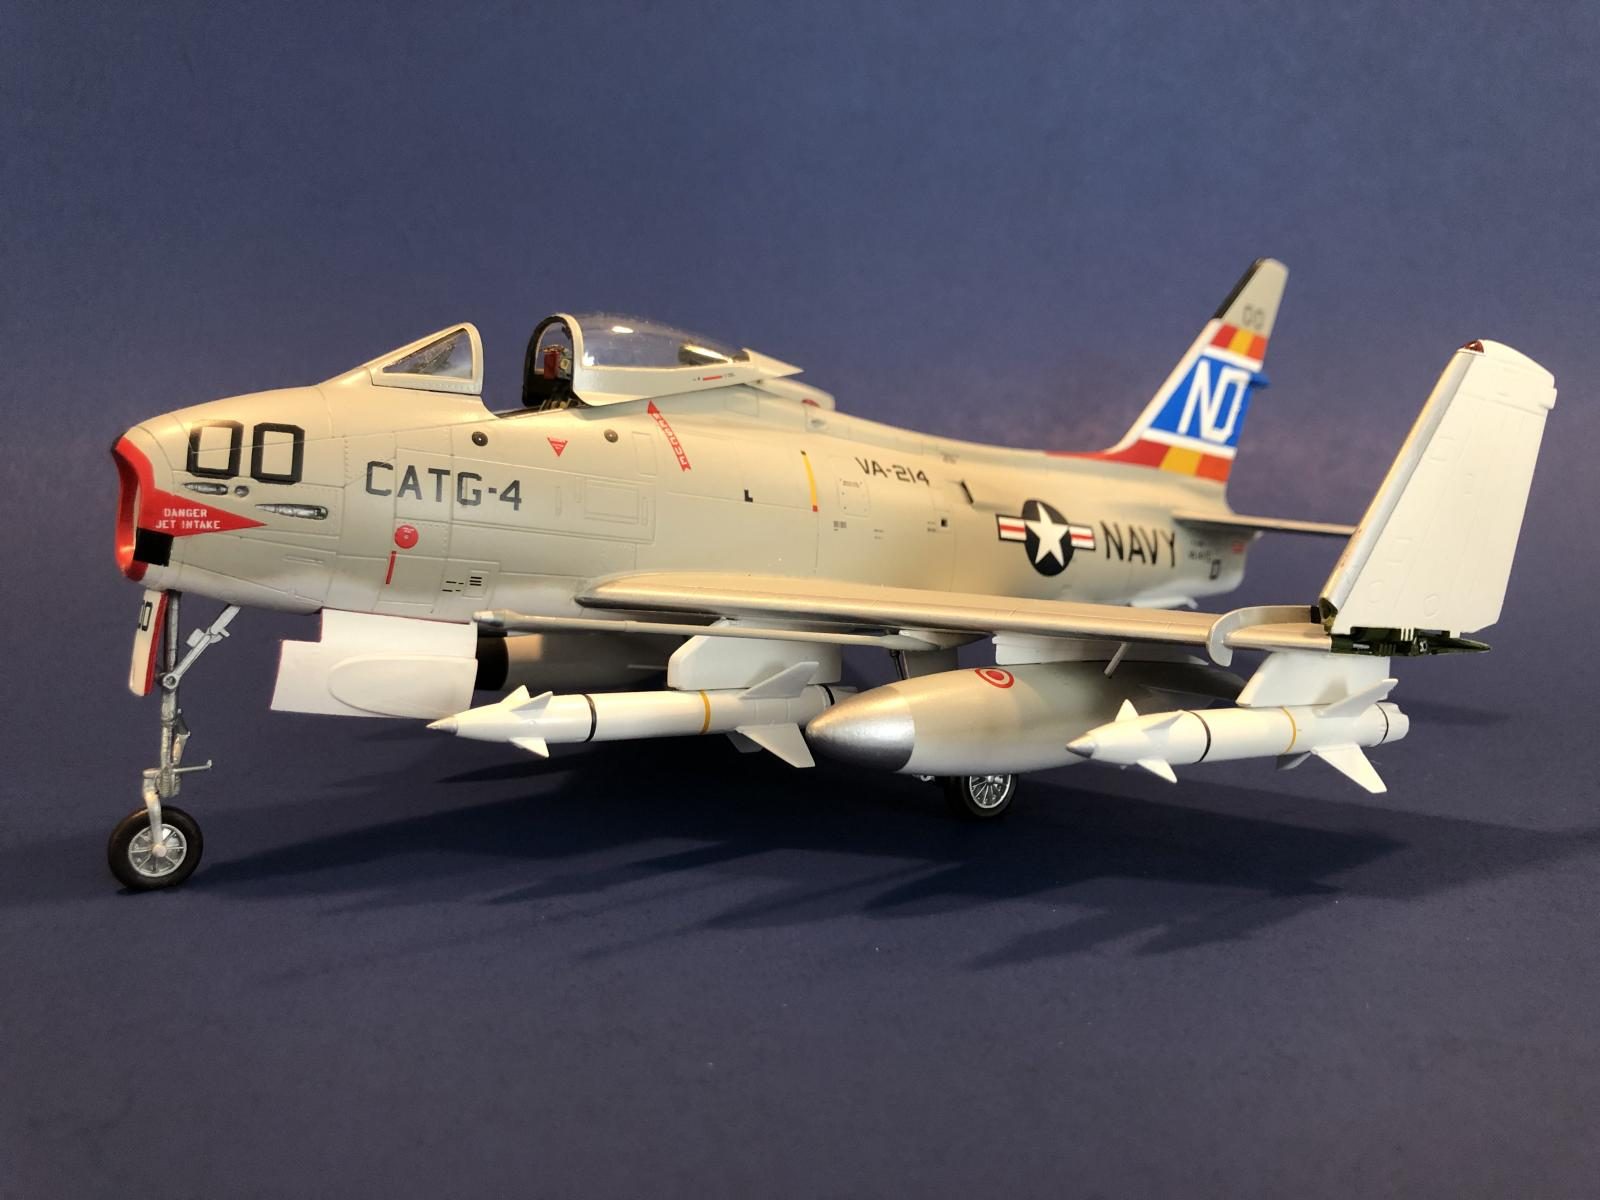
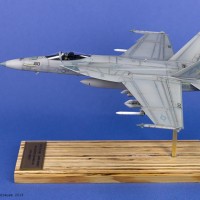
The last mod was folding the wings. The kit is scribed where the wing should fold, but the pieces the kit provides to fit into the wing where you cut are useless. For strength, I bent a 90 degree angle in a piece of brass sheet and put it in the wings. The tips slide down over them. A few scratch built details based on photos and finished up with Model Master paint and a commercial clear satin lacquer over the top.


I have several of these kits, so thanks for the info on the build, Gary (@glgslewis). There are several cool paint schemes for this plane. Do you have any photos to share of the model? :o) Never mind, they just popped up. Looks great.
This is the first time I posted and I had all the pictures there and hit submit and only the black and white picture posted. Went back and did a quick edit to add the rest. Thanks.
WOW! It's gorgeous, great detail.
Thank you, sir.
Nice job Gary @glgslewis. Great first post!
Thanks.
Excellent work!
Thank you, sir.
Beautiful early Nav-air jet! Welcome aboard.
Thank you, sir.
Nice work and a great result.
Surprised you didn't use more of the GP kit. It's a good collection of "aftermarket."
Thanks. I used the Bullpup pylons and the guidance pod and pylon from the GP kit. I think that's where the detail under the back of the canopy came from.
🙂 ... Greetings ... 🙂 :
Welcome to this forum. As this being your first post ( hopefully not your last ), you picked an eye popper. Really nice work Gary, one can see the F-86 in this one
Very nice model indeed. Welcome aboard - it is a great place to share your builds. Looking forward to see more from your workbench Gary (@glgslewis).
Very well done.
A great build - well done!
Excellent model, Gary @glgslewis!
Welcome aboard!
Welcome, you made a great entrance posting this model, Gary.
It looks real nice.
Gary that’s a lovely Fury, with some very nice details, especially the wing folds - the kit doesn’t give you much to work with does it?
Nice save on the rear fuselage dent too.
Bravo!
Thanks. That's true, the kit internal wing structure for the wing fold is useless. Genter's book has one good picture of the area.
Hello Gary,
Firstly, most welcome to this dedicated modeler side.
Your first entry is a very special one. The Fury is a kind of collectors item. Rarely seen.
I am not a expert on this type of aircraft, but your replica in scale 1/48 looks fantastic.
Could you explain some more on the control pod of the Hounddog.
Is it the first pod on the starboard wing!
Regards,
Dirk
The Netherlands.
Dirk,
Thanks for the complements. Yes, the pod was always on the inboard pylon on the starboard wing. I got mine from the Grand Phoenix kit. Check eBay, there are a number of those kits available. However, zoom in on the box lid and make sure it mentions the Bullpups and the pod. Some GP kits don't include those. I used the Hobby Boss missiles and the GP pylons since the HB pylons were wrong.
Best wishes,
Gary
Hi Gary,
Thanks for the update.
Much appreciated.
Regards, Dirk.
Terrific model @glgslewis! What did you use for the canopy sealant stripes? It really looks neat! 🙂
Thanks,
I don't remember the brand, but one of those mask sets. Just google canopy mask set for the FJ-4 and a couple should pop up. If you can't find any, let me know and I'll dig out the remnants of the one I used and advise the brand.