1/32 Trumpegawa Grumman F6F3 Hellcat
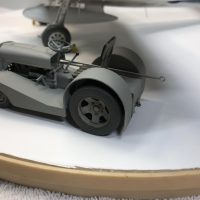
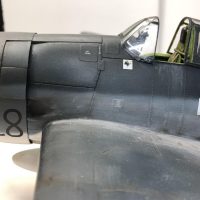
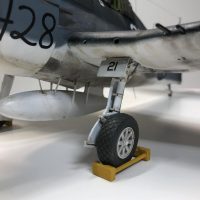
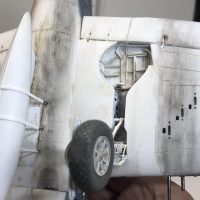
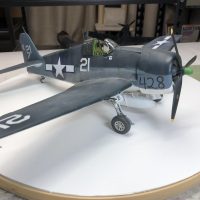
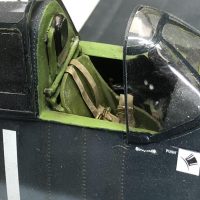
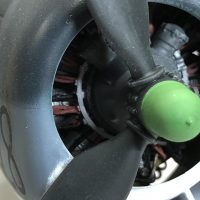
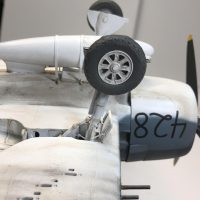
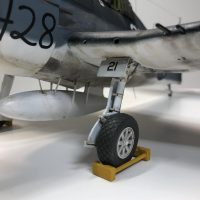
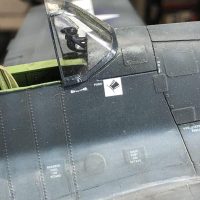
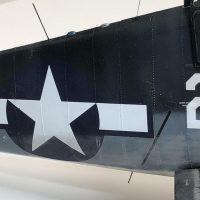
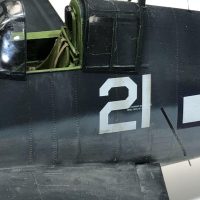
I was intrigued in doing this conversion of Trumpeter wings/ Hasegawa fuselage after reading an online article someone who had accomplished this. Looking on eBay this spring, I saw both kits for $30-40 range. Wheels began spinning and I bought one each. Also got the Eduard wheel well set. Ordered Archer rivet set to replace rivers to be lost. The Hellcat had ridgelap fuselage panels with positive rivets. Now prepared, I began. The Trumpy fuselage is really as bad shape wise as mentioned in articles. Therefore, the Hasegawa fuselage was mated to the Trumpeter fuselage. First, I rebuilt the interior. Both kits needed help here. So parts box and styrene were used to better represent the interior. I also had to build some detail behind the bulkhead that separated the cockpit from posterior fuselage with styrene channel pieces and new styrene bulkhead. Sorry no pictures of this part of project. I also made new quarterlight windows from CD case material. Proceeding to the engine and cowl, I used the Trumpeter engine with the Hasegawa cowling. The fuselage was glued up , and engine/ cowl interior were painted and fit of engine into the cowl was modified for a good fit. Once this was done, I moved onto the wings. I used the Eduard set to improve the wheel well detail and wheel doors. Once complete with this, I moved to the fuselage/ wing joining. I had to do some styrene/filler modifications to the fuselage behind the firewall to the wing join area. Also, due to thinner fuselage of the Hasegawa kit, I had to use styrene strips to fill in the spacing between wing and fuselage. Really not too difficult. Next step was to sand down fuselage rivets and describe the rear fuselage panels. After looking into information how much overlap there was with ridgelap and decided not to try to mimic that. I used Archer rivets to reproduce the look of the positive rivets. Once these were in place and primer shot on, I was satisfied with the look. Landing gear was added and painting began. Since I was using Tamiya white primer this accelerated the process. I used MM intermediate blue and flat sea blue for the rest of the exterior. Used Alclad gloss coat to prepare for decals. I used Techmod decals for a Marianas Turkey Shoot example. Weathering was done with white added to the flat coat. Then, onto oils, Future mixed with chalks for liquid staining, and chalks burnished in with stiff flat end brush for gun and engine stains. I finished by adding antenna wire and wing/ ID lights, and Barracuda wheels. The final stroke was was to build the nice motoring from the Trumpeter kit.
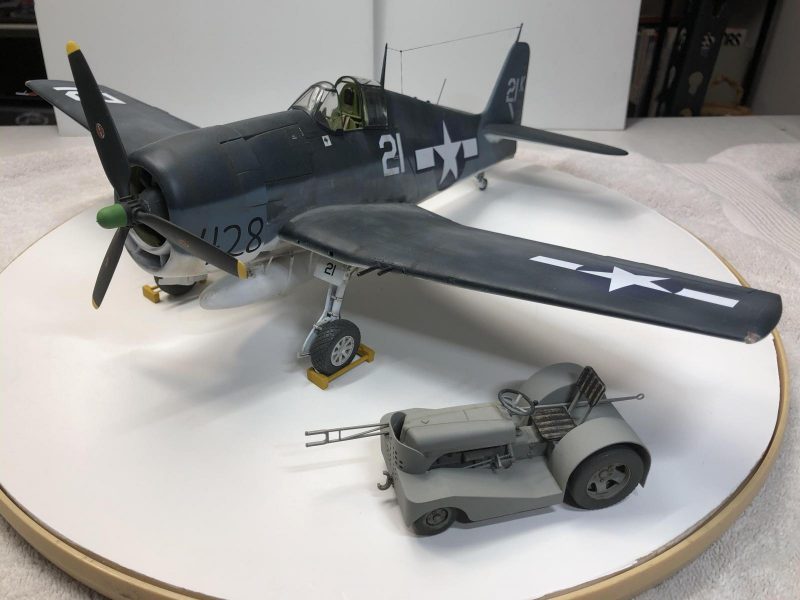
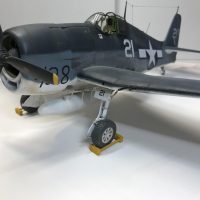
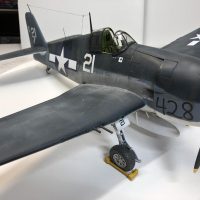
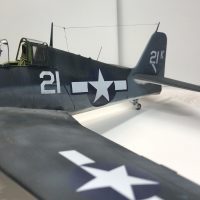
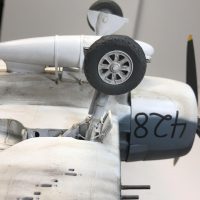

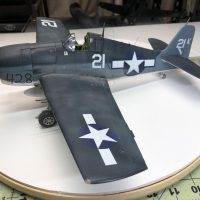
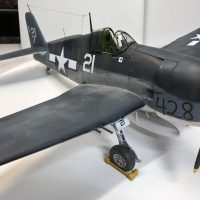
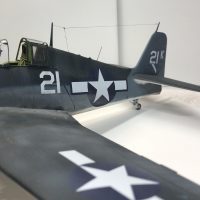

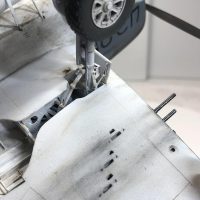
Excellent build or a coming together of the good, bad and the ugly. Trumpeter managed to carry over the fuselage issues with their Hobbyboss 1/48 kits too.
Steve a great job of cherry picking, modeling skill and cobbling together a respectable kit. No kit is perfect but, one can now source enough resin, PE and plastic to move the bar closer to perfection.
Two thumbs up.
Great work and an excellent result.
Kinda like the upscale of mating Eduard fuselage/Hobby Boss (Trumpeter) wings I did a few years back. In my experience, Not Easy.
Another great example of your modelling capabilities, Steve.
This Hellcat is great in all aspects.
Excellent result, Steve.
Well done!
Good looking Cat Steve, your extra work really paid off.
One big beast! Nicely done.