Review: Assembling and Using a Model Jig
For over 20 years I’ve been lusting after a jig to hold my model airplanes in place so I can work on them without gumming up everything with fingerprints, glue splotches, errant paint and breakage. I was just too cheap to buy one. I noticed that Walt B. was using a laser cut wood jig to support his recent GWH P-61 Black Widow "Nocturnal Nemesis" WIP build.
I asked him what he thought of it.
Walt B:
“The short answer is I think it is freaking awesome.
I too, looked at the plastic ones and other options. I don’t know if I got the best one or not, but without using the CA glue on the joints mine is really very stable. Mine is model no. BB-01 by LMG (Laser Model Graver) from the Ukraine.
I really don’t know how I managed so long without it. Aside from giving you a stable platform to apply small fiddly parts, I find for me it reduces the opportunity for me to break the model I am building. Most of my self -inflicted errors occur when I have the model in my fumbling fingers. Leaving the kit in this fixture reduced that problem a huge amount for me
My biggest gripe was the at times the directions for initial assembly were vague and I had components that I don’t know what they are for, and not really explained in the directions. I am not using them and see no reason why I would.
Other than that, I would highly recommend this jig. At $35-40 U.S. it’s a good tool that offers the model builder a stable platform, and not just a third hand, but almost like a third and fourth hand.”
Not One But Two!
That was all I needed to hear. I searched the internet and bought two. One is a laser cut wood jig suitable for scales 1/72nd and 1/48th single engine fighters. For the big stuff, I picked out a plastic jig designed for 1/48th and 1/32nd airplanes. Both jigs are configured for mono wings planes only but adapter parts are available for biplanes.
Consider these like two quick model builds. The same rules of thumb apply: “Test fit three times. Glue once”. Make sure you allow the wood glue to set a couple of hours on the laser cut pieces before proceeding to the final assembly. Takes about half a day total to assemble, glue and allow for drying time to complete the wood jig. About 3-4 hours will be needed for the plastic jig including CA cement drying time and prep. All depends upon how much in a hurry you are.
Wood Jig Assembly:
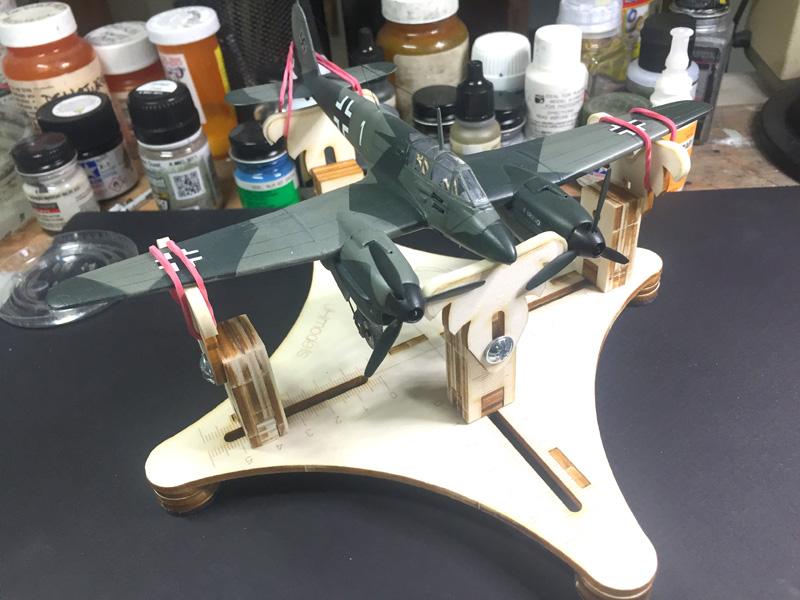
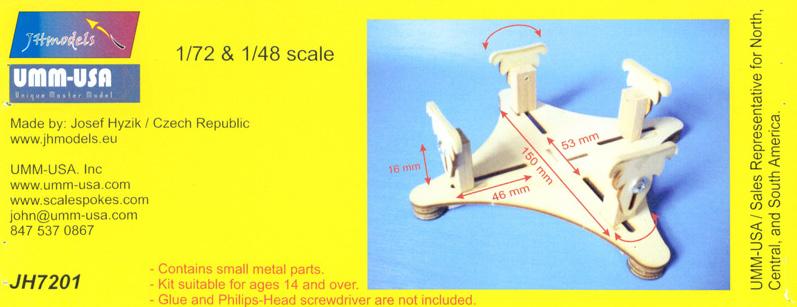
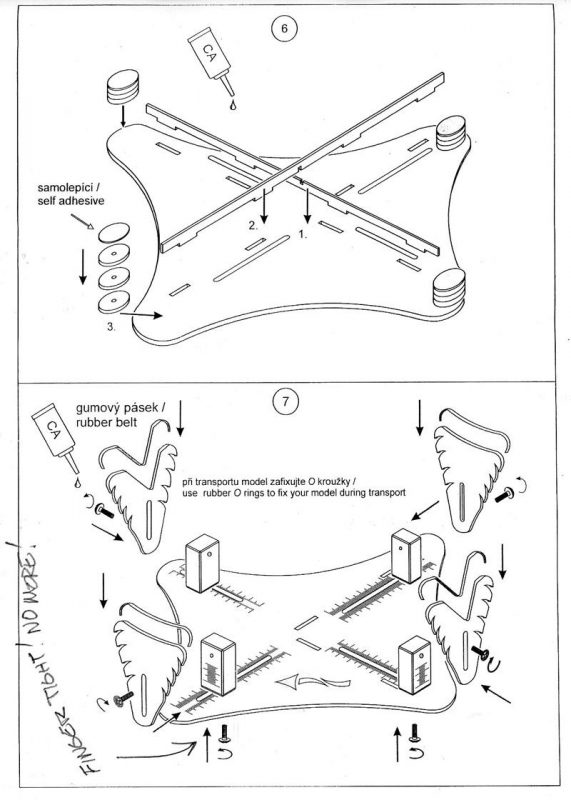
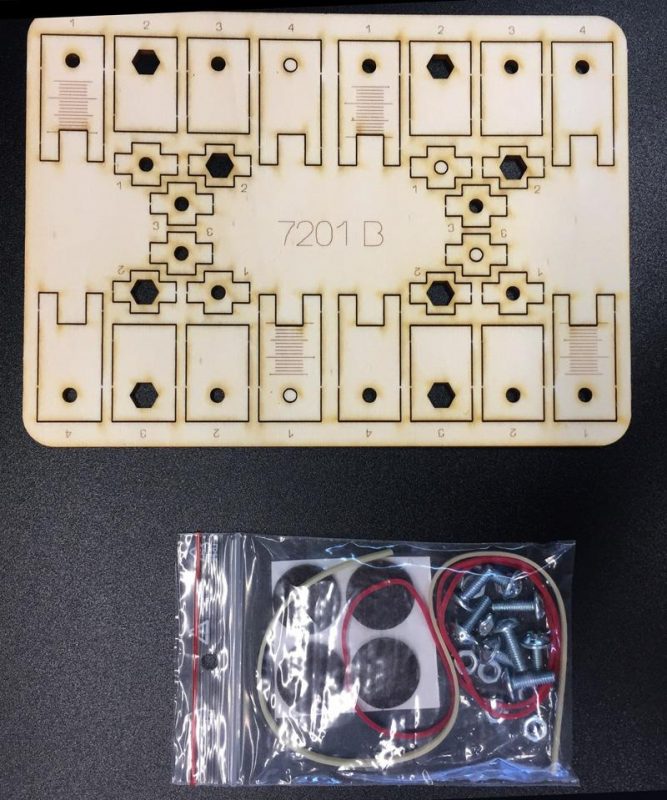
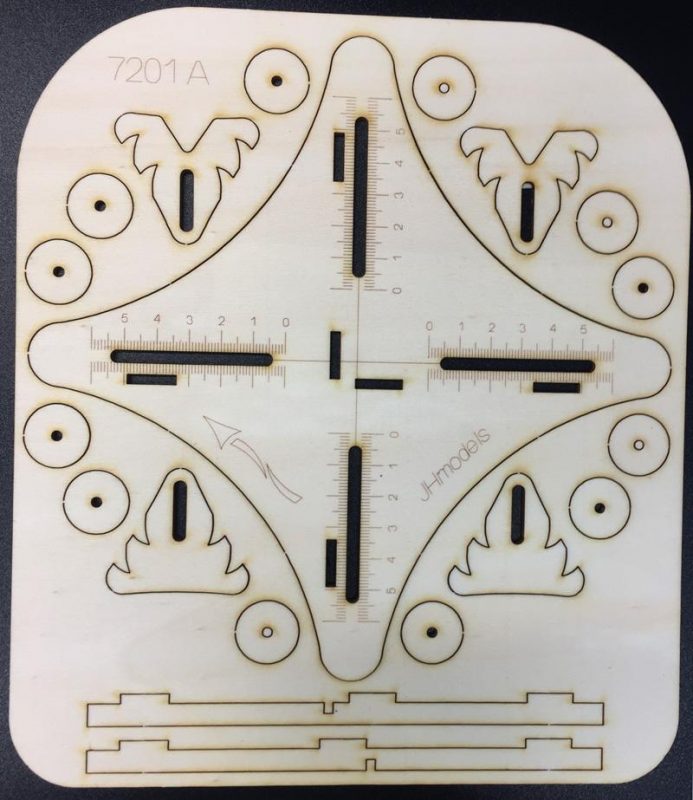
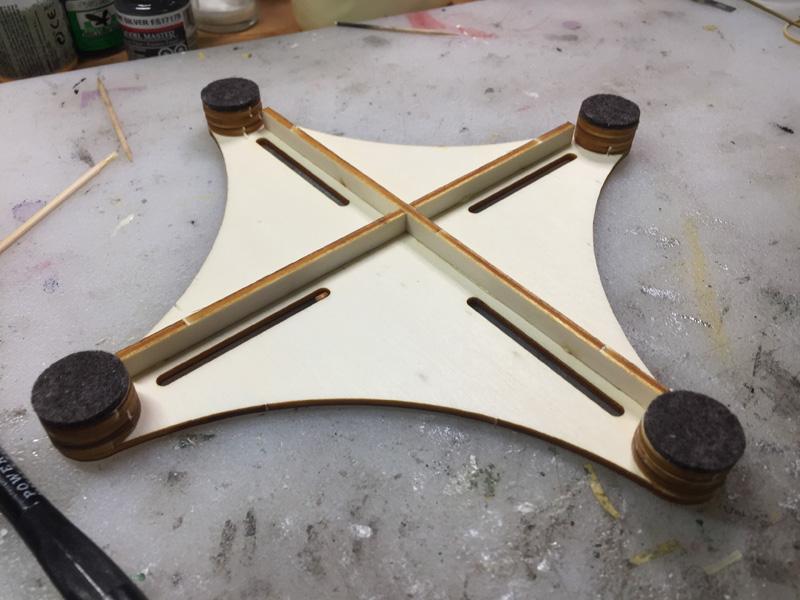
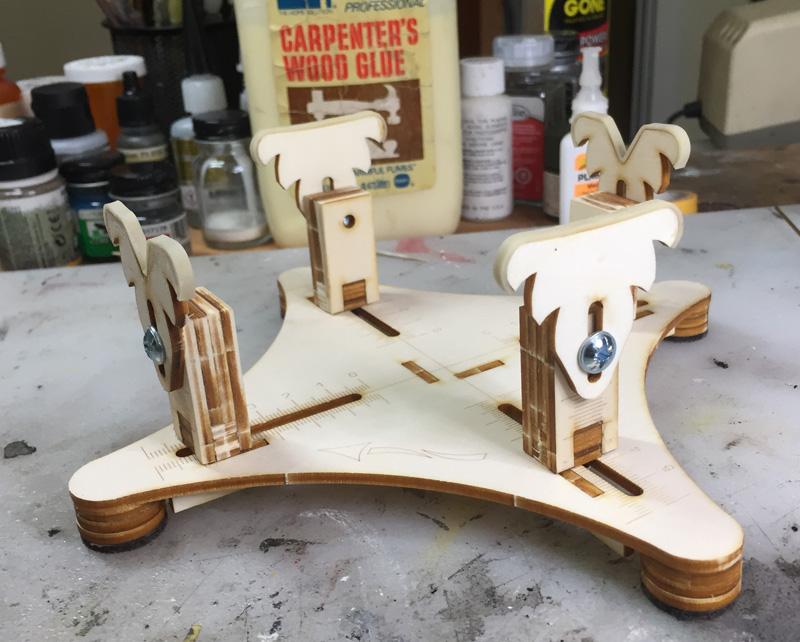
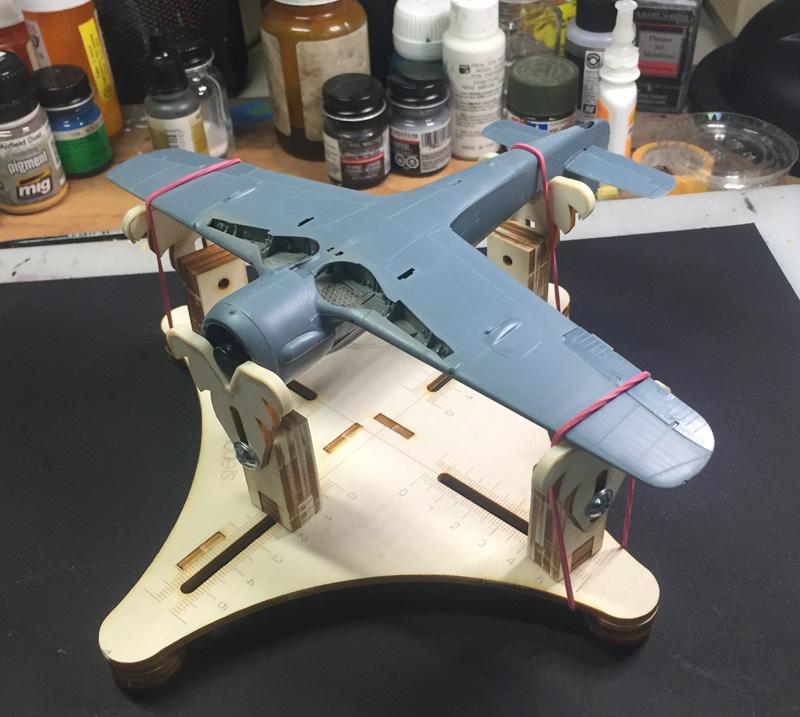
My laser cut balsa-like plywood jig is made by JH Models in the Czech Republic. It comes with two wooden “sprue” boards marked 7201 (for 72nd scale) with laser cut parts and a one piece base, a small zip bag of hardware store bolts and nuts, self adhesive “feet”, decent rubber bands plus a trimmable rubber belt strip to provide a cushion at the contact points. The parts pop out of the board like EZ puzzle pieces and are extremely sturdy with no breakage. A little sanding of the edges is needed. I recommend using water based wood glue for extra strength and use CA glue for the rubber strips. Although there are a few mistakes in translation, the instructions do the job. Pay attention to the cutting template and use the one that matches the jig number on the base.
This little unit is surprisingly stable and quite sturdy. I like that I can hold the JH jig in one hand with the model attached, and paint or glue with the other without touching the model itself.
What I don’t like is, having to loosen or tighten the “back and forth” adjusting screws from the bottom of the base, which is rather awkward but not a deal breaker.
Otherwise, this jig really does the job with its many adjustable configurations. It would also make a terrific paint stand.
Plastic Jig Assembly:
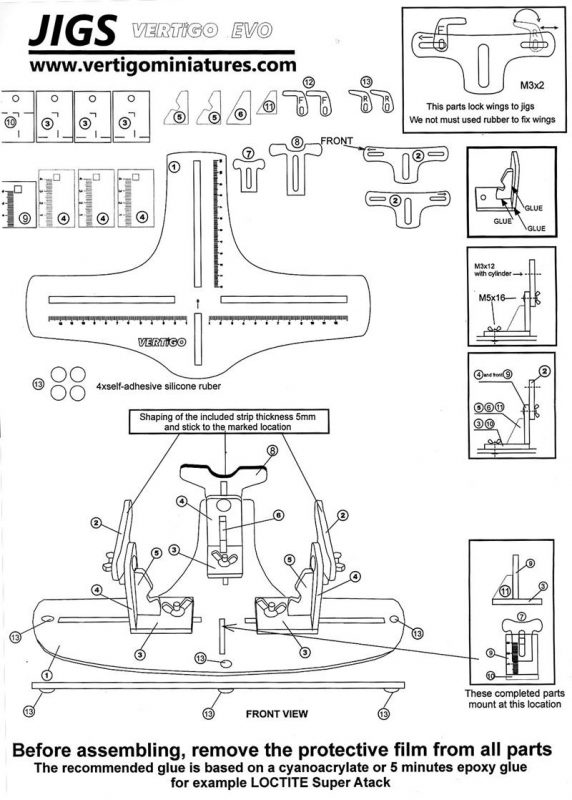
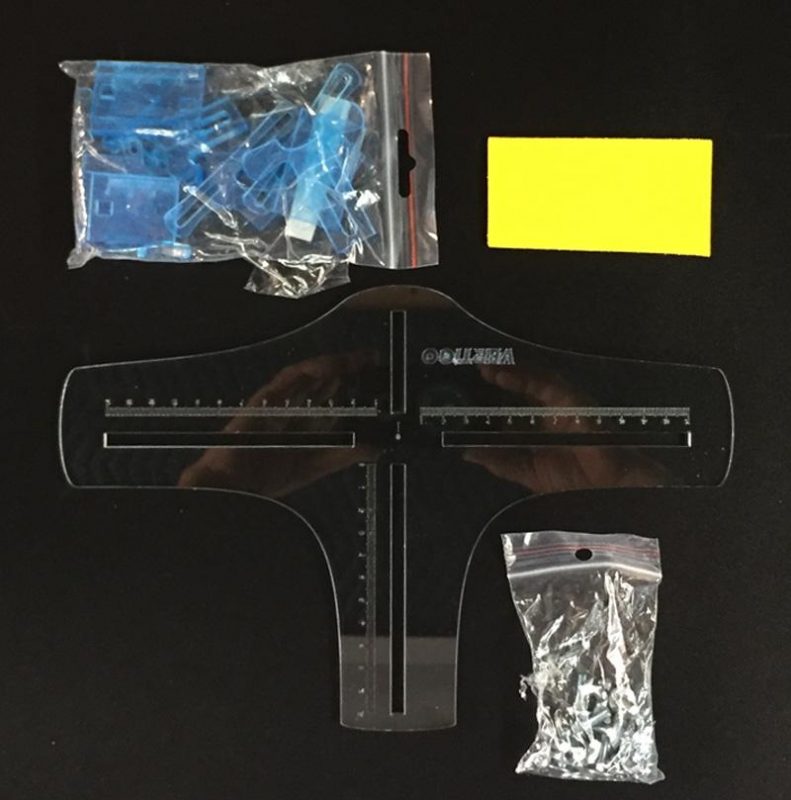
This is the basic EVO jig designed for 1/48th – 1/32nd scale and made by Vertigo Miniatures based in Slovakia. The design is quite attractive and a bit classy looking. This jig caught my eye years ago but I still couldn’t pry my wallet out of my pocket at the time.
Like any model, careful assembly is required here as well. First off, a hella long time will be spent removing the protective film that covers every single plastic part. Once that’s done, the gluing begins. The instructions are fairly straightforward with a minimum of deciphering required. Yes, CA glue will fog or crystalize the plastic after it dries, but it is a work station right?
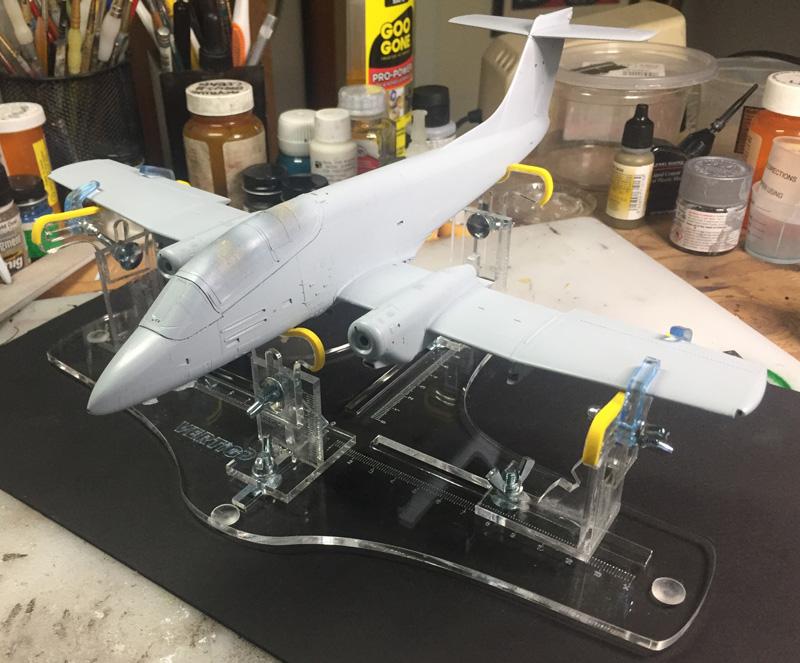
This EVO jig is easily adjustable and the wing nuts are in the right location allowing for much smoother adjustments topside than the JH wood jig does. No rubber bands used here. Instead, a set of four tiny “L” shaped, adjustable plastic pieces clamp the wing edges snuggly in place. However, the base is rather large making it unwieldy to hold in one’s hand. It’s perfect for two engined 48th scale planes and larger. My Pucara really likes it.
And so do I.
Conclusion
I can’t believe I’ve gone this long without one of these. Make your modeling easier – get a jig. In short time you will be dancing one.



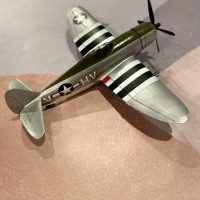
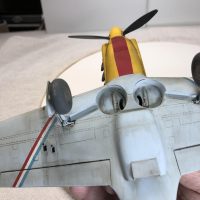
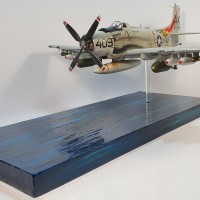
You got me looking at Vertigo website Eric, the airbrush Jig would be a very handy acquisition albeit the hefty price.
Some years I purchased the Tamiya paint base, which I use occasionally, but these you mention are a whole new level of comfort for sure
Perdro: If you're not completely convinced, note that just below this article posting you can see that Jon Lytle also uses a laser cut jig that looks like it's mounted on a spin base for his Victor build.
Yeah, I saw it after I read and reply your post. And the Victor is massive size…
Good article Eric, @eb801, with nice supporting pictures. The wooden Jig you purhcased is smaller than mine, mine is designed for larger aircraft as can be seen in the attached picture. The P-61 in 1/48th scale is a fairly good sized kit. It worked great with it, and once the horizontal stabilizer was put in it supported the tail nicely too.
For the aircraft modelers here, believe me you will be amazed at how handy and helpful this type of fixture can be to your builds!
1 attached image. Click to enlarge.
Brilliant, guest I'll have to open the wallet and get one.
Love mine! Great article!
I bought the Evo for 1/48-1/32 and it languished in the box for about a year. A little while ago I opened the box and assembled it. What an i***t I am. I should have got one of these many, many years ago. After stealing the kids Lego( which at least assembles square) and various jury rigged bits of wood and coat hangers, old shoe boxes and anything else I thought would suffice but usually didn't I am very happy with this jig. As an old bloke once said to me, a good craftsman doesn't blame his tools but quality tools help to make the craftsman. Get a quality jig and lift your modelling experience.
Thanks a lot for the descriptions, Eric @eb801
Since I fully recognize the fingerprint markings while handling the build, I do use gloves but still, I'm for sure going to look at those jigs.
They look great.
Regarding the tighten and loosen the screws, you might solve that by applying rubber rings between them. This should give you sufficient friction to hold everything in place and still able to do some adjustments.
Thanks for sharing all this info, Eric!
I’m sold! Thanks Eric.
TY for posting this.