Revell 1:72nd B17-F "Memphis Belle"
So after my son SAT ON my 1:48th version when it was 75% completed (crashed and burned, no survivors, too much damage to repair) i really wanted a replacement.
So a guilty son bought me another, only in 72nd scale.
My eyesight is still not 100%, so this is a little bit of a challenge.


Trying a different type of masking ( to me anyway).
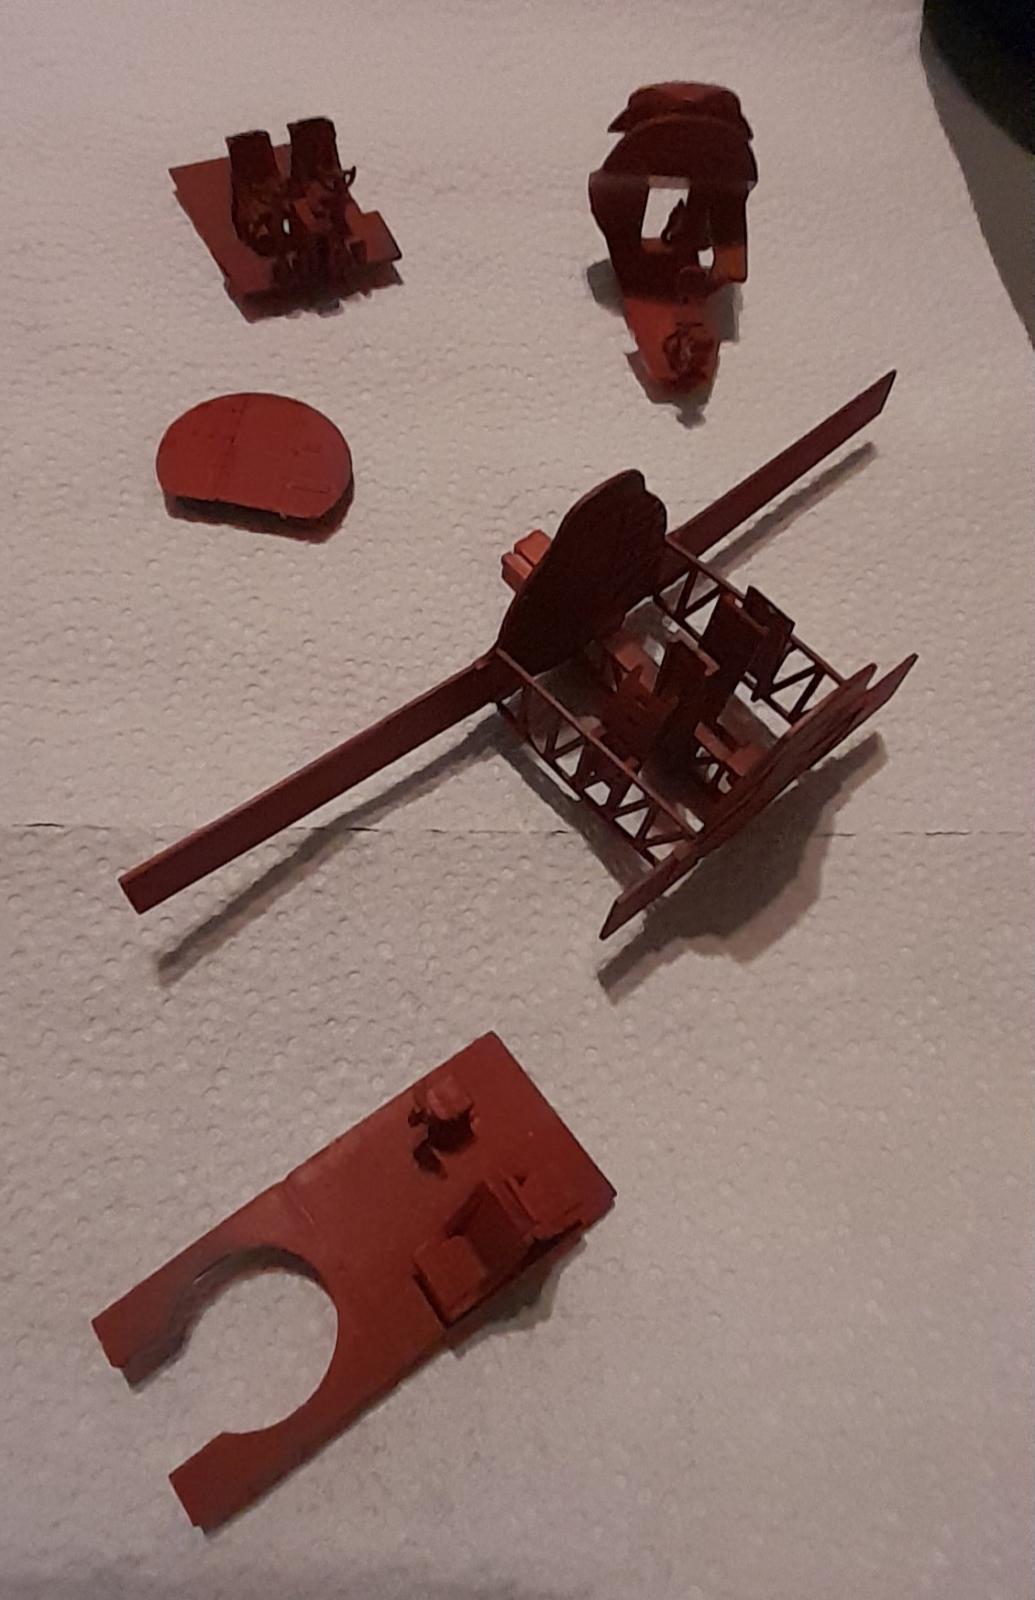
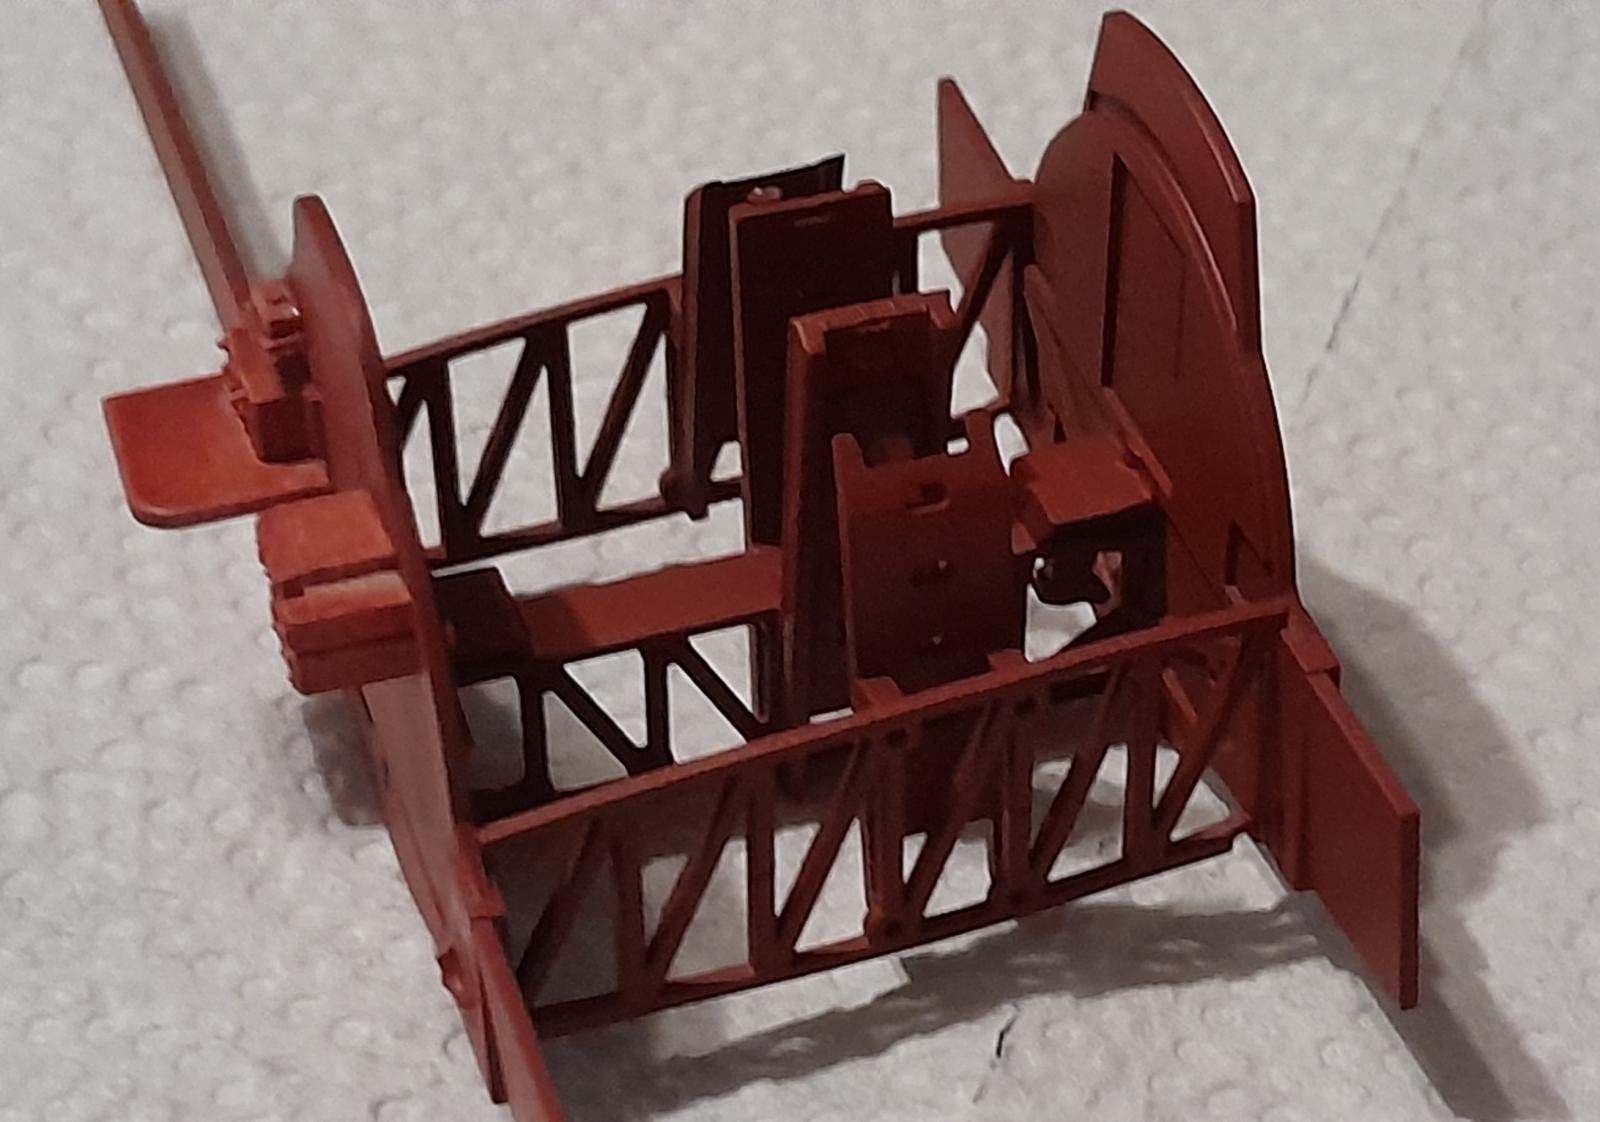
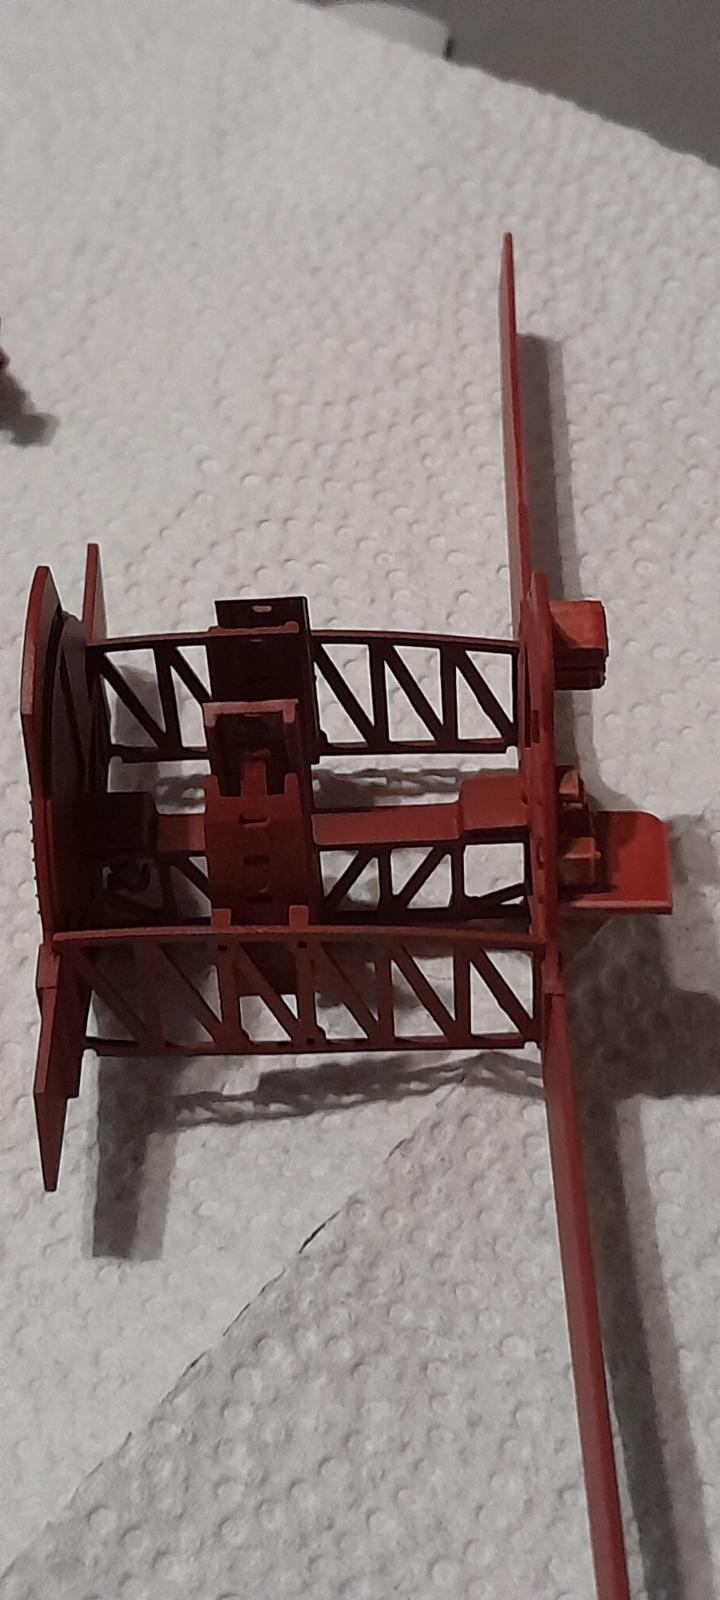
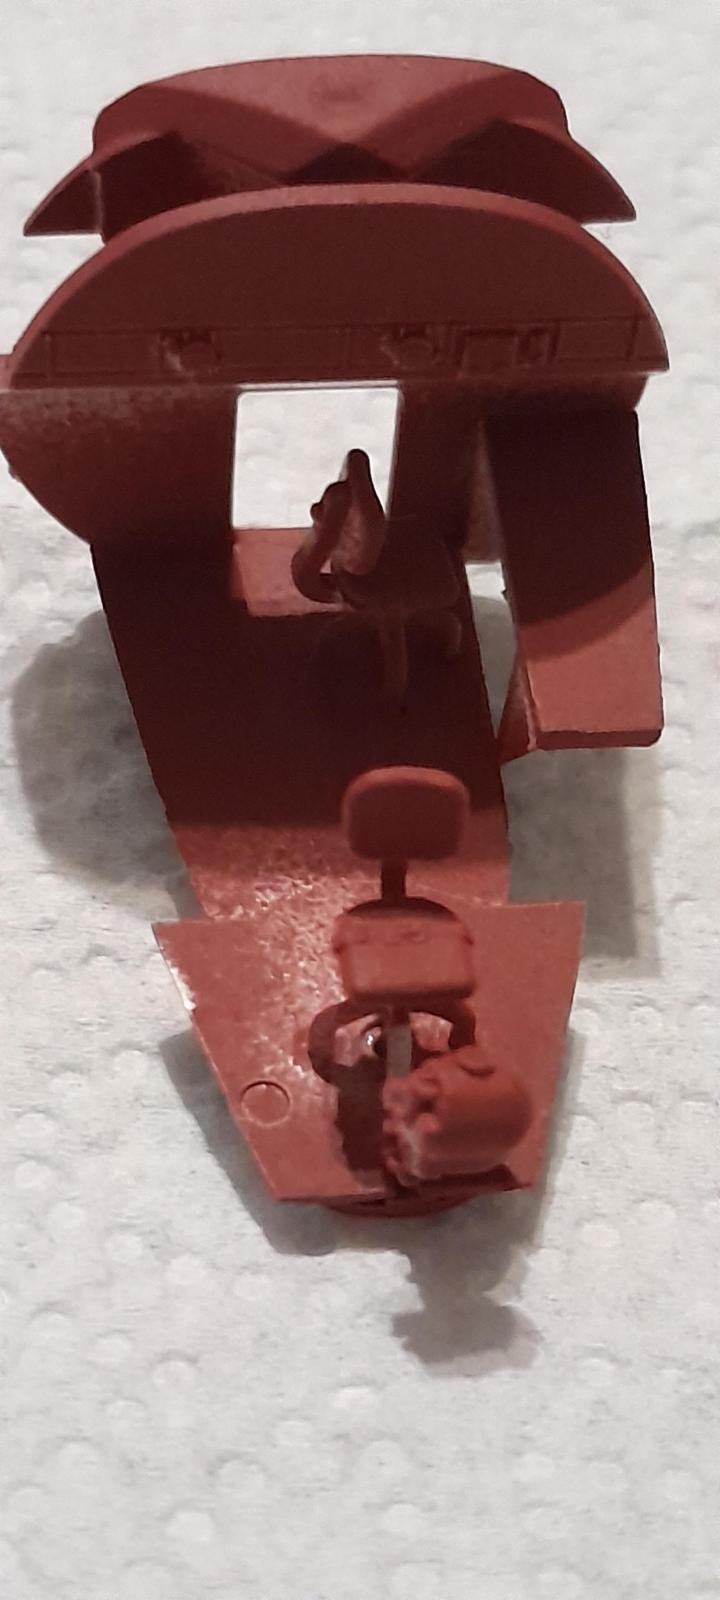
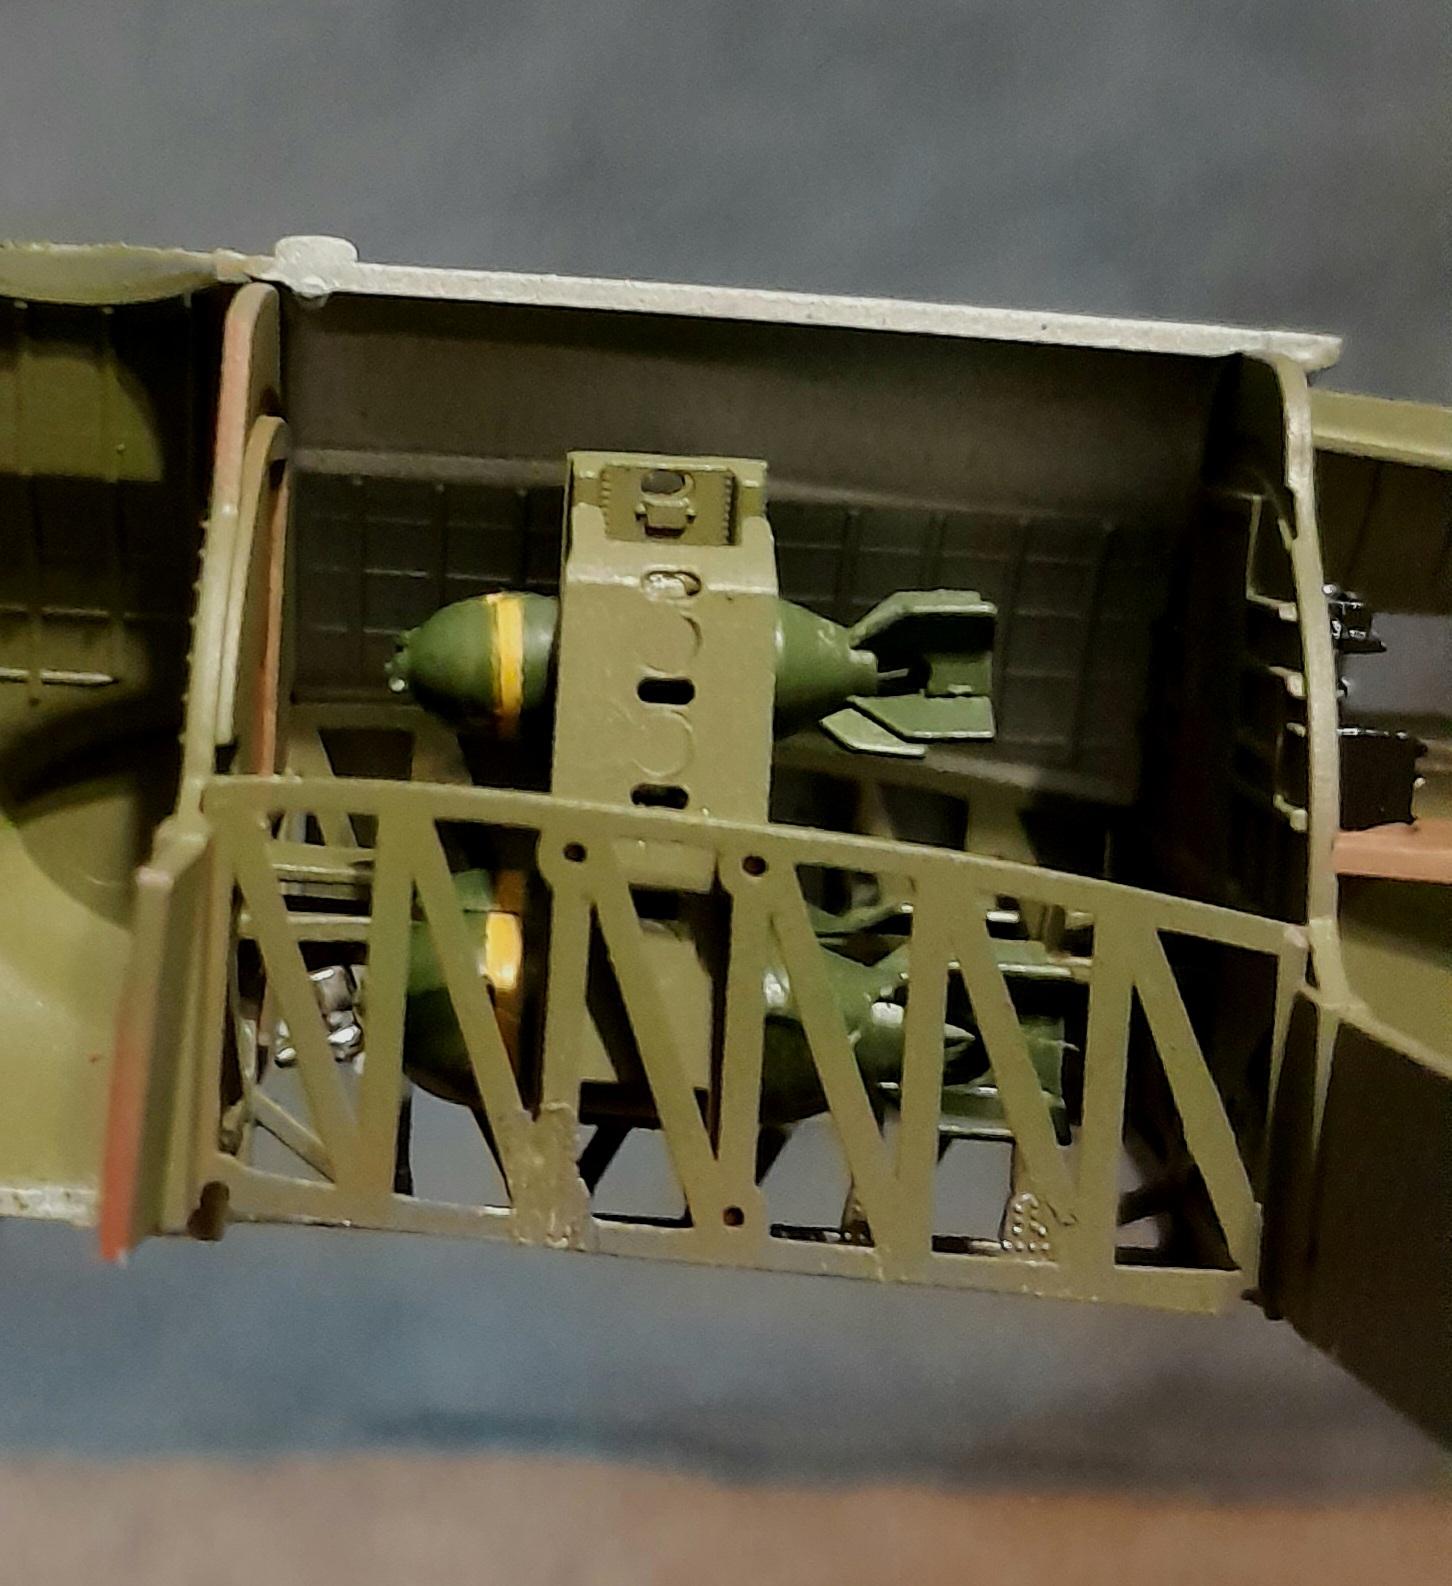
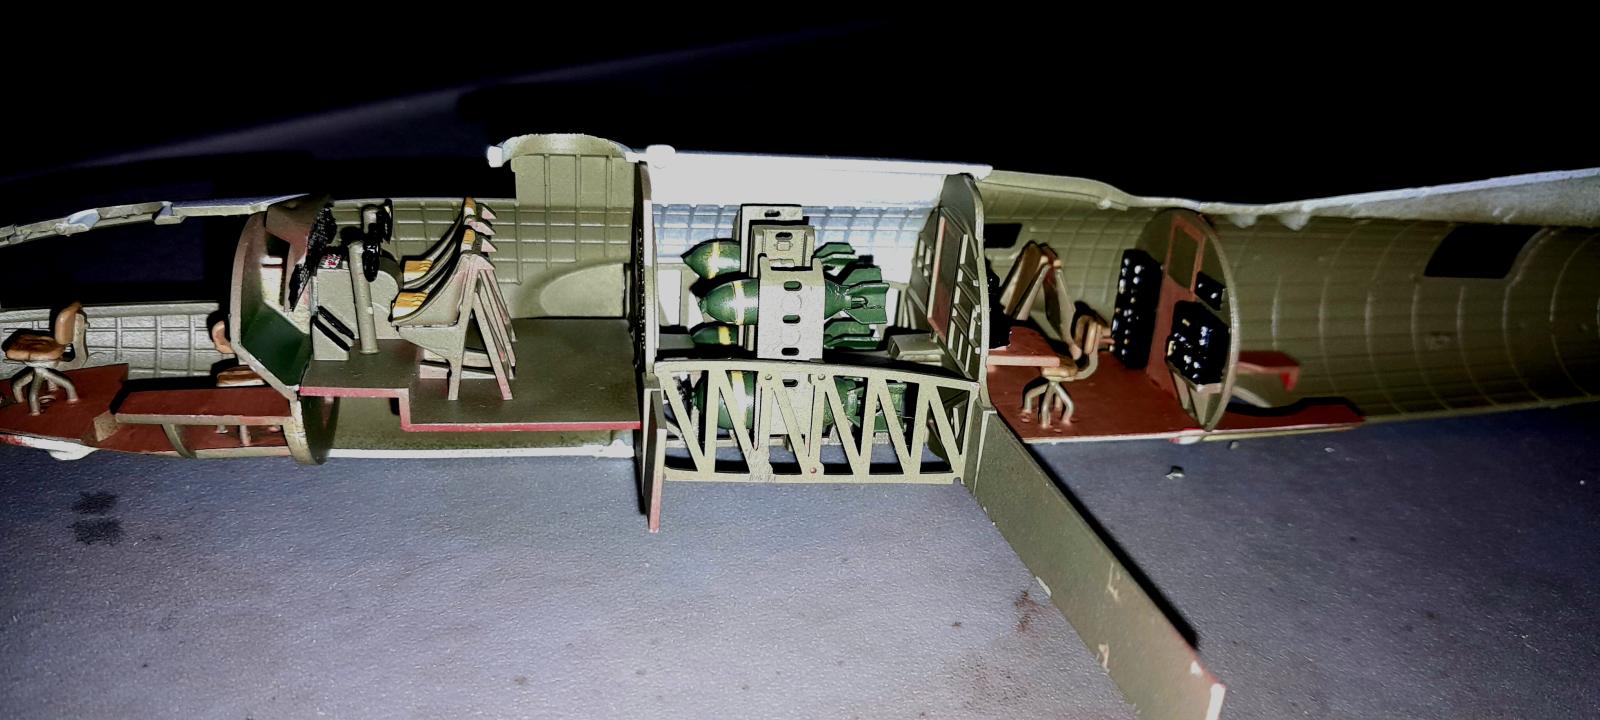
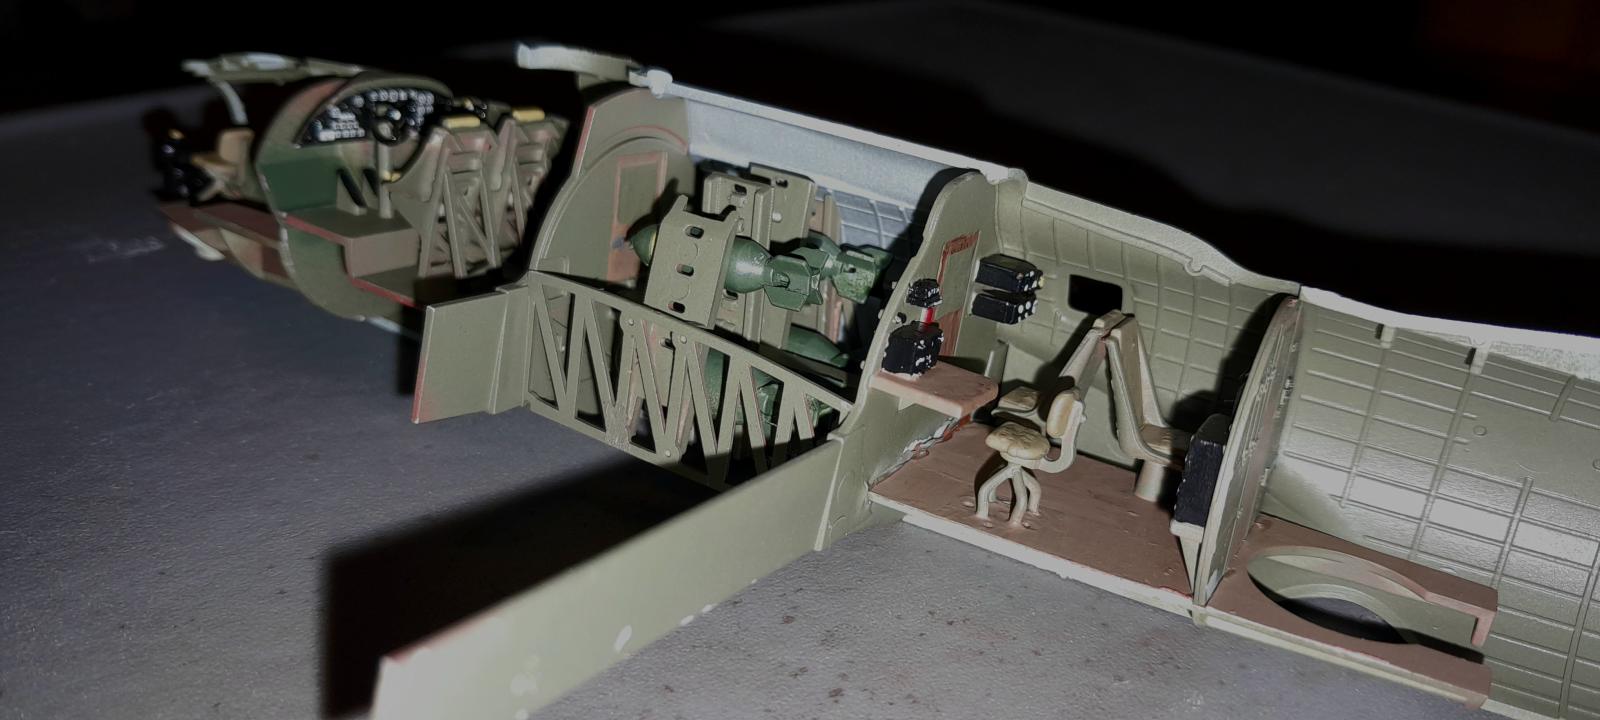
I used the "options" clear parts and Maskol instead of foam etc. Applied a dark grey primer as i have run out of black to highlight any blemishes, seams etc.
4 attached images. Click to enlarge.
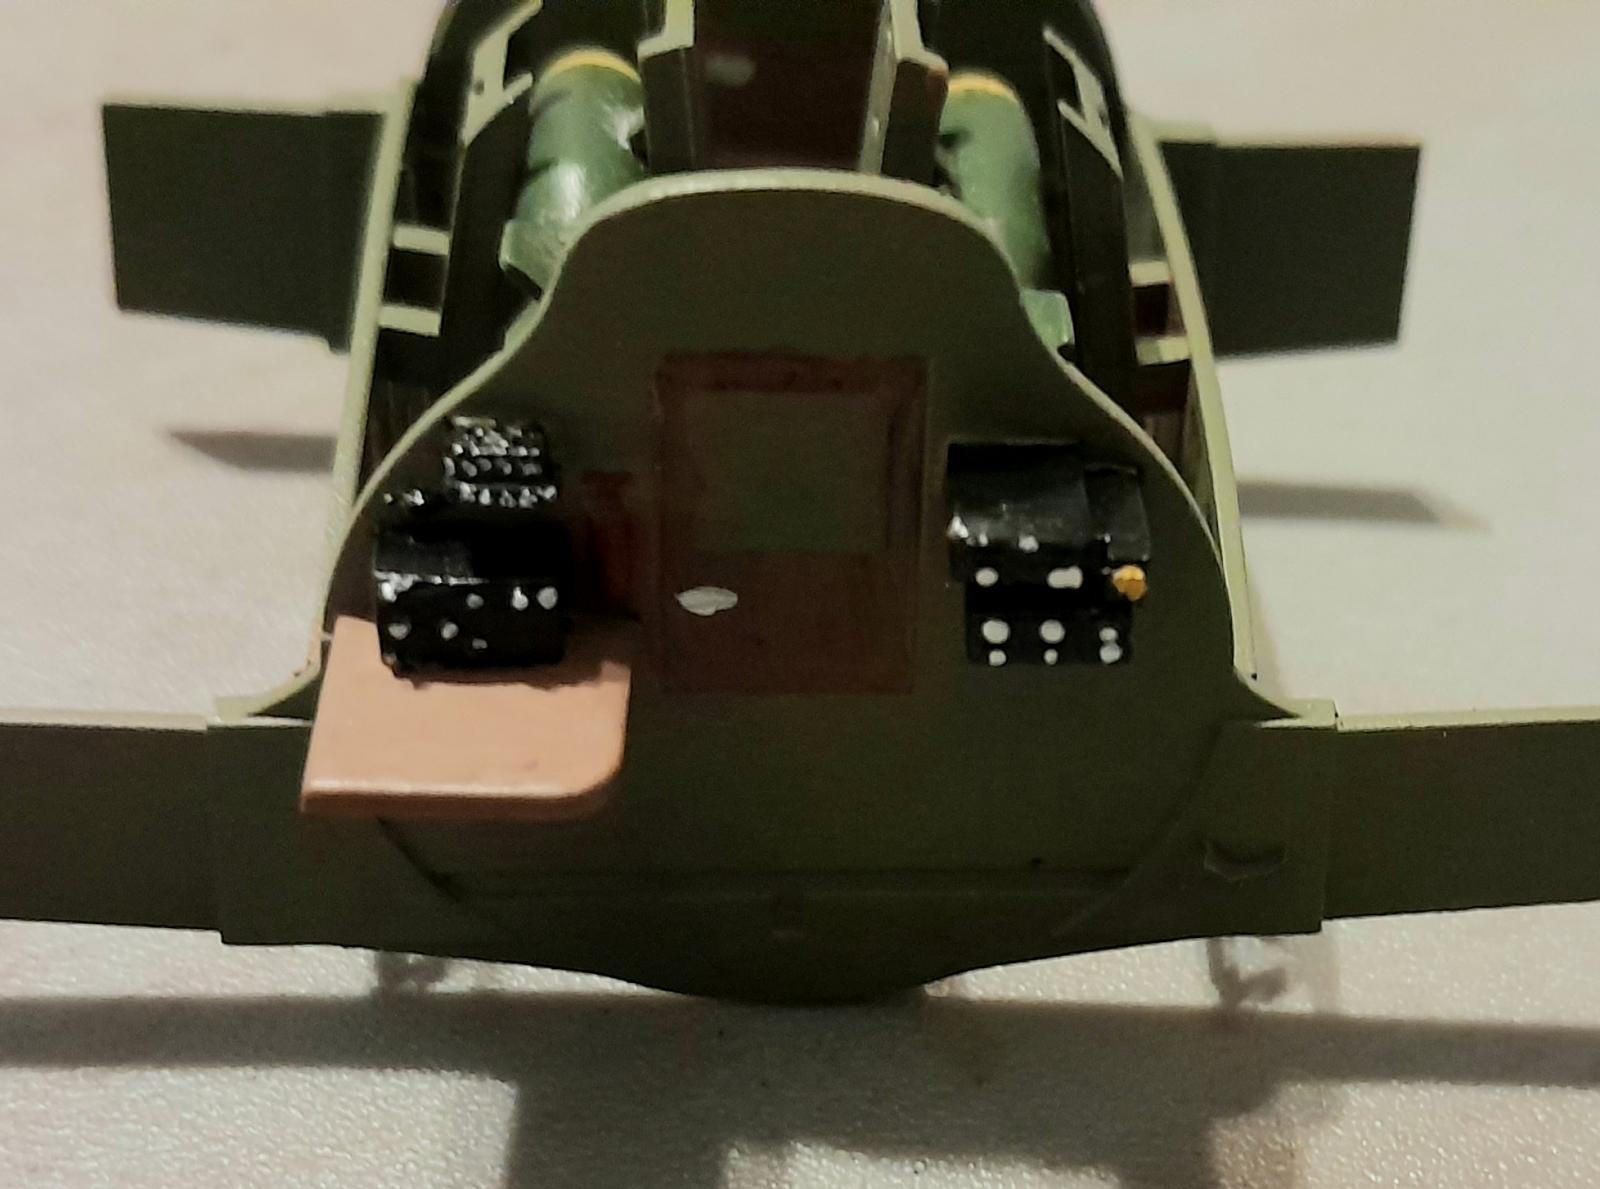
1. Seam line needs sorting
1. Panel lines need re-scribbing.
How attentive of your son to buy you a replacement, Tony @tonyvanderton
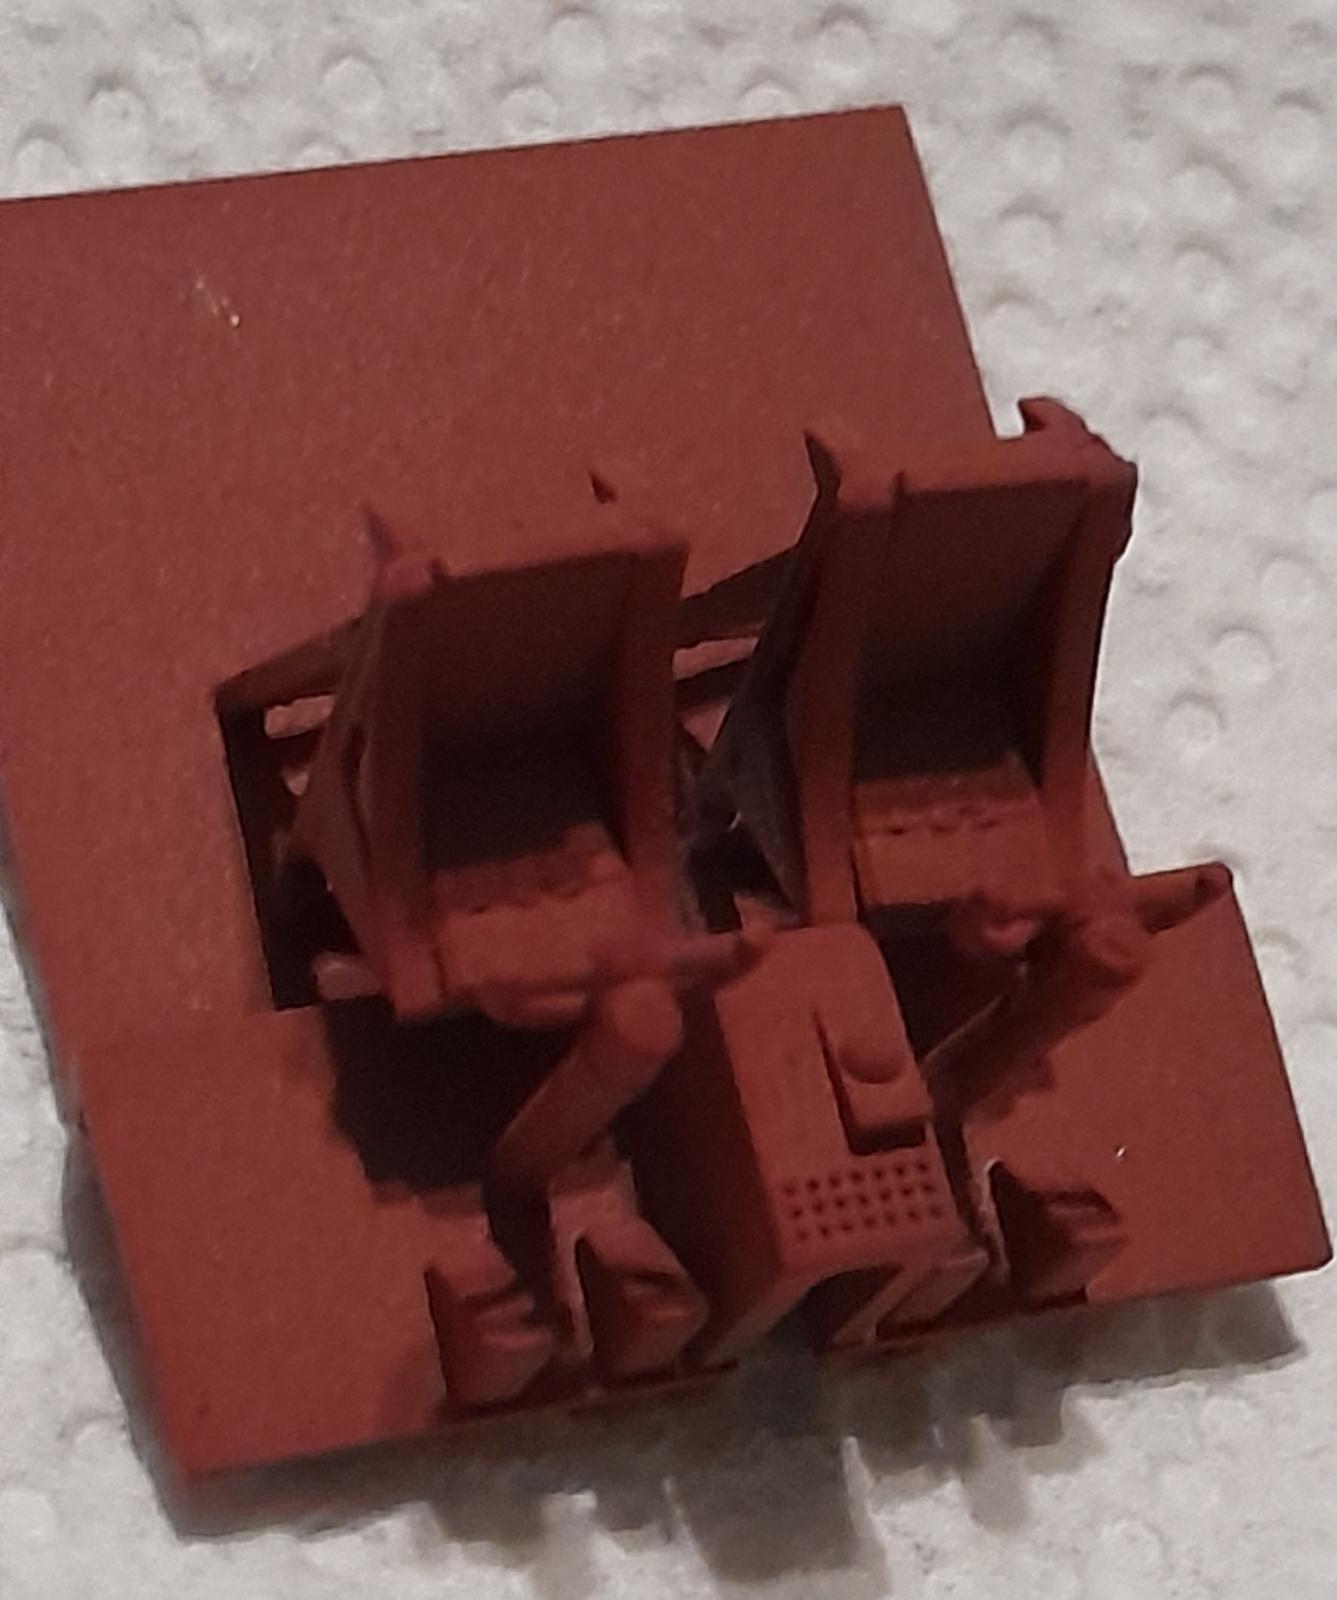
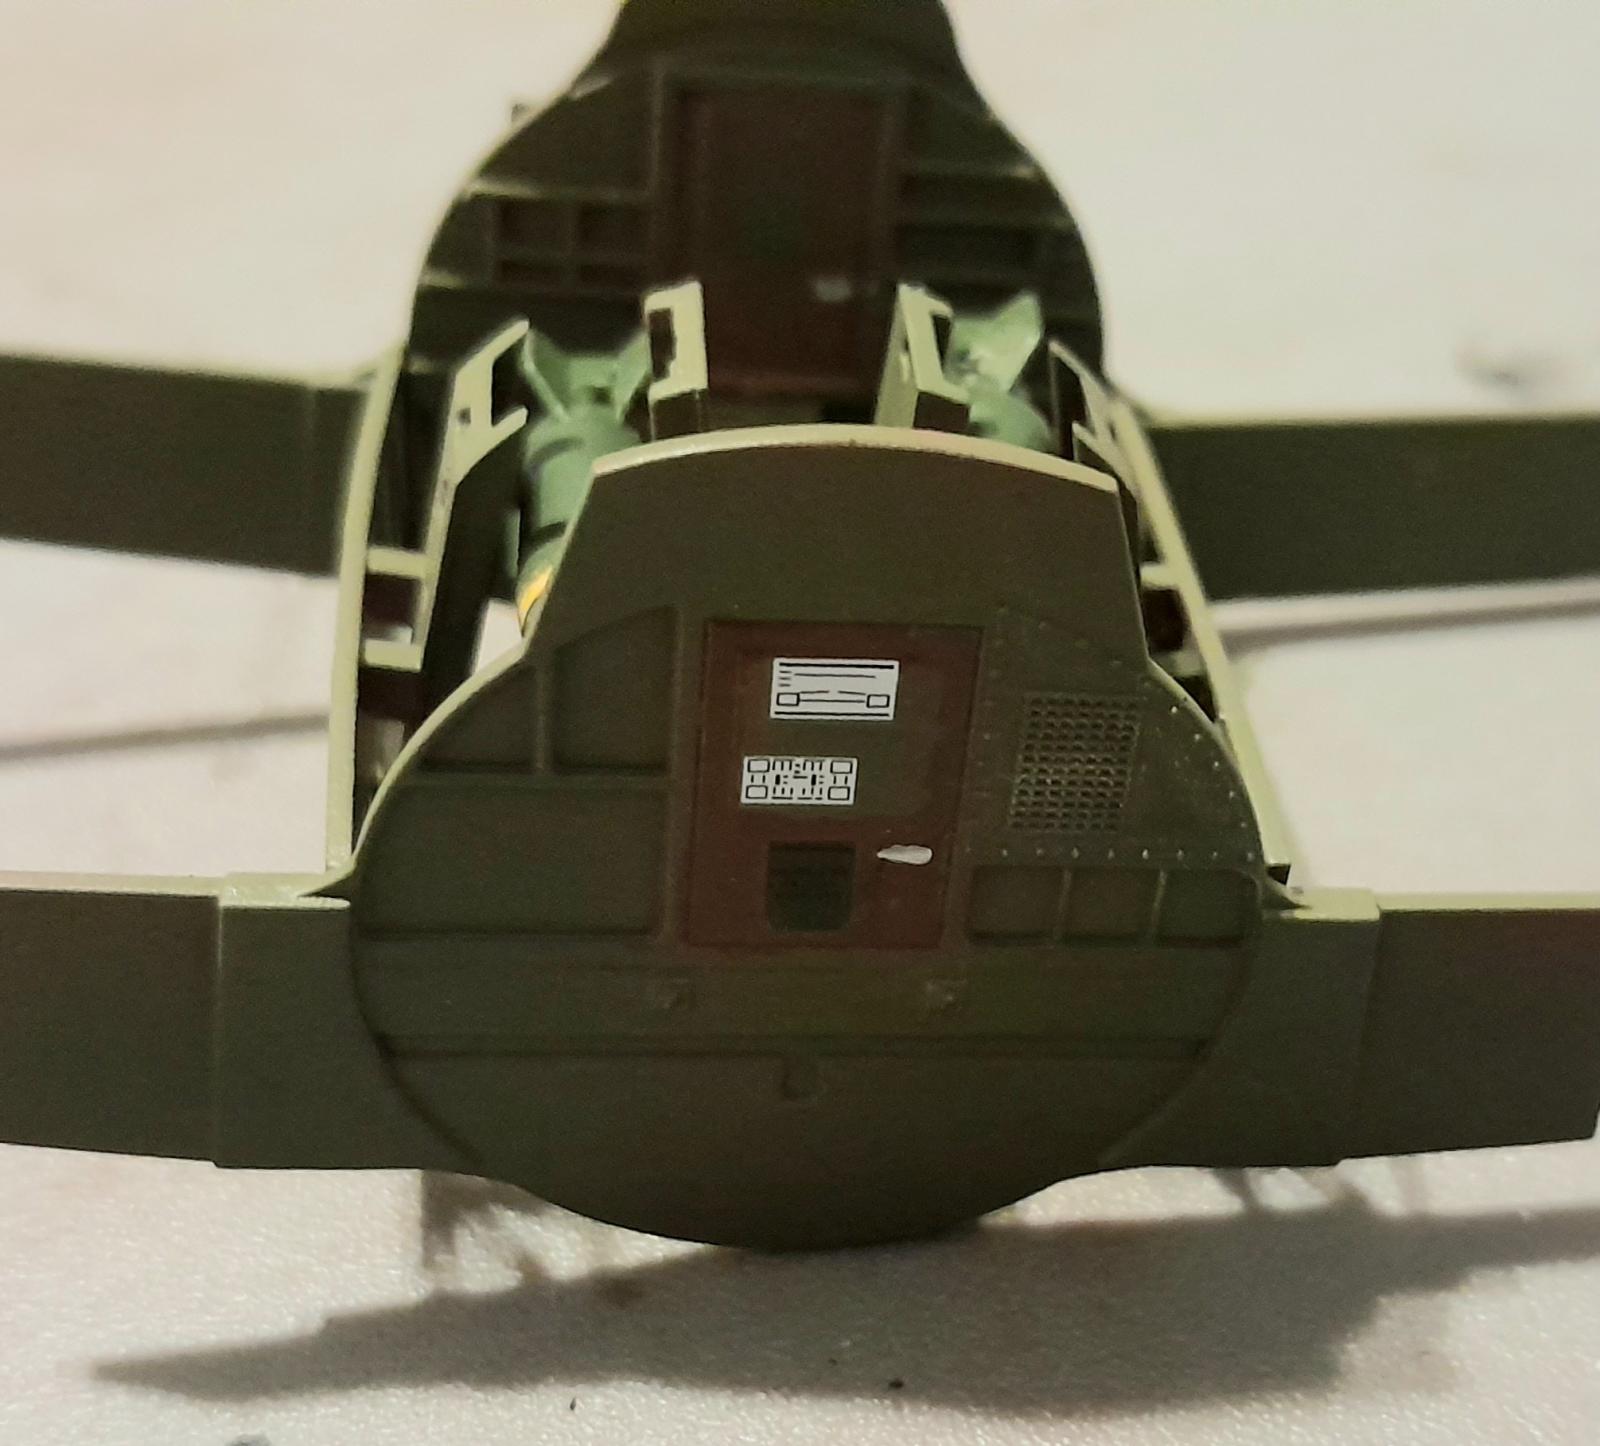
Beautiful work on the interior so far.
You might consider to present your progress in the Bomber Command group, https://imodeler.com/groups/bomber-command/
Proceeding nicely, Tony! What a great entry and what a superb job you've done already! Though 1/48 is a wonderful scale, 1/72 is also perfect for big planes like the B-17.
Looking forward to it!
I think you're going to have a really nice result here.
Looking good so far, Tony, don’t leave this one on a chair. Joining the bomber group seems like a good idea, sharing your build can be very enjoyable.
Interior looks really good Tony.
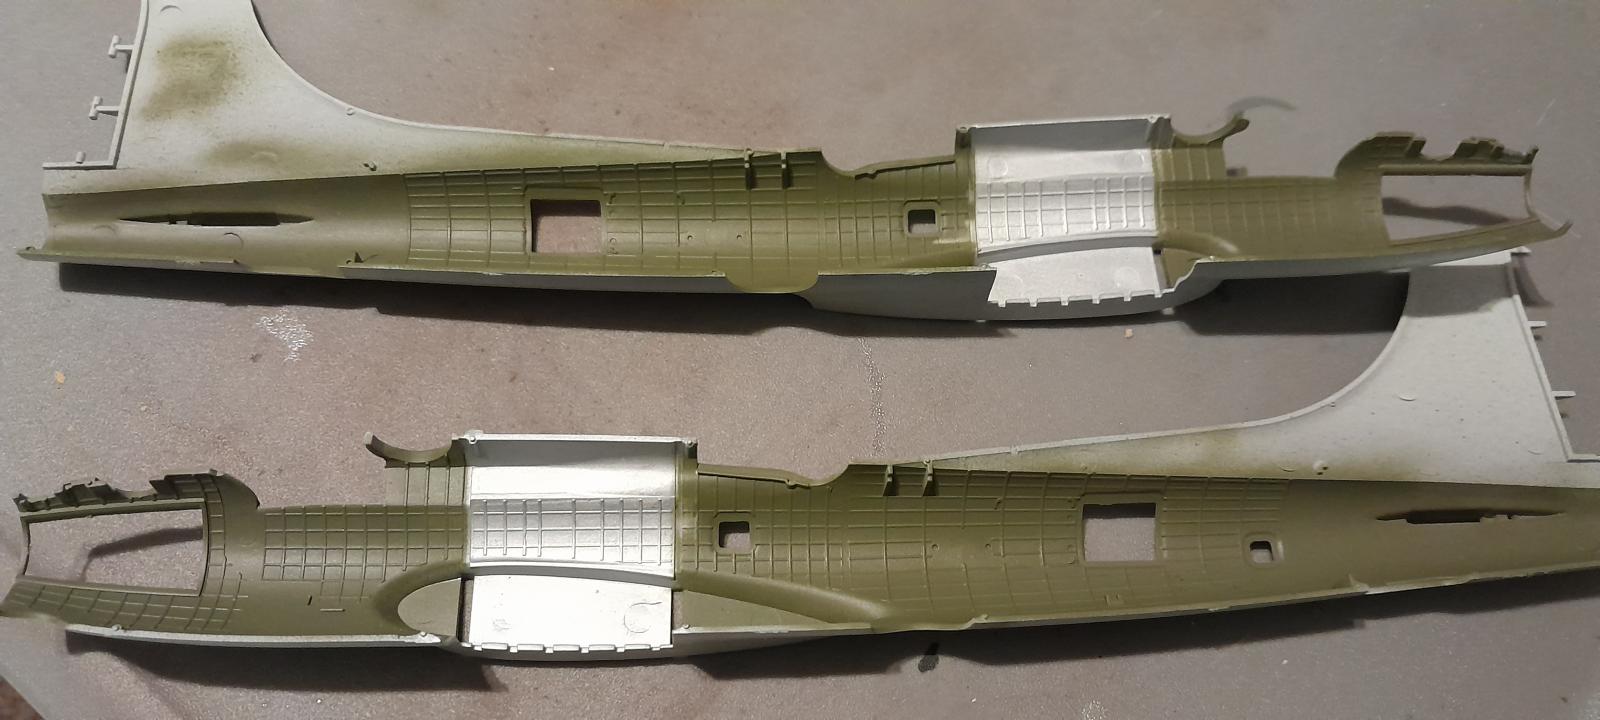
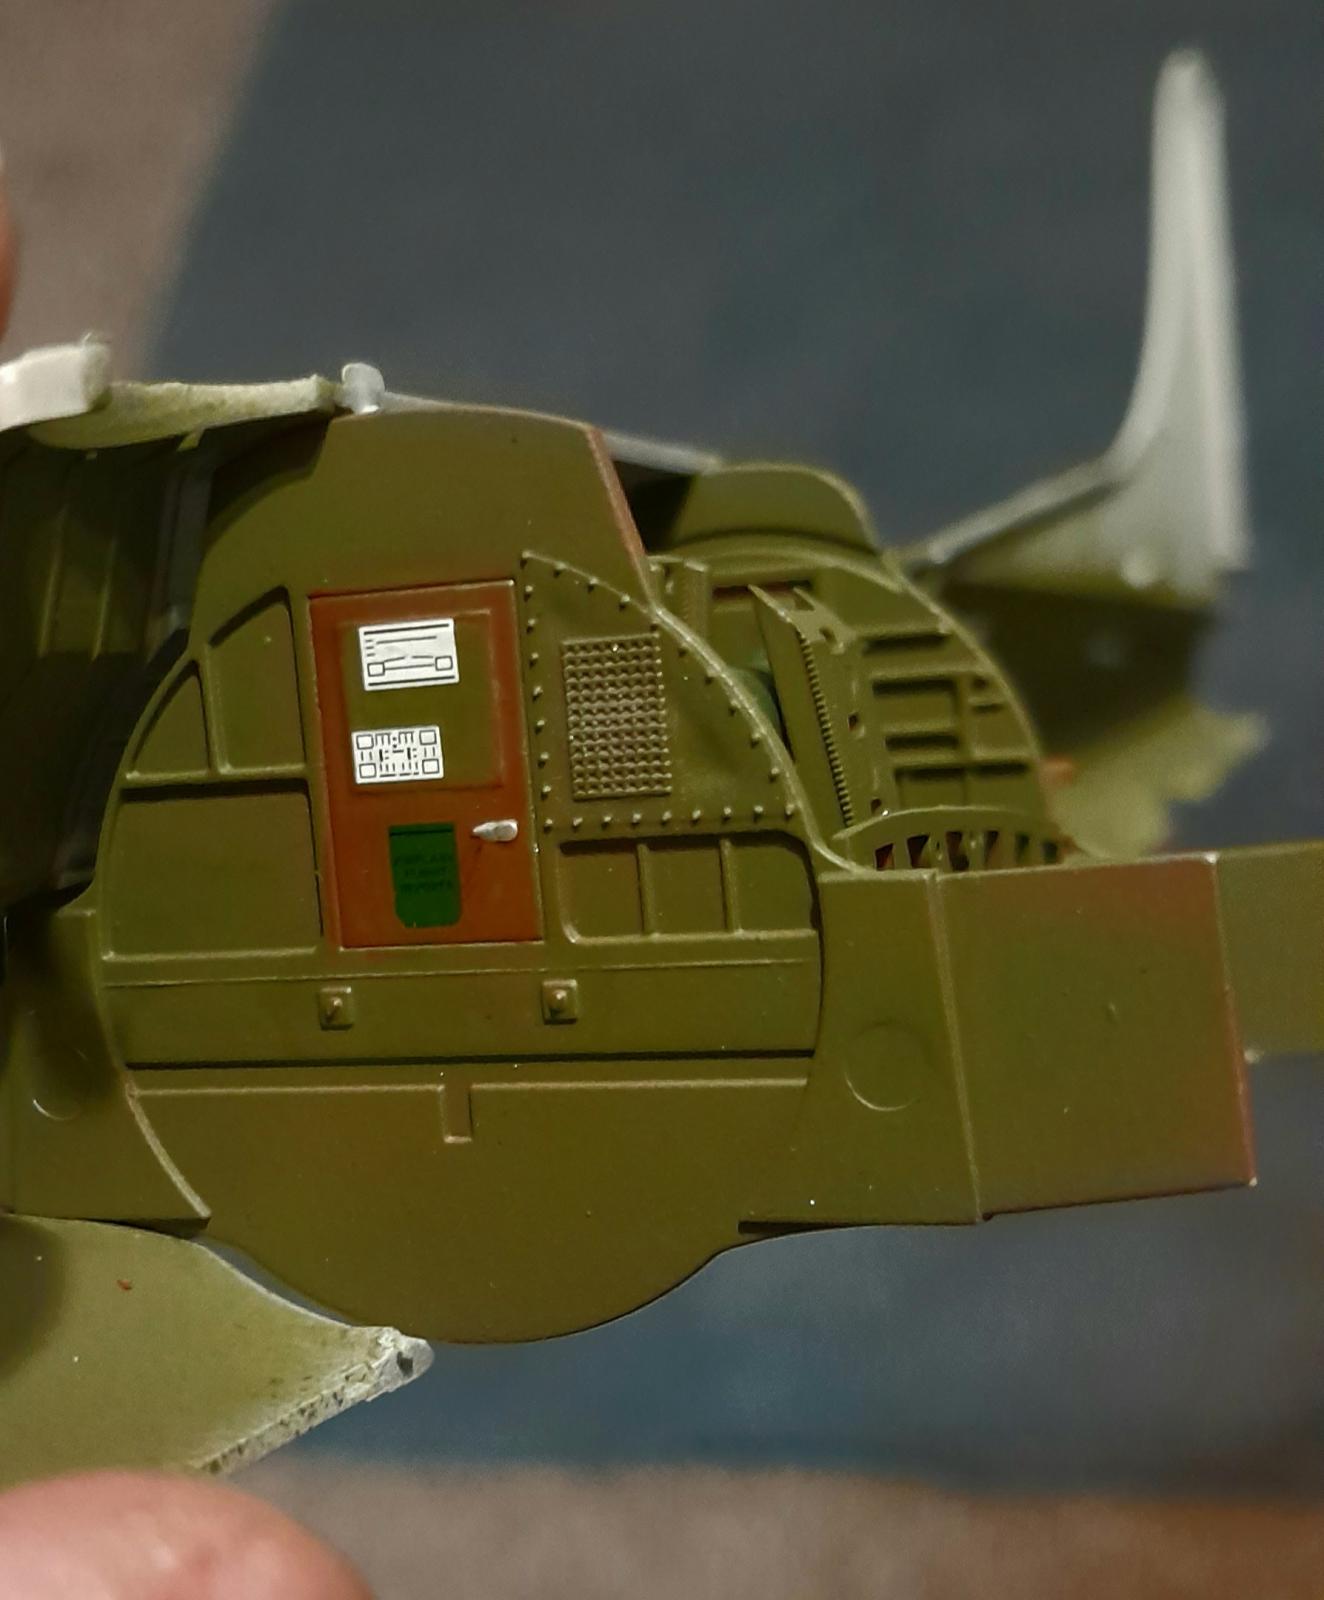
S0, got the olive drab and grey undersides painted, applied a good few thin coats of gloss and got the decals applied to the fuselage. for the "Belle" decals, i attached the panel with a drop of PVA, placed the decals and when dry, carefully cut around the panel to remove it. (this was to enable me to leave the fragile guns off till the last moment)
7 attached images. Click to enlarge.
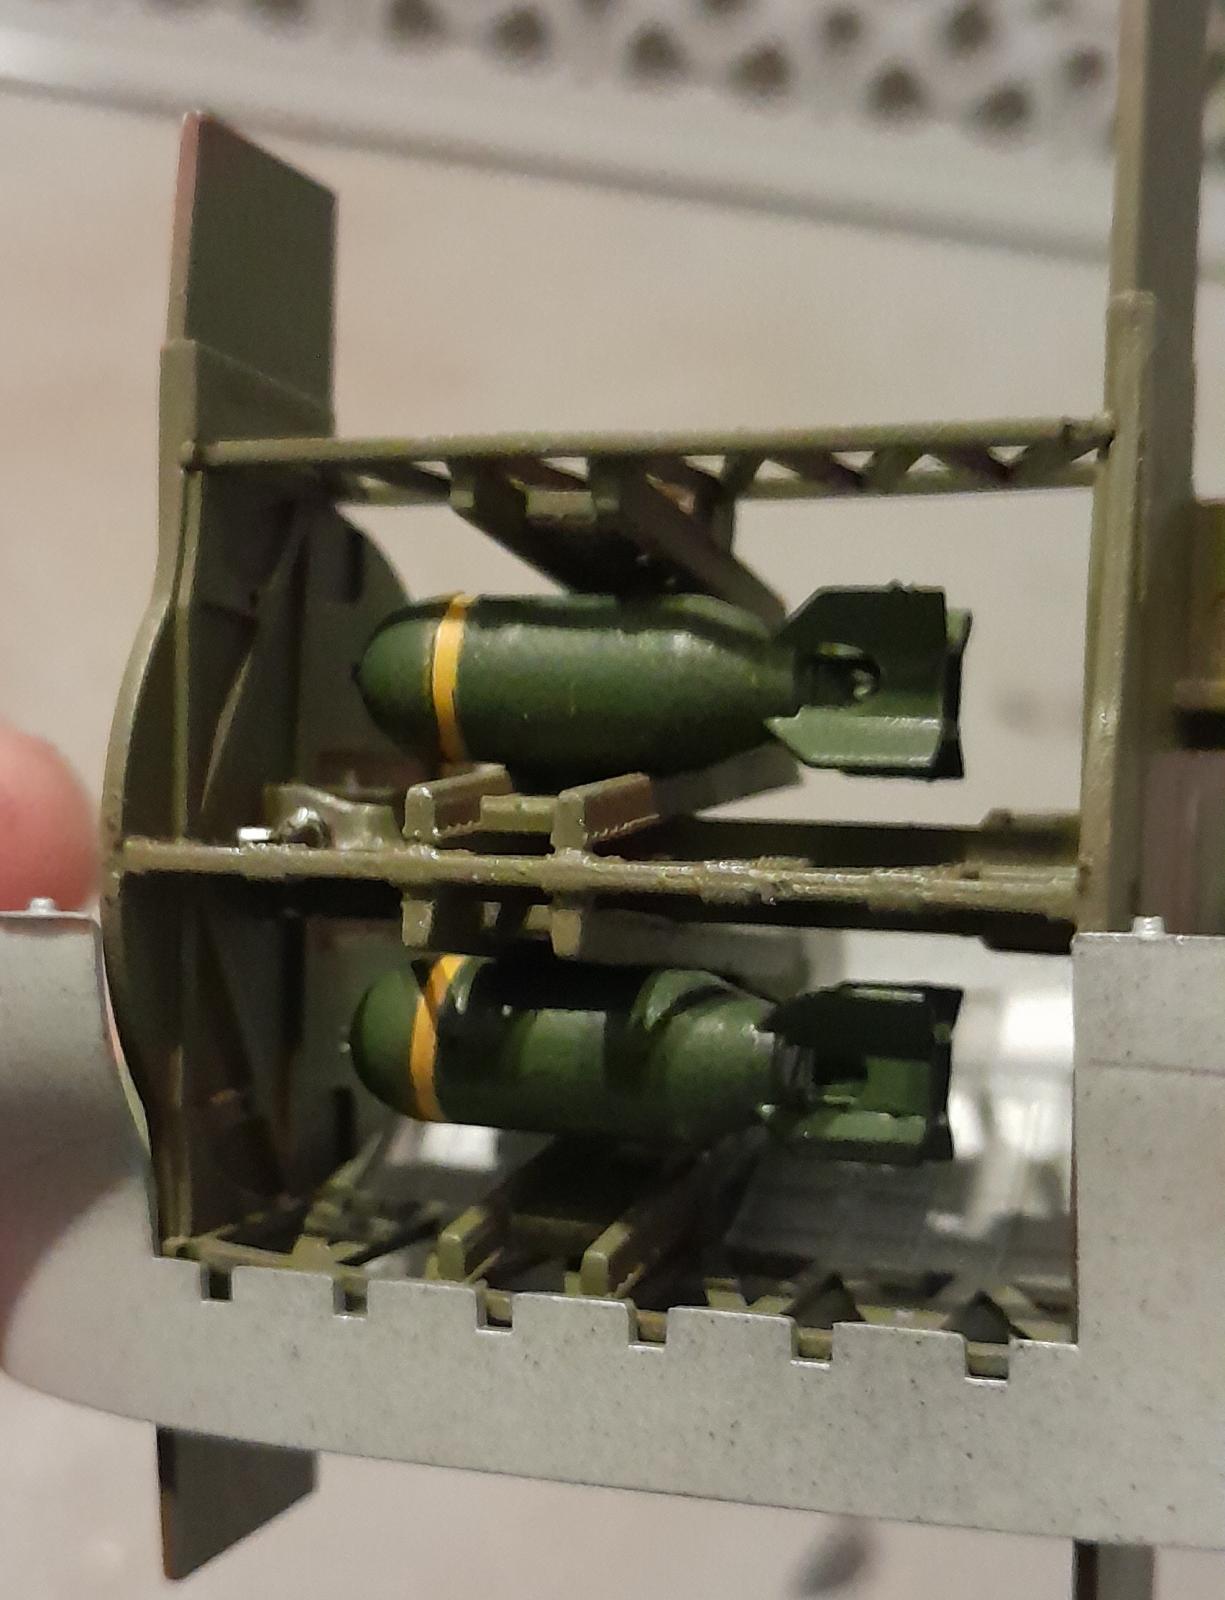
Wings now painted and trial fitted, NO filler or touch ups required, which was a relief.
Notice a "little" inspirational magazine next to the plane?
9 attached images. Click to enlarge.
Top surface had the "splodges" airbrushed (free-hand), not 100 but i think i covered it well. Glossed over and decals applied.
Also started on under surface decals. And they are TINY!
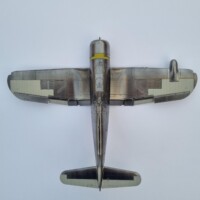
Attempted the engine staining over the top of the wings, i was happy with the outcome so gave her a few matt coats which really brought out the kit. BUT, i then realised that the exhaust pattern was TOTALLY wrong (as pointed out quite vocally by a few on a B17 site elsewhere), but I LIKE IT so that's how its saying.
8 attached images. Click to enlarge.
Calling this finished.
Its not BAD, but its not GREAT. Made an error in not priming the clear parts prior to base coat so they are a slightly different shade. I missed a few seam line underneath that i should have addressed. I "think" revell messed up on the wheel decals, should one be red and the other blue? i'm not sure, but only the purists will spot that.
Antenna wires have not been fixed yet, as i've lost my ez-line, no idea as to where thats gone!
so yeah, ive grown to like it, hope you all do too.
13 attached images. Click to enlarge.