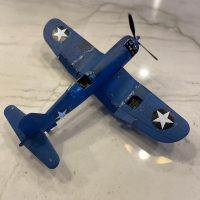
ICM Yak-9T
Hi All!
When ICM came onto the market 25 + years ago, there was some excitement. They were releasing a series of Yak fighters. No one had done the Yak series before. But the excitement soon turned to disappointment as the kits lacked detail and were crude in comparison with many of the mainstream companies. The kit in this posting is no different. It is the ICM kit of the Yak-9T/K/and DD.
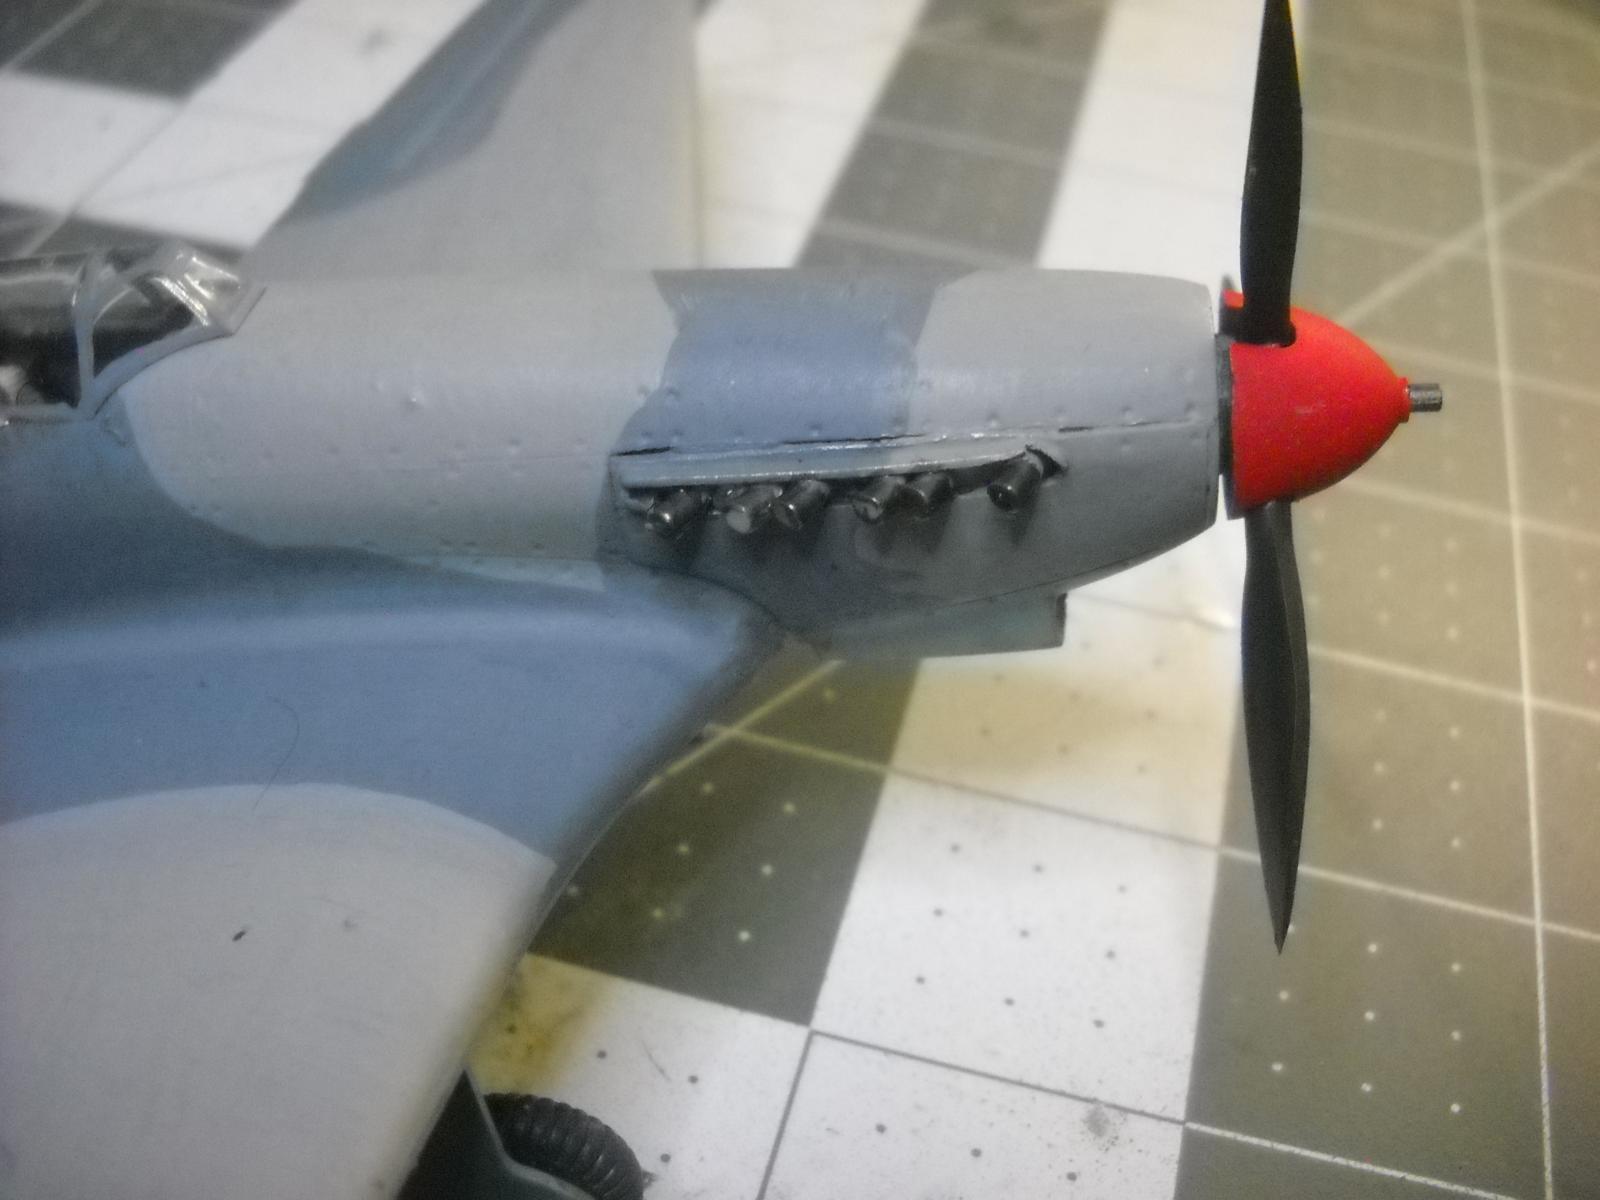
The first thing I noticed was the exhaust manifolds. They are too small and skinny and need replacing. Then I noticed the plastic parts were stuck to the plastic bags from the mold release. Oh, Joy and Rapture here is another “easy” kit. But I was going to build it.
The first thing done was clean the plastic with stuff called “Super Clean”. This removed the mold release. The second was to find replacement exhausts. Several companies had made replacements in resin, but none of the outlets I deal with had any. On E-Bay exhausts for this build were from $15.95 to $29.95. Too much for this kit, so I was forced to make a set of exhausts. Because the aircraft's exhausts had an odd combination, single stack, space dual stack, space dual stack, and finally a single stack just finding something from the parts box was not in the wind. So I found an exhaust from a P-40 kit, cut the stacks off, and glued them onto a strip of Styrene to fit the exhaust opening. This took one evening. I allowed the glue to cure for a day, and I soon found I needed to enlarge the opening. I then installed the exhausts. Are they perfect? No, but they look better than the kits.
For the cockpit ICM gives you a floor, stick what I guess are rudder peddles and a 2 piece seat. Along the sides are some lumps and a poor representation of the tube frame. Since I was going to leave the cockpit closed, and the clear parts tend to be thick I left the anemic cockpit alone ( life is too short). Be careful when attaching the floor as the instructions are nebulous here. They do give you an instrument panel decal but even with several coats of Micro Decal Film it still exploded in the water. The panel was painted black and installed like that.
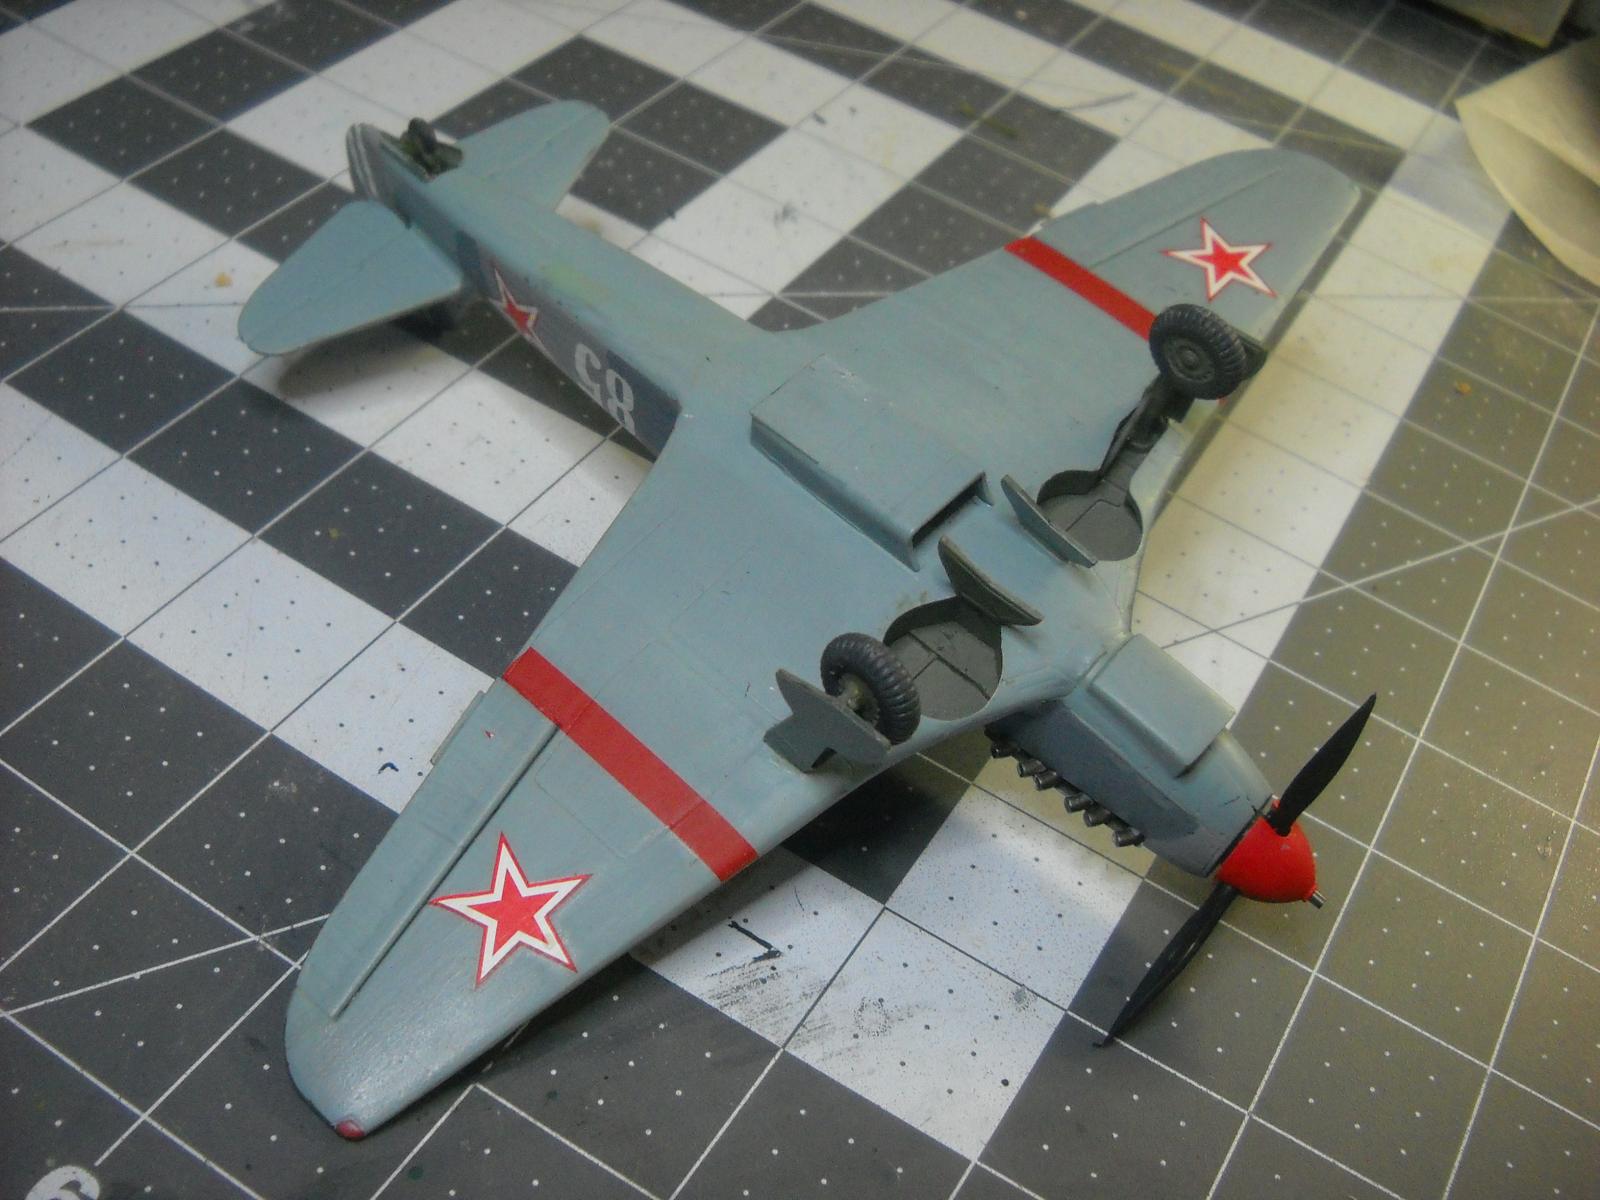
The fuselage was assembled, and the wing was added. I first glued the lower wing half to the fuselage first, then added the upper halves which minimized the root gaps. The seams were then filed, sanded, and filled. When the seams were sanded to my satisfaction, the model was wiped off with Isopropyl Alcohol to ensure that any remaining mold release was removed. I then dropped the kit and broke the port landing gear. The sailor in me came out again as purple clouds swirled around my desk. The strut was too thin to drill out, so careful gluing and some crazy glue repaired the break.
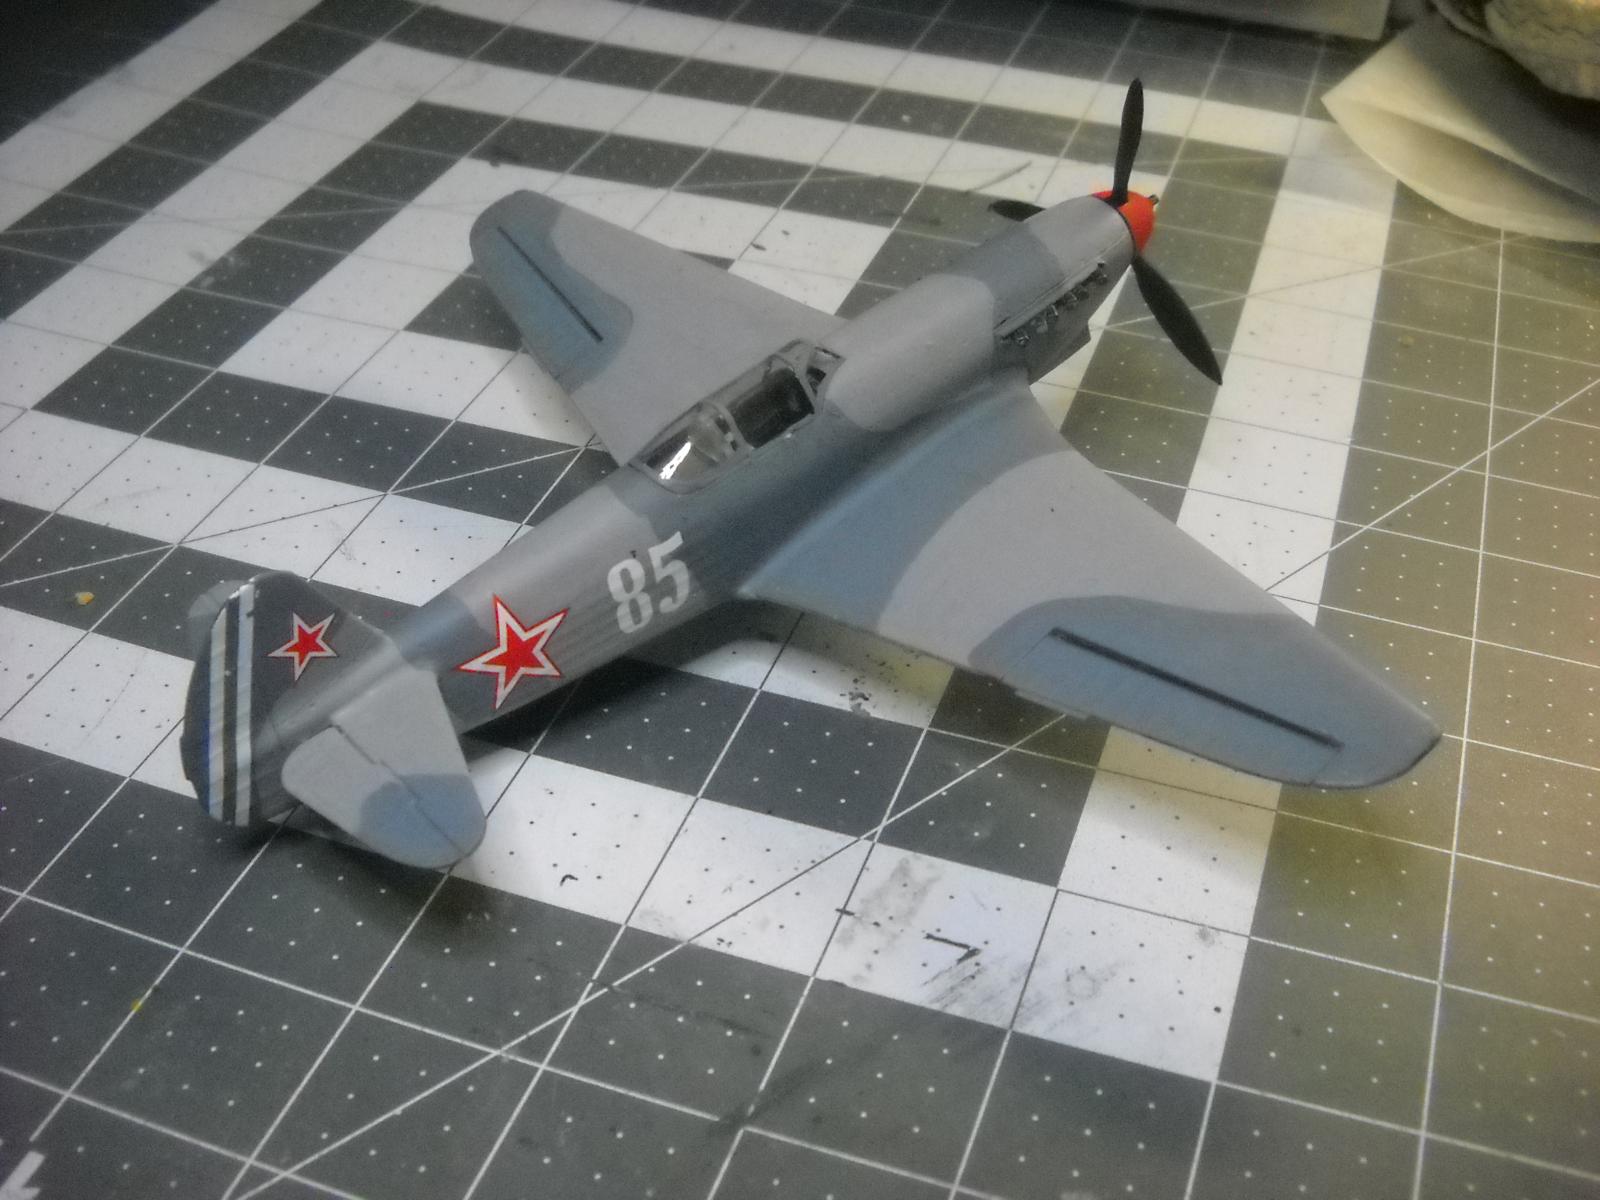
I was fortunate in that I was given an AML sheet of Yak-9D/DD/T and K aircraft. The a/c I chose had light and dark grey uppers and light blue undersides. I, fortunately, had Polly Scale colors for this aircraft. The colors were applied as per the decal's instruction sheet, and when the paint had cured, a coat of Future was applied for the application of the decals. I then dropped the kit AGAIN! This time it was the starboard gear that broke ( well I now had a matching pair!). More purple clouds as I repaired the damage. I found the AML decals to be brittle and they ripped easily, but I got them on. A second coat of Future followed. When all was dry, a flat clear was sprayed on. I then applied the canopy, antenna, and prop. The prop retainer flew from the tweezers off into the carpet monster, so I was forced to make a new one from stretched sprue.
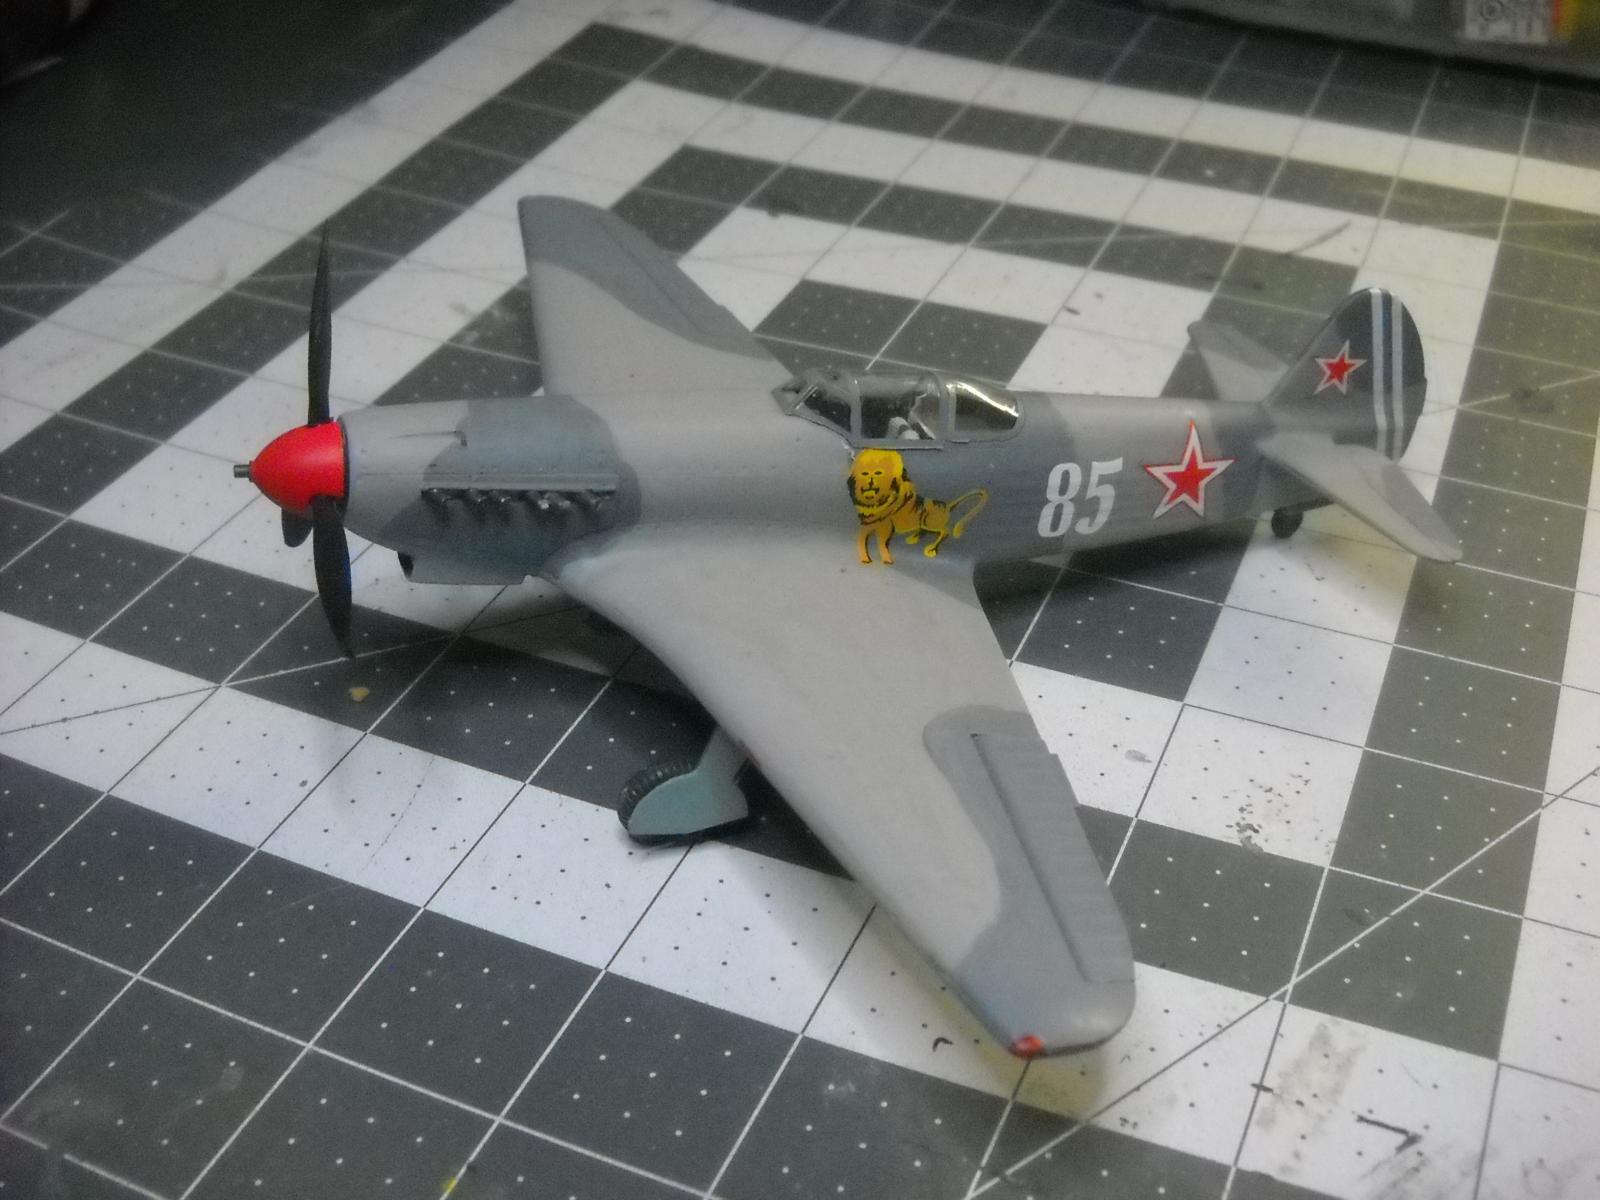
The model represents a Yakovlev Yak-9T (37mm engine-mounted cannon), Bort Number 85 flown by Guard Captain Vyetrov Ivan Ivannovich, commander of the 1. AE, 66.GIAP, 4 GIAD from Anichovo Airfield near the Baltic Front, May 1944. He flew 117 missions and was in 32 combats with 12 Victories.
As with the other ICM Yak kits, this one is crude compared to the other mainstream kits being produced when it was released. But with careful assembly and creative modeling, a decent model can be made. You will need to fix the exhaust, and gizmo up the cockpit, This is a basic kit so be prepared to expand your modeling skills!
Bruce
🙂 … Greetings … 🙂 :
Nice clean work on this seldom seen subject Bruce.
You will see more. When I worked in a hobby store the distributor was practically giving these away. I should have known better but I bought a few...
Buce
Superb job on a less than perfect kit, Bruce! I have a couple of these, so I more or less know what to expect.
Great result out of this stubborn kit, Bruce @rbrucearcher
Love the chosen scheme.
One thing for sure, Bruce, ICM has come along way since this kit was produced. Do you know who molded the plastic for the early 1/48 Eduard Yak boxing’s circa the same era?
No I do not know who did the Eduard Ya. I always assumed it was Eduard. The Eduard Yak-3 is light years ahead of the ICM kits.
Bruce
You did really nice work on this difficult kit. I tried a similar ICM kit years ago, I’ve never considered buying another. I hear their newer kits are pretty nice though.
Well done! I think I may have one of these ICM Yaks in my stash, so thanks for the heads-up!
It looks good from here, Bruce, I’d never have known from your difficulties in building this kit.
G'day Bruce (@rbrucearcher),
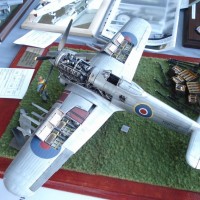
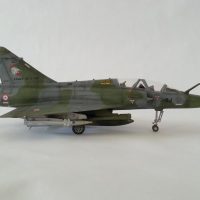
I can sympathise with your assessment of this kit - I built two of these back in 2017.
One was from my stash and the second was a club "Build a B@#$" competition build.
It was certainly well qualified for that.
Both were built out of the box, the first is a Yak 9T (AeroMaster decals) and the second is a Yak 9K (kit decals as per the rules).
You have done a great job with a difficult kit.
Liked!
2 attached images. Click to enlarge.
No worries. It is kits such as this, rather than the flash kits of Tamiygawa and the Mig-3 which will sharpen your skill, and starts you thinking outside the box. I bought several Yak kits when I was working at a Hobby Shop. The distributor was practically giving them away The cockpit can be gizmo'd up, but the exhausts are a bugger.
BTW, I have an e-mail list in which I post what I am doing. Would you like to be on it? If so send your e-mail to: bad at cfl dot rr dot com
G'day Bruce (@rbrucearcher),
I thought I included pictures with my original post, but they are added now.