Wie ein Skyrocket, oh!
Based on my sufferi- I mean, observations, the following is my best guestimate on how to create an 'accurate' initial-form XF5F-1.
First, let me clarify: this is a wonderful kit. Out of the box, the Minicraft Skyrocket is great. It is my contender for a beginners 2nd or 3rd kit. It is simple and well-fitting enough for neonates, but begins to introduce complexity and lightly challenging aspects for them to learn. One could build this without any prior knowledge, have fun, and get a good looking replica out of it. I also love the subject, and wish Minicraft carried on the trend. Imagine if they continued with an XF4U or XFL.
Anyways, we are stuffy, snooty modelers and that is not what we are here for. We want accuracy and historical detail (at least I do). Out of the box the Minicraft XF5F confuses various superficial details that the snubnose Skyrocket had over the course of it's life: if the modeler wants to make a certain 'version' of the sole Skyrocket made, they have to work a little bit. Fortunately, the changes are (mostly) easy for the short XF5F. Mind you, the 'long nose' one is a whole other ballgame and I am not covering that one.
Historically, the 'short nose' Skyrocket had these changes done to it:
-Straight rudder lines changed to more complex joints
-Wing root fairings added
-Single exhaust changed to individual ejectors
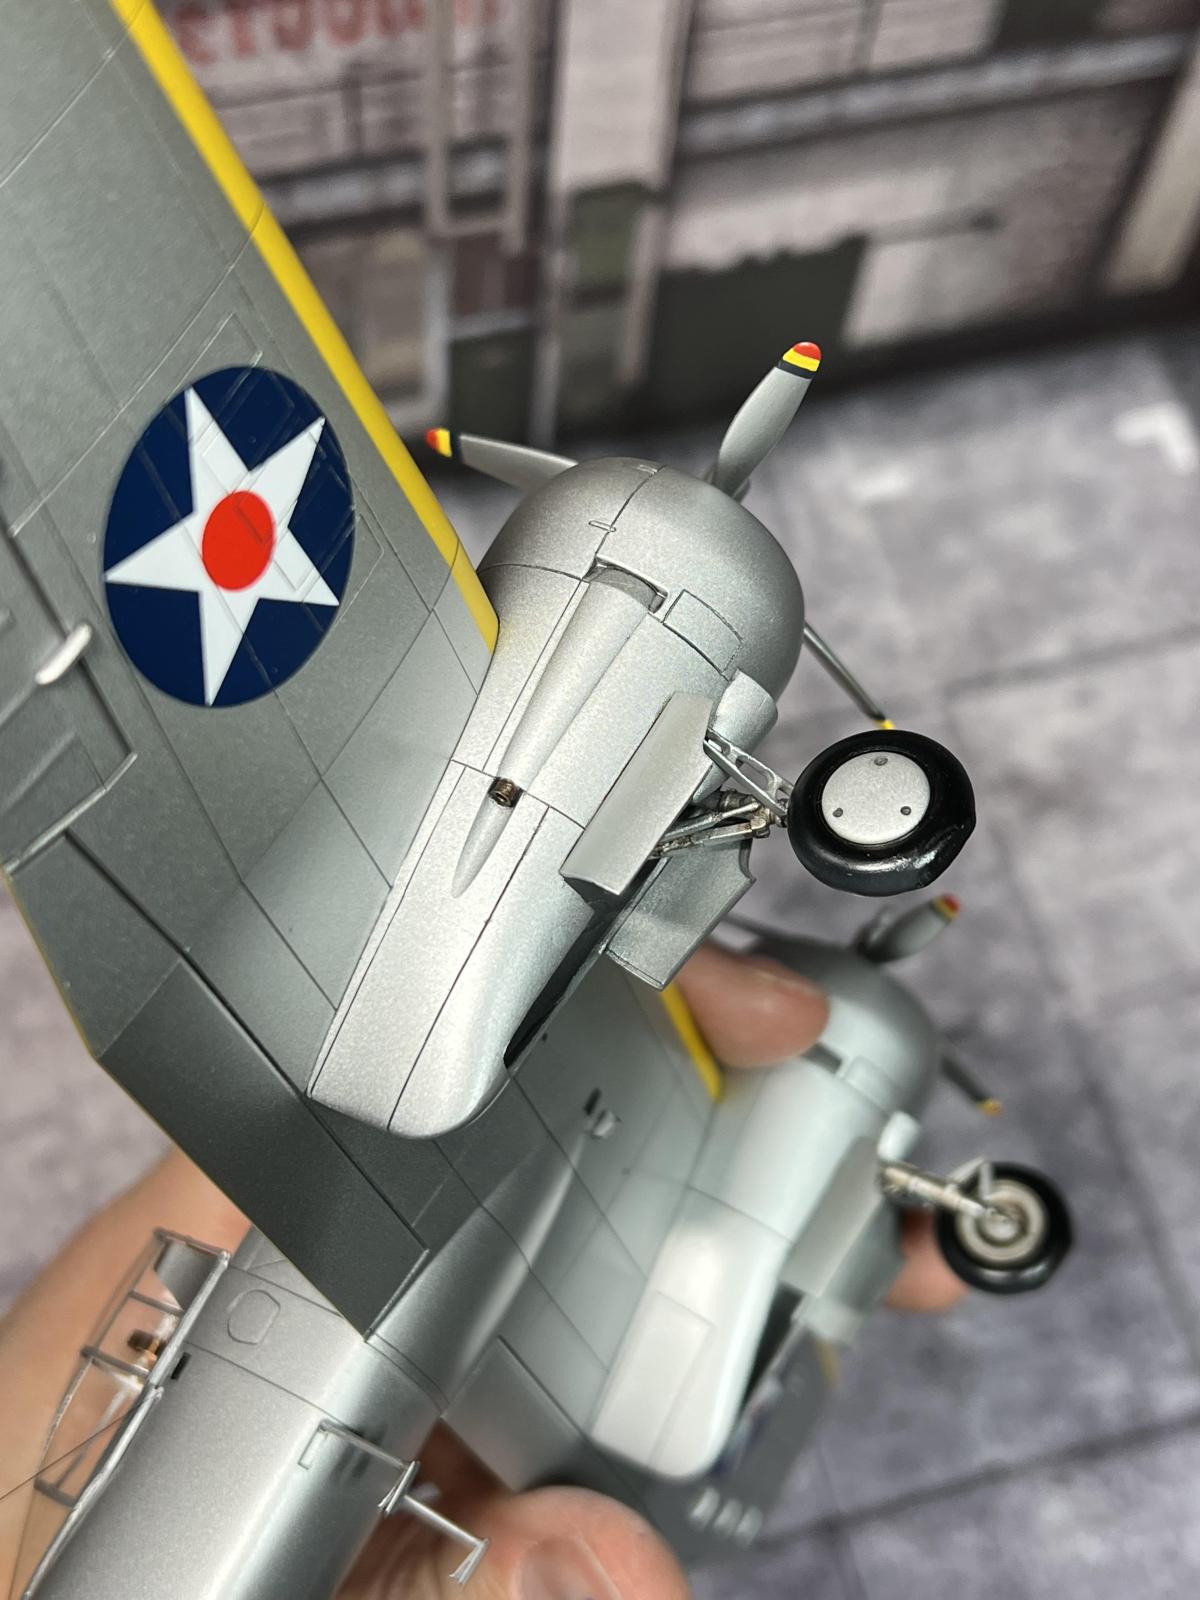
-Different gear door arrangements
-Large tail wheel changed to small tail wheel
-Lower cowl cooling vents deleted
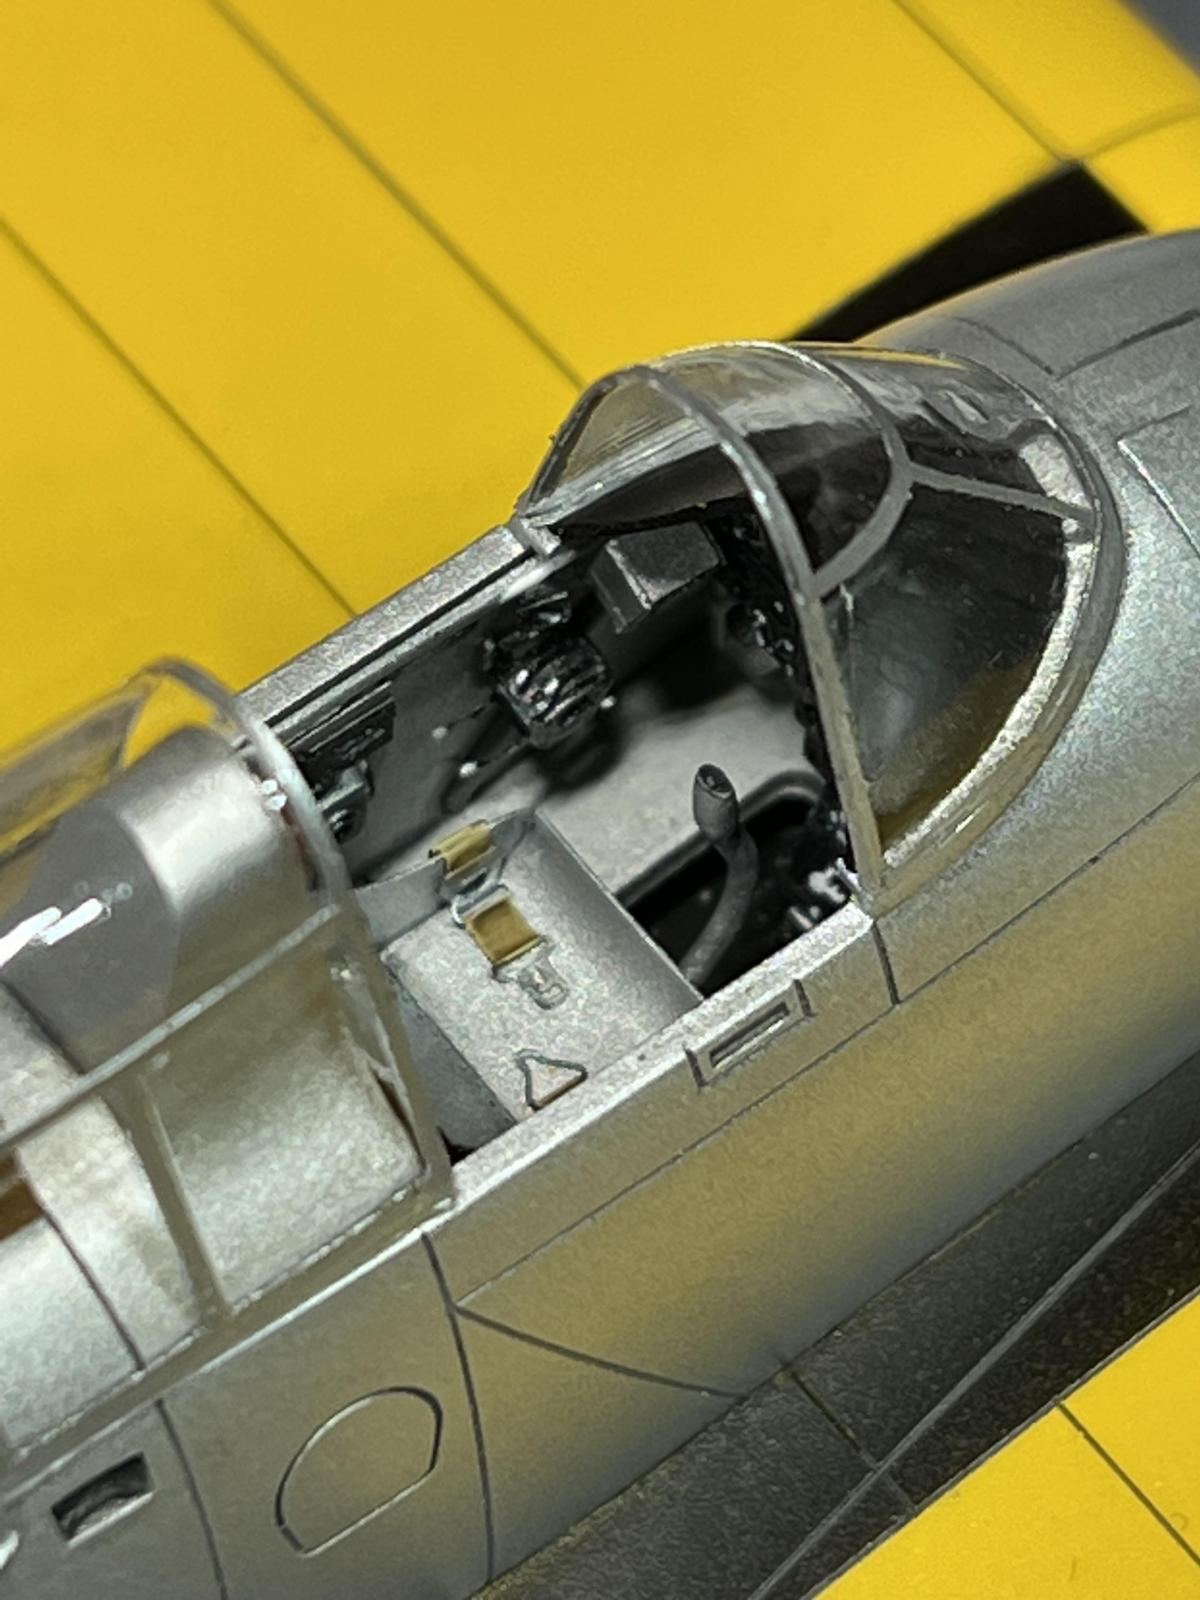
-Instrument panel 'cover' narrowed to improve forward visibility.
-Under cowl scoops deleted
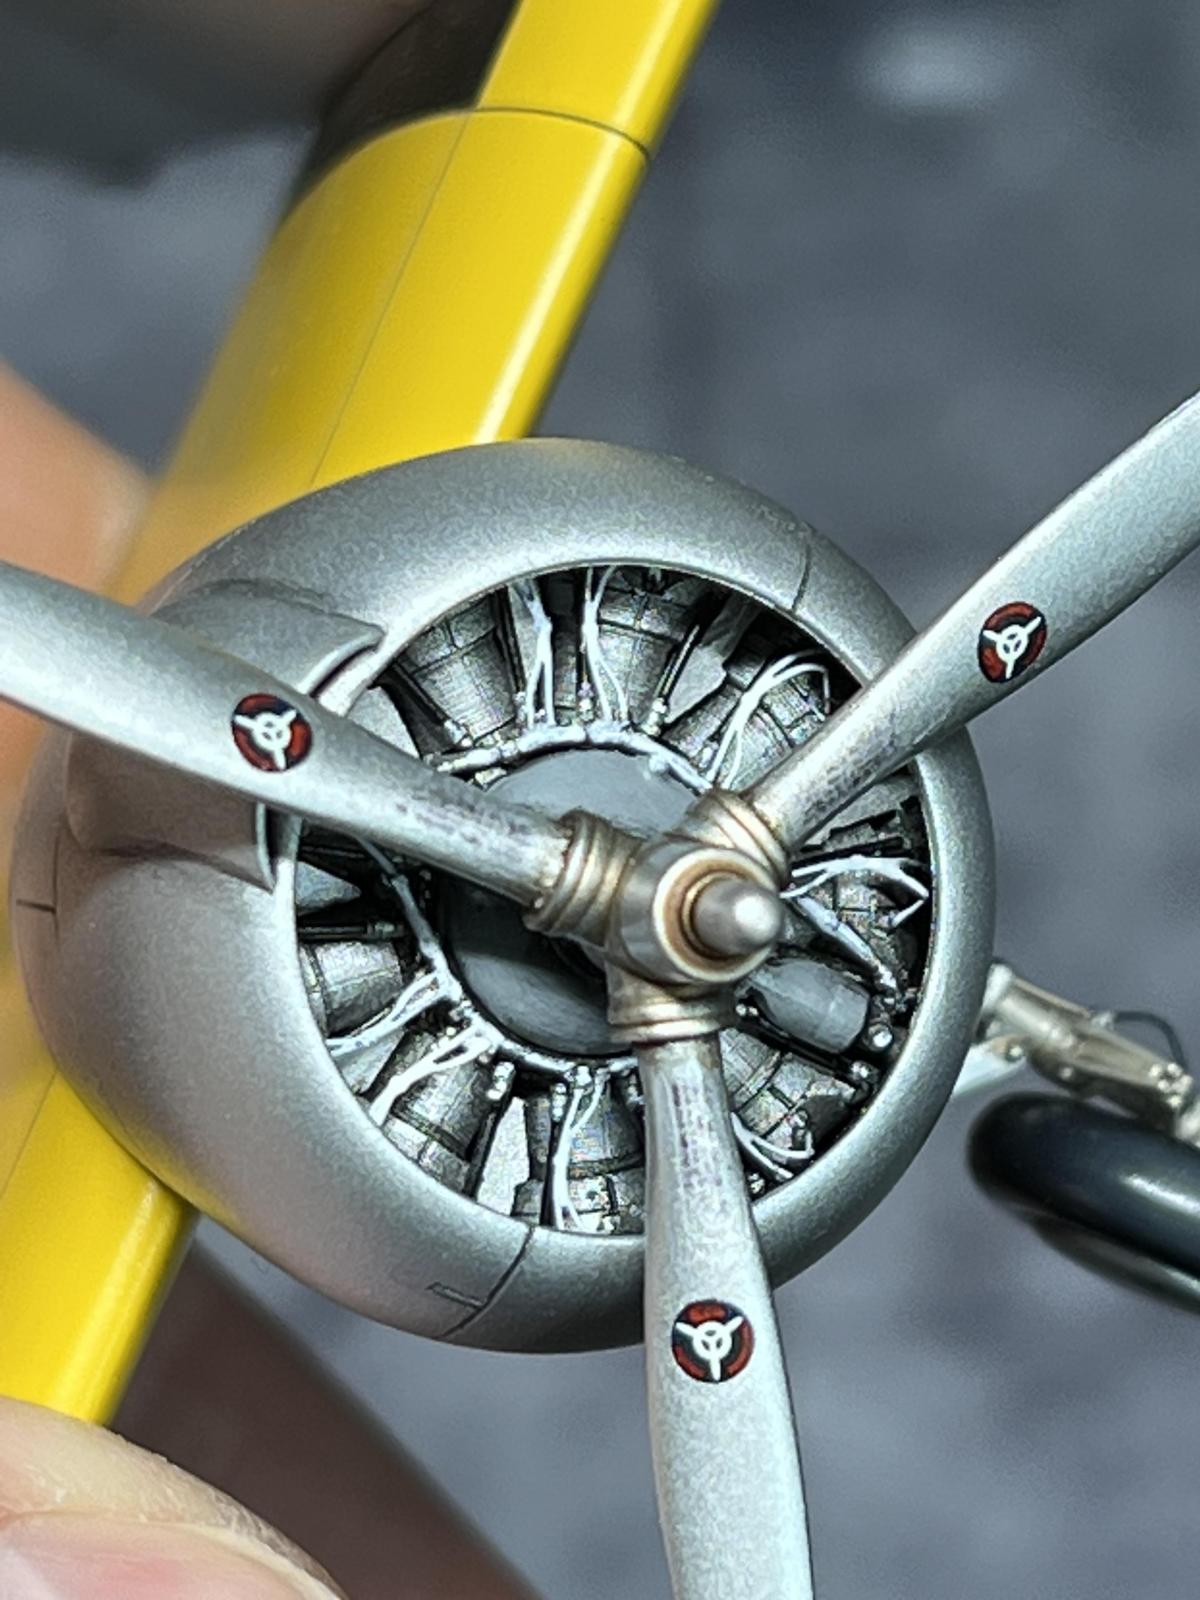
-Different propeller spinner things
If one wants to make an accurate 'roll out day' first-form XF5F, they have to do these things:
-Use the straight line rudders, included in the kit.
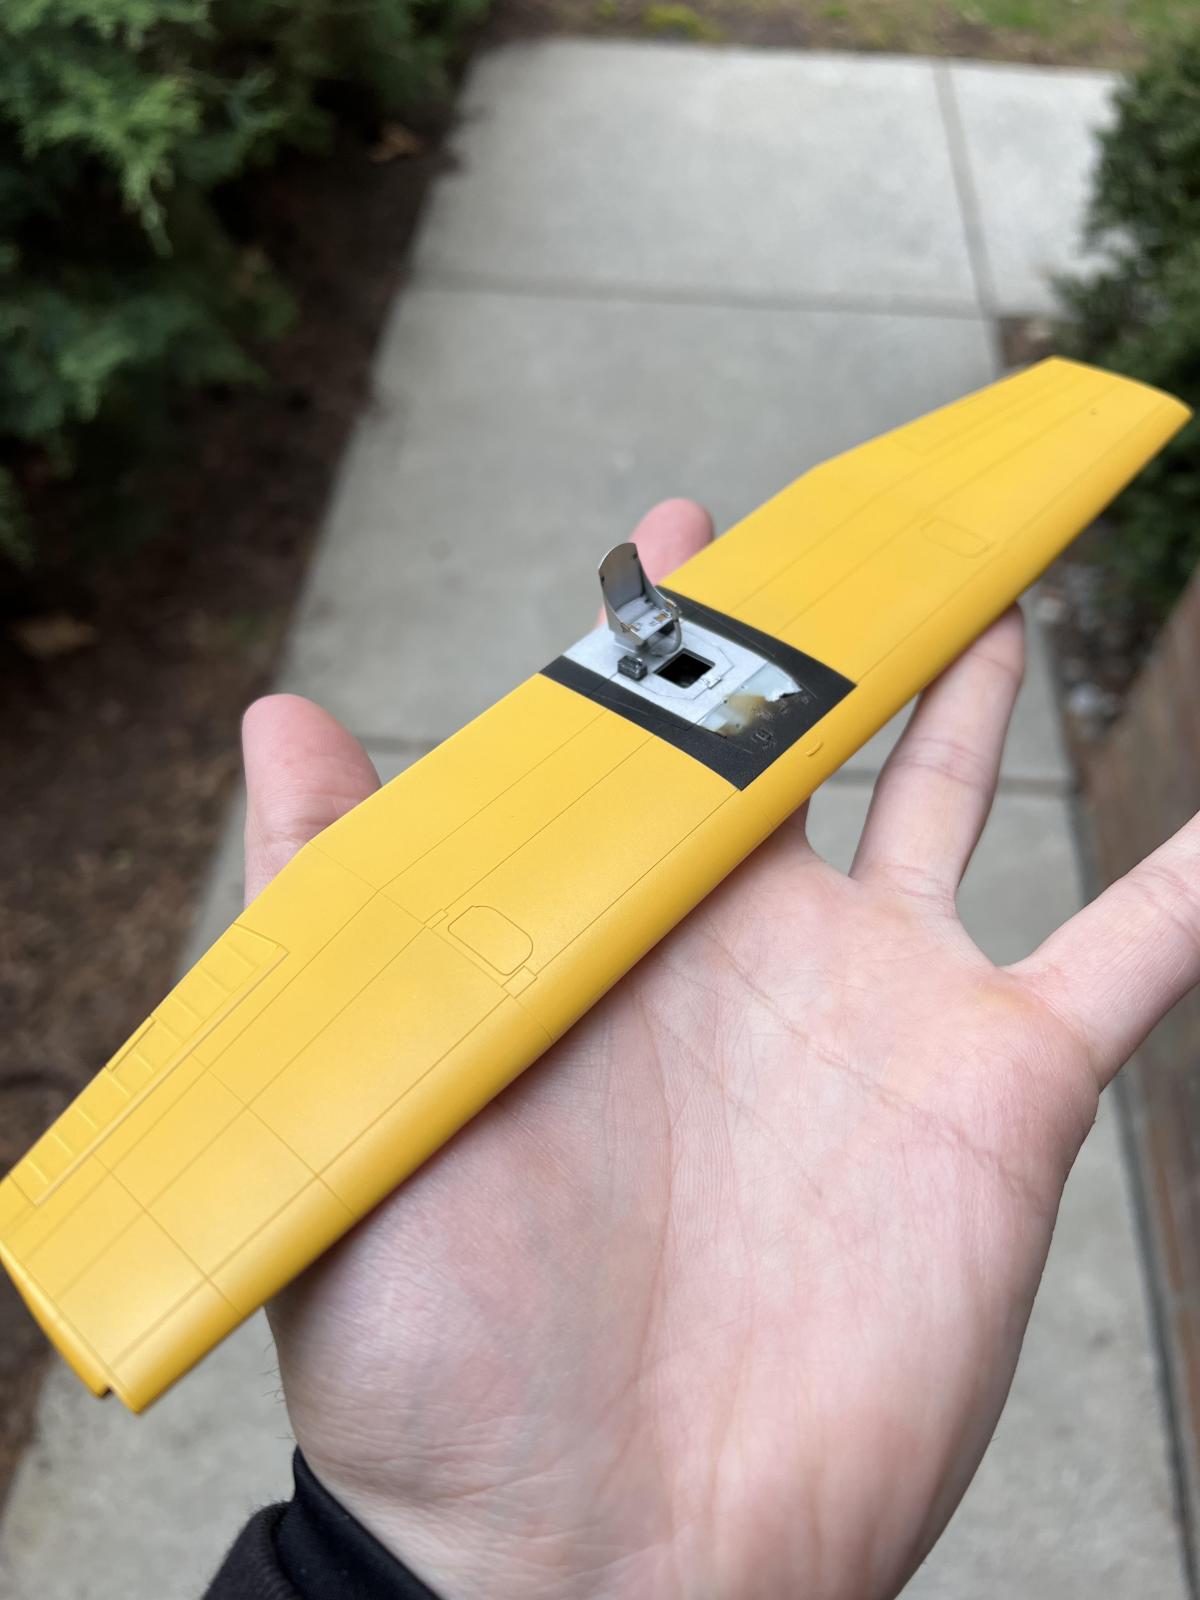
-Don't use the wing root fairings that are included in the kit.
-Don't worry about the exhausts, as the kit already has the collectors.
-Scrounge a bigger spares box tail wheel.
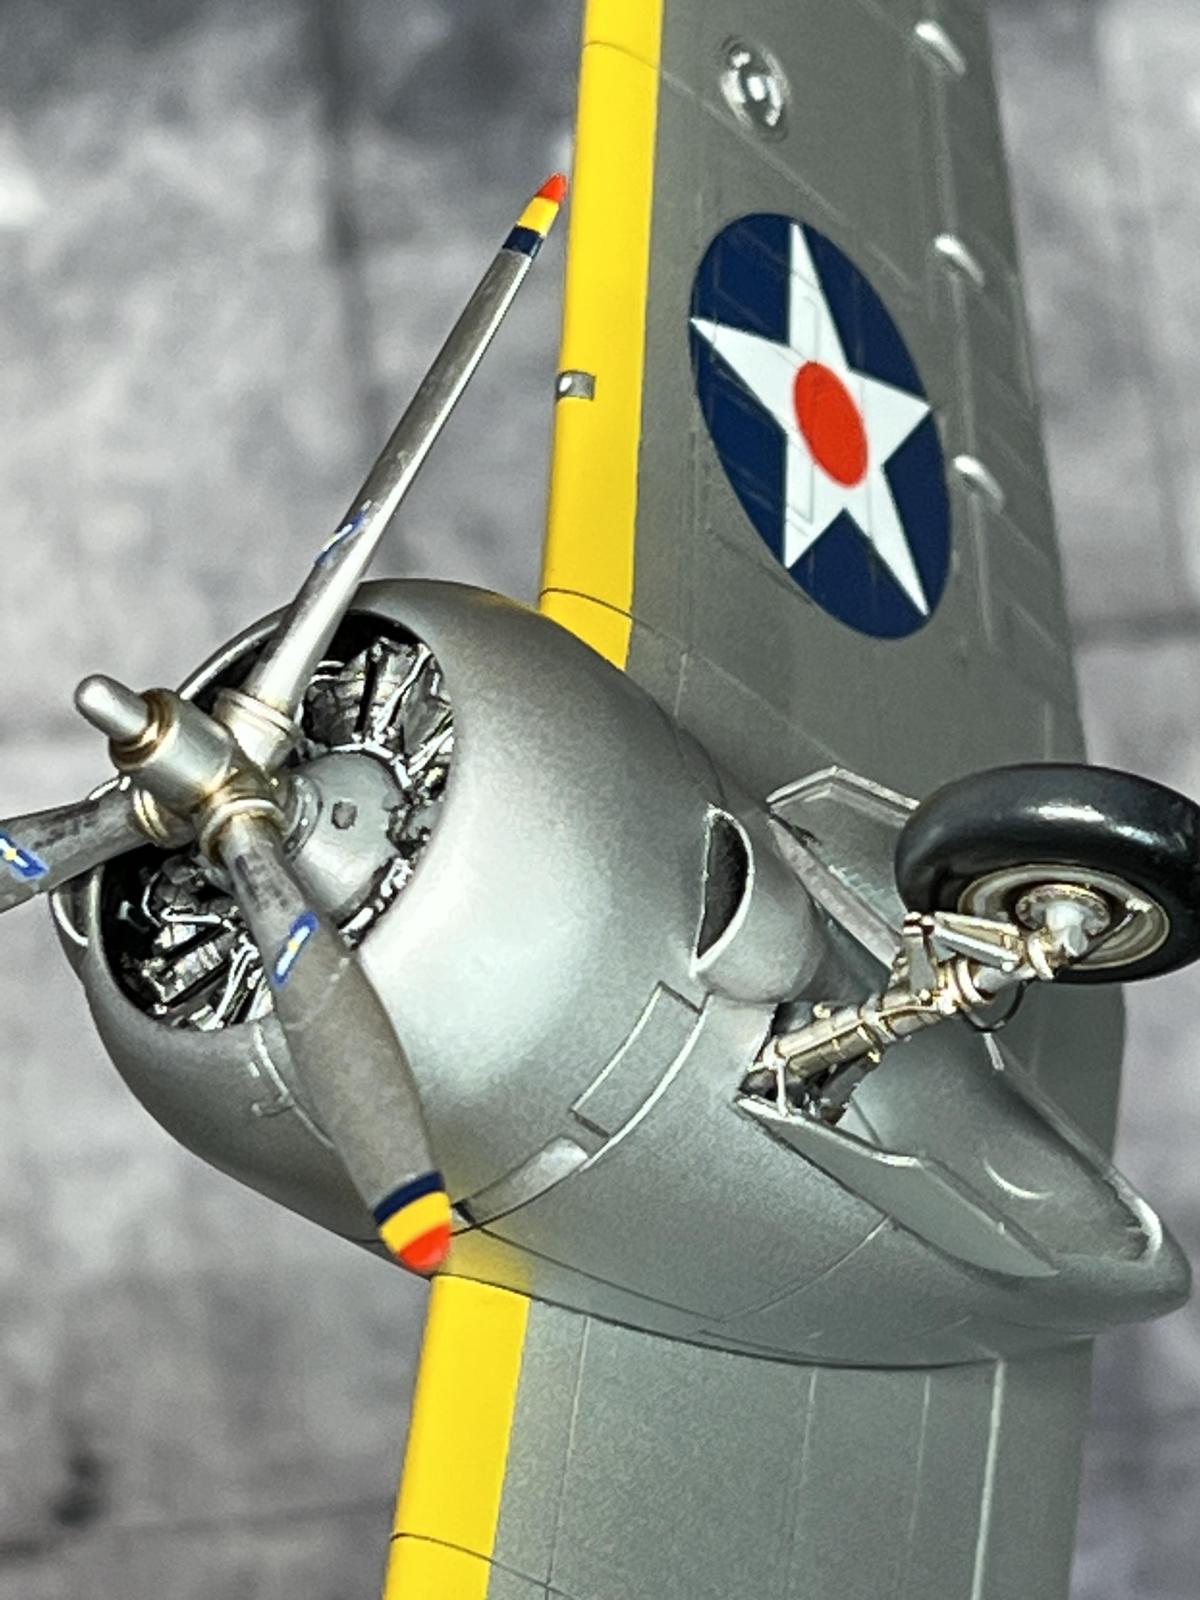
-Scribe in the lower cowl cooling vents.
-Don't narrow the instrument panel cover.
-Don't get rid of the under cowl scoops.
-Don't worry about the different propeller spinner things.
Easy, huh?
Not so fast!
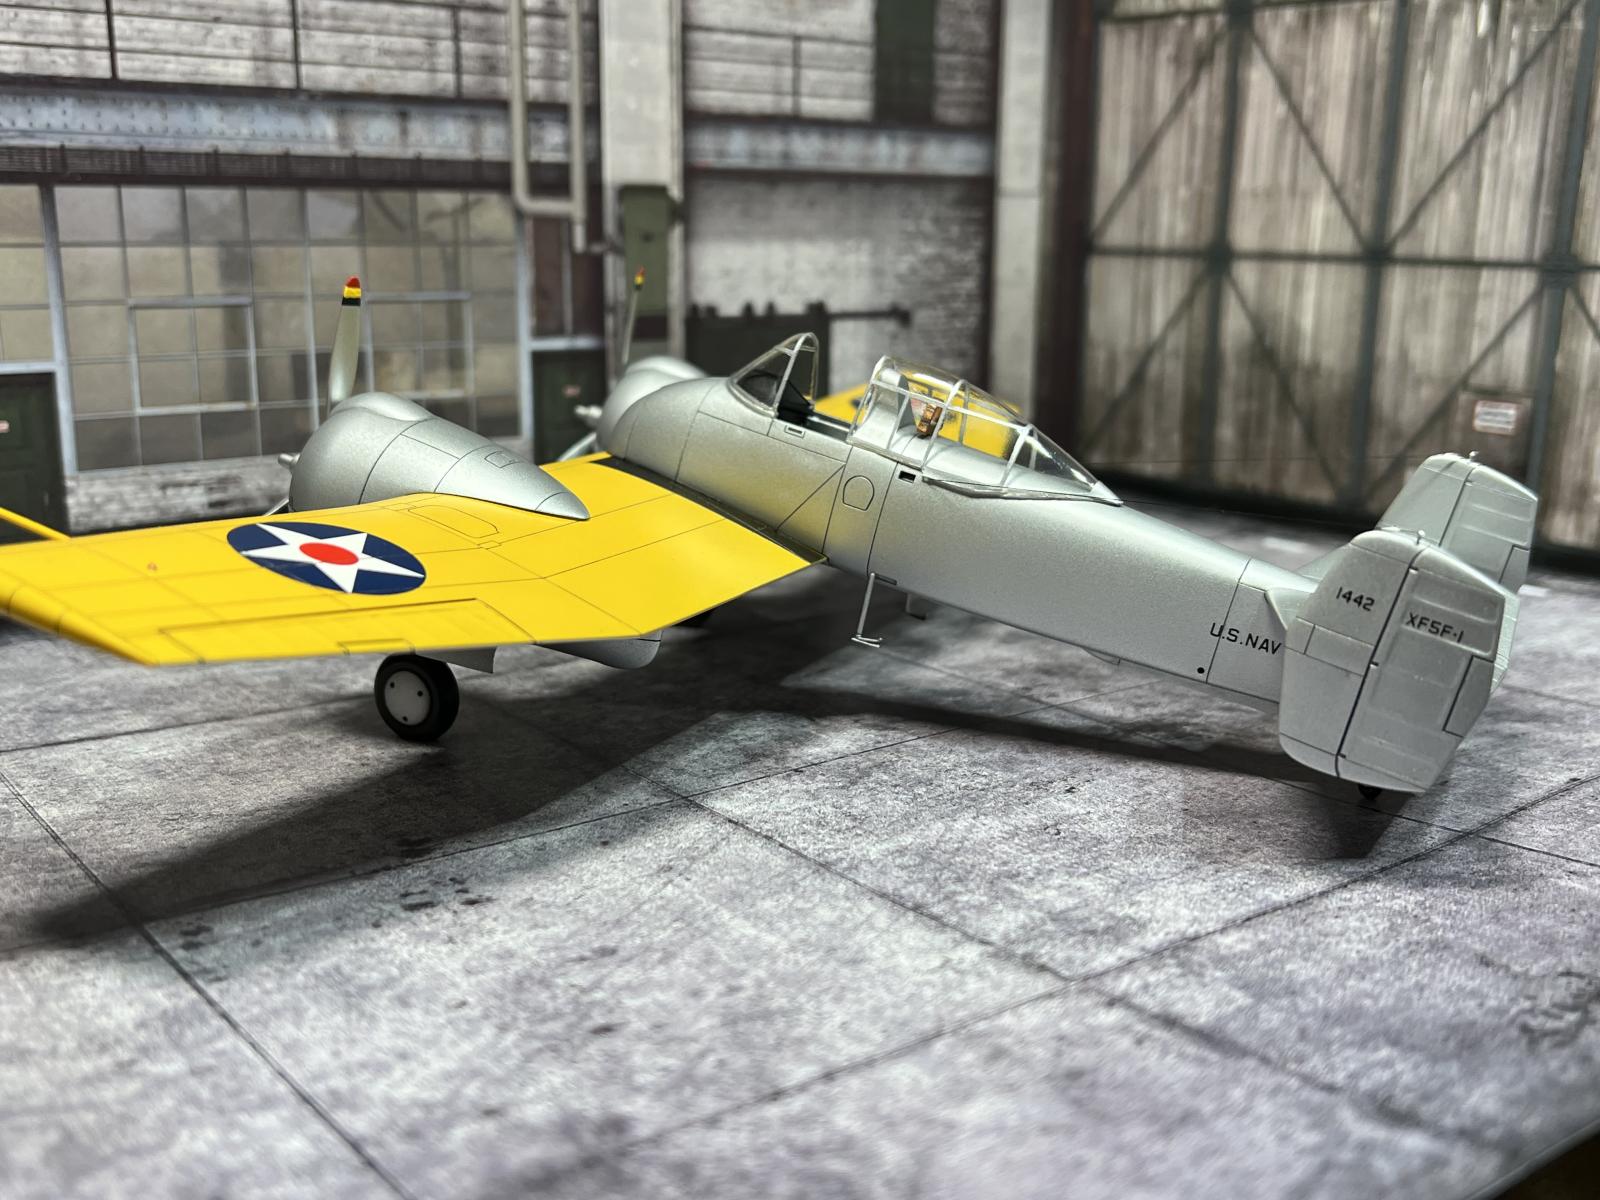
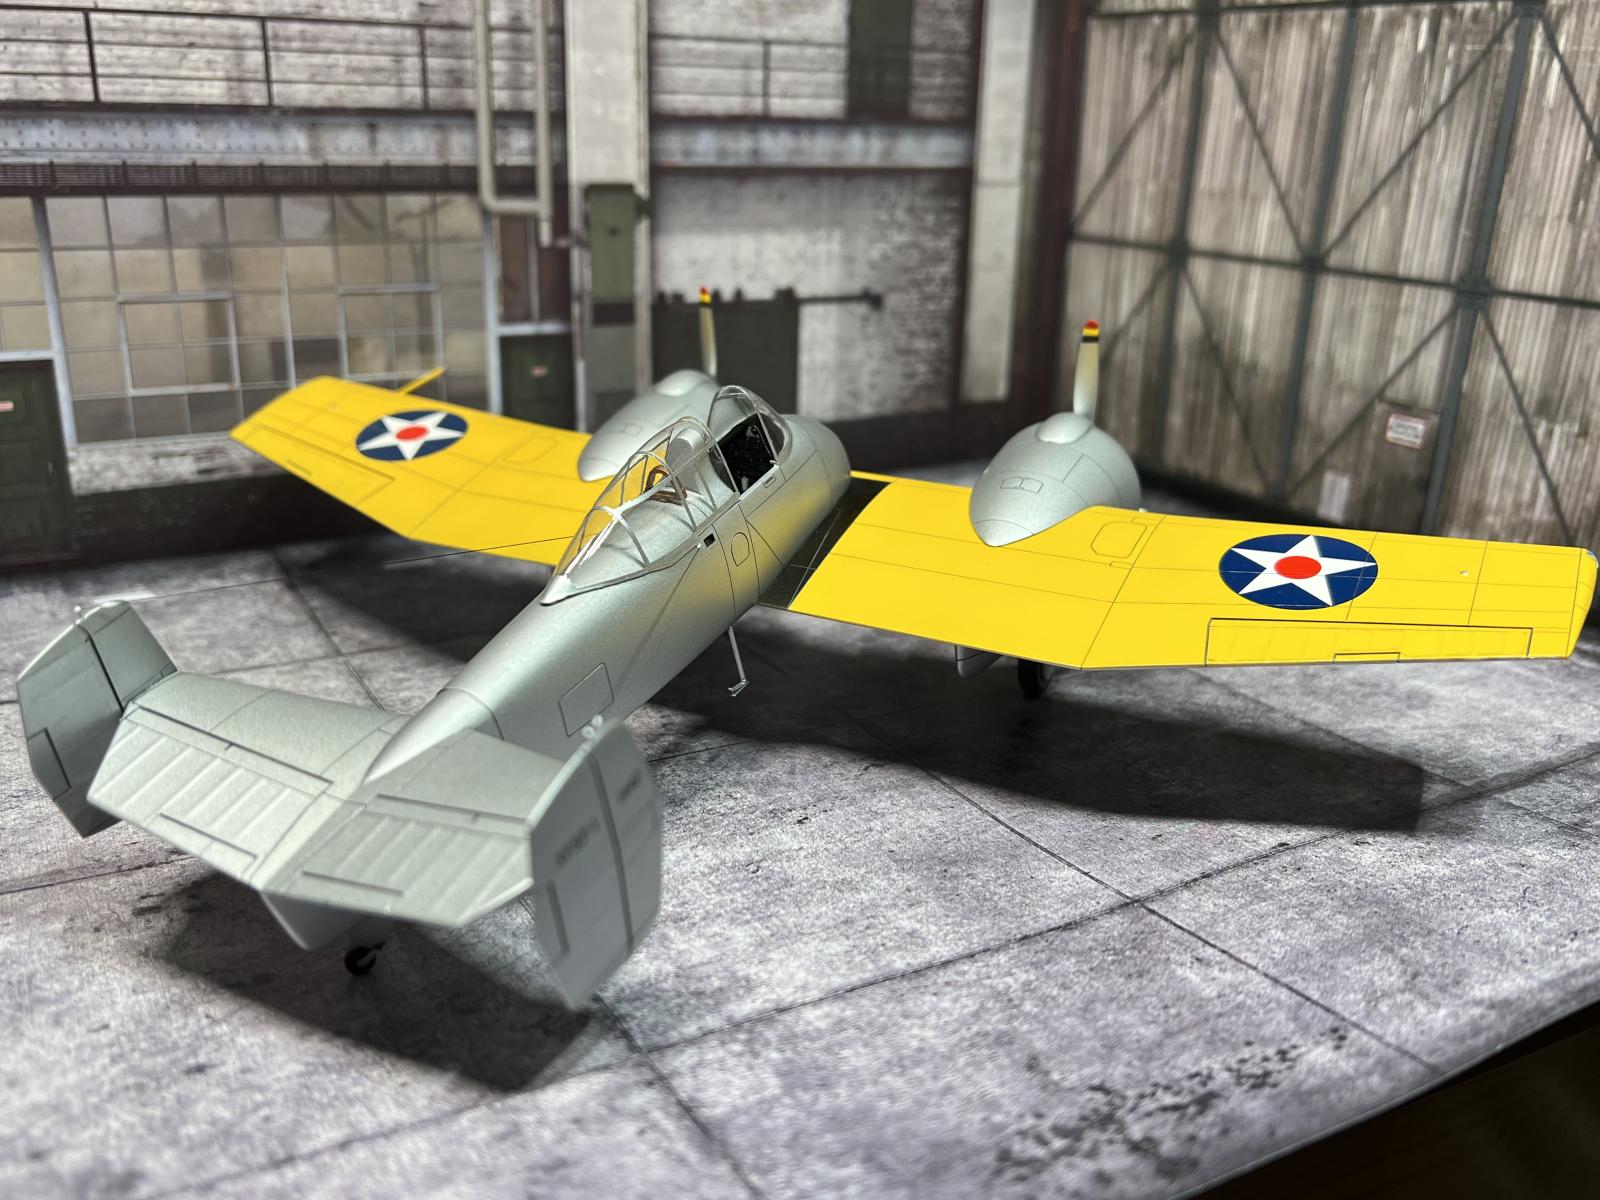
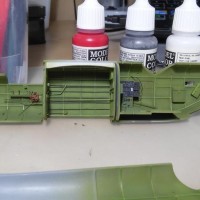
The biggest, most obnoxious hurdle to the 'rollout day' XF5F are the gear doors: they are completely different. The first iteration had plain clamshell doors, which changed later to the swing-down 'V' shape the Minicraft kit has. There is next to no photos of the original doors, and absolutely no photos of inside the gear bays. Unfortunately the kit also has absolute lack of detail inside, as apparently the makers of this kit had the same issue I did. Squinting at photos, I tried my best attempt at guessing what the arrangement was. I glued the kit doors into the nacelles and cut out new ones, filling in the old lines. I was going to make up and scratch-build fantasy gear bay detail but I said screw it and moved on: as a serious, try-hard model nerd I dislike spurious fabrication.
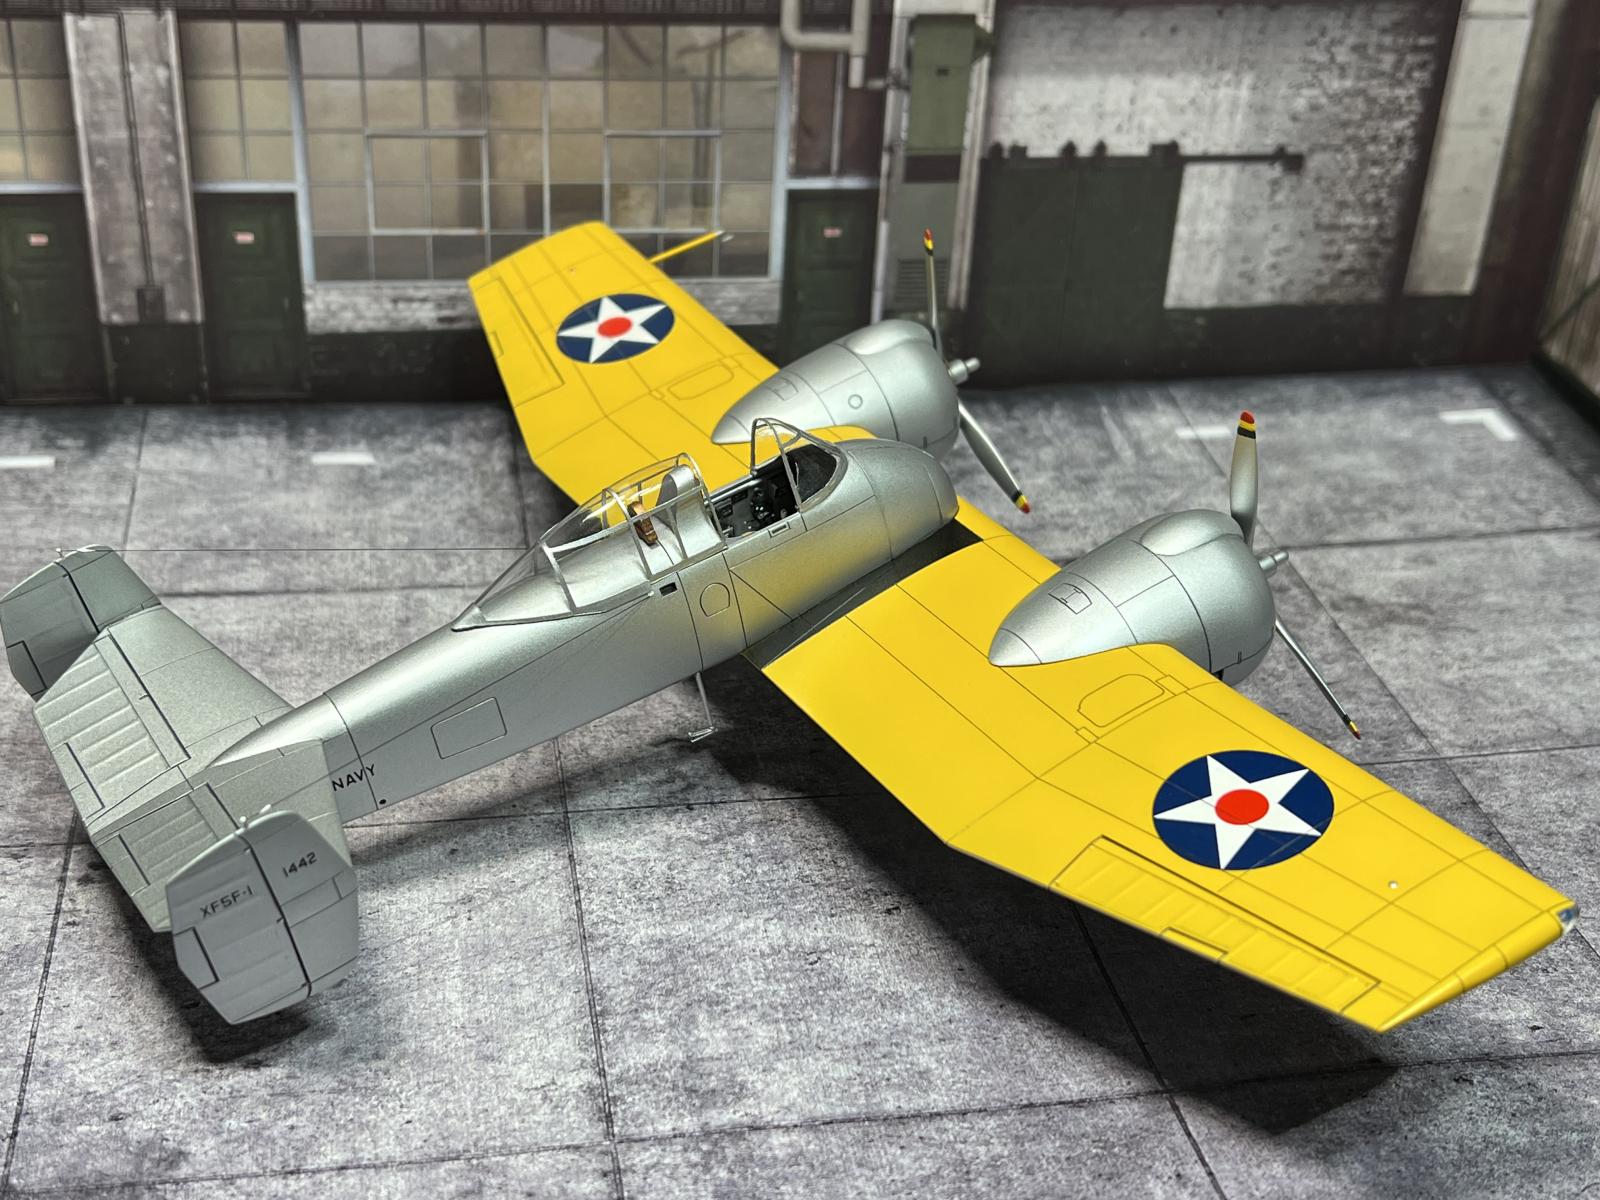
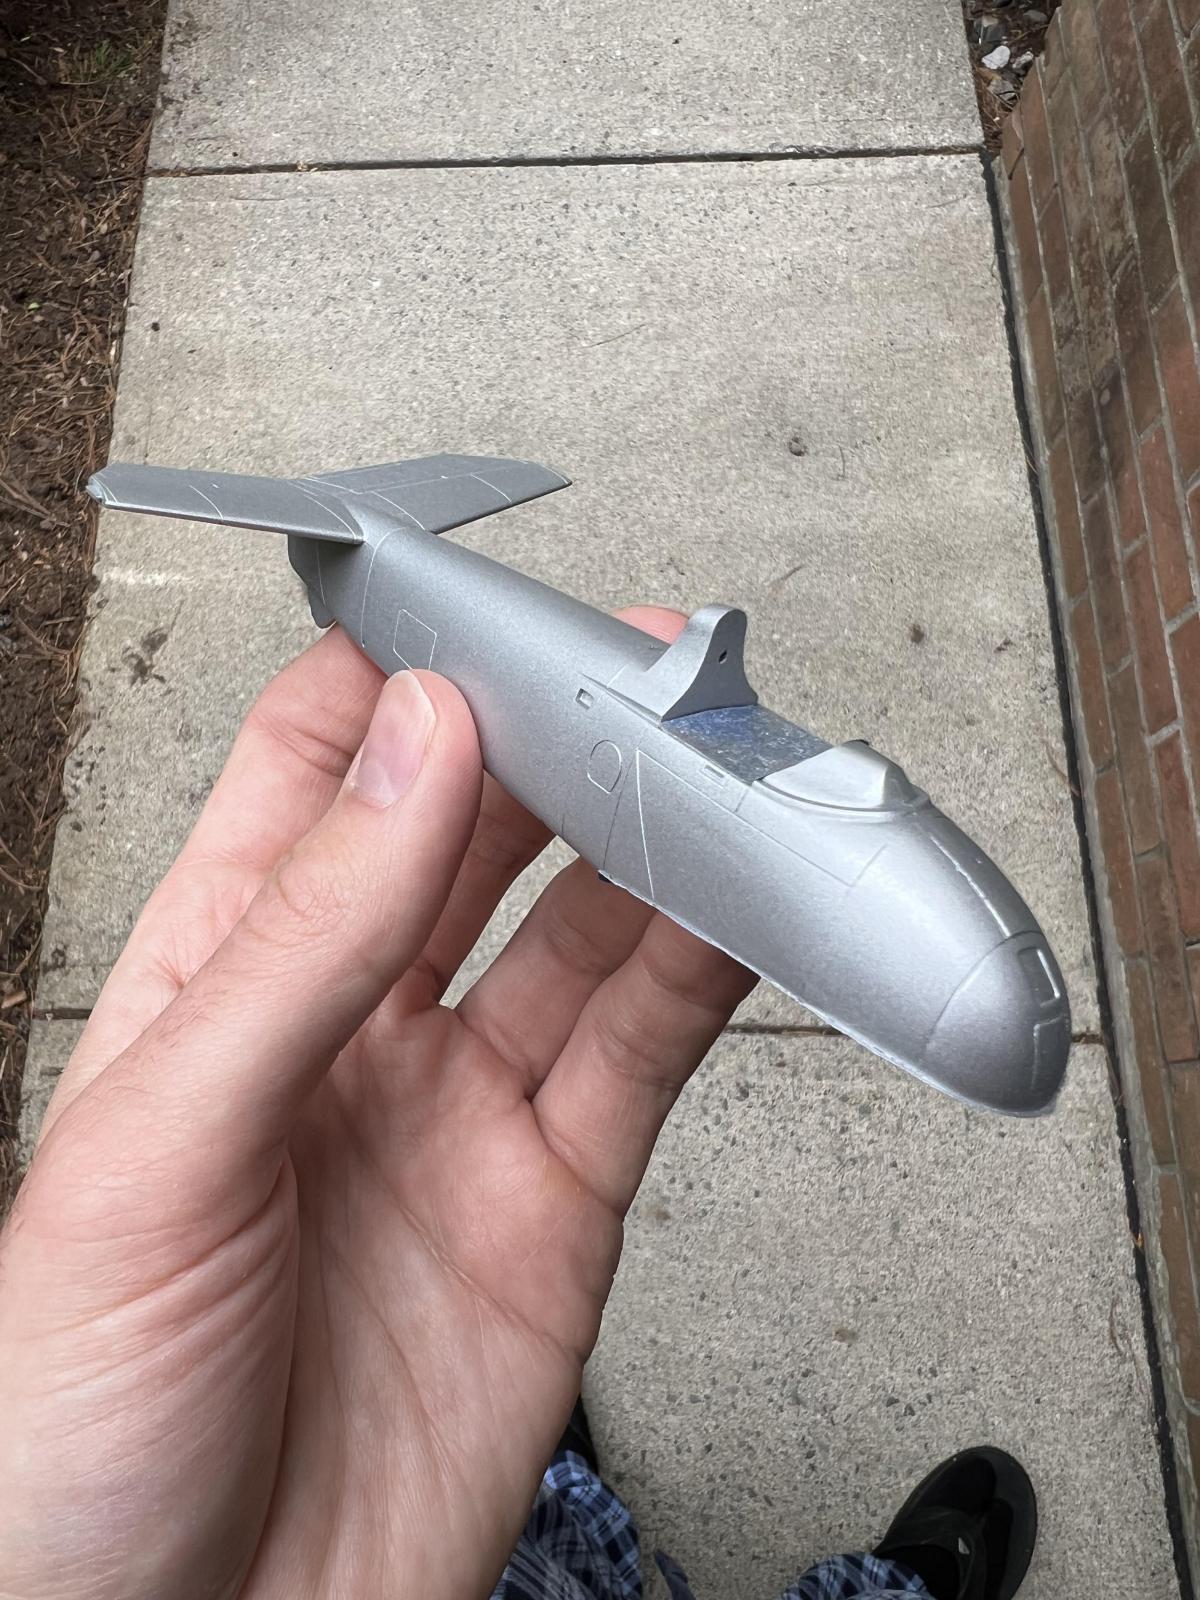
In general modeling stuff, the model is unique. The wing can be finished in it's entirety before anything else in the kit is touched. This is the first model I have finished in distinctly separate sub-assemblies, the first model where I attached engine nacelles to a completely painted wing, and the first model where the nacelles aren't even GLUED ON up top (don't tell the model show judges, they haven't noticed yet).
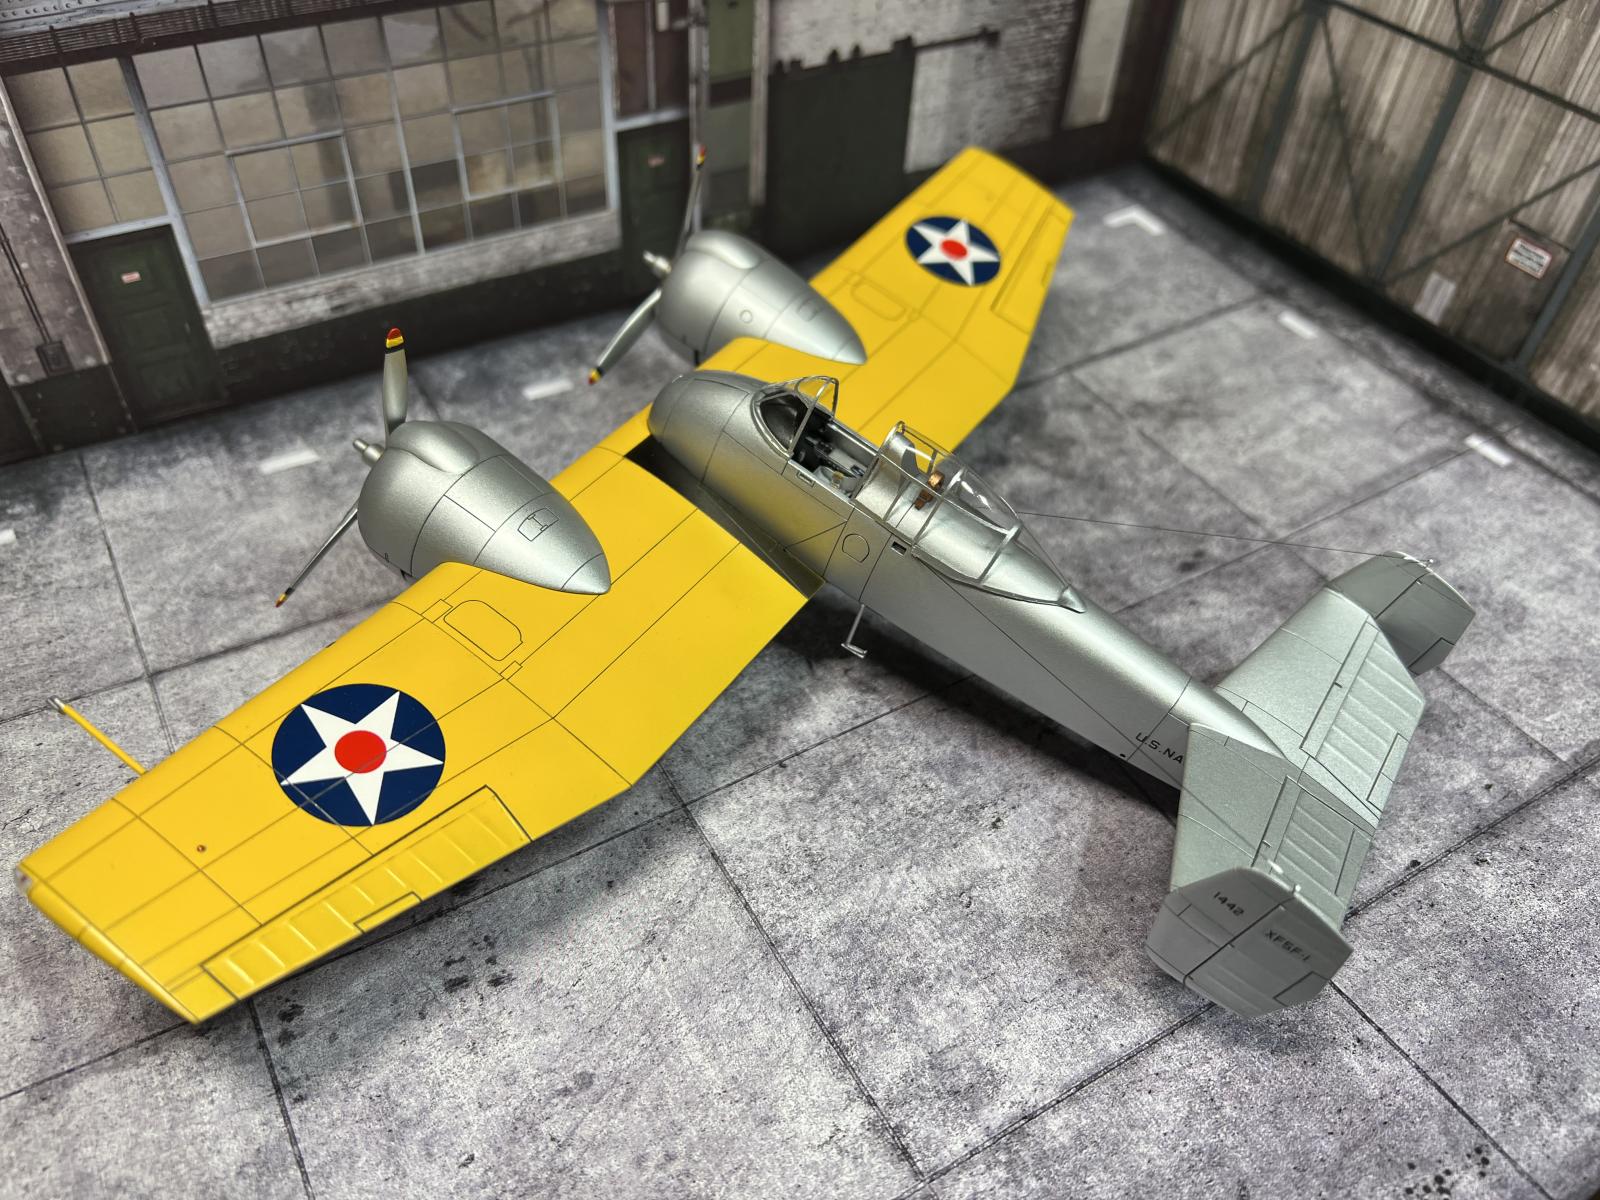
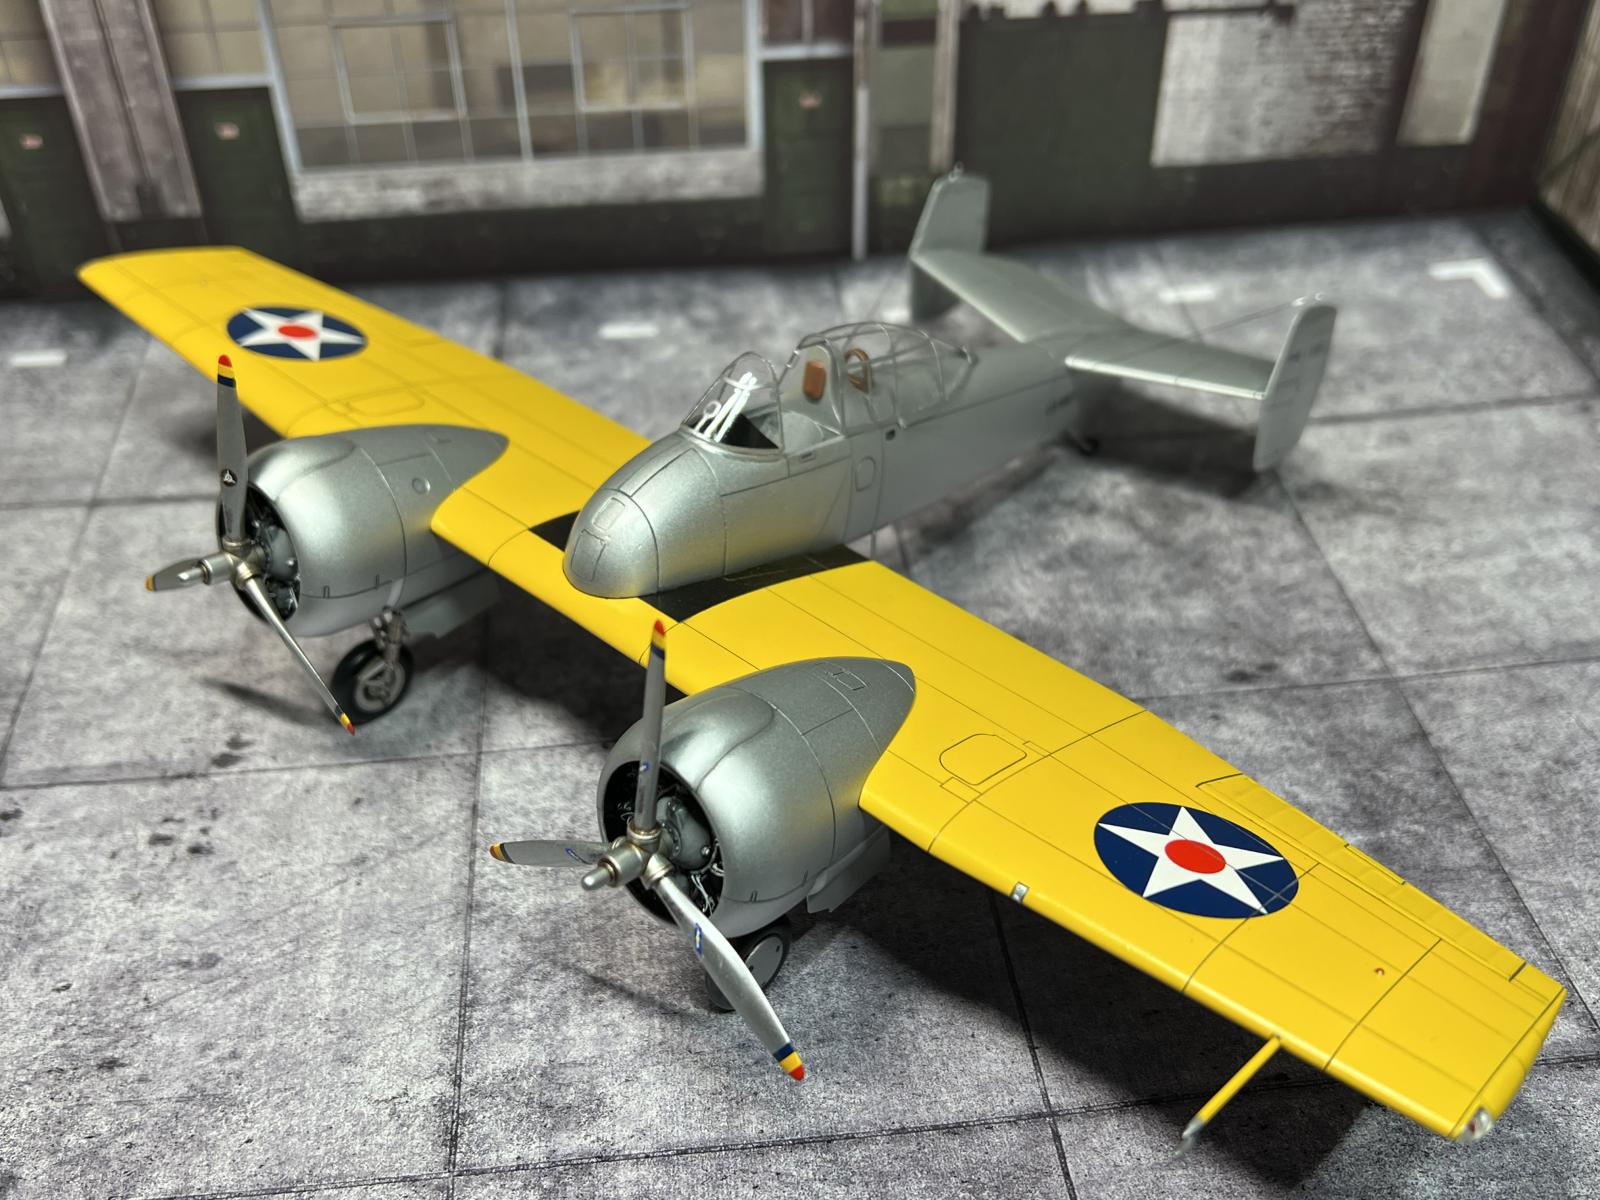
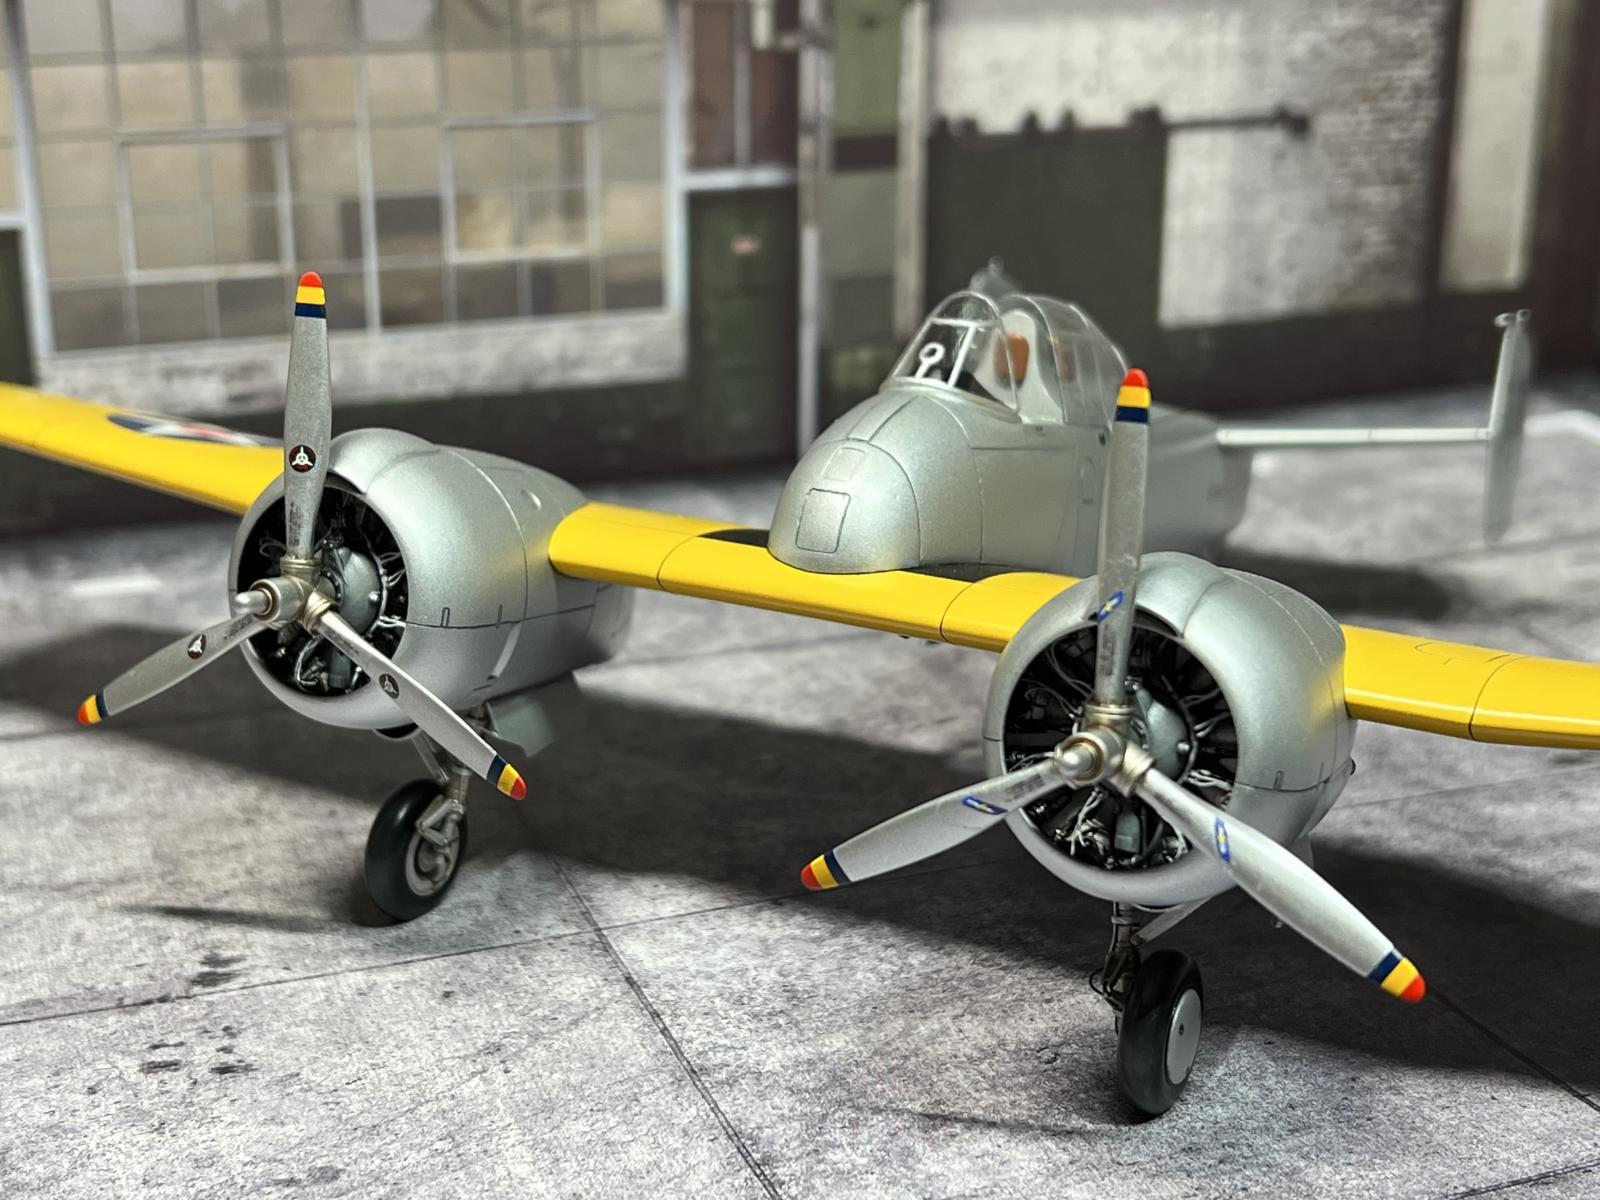
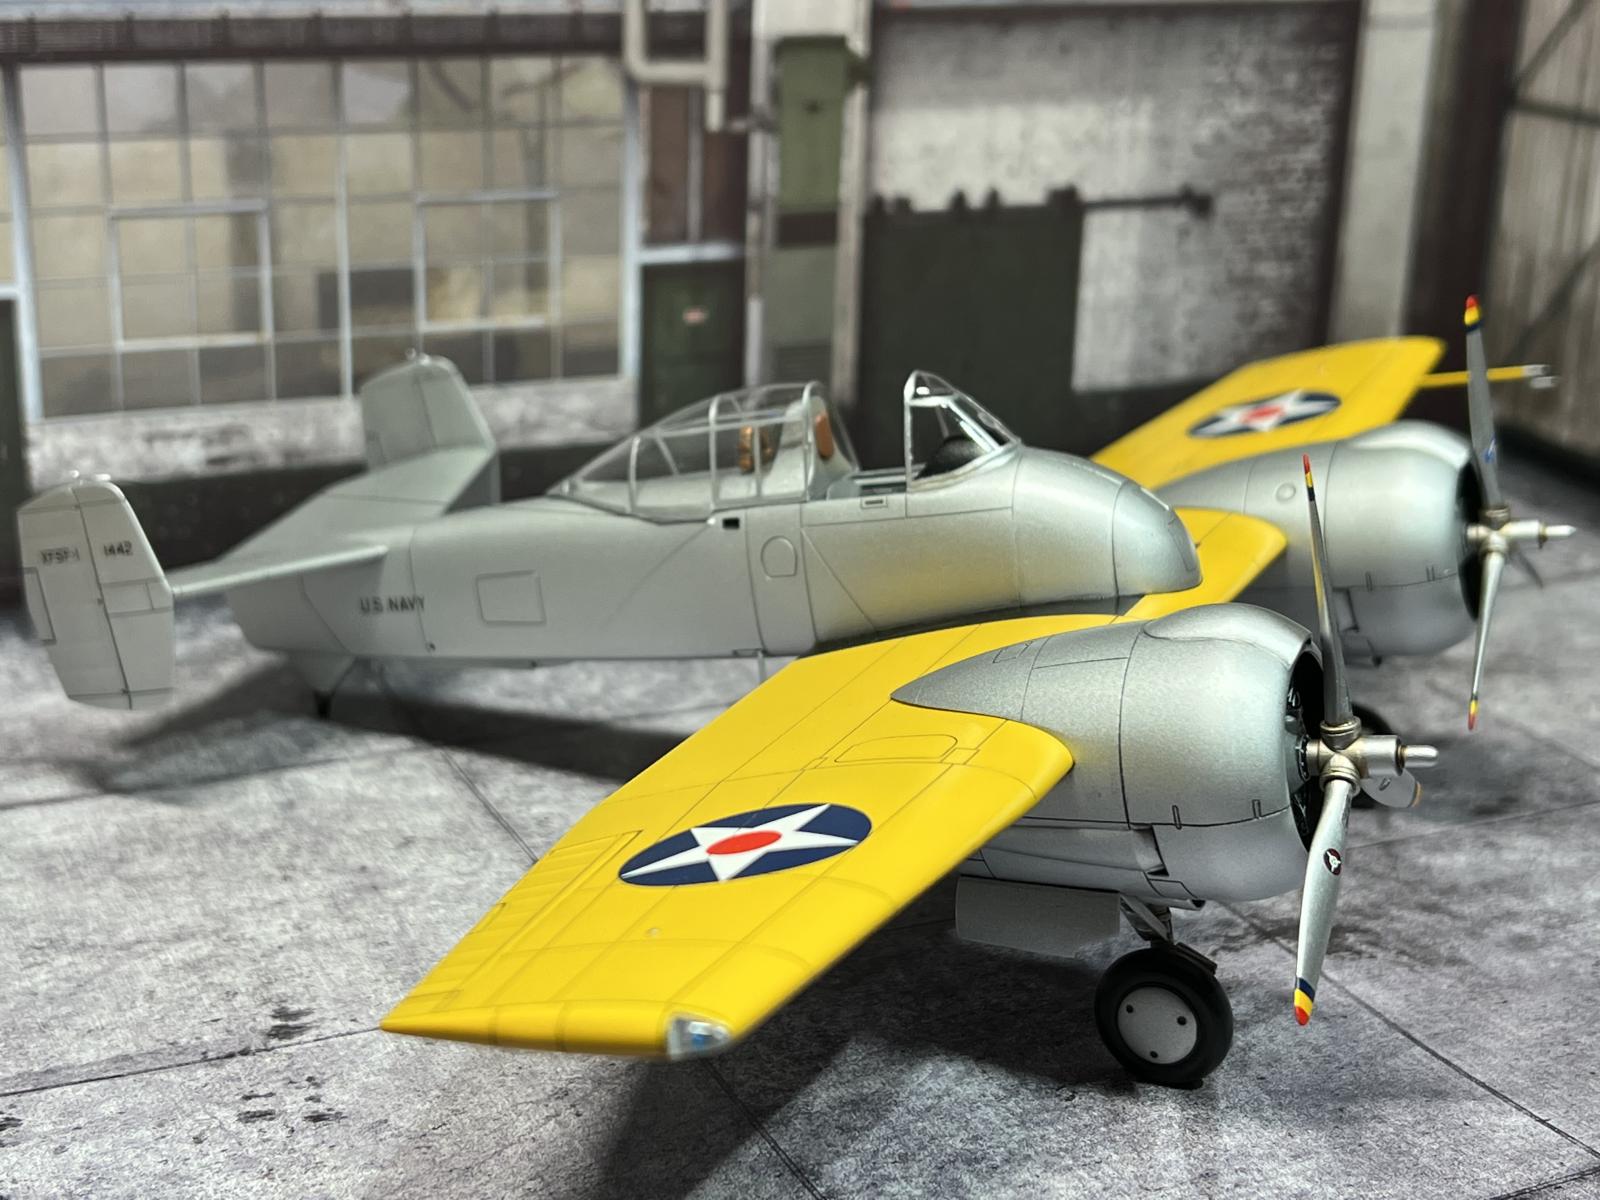
The engines aren't too good: I replaced them with two Metallic Details aftermarket. The props have a weird inner cuff that needs to be removed in order to look right. It also first had an older (?) left-hand Curtiss Electric prop with these strange 'slash' logos, so I asked a friend (thanks Mike Fleckenstein!) to make me some. I added wire brake lines, an old Eduard PE set, and a Squadron vacuform canopy. I filled and sanded the 'cowl ring' parts, as the real aircraft had a two-piece cowl that separated in the middle. The short nosed XF5F also never carried guns, only being installed to be posed and take pictures, so the modeler can fill in these holes and forget. Oh, and the initial XF5F has these darker panels on the outboard hand of the nacelles behind the exhausts: I assume these are heat-resistant panels, and are a darker shade of metal (I don't think they were black), and I painted them as such.
This is also the first model that I used Post-It notes to mask (great stuff), and the first time I used True Details Fast Frames. I was dubious at first about these, but they came out great. After I applied them, I dipped the whole canopy with frames on it into a bath of Future for extra sealing and adhesion.
I love yellow wings projects, and this was a pleasure. Maybe someday I will try something on the scale of a yellow wing Catalina.
Thanks for looking.


Impressive work. Sharp lines and very clean paint job.
Very nice work on this Kyle. A great result.
Amazing nob and ditto research, Kyle!
Great result, Kyle @kopperhed
Paintwork, especially on this difficult yellow wings, looks amazing.
Beautiful work Kyle. I’ve heard the beaufighter described as “ two engines closely followed by an aeroplane” but this takes it to a new level. It looks like the fuselage can’t keep up with the wings! Congratulations on a great result.
Some really impressive research and such a cute little model. The finish is superb as well.
Very nice work, Kyle! @kopperhead
May I ask which wash you used for the propellers and landing gear? Looks very realistic.
I used Citadel/Games Workshop ‘Agrax Earthshade.’ It’s a brown wash in a bottle used by the Warhammer guys
Thanks, Kyle! @kopperhead
Your tenacity and ingenuity paid off, Kyle. That looks great! Well done.
Very well researched, Kyle, to get the details right, and extremely well modelled and painted, yellow wings are great aren’t they?
Now that's a great looking Skyrocket, Kyle. Amazing work.
I saw this kit on a vendors table and grabbed it immediately, not sure when I'll be building it but I will definitely reference your this post.
The Yellow and NMF look amazing, and nice choice of engine detail.
If you doubt this guy's (can't call him "kid" anymore) Model Nerd credentials, He went nuts trying to find the different decals for the left propeller's logo, and ended up painting the tiny things. Wouldn't settle for "almost right".
Well that’s just beautiful. I built this kit a couple of years ago due to my fascination with unusal designs and that simple, but quite attractive color scheme. I did not go to the depths you did as far as the salient points, so adding to my knowledge was an additional treat to viewing your excellent build. Congrats.
Looks great!
Beautifully done, Kyle. Excellent build and an even better article. Nice job!