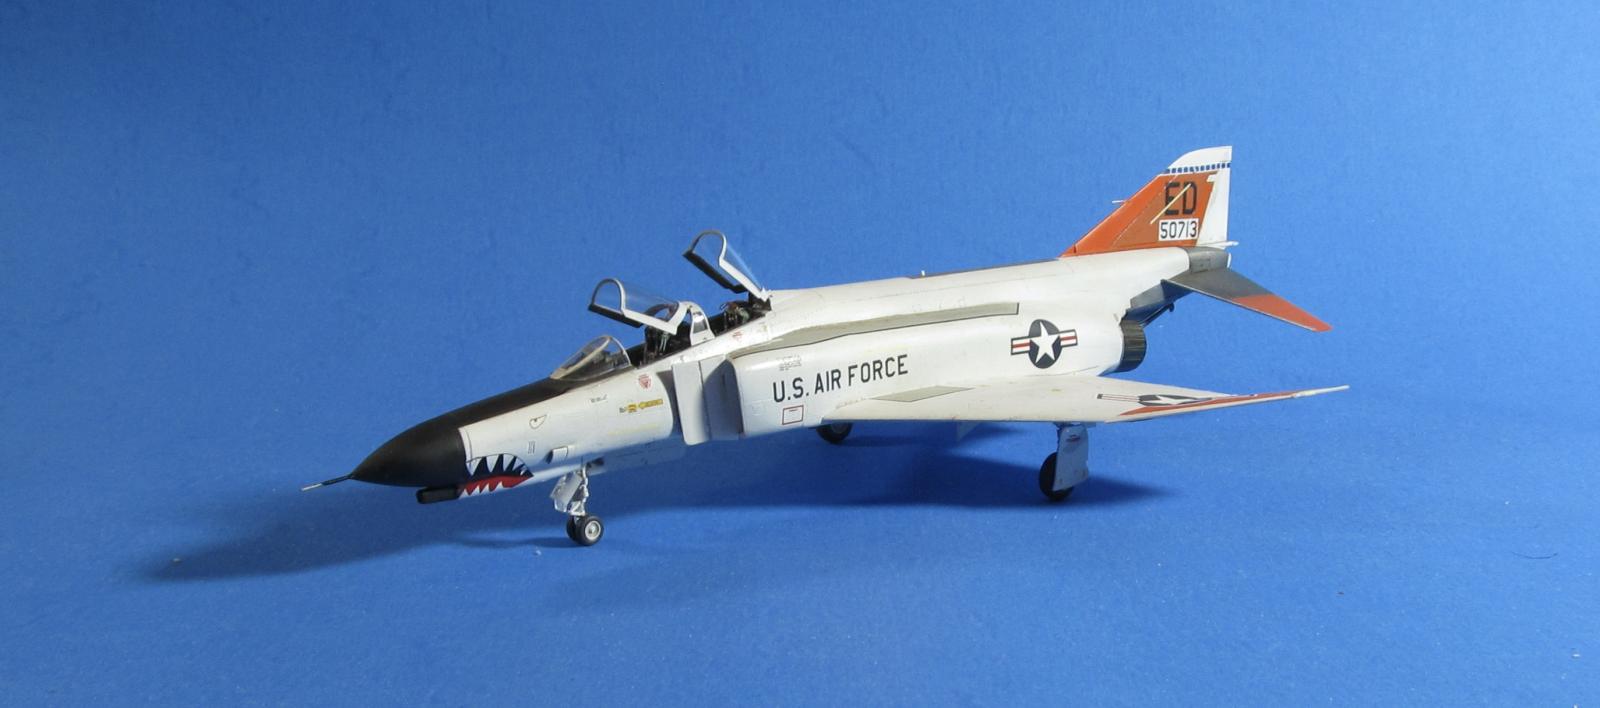
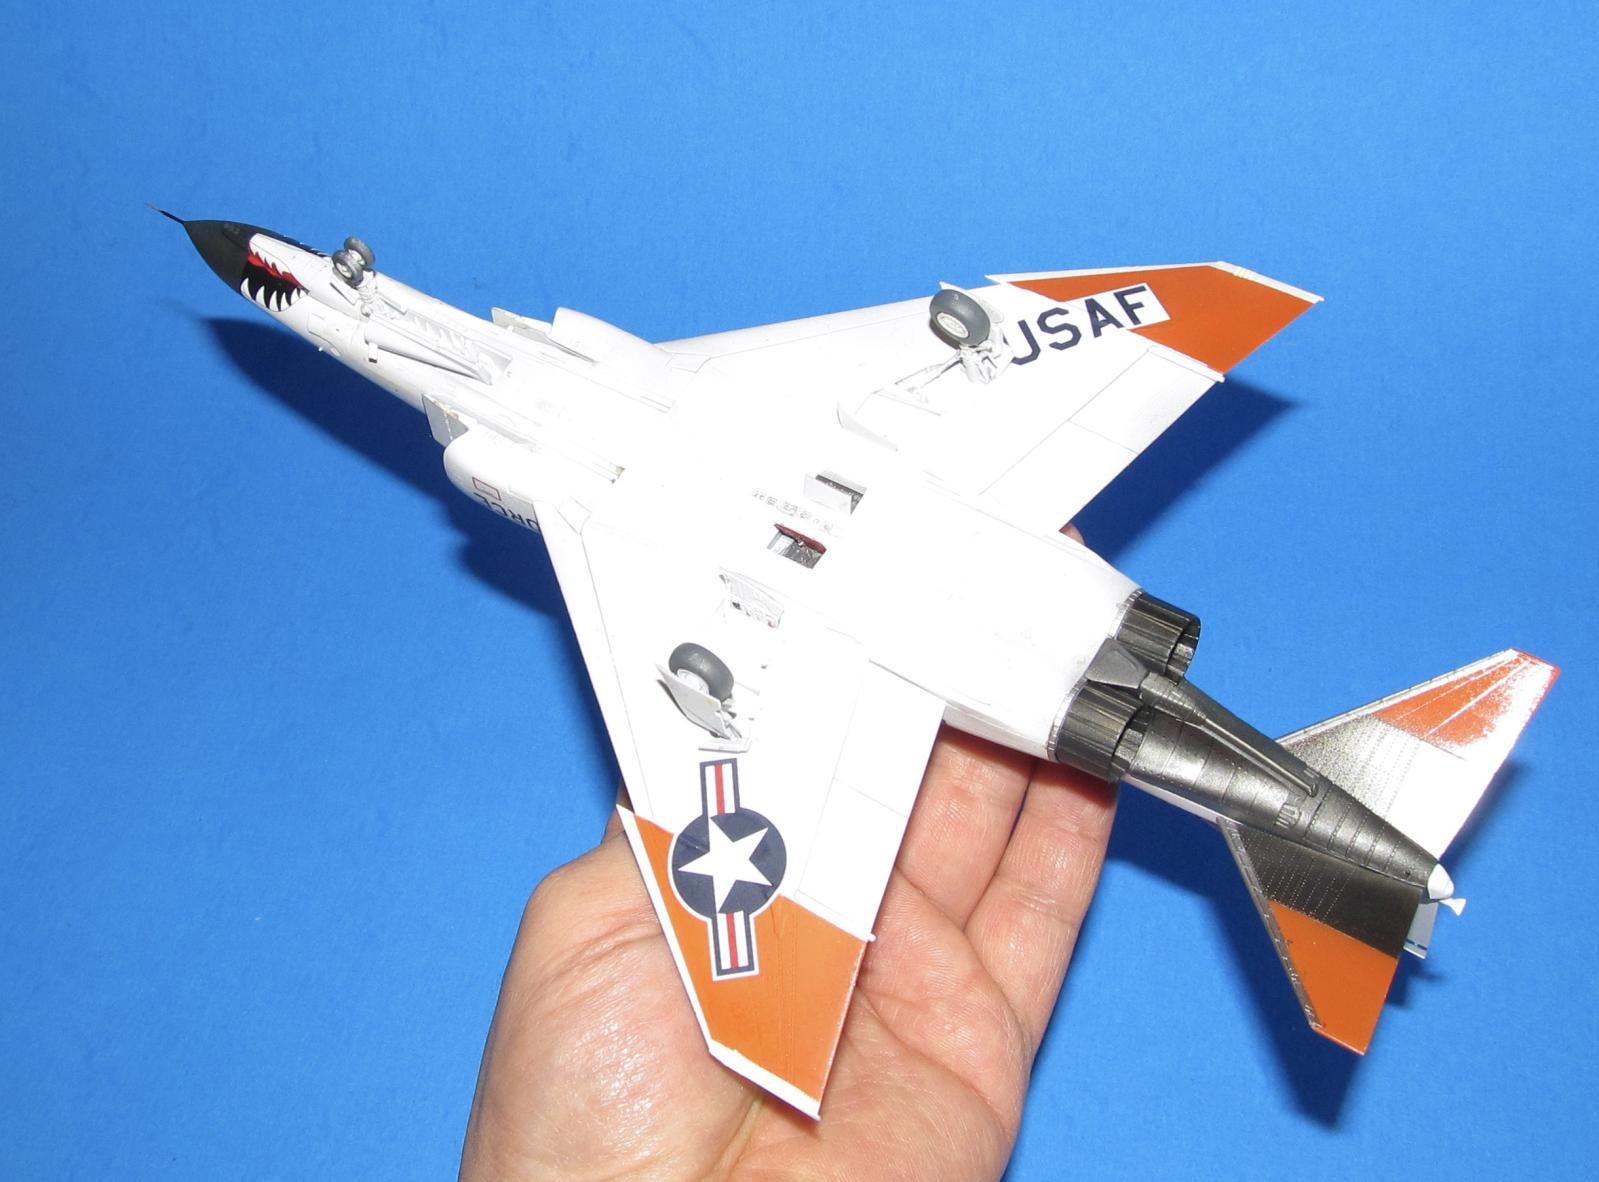
1/72 Fine Molds F-4E with Carcal Edward Test Phantom Markings
Introduction
The Base
Edwards AFB was originally established by Lt Colonel Hap Arnold in 1933 as the Muroc Bombing and Gunnery Range. Based on Muroc Dry Lake and described to be 'level as a billiard table', it became the ideal place for gunnery and bomb training away from the rapidly developing area around March AFB. In 1941 a number of bomber and fighter groups were stationed there for training.
In 1942, Muroc was selected as the test site for Bell XP-59 Airacomet. Later, the XP-80 was tested there. Post war, the Bell X-1 and Northrop Flying Wings were tested there. It soon became the place to be if you wanted to be on the cutting edge of aviation and rocketry and not just because of Pancho Barnes' Happy Bottom Riding Club.
Muroc AFB was renamed Edwards in 1949 after Captain Glen Edwards, a test pilot who died in 1948 when the XB-49 Flying Wing he copiloted crashed during flight testing. Glen was considered the ideal test pilot, a skilled pilot with an engineering/technical background (aka the “Right Stuff”) so the USAF decided to name their now premier test center after him. In 1951, the USAF moved their flight test center HQ from Wright-Patterson AFB to Edwards.
Rocket sleds, rocket planes, stealth fighters and various other bleeding edge aeronautic marvels were tested at Edwards from the 1950s to current (at the time of this review 2023). Over time a number of test pilots became astronauts for NASA and a few became world famous like Chuck Yeager.
The Aircraft
The F-4E was the long nosed version of the F-4 Phantom. The E was born from the loud chorus of voices who demanded an internal gun for the gun-less Phantom to allow for “close in” work rather than the less than ideal situation of strapping on gun pods and hoping for a golden BB (aka lucky shot.) McDonnell Douglas adapted the F-4 to carry the M61 Vulcan 20mm Gatling Gun by extending the ammo and targeting system among other modifications. This improvement would make the E the most popular Phantom model, equipping the USAF and exported to Israel, South Korea, Japan, Greece, Turkey among other nations.
The Plane
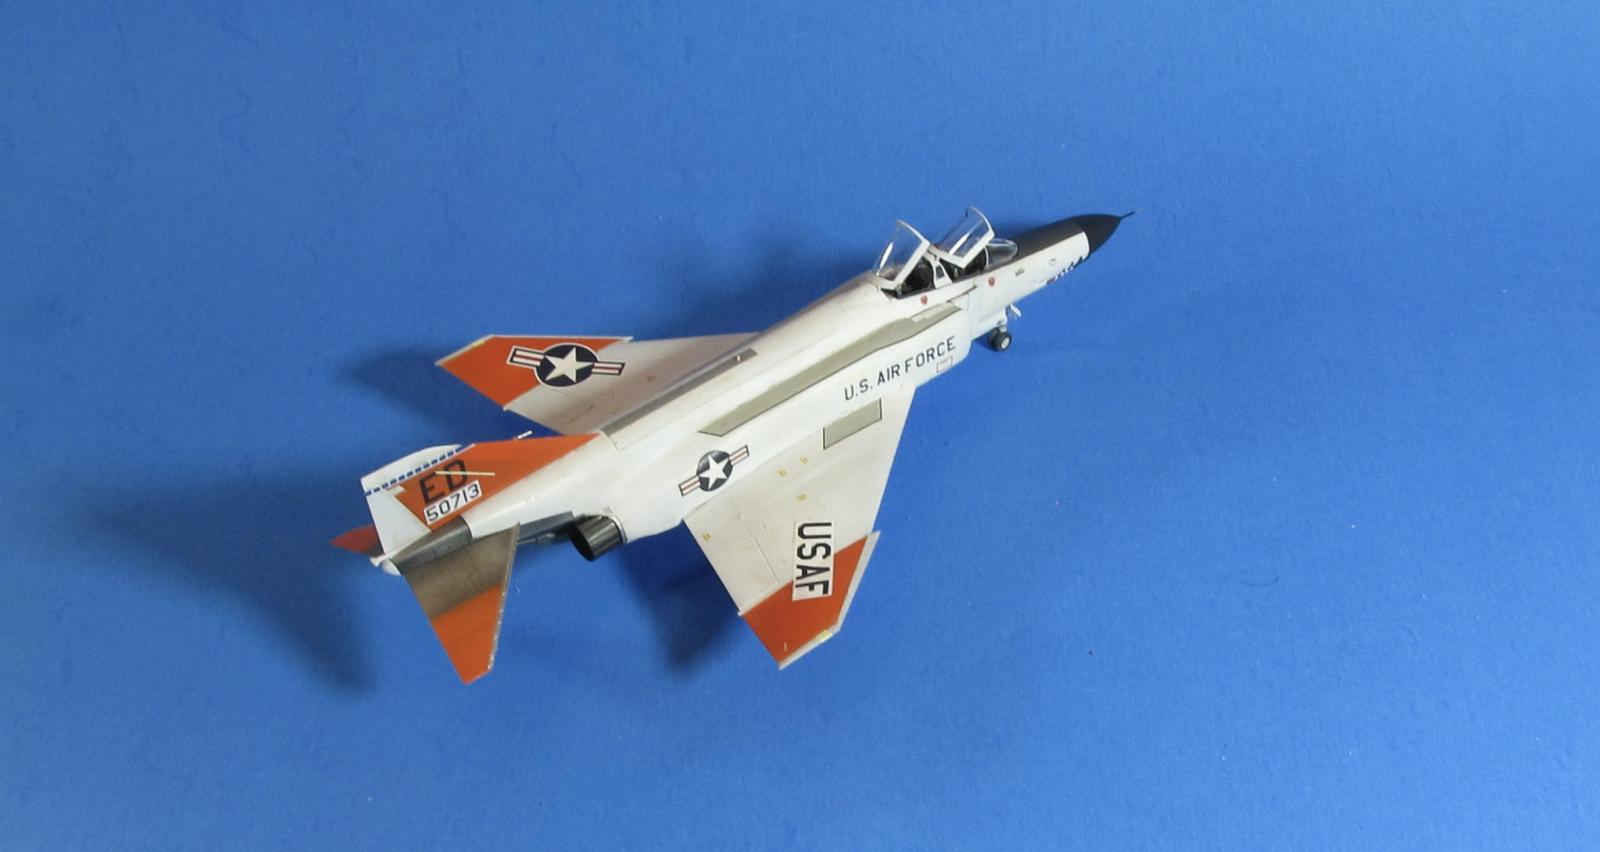
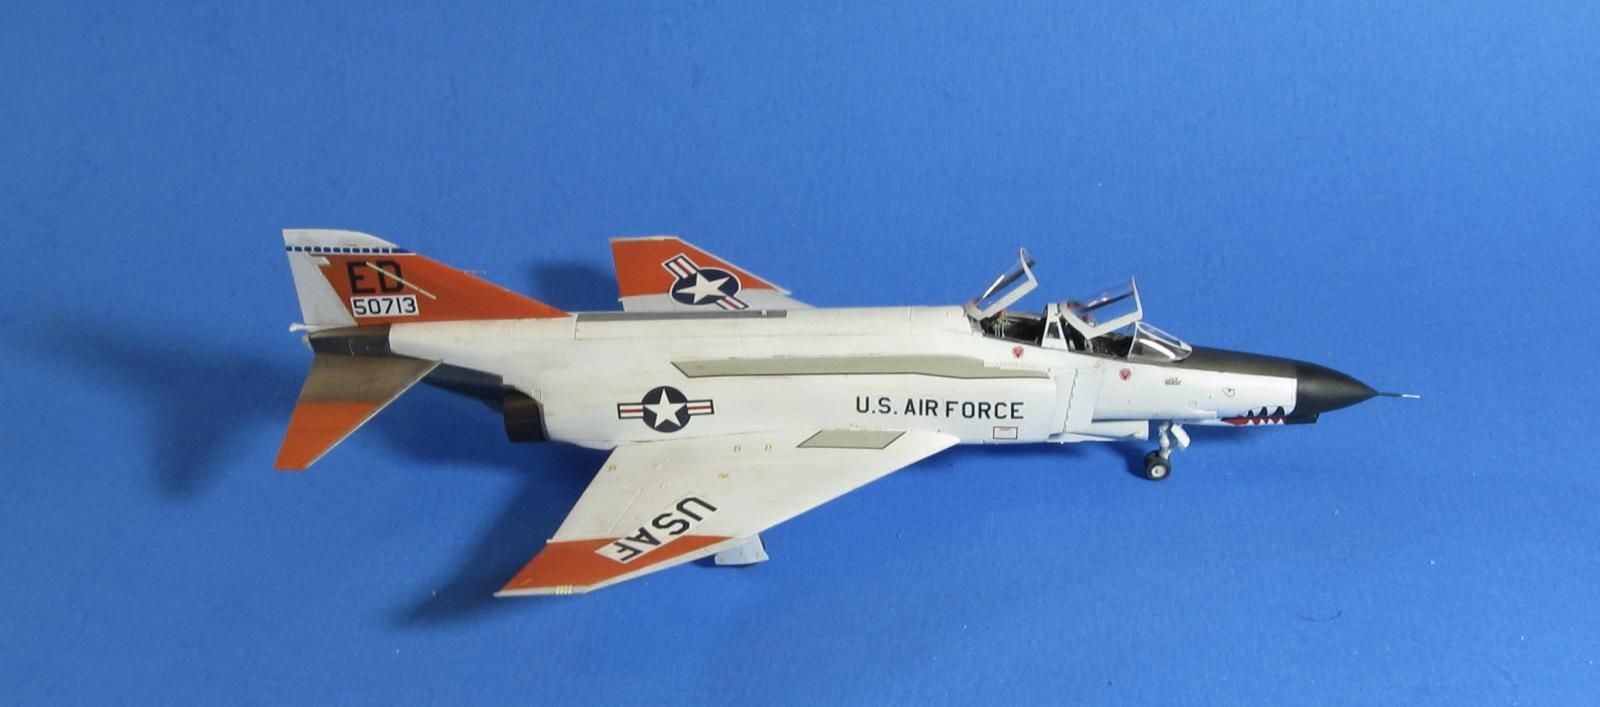
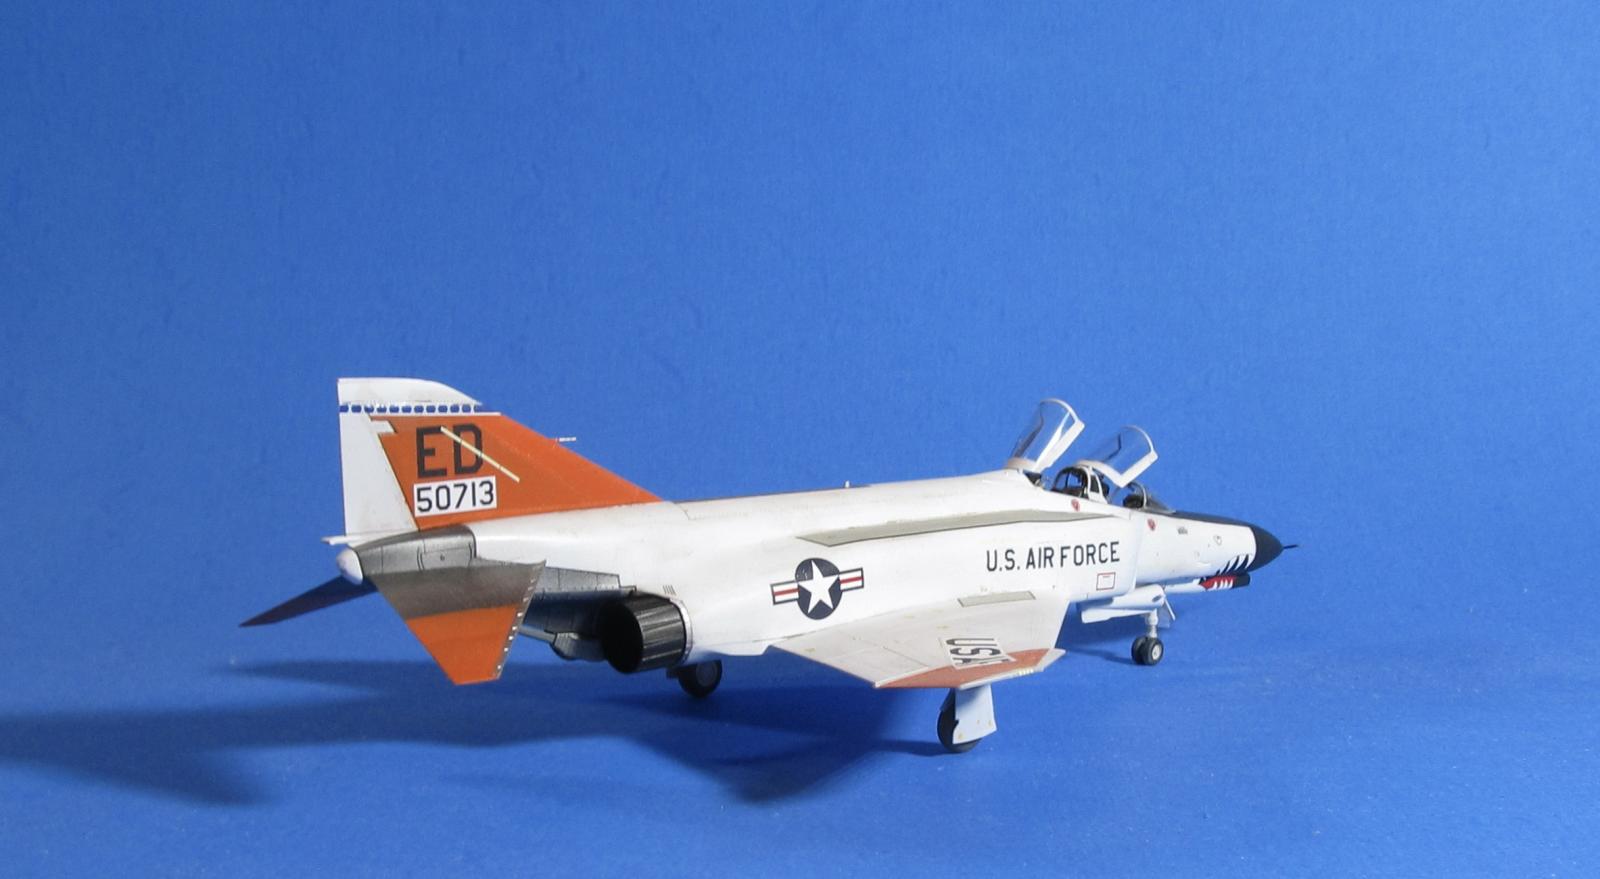
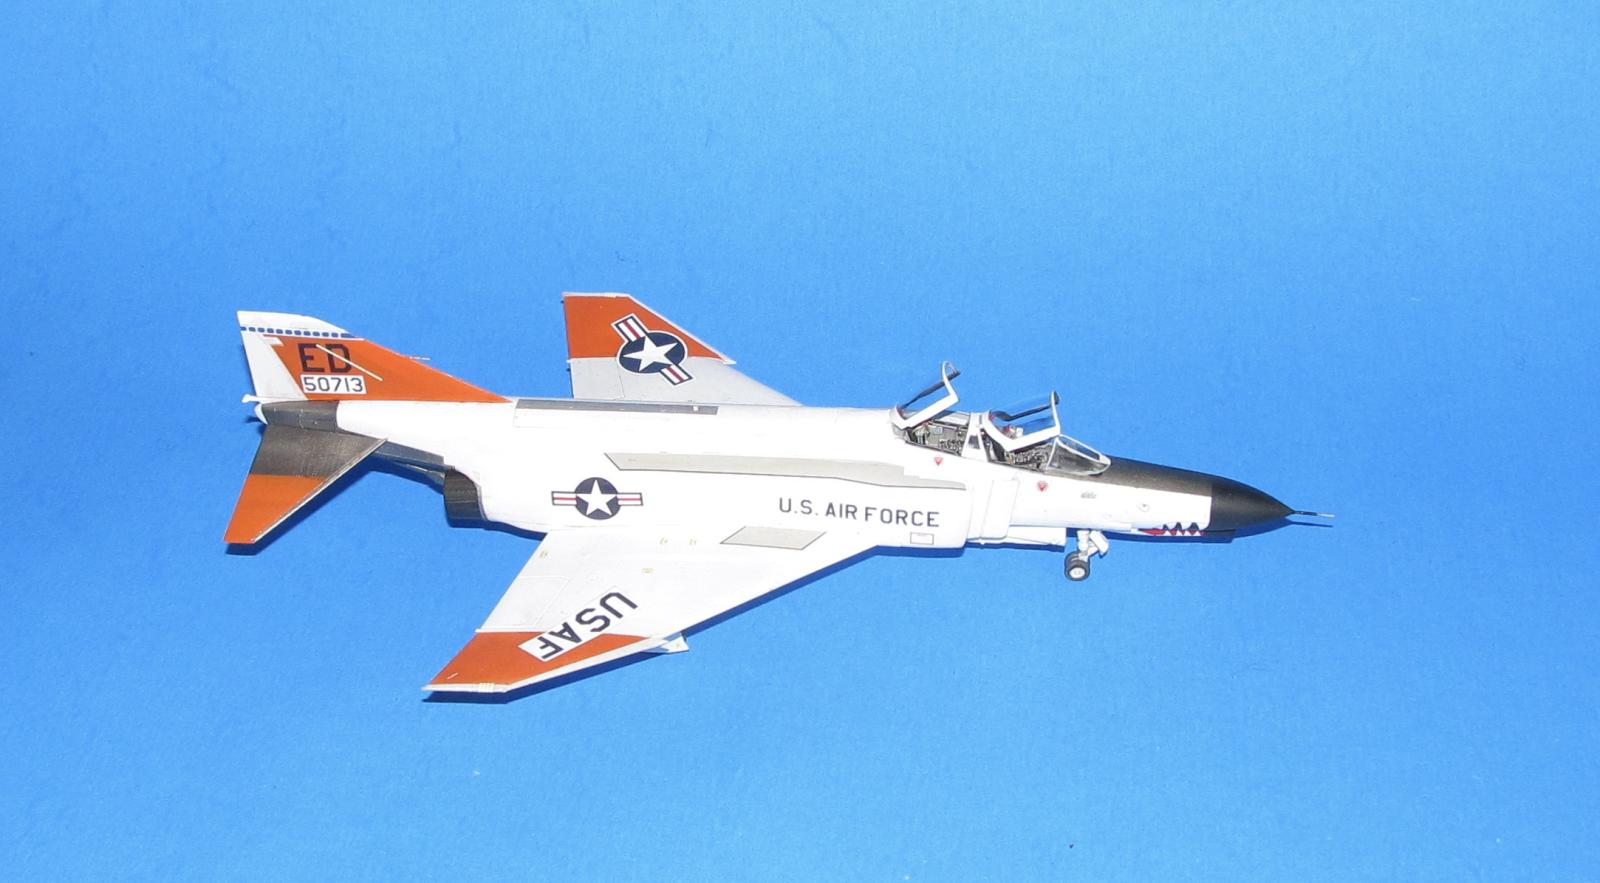
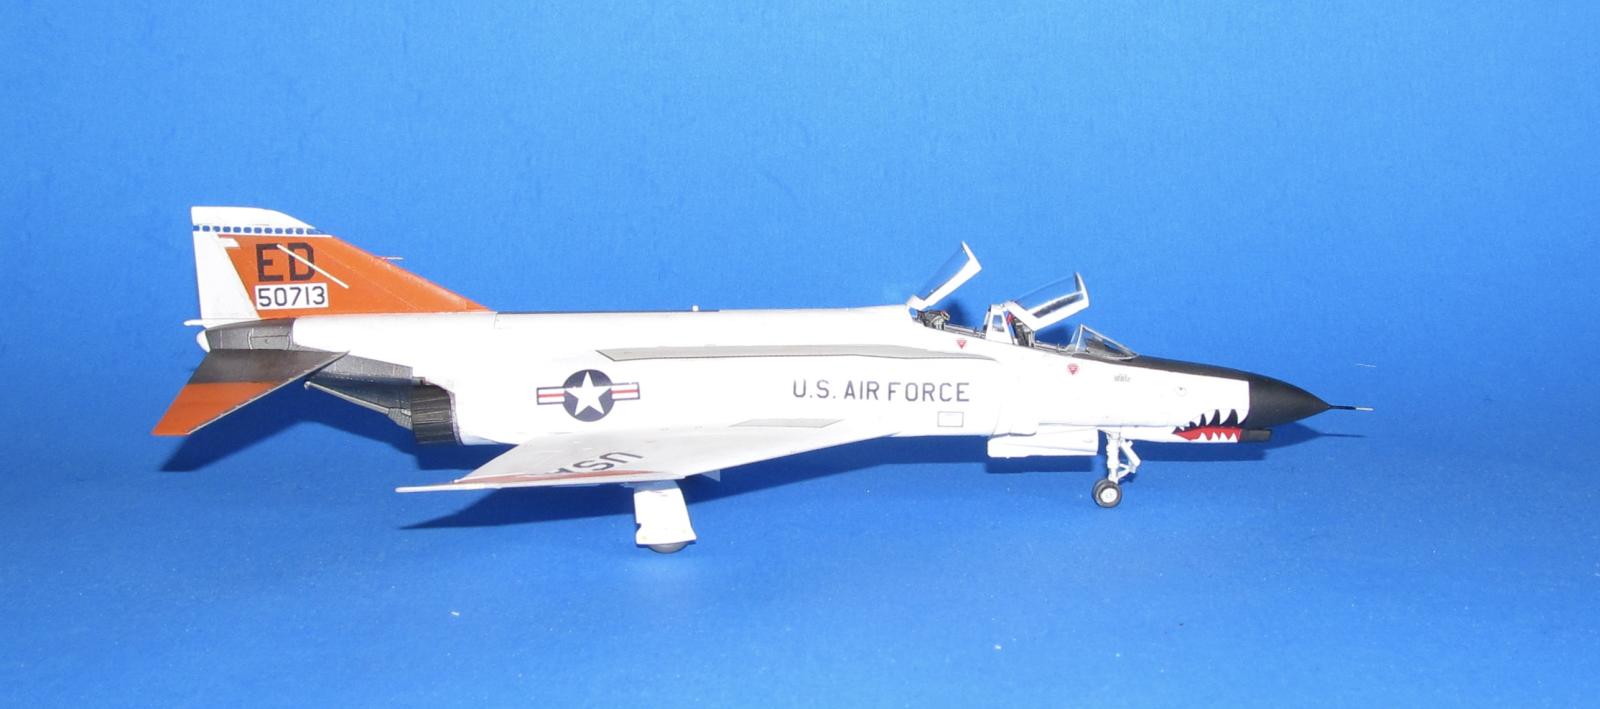
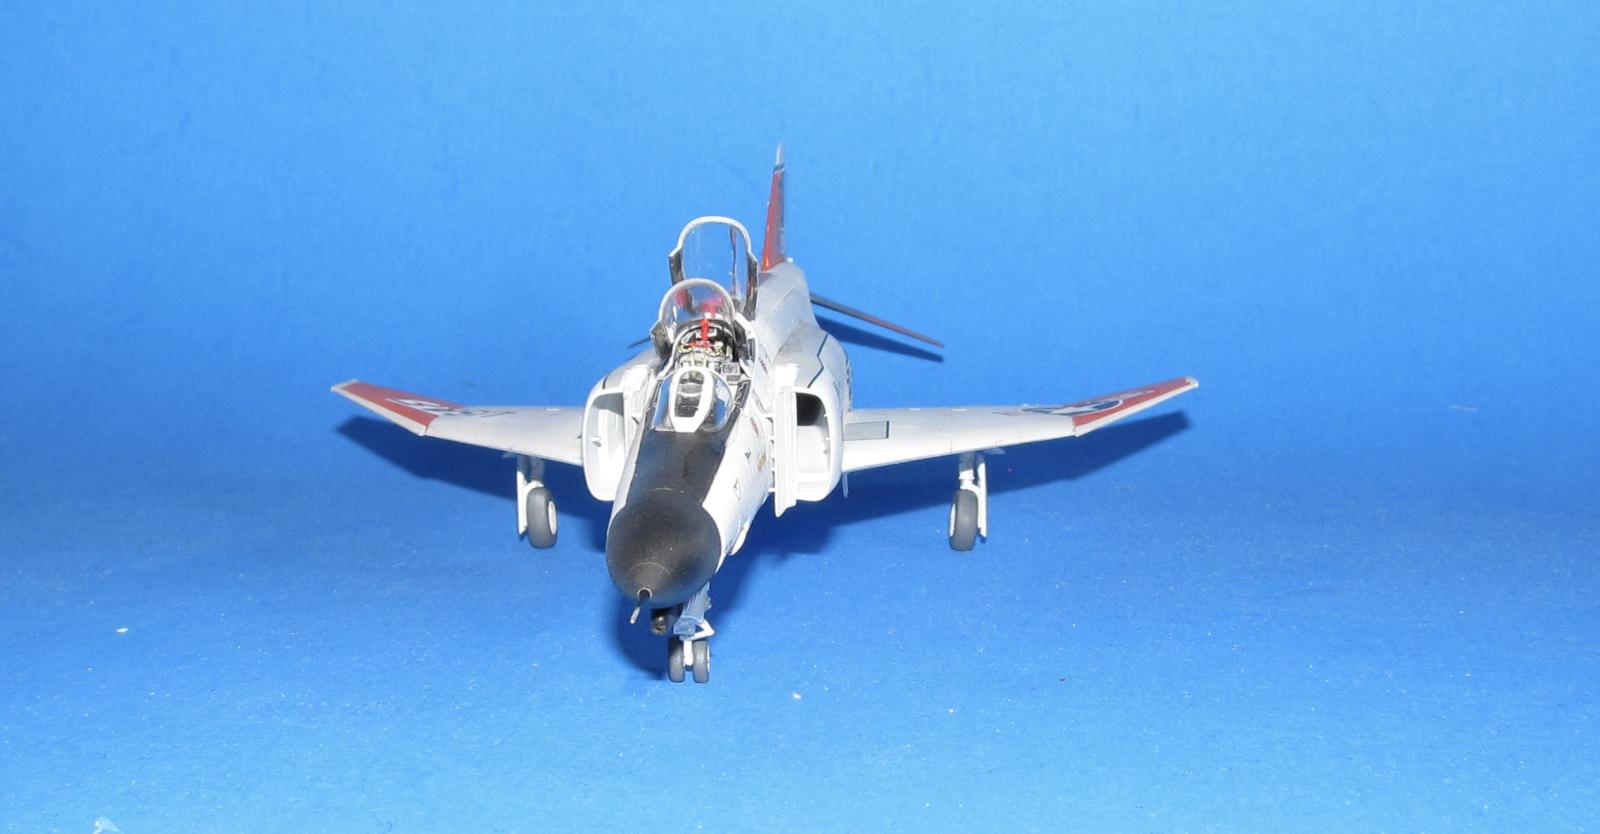
This particular Phantom (65-0713) was originally built as an F-4D and modified to become the original YF-4E test bed. It was part of the Edwards evaluation squadron and flew at Edwards for a number of years including briefly named “Glamorous Glennis” for Chuck Yeager's last official flight. It is now retired and preserved at the Edwards AFB Museum.
The kit
Fine Molds first released an early 1/72 F-4EJ in 2020 in Japan, this kit was later reboxed in USAF Vietnam Era markings in 2021 (this is the kit I purchased.)
This kit consists of 157 parts on several plastic sprues including a clear sprue. The parts are very detailed and free of flash for the most part. No major issues or sink marks on the plastic. It comes with a couple of different options such as the early/late Vulcan gun port, flat or surface details on the cockpit IP /side consoles and open/closed canopy. The decal sheet comes with the hundreds of stencils that operational Phantoms carried as well as markings for two well known Vietnam Era USAF F-4Es.
One major complaint if I were building a Vietnam War era Phantom would have been the lack of any armament outside of fuel tanks. It seems Fine Molds took a page from Hasegawa and sells weapons separately.
Construction
It all began with the intakes which were painted flat white. I didn't really worry about the seams as they can't really be seen from the entrance of the intake. The engine fans were painted silver and added to the ends of the intakes.
Next I worked on the wings and main fuselage. Fine Molds went a similar way to what Tamiya did with their 1/48 scale F-4B. This clever engineering/design limits the number of seams that needed to be sanded/filled. There was no real issue with the fit or dealing with the seams.
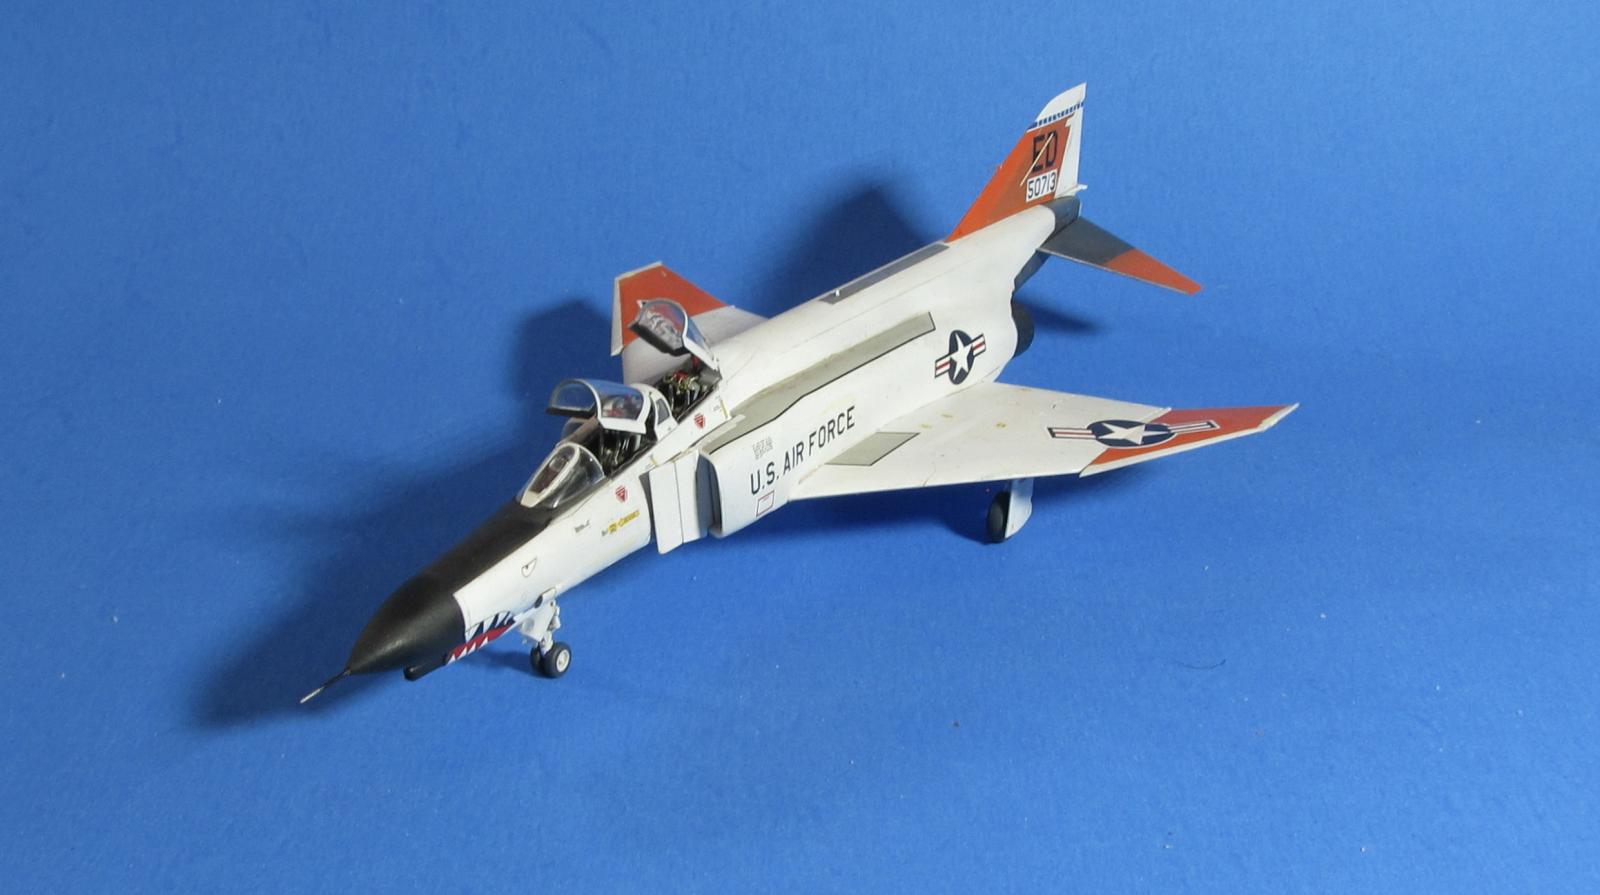
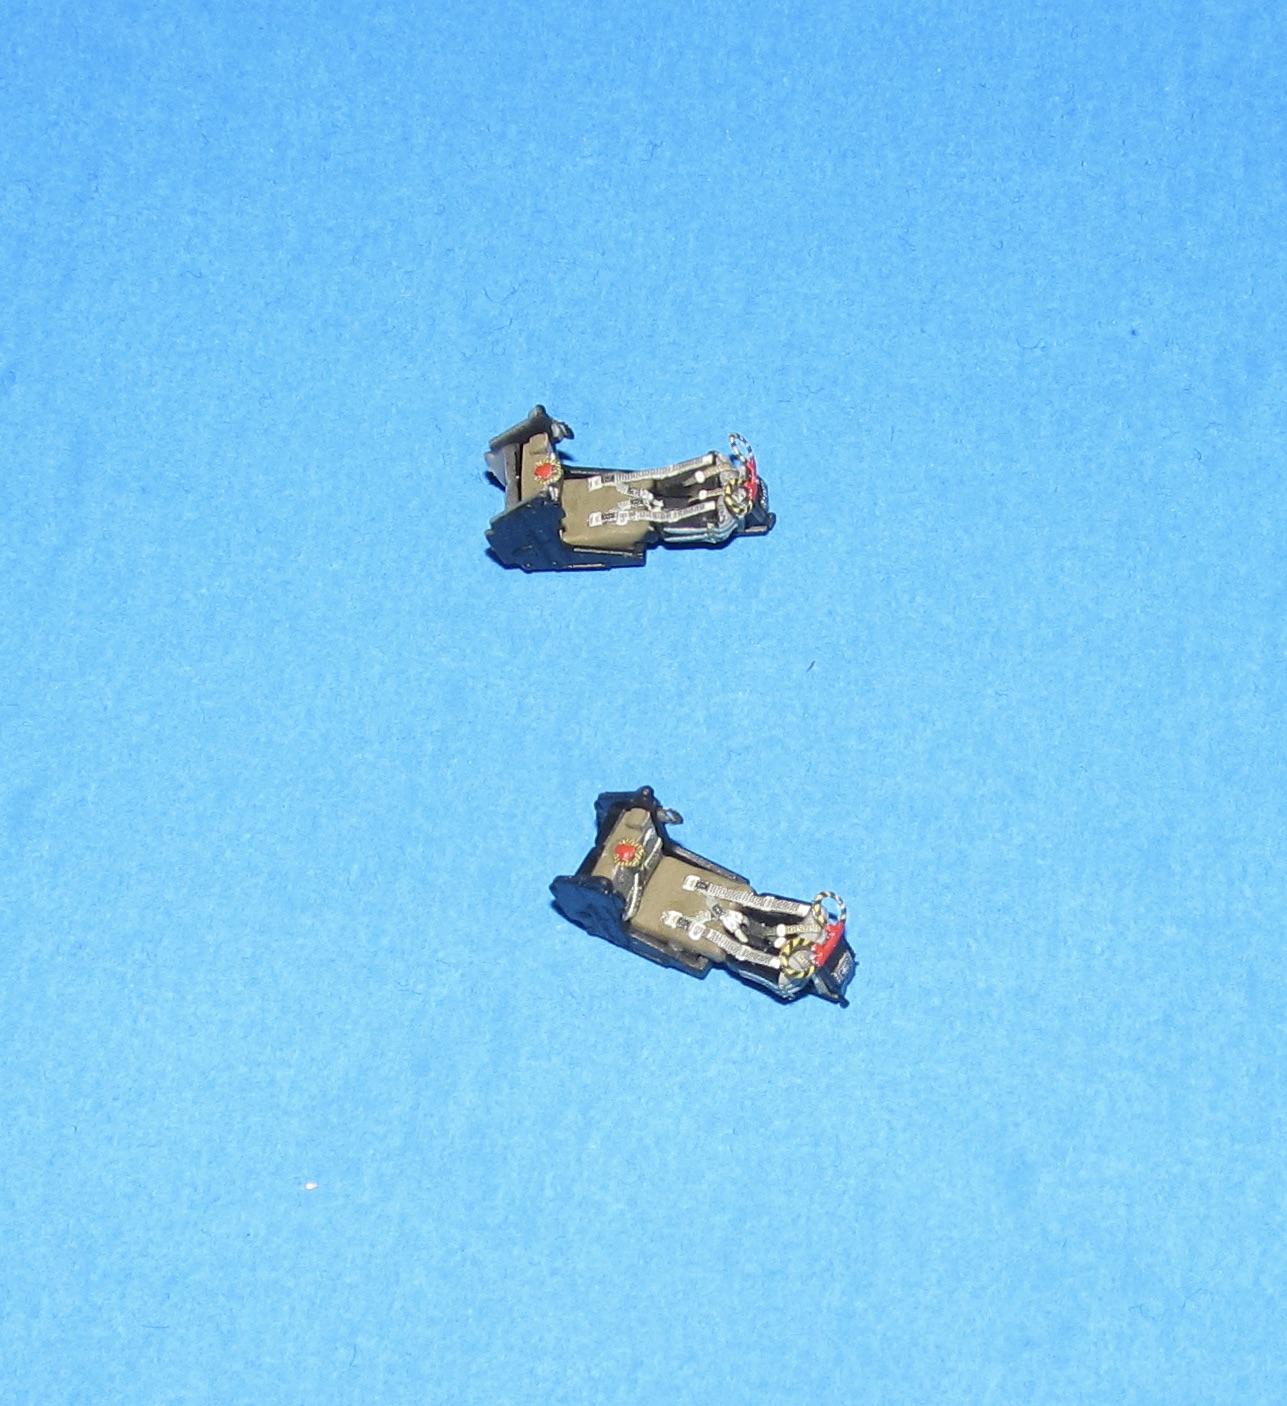
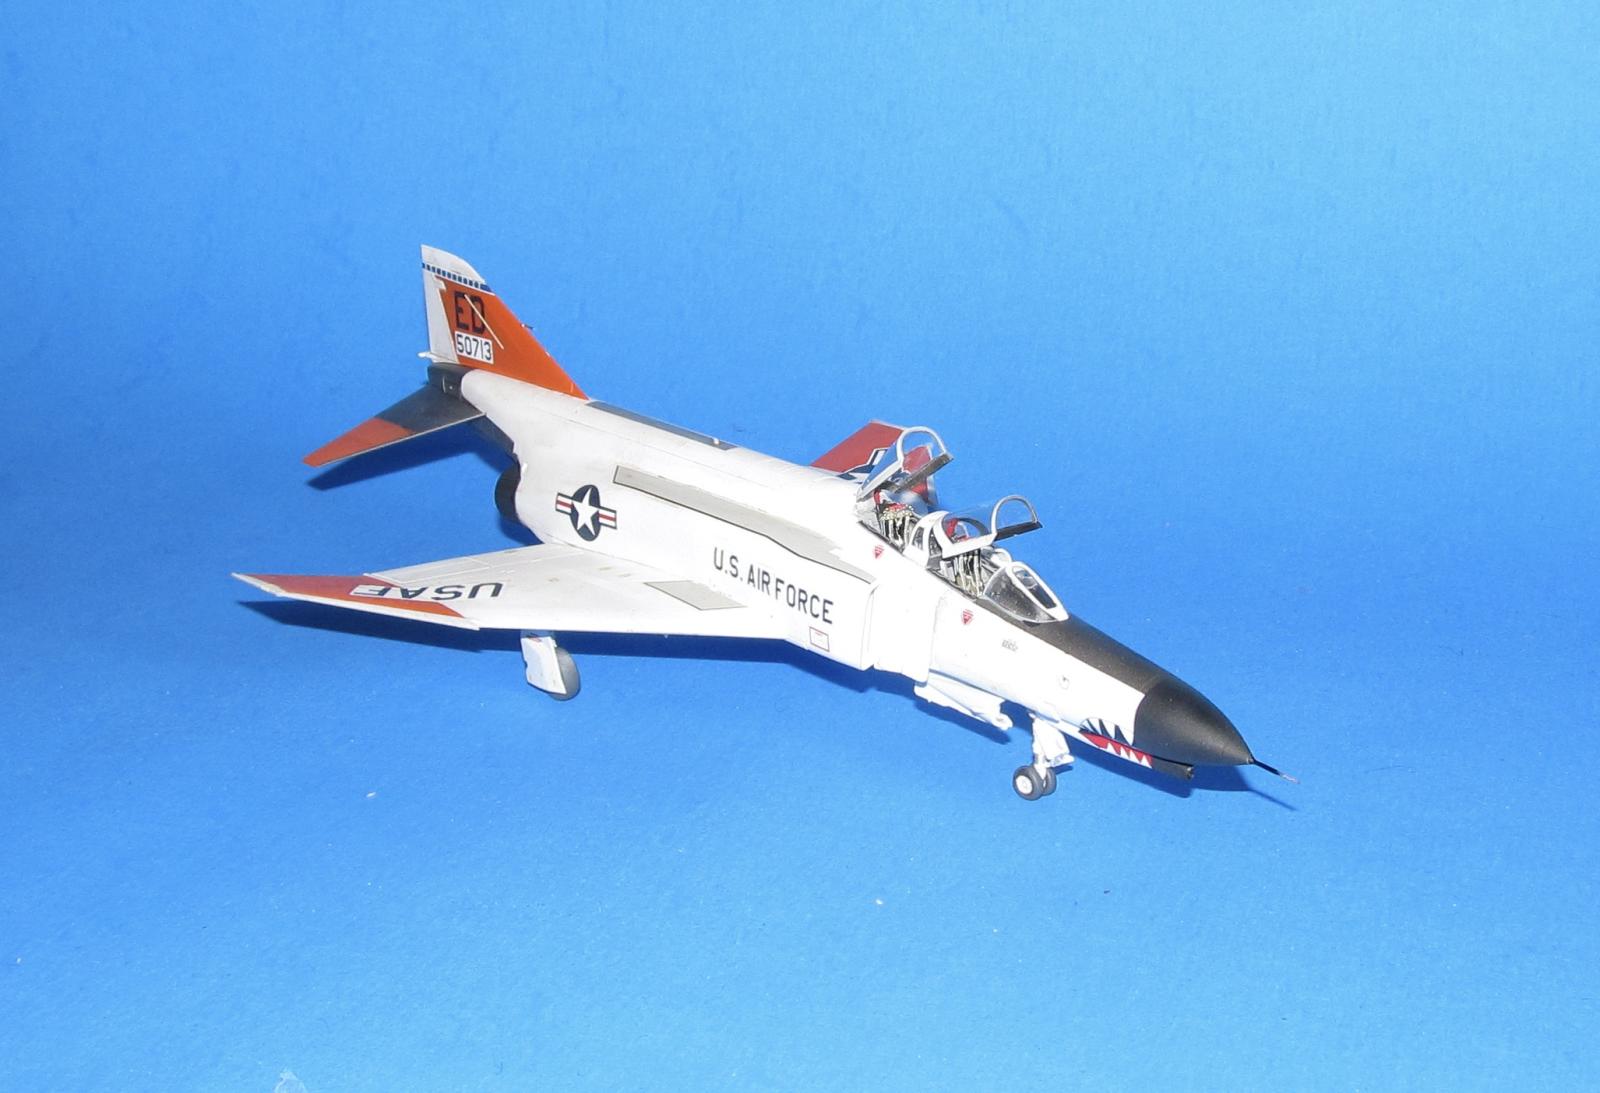
I finally started on the cockpit by selecting the blank versions of the side consoles and IP (meant for the kit decals) so I didn't have to remove much surface detail. The cockpit tub and various pieces were then primed and when dry painted Dark Gull Grey (Xtracrlyix) to prep the surface for the Quinta 3D decals. I really do like using 3D decals especially for small scale (1/72) aircraft as my brush painting skills at that size leave a lot to be desired (nor do I have the skill to paint on a grain of rice.) Some folks might consider 3D decals cheating, but that's not my problem as I generally don't build for competition and anything that saves me time/headaches and looks good is fine in my book. The decals went on without any major problems. I always add a drop of white glue to the backing so the decal stays on.
I did have to hack away some details on the sides of the cockpit to add the much better looking 3D decals. I added the various nose parts before gluing the nose together. Only draw back to using inserts for covering up various parts is the fit doesn't always line up and some seam filling (using Vallejo plastic putty) helps, but minor compared to sanding filling seams (I didn't have to sand anything for the nose.)
The nose with intakes was glued into the main fuselage and then the wings were attached to the fuselage. I only had to sand the leading edges of the wings at this point.
With that the model was ready for painting.
Colors and markings
Painting
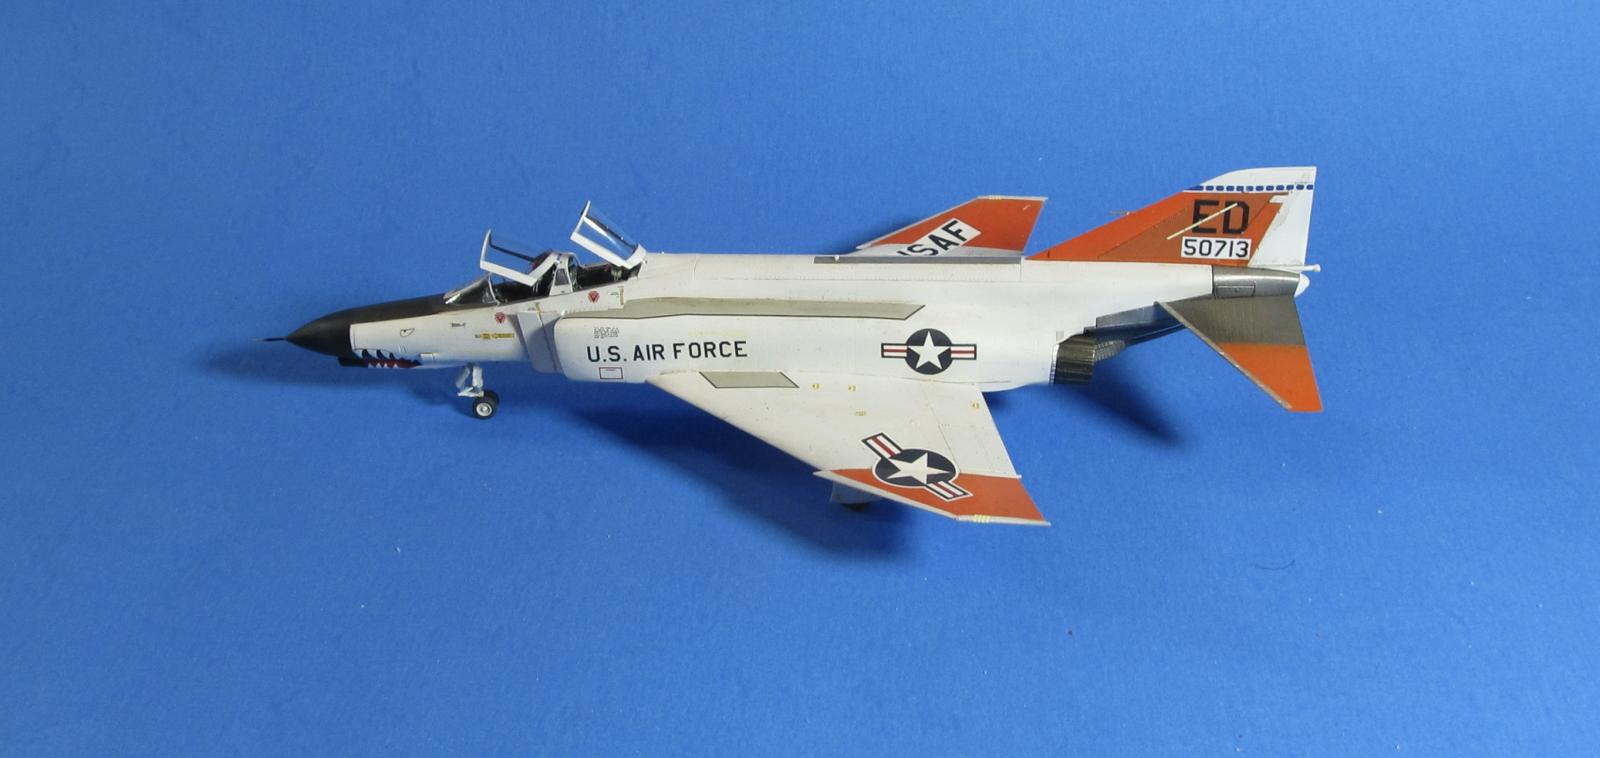
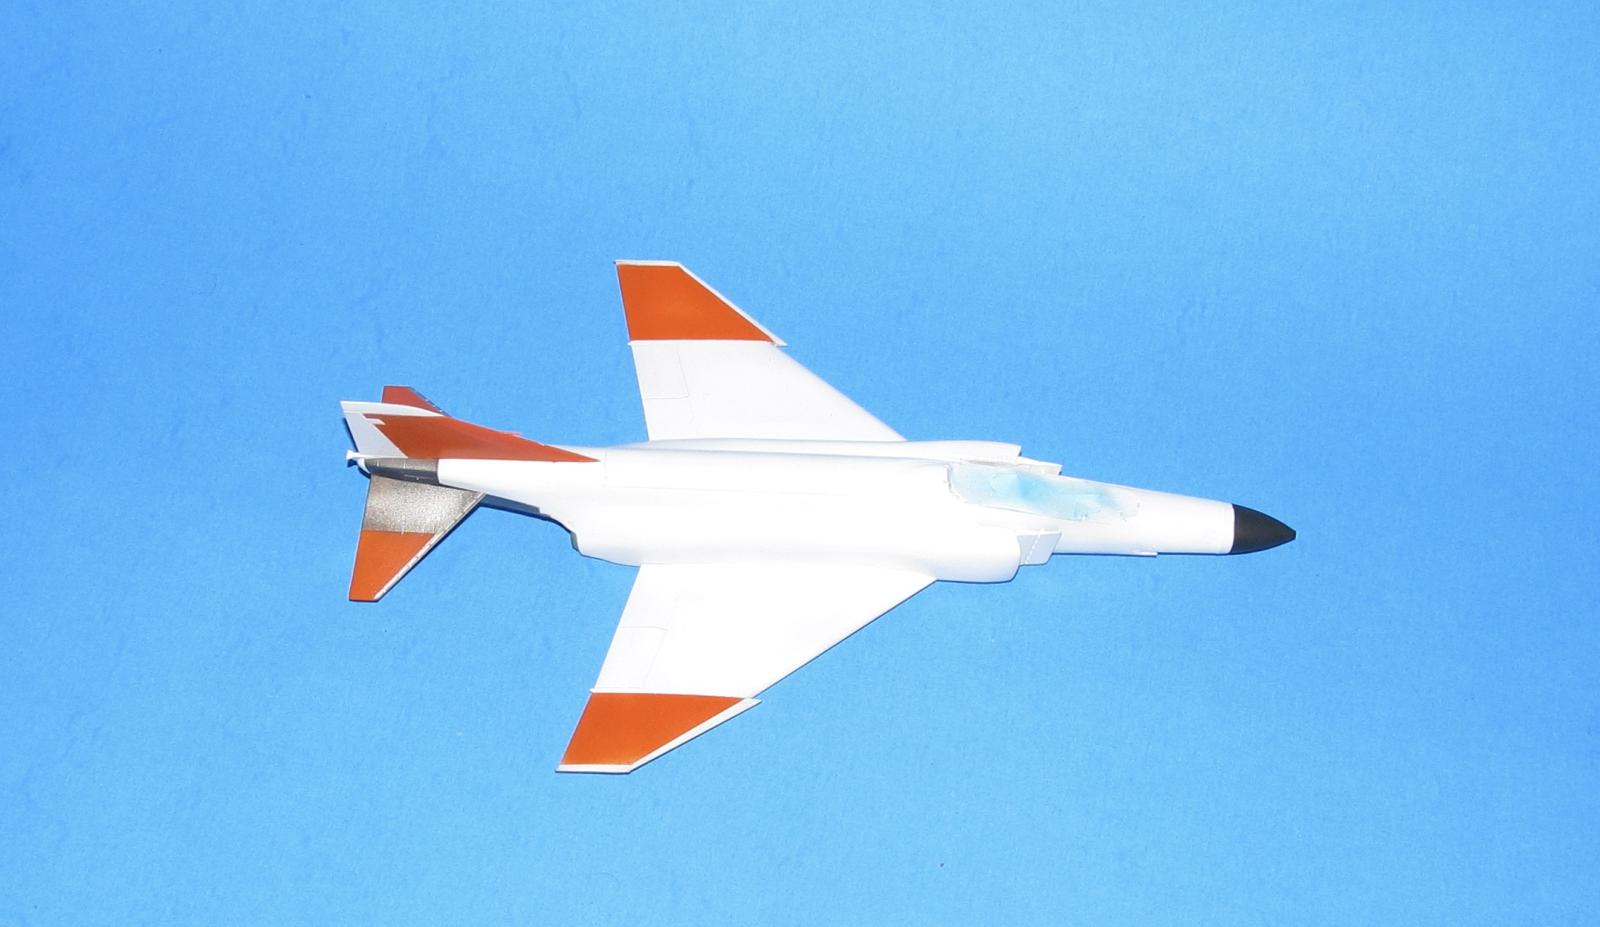
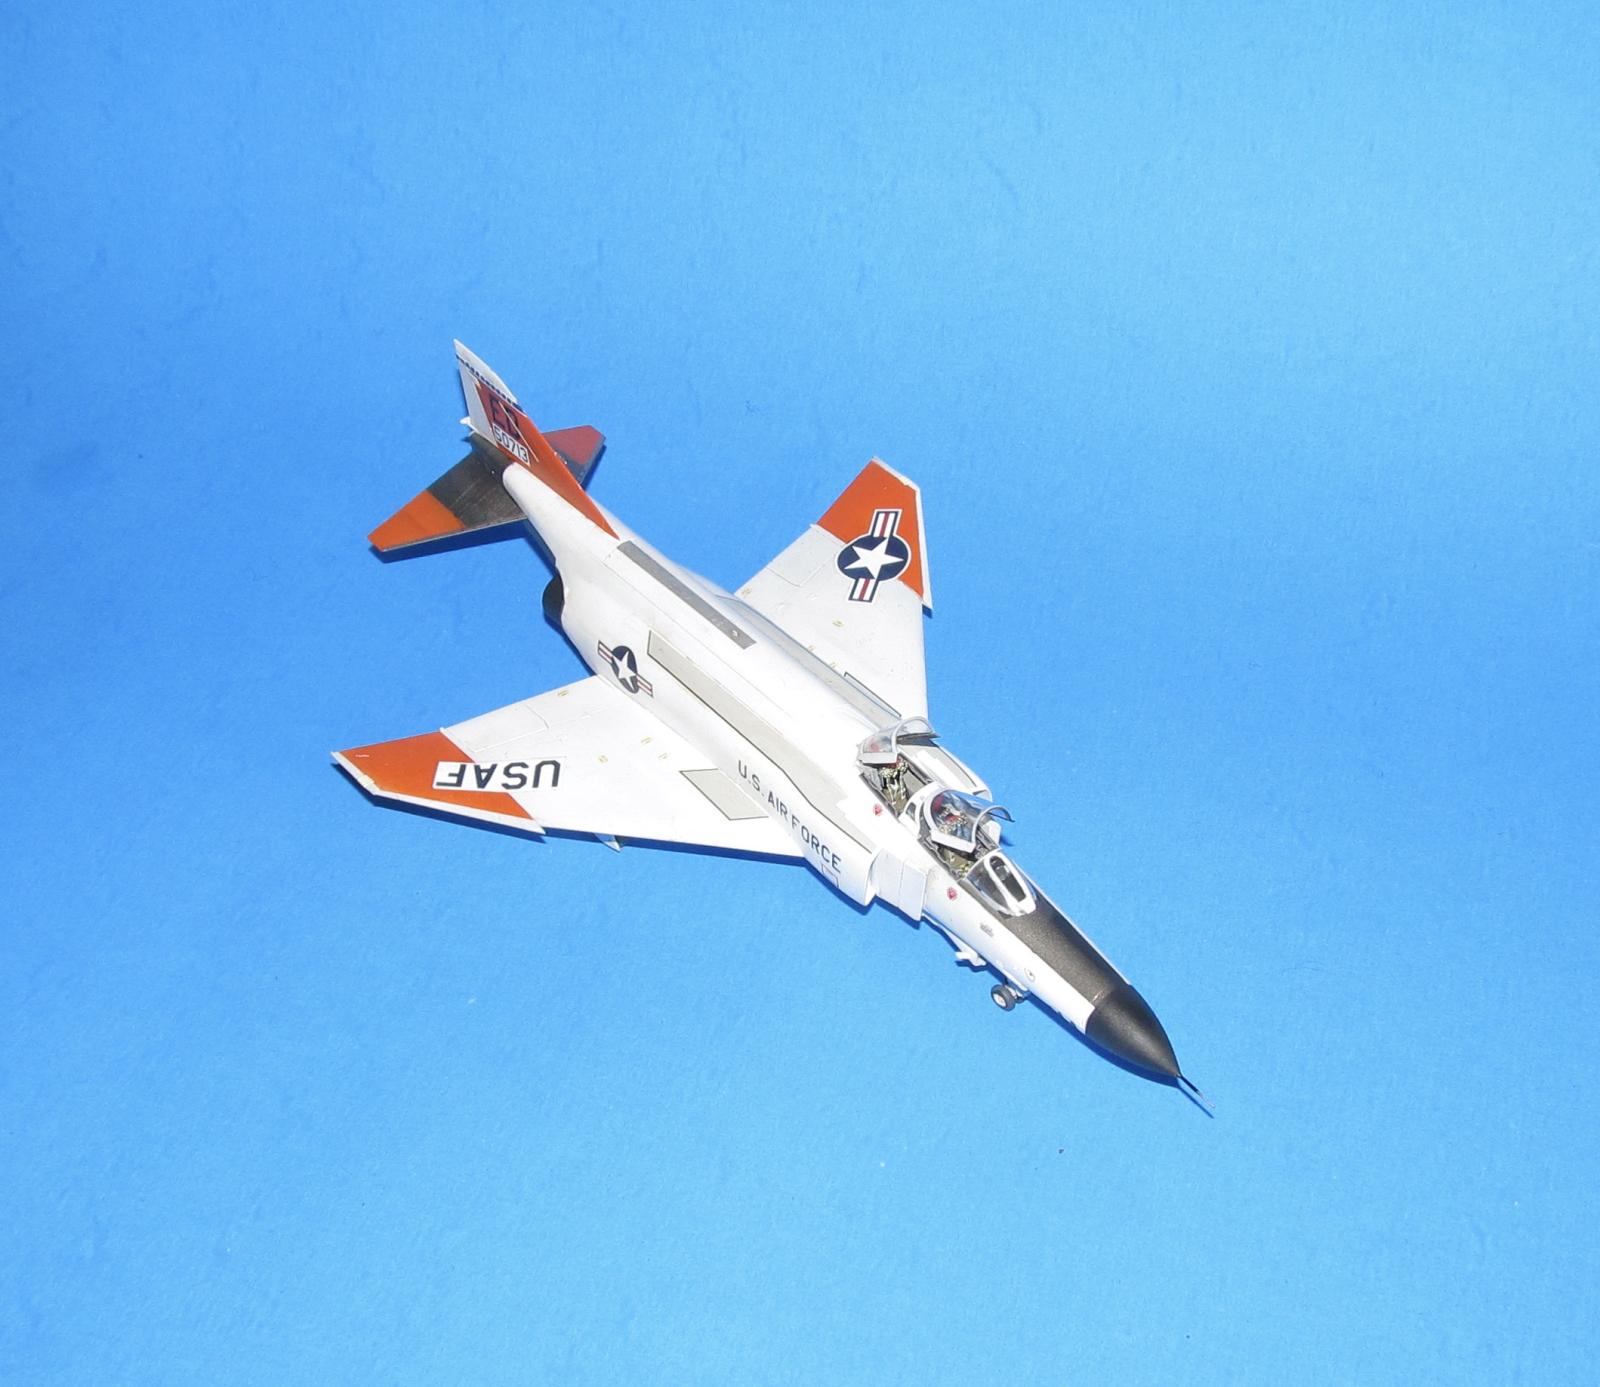
A mostly white plane is not easy as I sprayed on several coats of flat white to get any sort of decent coverage. In spite of my efforts, the white paint was kind of spotty and inconsistent but I was happy with the result as the spotty coverage of the white gave the plane a slightly mottled look without adding layers of black primer or paint for black basing.
It was during the painting stage when I realized that the intake gaps were too big and noticeable. I ended up filling the gaps with CA glue and sanding the intakes smooth. I did my best to replace all the fine detail that I sanded away.
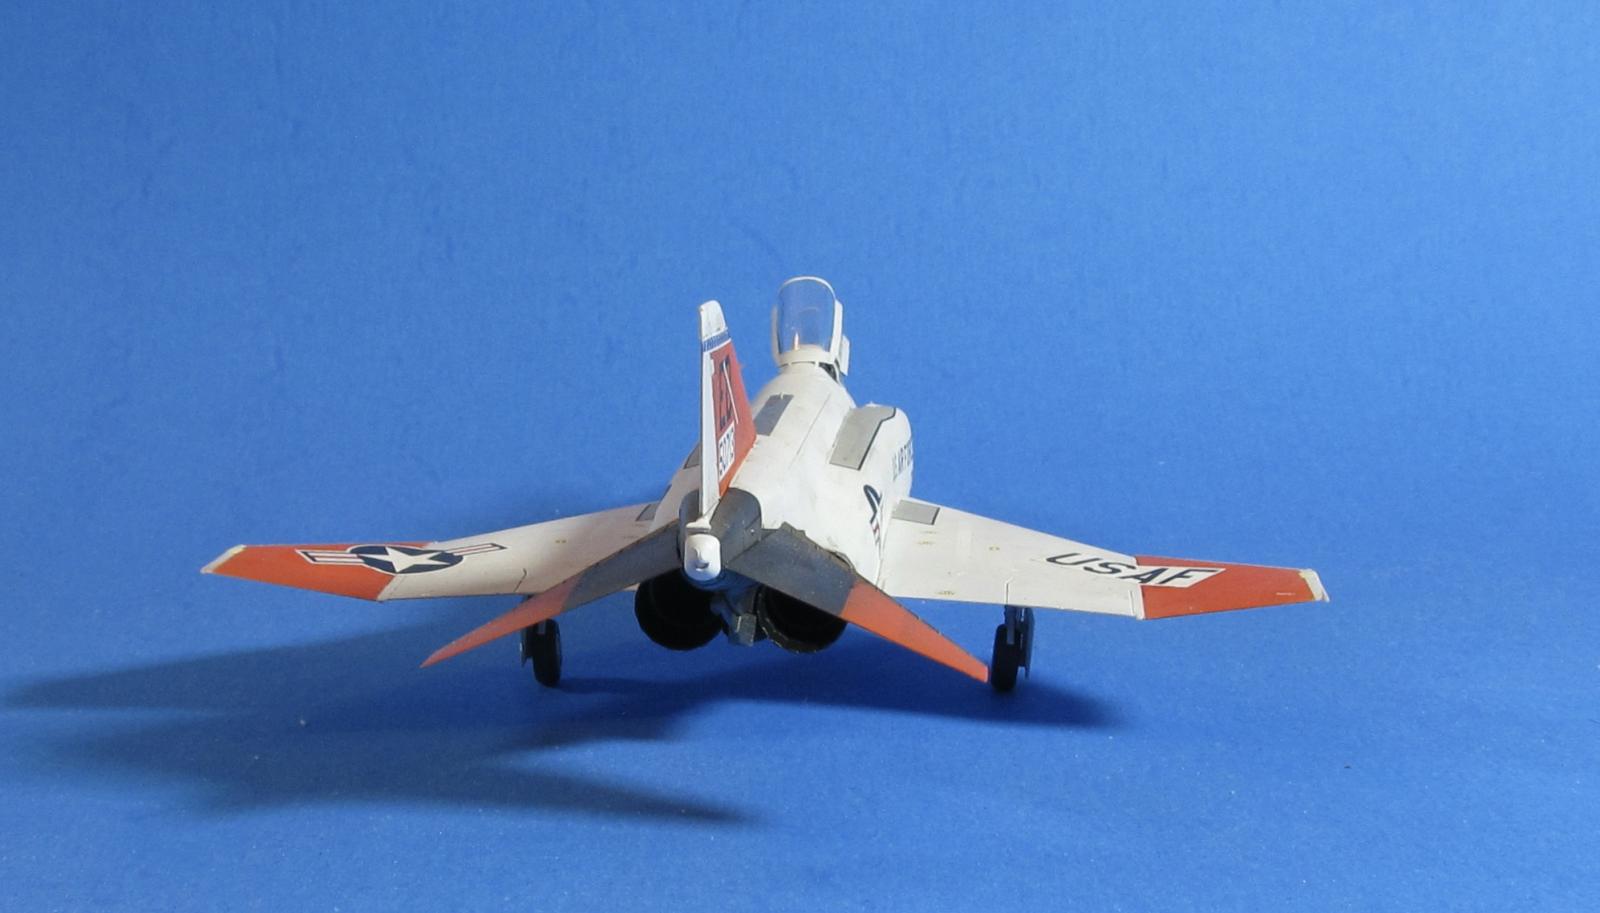
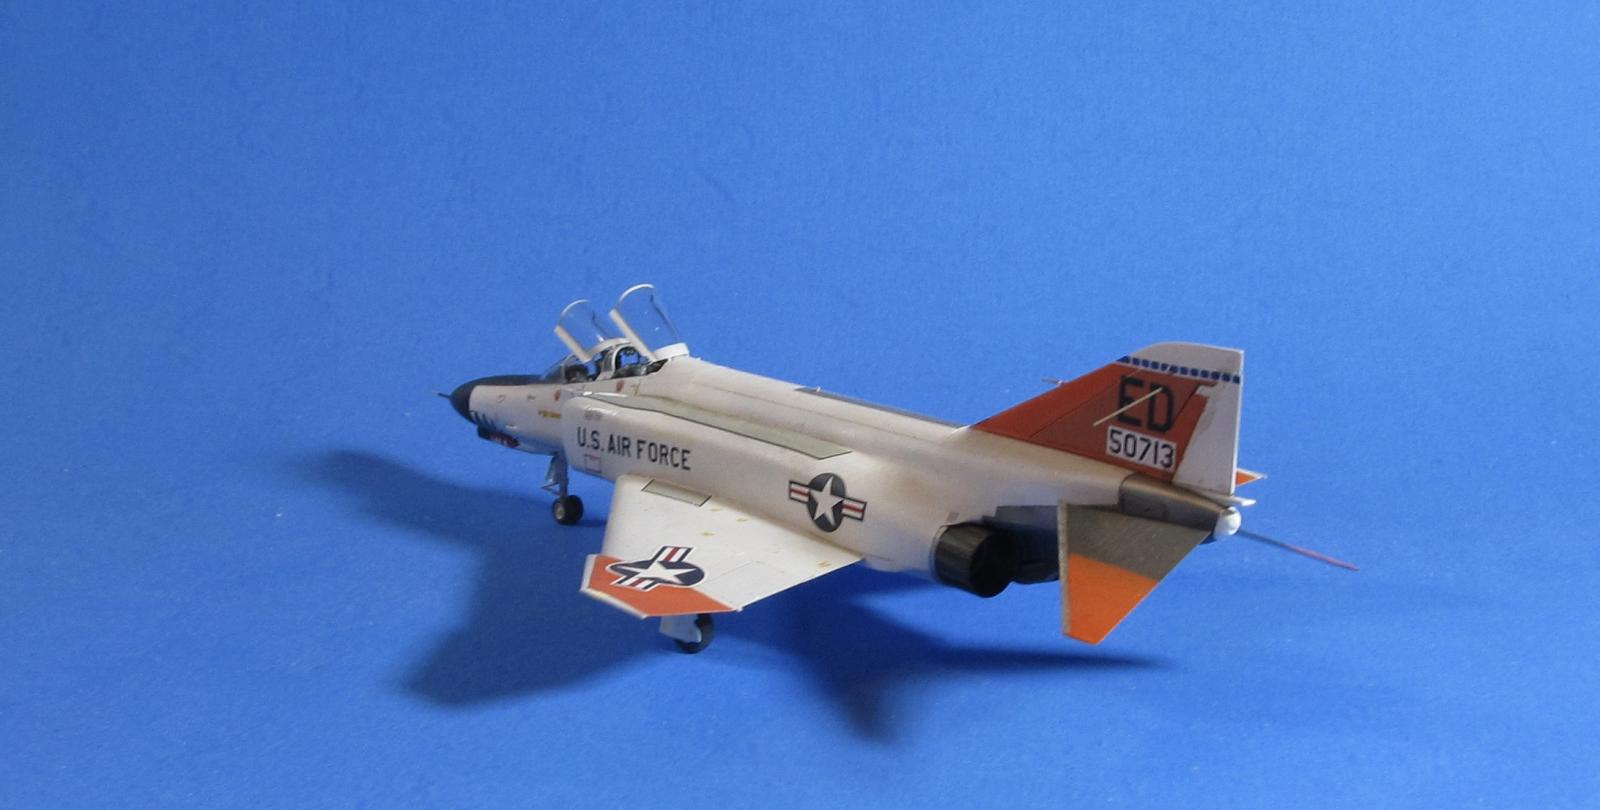
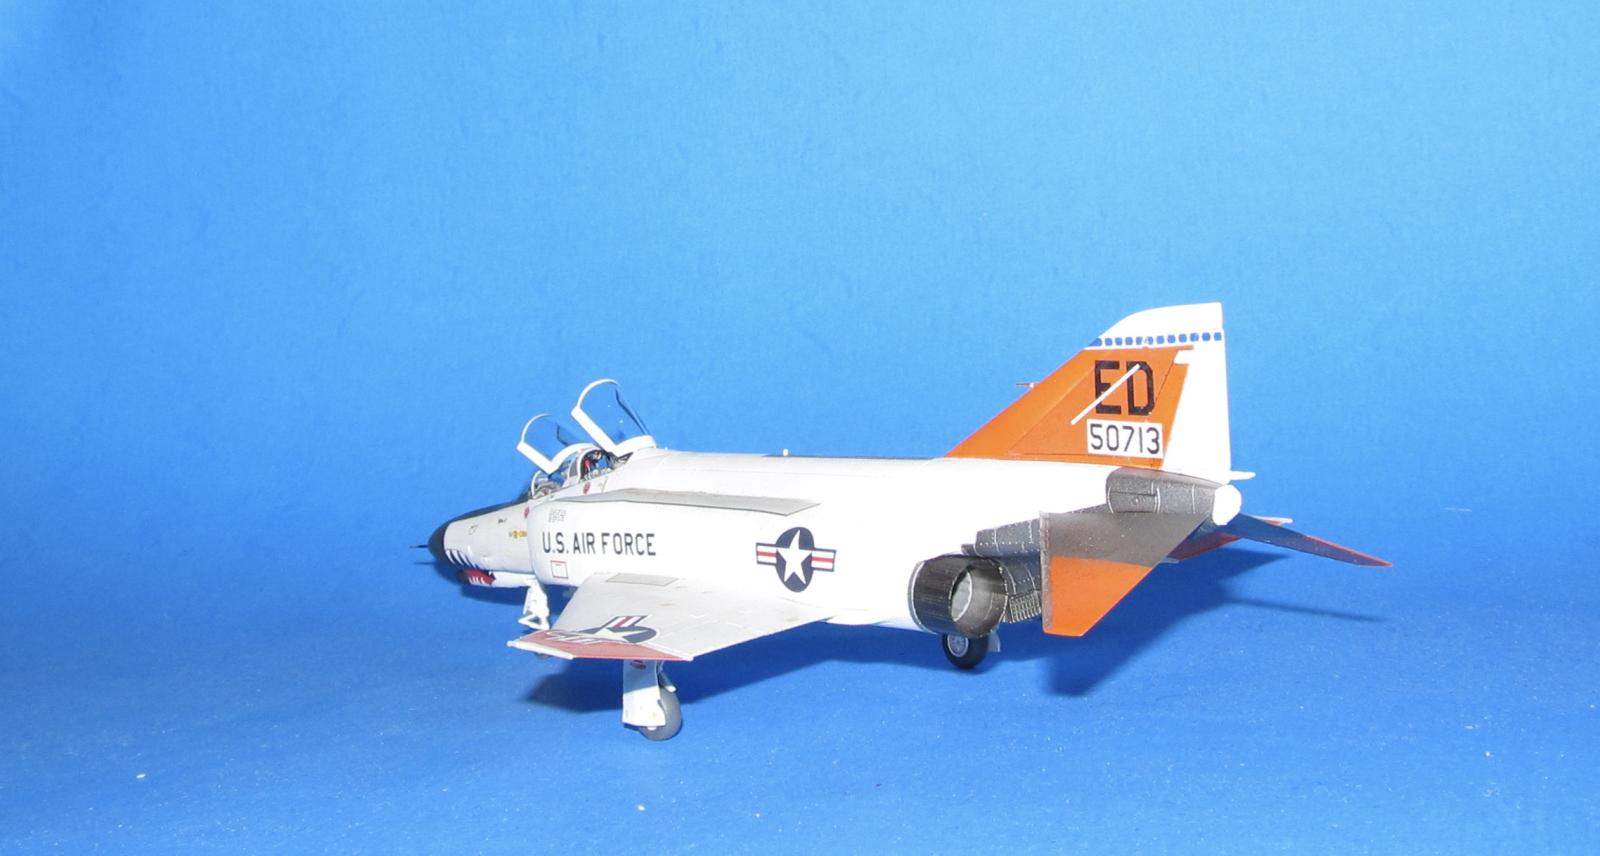
The only items I did prime were the engine nozzles, tailplane and metallic tail underside, mostly for the Vallejo Metal Color metallic paints which don't stick well to bare plastic. By this time, I was very familiar with the metallic shades for the tailplanes and exhausts thanks to building the Tamiya F-4B at roughly the same time. It took several masking sessions to spray on the different shades (and keep sharp demarcation lines) including flat white (as a base coat for the top coat of international orange.)
The tail makings, wing tips and tailplanes were masked off and sprayed international orange. It took several repaints till I got the correct areas painted with international orange. Unfortunately the orange looks like it is different shades as I sprayed them on at different times (and the preceding colors slightly mixed in.)
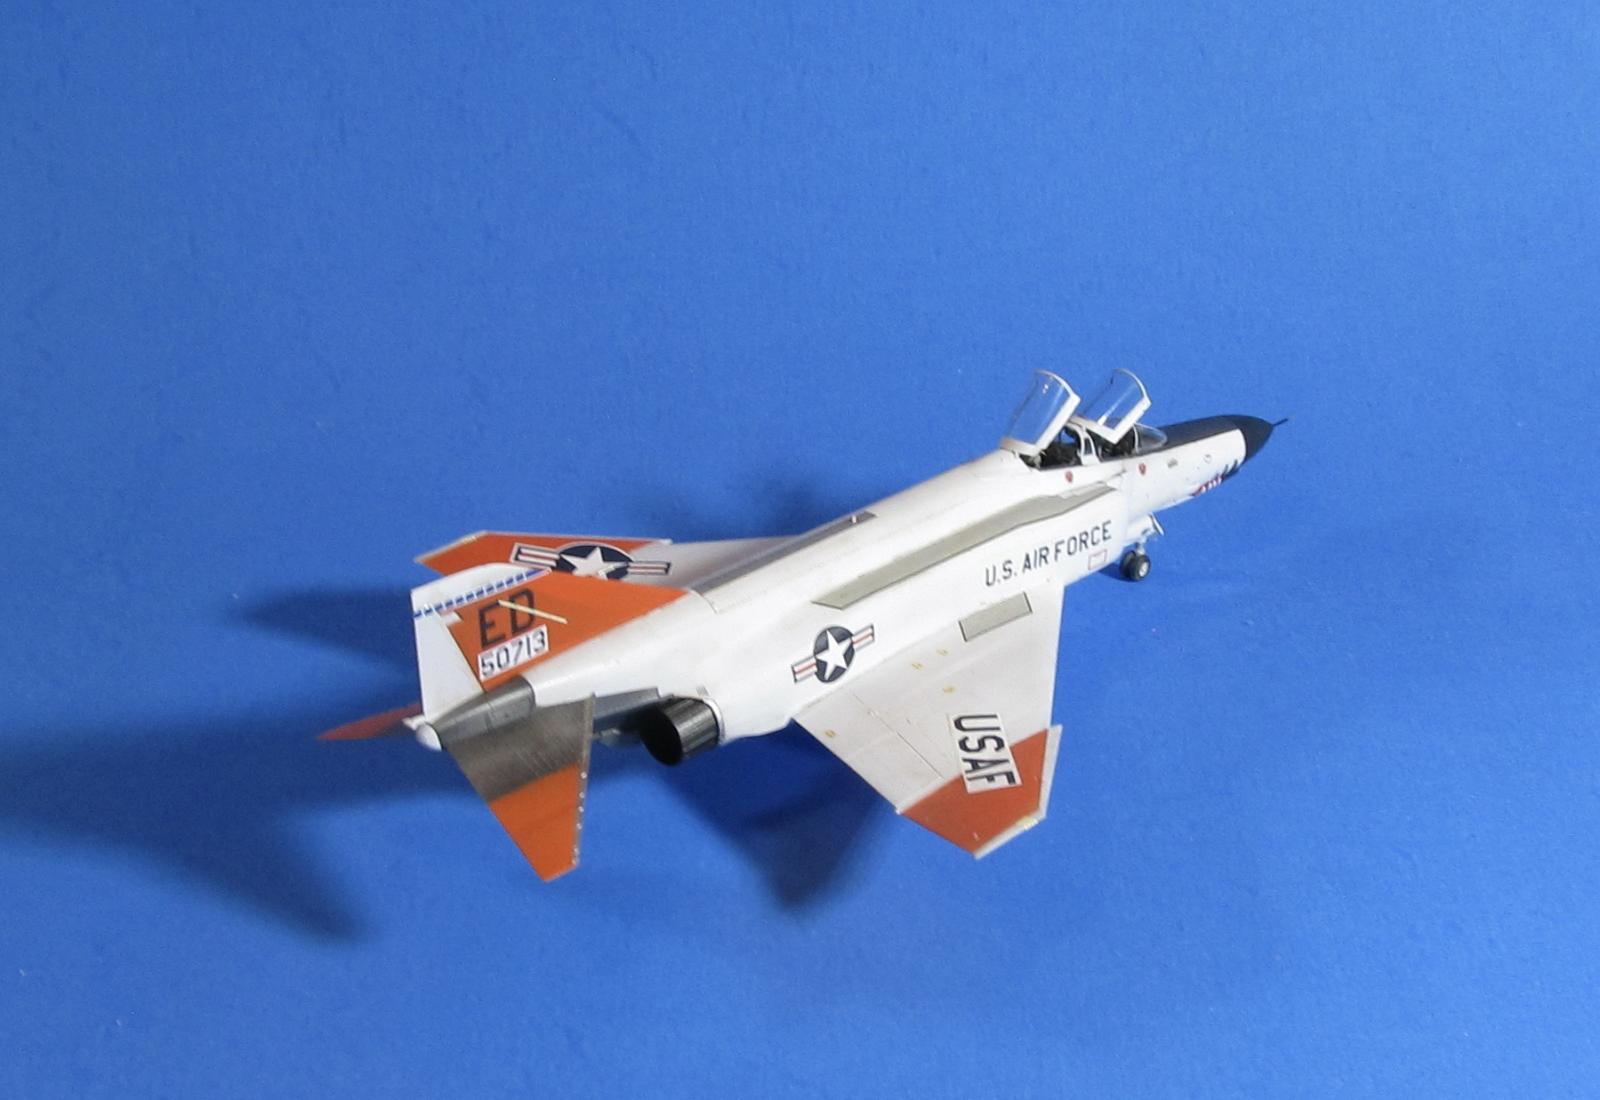
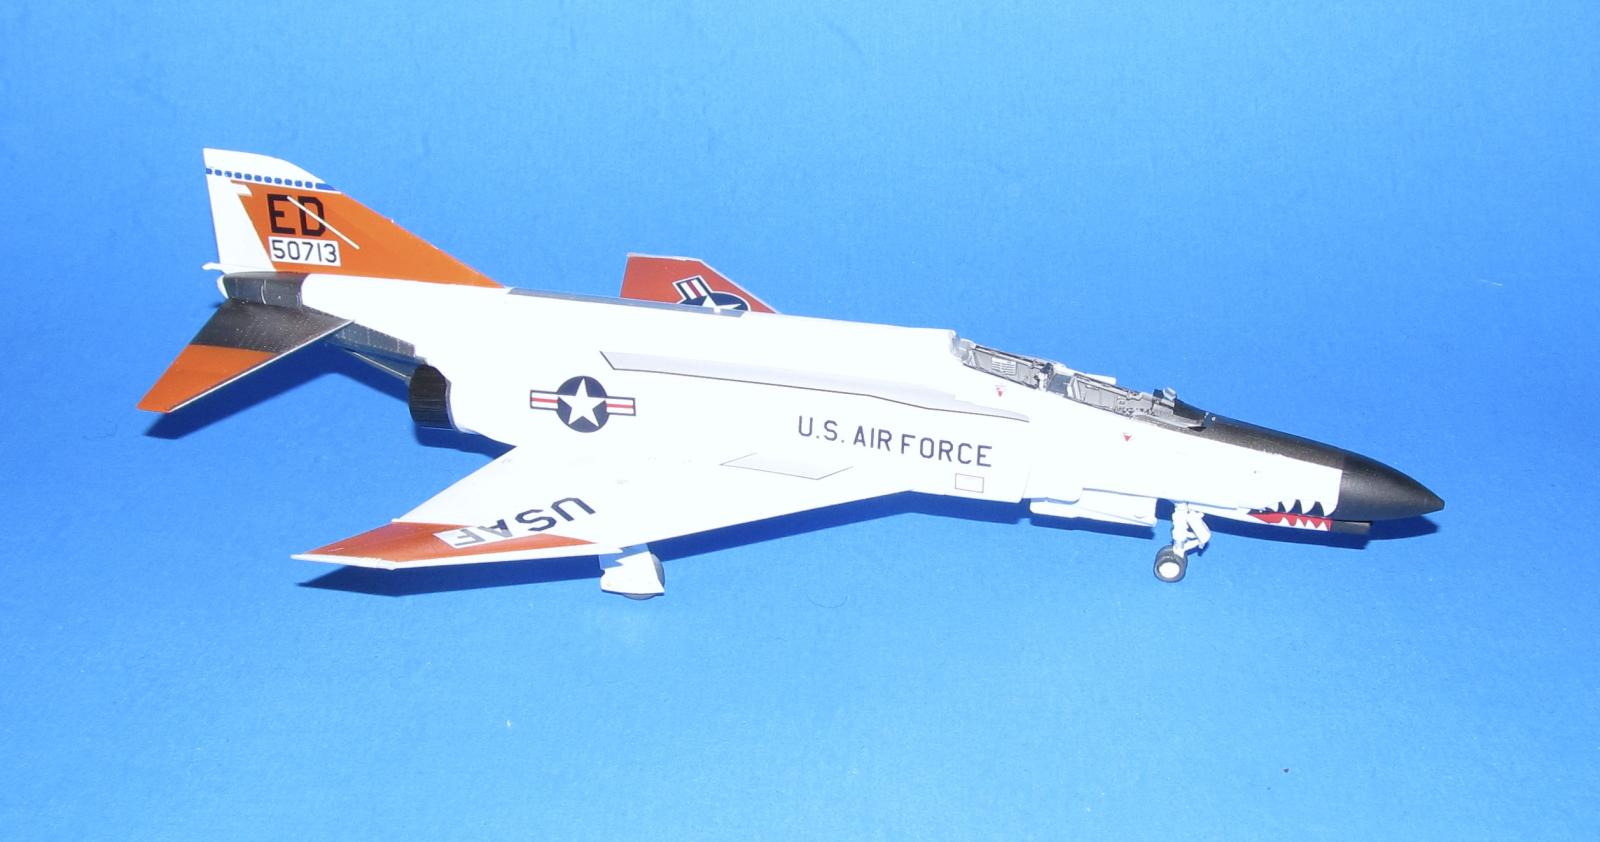
Lastly I painted the nose black, but I had to redo this several times as either I messed up the alignment or had undersprayed some areas. I used Tamiya vinyl tape for curves (handy but quite expensive for what you get stuff especially if you have a lot of nasty curves to paint.)
Decals and Markings
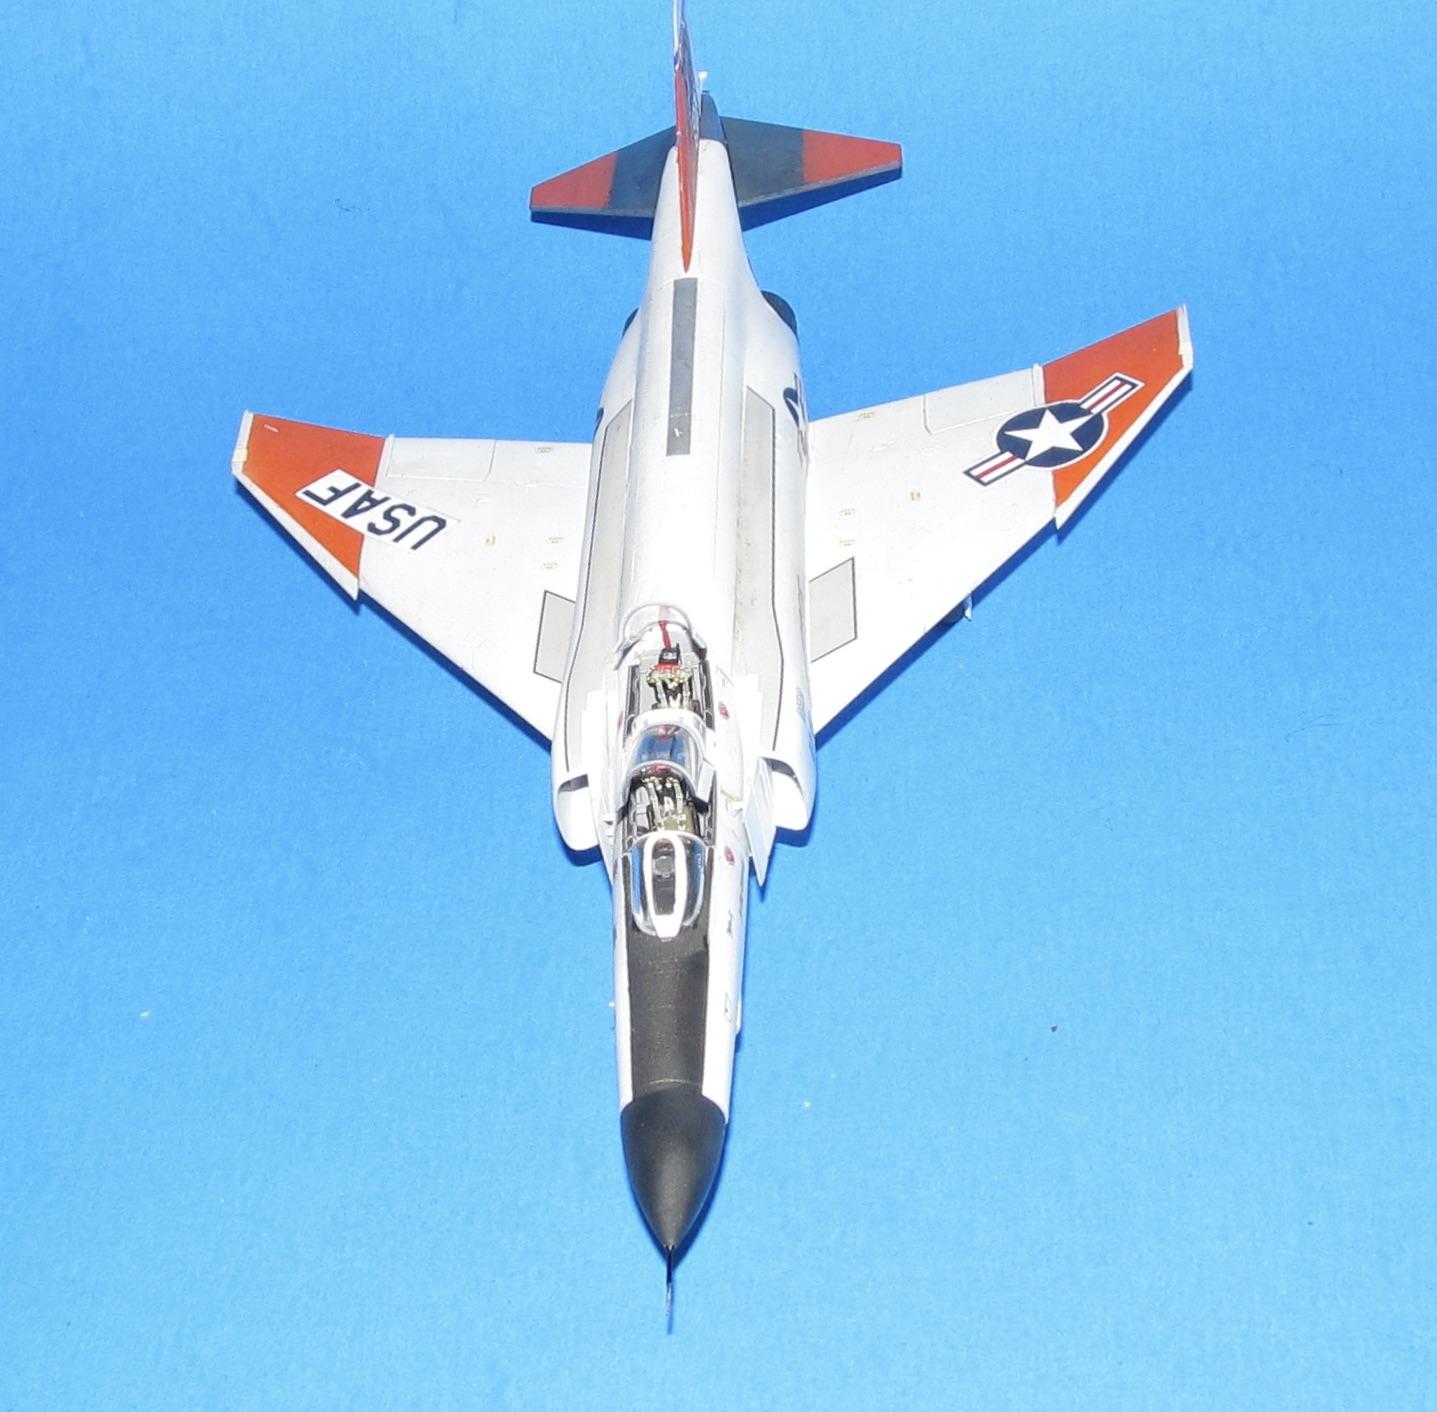
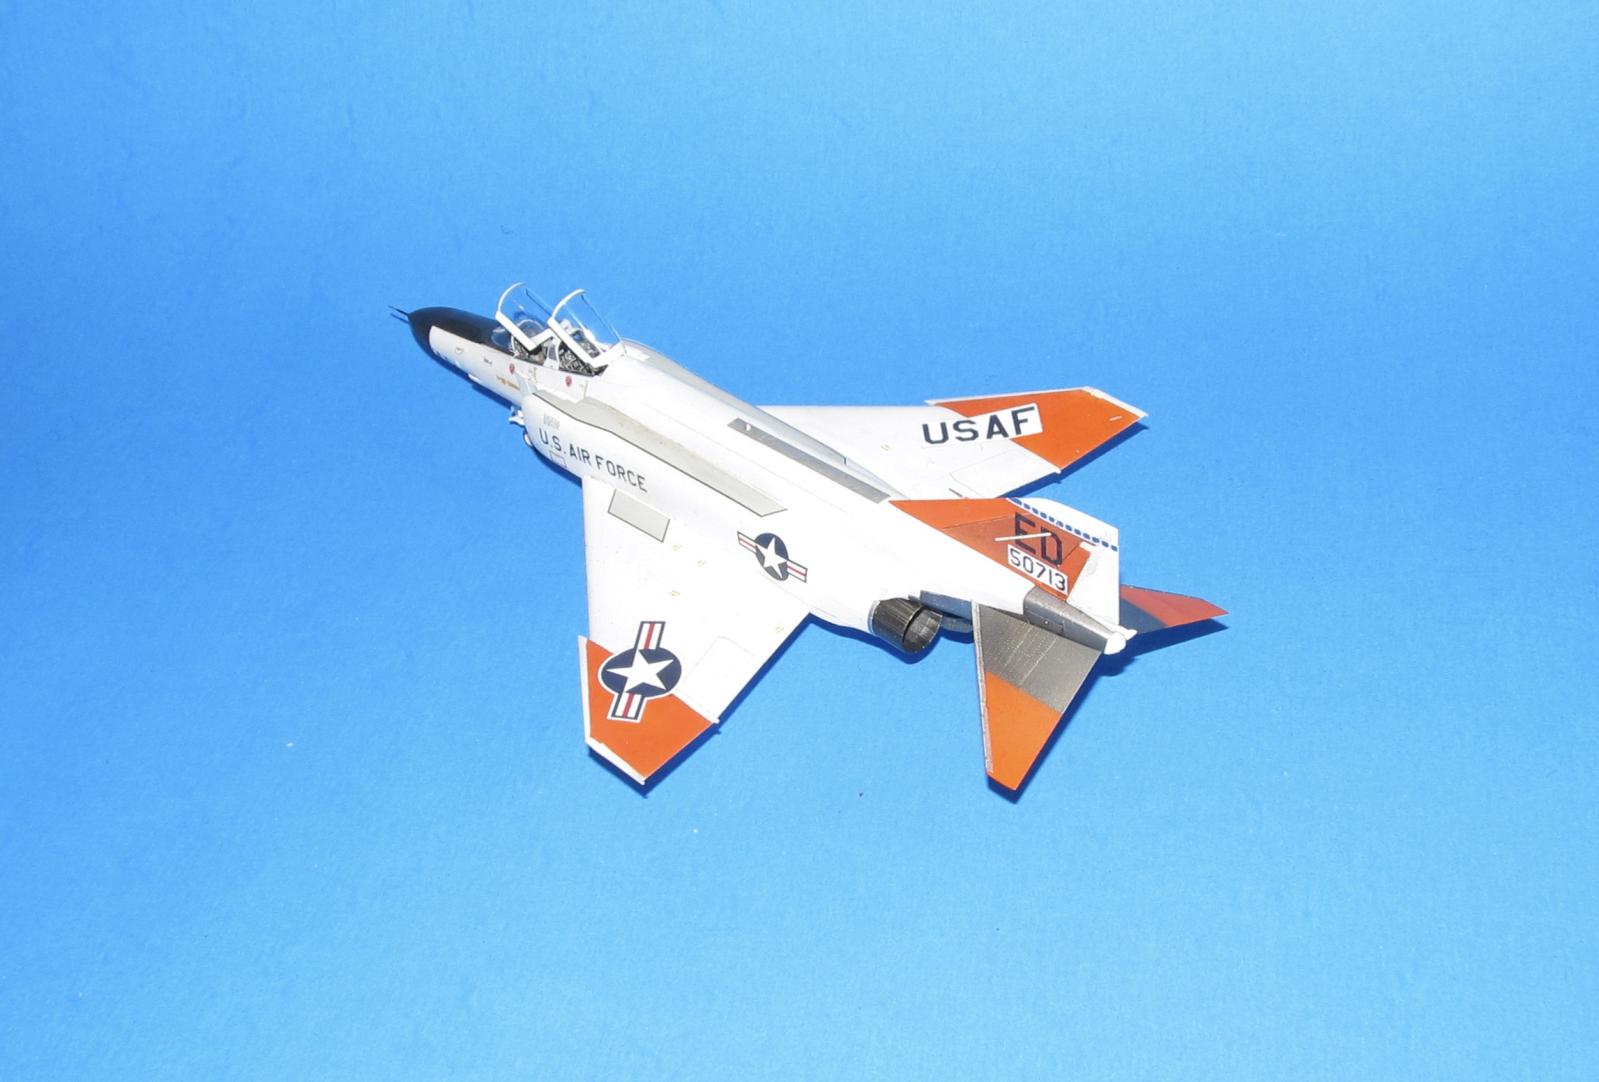
Fortunately, I didn't need the 300 stencils for this F-4E as the plane only had a few major stencils and that was it. The Caracal decals worked really well including the large walkways. I only used some MicoSet to get the decals to snuggle down. Only issue I had with the Caracal Decals was that the white wasn't opaque enough and I had to double up on the wing tip Insignia and USAF decals.
One thing I didn't notice till later was that they didn't include the walkways for the spine. I ended up having to mask and paint those light ghost grey. I used low tack Chinese knock off Kabuki tape for the masking so as not damage the decals.
I had some issues with the portside shark mouth decal (a common theme I discovered working on another model with shark mouth decals) which had a problem conforming to the curves of the nose. I ended up damaging the decal while trying to get it to snuggle down so when it was dry, I used a fine tipped paint brush painting the missing red and black areas. I'm not the greatest brush painter, but I managed to do a decent enough job that it won't be noticeable at a meter distant.
Weathering and Final Coat
These planes were kept in excellent condition so I only used a very light burnt umber watercolor wash for the panel lines. The wheel wells were made dirtier using Tamiya panel line wash (black and brown.)
I sprayed on a light final coat of Gunze flat clear.
Final construction
I ended up adding the canopy ledges, cockpit ledges and levers from the Quinta set. I wisely kept them off because they would be knocked off from the handling.
I inserted the prepainted engine exhausts, tail underside and various NMF bits into the fuselage and glued them in place. This was one major difference between the Fine Molds Phantom and the Tamiya Phantom parts breakdown as it reduced the amount of masking required.
The various tiny bits such as antennas, pitot tube, landing gear, wheels and canopy were painted (or masked/painted) When dry, they were glued in place. Watch out for the main wheel alignment or you get knock kneed ones like I did.
A number of small lights were painted using a 00 brush and various clear paints.
I found the canopies to be the most fiddly part of construction mostly due to the tiny size relative to the 1/48 Tamiya Phantom. It took me about an hour to get the canopies to stay in place in the proper alignment (I used non-fogging CA glue to get them to hold in place after the Gorilla glue wouldn't hold as well.
Conclusion
The Fine Molds F-4E was not only easy to build, but fun to build. Mix in the Quinta 3D-decals and it is one of the best models I have built and one of my all time favorite builds. I recommend this kit for all levels from a beginner to the most advanced modeller. I hope to buy another kit or two in the future (maybe for a Vietnam Era USAF Phantom or an early EJ Japanese Phantom.)

Awesome Phantom! A great looking color scheme.
I remember this from the Six Million Dollar Man (I think?) and wanted to build a white Phantom for a long time.
Looks great! Being a Phantom Phanatic, having built many of the 1/72nd Hasegawa, Fujimi and Revell Phantoms, I will have to try one of these.
Definitely worth your effort. I really enjoyed building this one. Similar in layout to the Tamiya F-4B and ZM series of F-4s in 1/48 scale.
Great looking Phantom.
Thanks George
Very nice looking Phantom, Dan @dbdlee
Thanks very much John
Excellent model and ditto article, Dan!
Thanks Spiros!
Nice to see the 'first' of many F-4Es - and nice writeup on the Fine Molds kit.
Another beauty Phantom, Dan (@dblee)
Hopefully. I've got a lot of kits in the stash...
Thanks for the kind words
Nice clean, bright, F4 Dan.
Thanks, Alan
I’ve built one Fine Molds kit, and it was a very pleasant experience. This is a fine looking Phantom.
Fine Molds makes some nice stuff, they haven't disappointed. Thanks
A great-looking Phantom! I have two of these FM kits in my Phantom stash that I'm eager to get to...
Thank Greg. Definitely a fun kit to build.