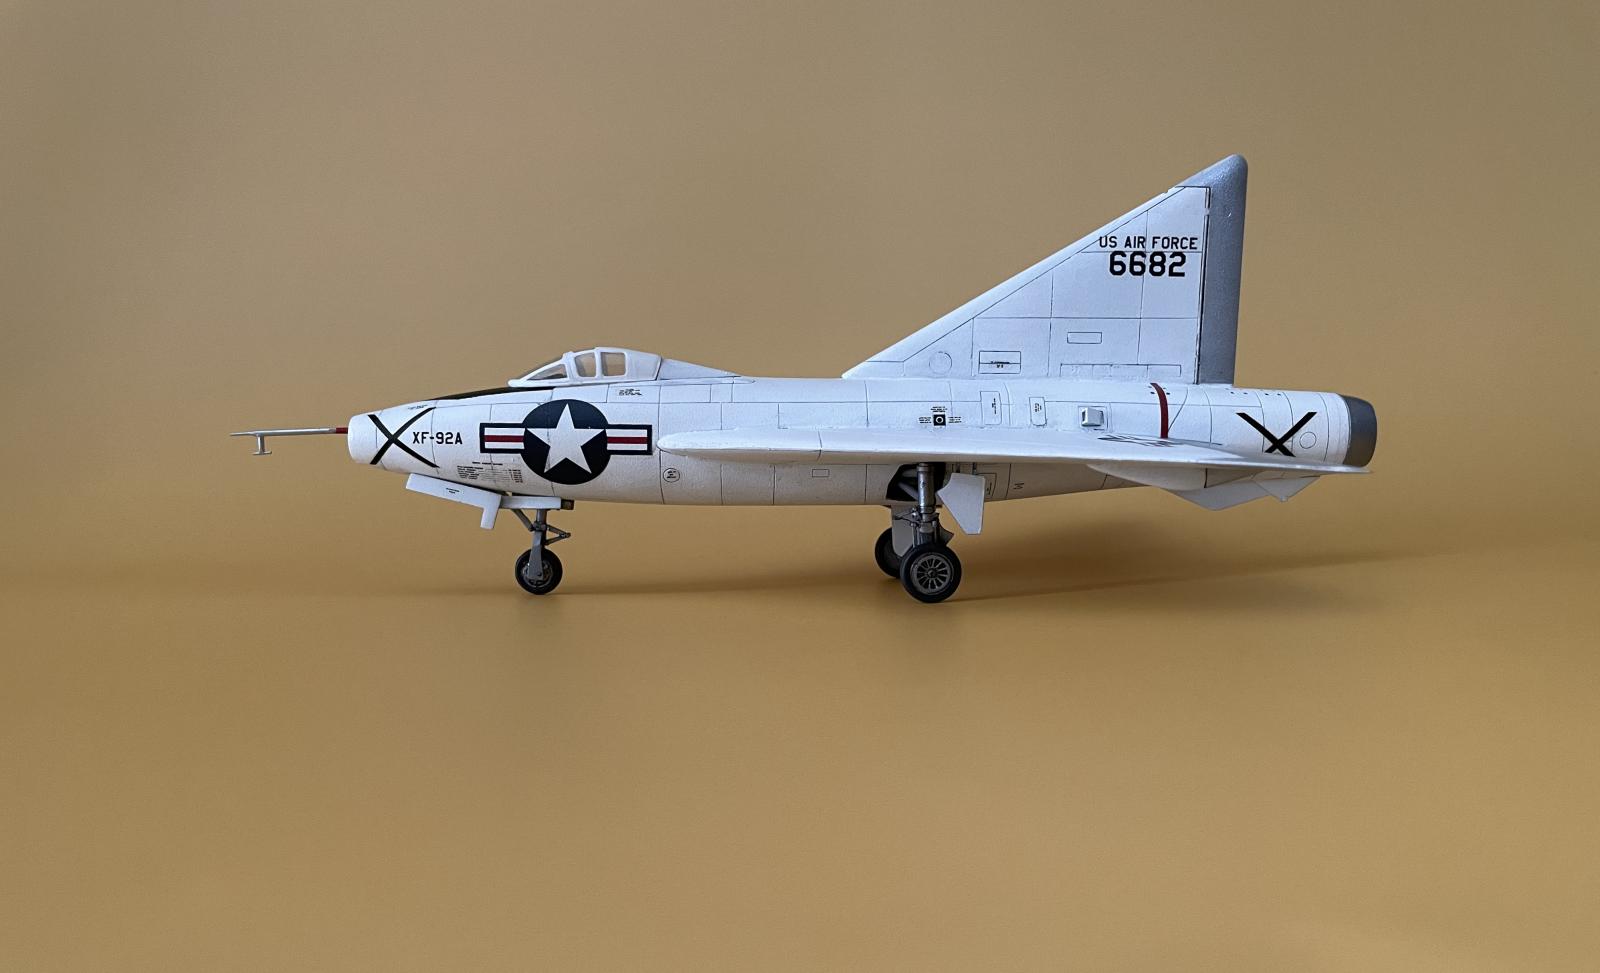
Olimp Pro Resin XF-92A Dart
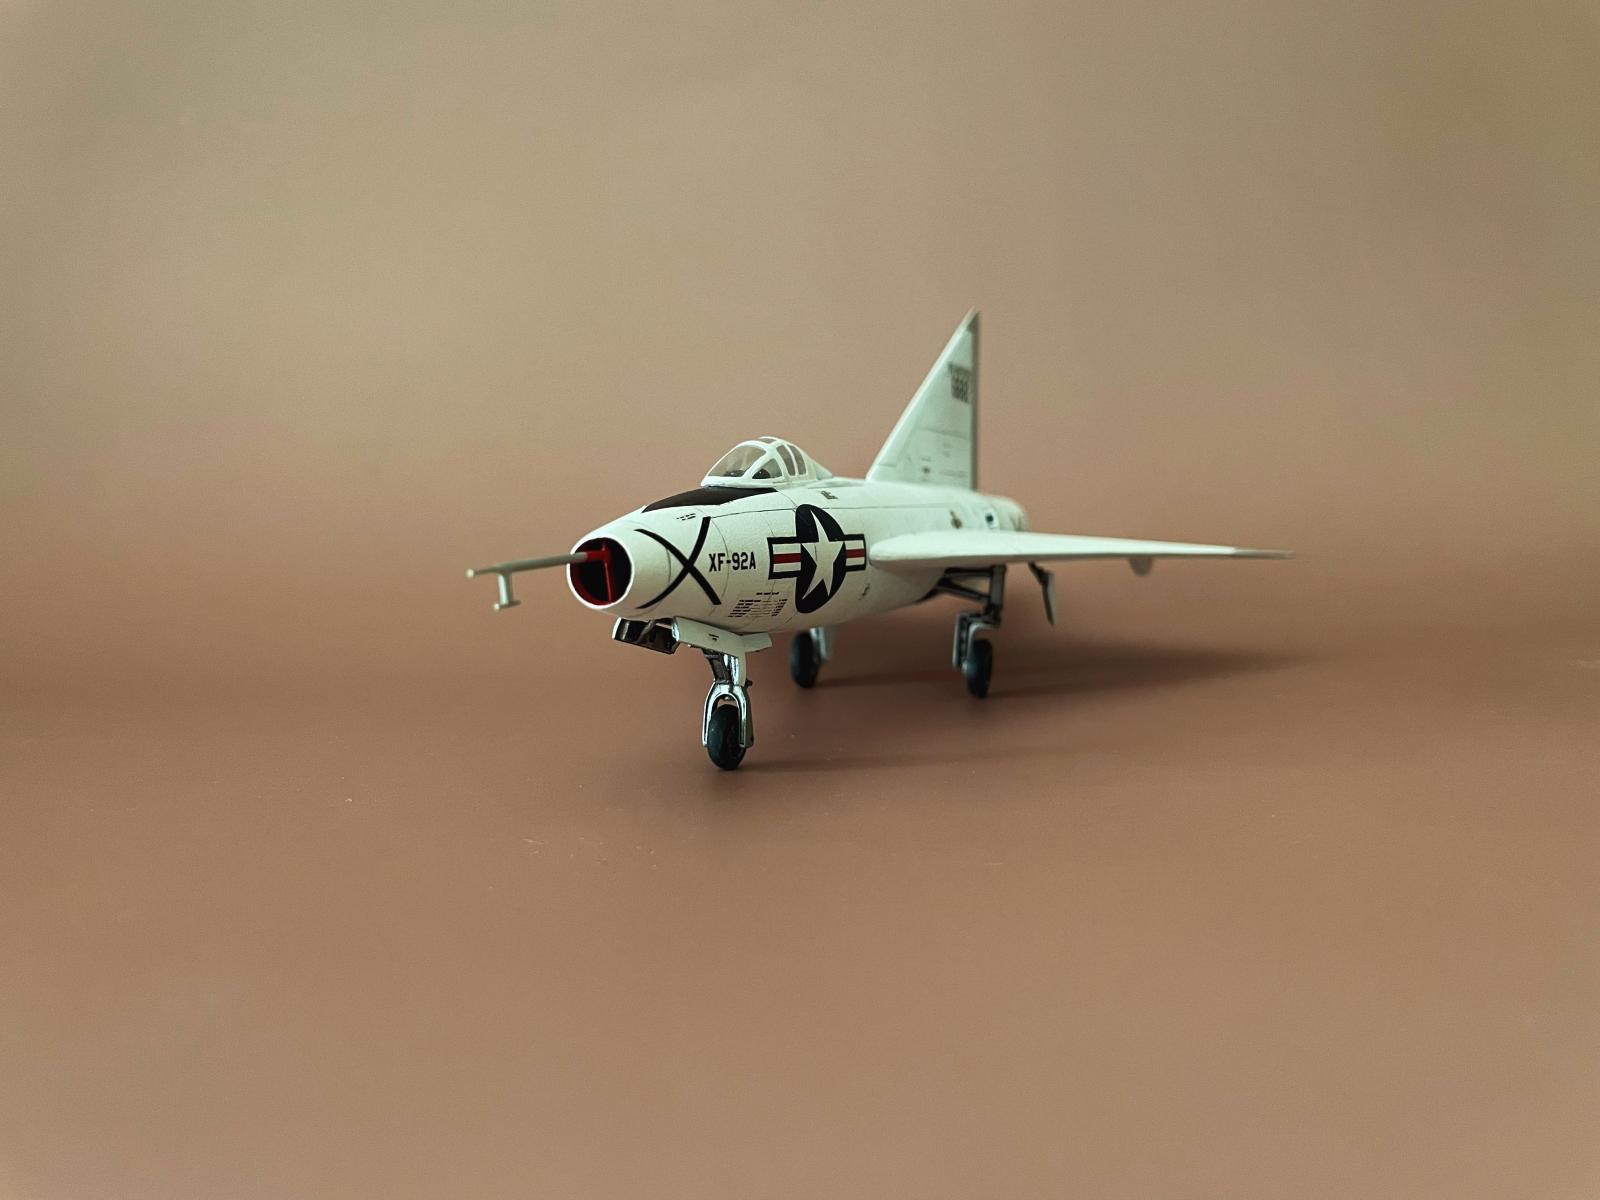
The Convair XF-92A “Dart” was America's first delta wing. As such, it was fairly terrible and widely regarded by test pilots as a flop: “It was a miserable flying beast,” observed NACA pilot Scott Crossfield. In reference to the article's serial number 7002, pilots referred to it disparagingly as “seven balls two.”
A major issue was a transonic pitch-up instability, which would plunge pilots into an 8g nightmare; though Chuck Yeager, who was the first to pilot the craft, noted the pitch sensitivity even at subsonic speeds. Another major issue was that the poor aircraft was simply underpowered, a seeming continual issue in the late 40's and early 50's. Yeager was able to push the XF-92 supersonic, but only during a vertical, 4g split S dive, during which he achieved Mach 1.05.
Delta wing designs originated with the Germans during WWII. Alexander Lippisch, the mind behind the Me 162 Komet rocket plane, came the U.S. after the war and joined Convair, where he pioneered research into tail-less delta wing designs. These would eventually find success in pivotal aircraft like the F-102, F-106, and the B-58. The delta wing, with its long chord and relatively large surface area, can achieve lift even with sharp, highly swept wings. It is especially beneficial at transonic speeds, where leading edge vortices caused by the high wing sweep flow over the top of the wing and assist in lift generation, even at high angles of attack where unswept-wing aircraft typically stall. At low speeds, however, induced drag is a problem (due to the low aspect ratio wings) and so low speed maneuvers, like landing, must be done at considerable angles of attack. Yeager famously brought the XF-92 in for a landing at a 45 degree angle of attack at a blistering 67 mph.
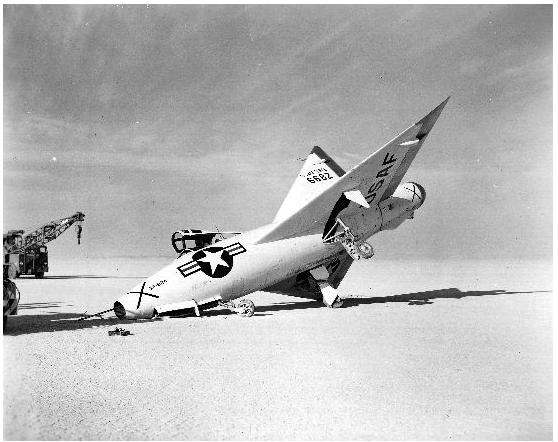
The XF-92 flew for several years, much to the annoyance of pretty much everyone involved with it, until in 1953 the lone-produced aircraft met a poetic end on the scorched wastes of Muroc Dry Lake: the XF-92's nose wheel collapsed while taxiing after its final flight at Muroc, leaving it pathetically lamed on the desert flats like a wounded gazelle.
The Kit
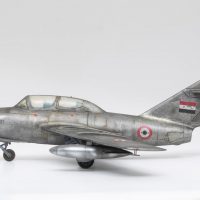
The 1/72-scale Olimp Pro Resin XF-92A Late comprises 51 resin parts and a vacu-formed canopy (two actually, in case you mess up. I love these amenities.) The resin is a pale yellow, crisply molded and well-detailed:
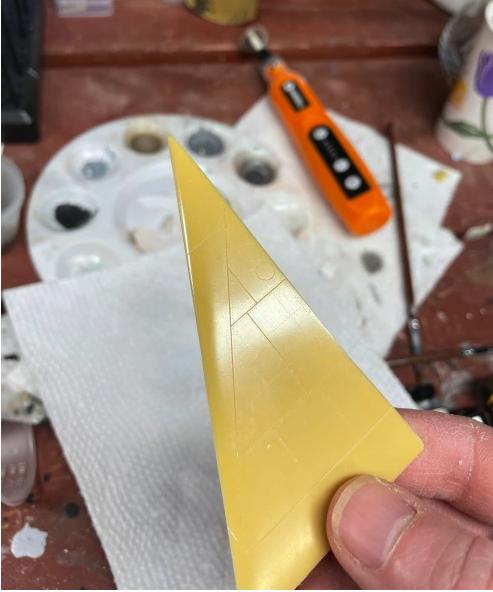
Notice the delicate rivet detail in the photo (alas, these totally vanished under a few coats of paint). The cockpit was also nicely detailed:
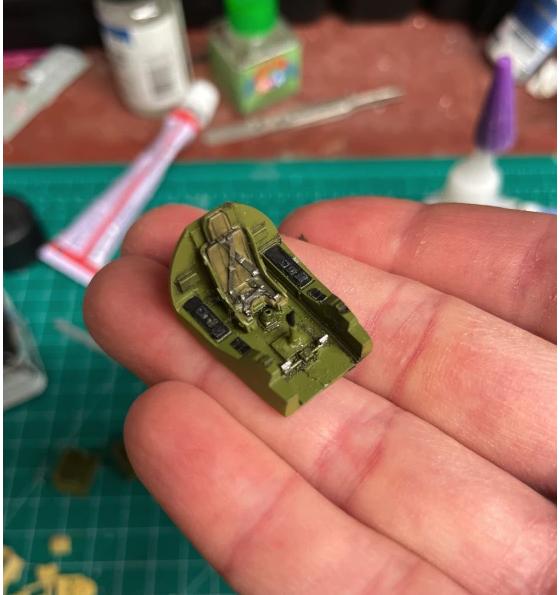
(Yes, that's not where the stick is supposed to go. Fixed.)
Affixing pieces with super glue will forever be a challenge, especially large pieces that need to be well-aligned, like the ridiculously huge tail fin. For this, I held it tightly in place where I wanted it, and then applied some super thin CA glue at the joint. This stuff flows around and under the piece and sets rapidly. This is also how I joined the two fuselage halves, working in stages, using tape to keep the halves joined correctly where needed.
Upon sanding down the seam along the bottom of the fuselage, I noticed a smattering of small pockmarks opening up; most tiny but some large enough to warrant dedicated filling. Presumably these are air holes inside the resin:

I was able to conceal these with a treatment of Mr. Surfacer 500.
There were a couple inaccuracies and undesirables. For example, the nose inlet splitter plate isn't correct on the model: it is flush with the inlet opening, whereas on the real jet it sits several inches back, inside the inlet trunk. Furthermore, the inlet splitter part closes off the trunking:
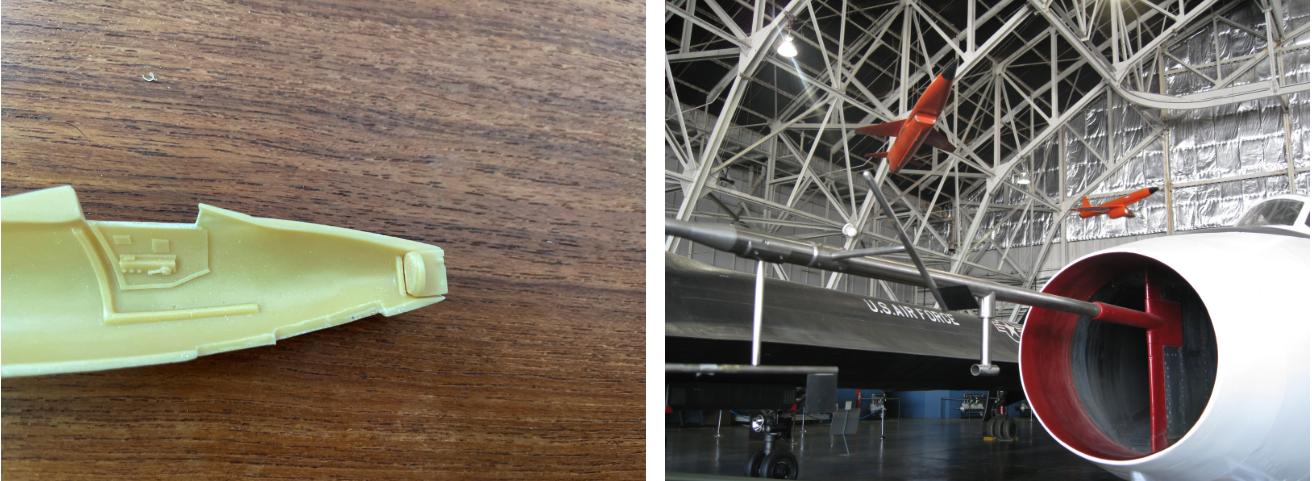
I therefore cut the plate off of its base, sanded down the guide line inside the nose, and was then able to slide the plate as far back as I wished. It was of course now possible to see inside the model, and so I did need to close things off with a bit of plasticard just ahead of the nose landing gear well.
Finally, an annoying parting blow was that this thing needs ballast badly. In hindsight, this is obvious, but I suppose I'm liable to miss the forest for the trees at times. Luckily, I was able to add some tungsten shot (around 5 pieces of 18g/3.5mm) to the open cockpit: I just poured them in there and followed it up with a dump of CA, hoping it would all come together.
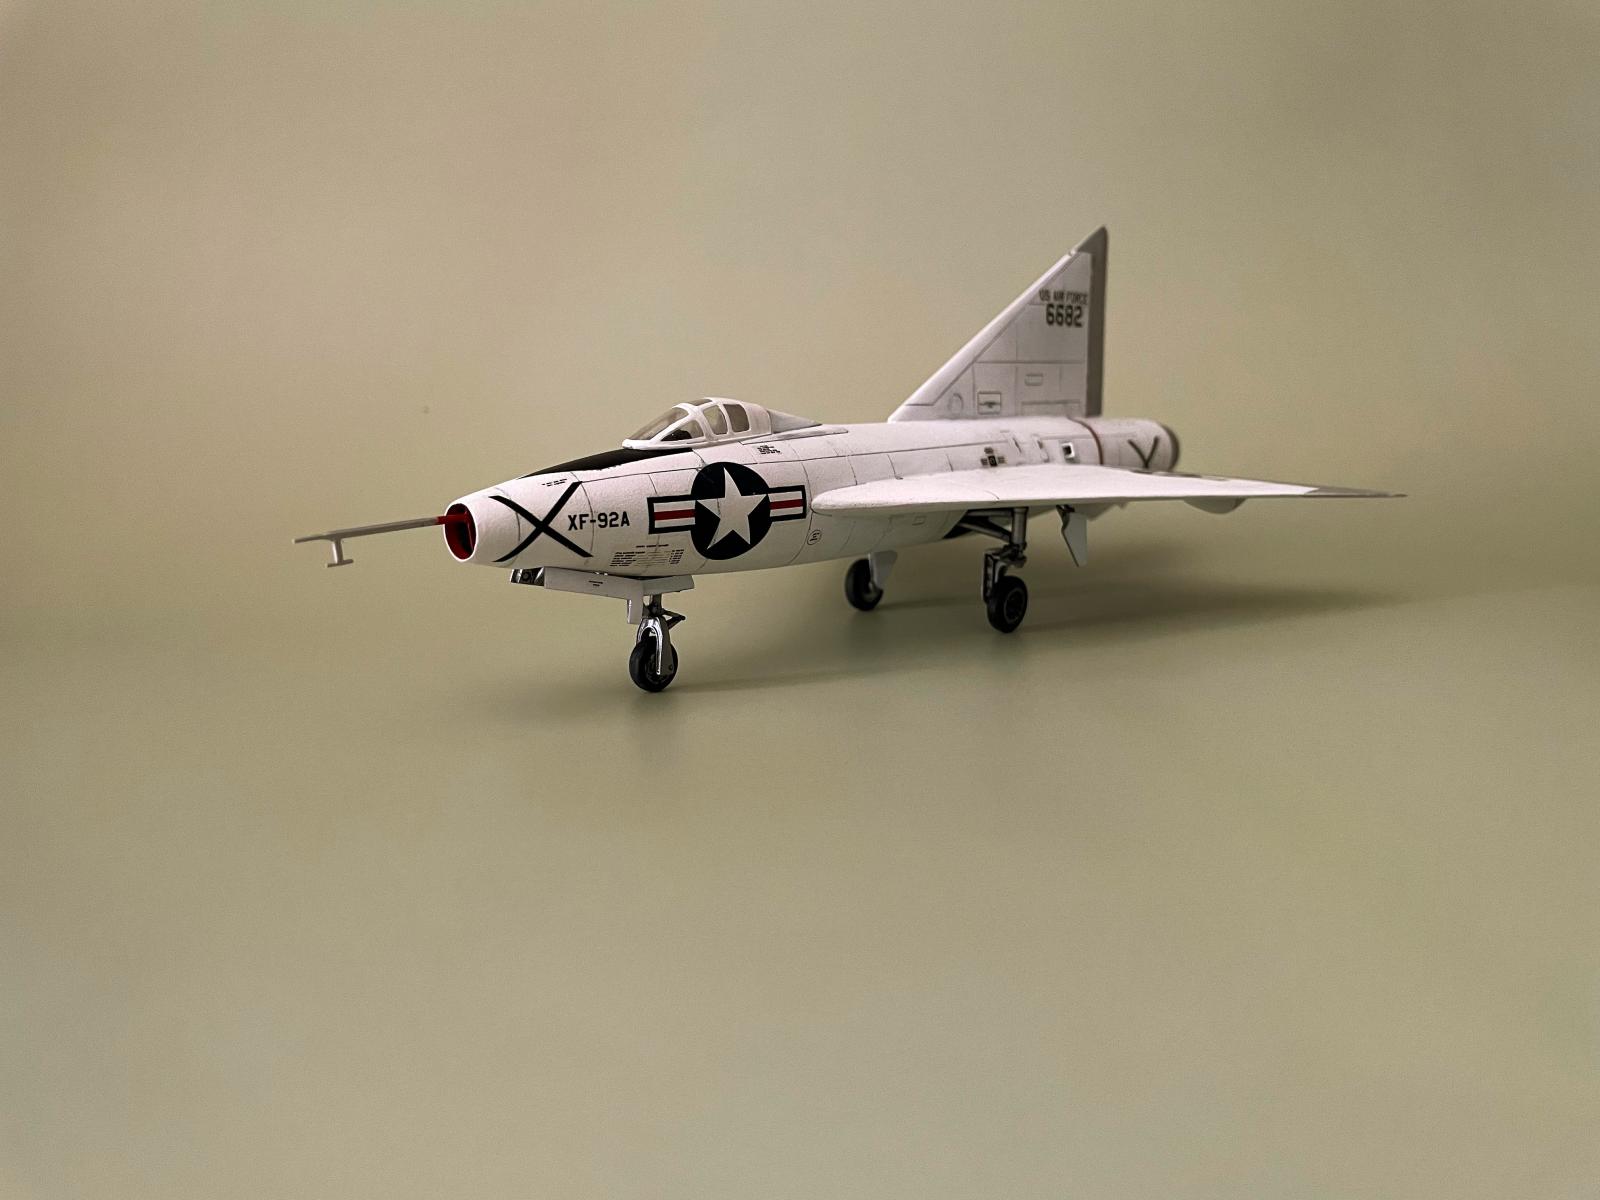
Base coat is Tamiya XF-2, followed by a pin wash with Tamiya Gray panel liner. The panel lines are nicely deep, and while this ensures they're easily accentable, they also wash darker. I really don't like overly dark panel accents on light-colored aircraft, and so I tried to tone things down a bit: first, by going over the panel lines with a Tamiya precision swab wet with X-20A; then, using a scribe; then, applying a thinned white oil wash; finally, by tracing over the lines with a white AK weathering pencil. I'm not sure exactly which of these did it, but I was happy with the final look. And, yes, if I'm going to play around with oil washes, why not just mix the desired level of gray using oils and just pin wash with that? Yep, next time.
The decals were noticeably yellowed (a common problem with these limited release Olimp kits, apparently. When I contacted the vendor they basically said pretty much every Olimp XF-92A decal sheet in the observable universe was equally yellowed). They were also misprinted, with the decal ink extending a little bit beyond the carrier film. I fixed this with some Microscale Liquid Decal Film. And, happily, my roughly 4 months-long sun treatment worked this time around, with the decals clear enough to stand up against a white base coat. Now, I'm in this bad habit of blindly trusting Solvaset and, separately, of using it all the time. I generally test it on a throw-away decal, but sometimes there are no throw-away decals, and I've never had it eat anything. This time, a few of the insignia roundels started to wrinkle and bleed color:
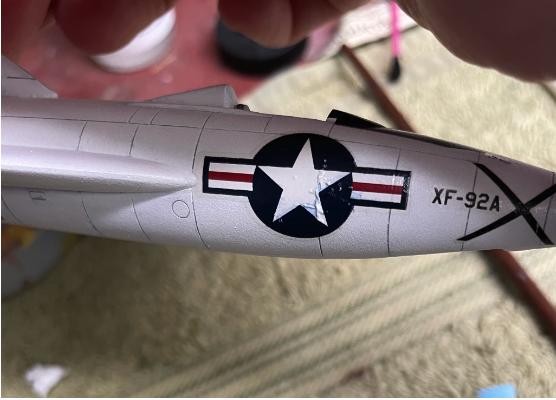
I was able to mostly flatten out these wrinkles and luckily the color bleeds could be cleaned up with X-29A thinner. But this is an unsettling thing, and I need to be more careful.
Metallics were Alclad Polished Aluminum on the control surfaces and Stainless Steal on the exhaust cowling. I am converging on the fact that Alclad metallics with a black base do not do well (i.e. they get stripped) against enamels or white spirit, whereas “normal colors”, like Aluminum, do fine. Finally, I finished it with Alclad Semi-Matte varnish.
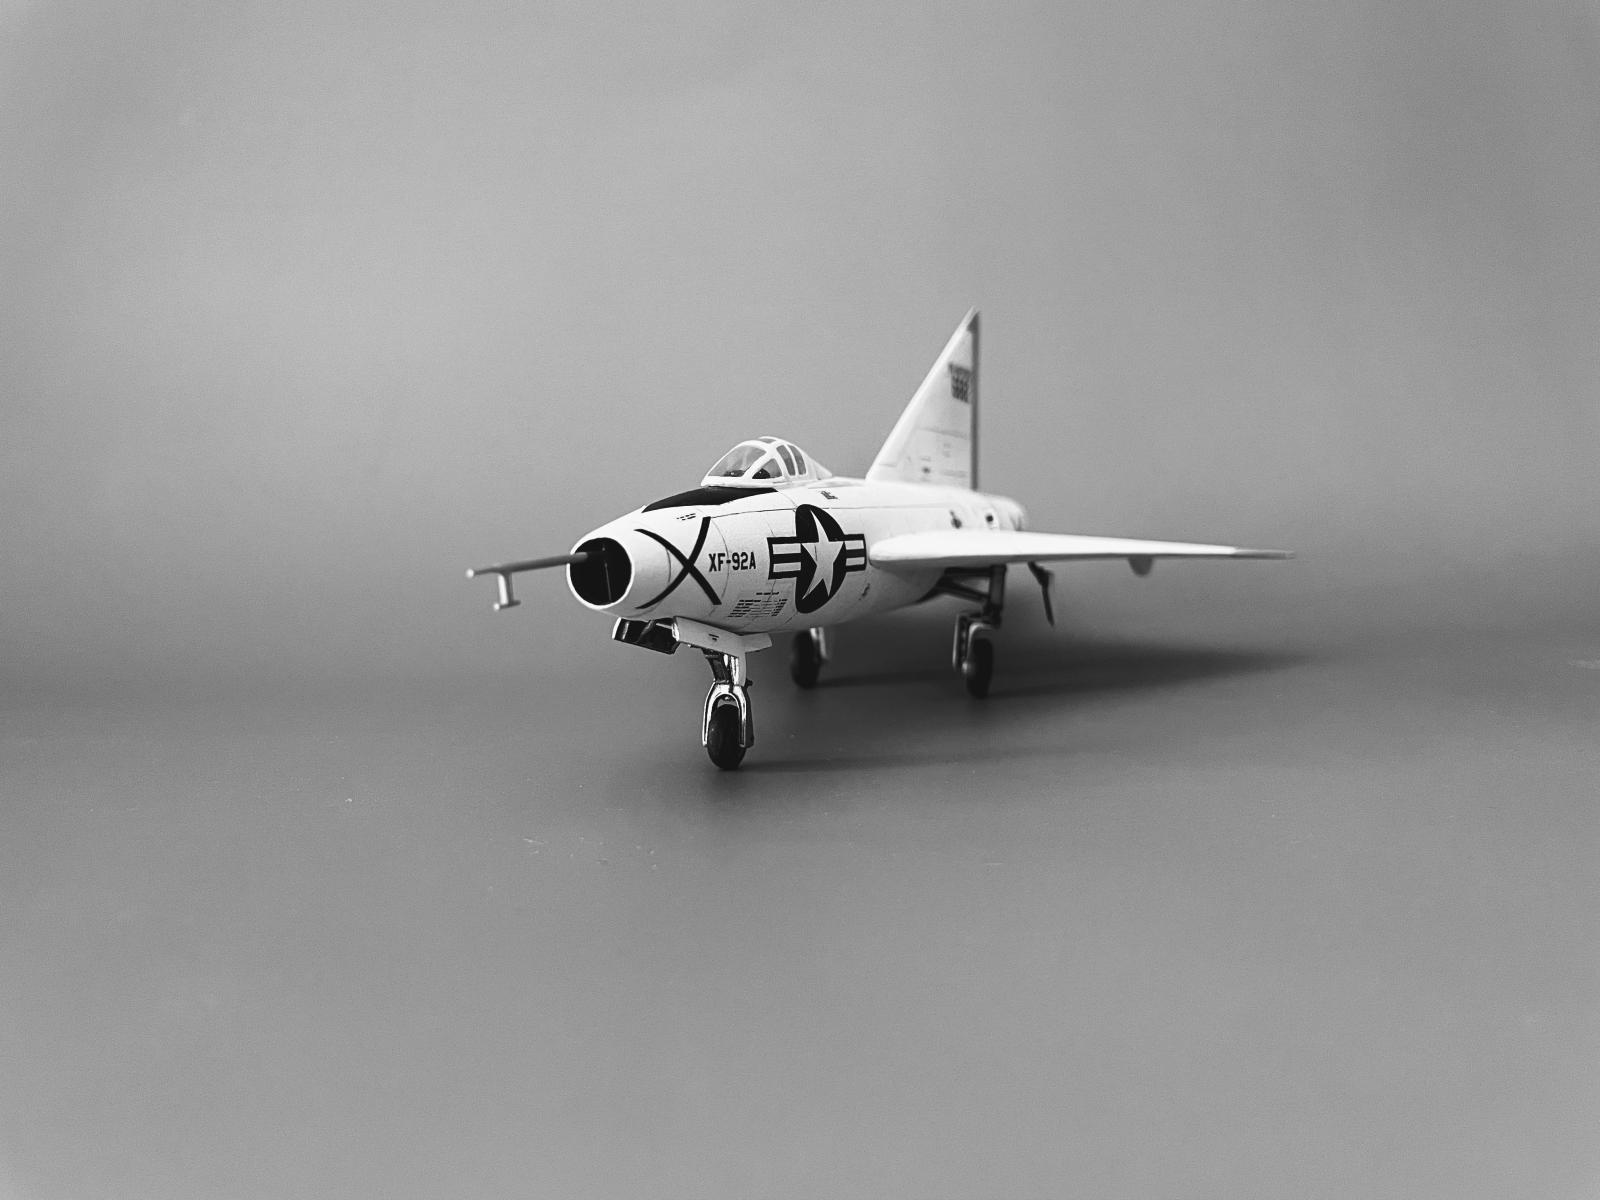
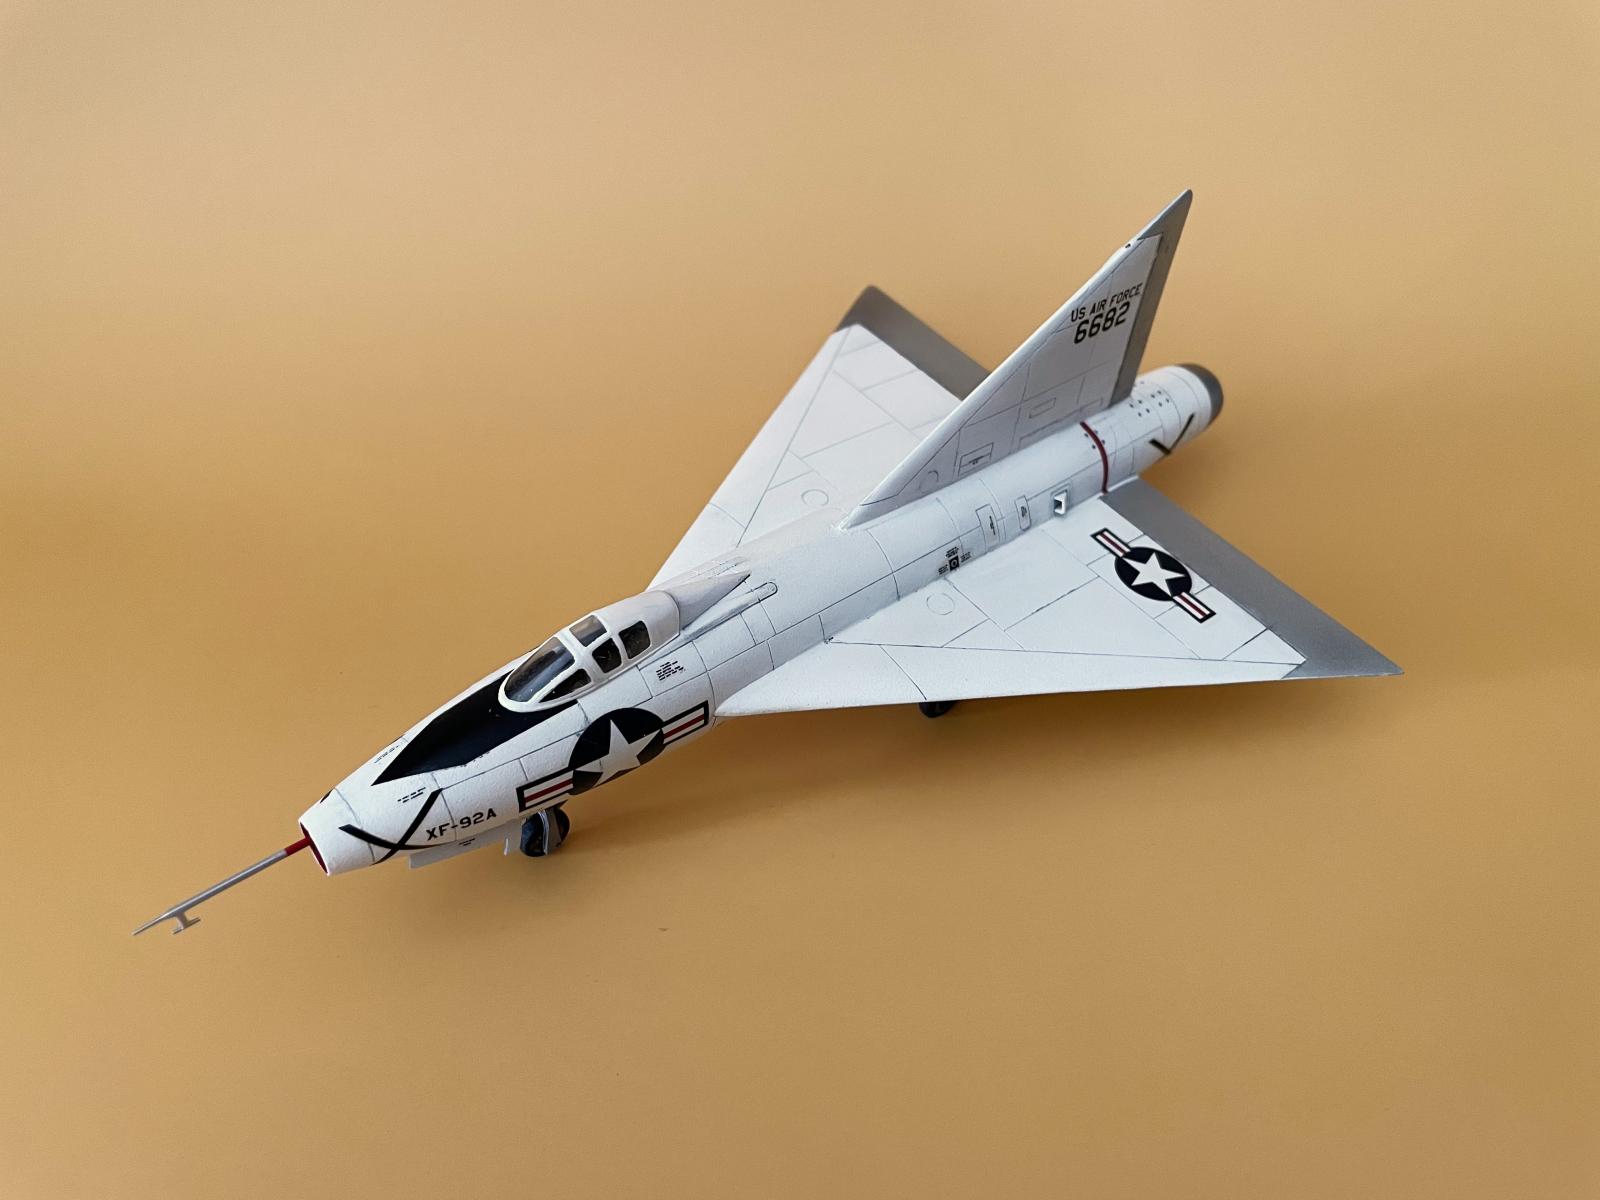
It's an ugly thing, but somehow beautiful in its own way.


At's not ugly, it's a beauty. Looks like the proto Lawn Dart.
Nice job on a rough one.
Nice work beating this kit into submission. An excellent result.
I guess it's not always "looks right, flies right", huh? But you did great on this challenging kit, the model is a beauty.
I read "Yeager" and "The Right Stuff" as a teen. The challenges and risks those guys at Muroc, later Edwards, faced were daunting in the extreme.
Amazing result over this challenging kit, Brian!
An absolutely excellent result, Brian @bapowellphys
Never heard about this aircraft, but after reading your article I'm defintely going to read some more articles.
It does have a bit of a Gerry Anderson look to it. Convair deltas are go!
X-planes are fascinating. The XF-92 makes me think about the Saab 210, the scaled down test aircraft that led the way for the Saab J 35 series of aircraft. Same time, same goal, different outcome.
Good job on this resin model. Love the final result.
Nicely done Brian, good looking little delta wing.
Well done for finishing this to such a high standard.
Very cool, love X-planes
This is a very nice result, great subject!
I don't know which is more difficult to model a resin kit or a vacuform kit. great job on this. I remember the old Hawk kit of the XF-92.
Very cool! I thought it looked like many other deltas until I saw that profile - MAN, what a HUGE TAIL that thing had. Nice build!
Thanks Greg! Yeah, that tail is ridiculous.
Beautiful job! Did Olimp's rendition of Bristol T.188 a while ago.
Nice job on this resin build Brian, the overall finish and look came out great!
Very well done, sir. I have the version of the Olimp kit in the fictitious markings for the "MiG 23" made up for the Howard Hughes film "Jet Pilot." It's nice to get a heads up on the kit's pitfalls and pluses. It's my intention to do all the Convair deltas and that would include this one...