Army Cooperation
History
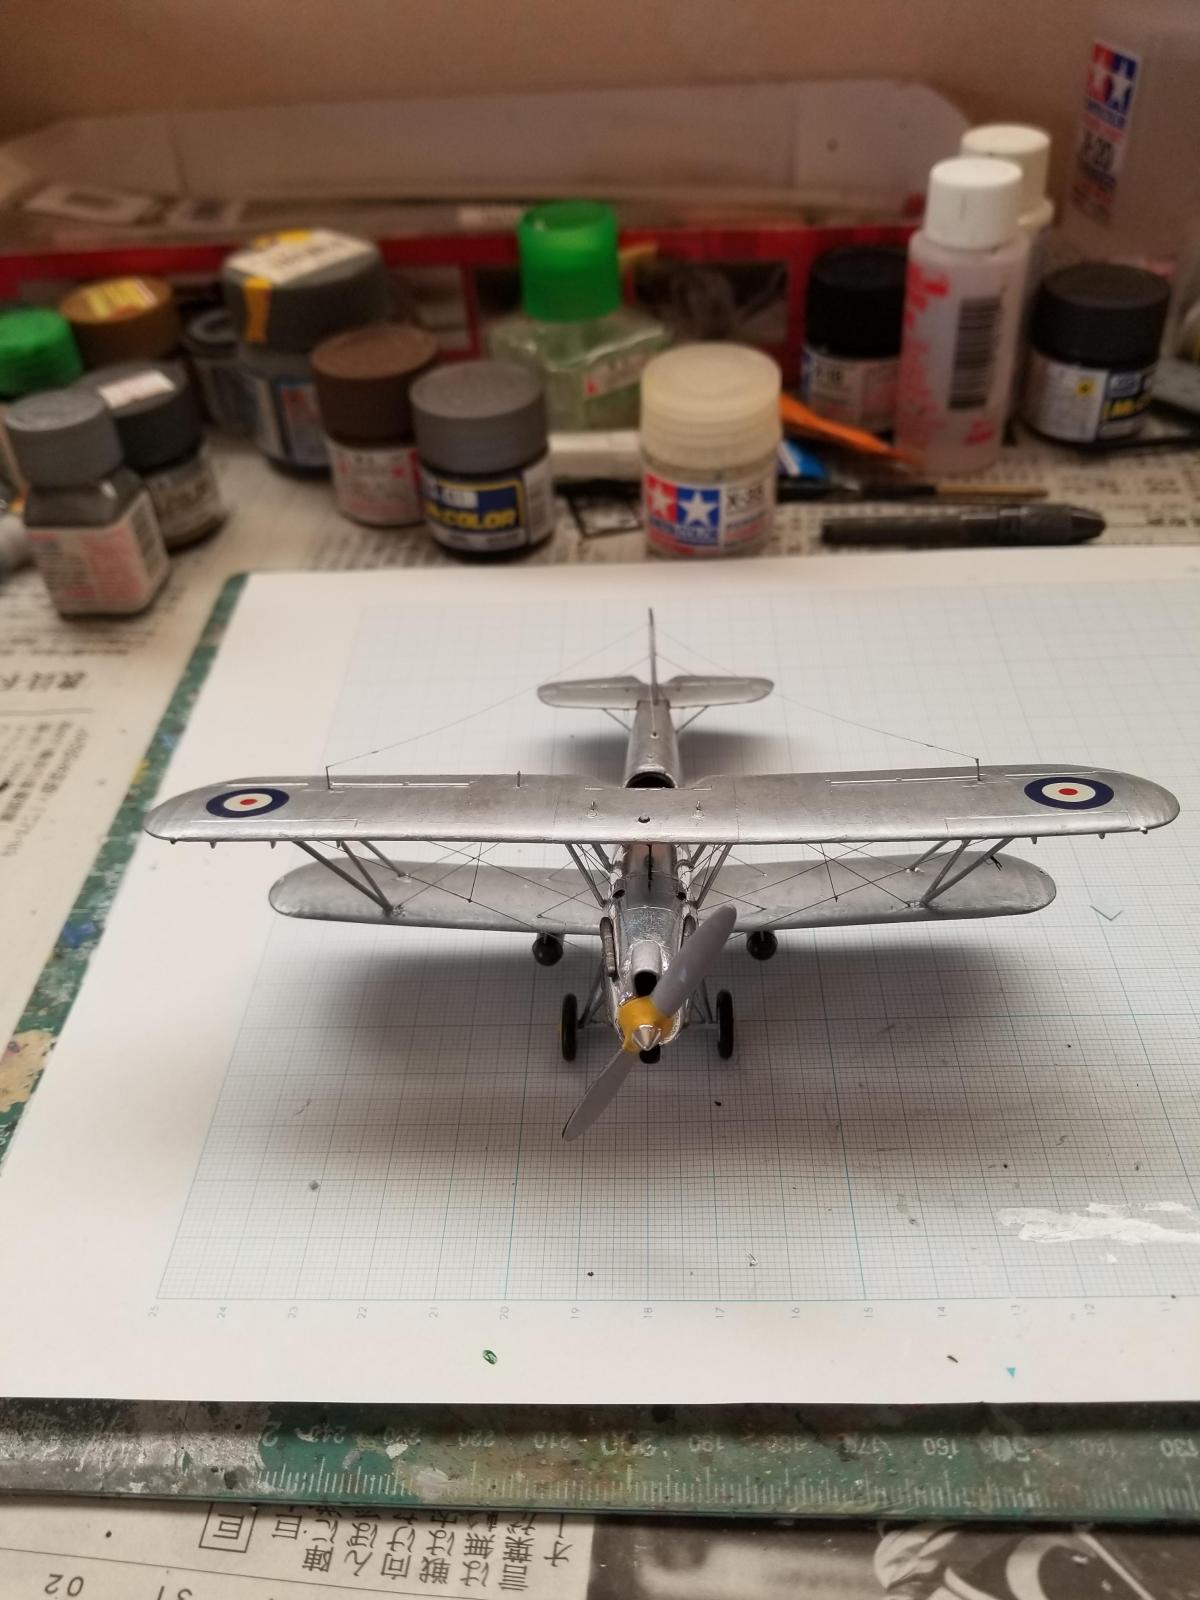
The Hawker Hector was an interim type and the last of the Hart family. The previous army cooperation Hart - the Audax was getting a bit long in the tooth and a new type was needed. With Hind production taking up the available Kestrel engines another power plant was needed and attention focused on the 24 cylinder Napier Dagger III. This was trialled on Hart K2434 and one of the discoveries was that a straight upper wing was needed to maintain CoG. Even then this was stretched to the limit in the Hector and they always flew with the balance weights attached to the rear fuselage. The Dagger was not a successful engine being prone to overheating and a maintenance nightmare but urgency meant that the Hector was ordered to the tune of 179 aircraft (1 prototype and 178 production machines).
Entering service with No. 4 Squadron first then 13 Squadron they concentrated on the army support role but were strictly home based aircraft as the Dagger could not be trusted in hot climates. Thus overseas the various Audaxes, Hardys and Harts continued in service. Hectors were cascaded down to the Auxiliary Air Force Squadrons where some actually saw action over Dunkirk. The aircraft itself survived until 1944 in the RAF as a target tug and was also sold to the Irish Air Corps.
Models
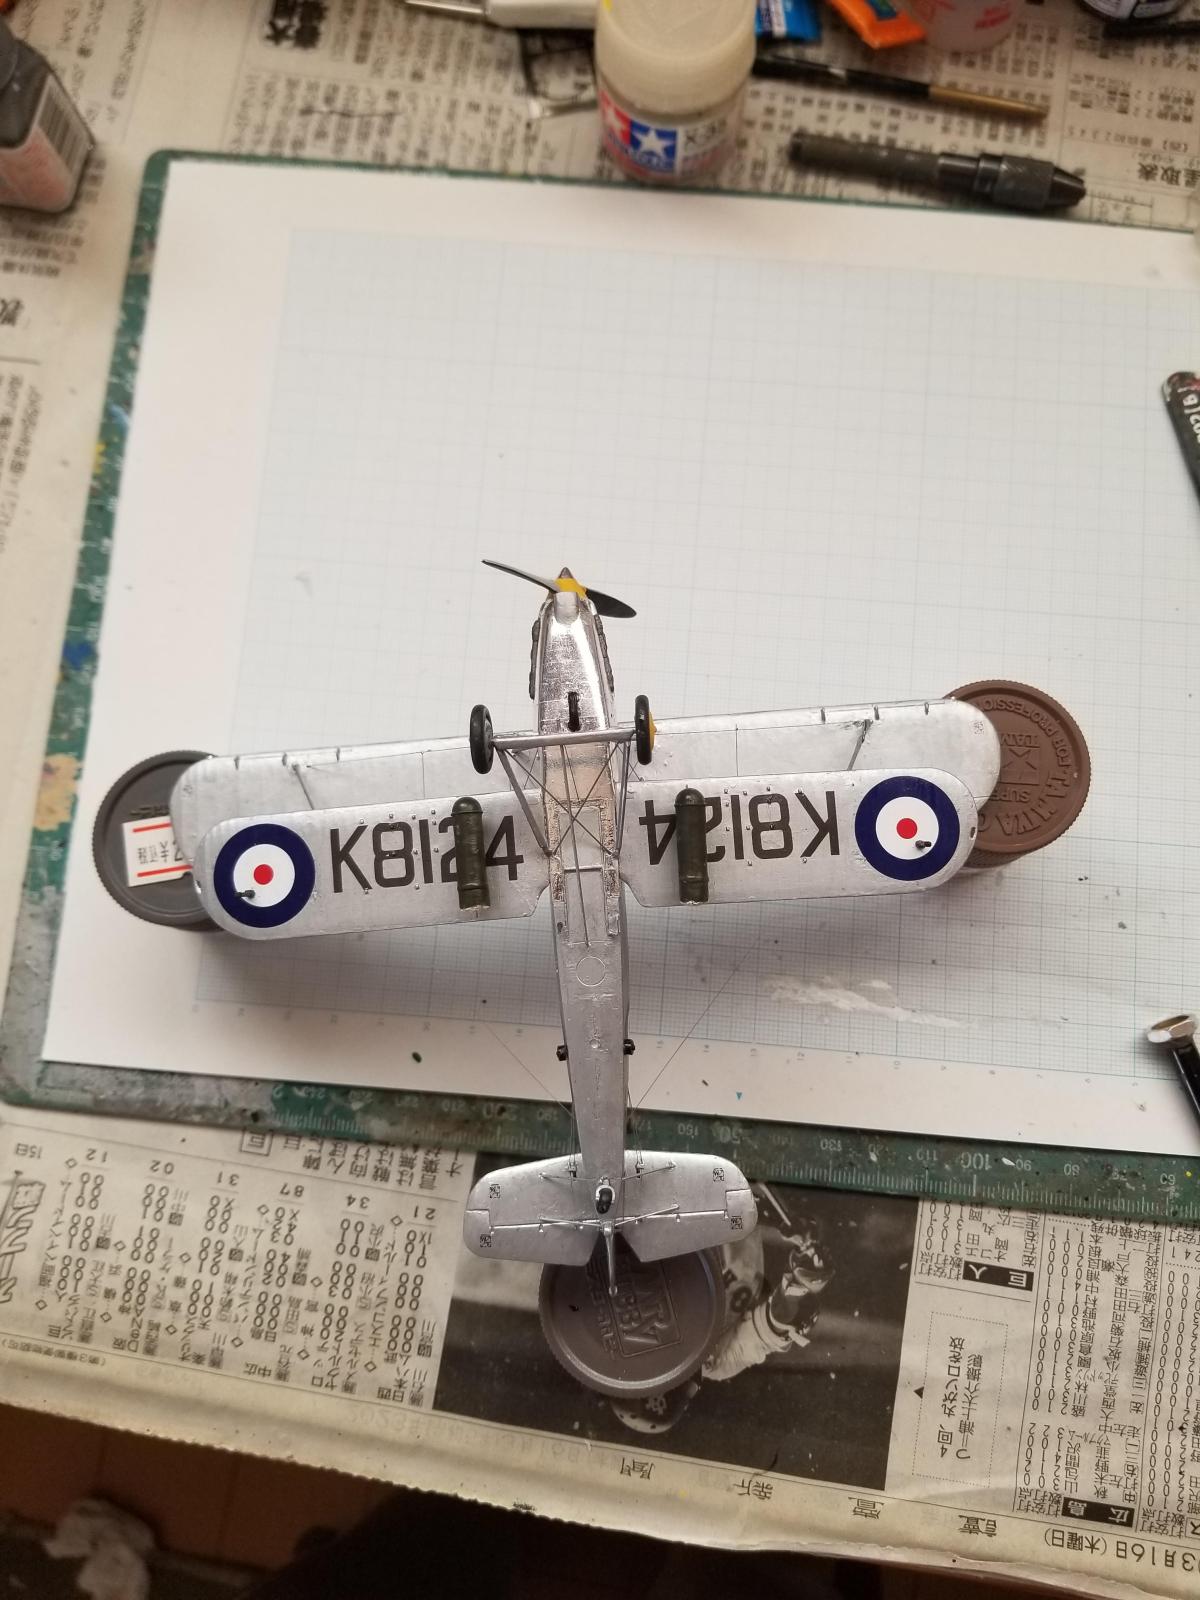
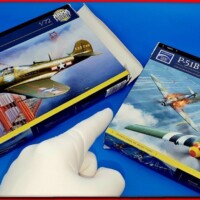
There are three models in 1/72 CMK, Aeroclub and A model. All are limited run and require experience to build a good model. I chose the A model kit which is still readily available and is highly detailed (though more can be added). Decals are a problem whichever version you chose though. The CMK kit doesn't seem to have any, the A model kit only has one option (which isn't really acceptable at all). The Aeroclub kit includes a nondescript RAF machine and an Irish Air Corps example. Max Decals also did an Irish Air Corps example on their sheet 7221 if you don't have the Aeroclub kit. However, it's a bit problematic if you want to do a silver wings Hector. If you're not too bothered about squadron markings then you can do practically any Hector you want as they all entered squadron service without markings. However, if you want squadron markings you're pretty much restricted to No. 4 Squadron and there you have to raid other decal sheets. RAF army cooperation aircraft carried a white six pointed star with the squadron emblem imposed on it. Model Decal Hart Variants and Xtradecal History of No. 4 Squadron have those markings. The former has to come from an Audax option and the latter from a Lysander option but both are the right size for a Hector. My aircraft was written off in 1938 but it was the only No. 4 Squadron machine I could find with the tail star in place (later I discovered a photo of K8120 with the marking as well).
Building the model
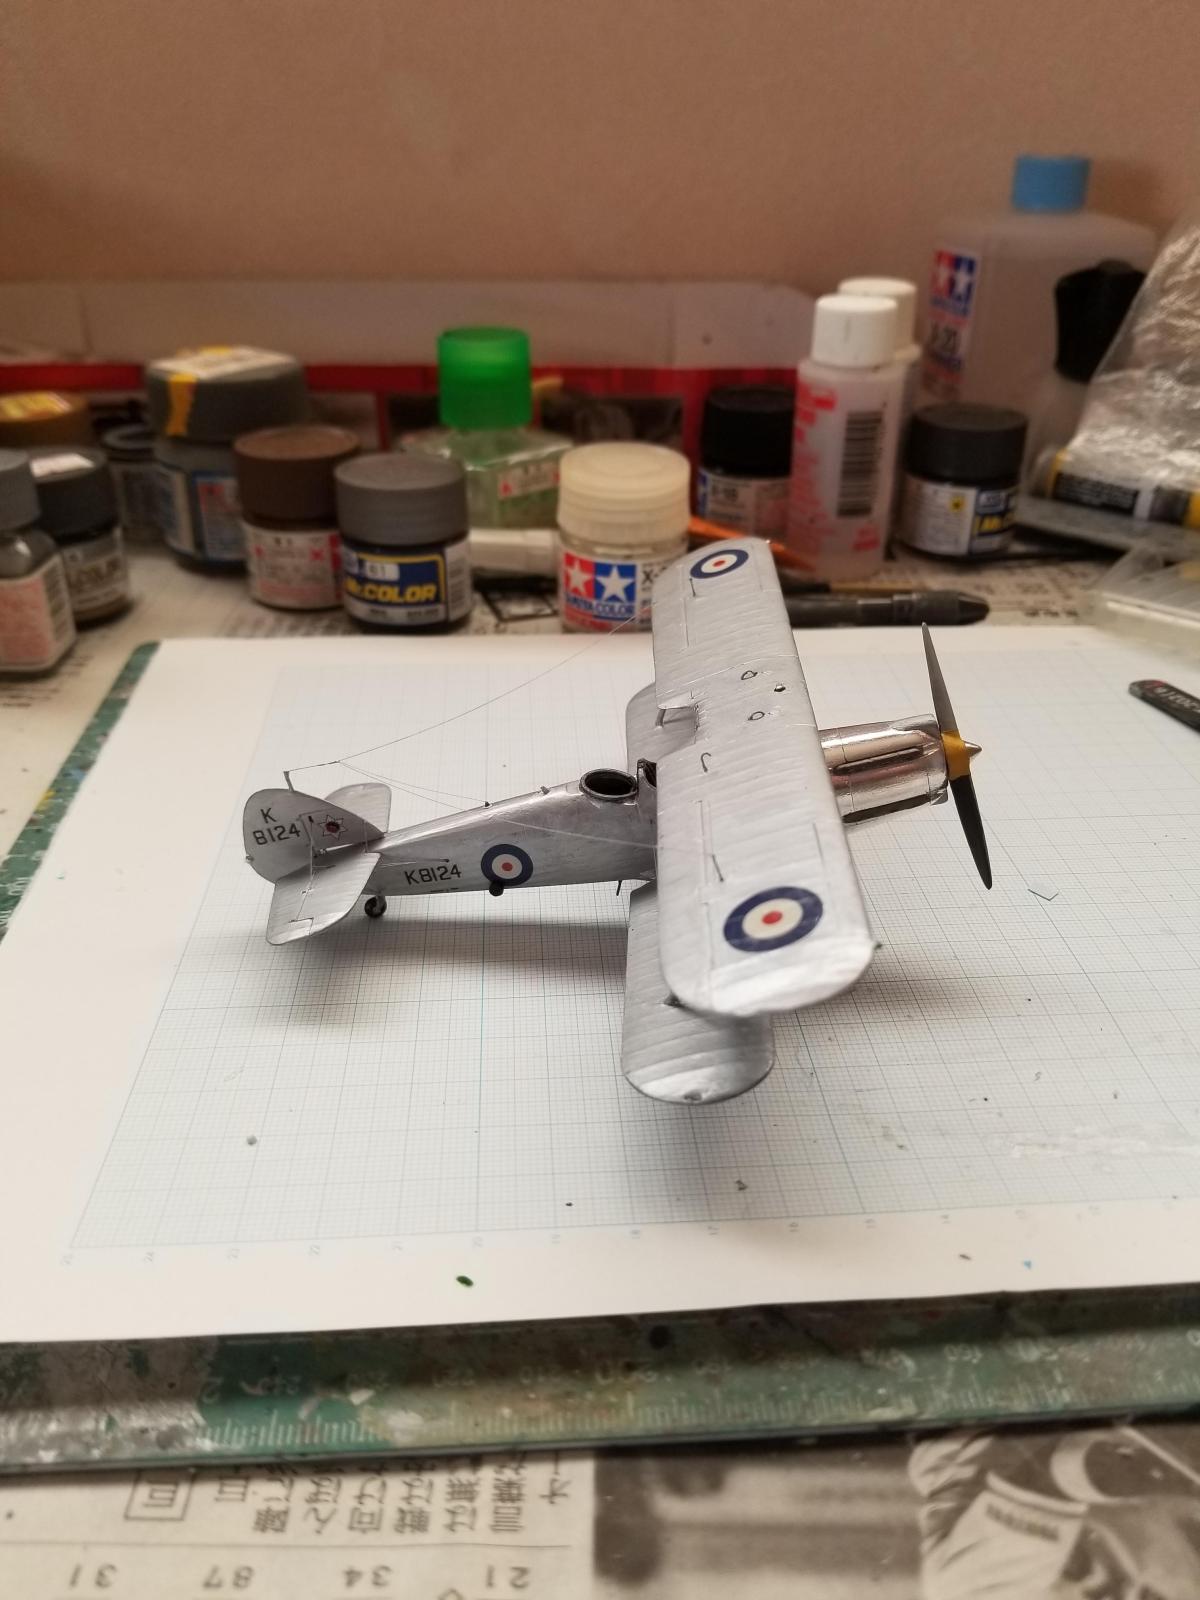
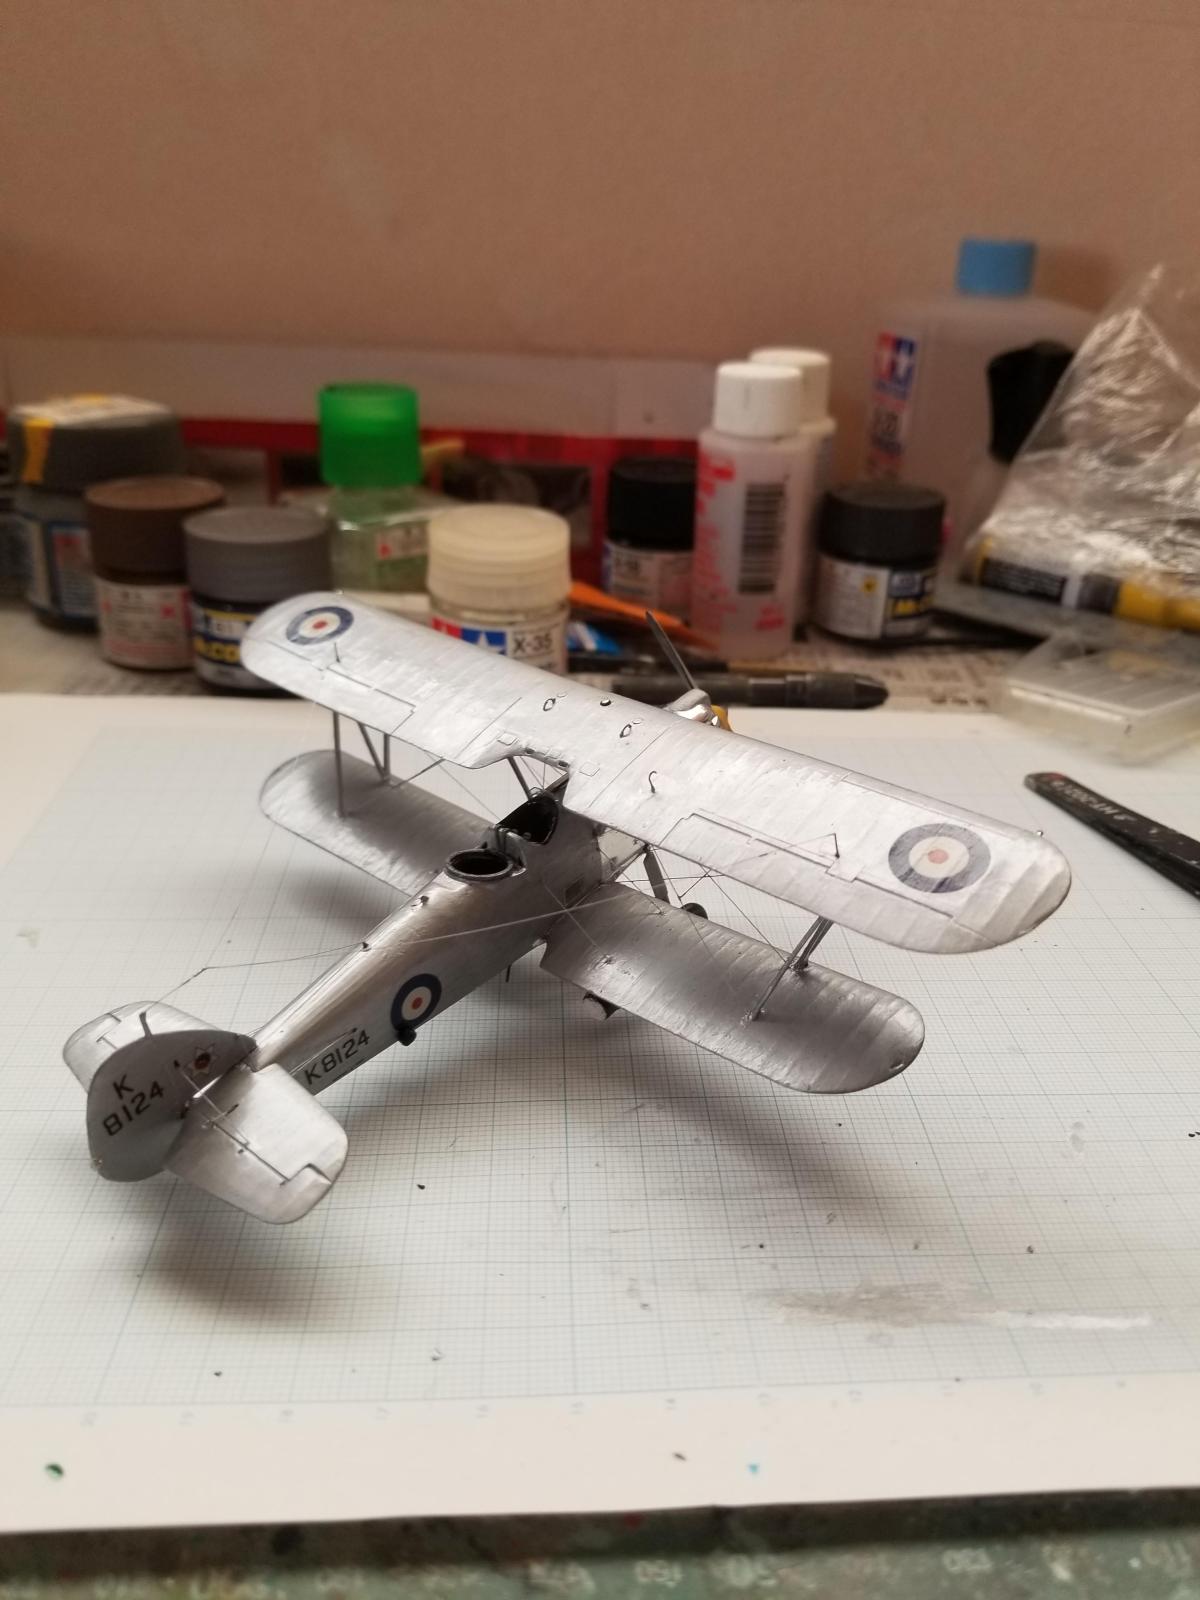
With the decals sorted out one can commence building the kit. Careful fitting is needed at all stages. Even though the A model kit is comprehensively detailed there is still a lot more to add. I wanted to show my model with parachute supply containers and these had to be scratch built. I was able to repurpose some redundant Potez 25 fuel tanks to make the supply containers. The parachutes are simply Tamiya white putty stuffed into one end. I used Steelworks.de bomb carriers which were an improvement on the kit's. Rigging was 0.15 mm Infinity etched brass and the radio aerials and control wires were 0.1 mm. Tensioners were 0.3 mm Albion tube and the message hook was also rebuilt to get the correct shaped pigs tail hook. I replaced the tail struts as usual and also the cabane struts. Most of the basic details were there but A model made two small slips. They rightly included the prominent air intake ontop of the cowling but only on the left side. There was another one on the right side and that needed to be fabricated. I also needed to add the bulkhead between the pilot and gunner which for some reason had been missed. Instructions were basic and rather poor. Location wasn't clear from the diagrams and no dihedral (about 4 degrees is correct) or rigging information is included. For a kit with butt jointed lower wings this really isn't acceptable.
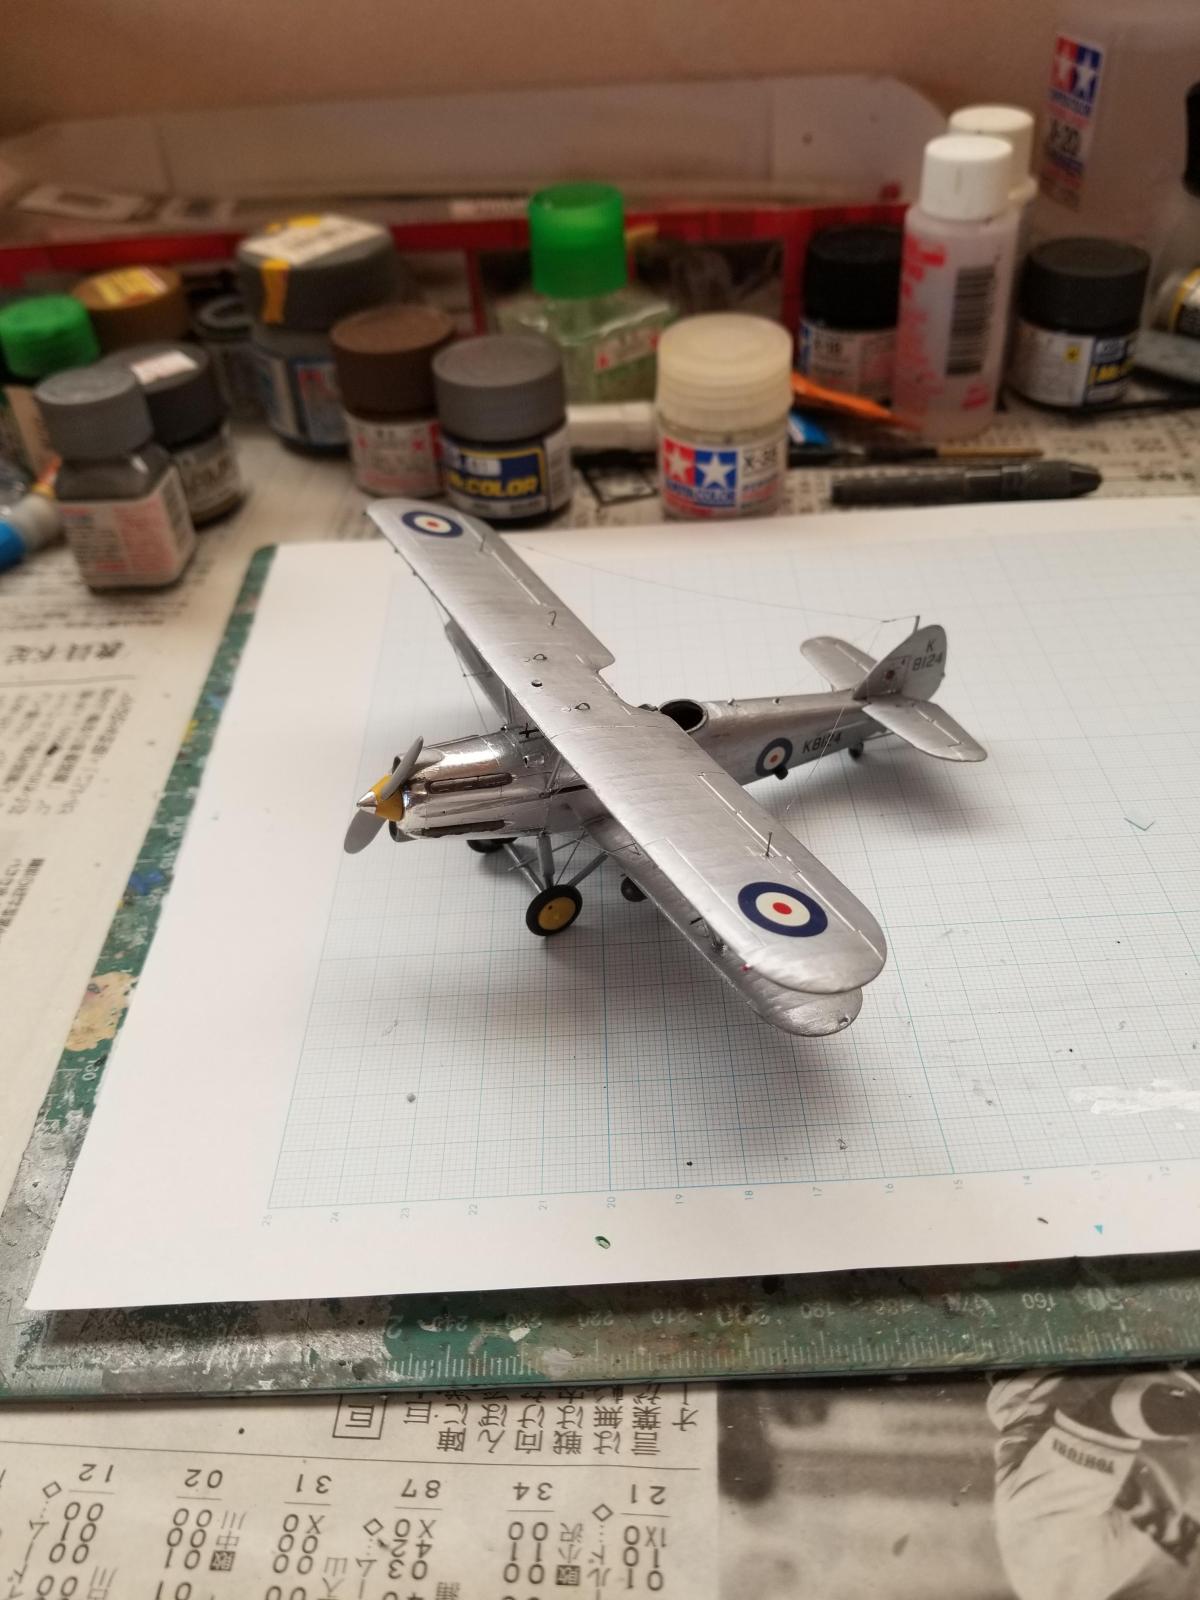
Silver Wing Hectors were (surprisingly) delivered with mirror polished aluminium panels and so at some stage bare metal foil and Molotow chrome pens need to be deployed. Other paint was Tamiya X-11 chrome silver and XF-16 Flat aluminium. Decals were mostly model decal and they went on well. I did rob other kits for the underwing 55 inch roundels though. Finish was deliberately worn - despite being silver wings aircraft they rapidly ended up looking a bit tired and this was an effect I aimed for.
All in all an enjoyable build. The kit is a challenge but with extra additions and detailing stands out as something special. It certainly adds a bit to a collection of Harts with the straight upper wing and with the ugly Dagger engine.
A challenging build and an awesome result, christopher!
Thanks for the historical facts and the modelling options info!
Many thanks for the kind comments Spiros - I agree the A Model Harts are challenging but the results are worth it.
Hector - what a fabulous name for an aircraft, I guess Hawker were running out of “H” names. Beautifully detailed and built, it could easily pass for a bigger scale than 1/72.
Thanks for the kind words. The name was that of the Trojan prince from Homer's Iliad. It was chosen by the RAF who wanted to differentiate army cooperation from other 'proper' air force tasks.
Another triumph of talent a stubbornness over plastic.
Thanks for that - much appreciated and yes the kit was full of tricks.
Nicely done - looks great!
Many thanks for the very kind comments Greg
Great build. Don't see many Hectors built. I'm a fan of Silver Wings from the '30s!
Indeed - it's not a popular aircraft but it has a certain charm. Thanks for the kind comments.
You really got a great result out of this challenging kit, Christopher @christopher
This aircraft is new to me, so thanks a lot for sharing the background information.
Thanks ever so much John (@johnb). The kit does have a few bites to catch one out.