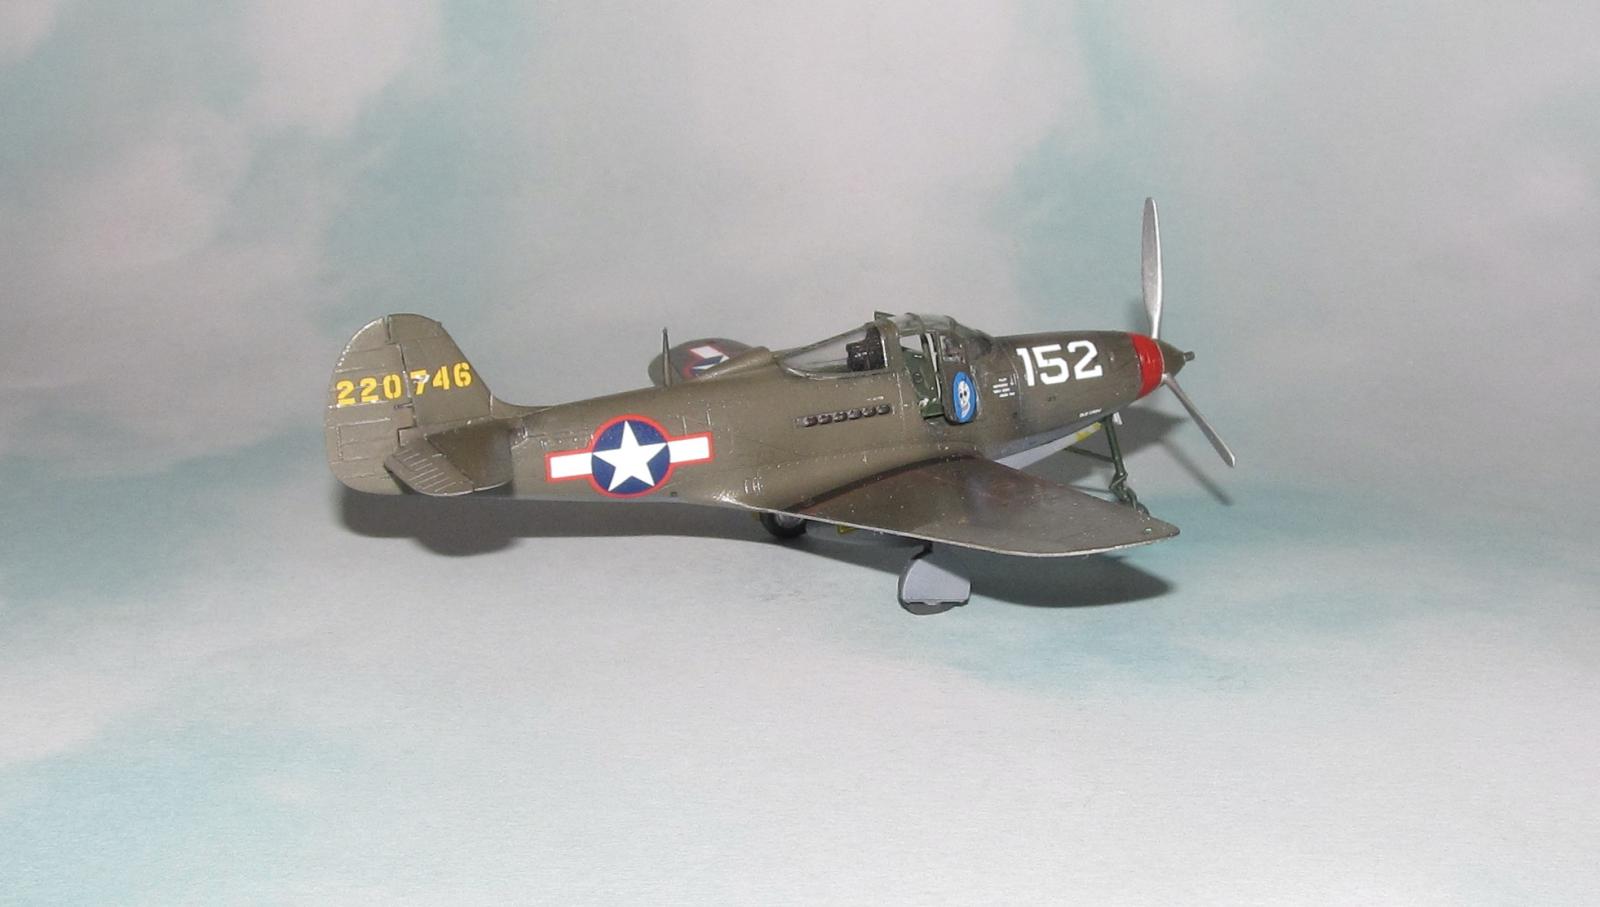
1/72 Arma Hobby P-39Q Old Crow
Bud Anderson (as of this writing) is the last living WW2 ace. He was born in Oakland California and joined the USAAF in January of 1942. He would be one of the best known pilots of the famous 357th Fighter Group and his planes Old Crow (named after a cheap bourbon whiskey) would be one of the more famous marking schemes for a P-51. After WW2, he stayed in the USAAF then USAF as a test pilot, squadron commander and wing commander of the 355th Tactical Fighter Wing (which flew F-105s out of Thailand) during the Vietnam War. He retired from the USAF in 1972.
The P-39 Aircobra is one of those might have been a contender if the USAAF leadership didn't delete the supercharger and hamper its performance above 12000 feet. Instead of being an air superiority fighter, it became a decent close support fighter with its powerful forward armament of a 37mm cannon and various combinations of .50cal and .30cal machine guns although it did a decent job fighting the Nazis in the air while flown by the Russians who didn't enough of the Aircobra.
The original Old Crow was a P-39Q that Bud flew at Tonopah Nevada till the 357th FG was transferred to England and they got P-51B Mustangs as replacement.
The Kit
Named 2023 kit of the year by Modellfan. The Arma Hobby P-39Q is a 1/72 scale plastic model kit which comes on just two grey plastic sprues that are conveniently join together to reduce shipping damage and a small sprue for the clear parts. Also comes with a comprehensive decal sheet and three stainless steel ball bearings as nose weight to keep the model from being a tail sitter.
The parts are very detailed including extremely fine surface detail that makes the kit look like it is a bigger scale than it really is. Also included are weighted wheels, various cockpit and prop hub cannon options that allow the modeller to build other versions of the P-39 family.
The decal sheet contains markings for six P-39s from various nations and theaters. It also comes with a decent set of interior decals for the control panel.
As far as I know there is no expert edition of the P-39Q kit which would have Photo etched parts and other fine details like resin wheels so I ended up ordering a couple of Eduard sets.
CONSTRUCTION
It all began with the interior. The thing I have noticed with a lot of the new kits is that you spend a fair amount of time painting, gluing, decalling and detailing the interior before you assemble the fuselage and wings which actually goes really quick. However, I also noticed that due to all the interior work working on this kit can feel like a slow grind and with the feeling little if any progress is made.
Same applies to the Arma P-39. I had to paint the interior, the nose wheel sections and work on all the various details. I made things more complicated by using the Eduard 3D Space decals for the IP and PE seat belts instead of the decal ones provided in this kit. The 3D decals add a level of detail that I can't/couldn't do with a paint brush and decals especially for 1/72 scale. When I added everything I needed to, I glued the fuselage halves with CA glue and sanded the seams smooth. Any details I lost, I replaced using a thin edged hobby saw blade, a knife and a leather sewing awl (for the rivets.)
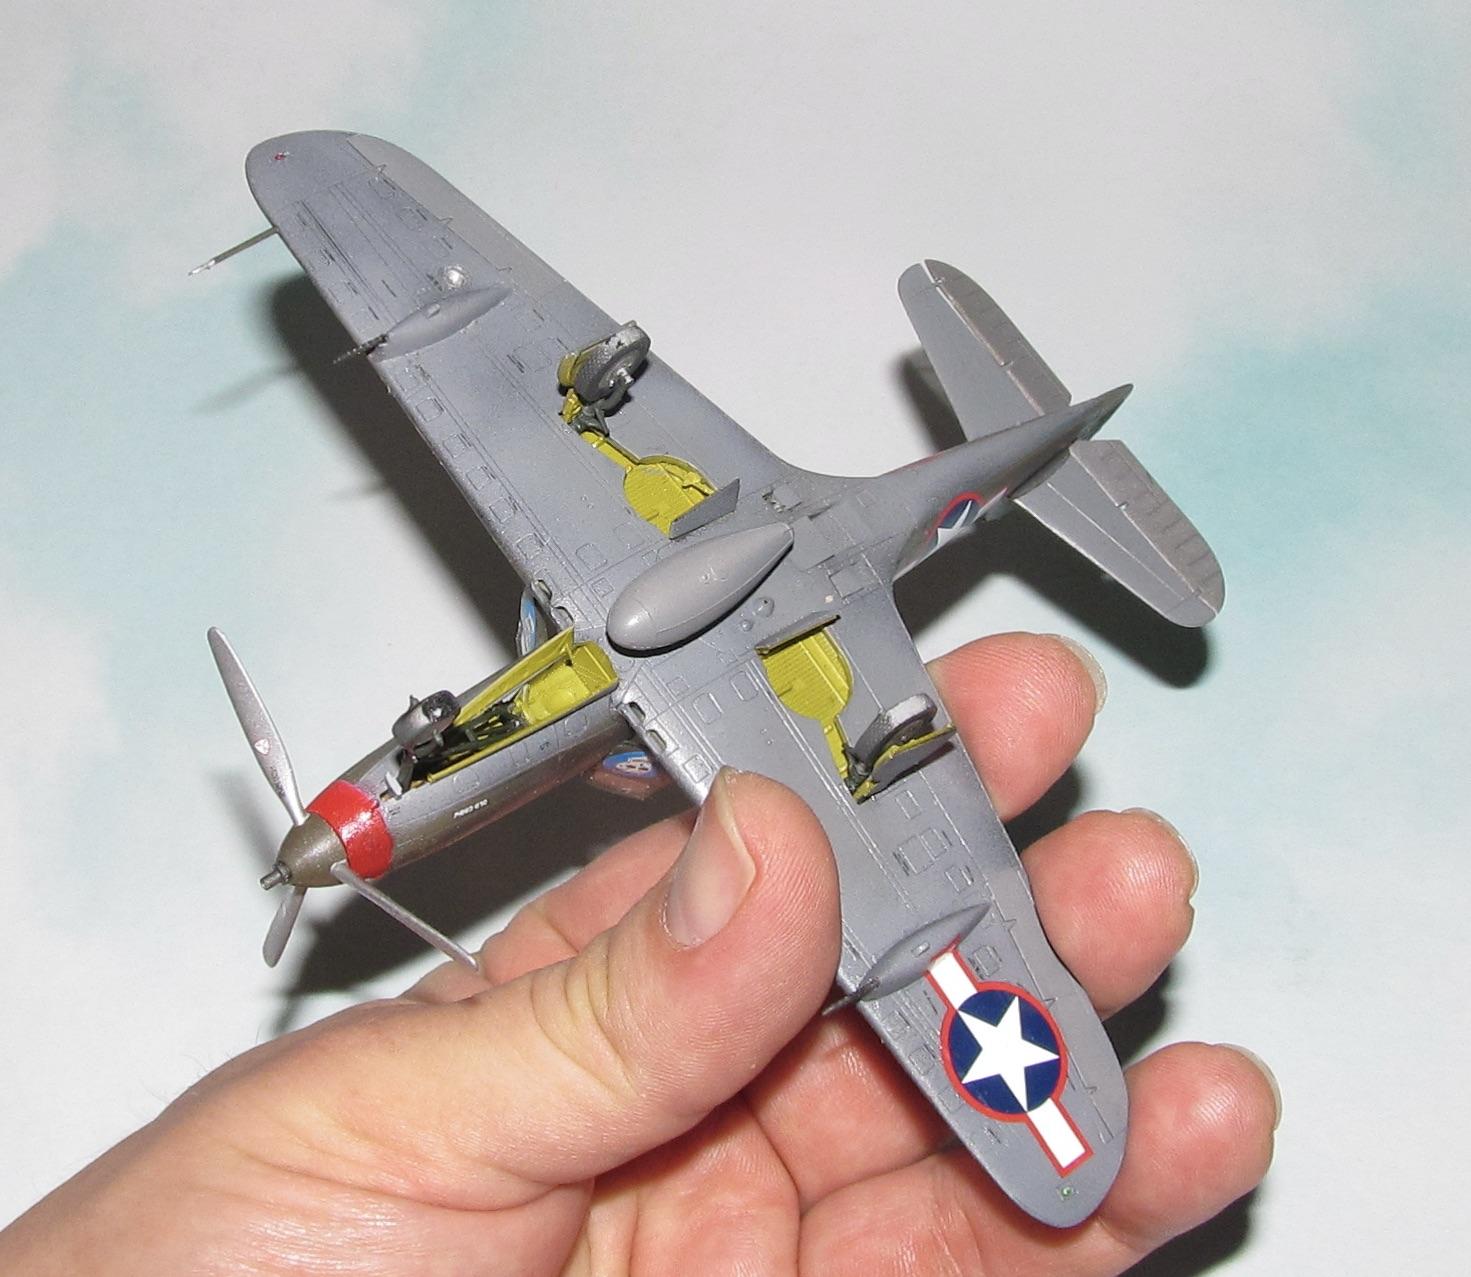
The various interior parts were painted Bronze Green aka Bell Green and yellow zinc chromate. I then drilled out the various mounting holes in the wings for the cupolas and underside fuel tank. Next I glued the wing pieces together while having to fill in the unused holes for the .30 cal wing guns. I used CA glue for the leading edges and Tamiya extra thin cement for the interior connections (to eliminate the dreaded phantom seam.) After I added the machine gun cupolas to the wings. There are some small gaps to deal with so I used Vallejo plastic putty to seal them up.
The only fiddly area I found on the P-39 was the instrument panel (IP) as it didn't always stick to its mounting point (a simple butt join.) It fell off a number of times as I handled the plane for painting etc to my dismay.
I left off the rudder, and the ailerons till after painting.
COLORS AND MARKINGS
Painting
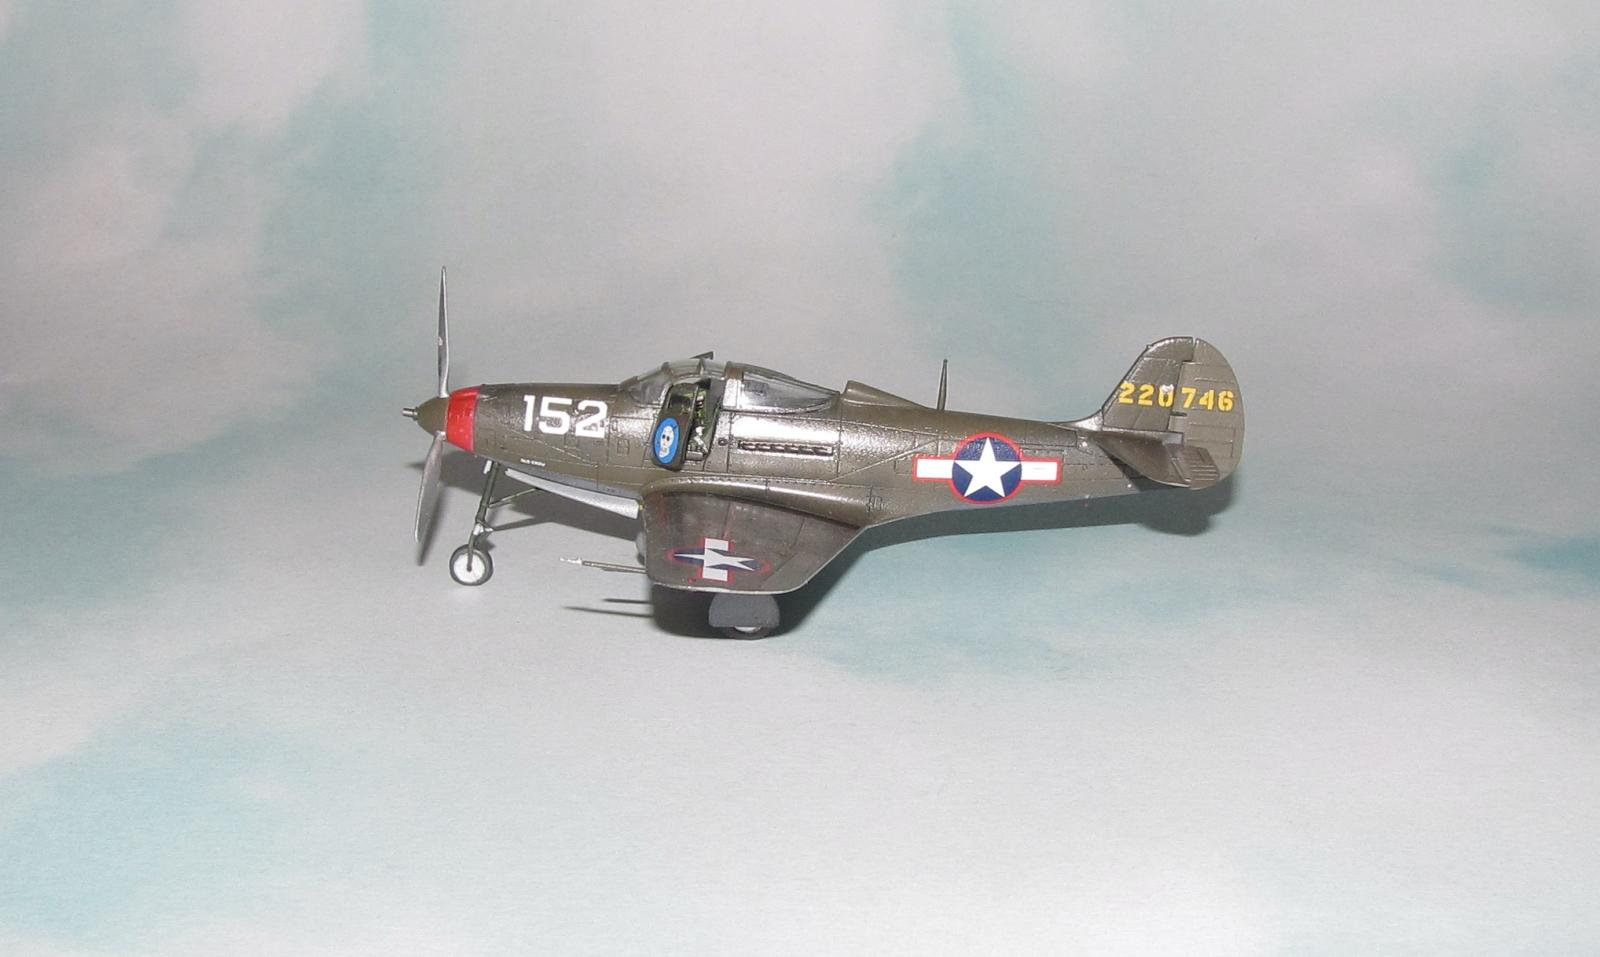
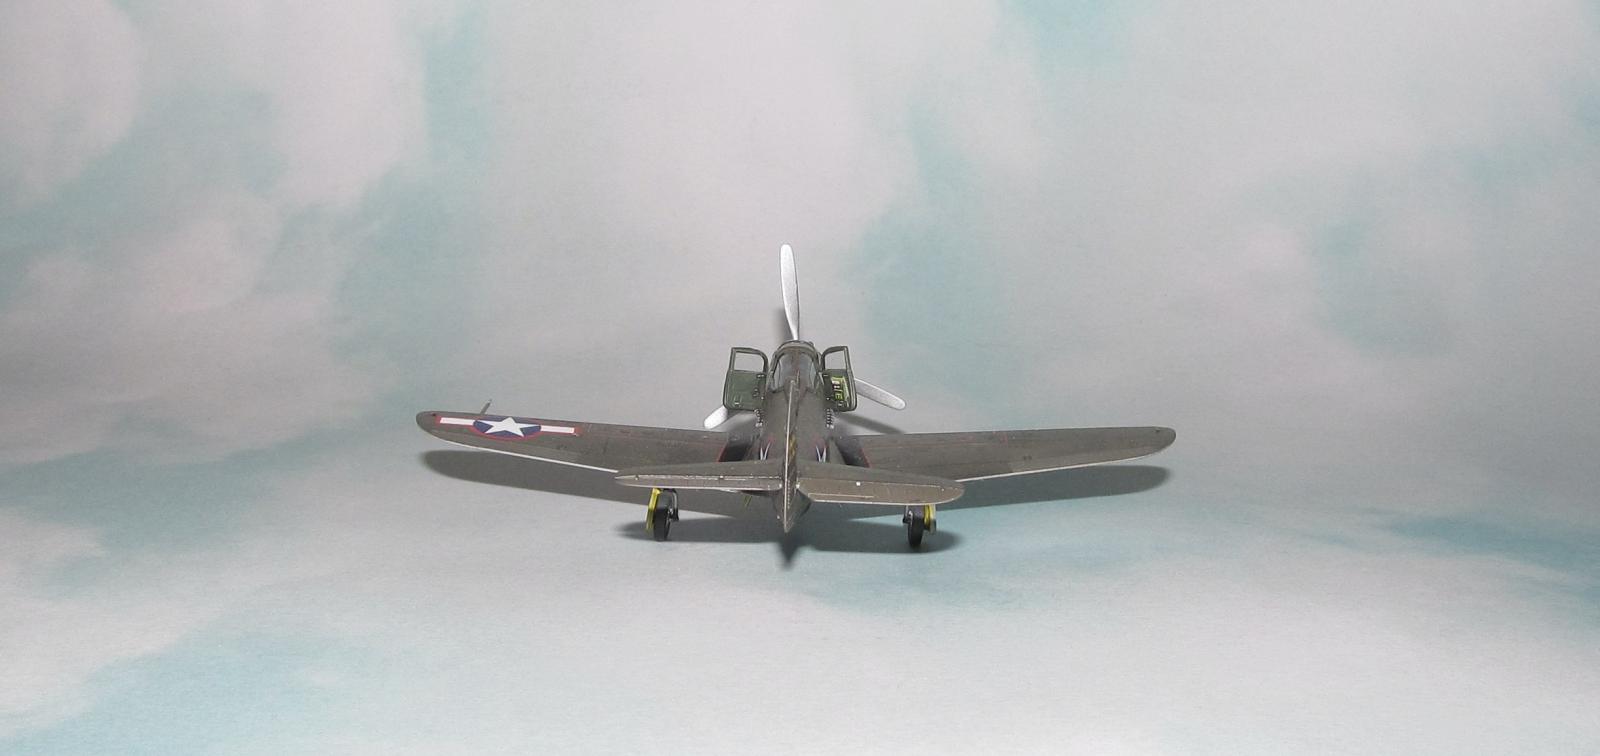
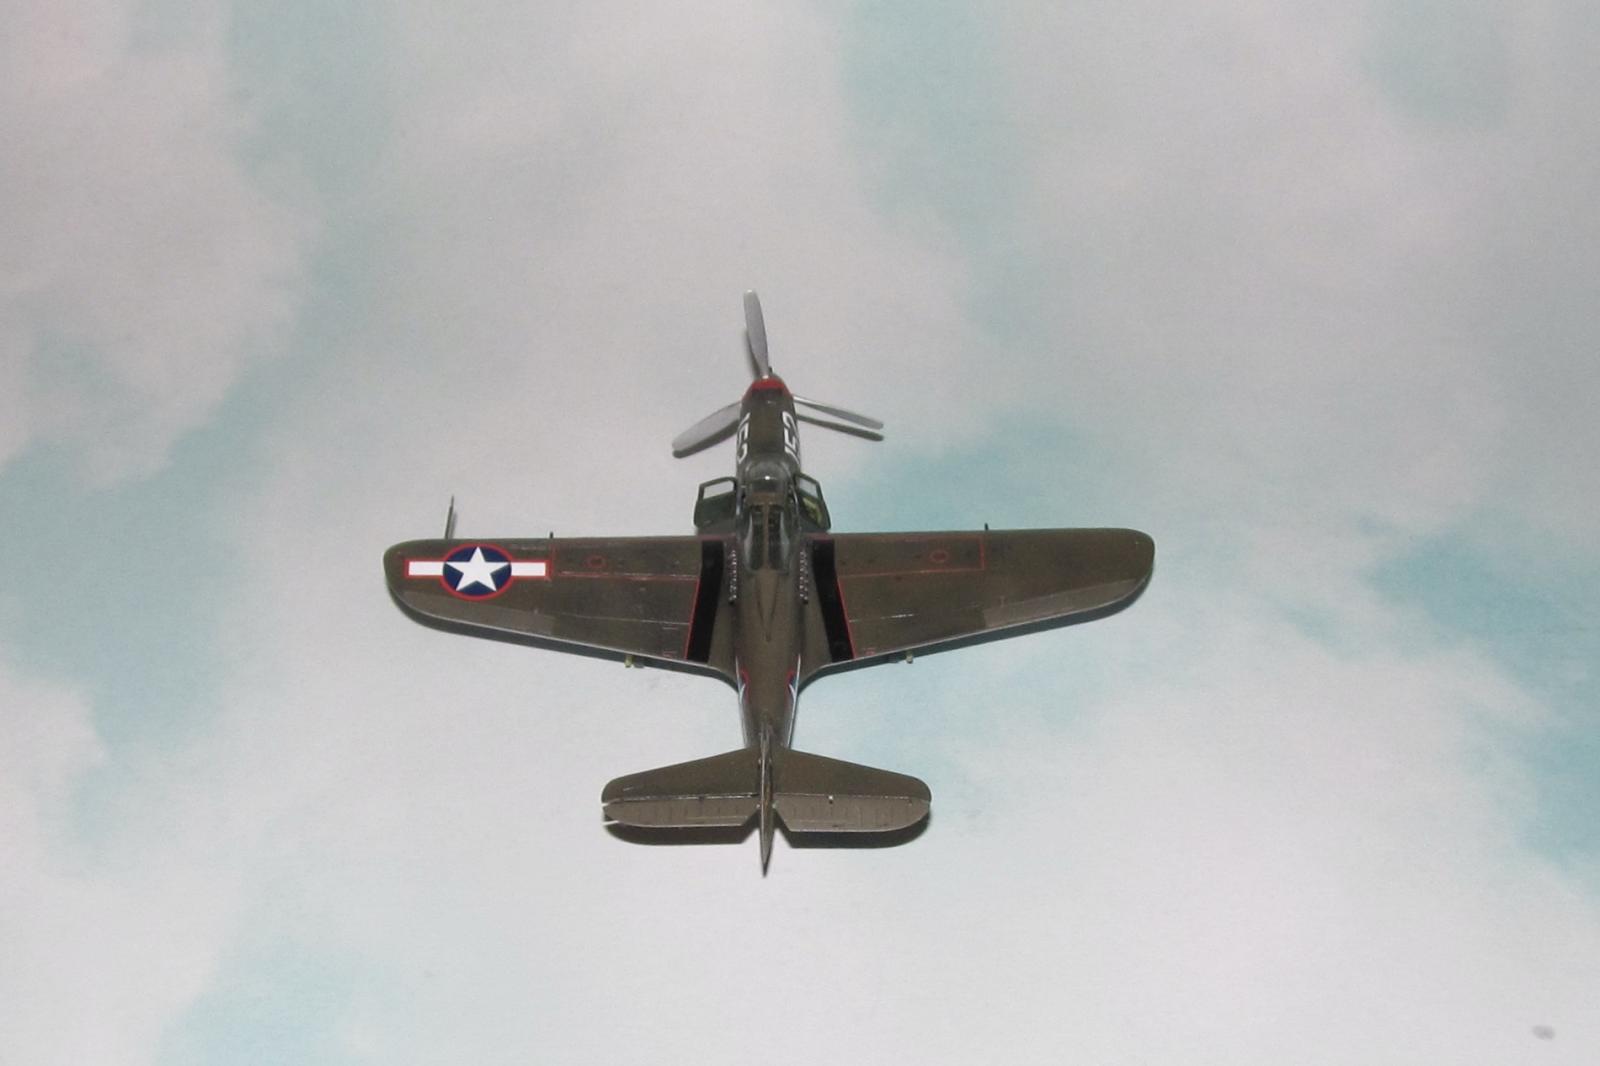
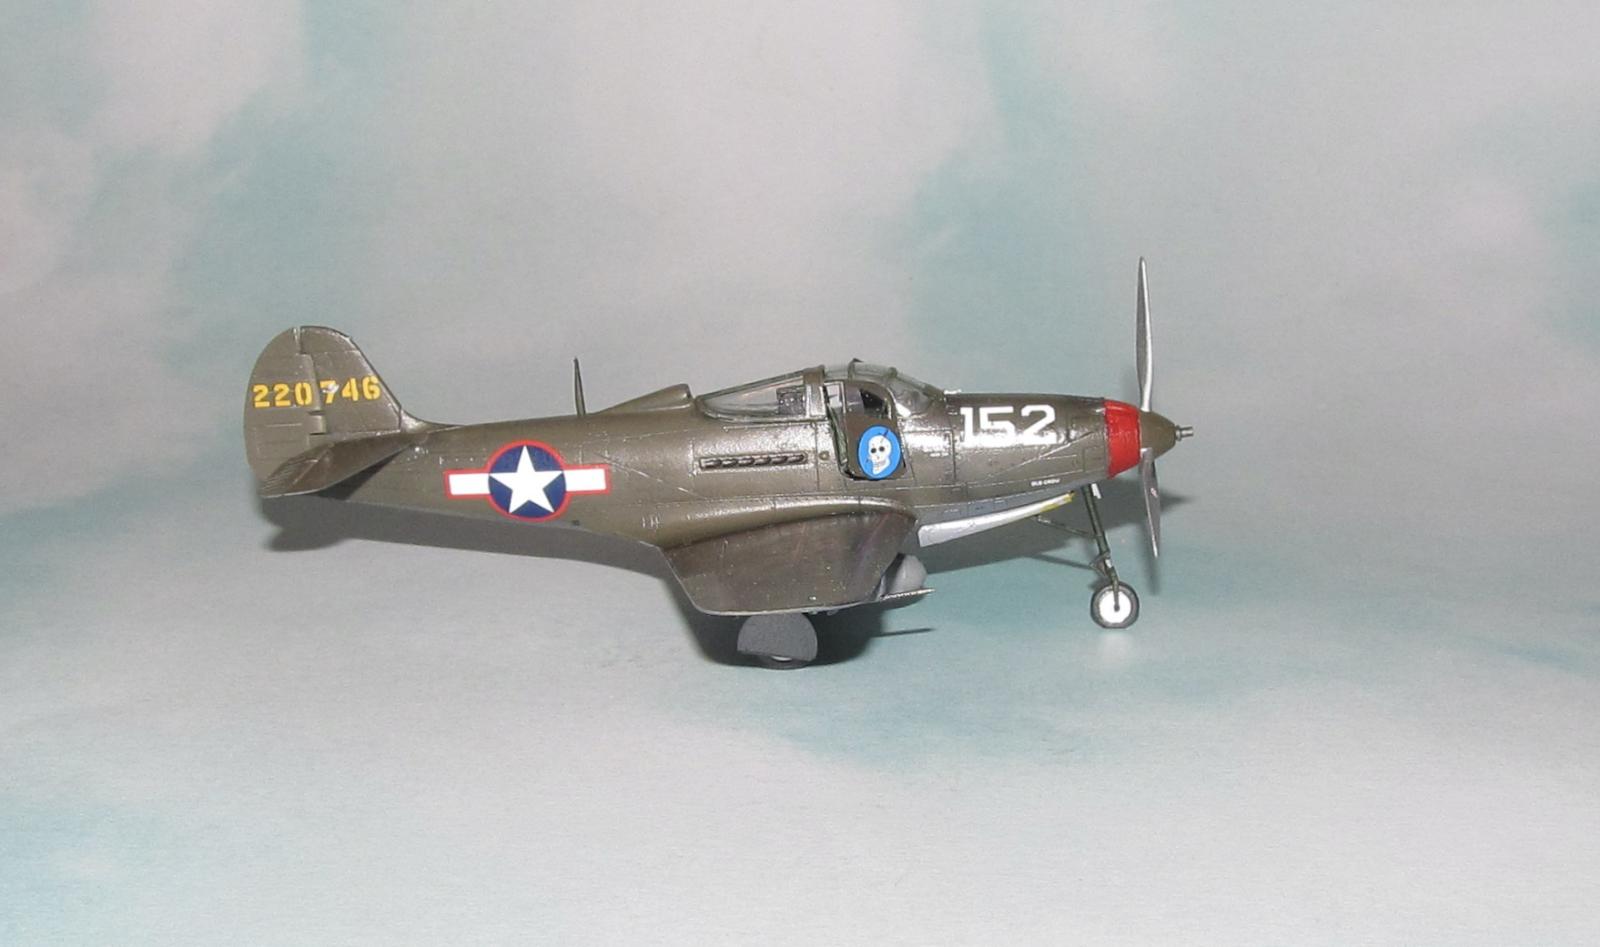
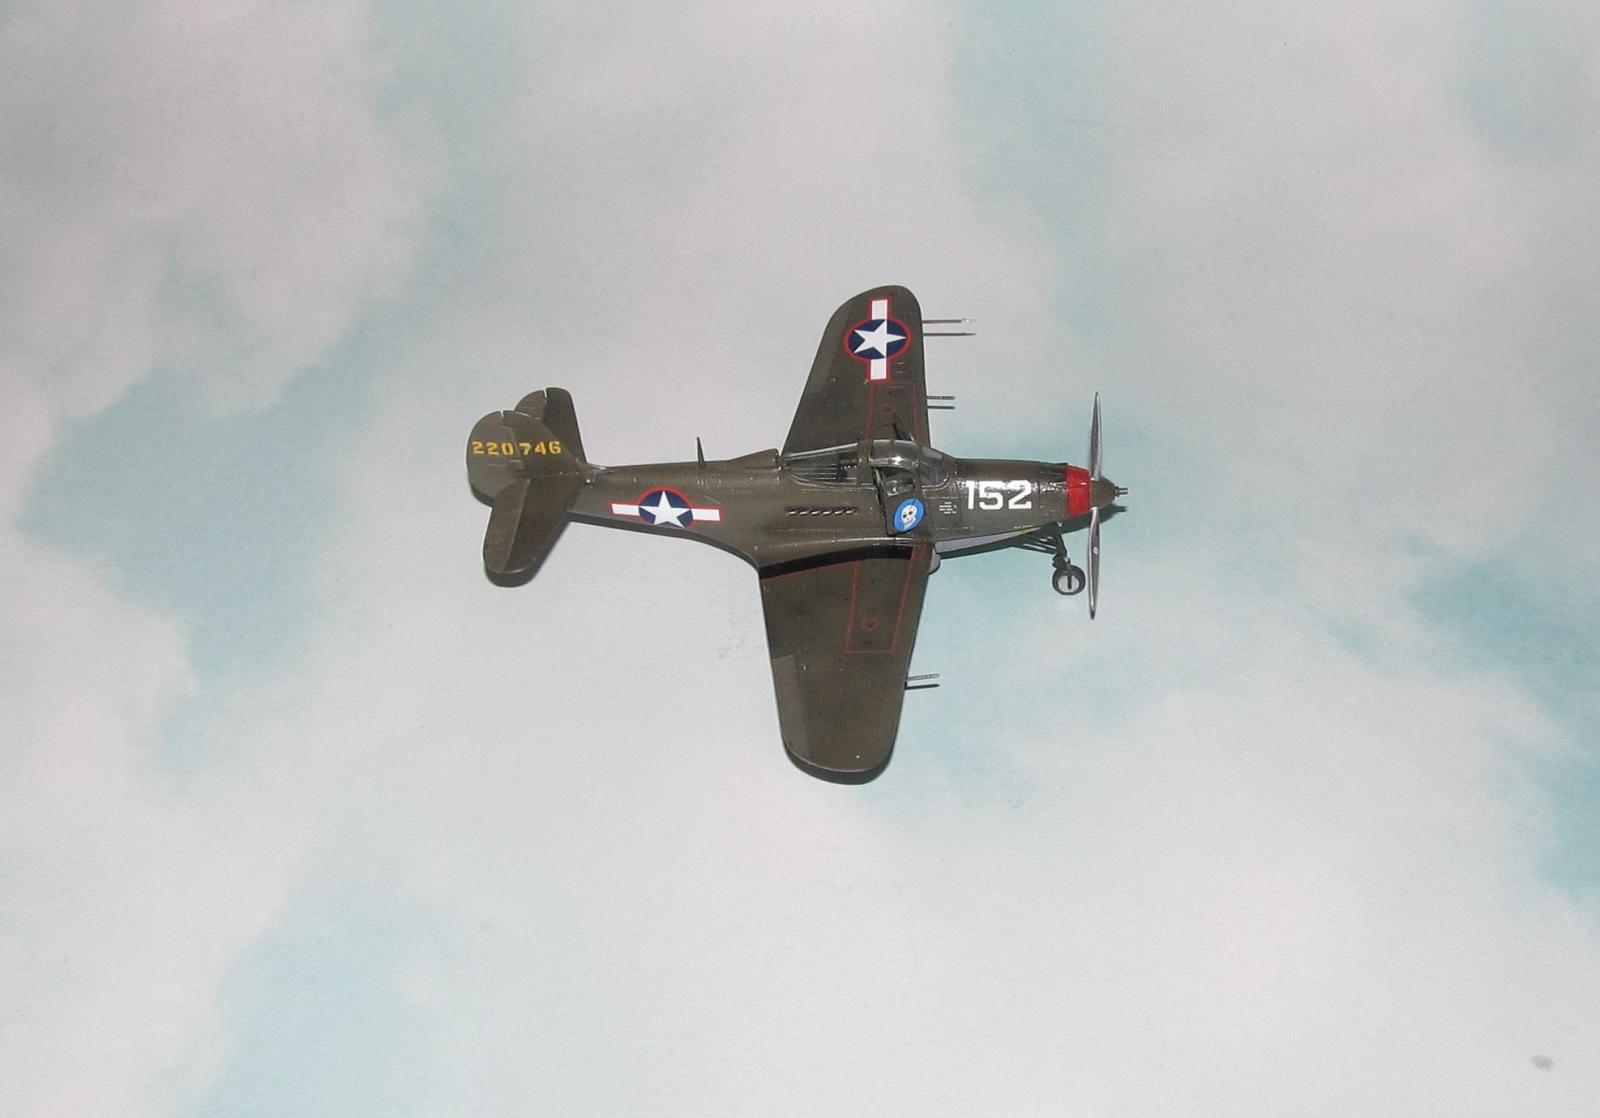
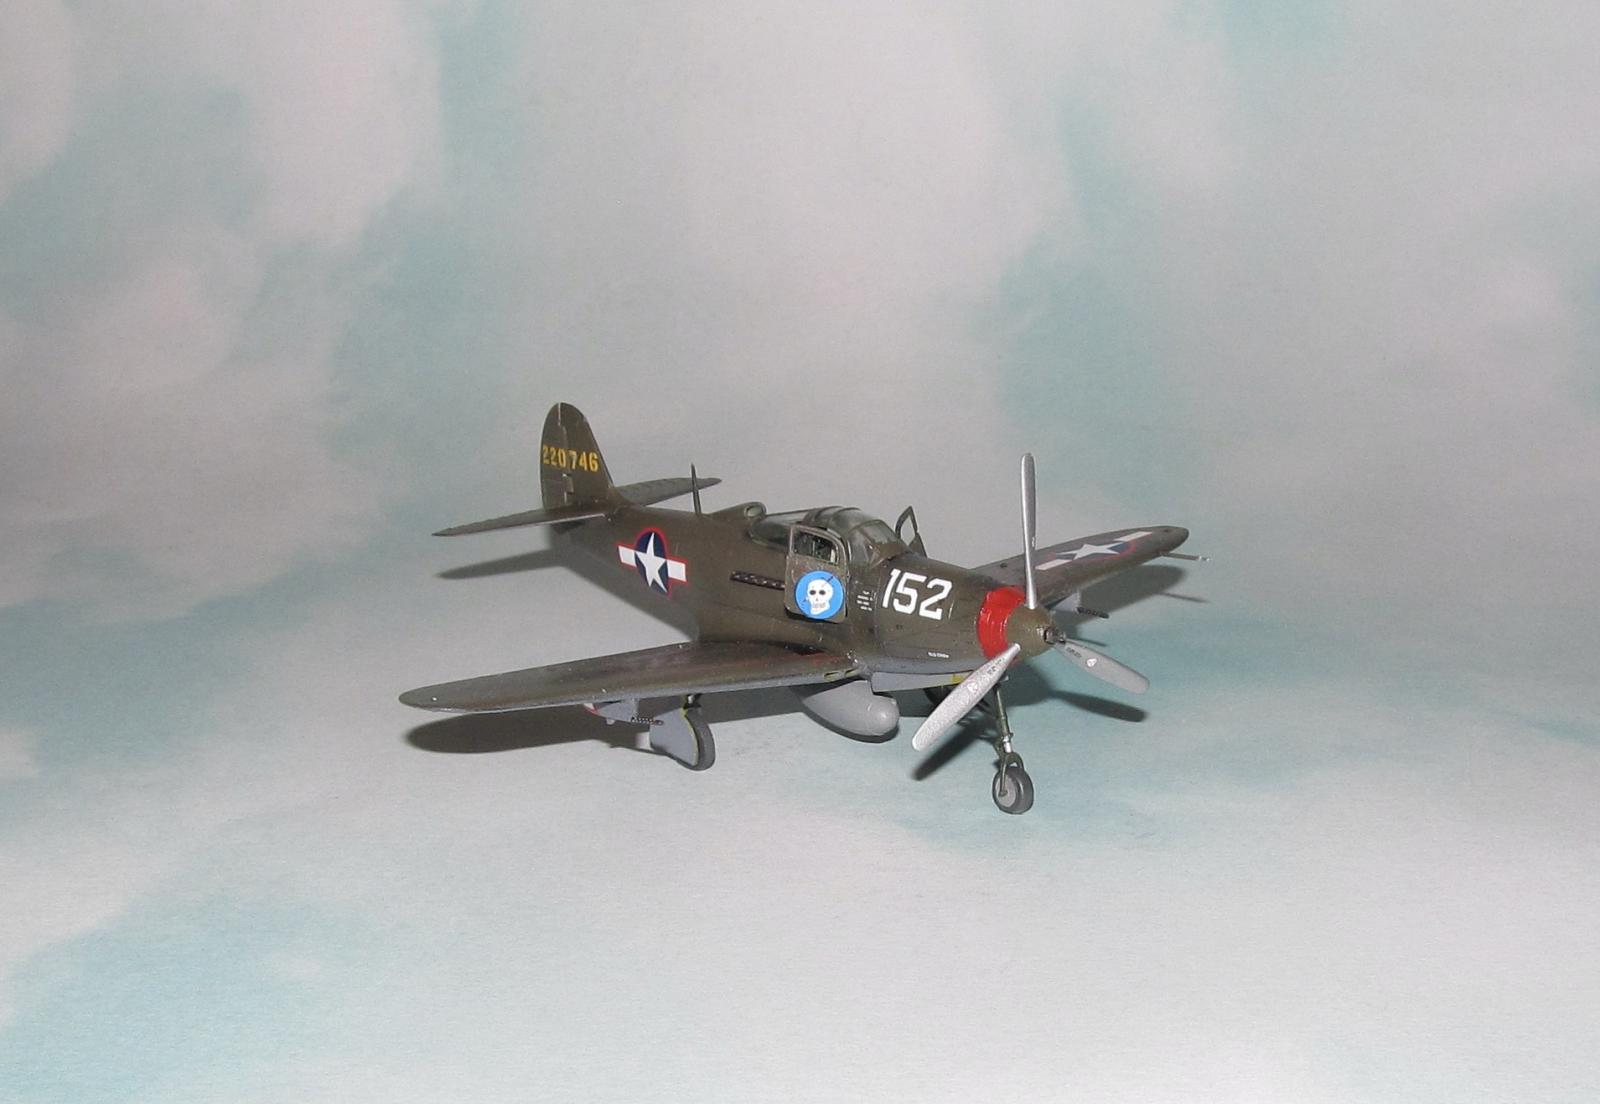
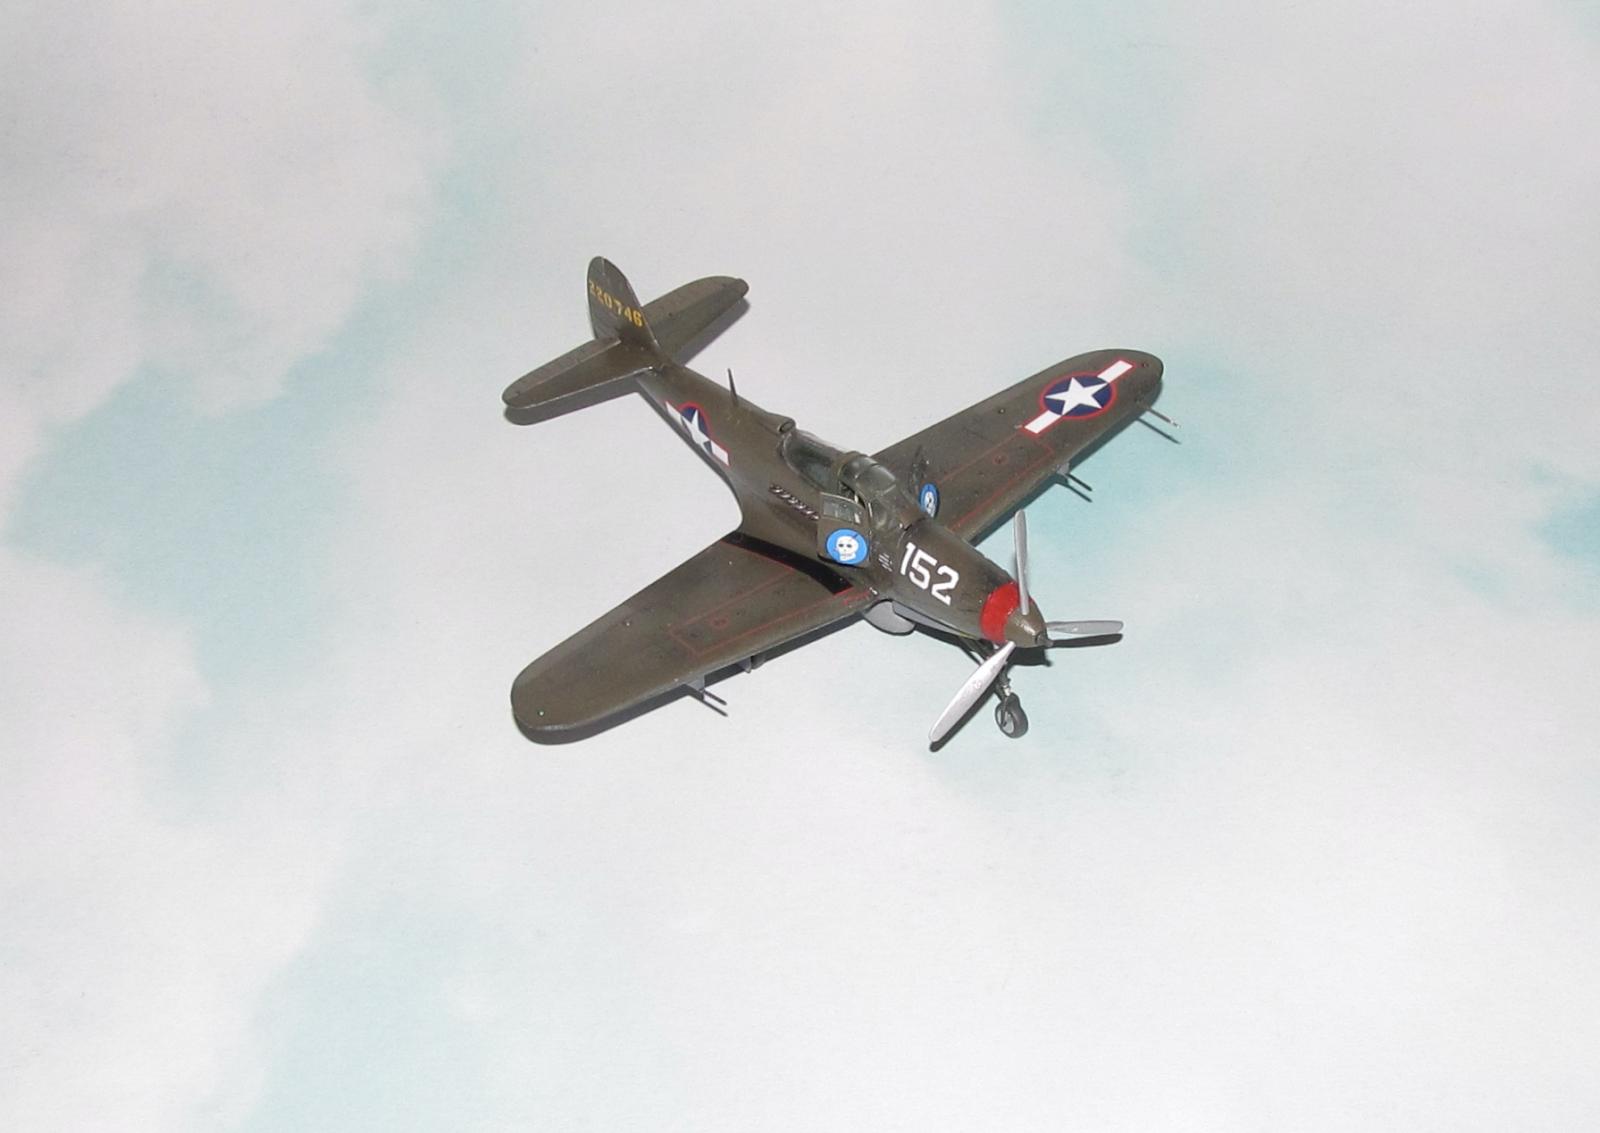
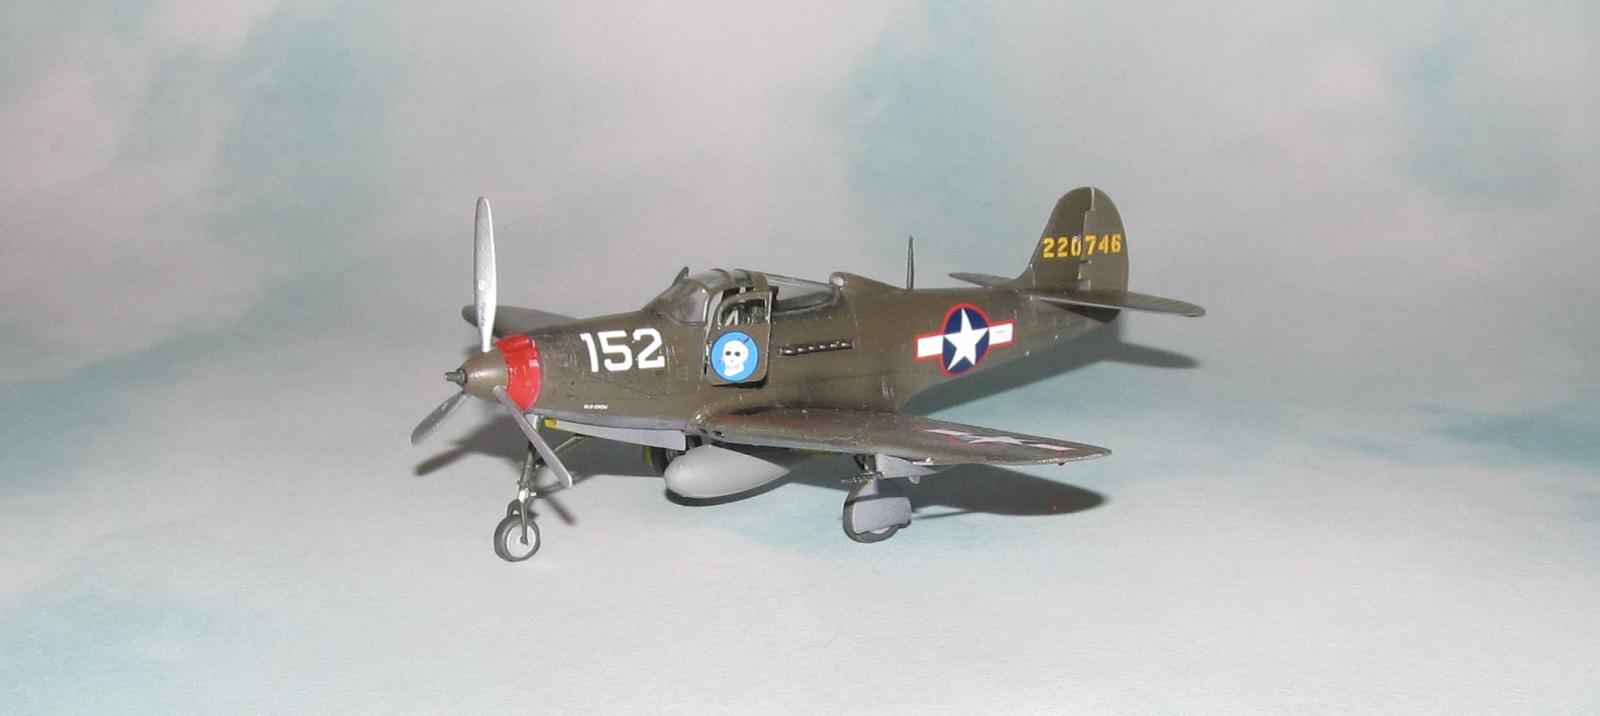
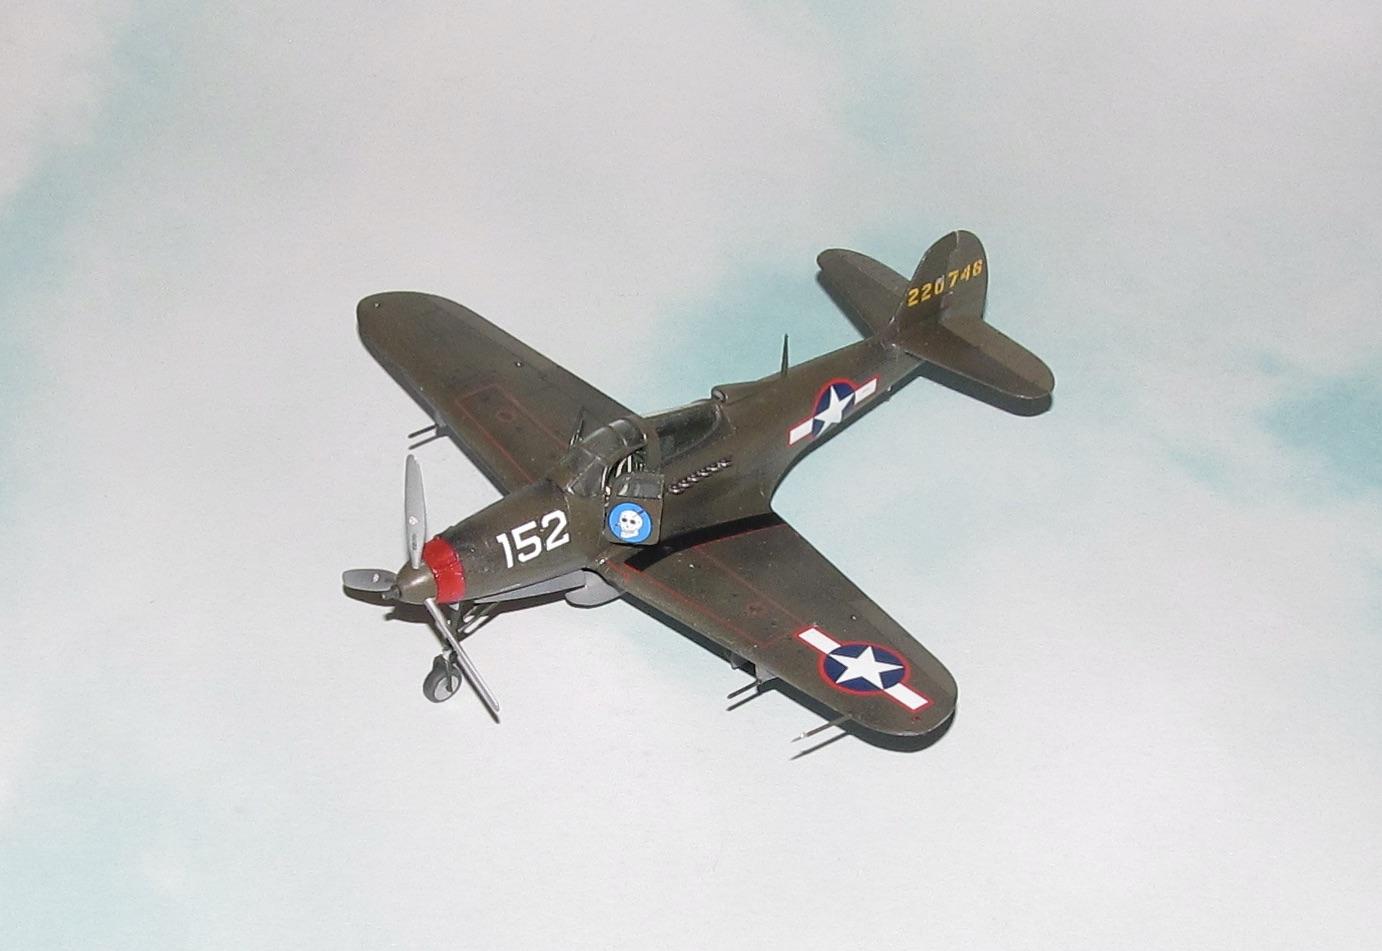
Old Crow was olive drab over neutral grey with a red nose stripe to identify the squadron it belonged to. First, I masked off the interior and used sponges cover over the various openings to prevent overspray and then cleaned the surface in preparation for painting.
Next, I sprayed on Tamiya XF-53 Neutral Grey on the undersides. When it was dry, I masked off the various areas using low tack tape and sprayed on the last of my Gunze H78 OD2 which is bit darker and browner than Gunze H52 OD.
The nose stripe was masked off (a lot as red paint has a tendency to show up everywhere.) First it was sprayed flat white and when it was dry, the stripe was painted gloss red. After the red was dry, the masking tape was removed and the rest of the painting continued.
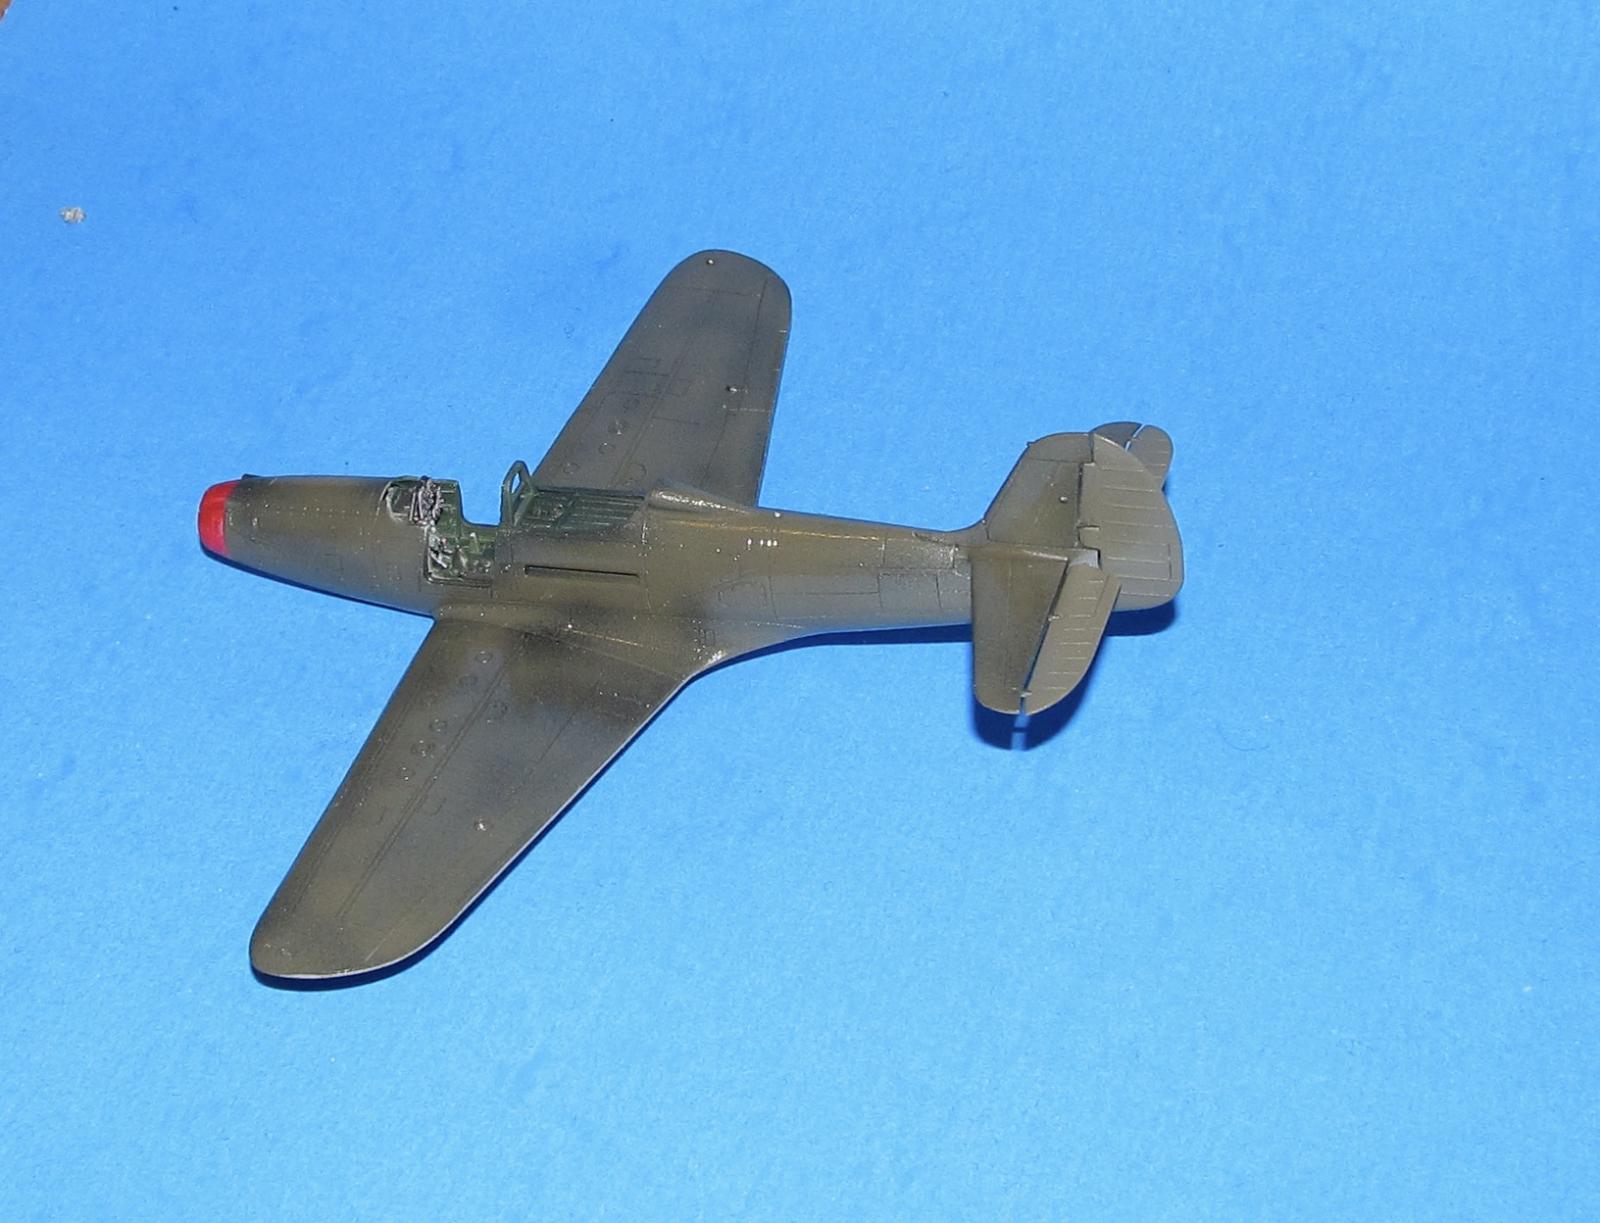
For the cloth covered rudder and aileron flaps I sprayed on Tamiya XF-51 Dark Khaki to represent the difference in tone from metal to cloth.
The canopy and cockpit doors were masked using the Eduard masks on the outside (and inside for the doors.) I first sprayed on Bronze Green then neutral grey to keep the Bronze Green from blending with the OD and changing the tone of the canopy paint. Finally I sprayed on the OD.
After the paint was dry, the model was sprayed using Vallejo acrylic gloss to provide a smooth surface for the decals. Actually, I used too thick of a coat and I got orange peel. Required a fair amount of wet polishing/sanding to smooth out the screwed up surface. I had to repaint certain areas as well as re gloss the surface as I ended up removing most of the paint on those places.
Decals
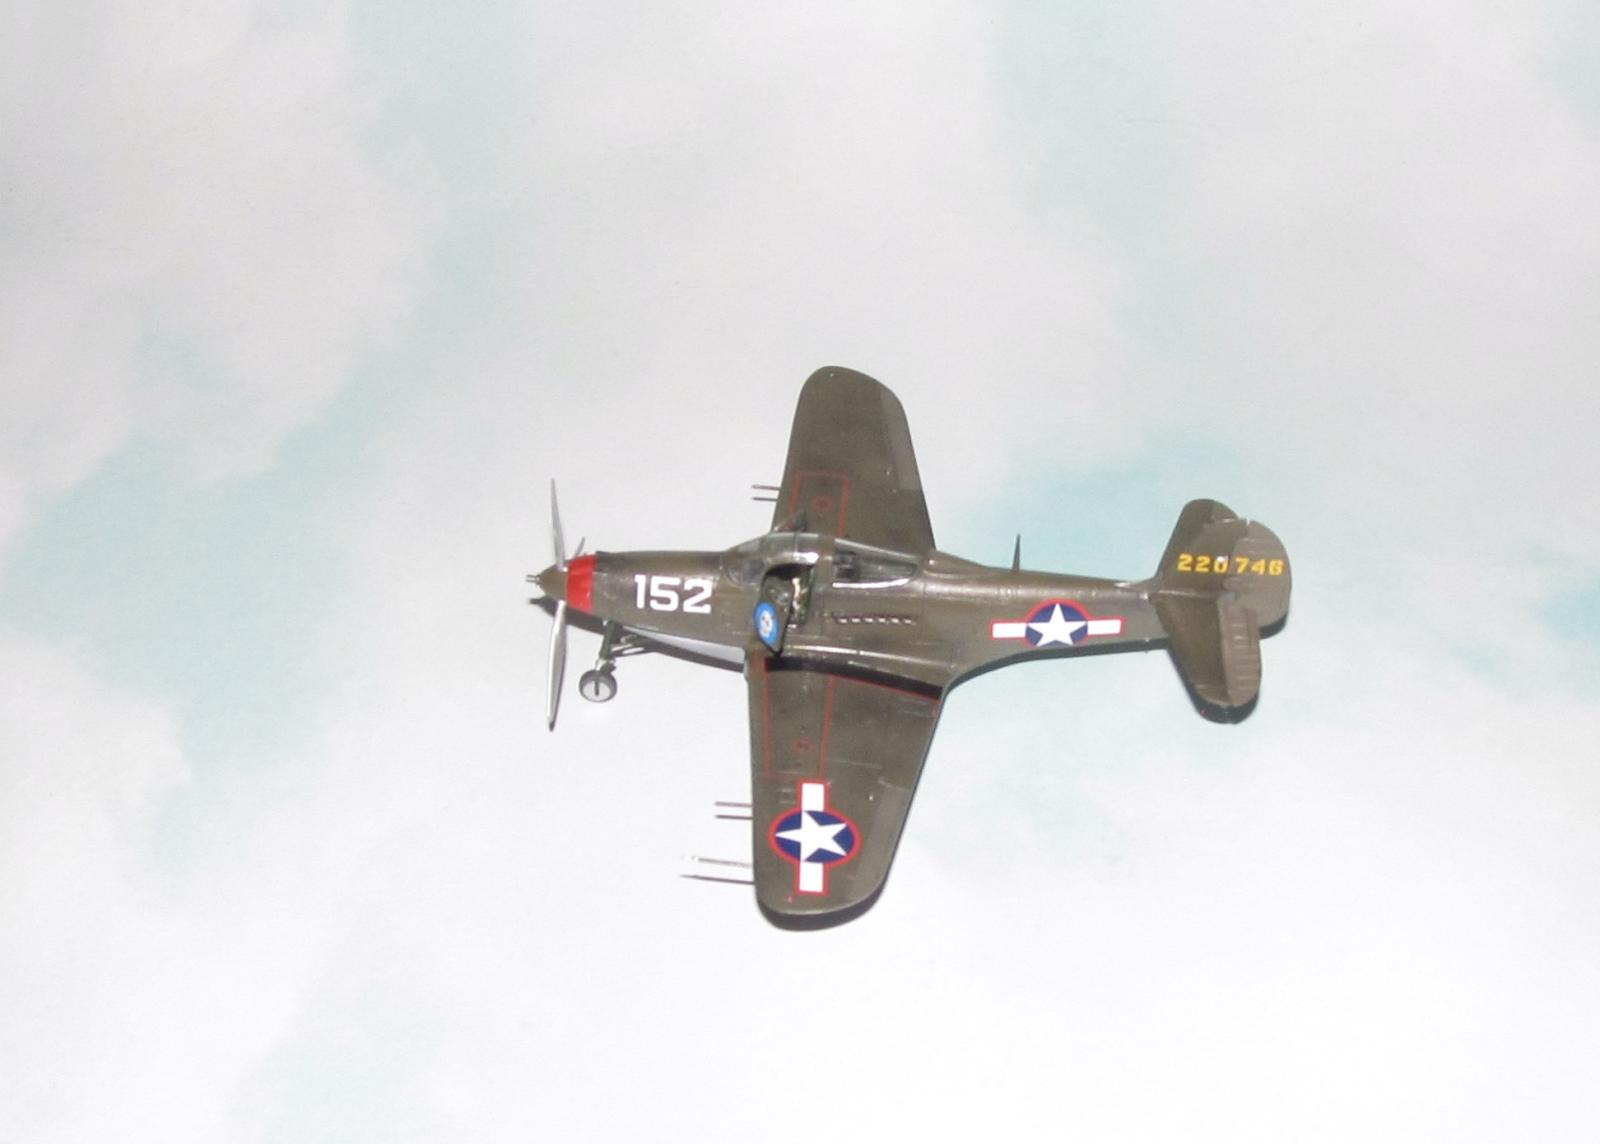
Hasegawa used decal strips to combine a bunch of small stencils together in 1/48 scale. Arma did not which meant I spent a good week lining up and adding all the various tiny 1/72 wing stencils individually. It was a pretty tedious task, but I managed to finish it.
The main decals went on without much trouble.
Weathering And Final Coat
I decided to leave the plane in good condition and didn't to anything or add a wash to the P-39. I sprayed on the final coat of Vallejo Matt varnish and removed the various canopy masking.
FINAL CONSTRUCTION
The various landing gear parts were cleaned up and painted. I used CA glue to hold the landing gear in place which held the landing gear than just using Tamiya Extra thin cement. Once the landing gear was stable, I glued on the previously painted resin wheels using CA glue. Next up, the rudder and aileron flaps were glued in place with Tamiya extra thin cement.
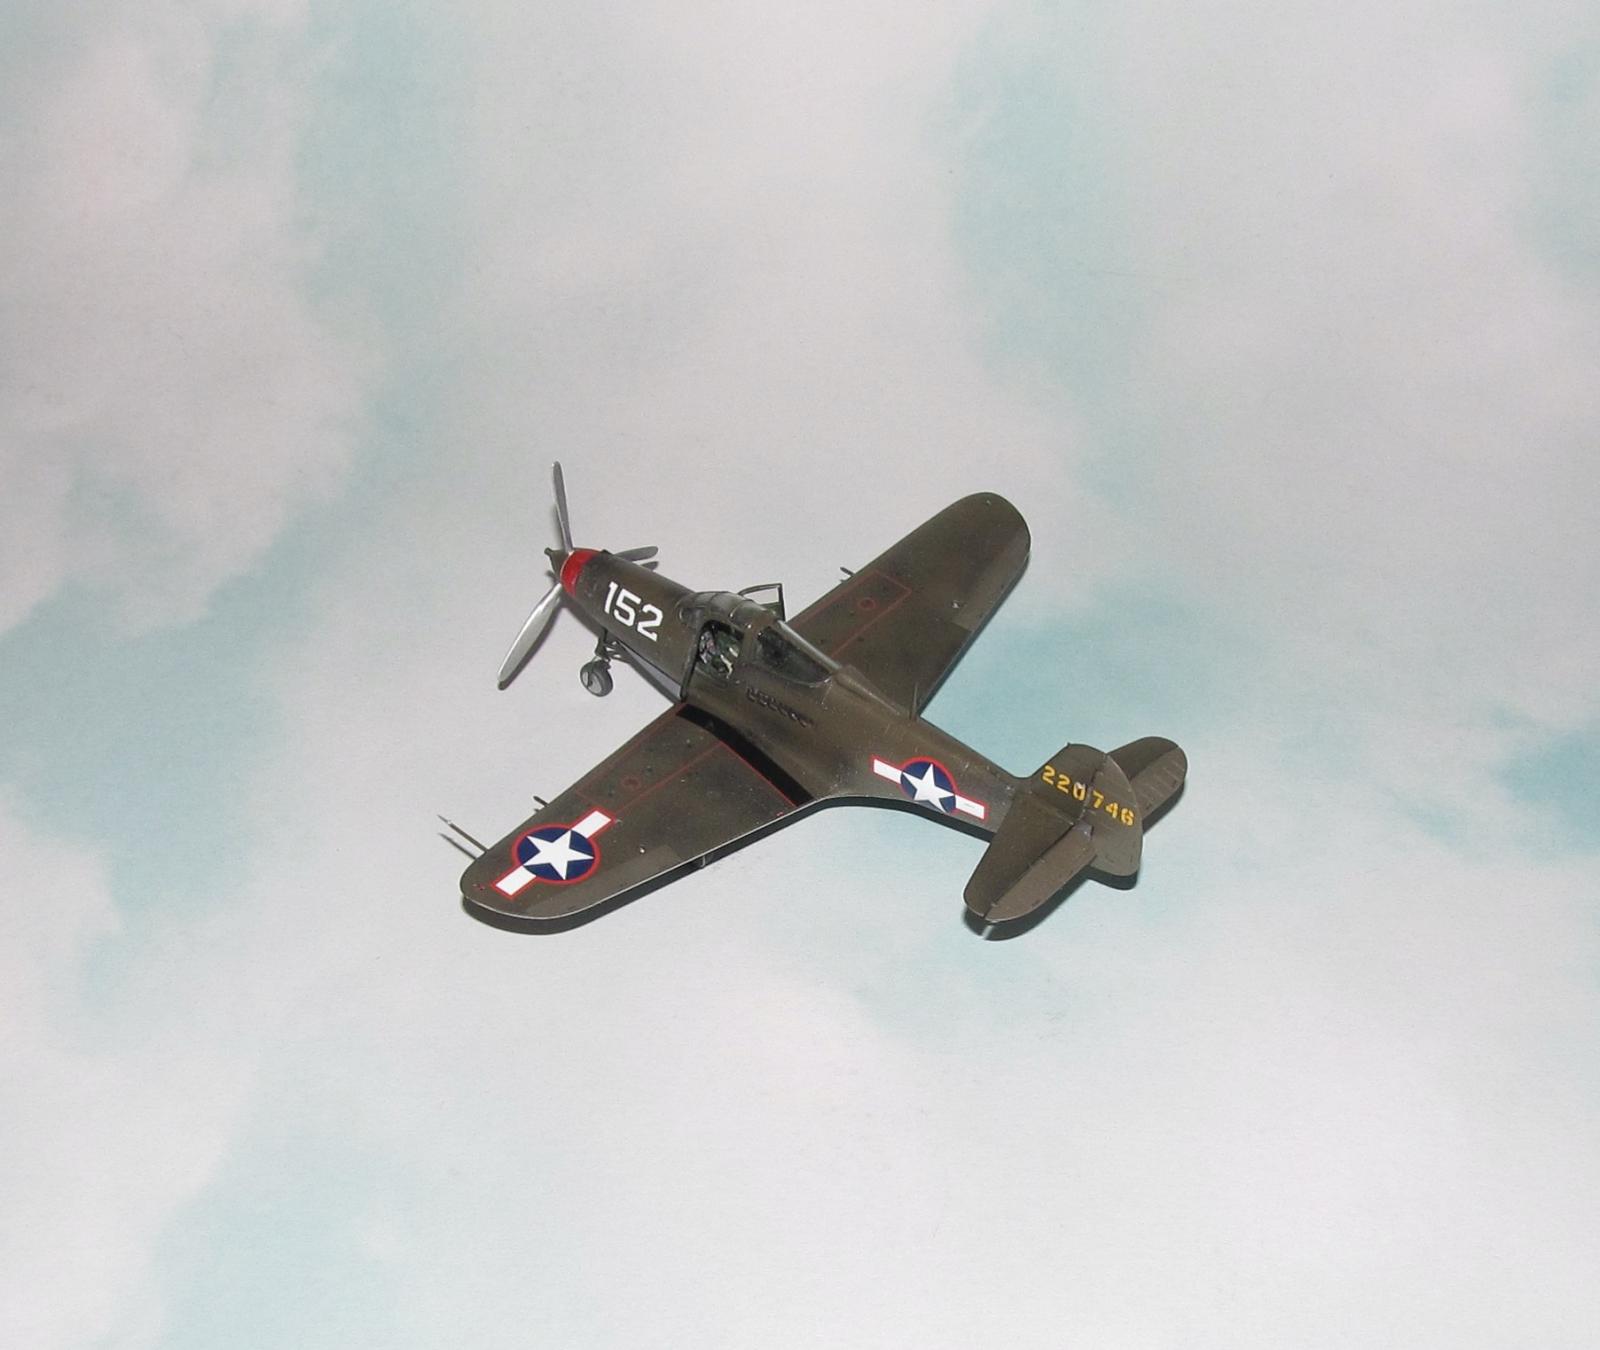
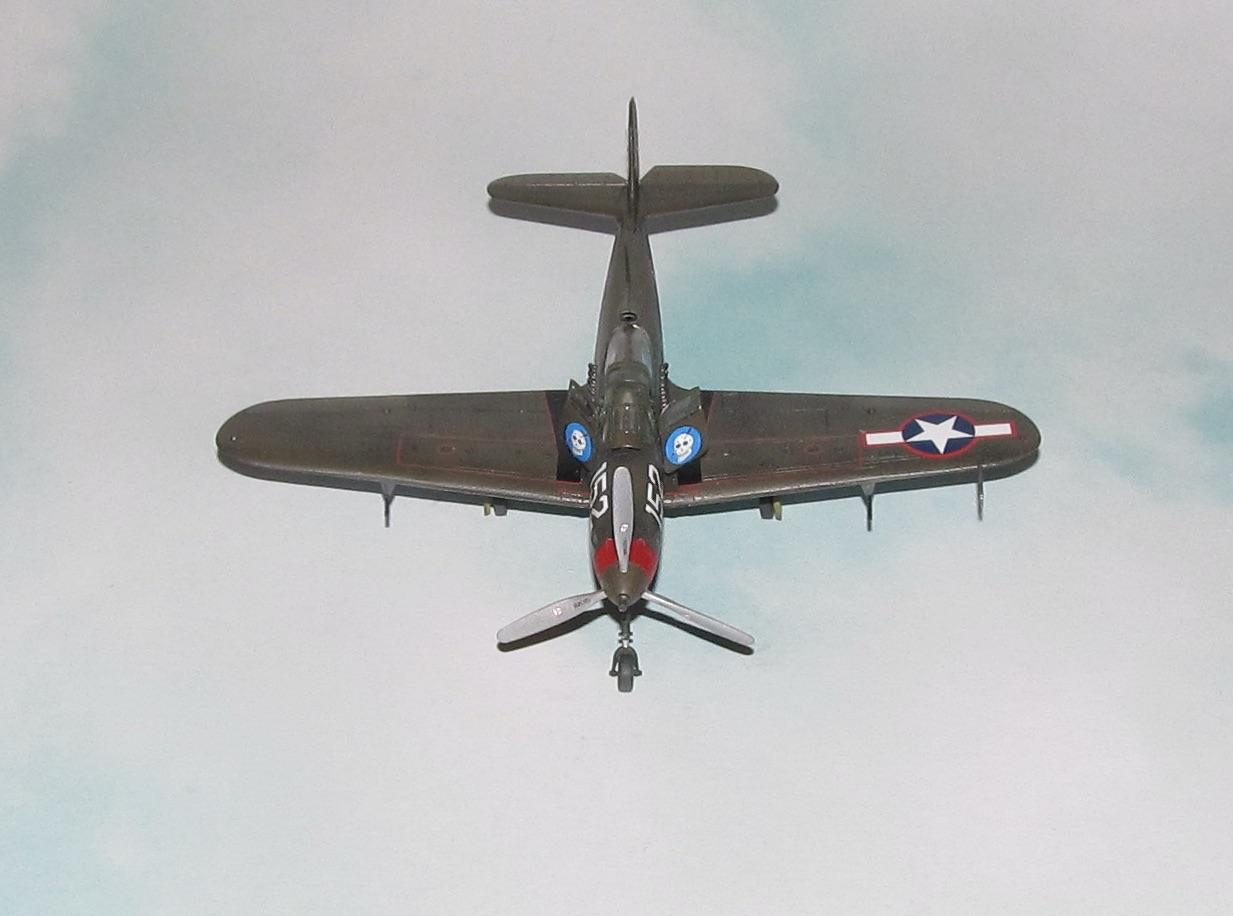
The resin cannon nozzle and .50 caliber gun barrels were added to the various sections of the model like the prop hub and the underwing cupolas. These painted parts were held in place with a dab of CA glue. The prop was added but not glued in place.
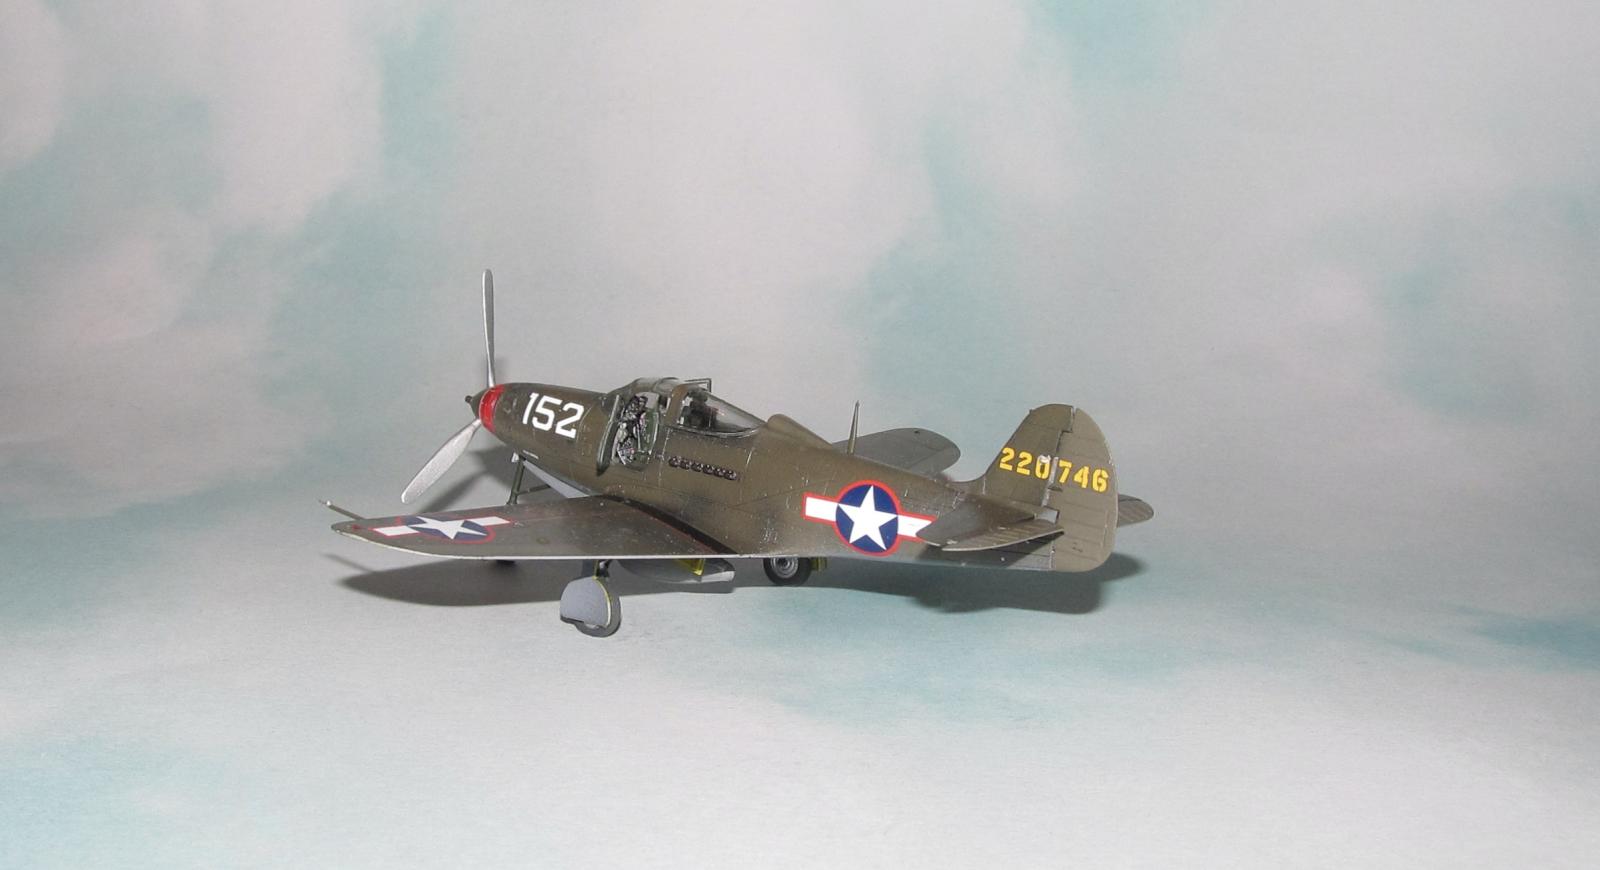
Finally, I added the various cockpit parts I didn't add during construction like the radio, antenna and clear parts. Finally I was finished Bud Anderson's Old Crow (P-39Q version.)
CONCLUSION
Despite the cockpit being a touch fiddly, the Arma Hobby P-39Q is a wonderful kit. Very nicely detailed and with a reasonably well thought out assembly process. With a bit of patience, modellers of all skill levels can make a very nice model of an important but often overlooked WW2 aircraft.


Nice work, Dan. These Arma kits have got to be the Best In Scale for each of their releases. They're setting new standards.
Thanks Tom, I really enjoy their kits. Almost makes me want to go to 1/72 instead of 1/48 however, my deep in middle age eyesight sez no.
Absolutely agree about the interior grind. Sometimes it seems as if "closeup" time will never arrive! I'm close to completing an IBG PZL P-11 that was a nightmare wrestling match, with the interior AND engine mount. After the durn fuselage is finally together, all the rest speeds along (I think). This is also why I build tanks. No interior for me thanks.
Anyway your '39 looks very good, seems Arma is the latest greatest. They need to pop some 1/32's
Thanks Bill. I'm glad I'm not the only one who noticed because it is frustrating especially as the smarter model companies are designing their airplane kits with minimal seams.
Well done, the detail is amazing for that scale!
Thanks and yeah, Arma really shows off their skill. All these kits are highly recommended.
Amazing build and excellent writeup, Dan!
Thanks Spiros!
A beautiful build, Dan @dbdlee
The detailing for this scale is very impressive.
Thanks for the article, both historical part and about the kit.
Thanks John!
Great model and great write-up, Dan (@dbdlee). Thank you for sharing both.
Thank you Matt. I gotta say I really enjoy building these Arma kits.
Beautiful model of an excellent aircraft.
Thank very much George!
Great!
Thanks, Lis!
Nice buildup of a sharp looking kit.
Thanks John!
Looks fantastic! I just wrapped up an Arma Hobby P-39N that I'll post later this week. I agree - seems like I spent most of the time on the interior. This was one of my longest builds in quite some time, for something so small! However, it does give you a great kit when finished, as your build demonstrates!
Thanks. Looking forward to the build.
Great result, Dan.
Thanks John!
Beauty Airacobra Dan (@dbdlee). Very nice '72nd work.
One forgets the size of the plane/model - then we see just how small it is when you're holding it in your hands
Good to see work posted on the MM site as well.