Supermodel's Blohm u. Voß Bv138C 'Seedrache' (The Flying Clog)
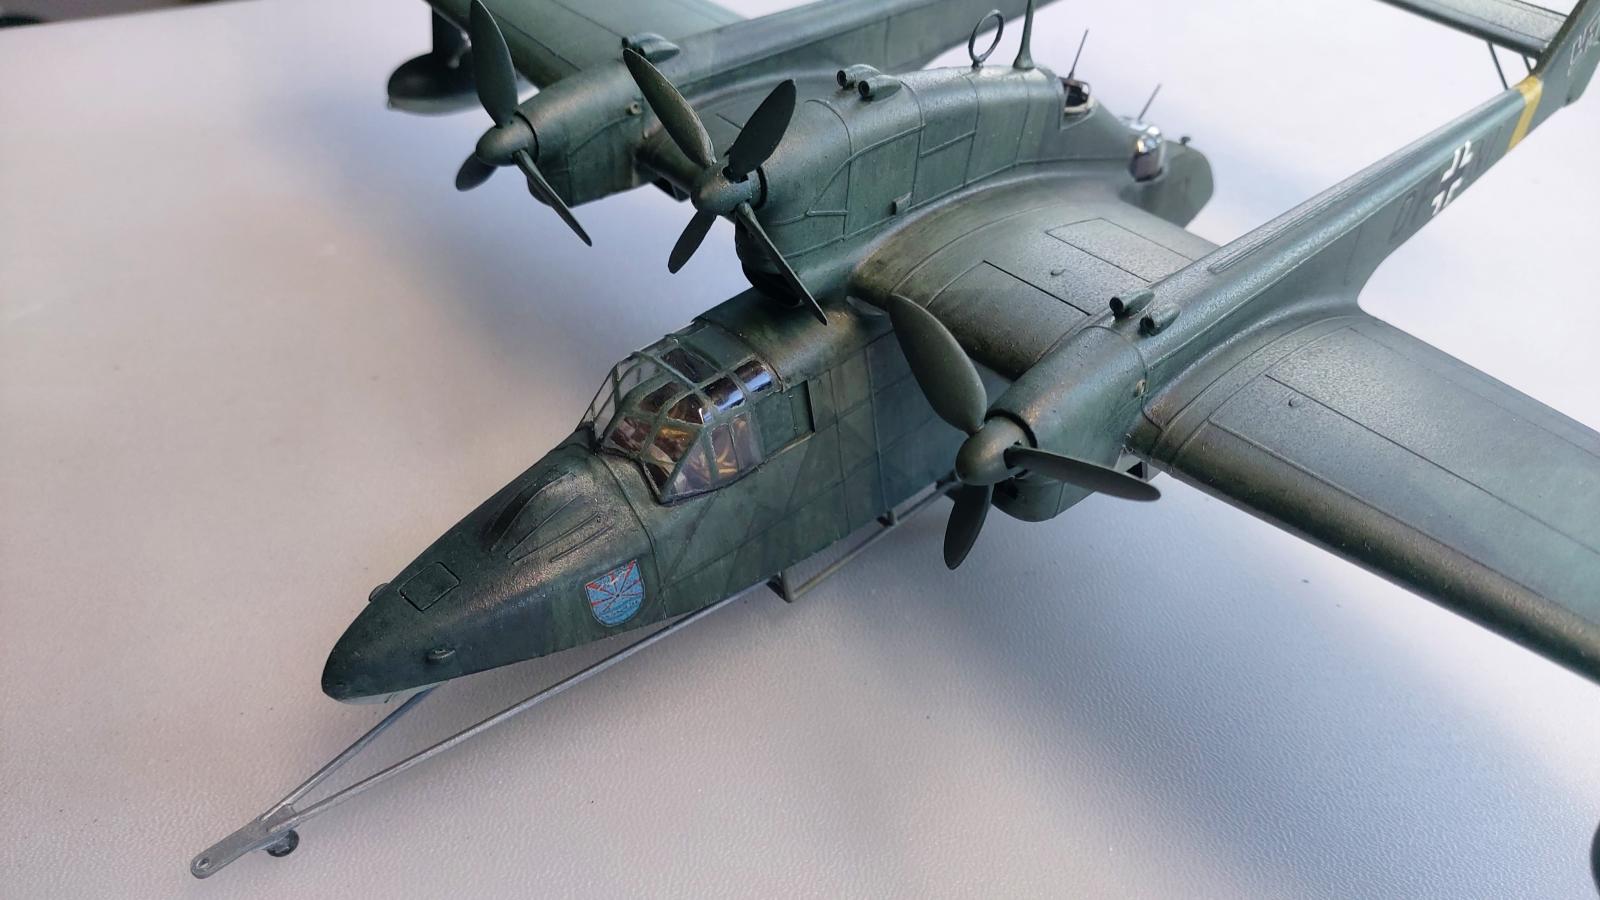
This is my last build for 2023, and it's the venerable Bv138C kit by Supermodel from the mid-1970s. I had intended to finish it in a colour scheme carried by a Bv138A variant, but noticed almost at the very last moment, that this wasn't quite the same as the kit in presentation and it really was a bit late to go changing everything around. Happily, I managed to find a C-varant which served with the particular unit I wanted to portray, so with a change of codes on the tail booms, I was back in business.
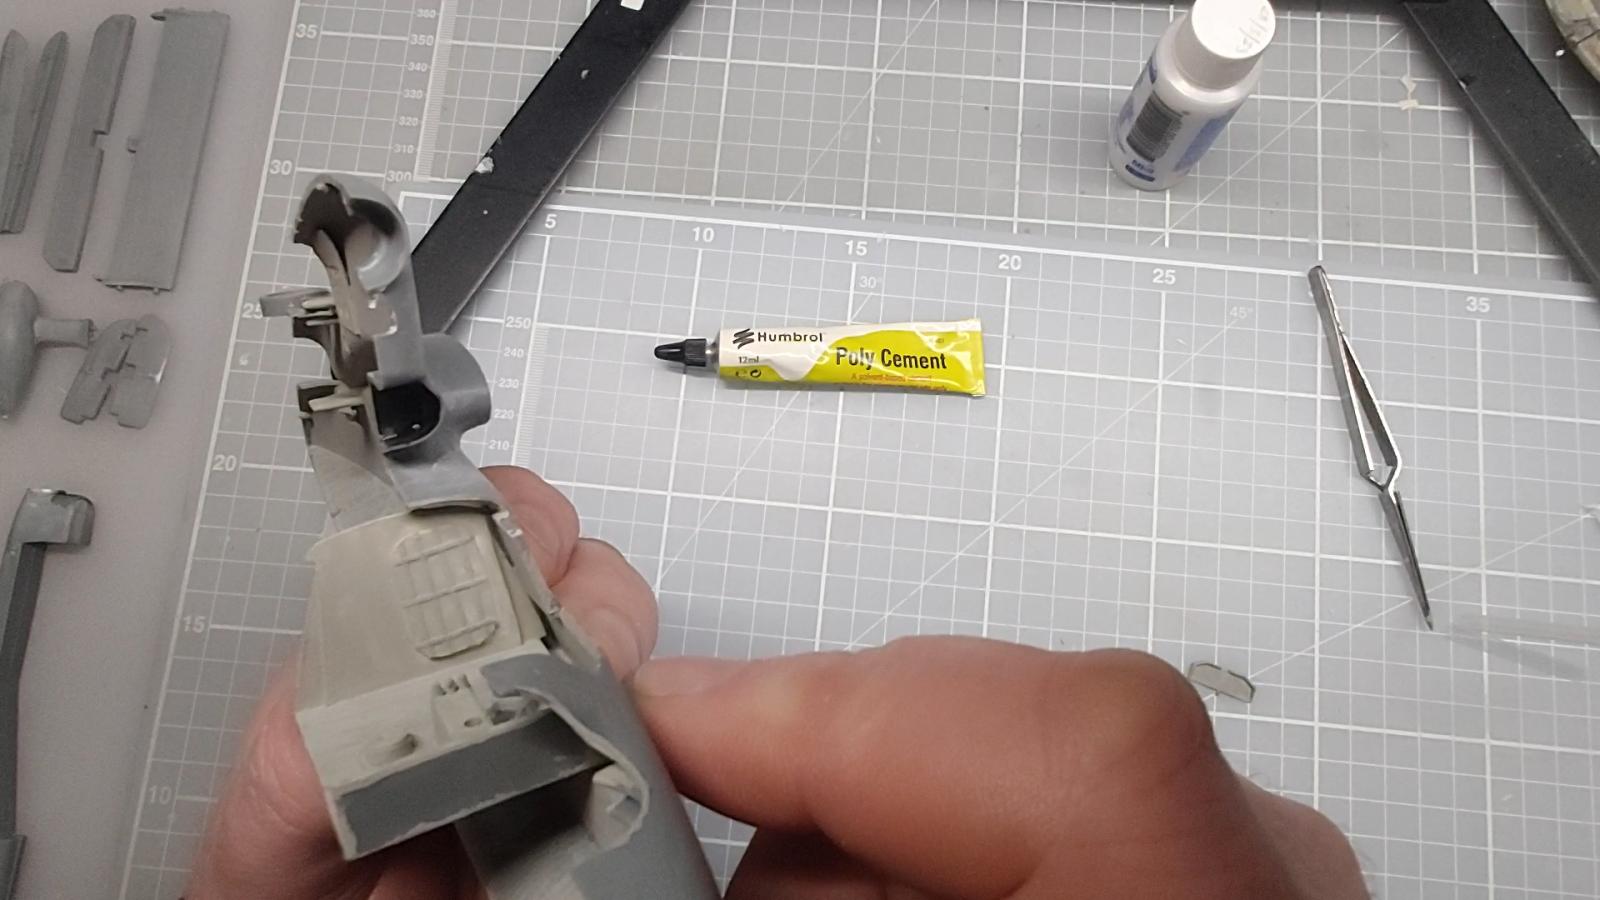
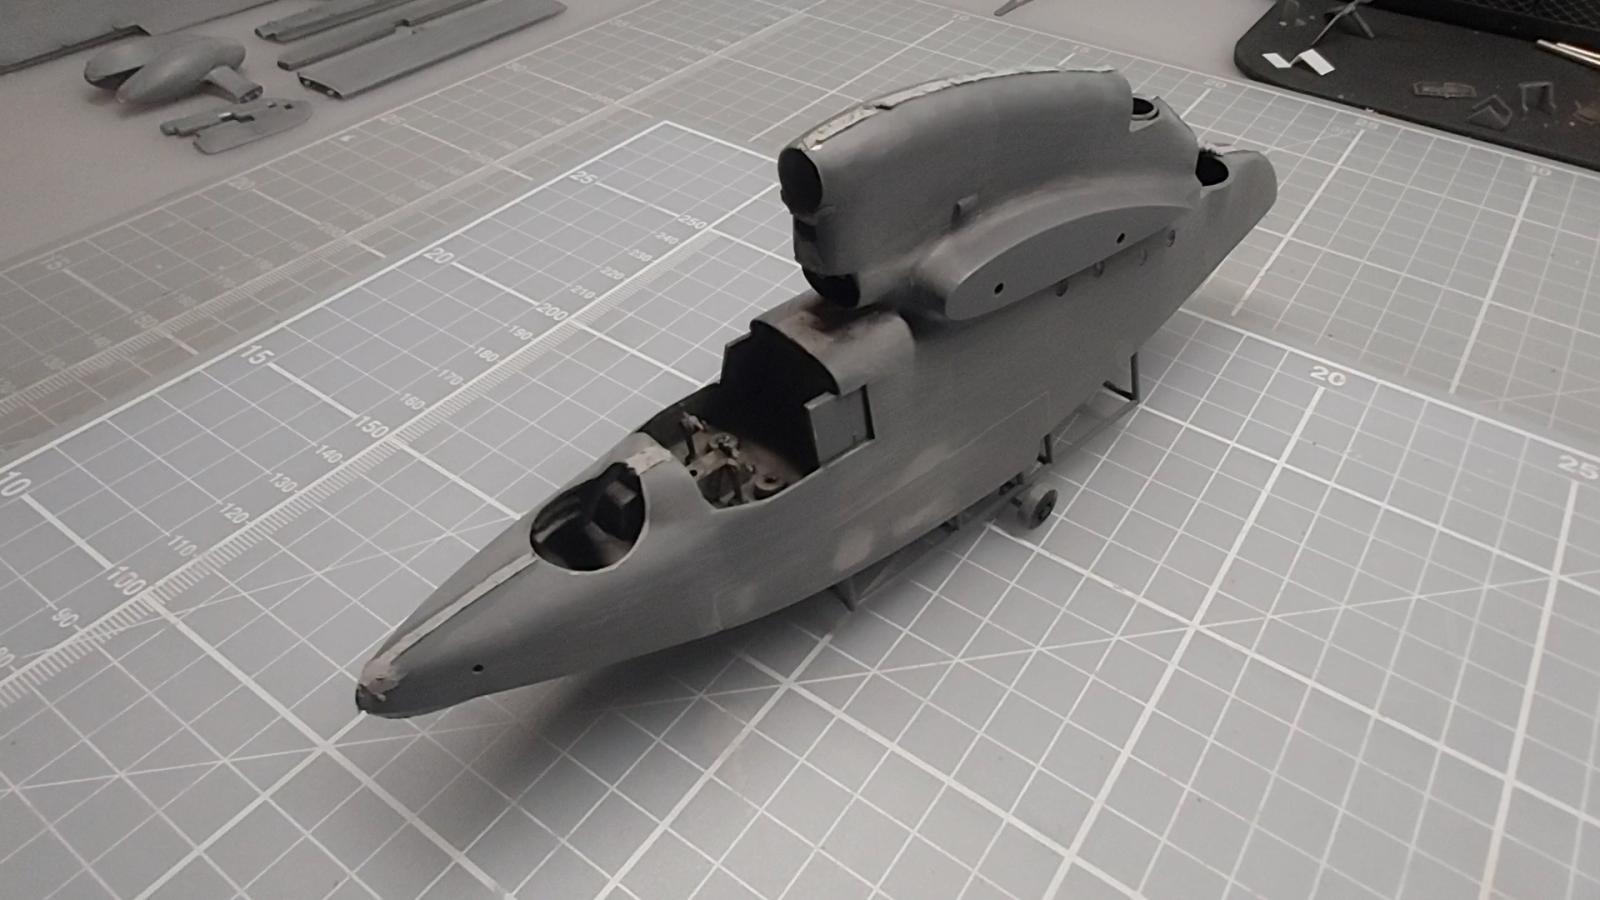
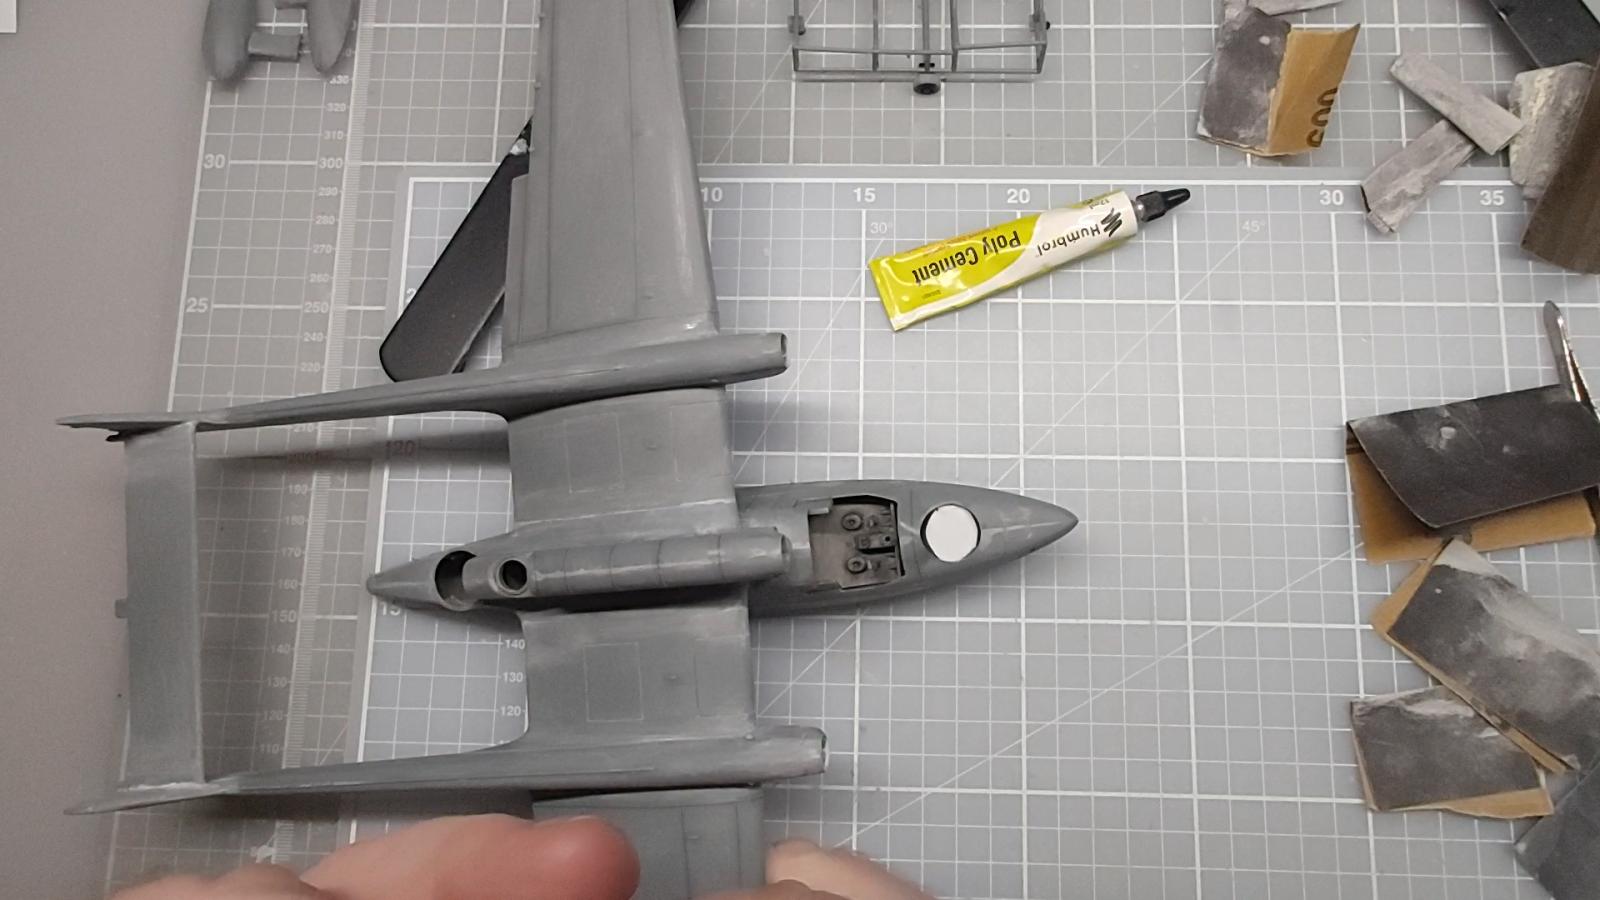
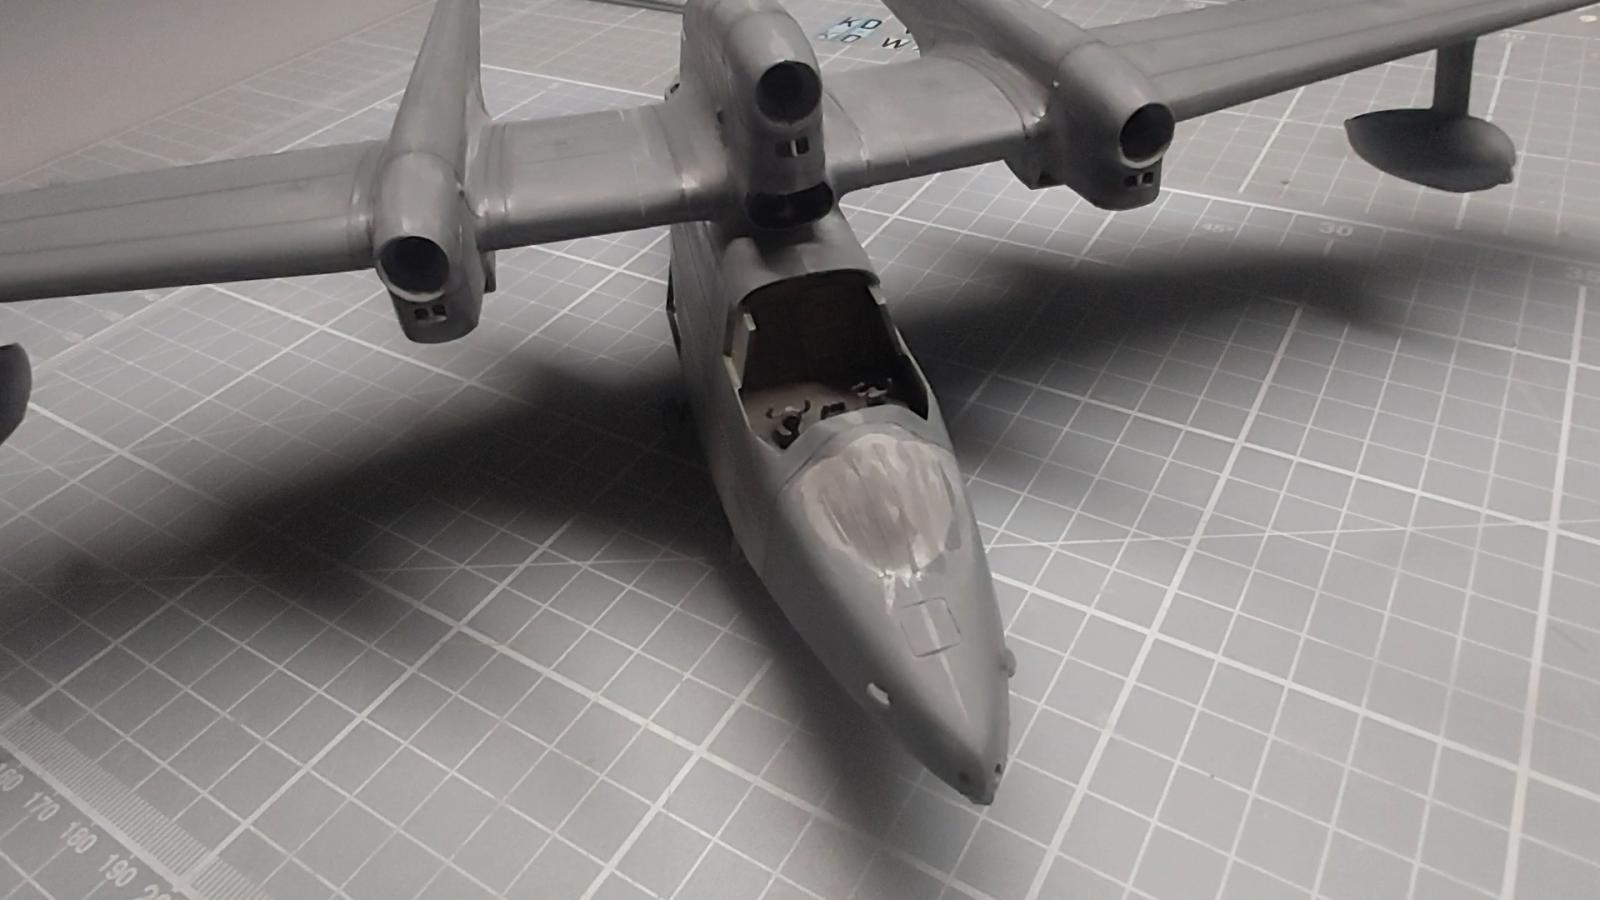
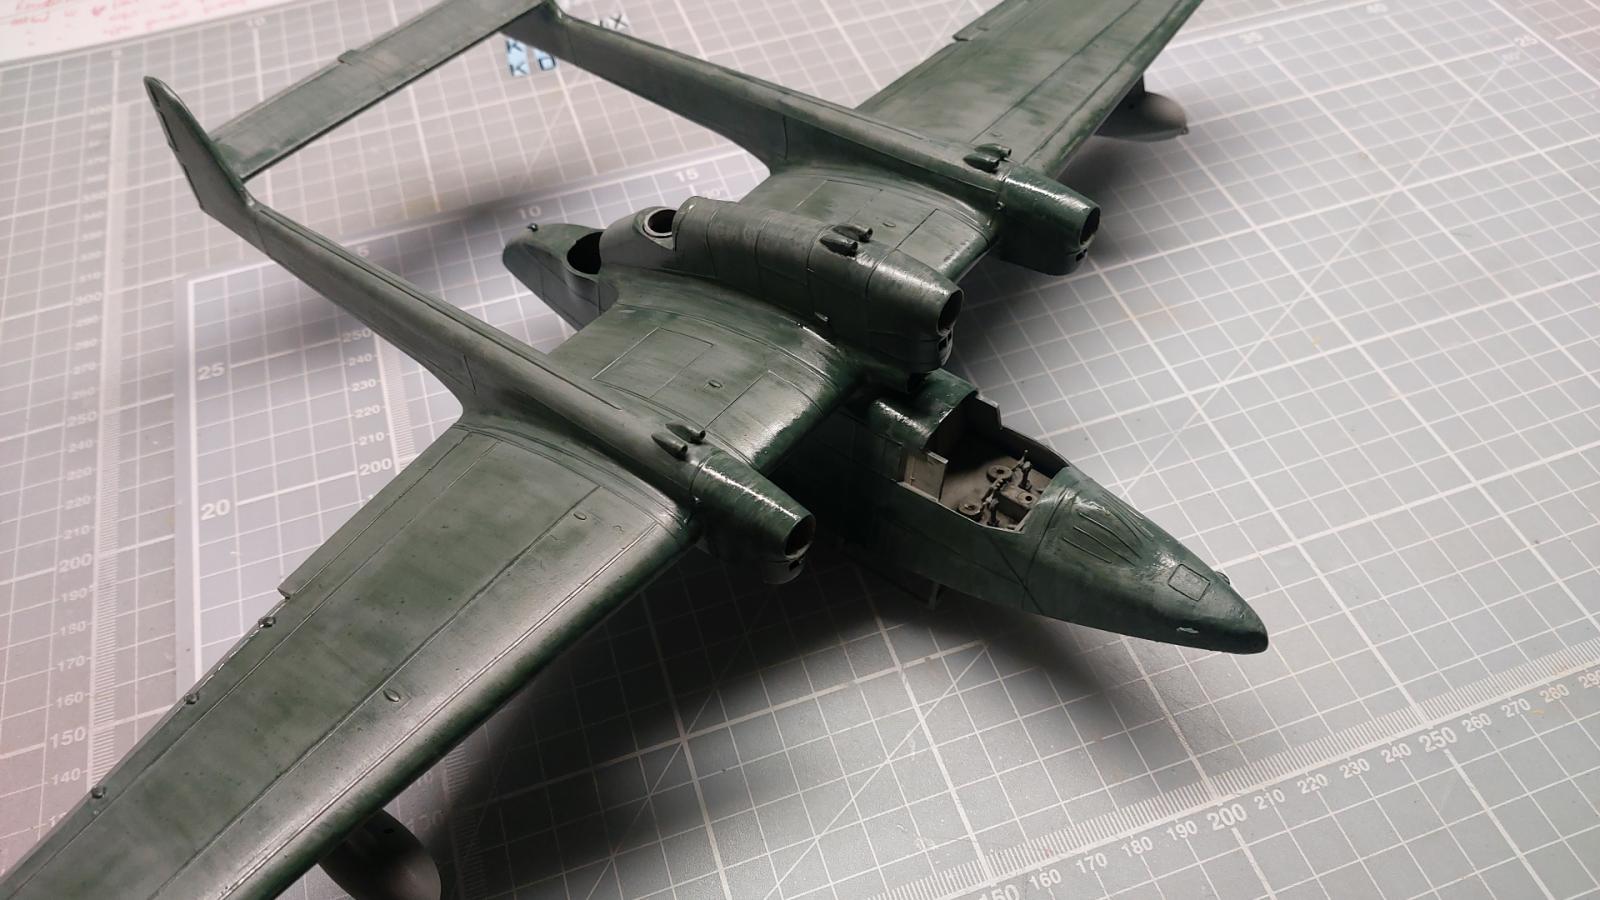
Many of you may have built this kit before now, and you will know that it is a bit empty on the insides, so I added in some basic scratch-build bulkheads and flooring to the rear of the central engine and an additional bulkhead with a door behind the crew compartment, something that was never part of the kit. I initially set the door to one side, but managed to correct its position in good time. The cockpit canopy and rear gun turret were replaced by items from the Falcon vacuform set and give much better clarity. Basic seat belts and cushions were also fashioned for the seats in the cockpit.
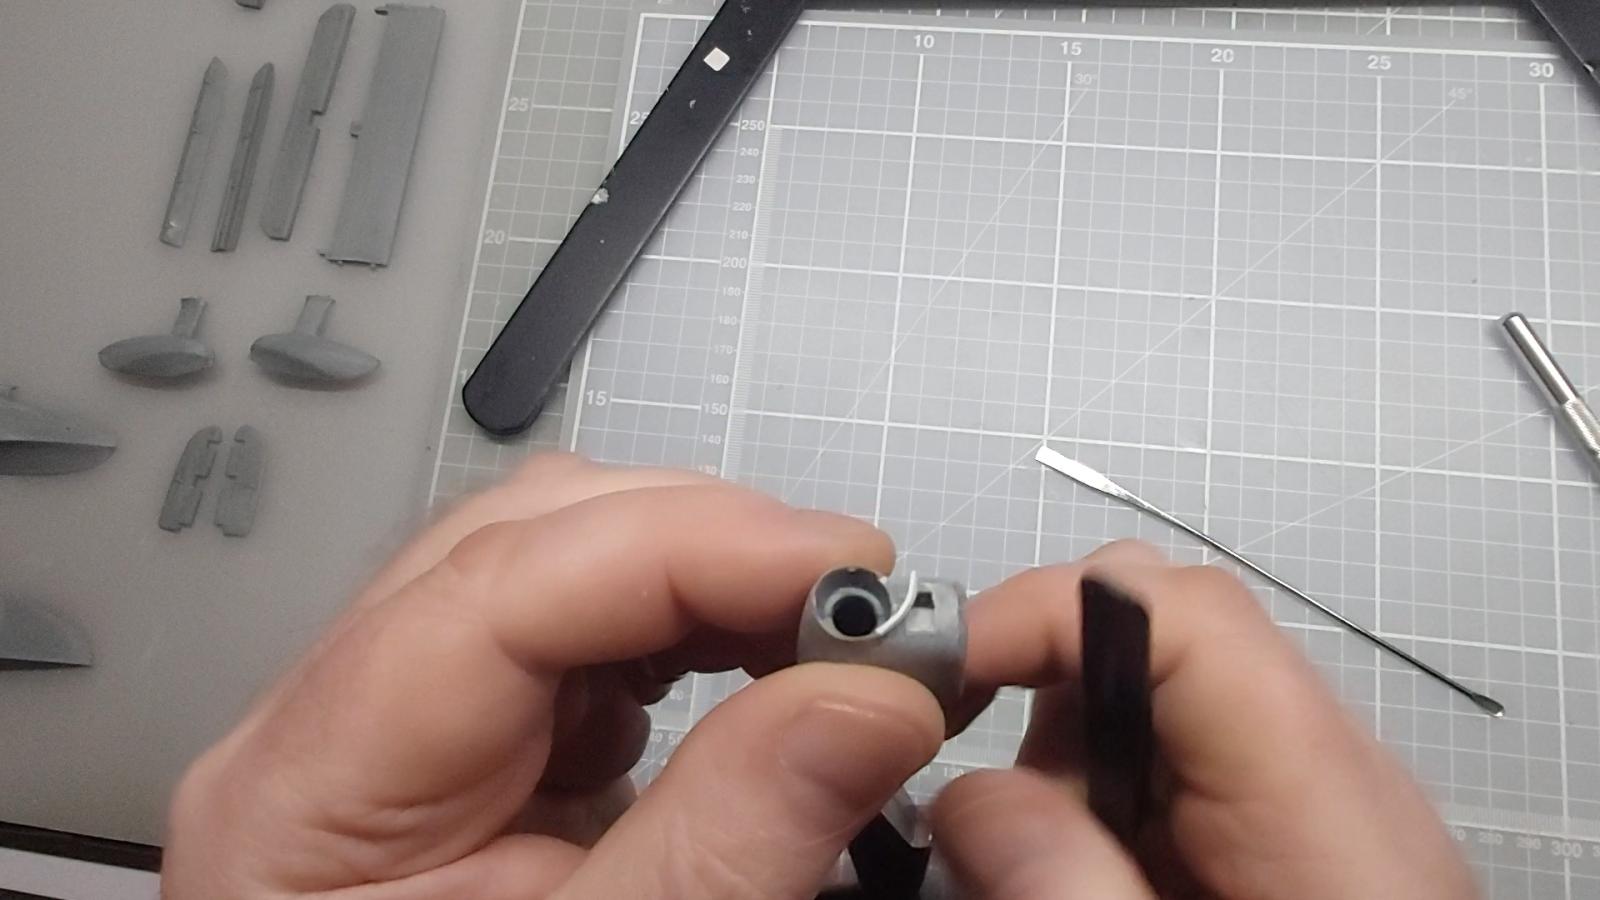
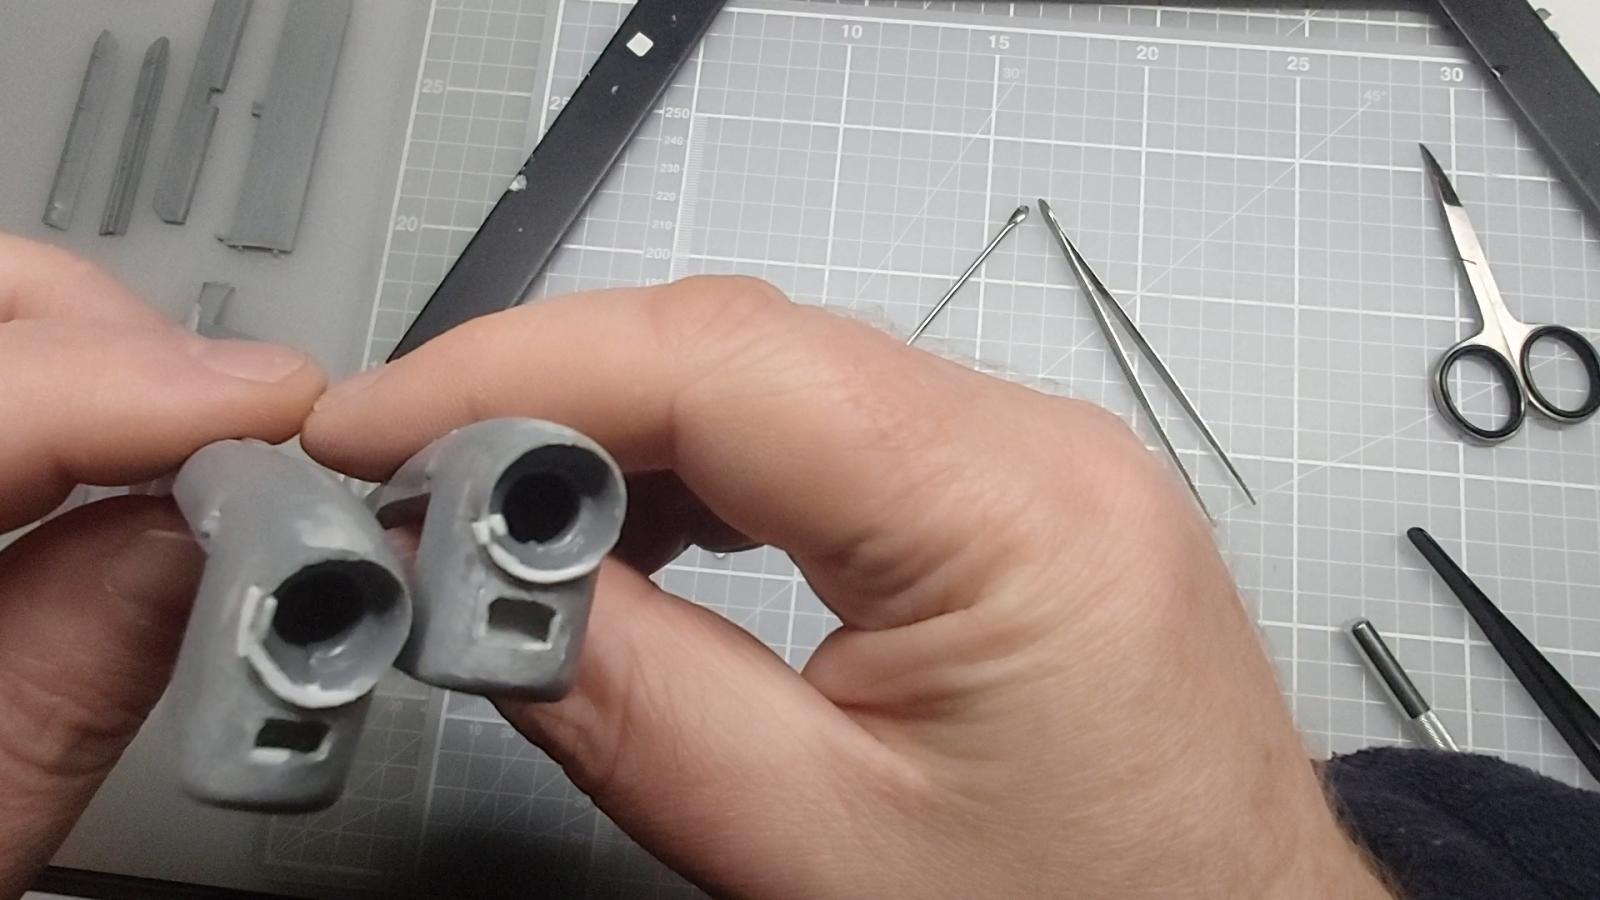
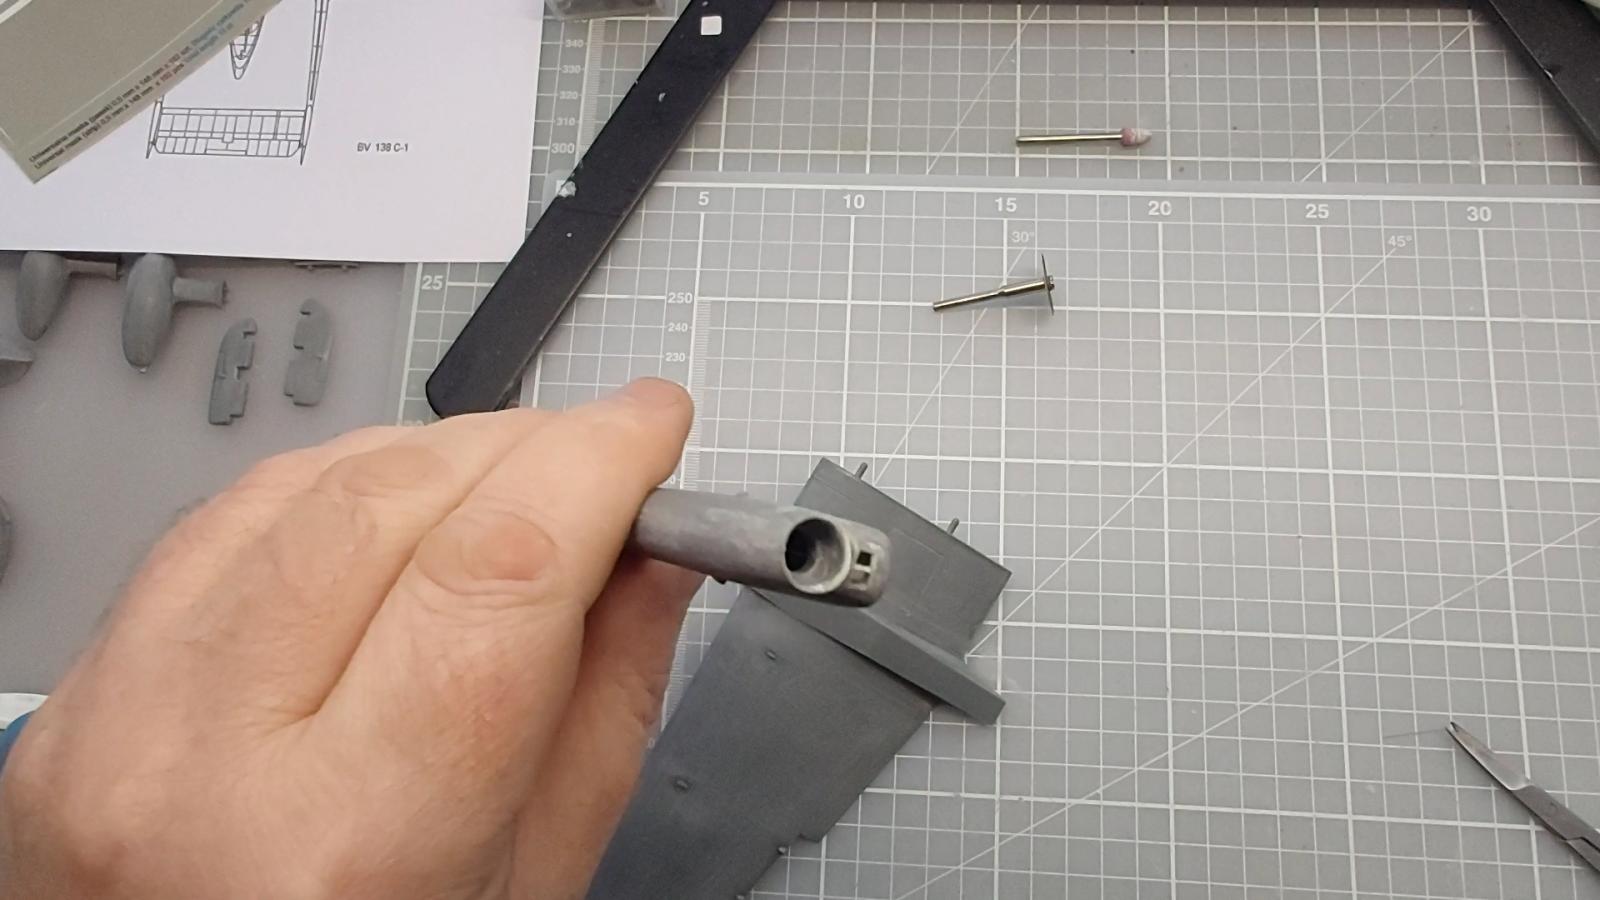
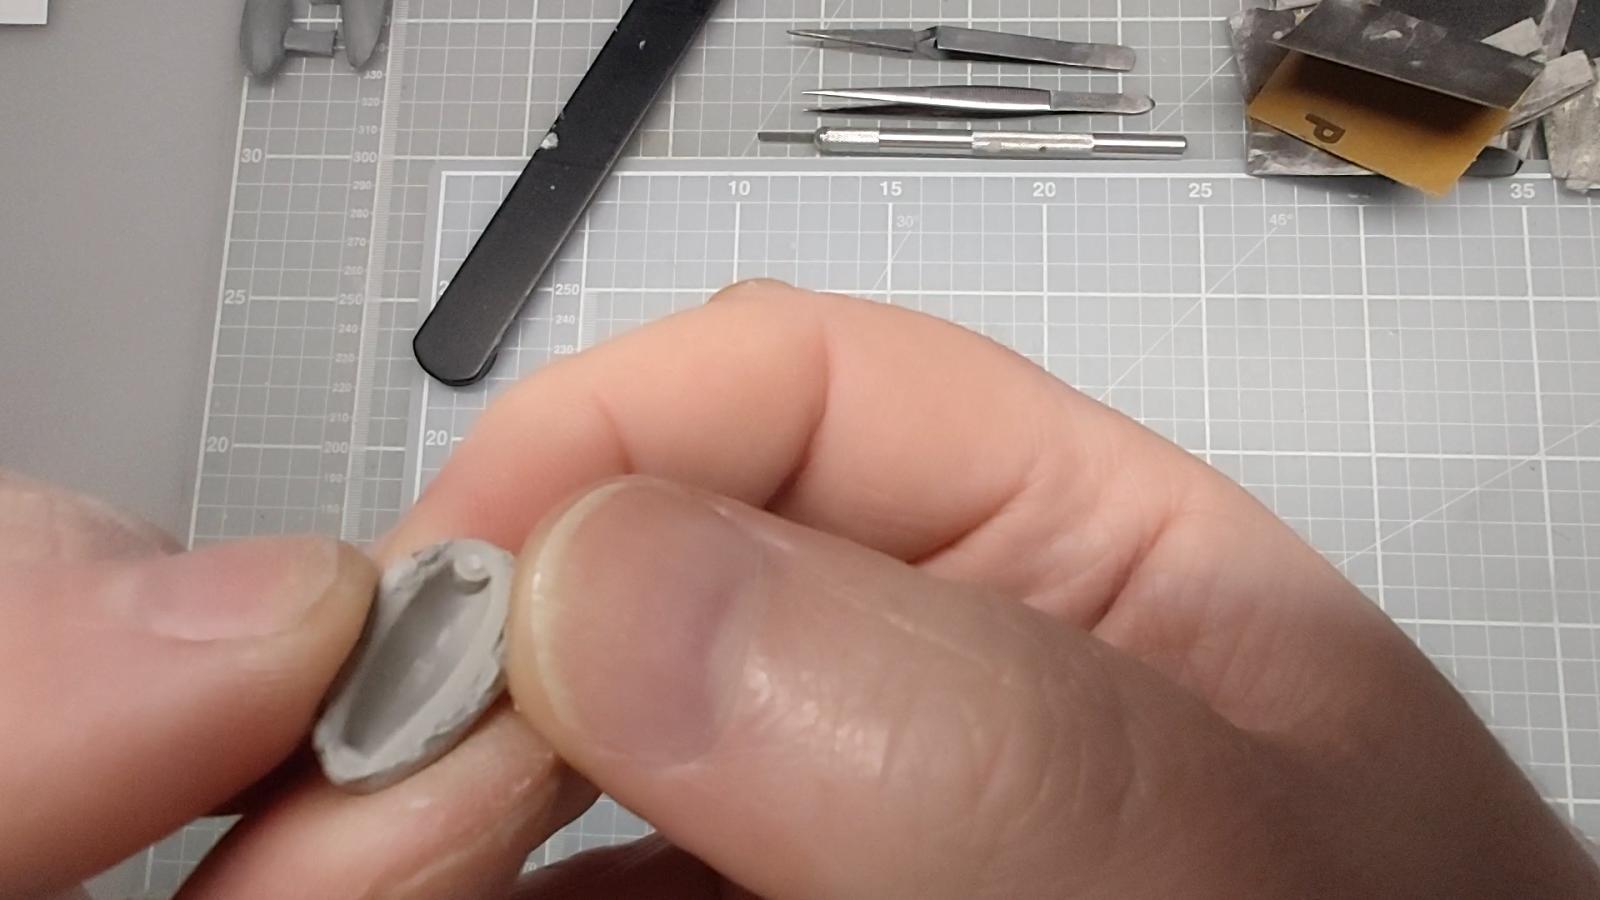
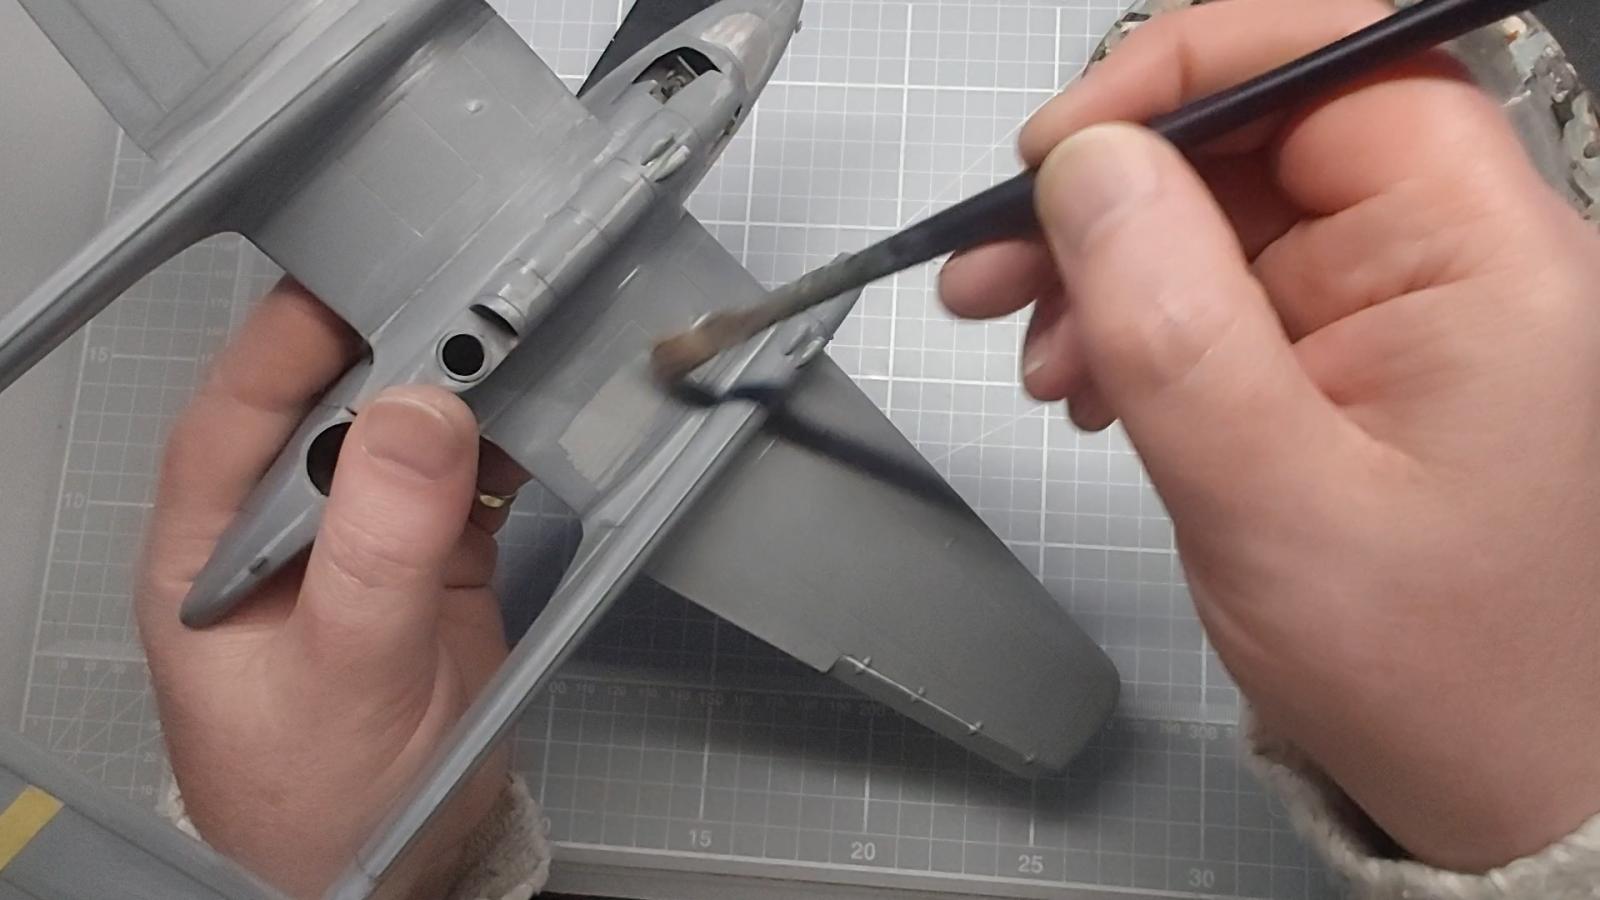
The two outer engines suffered from their lower edges around the propellor not having formed properly during the moulding process, therefore they were cut away and replaced by plastic card strips, which were supported inside and out by small plastic card tabs; all of this was sanded smooth with an appropriate attachment to my powered hand drill and I feel they came out really well.
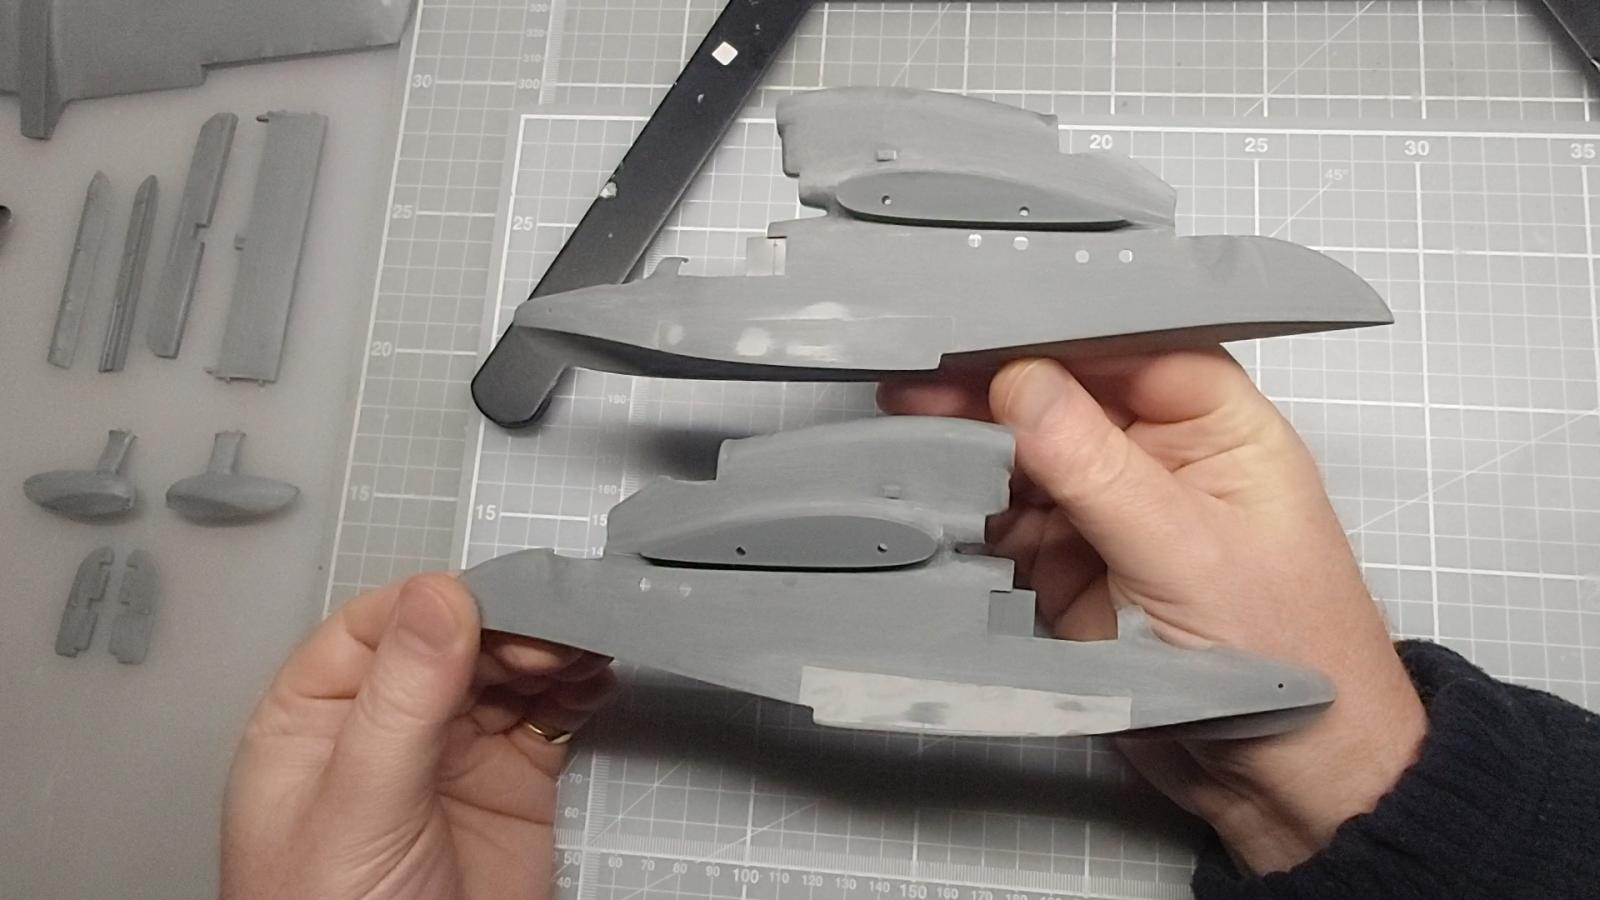
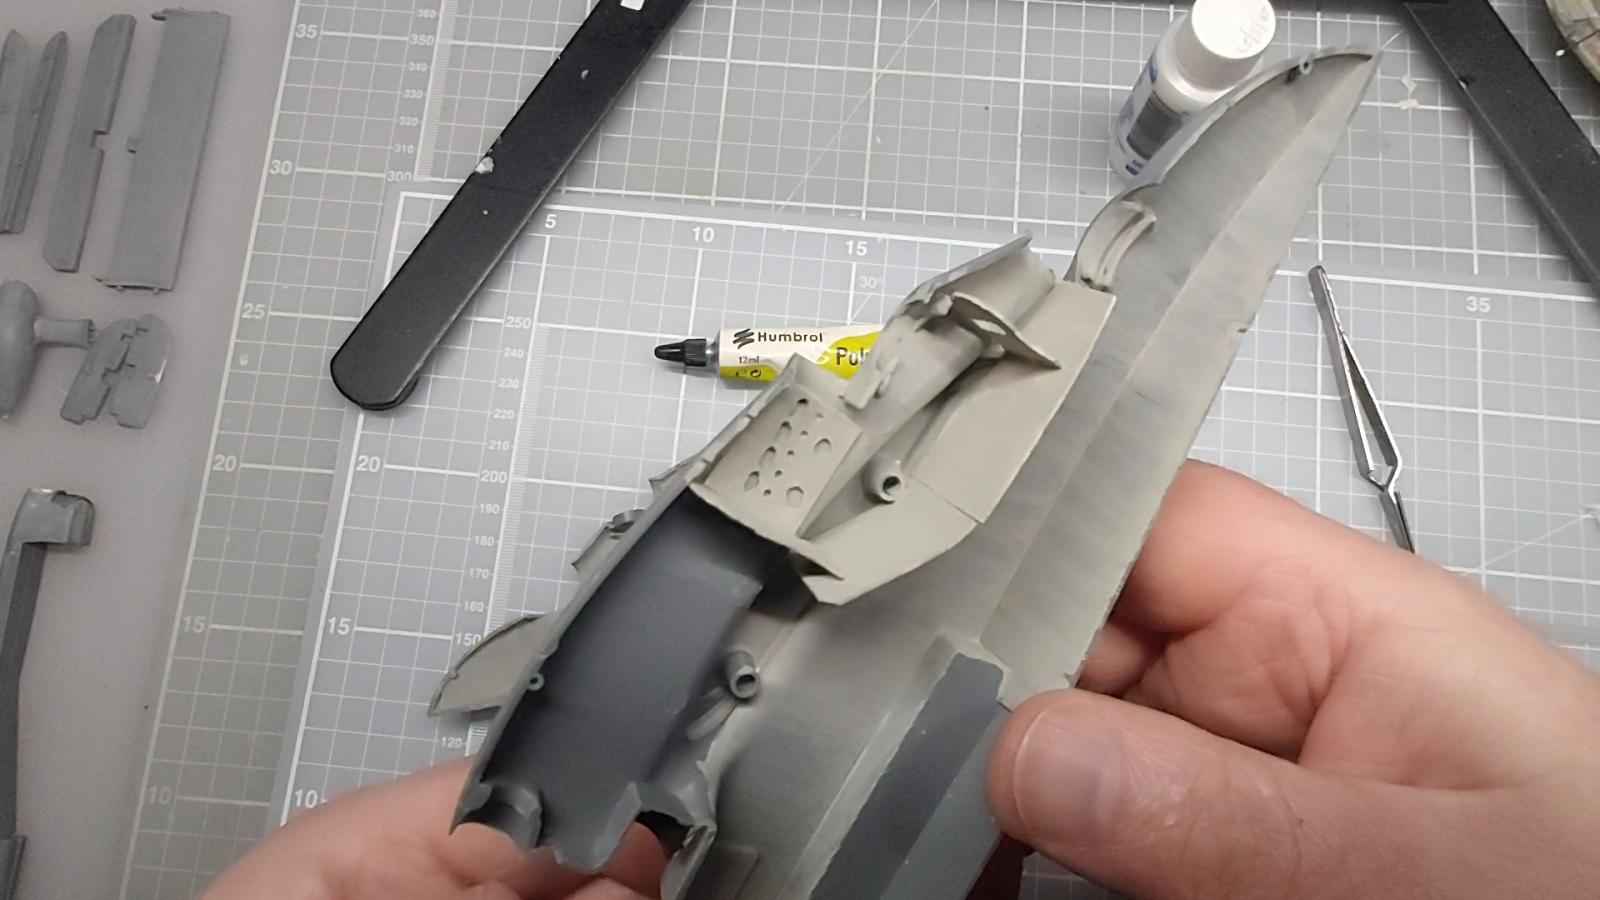
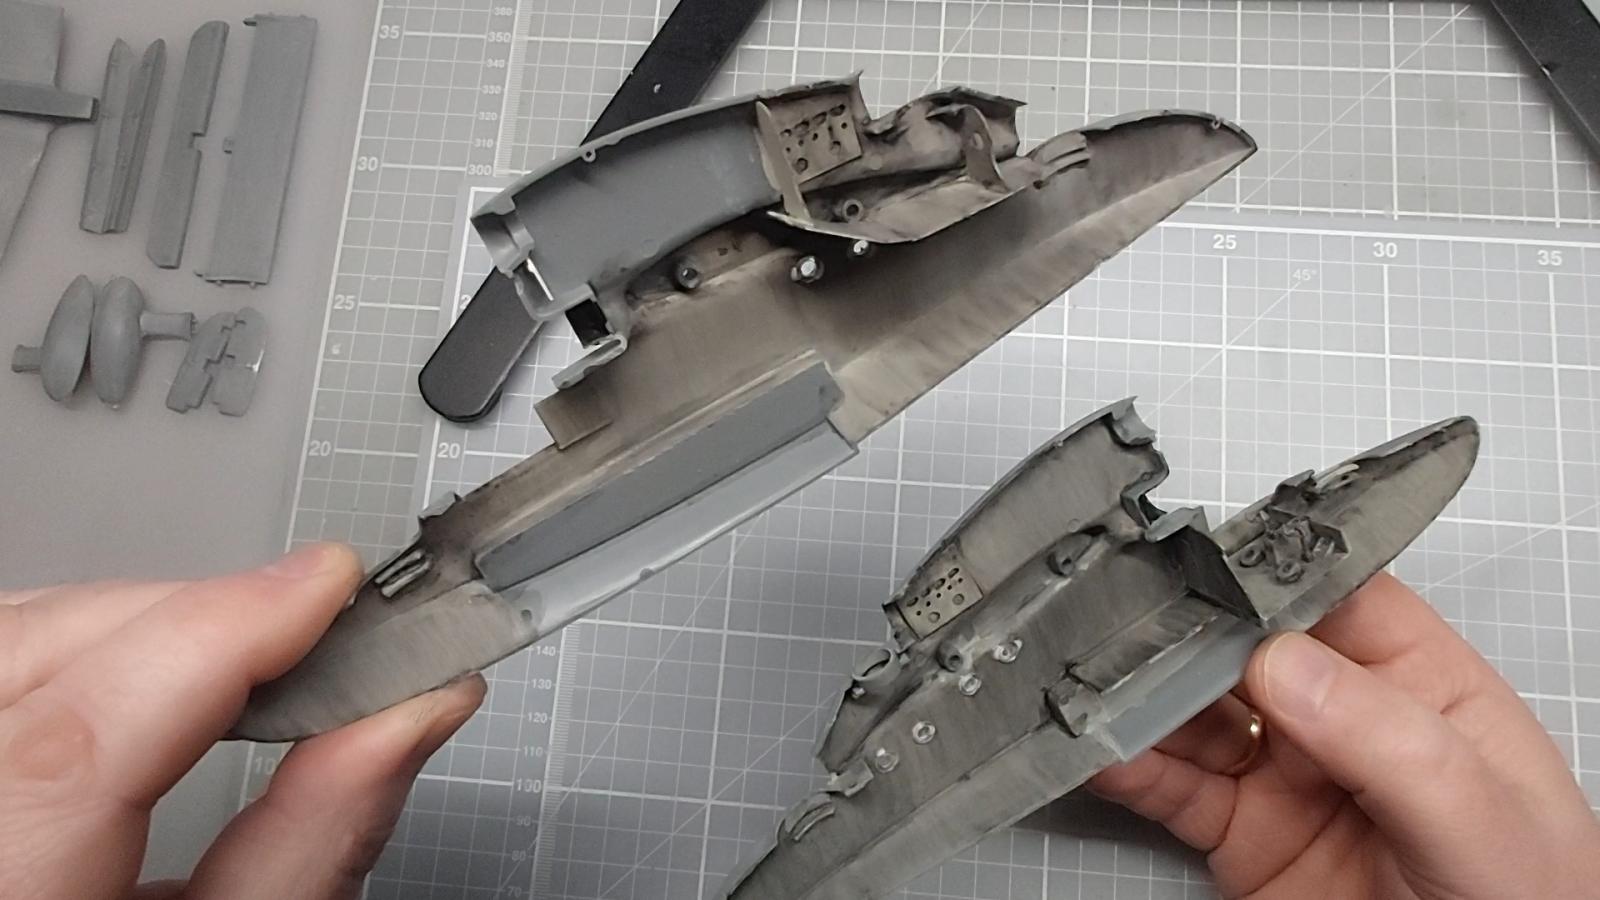
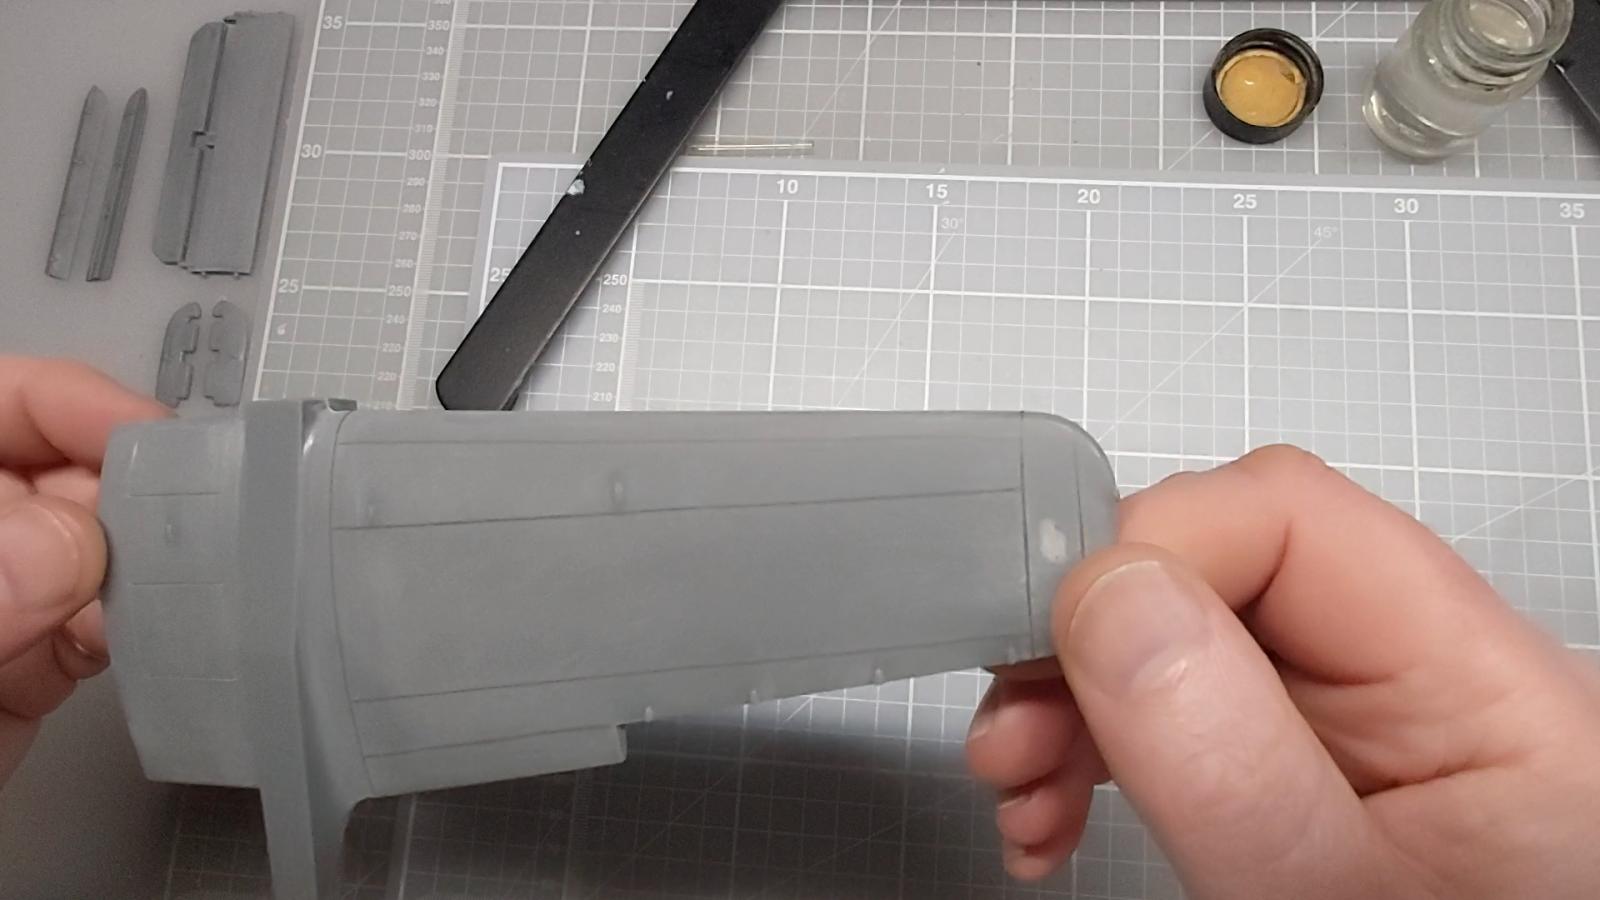
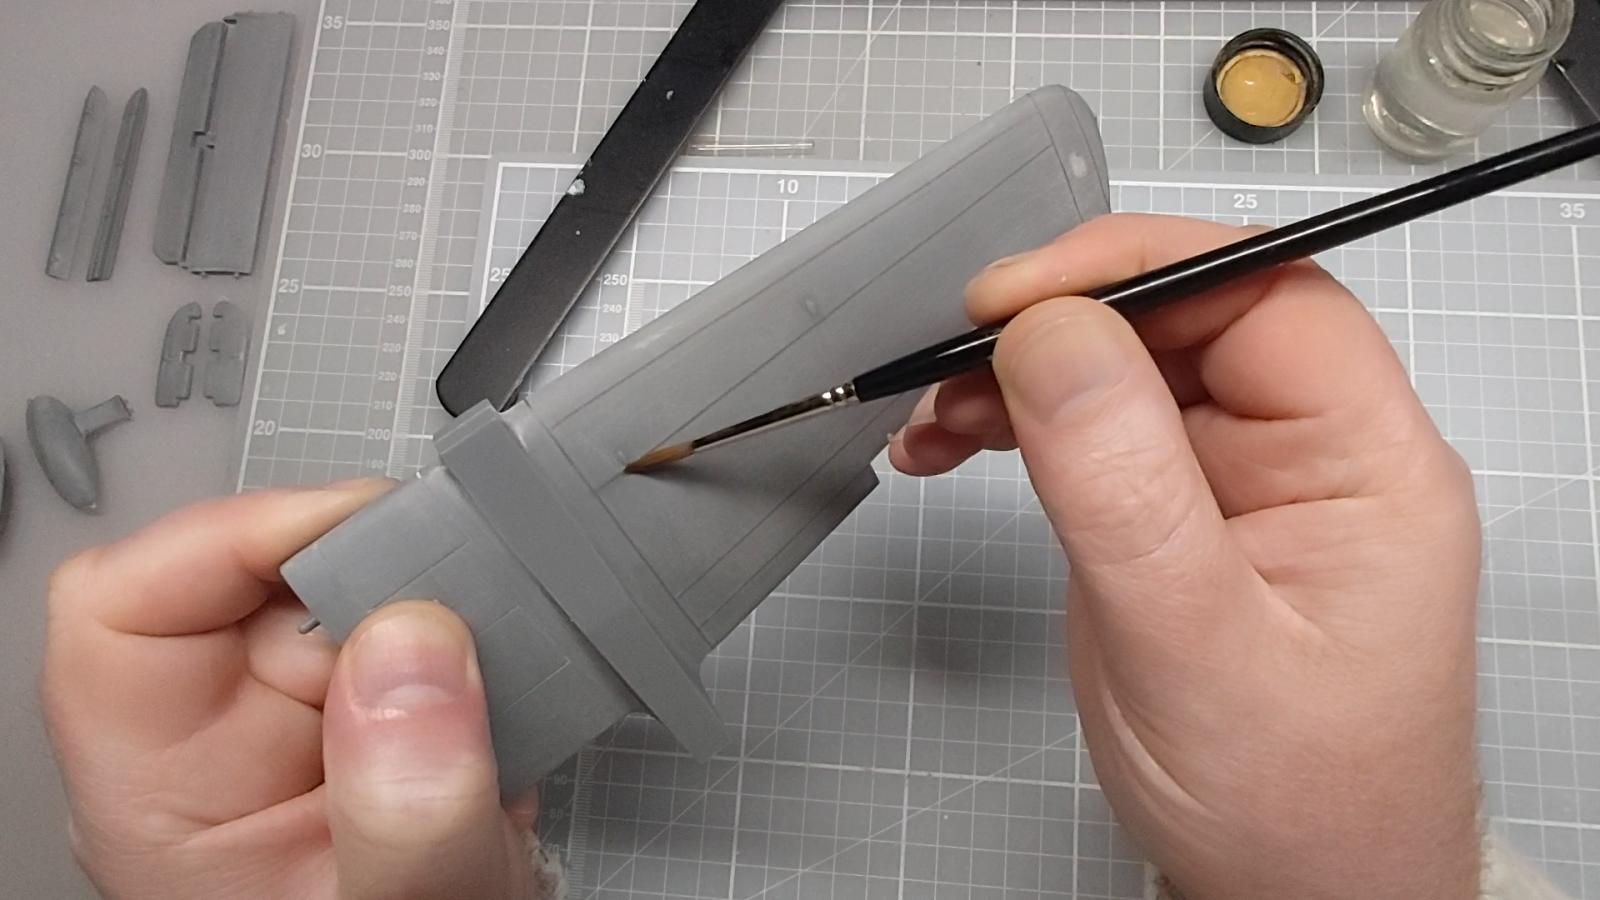
Despite the longevity of this model, it was apparent that the parts were not the best mouldings compared to today's standards, and took quite a bit of filling and sanding to get them looking better. I also decided to remove the 1970s-style raised detail on the external surfaces; rescribing not being my forté, I replaced the main panel line detail using 0.5mm thickness adhesive tape which, once in position, was given a coat of Pledge to give it a better hold on the model. It was also quite accommodating a little later when I noticed a couple of the tape lines not quite in the correct position, and I was able to carefully lift the tape, sand the slightly raised edge created by the Pledge, and relay the tape in the correct position and reseal it.
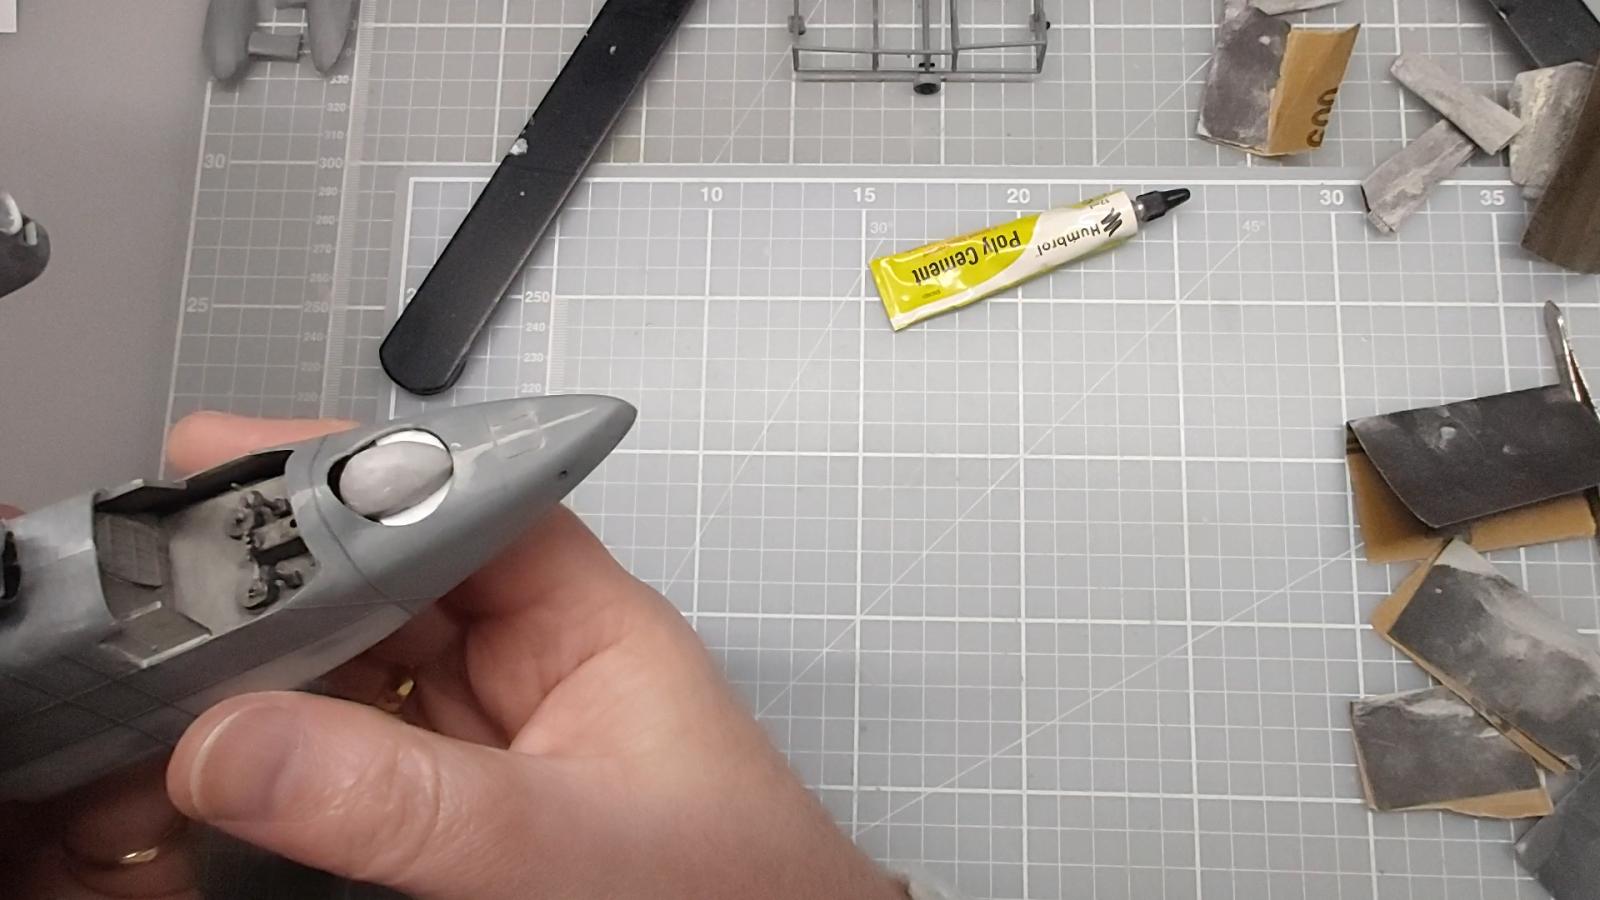
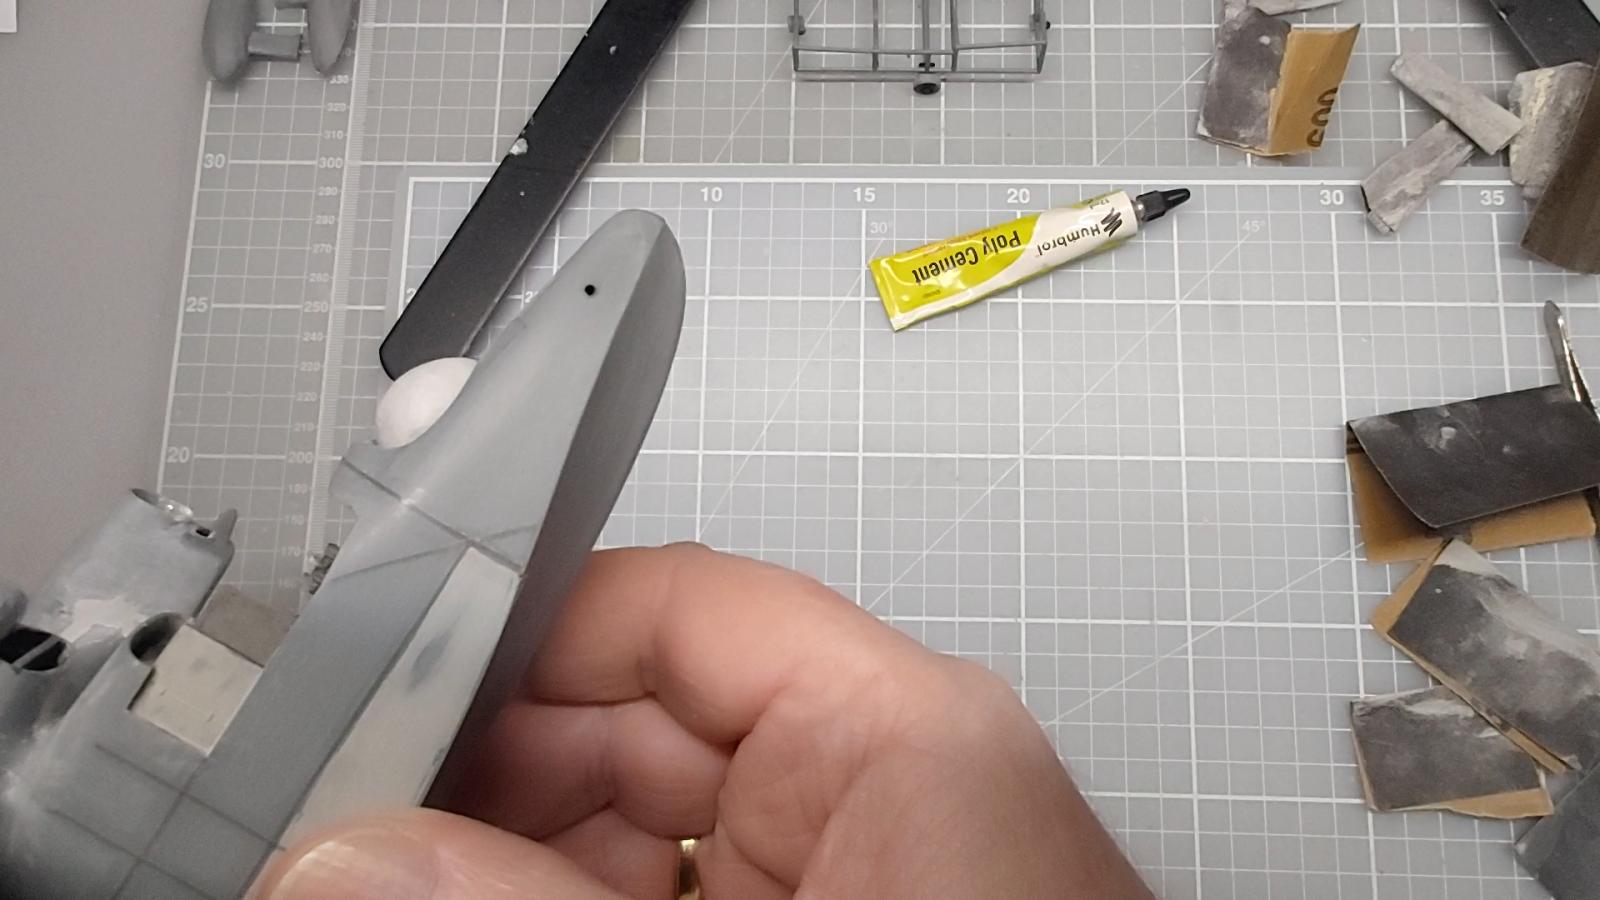
I then moved on to revising the forward nose area. Although I have no information as to what was positioned under the dome on the forward fuselage, given this aircraft had been assigned to a Maritime Air Signals School, I would suggest some type of radio equipment. This was recreated by using a small plastic fuel tank from the spares box which broadly resembled the correct shape, which was padded out with a couple of layers of filler and sanded smooth. Once inserted in position, additional filler was used around the remaining space and that, too, was eventually sanded smooth and blended with the contours of the dome. The strips added to the surface of same were made from stretched sprue. The final adjustment was to add two thin strips of plastic card to the front edges of each cockpit side, as the Falcon canopy did not cover as far back as that point.
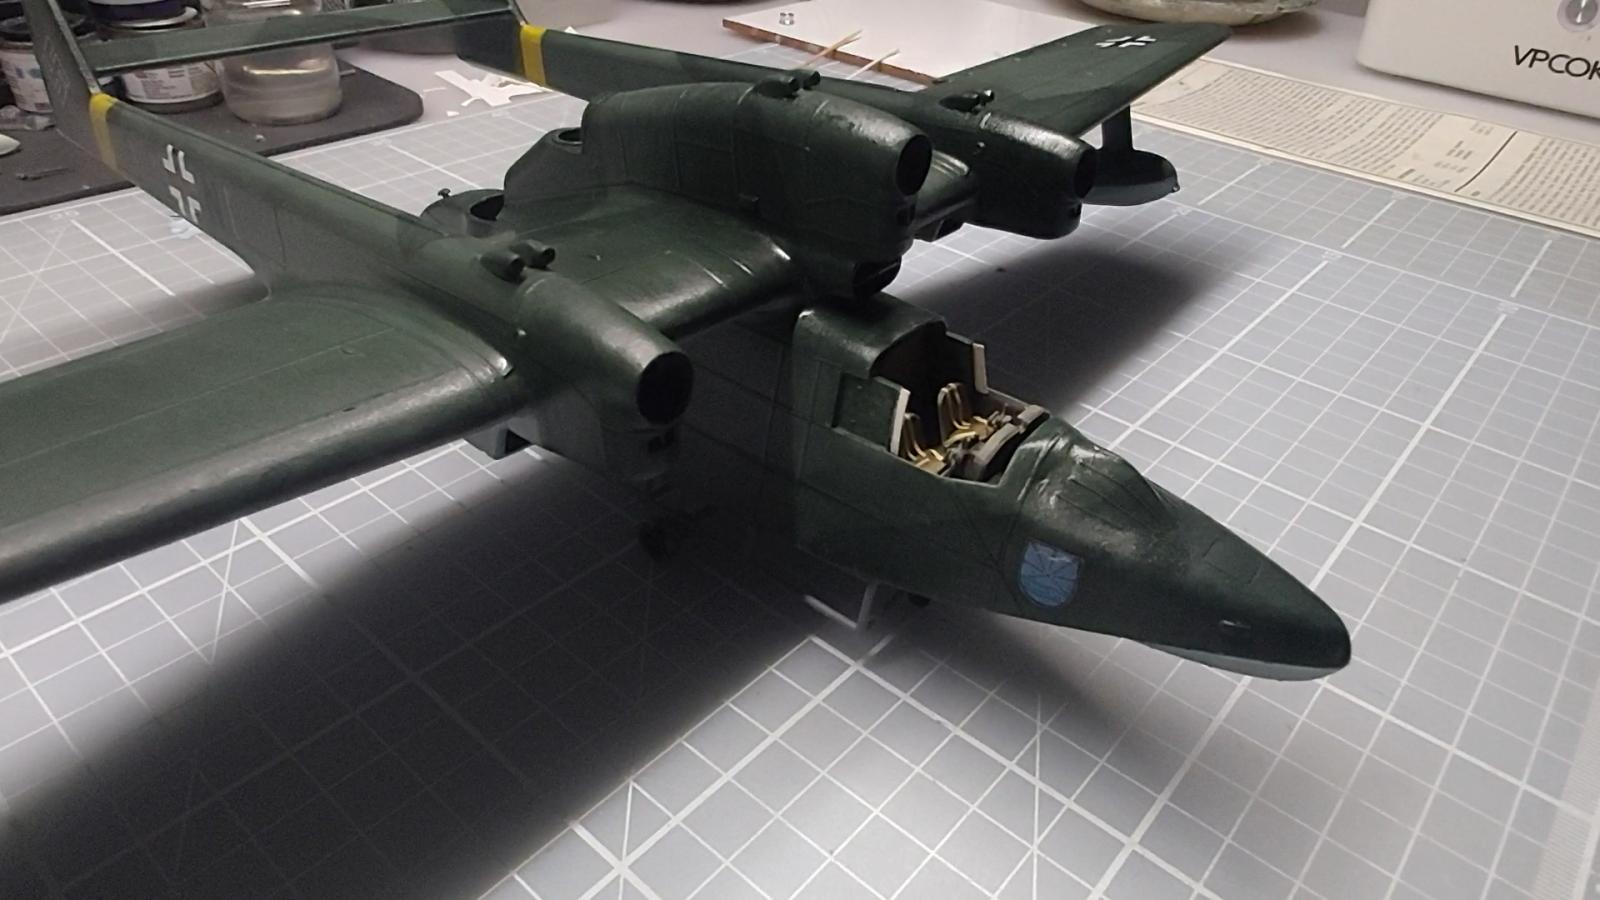
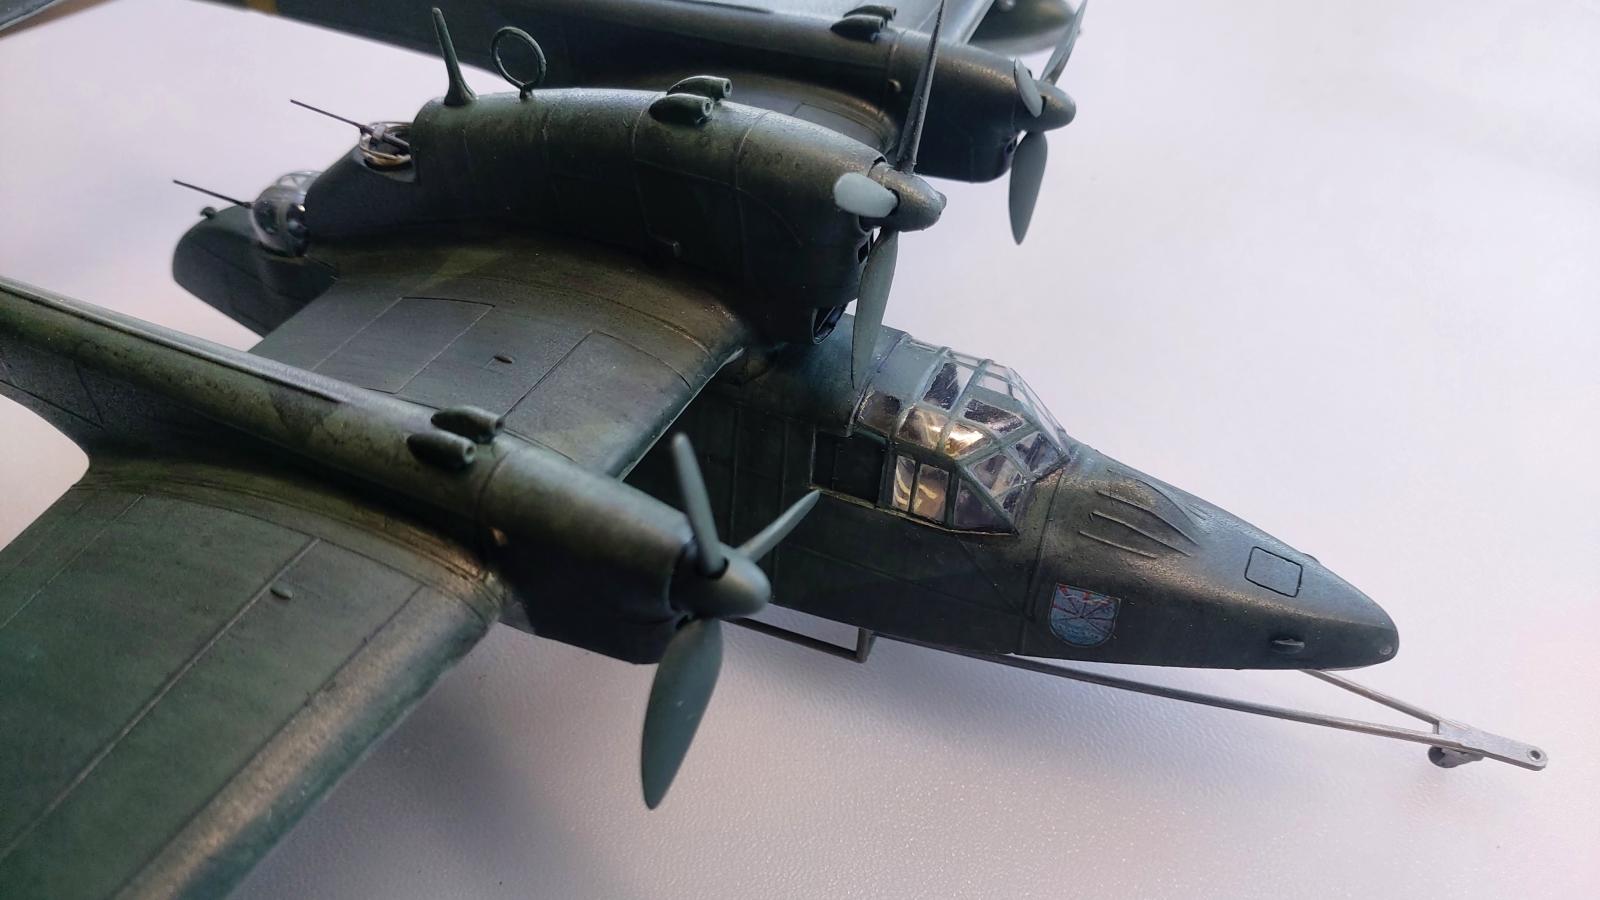
Thereafter, the model only required to be painted and varnished. I applied some old stock of the Humbrol Luftwaffe enamel shades representing the maritime greens of RLM72 & RLM73, with pale blue RLM65 on the undersides. I had applied the yellow tail bands before realising I couldn't make the version I wanted, but decided to retain them anyway as evidence from other aircraft assigned to this particular unit shows they also carried this marking. Home-made blackwash was also applied for basic highlighting and weathering. So, the kit now represents DF+NI, a Bv138C assigned to Luftnachrichtenschule 6 (See) based on the Baltic Sea coast at Dievenow/Pomerania during September 1943. You may want to see more of the build on YouTube via this link - https://www.youtube.com/watch?v=-u7Xx5roEds
I hope you like the kit, and thanks for taking time to look in... ;-).


Great build Paul. It really looks beautiful. This plane has always been interesting to me. When I was a kid and found out it used desil engines, I thought wow, they used truck engines in those things?!😅 I always thought the variant with the large degaussing ring for misesweeping was interesting too. I wonder if anyone makes, or has a conversation to do that version?
Hi, Clint... thanks for your comments. The kit does include parts for the minesweeper version, and the kit itself is still available, with different decals, under the Revell label, and complete with the original raised panel lines... ;-).
Excellent job, Paul! Excellent extra work and a superb result! Great trick using 0.5mm tape for the panel lines, worked really well!
Thanks, Spiros... I was a bit unsure if replacing one kind of raised detail with another, albeit more flat, would be a good thing, but it appears to have worked out well. Thanks for looking in... ;-).
That's some really nice work, Paul. Great job. @paulh
Thank you, John... much appreciated... ;-).
Your extra work has produced a fine model.
This looks really impressive, Paul @paulh
All the extra work definitely shows your skills.
Well done.
Nice work, Paul. Old kits like this offer a lot of enjoyment.
Thanks again, guys, for your comments... ;-).
Nice work on a more rare topic and hard kit to build!
Well done
Steve
Thanks very much, Steve... ;-).
Impressive modeling work on that old kit!
Thanks, Chas. For an old model, it came up well. Thanks for looking in... ;-).
🙂 ... Greetings ... 🙂 :
Extraordinary and impressive work done to this model, Paul!
This is a very good show of skills and patience.
Hello... thanks for your comments. I'm pleased you like the build... ;-).
Looks great! I have this kit, and may take a few pointers from your build...
Hi, Greg... thanks very much. Hope we'll see your '138' on these pages in due course. Have a great Christmas and New year... ;-).
Regards,
Paul