RealSpace Atlas V
The Atlas V is the last of the Atlas family of launch vehicles, produced by the Lockheed Martin-Boeing collaboration United Launch Alliance (ULA). After 99 successful launches out of 99 attempts, it is slated for replacement by ULA's Vulcan Centaur rocket. As of late 2023, some 17 launches remain.
The Atlas V is a medium-lift launch vehicle. Its main stage is powered by a Russian-built RD-180 engine (each engine consists of two nozzles), which, due to increasing geopolitical friction throughout the 2010s, prompted ULA to seek a new design with a domestically-produced engine. Together with Blue Origin, ULA developed a new LOX/methane engine, but because the Atlas V core is designed to work with RP-1 fuel, a full redesign of the first stage was necessary. This resulted in the Vulcan Centaur launch vehicle, and officially ended the long evolution of Atlas rockets.
The Atlas V, like its Atlas-Centaur forebears, uses a Centaur second stage (though the moniker "Atlas-Centaur" refers to the Atlas II and earlier LVs that used a different engine and 1.5 stage design). The 500 series, of which this is a model, can accommodate up to 5 solid rocket boosters strapped asymmetrically to the main stage. With an additional Star 48 third stage, this combined thrust carried the New Horizons craft past lunar orbit in a mere 9 hours.
The Atlas V has been human-rated to carry people into space, and will be the launch vehicle for the Boeing Starliner crew capsule, bringing astronauts to the ISS beginning in 2025. Though its days are numbered, we still have a few more years spectacular Atlas V launches ahead of us.
The Kit
The RealSpace 1/144-scale Atlas V is the only offering, in any scale, of this rocket. It comes in 17 resin parts, three of which make up the main rocket body. The main tube and fairing are both cast resin; the rest of the pieces are 3D printed. There were some serious mold issues with the main rocket body which would have prevented proper alignment of the final construction; when I reached out to Glenn he quickly sent me a new 3D-printed version of the part. (He said that later versions of this kit would be fully 3D-printed, but for now I'd be building a hybrid of sorts.)
The fairing is a heavy, solid piece of cast resin that is well-formed and crisp, but the surface has an almost orange-peel texture (with tiny pits and pockmarks) that needs to be sanded down carefully before we get started:
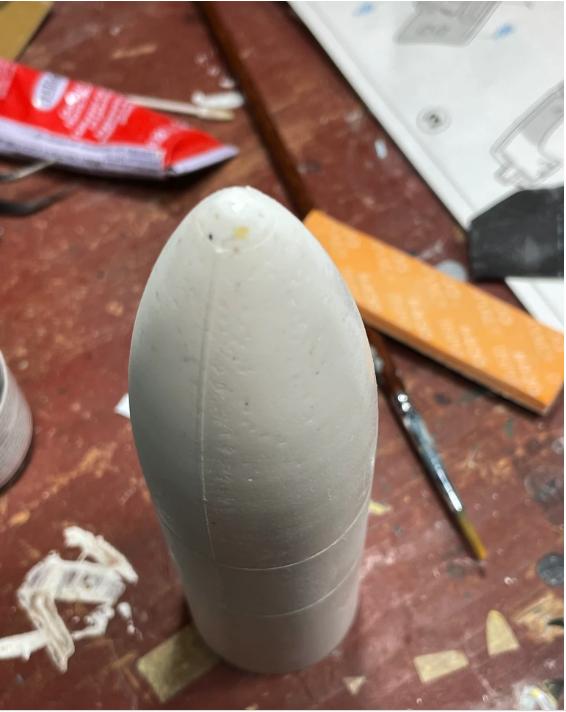
After considerable sanding, I couldn't seem to completely get rid of all the marks, making me wonder wether I was excavating fresh cavities with all the sanding. But I was able to neaten it up considerably. The five solid rocket boosters are 3D printed and also must be sanded, which by their nature are textured,
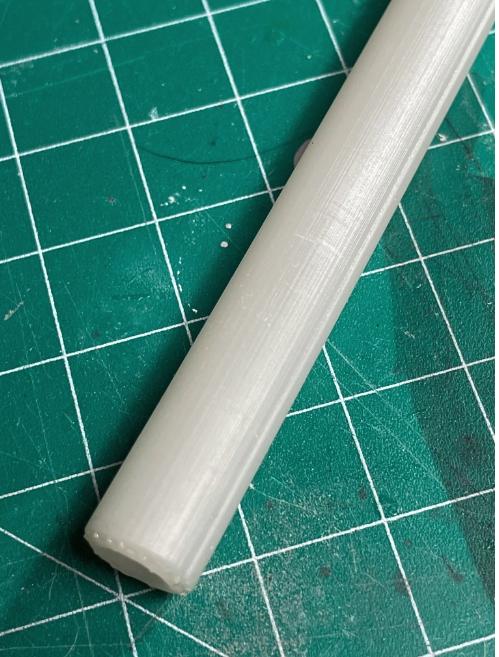
The new 3D-printed version of the main body is crisp and well-detailed, but the textures must be carefully smoothed down since this part will receive a shiny copper finish. It seems there might be a practical limit to how smooth you can make this stuff, and my first coat of Alclad Copper was a bit dull and "fuzzy". A second coat really brightened things, and a final coat of Aquagloss gave it a fine shine.
My vigorous sanding of the fairing removed the few engraved details there. I rescribed these, and added a few other panels visible in photographs, with some photo-etched stencils:
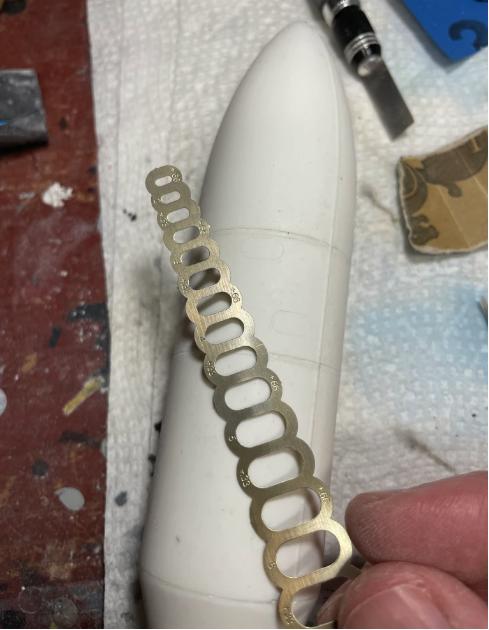
But the resin wasn't the smoothest and my scribe would sometimes "bite" into the surface. I also had trouble getting a crisp seam where the fairing attaches to the tapered adapter (you can see the seam at the bottom in the pic above). This seam is actually present on the real thing, visible as a metal ring at the base of the fairing. Fearing that a metallic finish on the model would further bring out the imperfections along the seam, I decided to cut a thin strip of 0.5 mm plasticard and run it around the joint, covering the seam. This worked well, and added some dimension to the part. I did the same thing on the 5 solid rocket boosters to better match photos.
One surprise was that the liquid oxygen feed line simply didn't meet up with the valve in the base of the rocket:
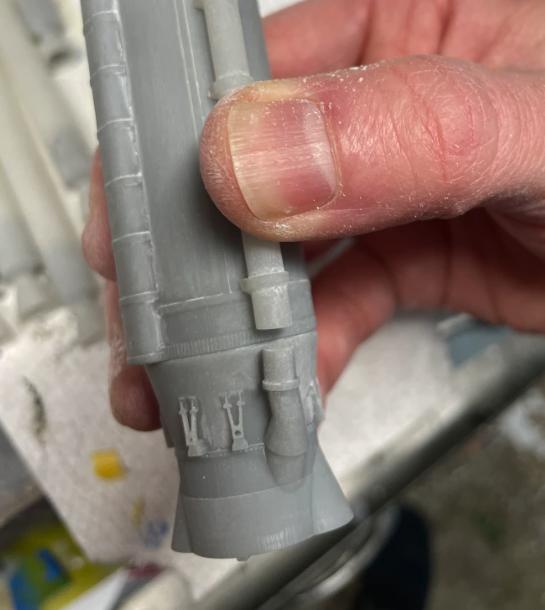
I was able to extend the tubing using some scrap sprue resin easily enough.
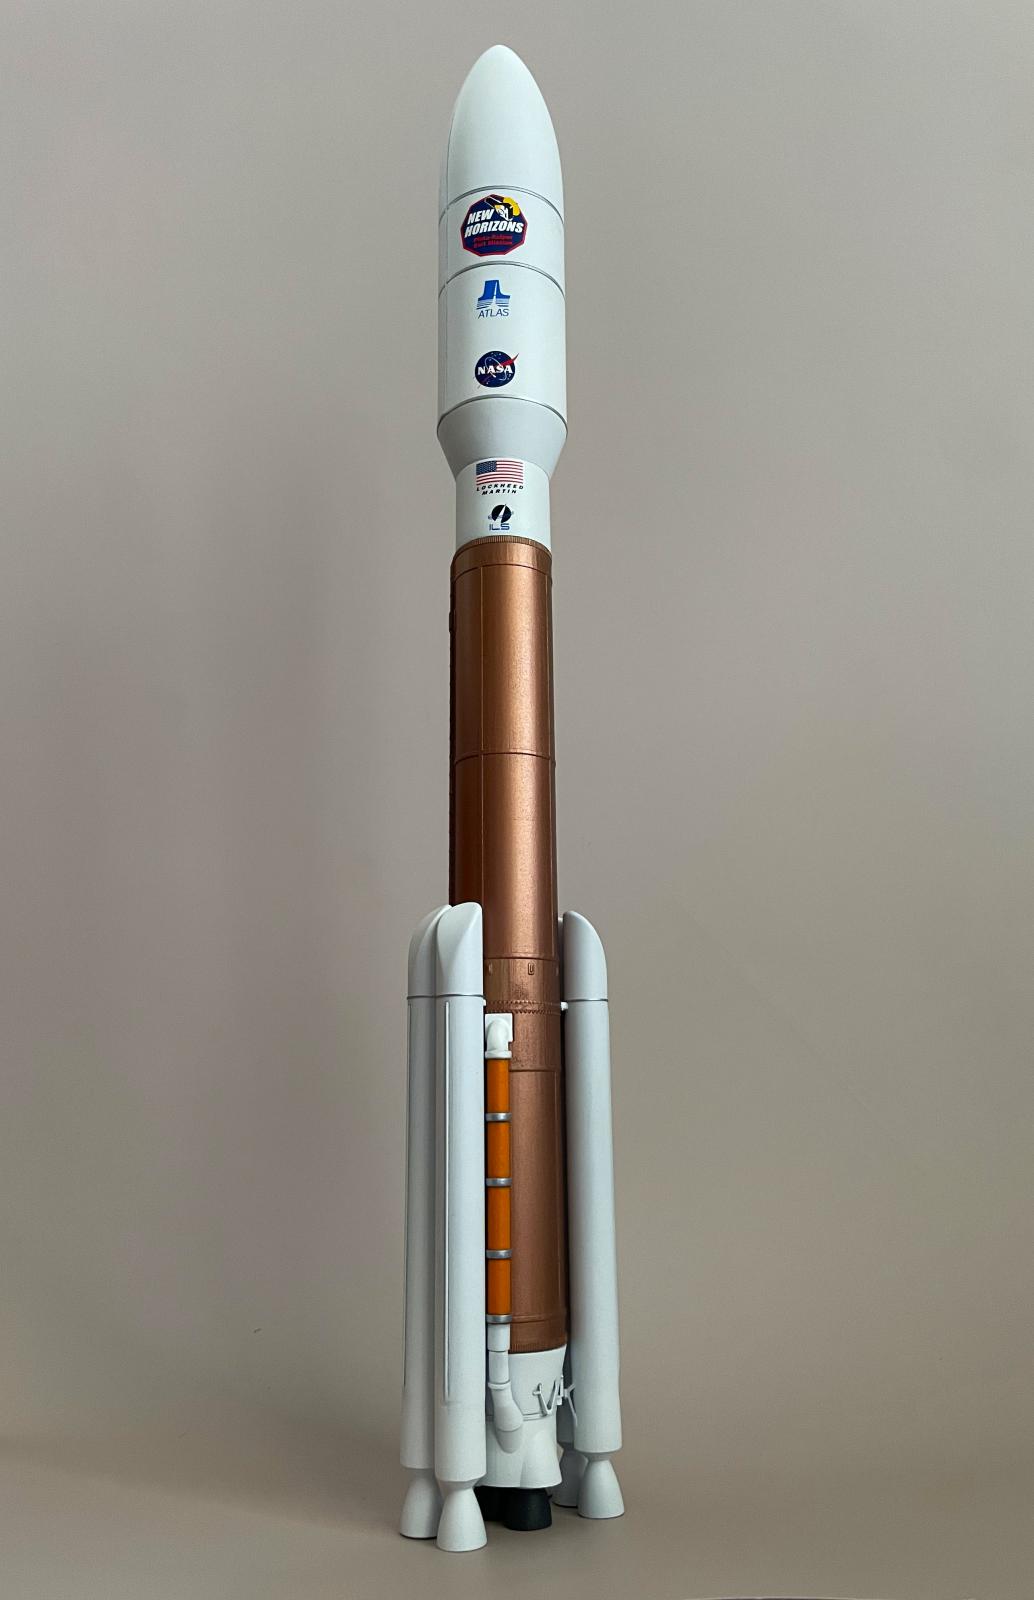
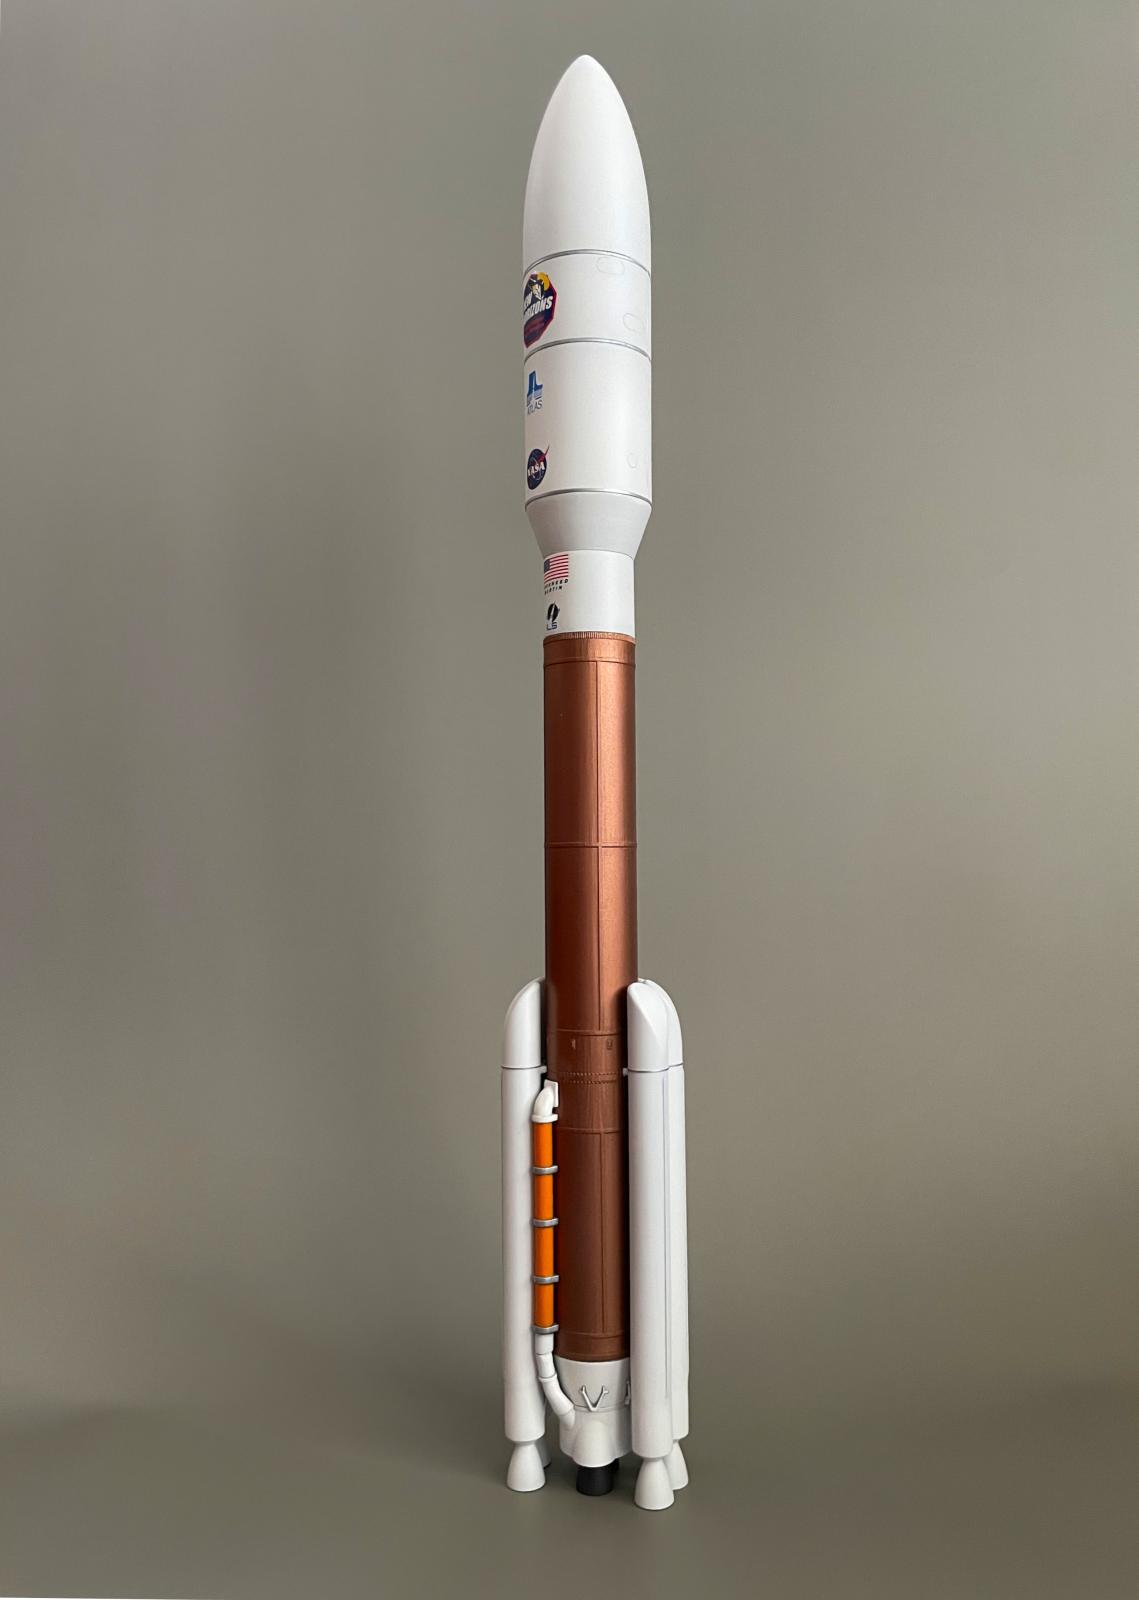
Decals offer a choice between two missions: Mars Reconnaissance Orbiter and the New Horizons probe to Pluto; I chose the latter.
After painting, I applied a light gray enamel wash over the white parts to give some contrast, but no weathering is really indicated.
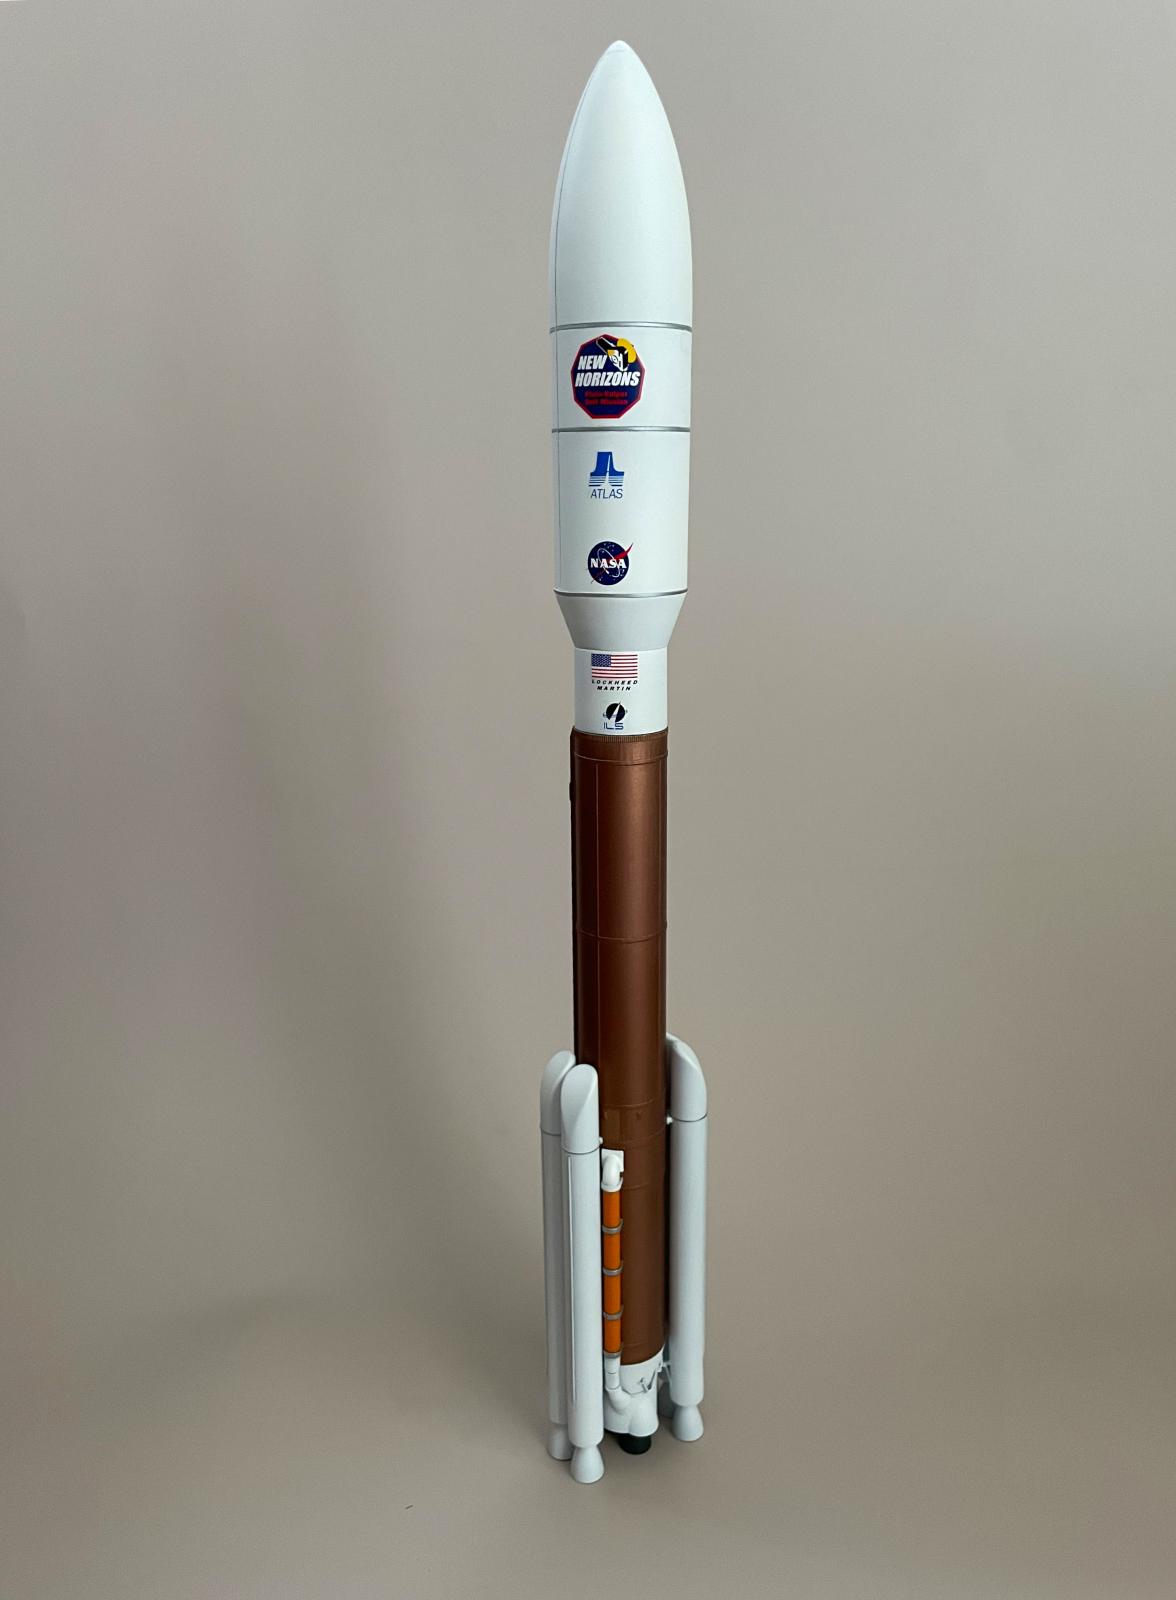
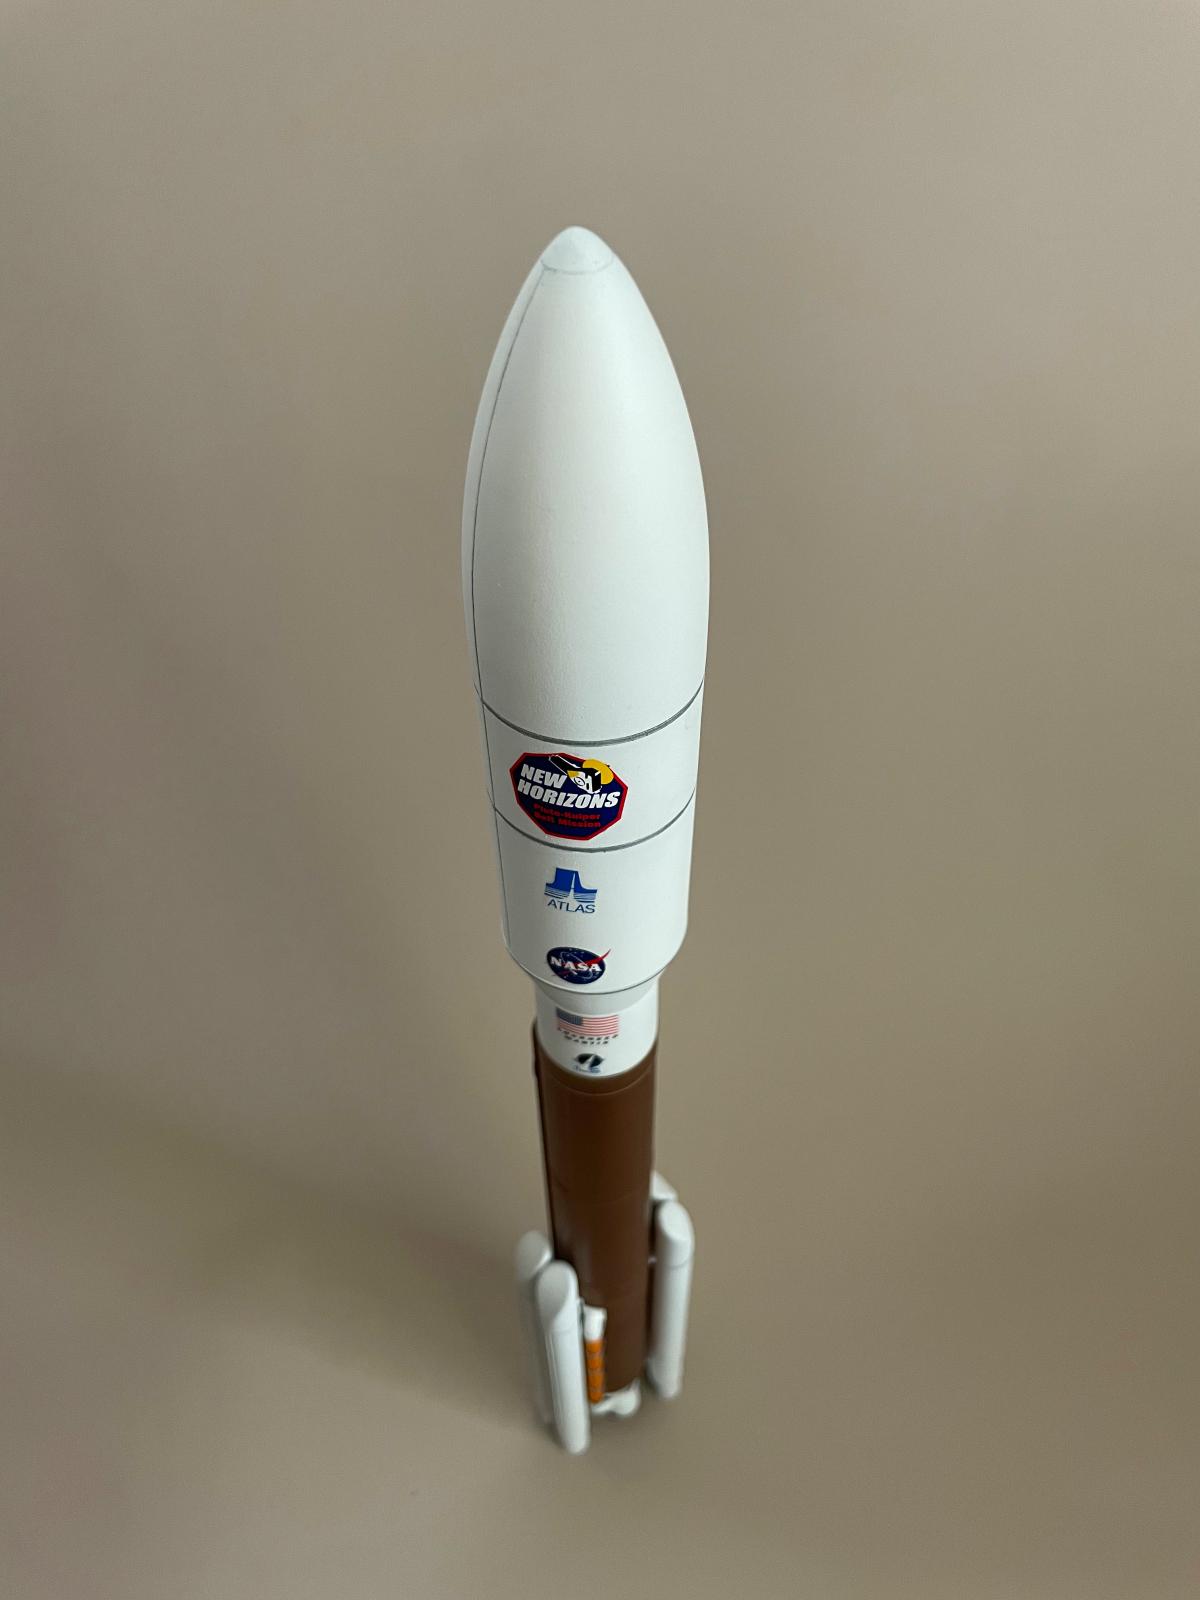
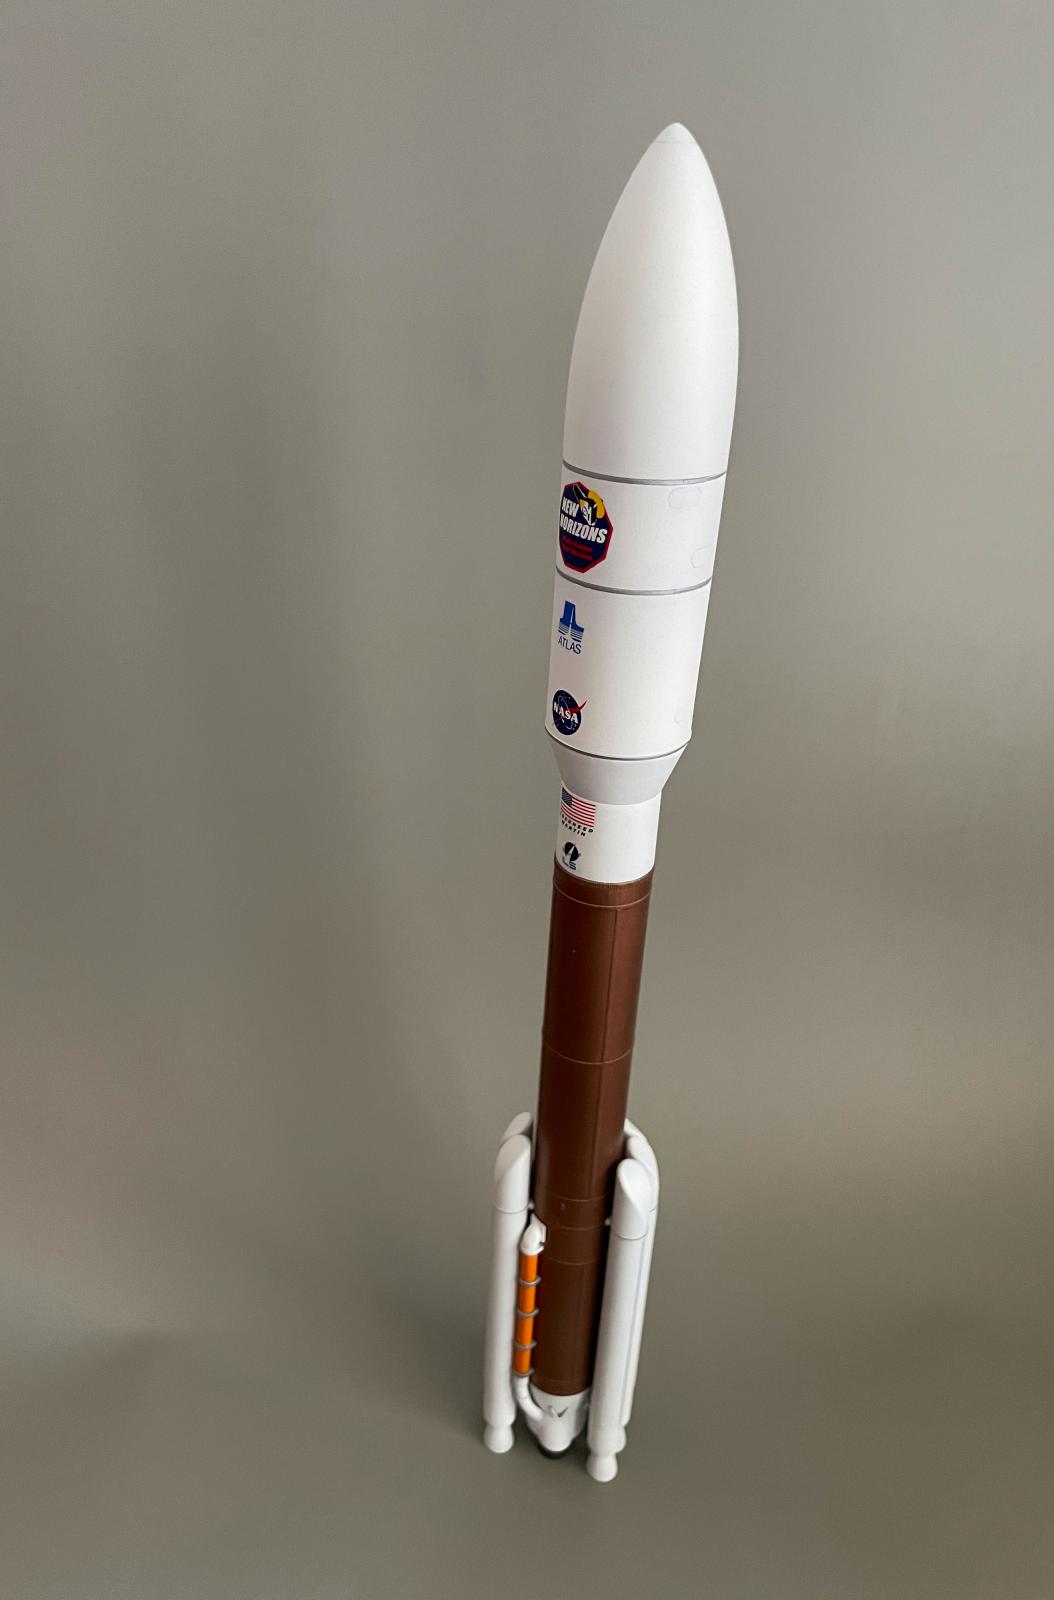
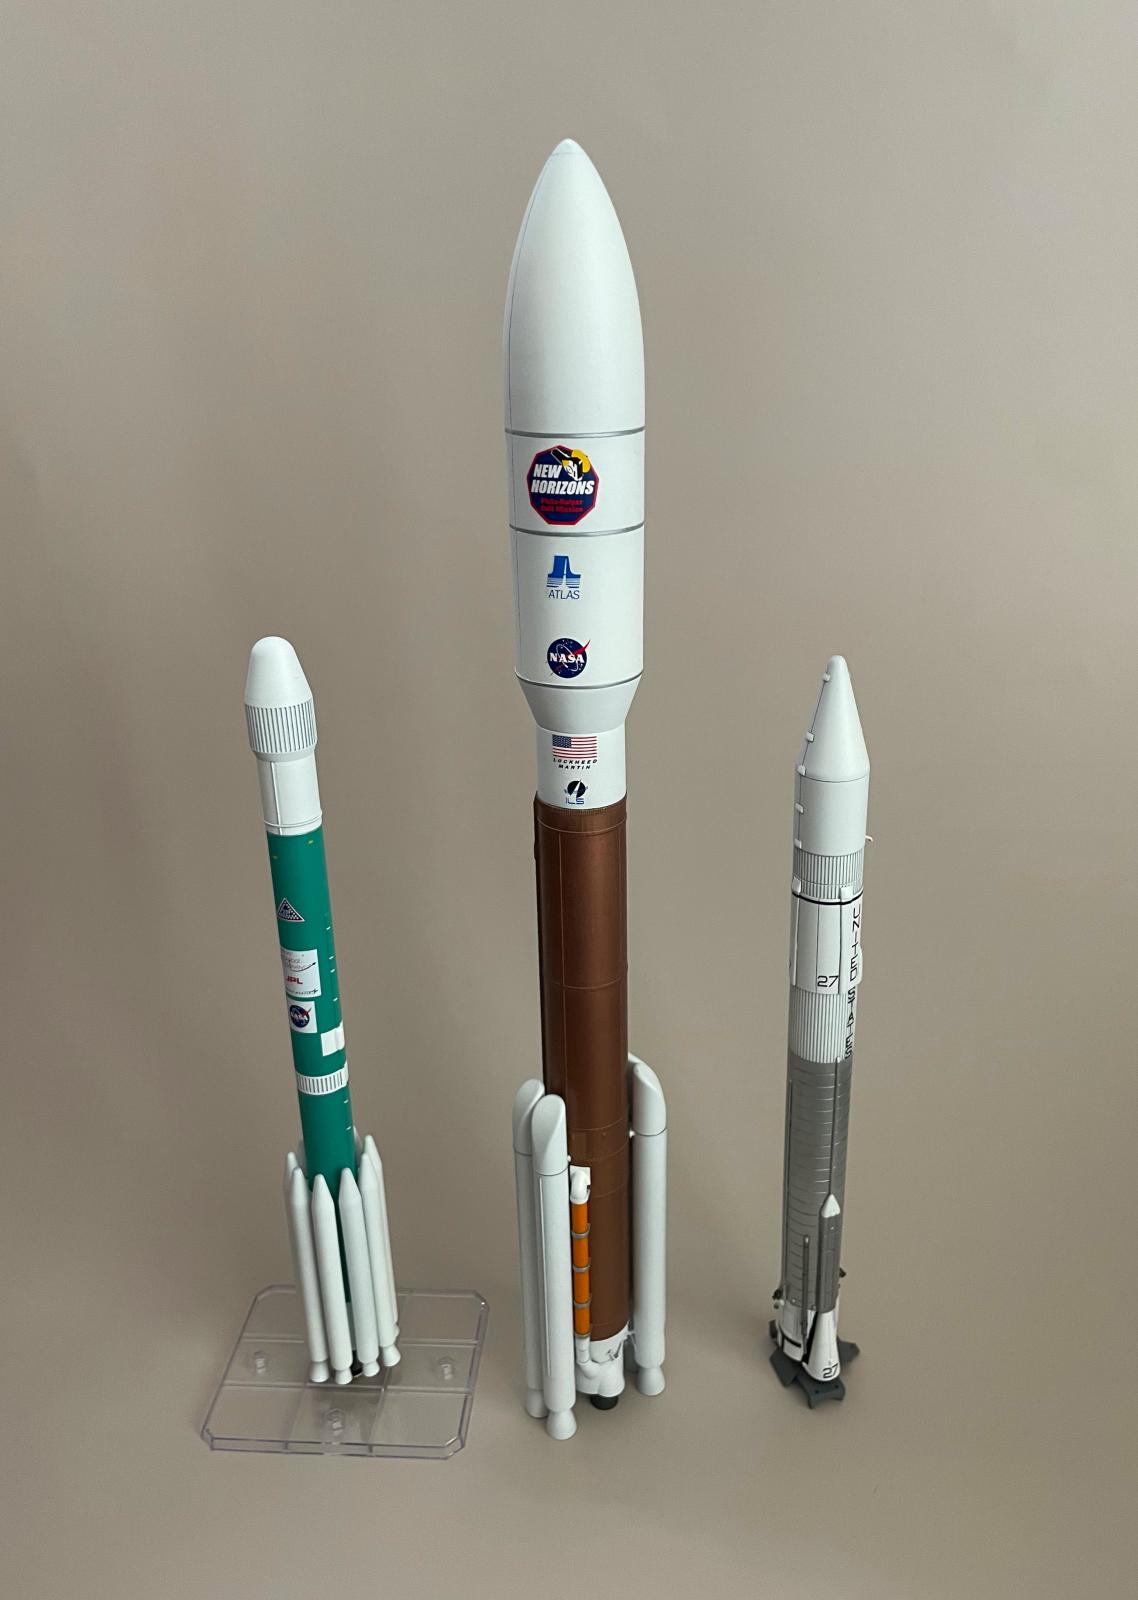
The final model is a good size: 16" tall and top-heavy with the solid resin "grenade" perched on top. But, the model balances (metastably) on its boosters, avoiding strict need of a mount. It's a nice addition to my growing collection of 1/144-scale rockets.

Super job and excellent result, Brian!
A great finish after a lot of work, Brian @bapowellphys
Well done.
Nicely done, Brian!
Great looking rockets! @bapowellphys