Romanian Fighter
Introduction
After all the hassle of complex conversions and difficult kits I felt I'd earned an easy build. Looking around I saw that IBG had released an early P.11B which fitted the bill perfectly. I like IBG kits - they go together easily and are well researched. In addition the company is not afraid to release the oddities and small production runs of a prototype it molds. Thus one can get the single tail PZL 37A (only 10 aircraft) or the P.11Bk (only 20 aircraft) as a high quality injection molded model.
The Aircraft
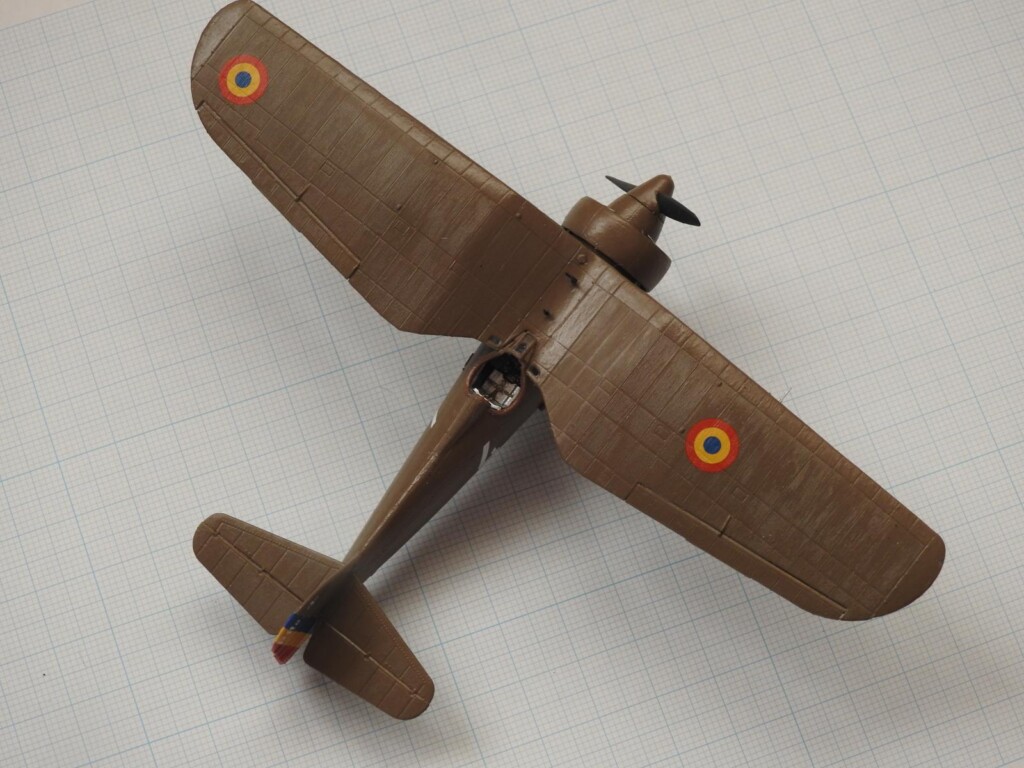
The P.11B was actually the first P.11 mark into service. Interest, in what was then, a new highly innovative fighter was high with the Greeks, Romanians and Turks all taking out options (the Greeks and Turks would eventually go for the P.24). The Romanians did place an order for 50 P.11B aircraft, the 'A' designation being reserved for the Polish Air Force. In the event the Romanians received their aircraft before the Polish received any P.11A - the Poles being a bit slow with their order. This consisted of 20 Bk and 30 Bl aircraft - the difference in designation referring to the engine (the Bk had Gnome-Rhone 9K and the Bl an IAR license built 9K). Only 29 Bl were built with the final aircraft being used for the P.11F prototype. The P.11Bks entered service in 1933/34 and initially were used by the fighter group. However, by the outbreak of war they had all been transferred to training squadrons.
The Kit
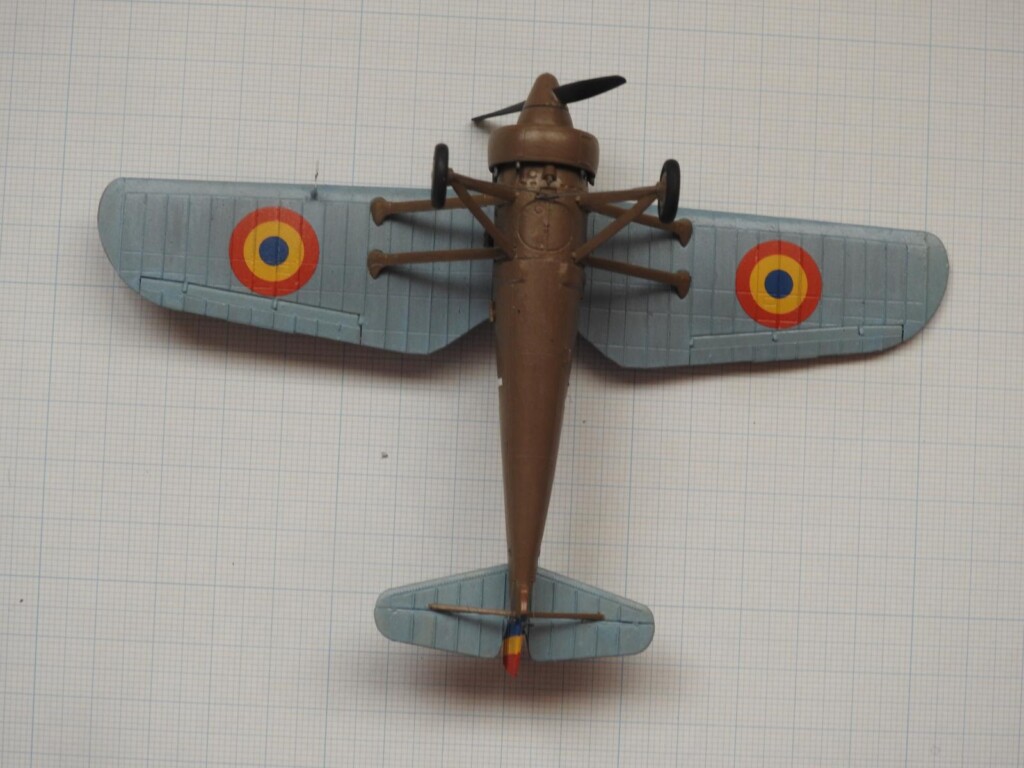
This is a high quality injection molded kit with etched brass included. IBG pay careful attention to the variations between aircraft types so one gets the shot chord cowling and different engine cover. The decal sheet includes three options but these are all later schemes dating from 1940. I wanted to do an early aircraft just after service entry. Romanian decals are thin on the ground so I contacted IBG who kindly let me have a decal sheet from the P.11Bl kit which includes the roundels for the early scheme. That was wonderful customer service. Molding and detailing is excellent and sufficient in this scale but I did buy the Master accessories to spice up the kit (gun barrels, ring and bead sights, Venturi tubes and 3D printed oil cooler). The Master accessories are superb but the Venturi tubes are of the larger kind and inappropriate for the P.11Bk which had smaller ones (the kit options are best here).
Building the model
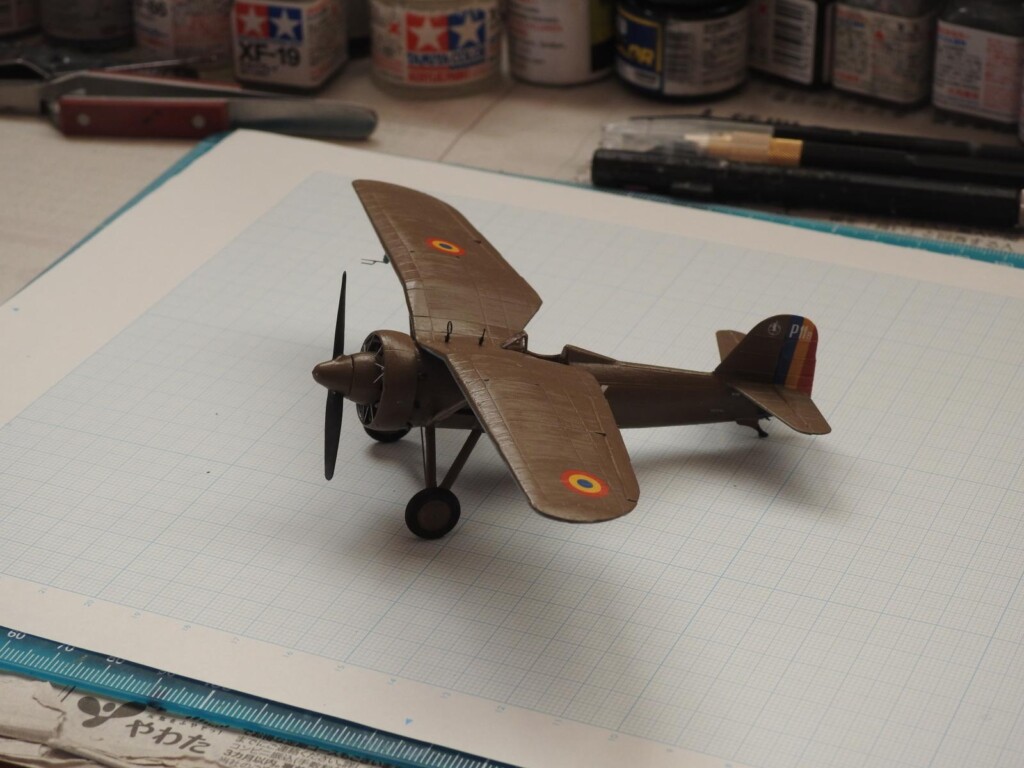
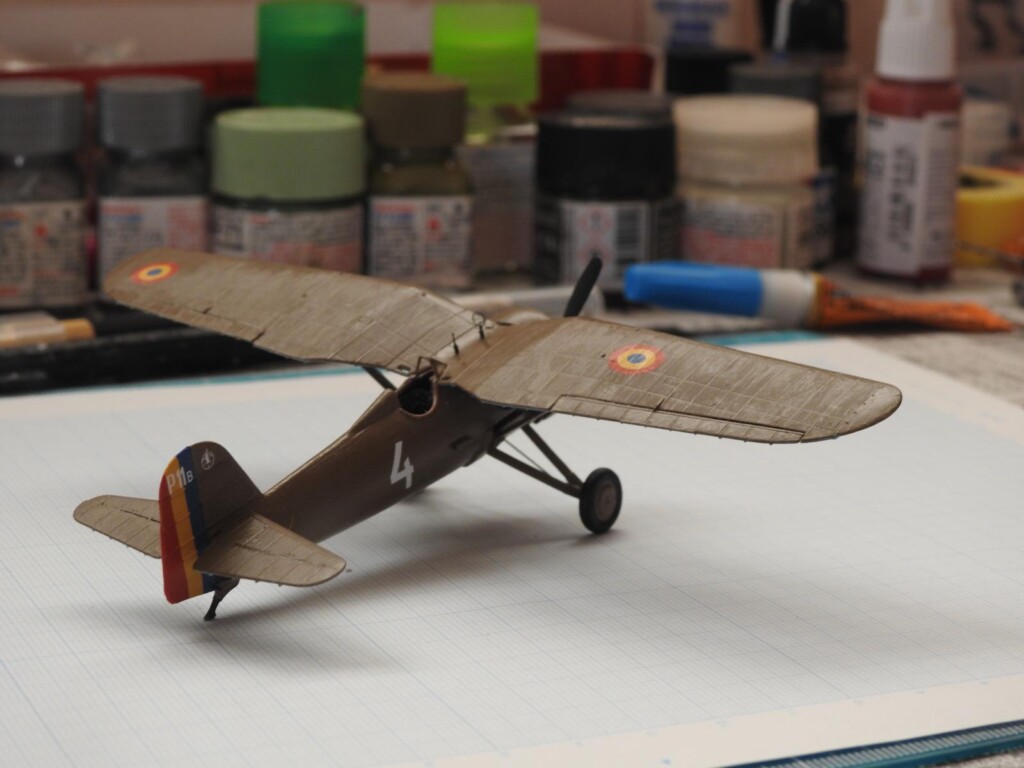
This was an easy build - it went together smoothly and quickly. Some minor clean up is needed for mold seams but that is all. I found myself following the instruction booklet which is large and easy to use. Colour call outs are included and I only really needed to deviate from one call out. IBG recommend that the engine be painted in gunmetal. For IAR engines this is correct but for the Gnome-Rhone engines satin black is more appropriate (judging from the photos). The decal sheet is comprehensive and includes stenciling and makers plates. As I mentioned I was doing an early aircraft so I used the roundels and fin flash from the later kit. These are robust decals and because of the delicacy of the corrugations on the model need a lot of different setting solutions to get to snuggle down. I used three different types with applications over two days. Even then I had to use a needle to ease the decals into the corrugations. For the aircraft identity (4) I used a couple of slightly modified Arma Hobby decals which matched the Romanian style very well.
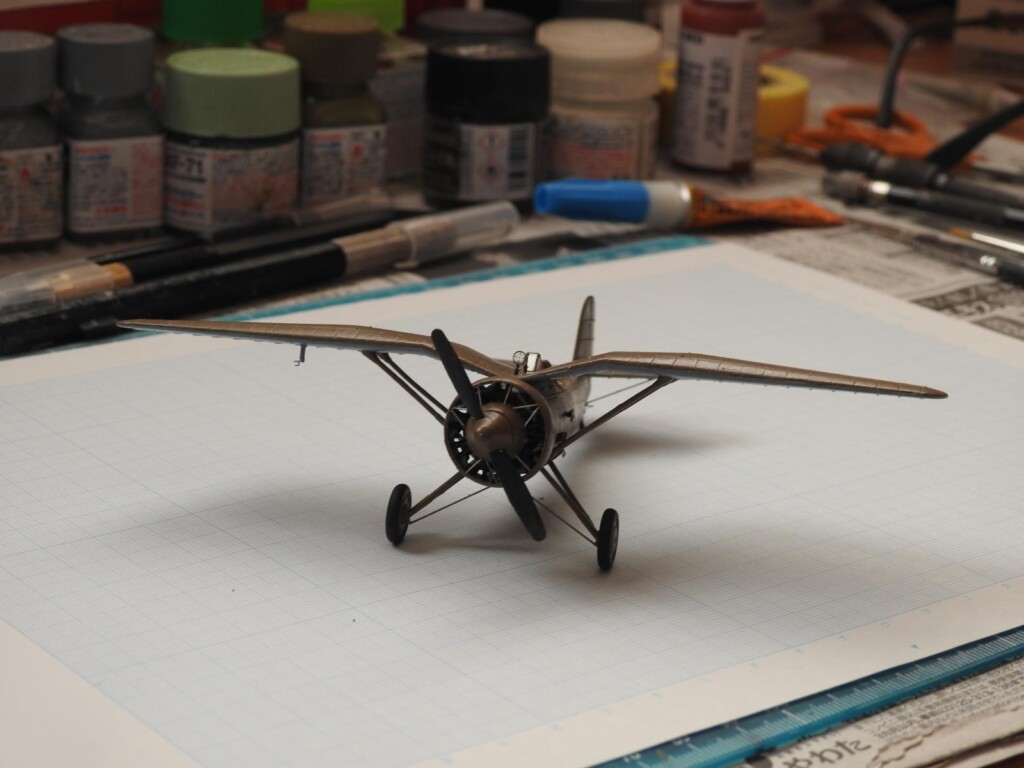
The Master parts were delicate and insanely detailed - a great deal of care was needed here but they really add something. I replaced the etched brass wires between the wheels with 0.3 mm brass rod and also the kit windscreen with a left over Arma version. The latter is much thinner and more delicate than the plastic ones provided by IBG. There is an etched brass option but it's overscale and regrettably can't be used. I also scratch built the pitot tube using 0.2 mm brass wire. The aircraft was painted using Hataka paints - early Polish Khaki (these aircraft entered service in 1933 when the paint was in use) and French blue grey for the undersides. Hataka are fantastic paints to use - they need more than one application but you don't lose detail. The model was then semi-gloss varnished overall to represent the finish on the originals (which were quite shiny).
Conclusion
This is a lovely model and a really fun build. I've had the same experience with every IBG kit I've built and can't recommend them highly enough. They're accurate and they allow one to build all sorts of different variants. In addition the decals are all interestingly chosen examples and comprehensive.
Really nice work, christopher, and a great result.
Hi Tom
Many thanks and much appreciated.
Christopher
Excellent model and great article, Christopher!
Thanks once again Spiros. You're very kind.
Very nice result, Christopher @christopher
Great presentation with a nice to read supporting article.
Thanks ever so much John (@johnb). This was a fun build
Beauty...but then any "Eleven" is.
Totally with you on the IBG front, jewel like little masterpieces, but the PE placement can test the unwary. The next eleven I build from them, I will be creating location holes for the PE from the start where possible. The windscreen alone caused me to buy a PE bending machine, it's just silly not to use the PE framed item.
The corrugated wing surface is beautifully formed and decals will go down nicely if you are patient.
I have a stash of IBG kits building, the plan being to build my way through the variants.
Nice job matey. These kits just inspire you to work at them.
Must try an Arma 1:72 one day...a Polish Mustang to sit with the 11s perhaps...
Many thanks for the kind comments, Chris. The Arma's are a bit less detailed and well thought out than the IBGs (I've built the P.7a and the P.11c both in the expert boxings). The corrugations certainly aren't as good. The issue with the IBG photoetch windscreen is the fact that it's overscale - it's not an issue to bend.
Nicely done Christopher.
Thanks ever so much Alan
Very interesting write-up and an impressive model.
Hi George
Many thanks for the kind comments
Christopher
Very well done - that's a sharp looking P.11.
Thanks a lot Chas - very much appreciated.
Very nice work, Christopher.
Many, many thanks George
Looks great! Well done.
Thanks ever so much Greg!
Beautiful build of a not so famous fighter. I really like seeing the oddball and forgotten early war stuff. I think we to often forget some countries were not as fortunate as others and there airforces were a little farther behind the current technologies of the day.
Many thanks Clint - the irony was that when it was introduced the P.11 was cutting edge technology. However, technology moved pretty quickly then.