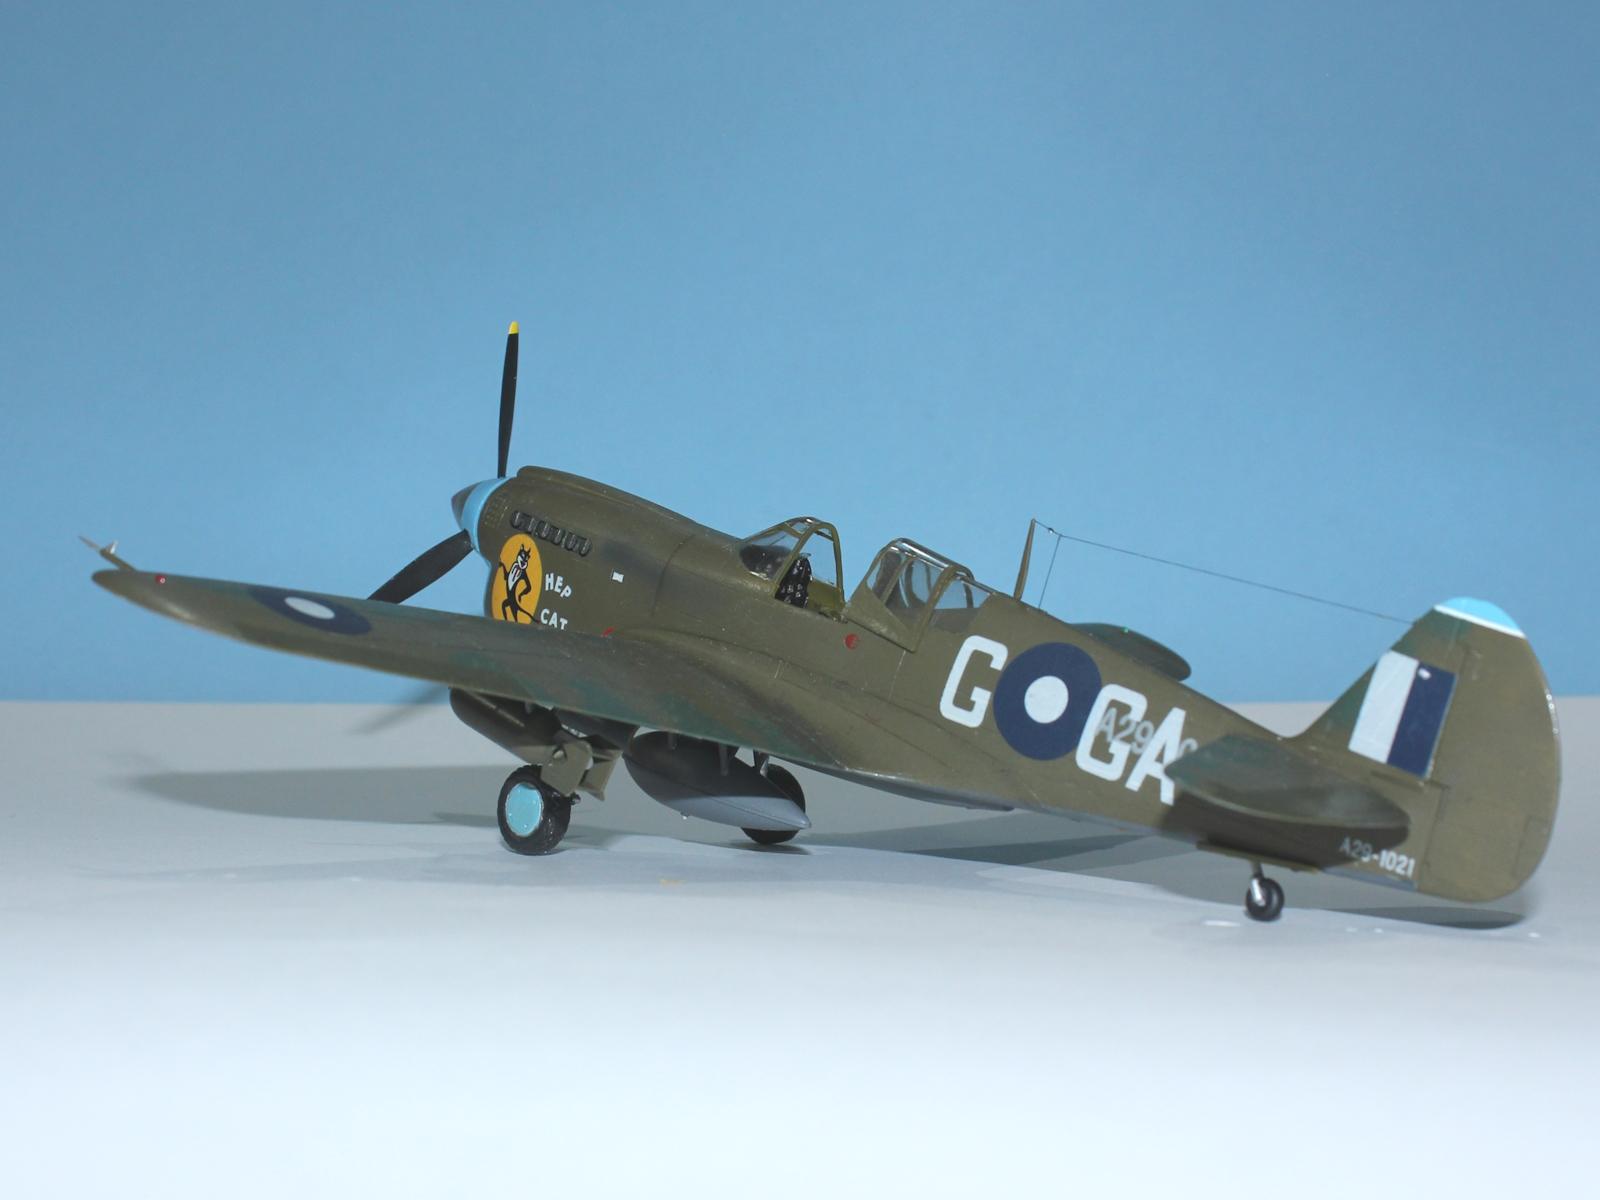
Hep Cat
This article is part of a series:
This the seventh P-40 that I started last year, but did not complete, in time for a club display for the Australian Model Expo. I built them as one group of three and a second group of four.
-
Hep Cat

Subject
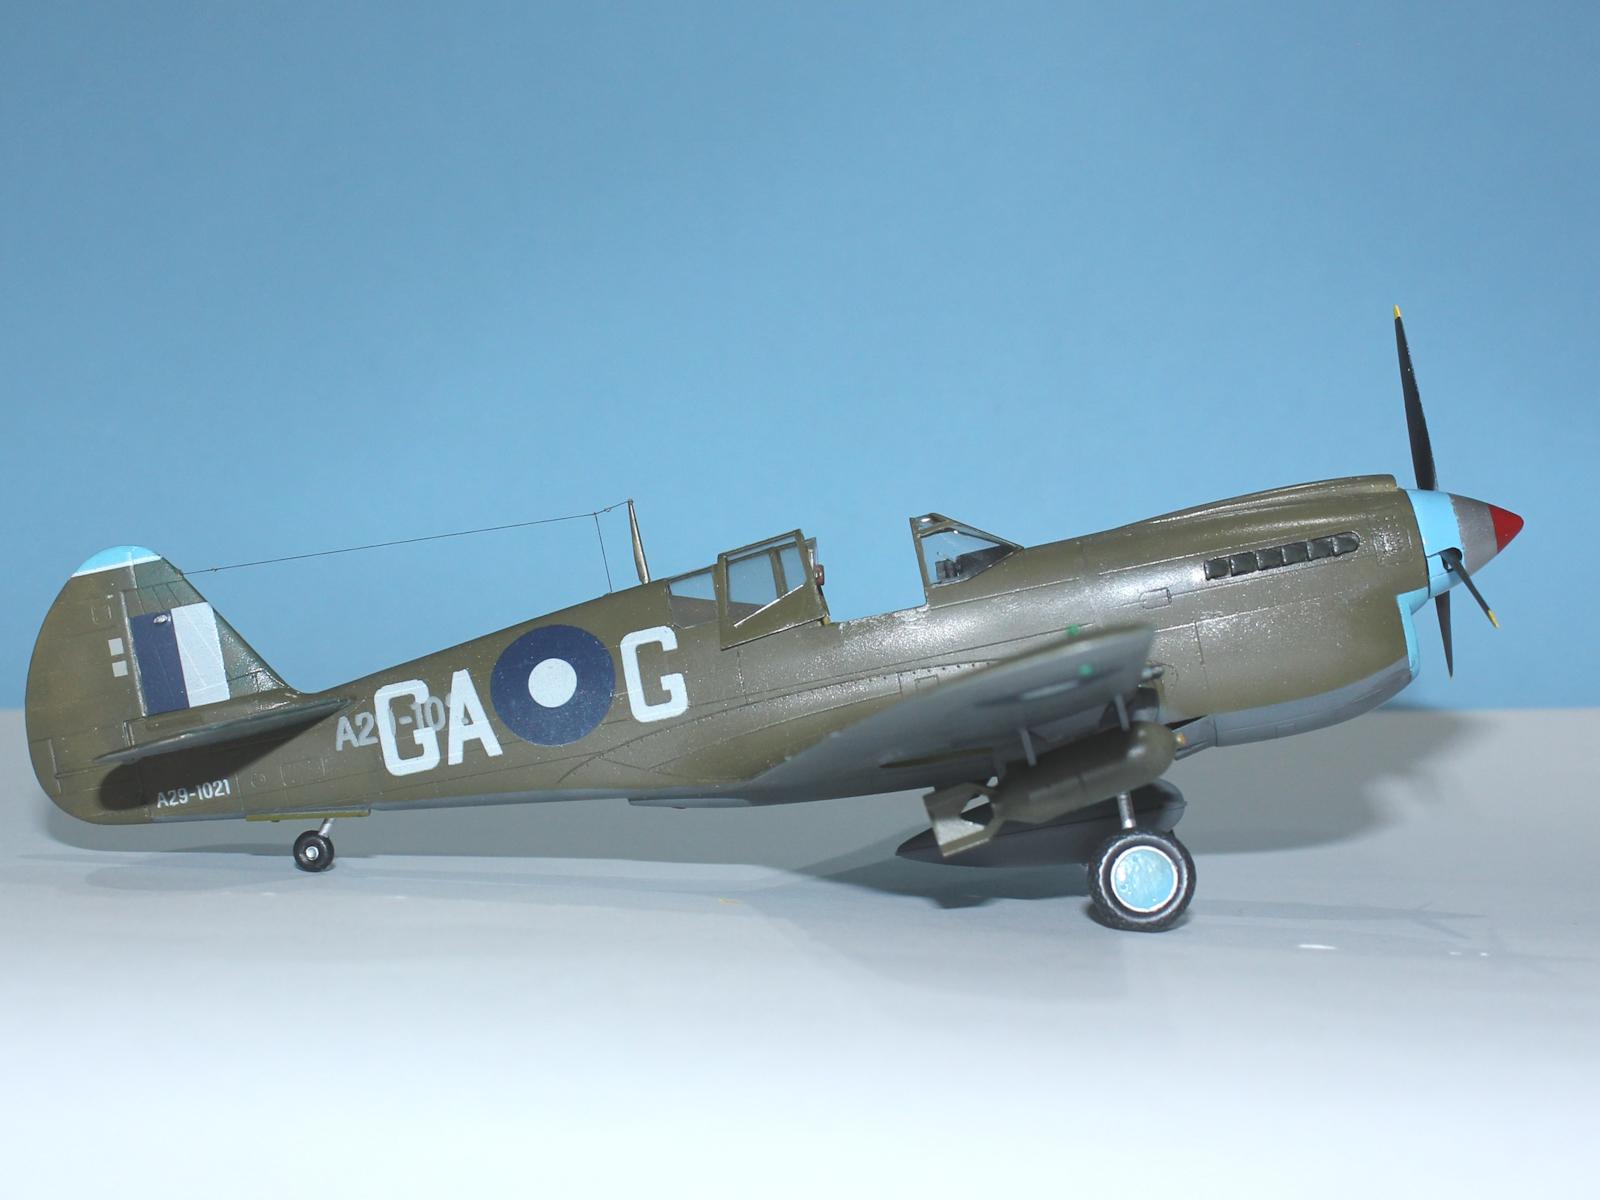
This aircraft is the mount of the CO of 75 Sqn RAAF, Sqn Ldr Clive Tolhurst, flying from Morotai in 1945. Little is information is available about Tolhurst apart from the fact that he was from Adelaide, South Australia, and was mentioned in dispatches in 1946 “for services rendered in Northern Command”.
75 Sqn was formed in 1942 and received its baptism of fire in the Battle for Port Moresby and then the Battle of Milne Bay. In December 1943, 75 sqn became part of 78 Wing alongside 78 sqn and 80 sqn, also operating Kittyhawks, as the Allies moved on to the offensive. The squadron moved bases frequently, finding itself on Morotai in late December 1944.

The squadron was meant to move to Tarakan with the invasion force in May, but the airfield was not repaired until mid-July. In the interim, the squadron remained on Morotai and did little flying. It is possibly during this pause that a series of in-flight photos were taken of Hep Cat, along with other aircraft in the squadron.
Construction
This was mostly an out-of-the box build with a few modifications.
I decided to purchase an Ultracast seat with harness and pilot back armour, mainly because I didn't have enough US seat belts. While this piece is designed for the Hasegawa kit, with a little modification it fit the AMD kit and I used the kit floor, sidewalls and control stick.
The Eduard P-40N that I built at the same time included three different coloured etched instrument panels. I used the P-40N-20 instrument panel on the Eduard kit and one of the others on this kit.
As for the other P-40s I built at the same time, I painted the interior Gunze Sangyo H81 Khaki as my best interpretation of Curtiss interior primer.
Likewise, I used plastic card to box in the fuselage side of the main wheel wells and assembled the fuselage and wing without too much trouble. As for the Eduard P-40N, the rear canopy includes part of the rear fuselage with the join not on a panel line. However, with a bit of effort, I managed to successfully eliminate evidence of the join.
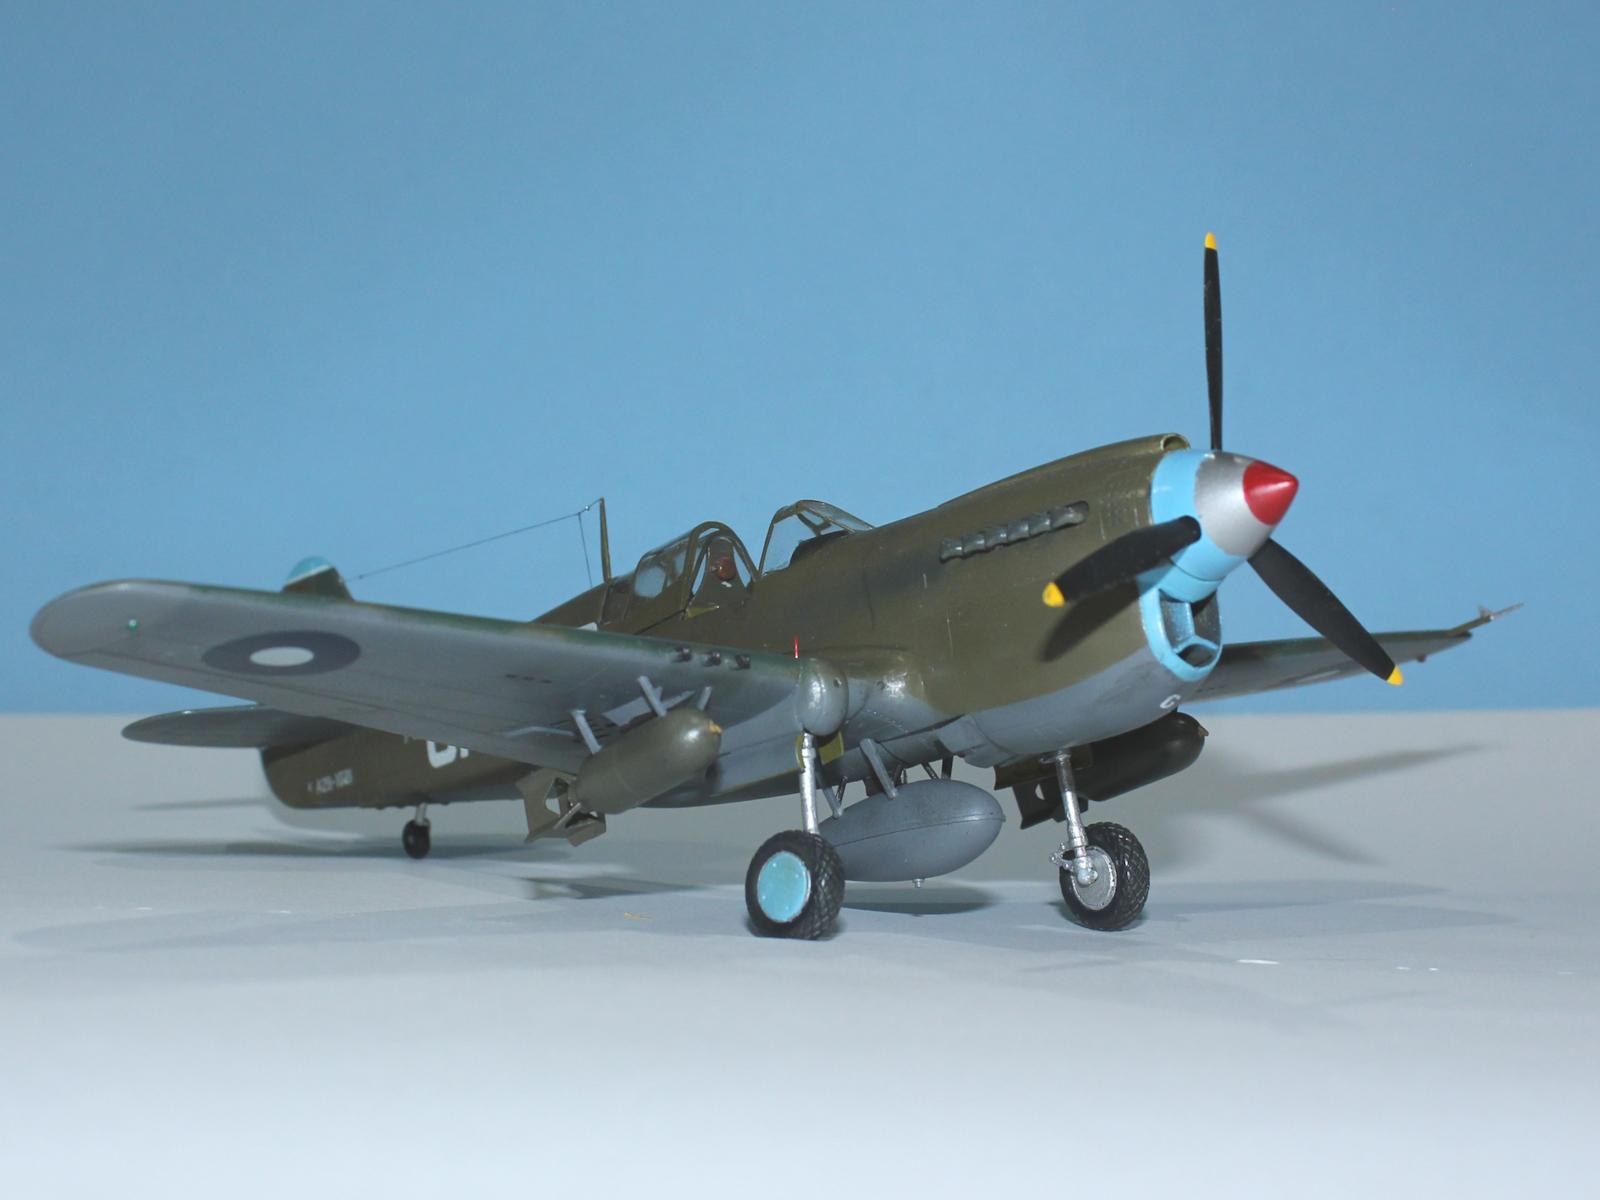
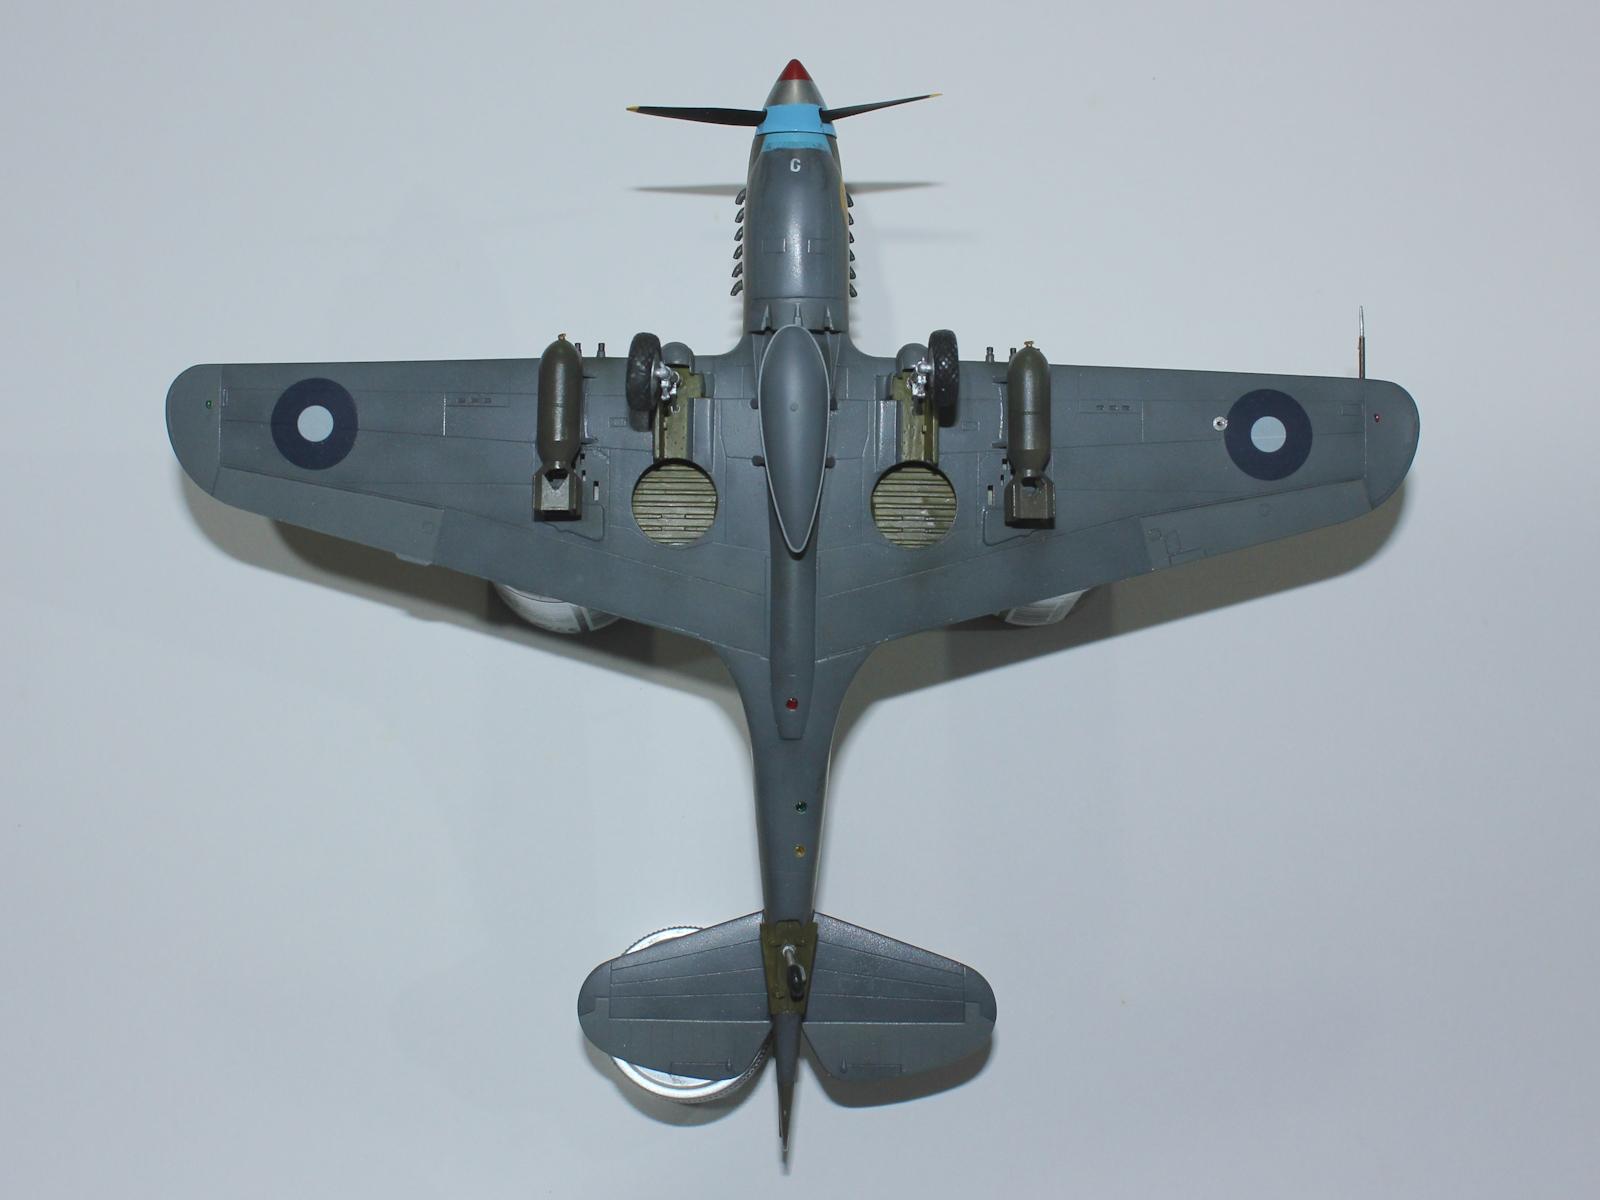
The kit comes with holes for the wing bomb racks and, in this case, they were required. Photos of Hep Cat show that it was equipped with these although the kit parts were a little crude with rectangular bomb braces and a curious curved piece that slots into the top of the bomb. I thinned these curved parts down so that they were less evident when the bombs were attached.
The kit windscreen is typical for most P-40Ns in that it includes a port quarter window vent. However, the P-40-35 did not have this but the P-40L I built did, so I swapped windscreens between kits.
Earlier model P-40s had an undercarriage position indicator on the instrument panel. As part of the weight reduction measures, this and the associated cabling were deleted and small rod indicators added that poked through the wing above the main gear legs. I added these with small pieces of copper wire painted red.
The final defining feature of the P-40N is the smaller 27” main wheels. The kit wheels are the standard P-40 30” wheels so I purchased some Ultracast 27” covered wheels.
Painting and Markings
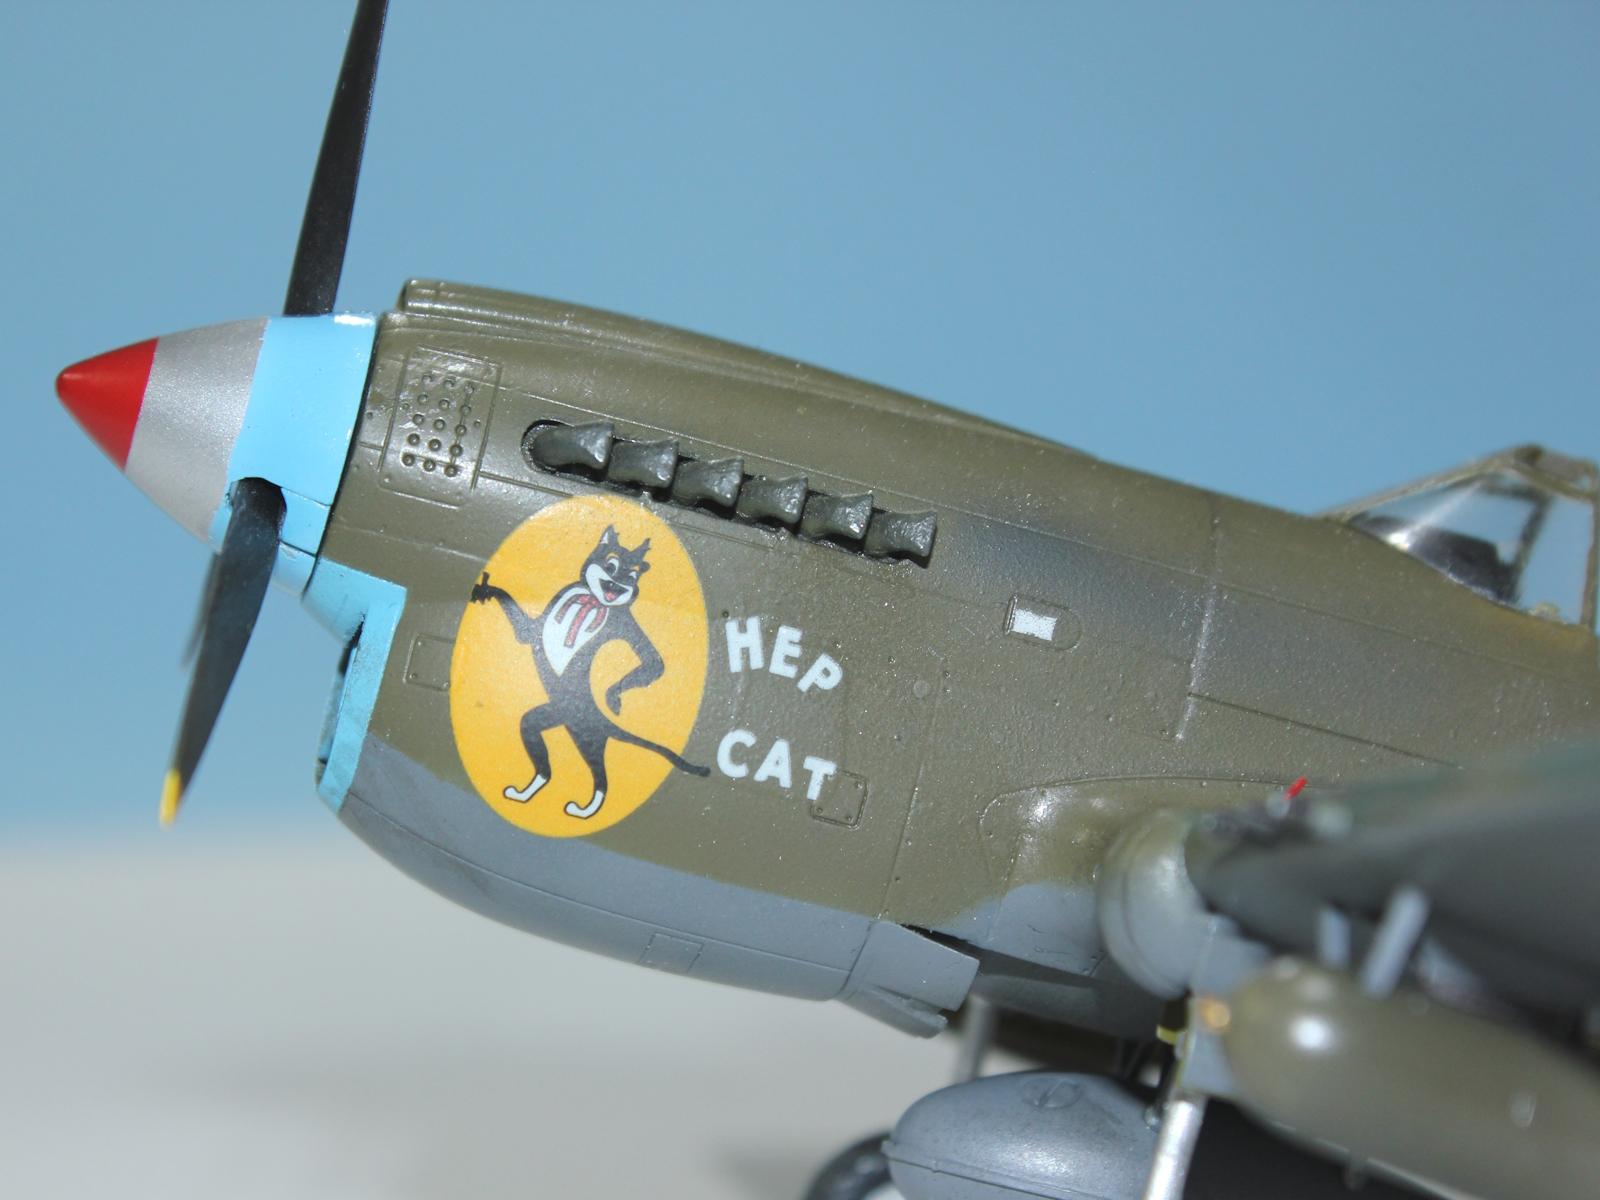
With the colourful nose art, “Hep Cat” is a popular aircraft for artist profiles and decal makers. Unfortunately, many of these profiles are incorrect, either through the choice of colours or the detail of the markings. “Hep Cat” was extensively photographed flying with the squadron and on at least two different occasions on the ground with Tolhurst and others posing in front of, or on the aircraft.
With the aid of the black and white photographs and an understanding of late war RAAF squadron markings it is possible to determine the true colour scheme for the aircraft. The in-flight photos are taken from another P-40 and show both full left and right sides of the aircraft and, importantly the upper surfaces.
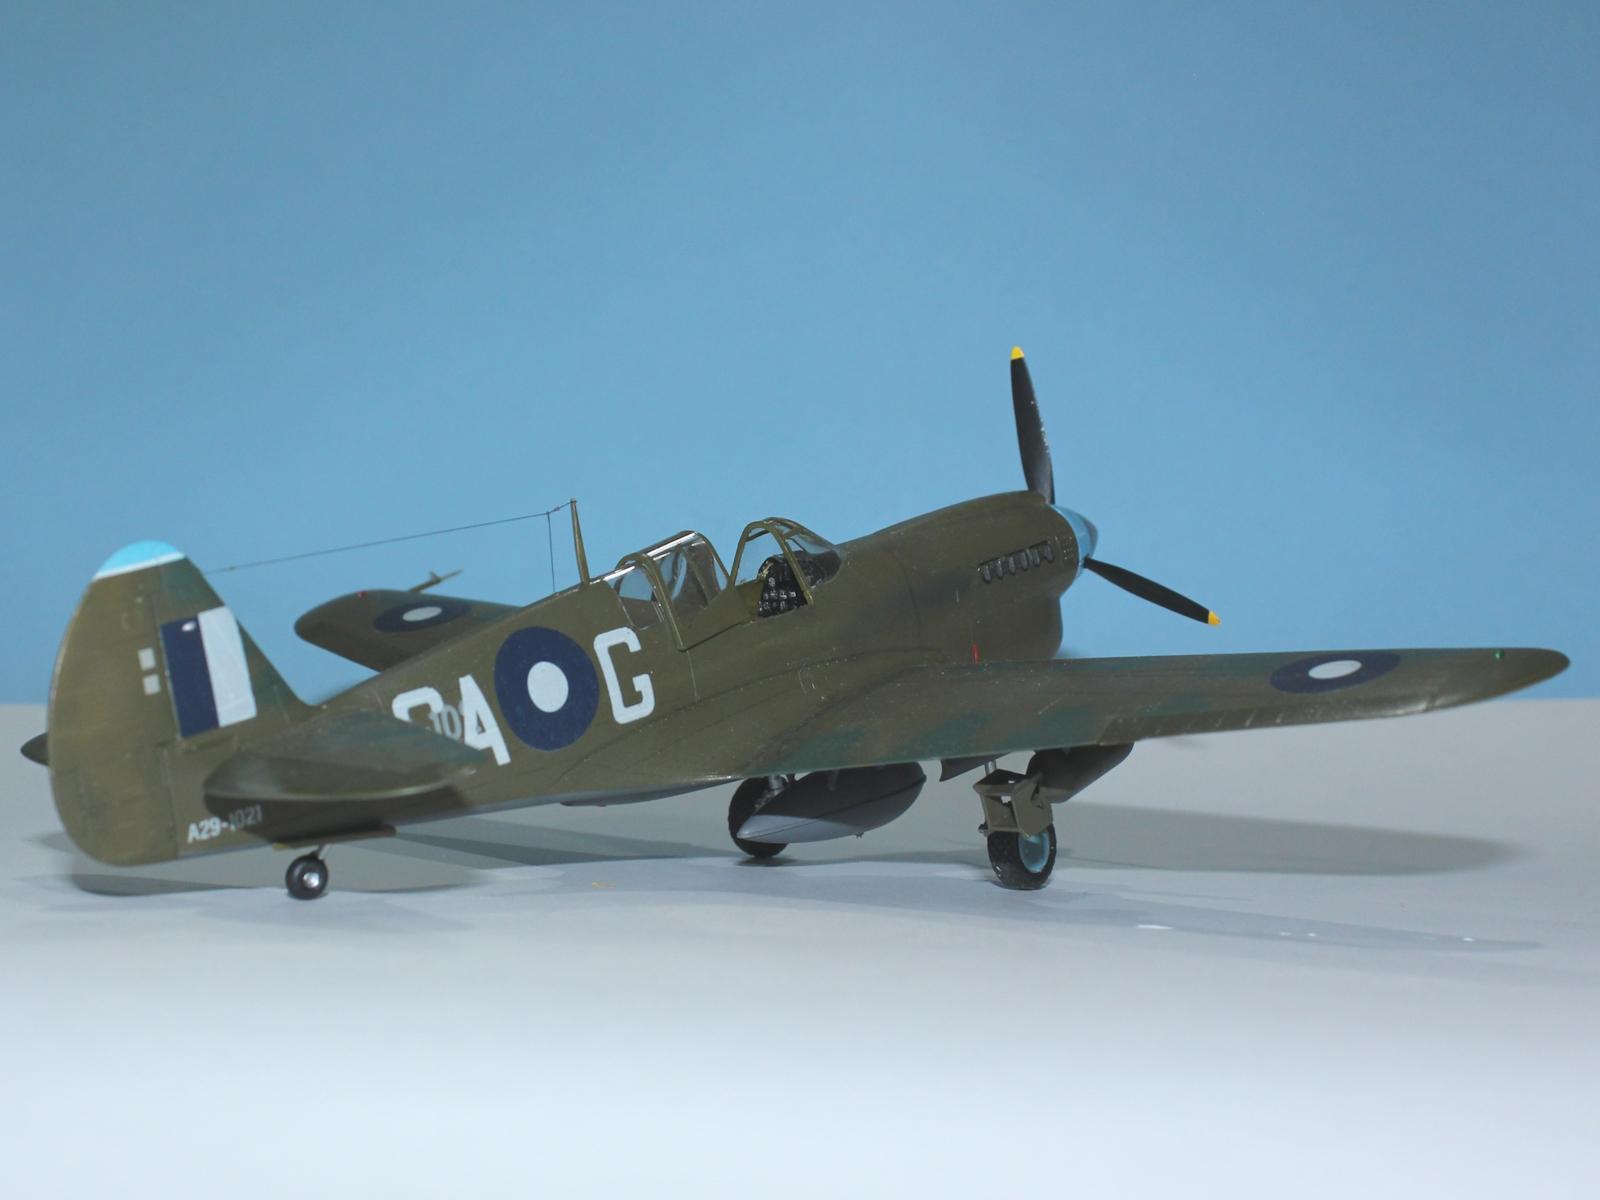
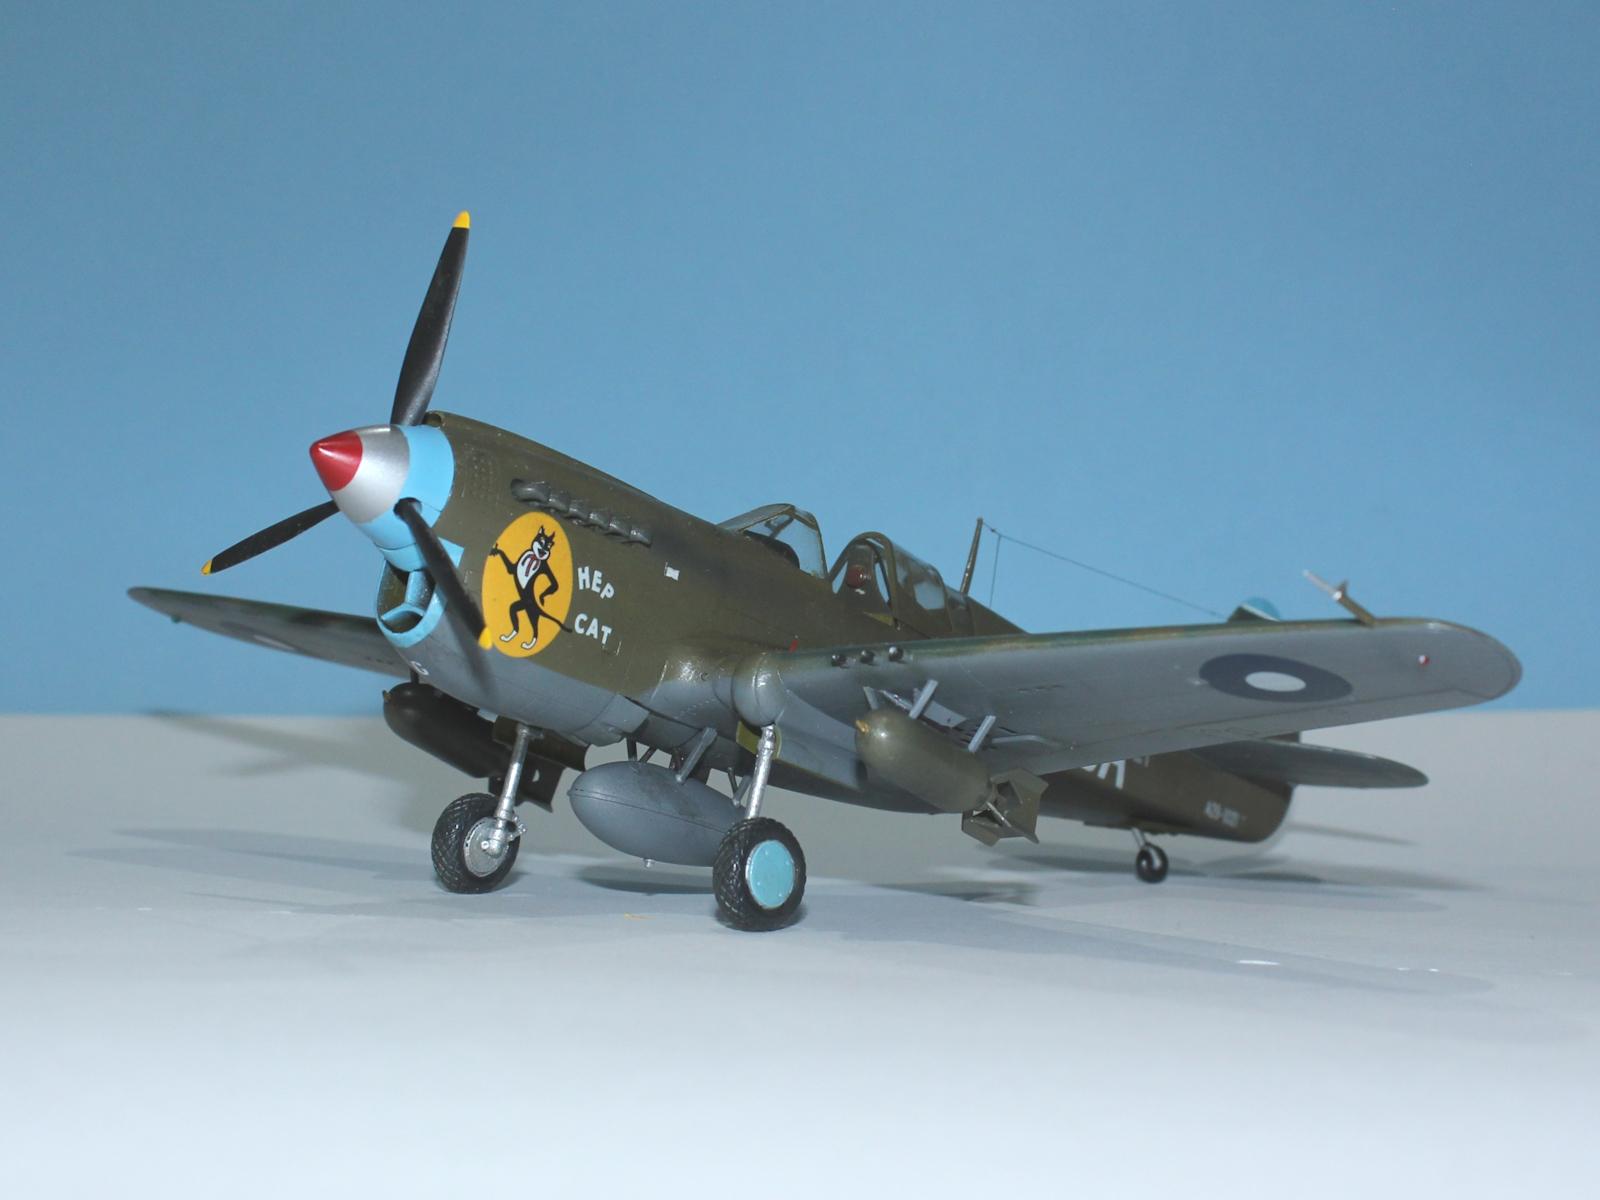
Firstly, this aircraft was delivered in the standard Olive Drab and Neutral Grey camouflage. Photos also show that the aircraft had Medium Green disruptive camouflage on the leading and trailing edges of the wing and leading edge of the horizontal tail. This is missed by nearly all the profiles that I have seen.
Other points to note are that the ailerons, starboard wing tip and, possibly, the elevators look to be darker than the olive drab of the wing on this and other aircraft in the squadron. The tropics, and Japanese flack, were not kind to fabric control surfaces and these were probably replacement parts.
I used Gunze H52 Olive Drab (1), Gunze H53 Neutral Gray and Gunze H302 Green FS34092 for the camouflage colours and faded the upper surfaces with a light overspray of lighter Olive Drab (Gunze H304 Olive Drab FS 34087). The control surfaces and wing tip were painted with straight H52.
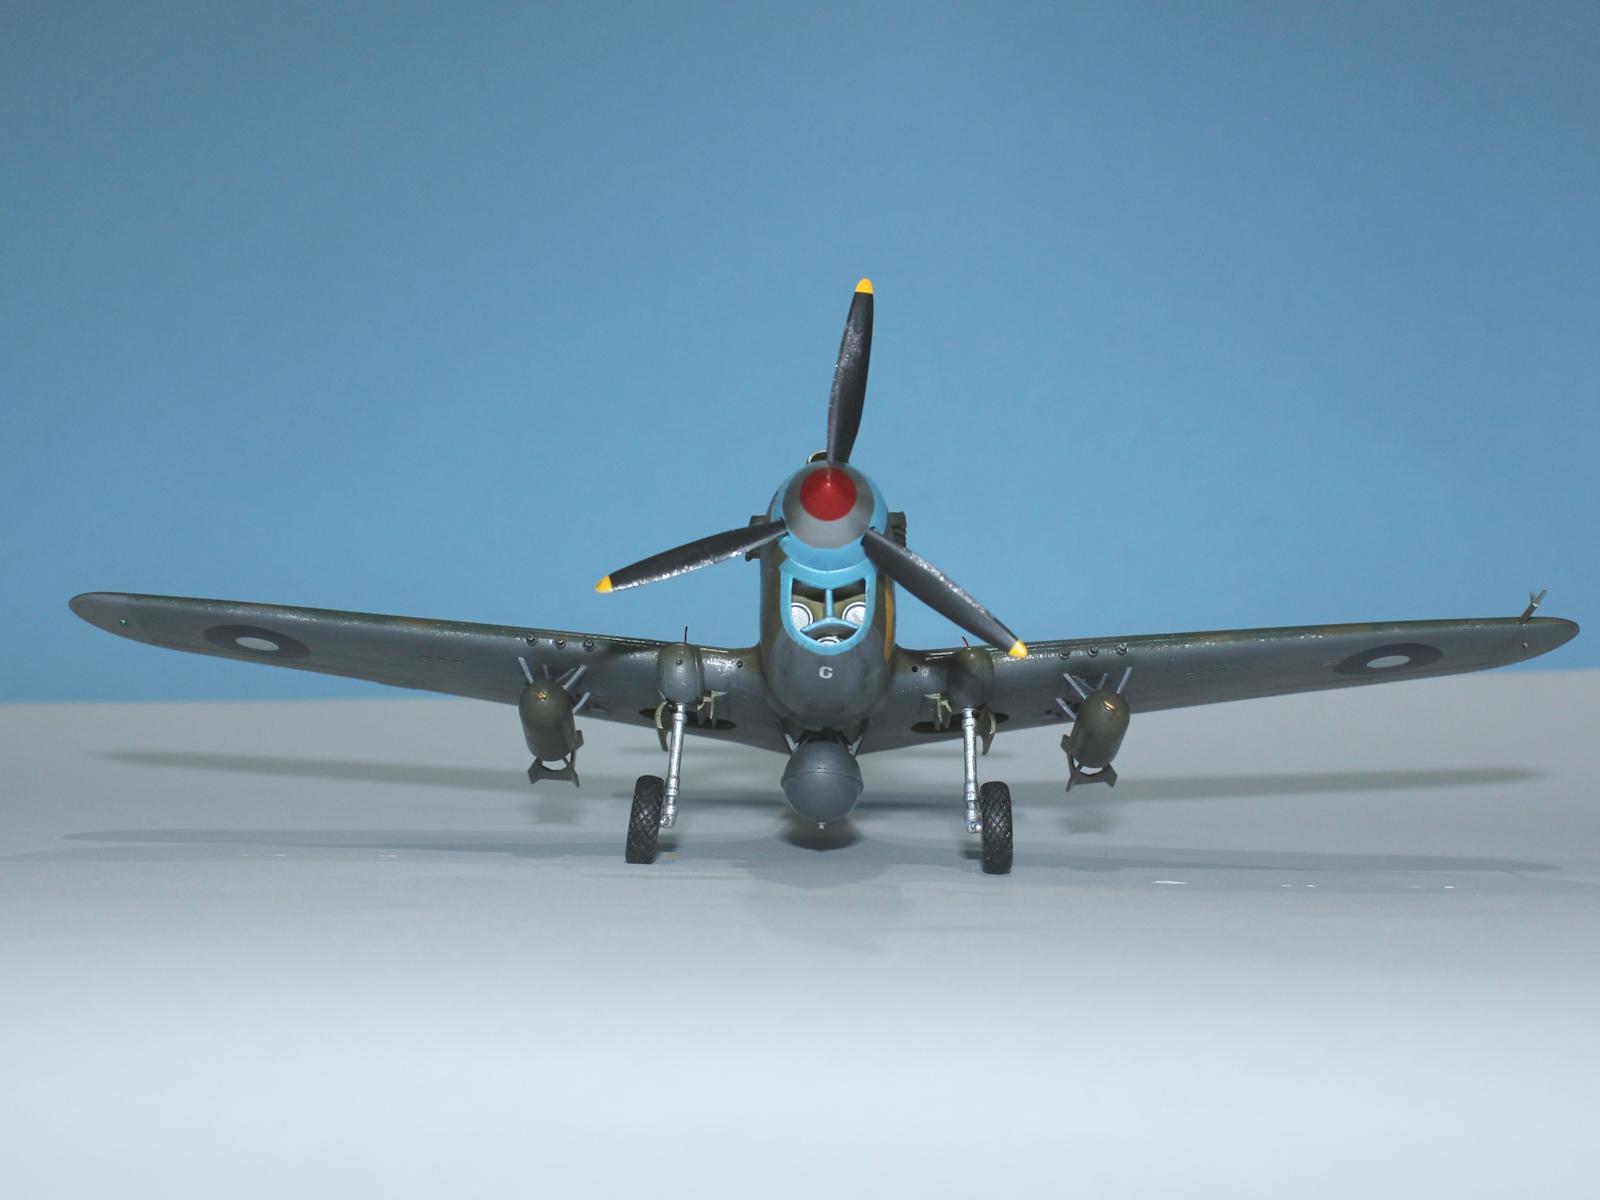
As the allied forces advanced in 1944, the Japanese arial threat diminished and airfields were becoming congested. In his book “RAAF Camouflage & Markings, 1939-45 Vol 2”, Geoffrey Pentland notes that, it was decided that additional squadron recognition markings were required over the squadron code letters. The white theatre markings were dispensed with on new aircraft and 75 sqn adopted polished silver spinner forward halves with a light blue rear half and light blue radiator trim. Wheel hubs were light blue with a white edge. Eventually, the fin and rudder received a light blue tip outlined with white.
The squadron codes and individual aircraft letter, GA-G, were painted in a bold font with the code being G-GA on the port side. Interestingly, on this aircraft, and others in the squadron, the GA slightly overlapped the national insignia on the port side, but not the starboard side. Also, the codes were painted over the aircraft serial, A29-1021 in this instance, on both sides and the serial was therefore repeated in a smaller font below the horizontal tail, just in front of the rudder.
The aircraft also had a small individual G under the nose. Unfortunately, while the MSAP decal set I used indicated the small G under the nose in the instructions, the relevant decal was not on the sheet. So, I used a Cricut cutter to make a mask and sprayed the letter white. (This is the smallest mask I have attempted to cut so far).
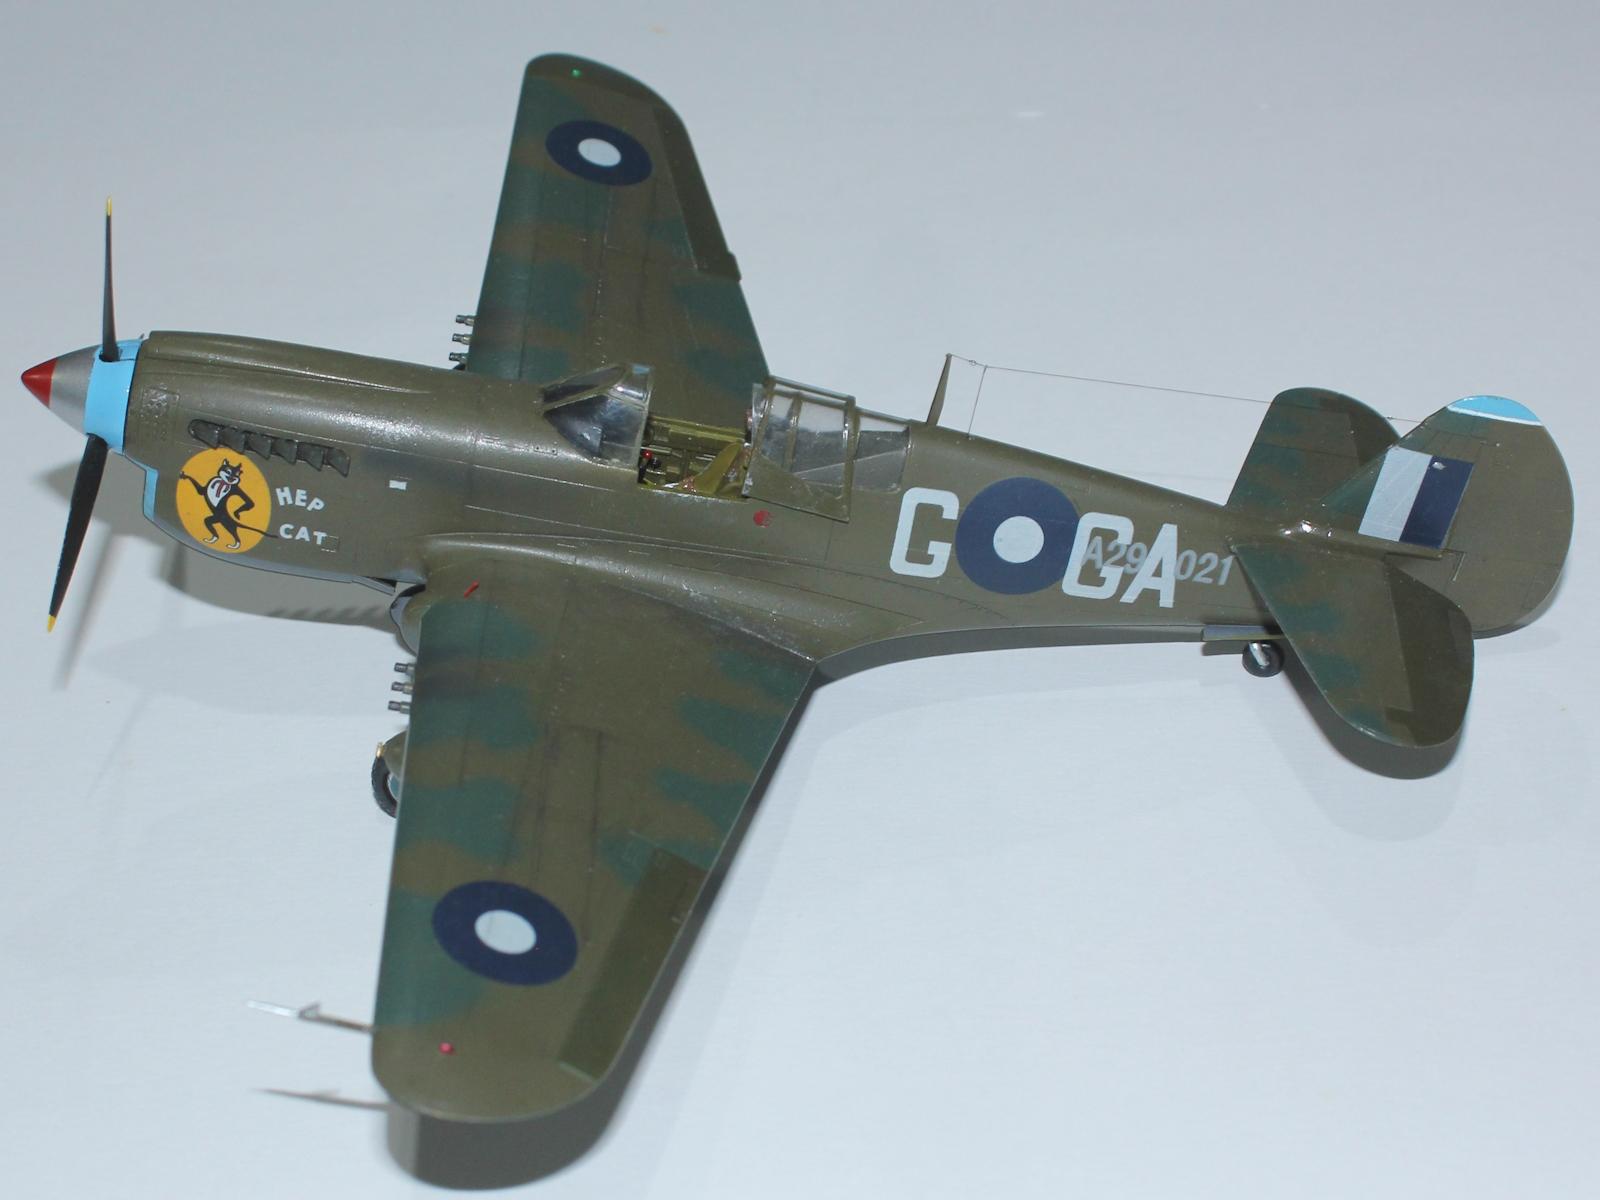
As the squadron CO's aircraft, “Hep Cat” also had a red tip to the spinner. Later photos also show the radiator trim outlined in white and extended in a triangle behind the individual aircraft “G” under the nose. The background on the nose art is clearly a different, lighter colour to the spinner blue in the photo with Tolhurst, although they look similar in other photos, and most profiles agree that it is yellow.
It can be hard to pick colours in black and white photos, and in some cases the light blue looks dark, so it is understandable that artist profiles often show the spinner to be red, white and dark blue and the trim, if included, in red or dark blue.
So, I painted the spinner Aluminium and cut a mask that allowed me to paint the tip red and the base light blue (Gunze H323 Light Blue). The light blue was also used for the radiator trim, fin tip and main wheel covers, the latter two trimmed with white.

Two final details evident in the photos are a what looks to be white rectangular placard on the port side nose, just above Tolhurst's head in one photo, and two squares on the starboard side of the rudder, just behind the fin flash. The latter are not evident on other aircraft and I masked and painted them a light grey.
The aircraft in the photos looks to be well looked after with only a little wear at the wing root and general grime. I replicated the wing root wear with silver paint and added a bit of grime and exhaust stains.
The radio arial was added using the usual Infini Models Fine 1/48 Aero Black Rigging and it was done.

Another excellent result, Michael!
Well done!
Thanks again, Spiros (@fiveten).
Very impressive, Michael @michaelt 👍 Good old P-40s were a great aircraft and it's obvious that you've done some fine research on this project. The result is a great model! 👏
G'day Gary (@garybrantley),
Thanks. I enjoy the research side of modelling as much as the building and painting, if not more so.
I've wanted to build this aircraft ever since I bought Pentland's book (I bought one of the last copies off the man himself back in the '90s, and he signed it for me) and have had the decals for an age.
Nice, and I really like that odd light blue trim - very unusual. Well done!
Thanks, Greg (@gkittinger).
Very colorful and well built, Michael. Congratulations!
G'day Christopher (@brummbaer),
Thanks for your kind comments.
Really like this
Thanks, George (@blackadder57).
This Hep Cat looks wonderful, Michael @michaelt
A great supporting article as well, nicely written.
Thanks again, John (@johnb).
Very well done and nice article describing your research regarding the finer details on this particular bird.
G'day Chas (@chasbunch),
Thanks.
I was particularly happy to see the Medium Green blotches on this aircraft.
I've not yet figured out which aircraft had these and for how long they were applied, but Curtiss obviously kept applying them a long way into the war. This is the first time I've built and aircraft with them and I think I got them right.
Wow that'[s an impressive build there Michael @michaelt. Looks fantastic in every way.
And another RAAF education for me ha ha. I was just saying on Spiros' Boomerang post, I lack awareness of what aircraft the RAAF used during the pre/post war eras.
G'day Scott (@scottiya),
Thanks for your kind comments.
I'm always happy to educate and be educated.
We also flew Spitfires (see here and here)
Wow 😀 Both your Spits looks incredible!
I'm just in the process of building a classic Hornet which will be dressed up in RAAF markings. Having to deviate from the kit scheme and buy in a new set of decals. I can't believe the Hobby Boss error, of forgetting to reverse the Roo in the wing and fuselage roundels! I can't bring myself to put the decals on when they're wrong, so going for a completely different custom scheme. I'll post the finished model as soon as I'm done with this kit.
Have fun, be flexible, let s**t go 😀
I’m looking forward to seeing your Hornet.
I built that kit but not that boxing.
I googled the Aussie version and see what you mean about the decals. How bad is that?
Another Hornet here.
Another great P-40, Michael.
Thanks, John (@j-healy).
Your research and attention has paid dividends, Michael.
Thamks, George (@chinesegeorge).
Great looking P-40, nice paint work.
Thanks, George (@georgeswork).