Great Wall Hobbies – Fw189 'Uhu'
Hi, guys... this is my refurb of my Fw189 kit which I finished about ten years ago. I tried using acrylic paint originally for the colour scheme, but it was a decided failure and I was sufficiently disappointed that I decided to strip the paint off and complete it with enamels instead. Fast forward into the new decade, I decided to take the opportunity to revamp the model.
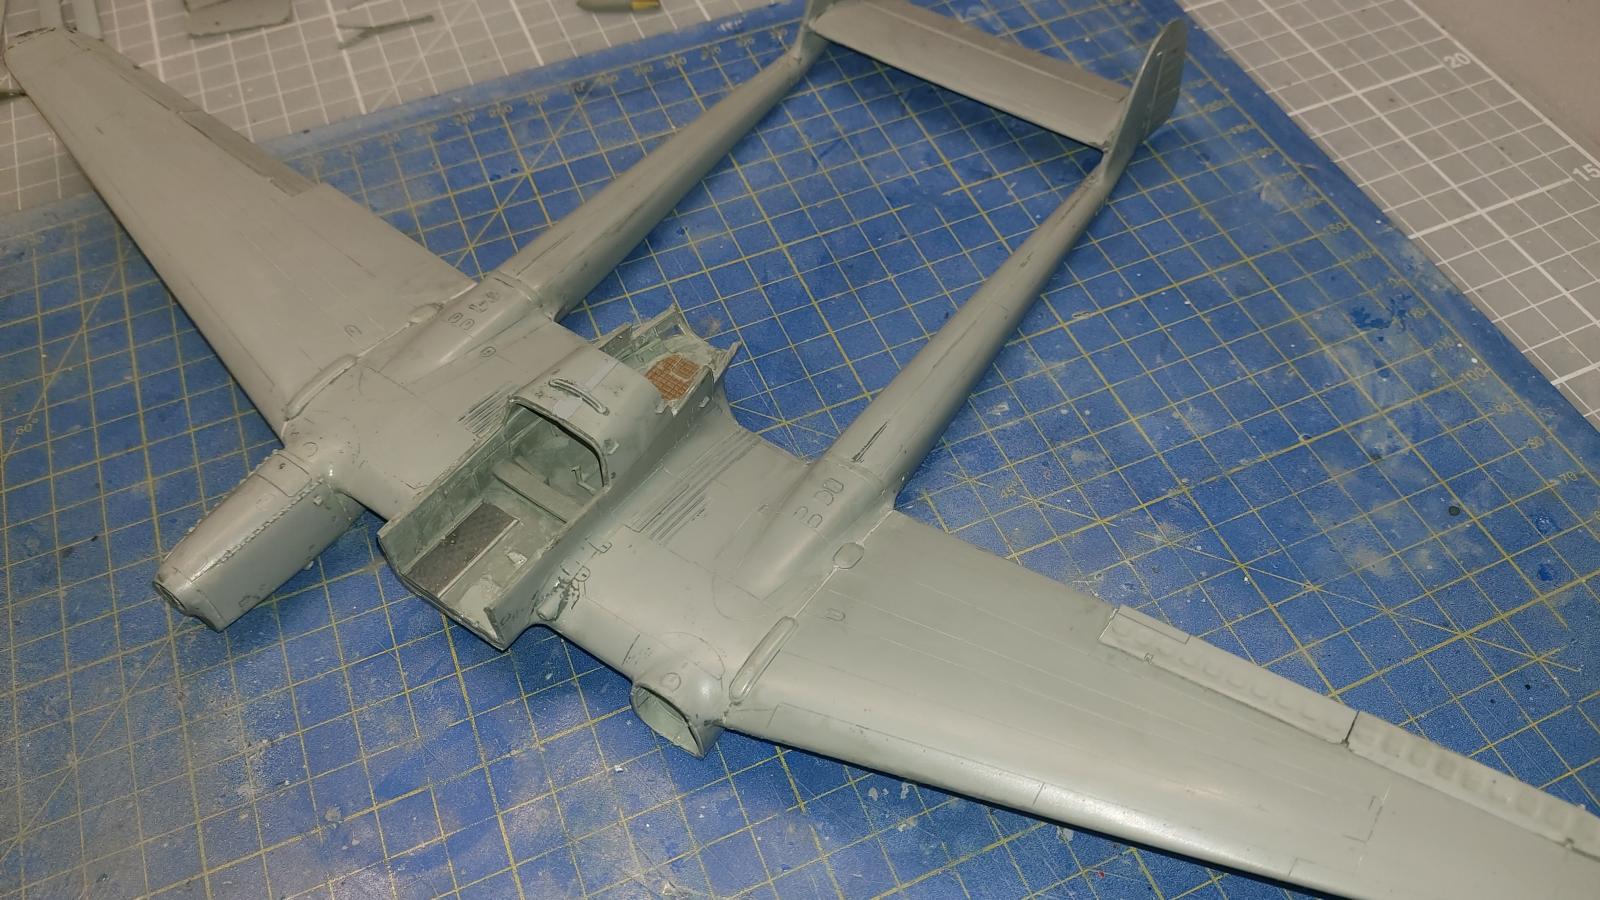
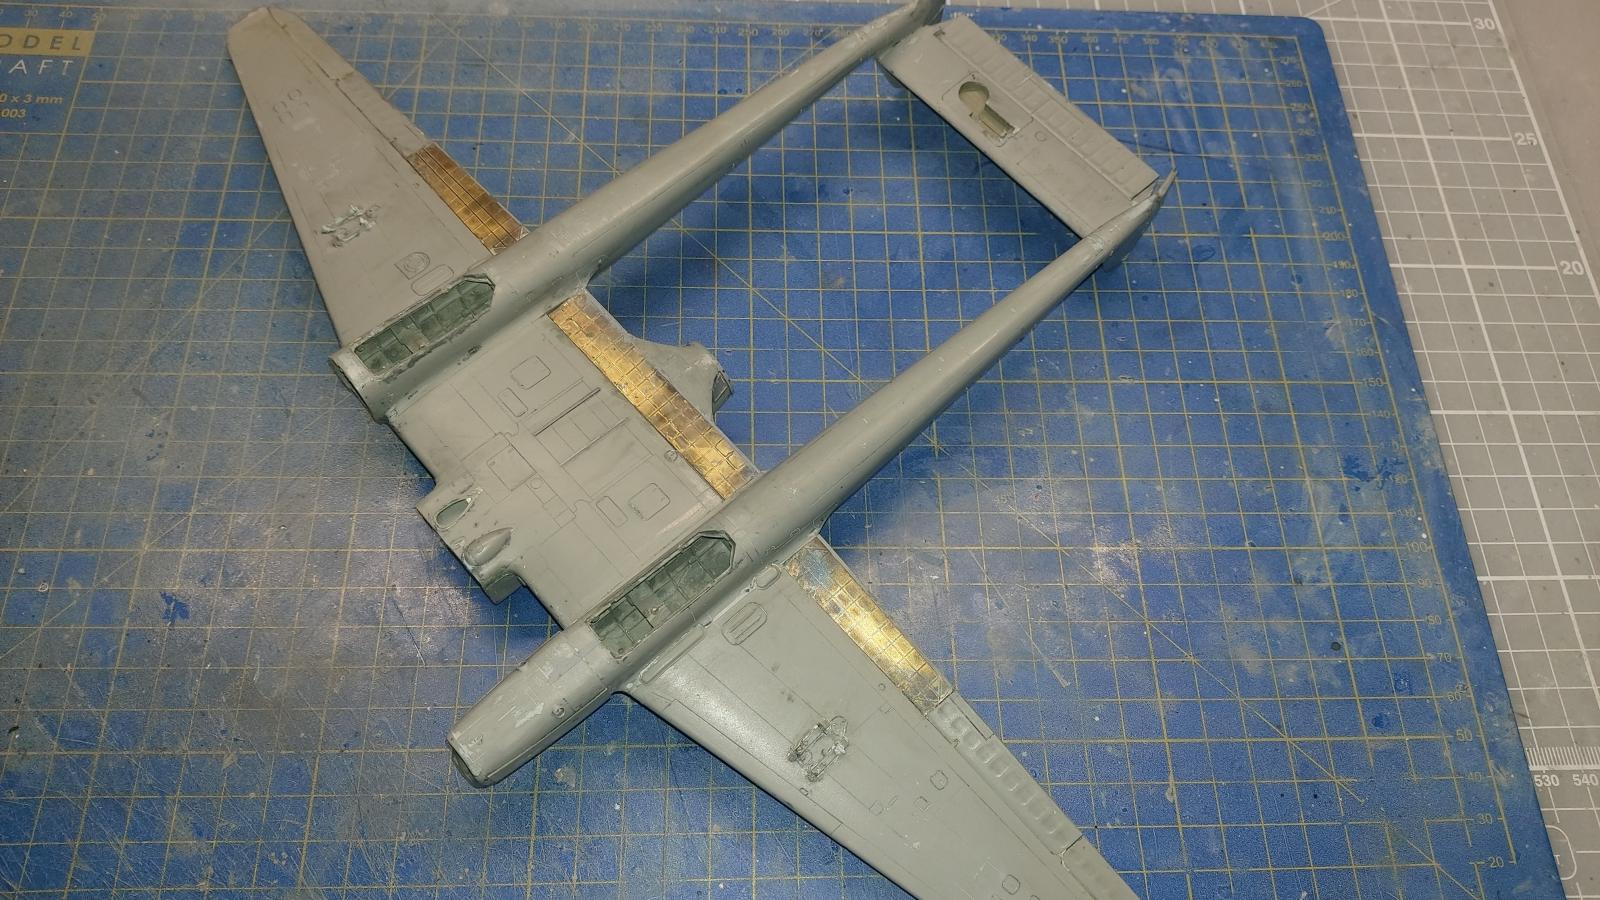
I began with removing all the major pieces internally and externally, then stripped the paint from the airframe using Modelstrip paste. I put the paste-covered airframe into a plastic back, sealed it tight and left it overnight for the paste to take effect. The end result was 80% good and only a relatively small amount of stubborn residue remained, this being addressed by using Revell's Paint Remover fluid.
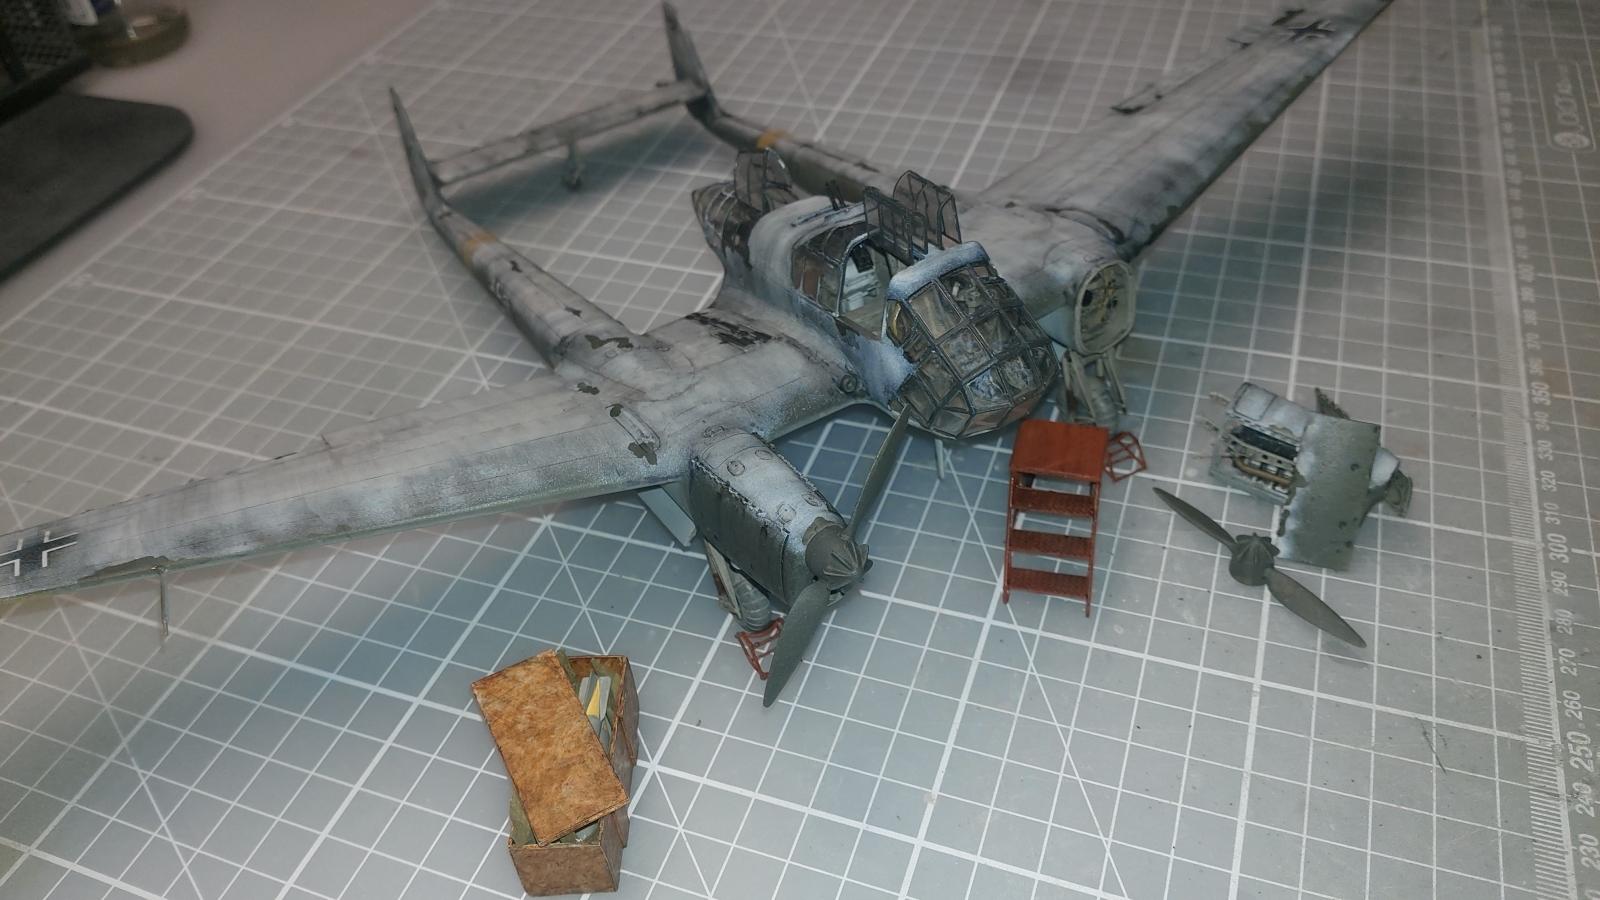
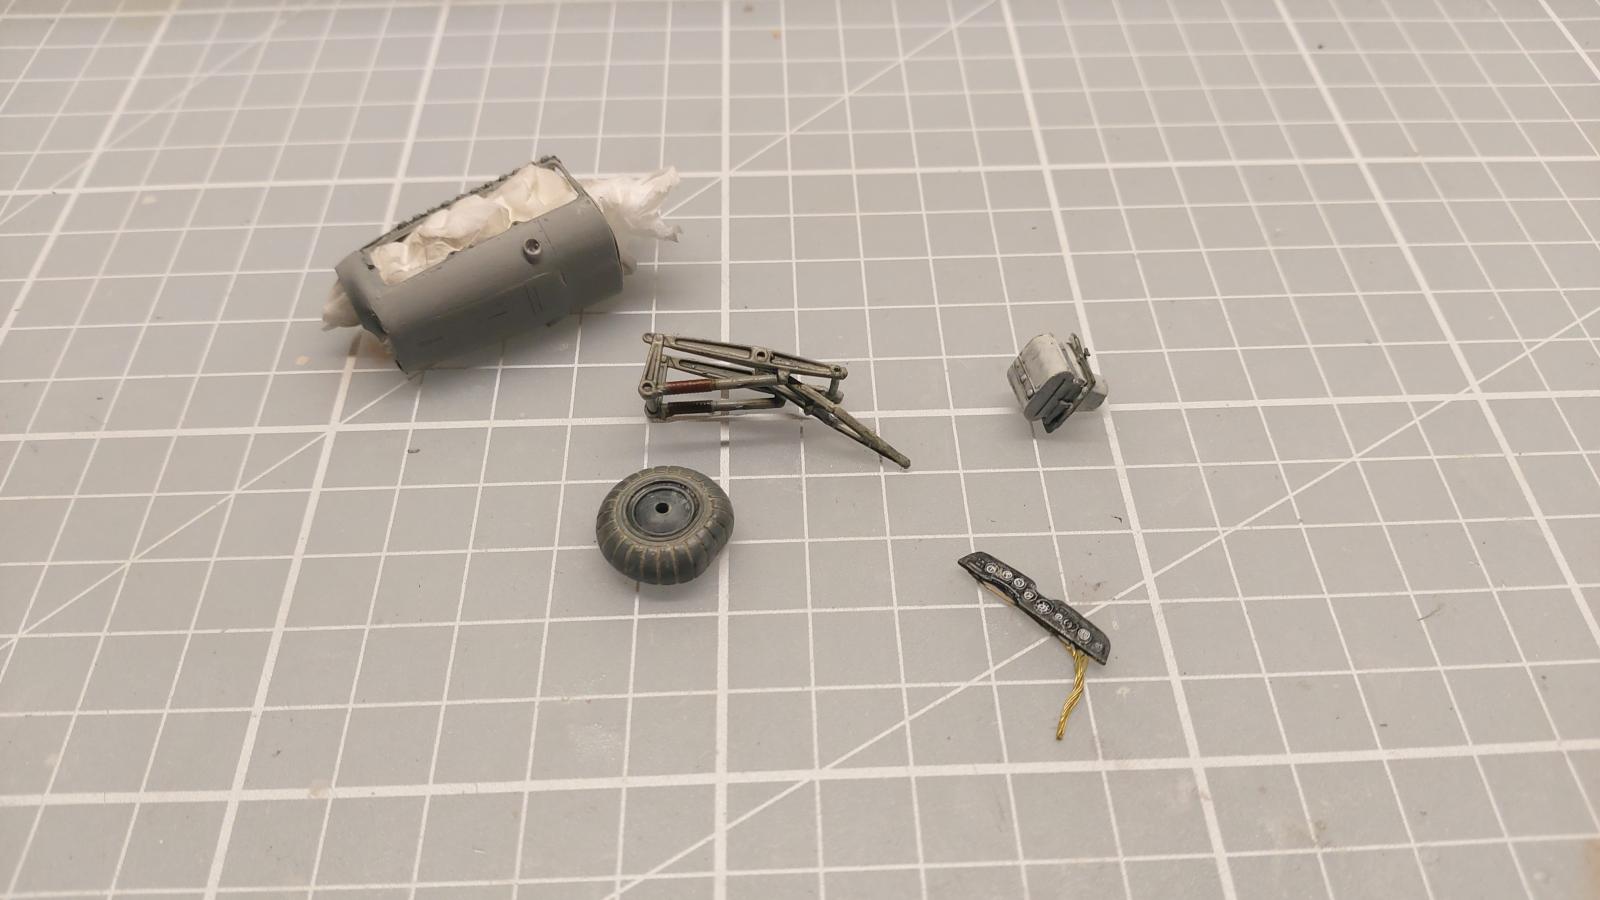
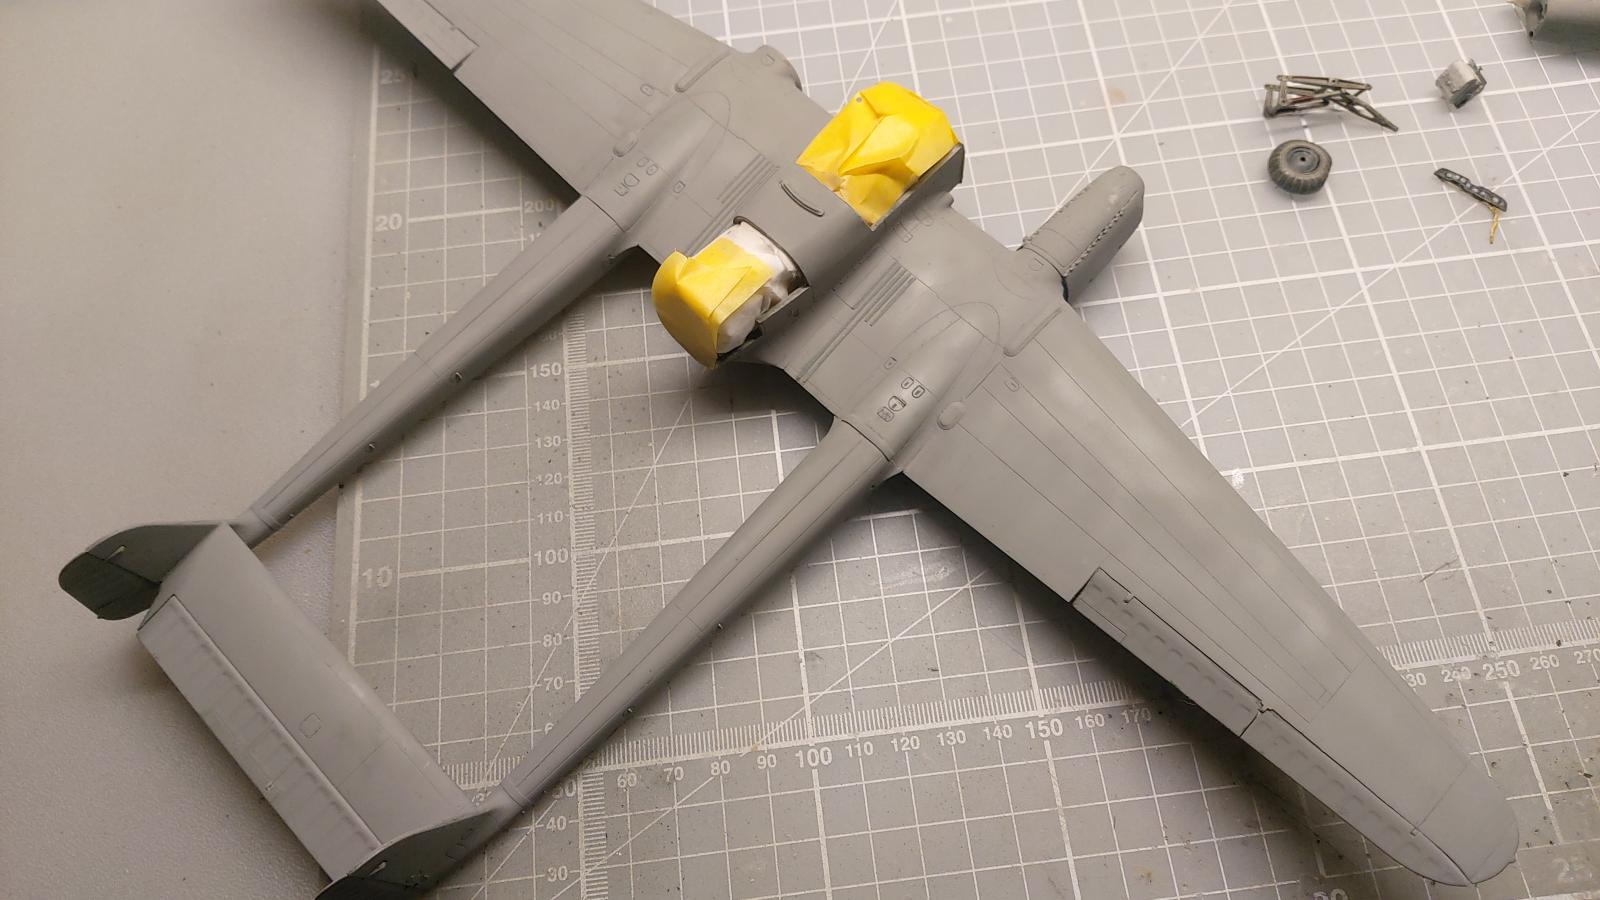
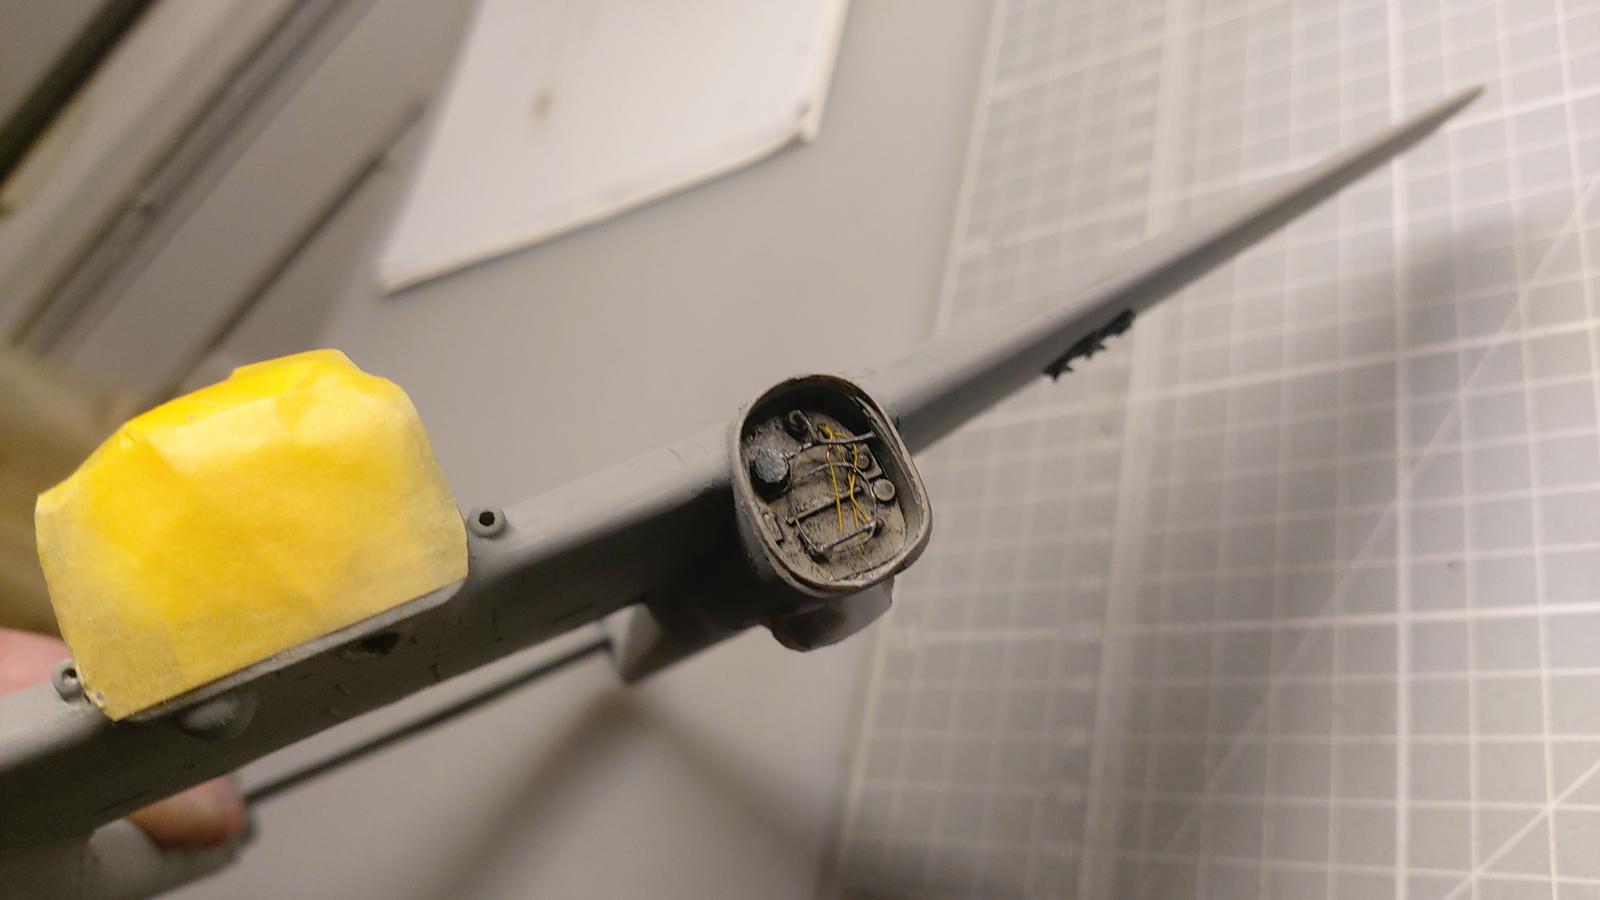
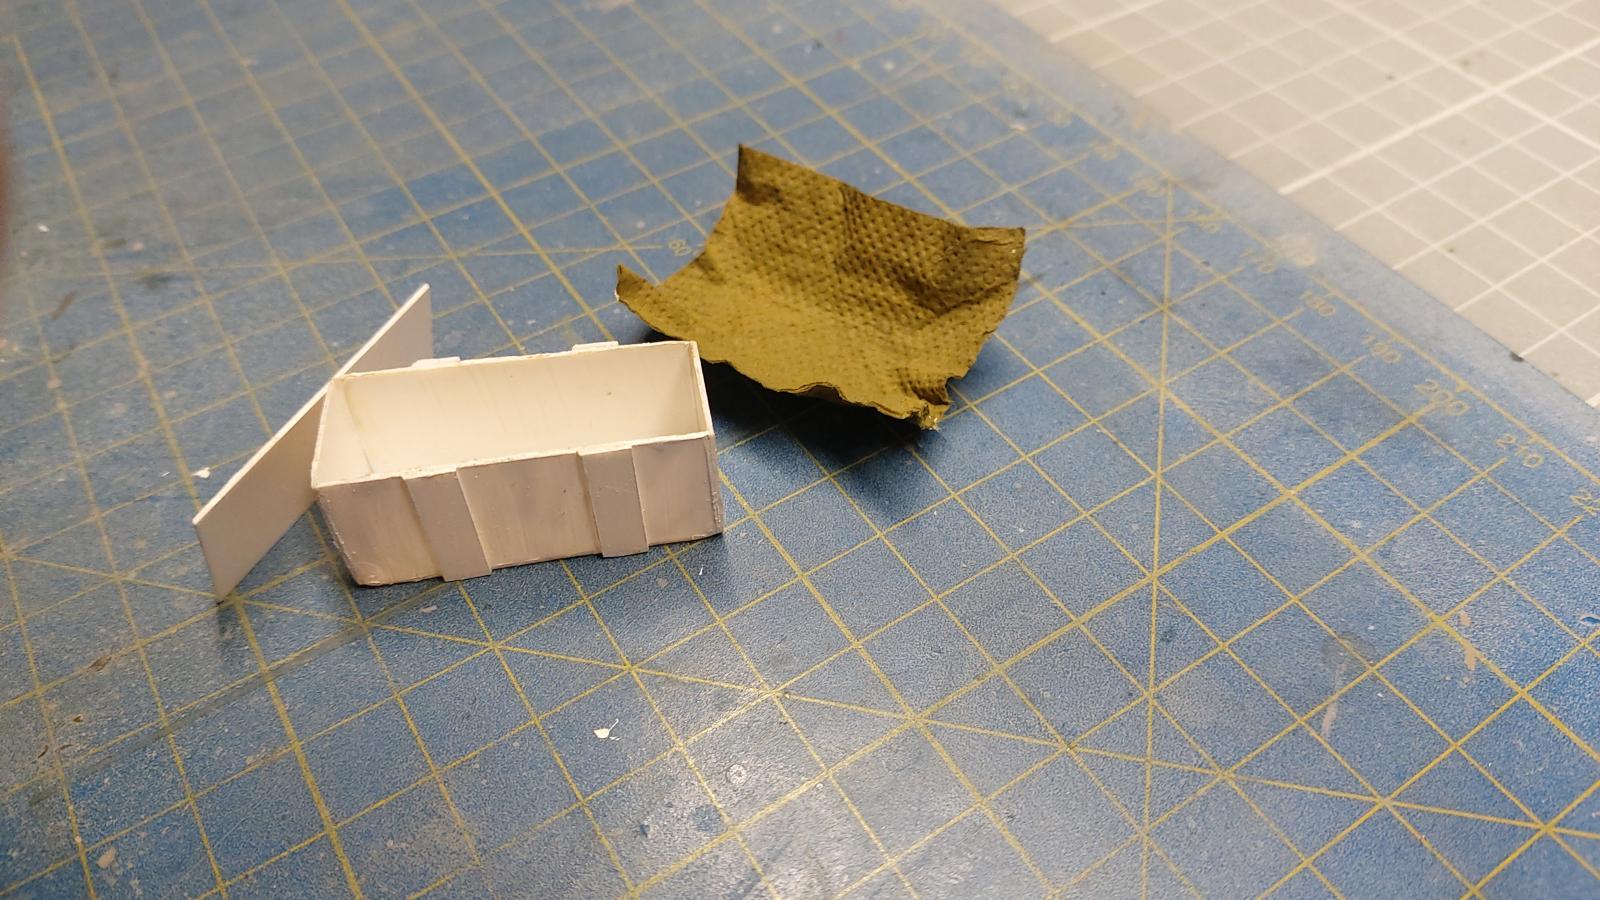
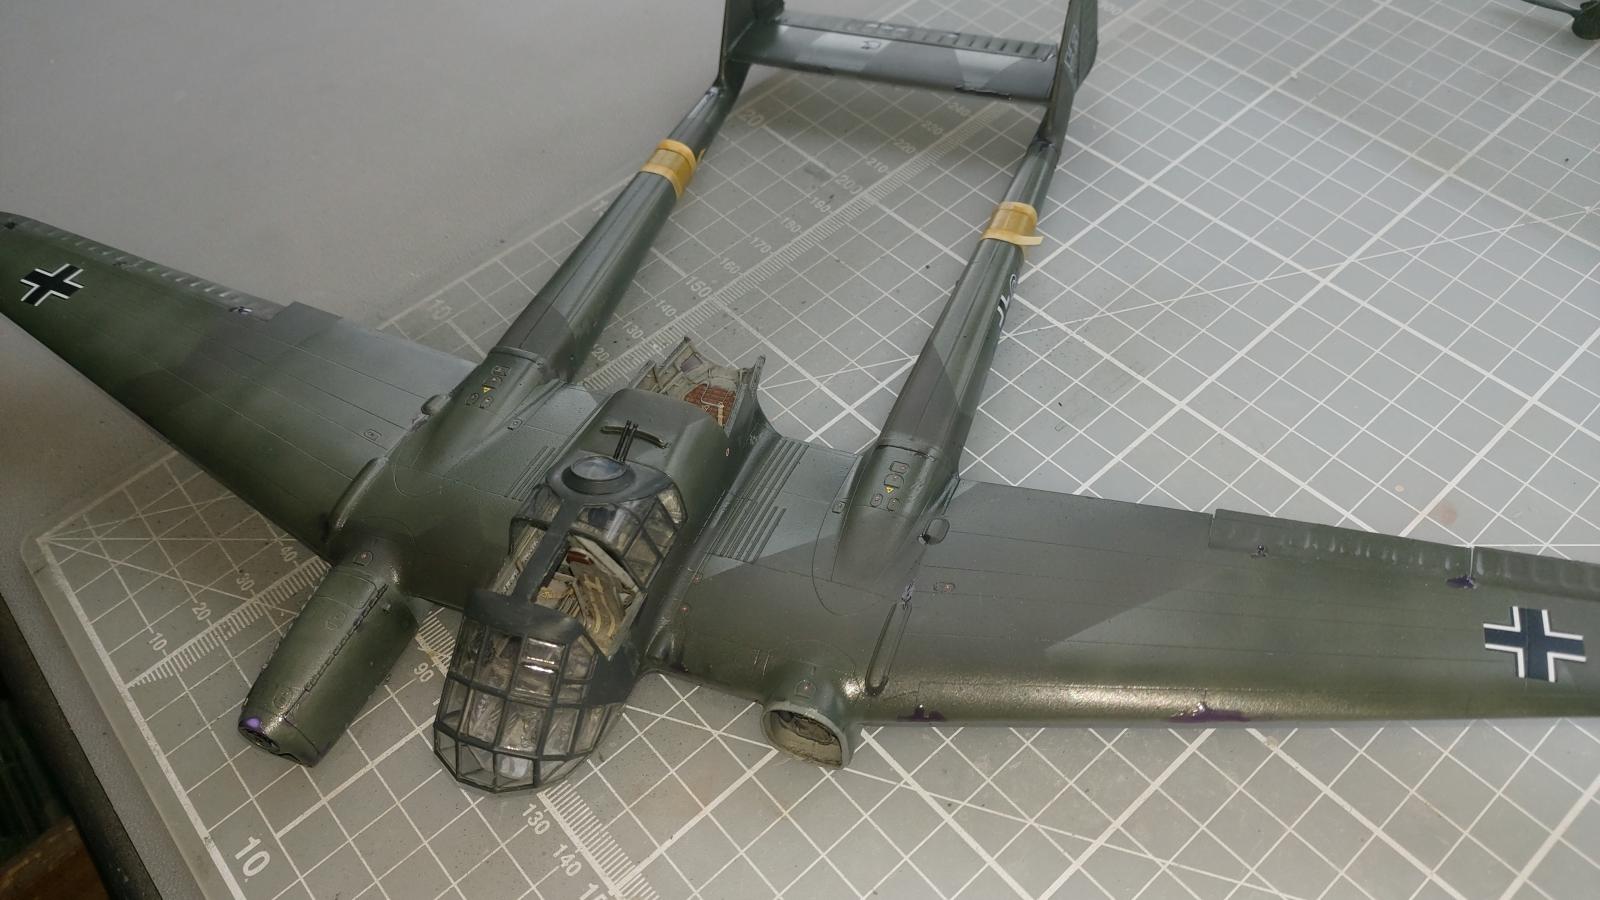
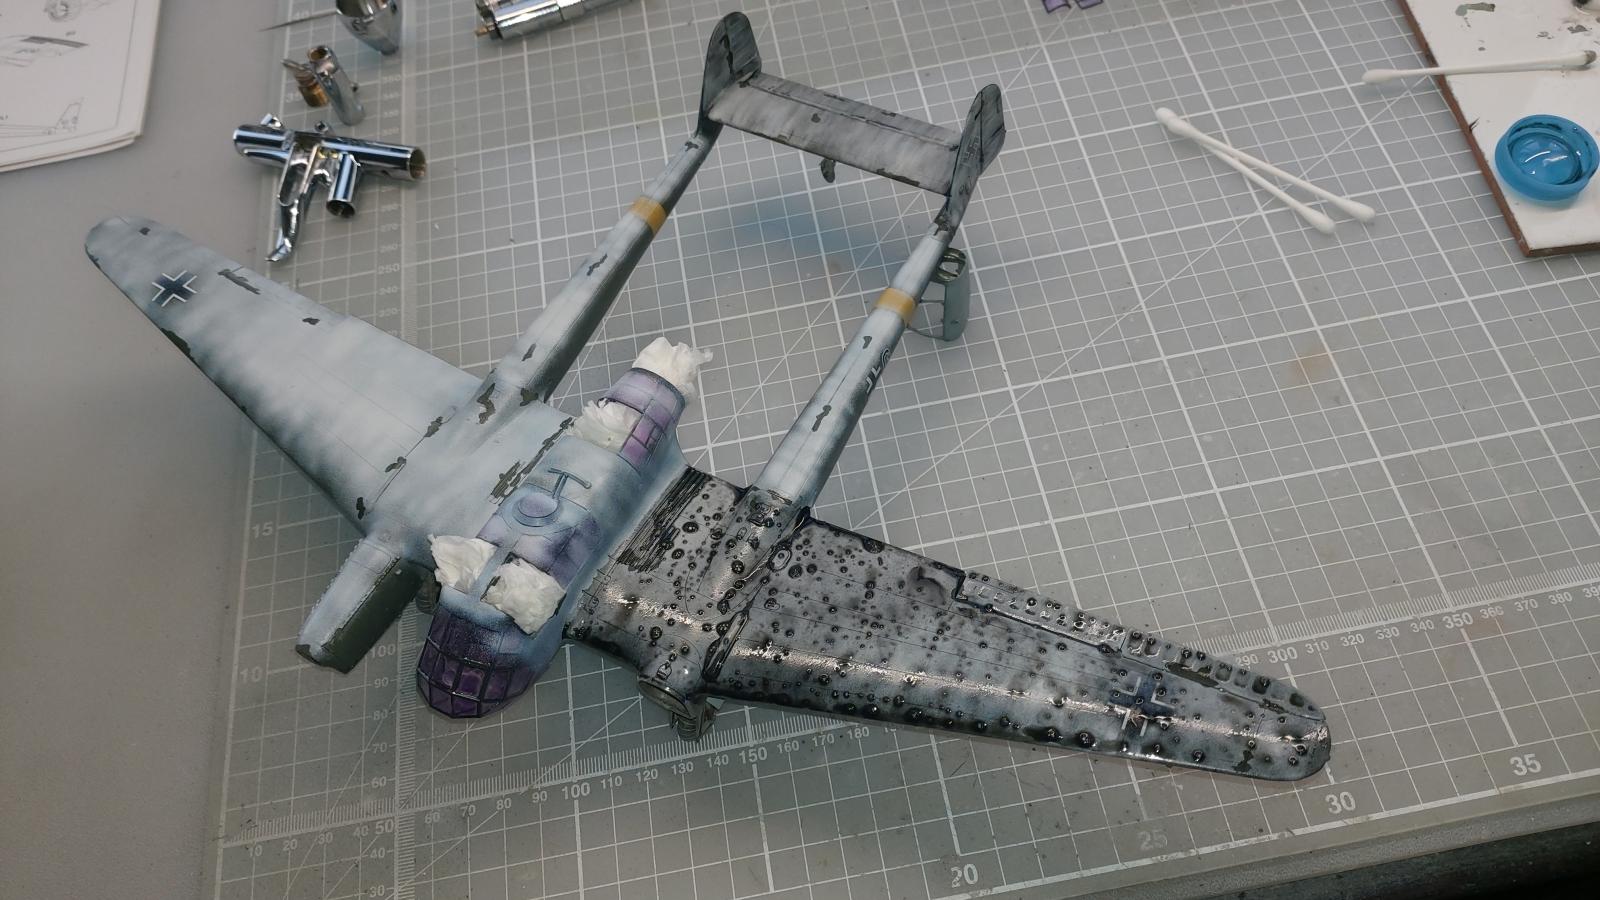
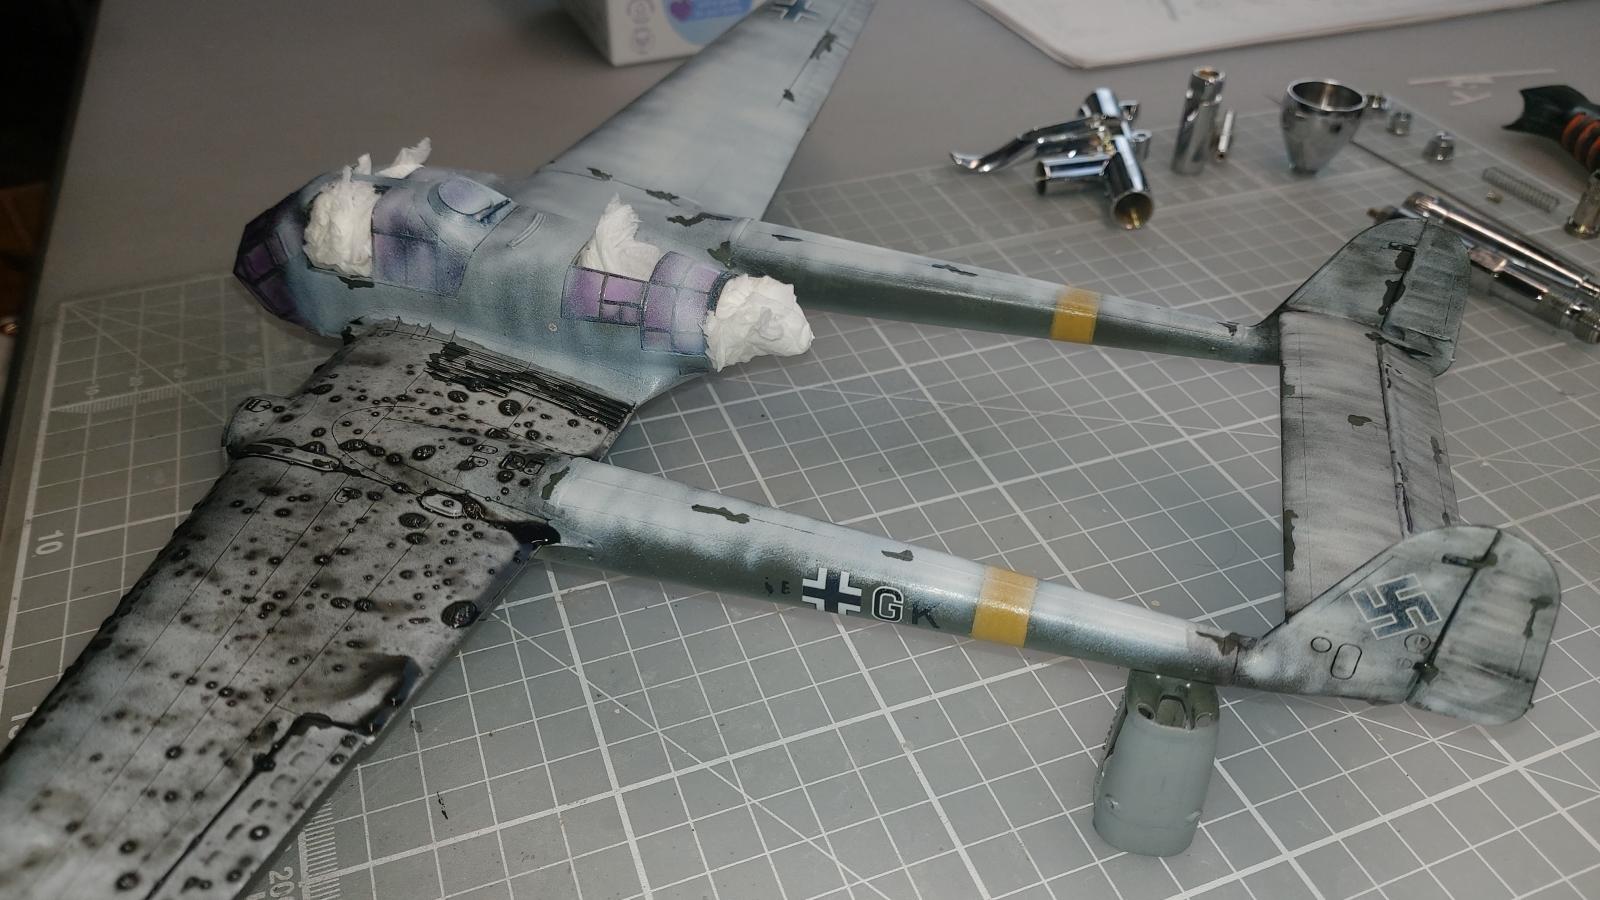
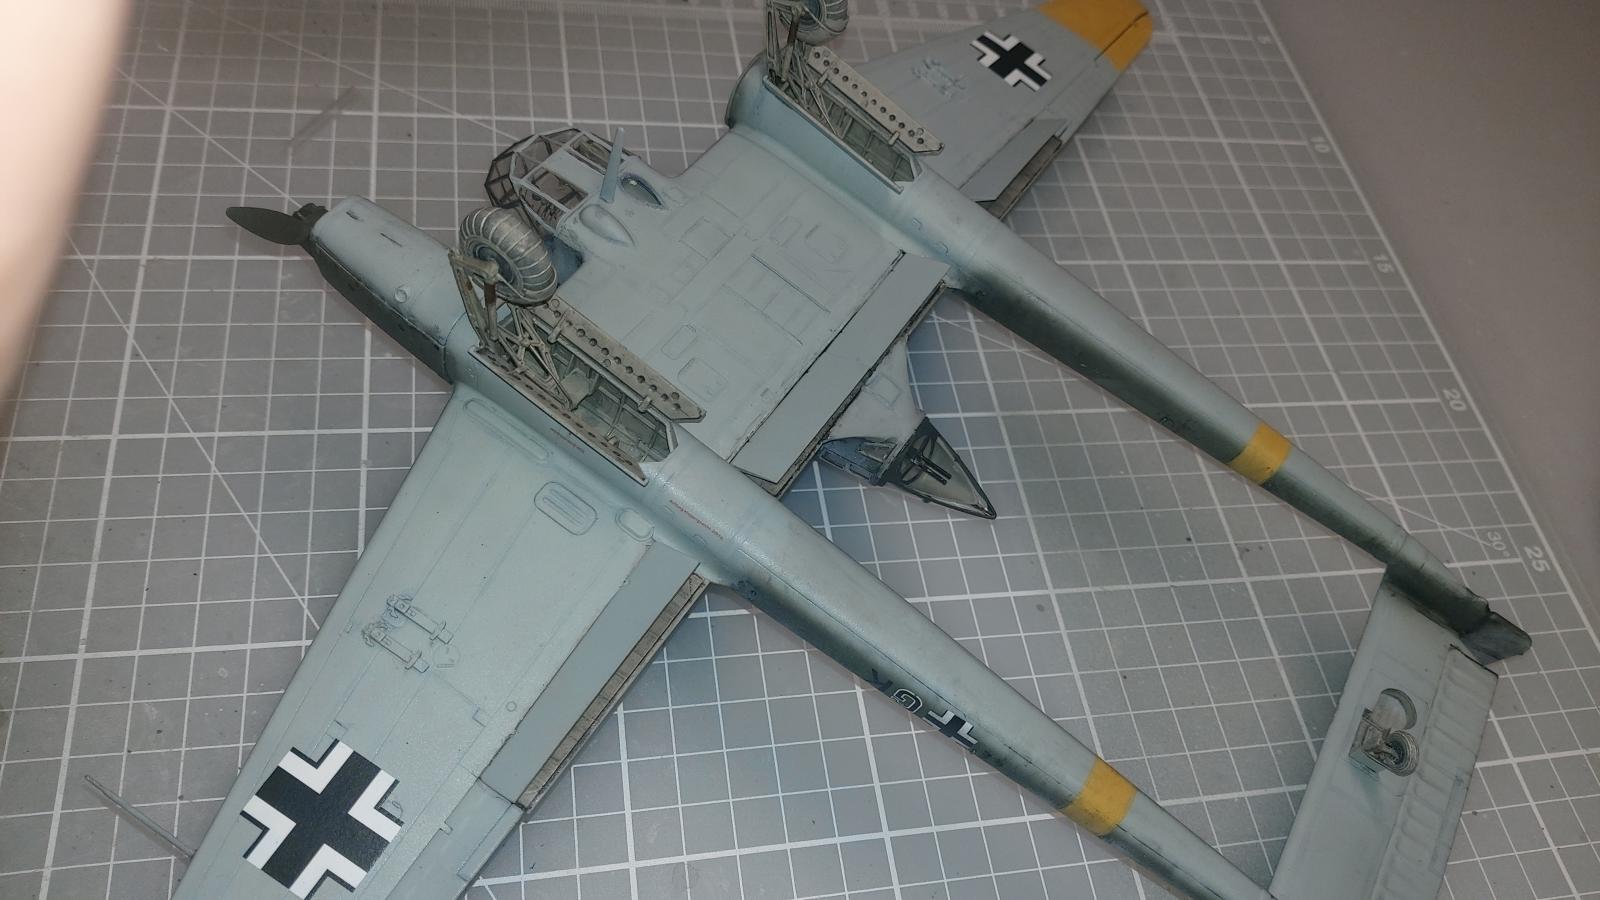
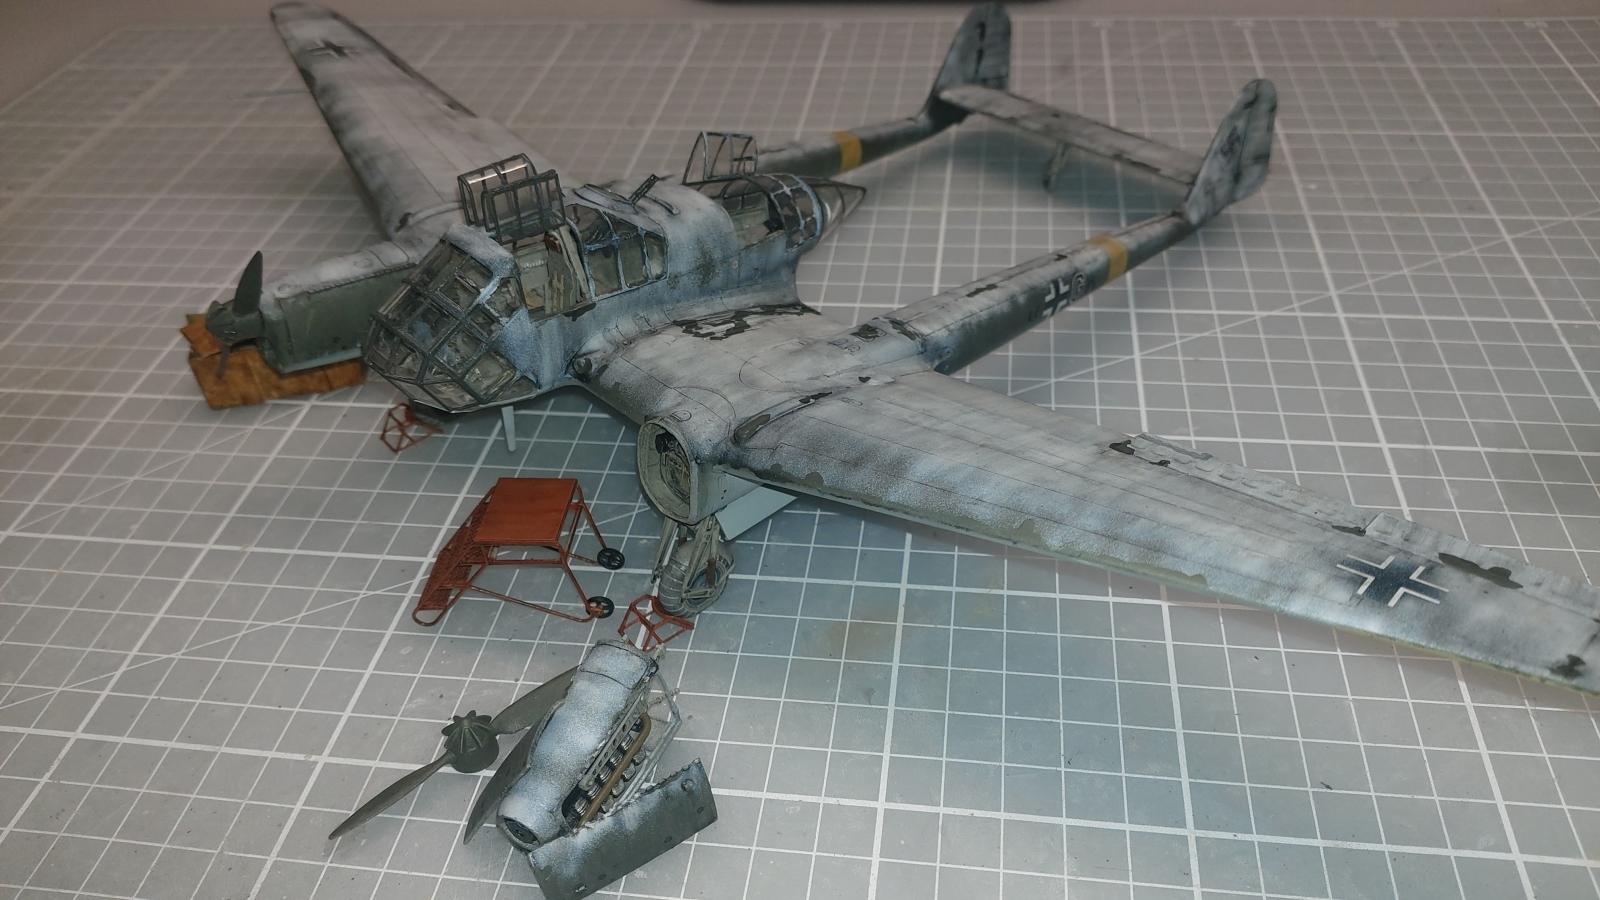
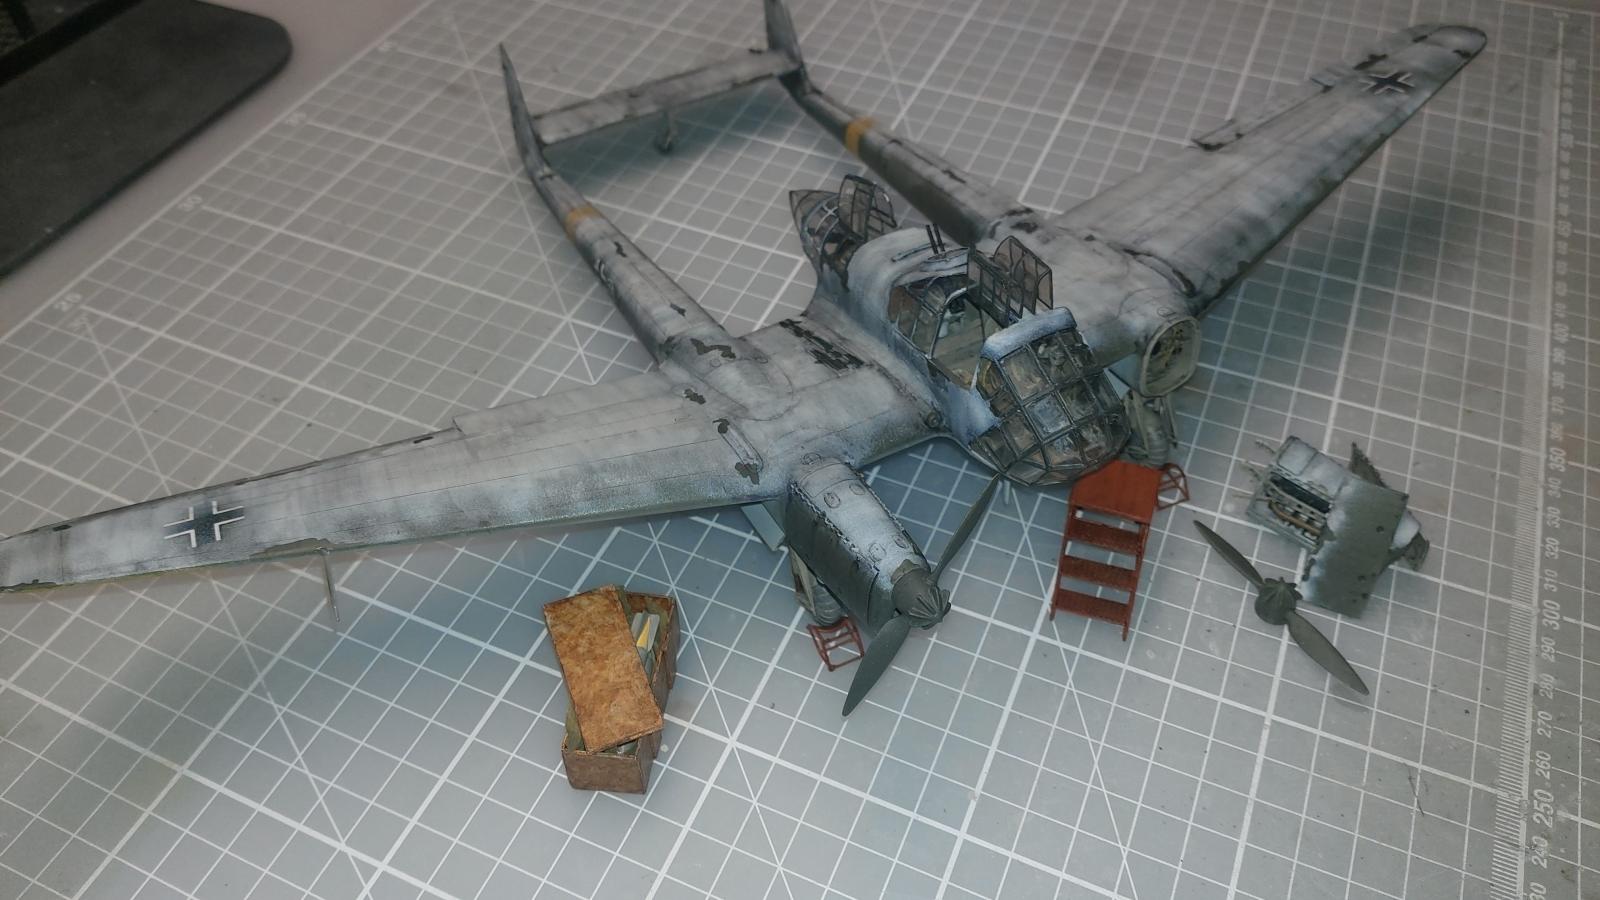
I spent some time working on improving the undercarriage and adding cables onto the instrument panel prior to refitting them. I also wanted to give some additional interest to the kit by removing one of the engines as though the aircraft was undergoing an engine change, and in order to blank off the unseemly join line inside the opened nacelle, I blanked it off using plastic card and added some basic detail to this new bulkhead from information available online. A 'crate' was scratch-built from plastic card and a 'tarpaulin' was made from painted tissue.
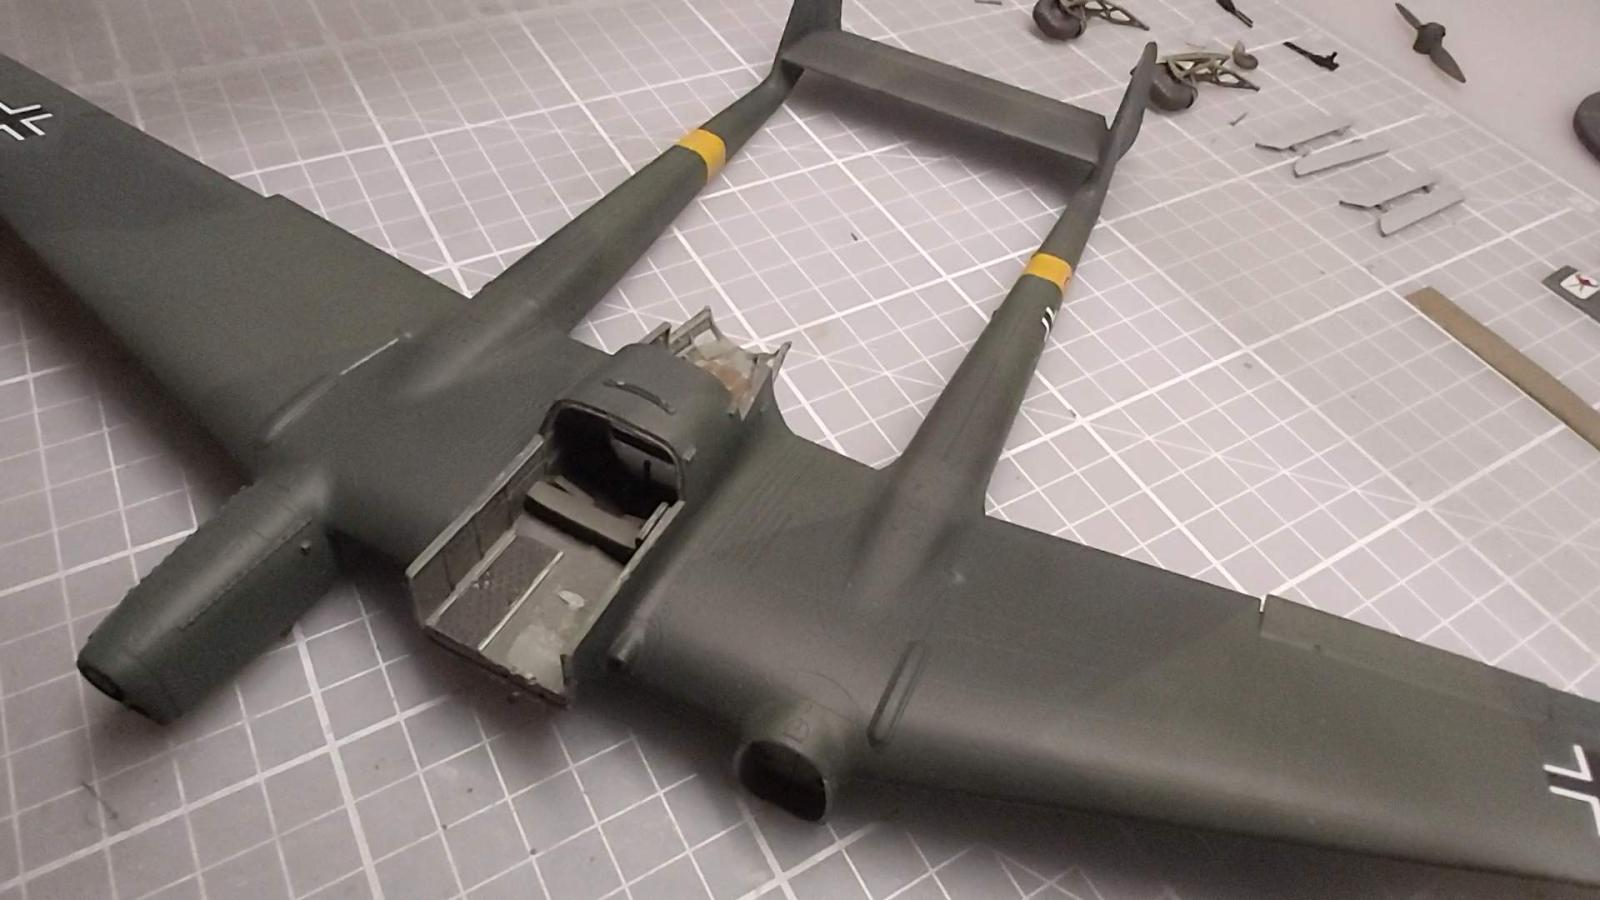
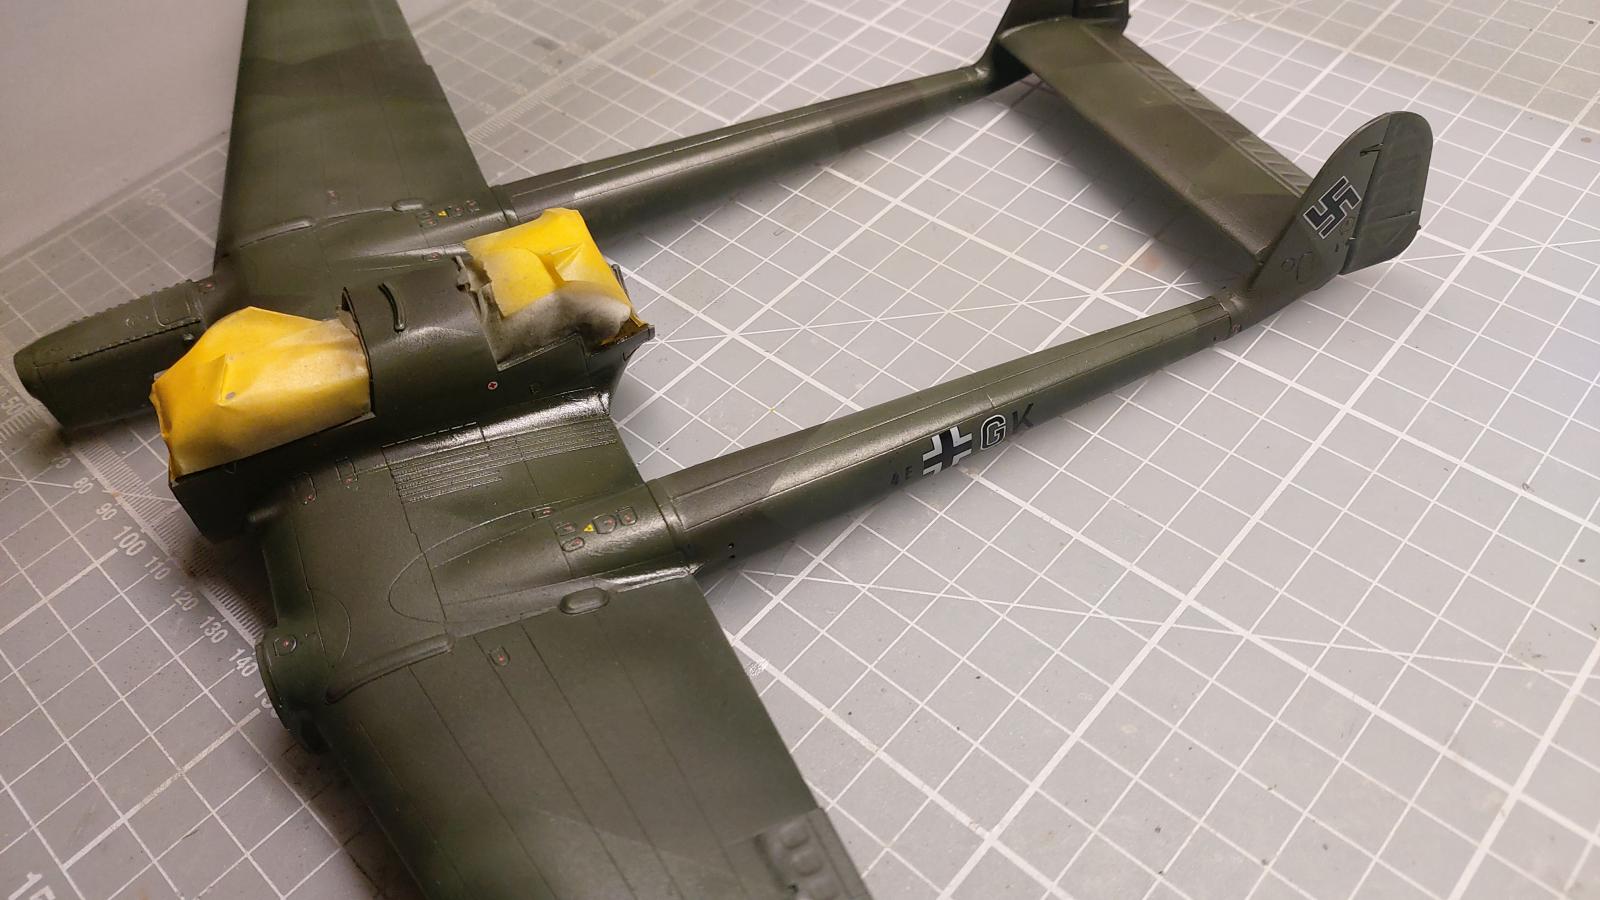
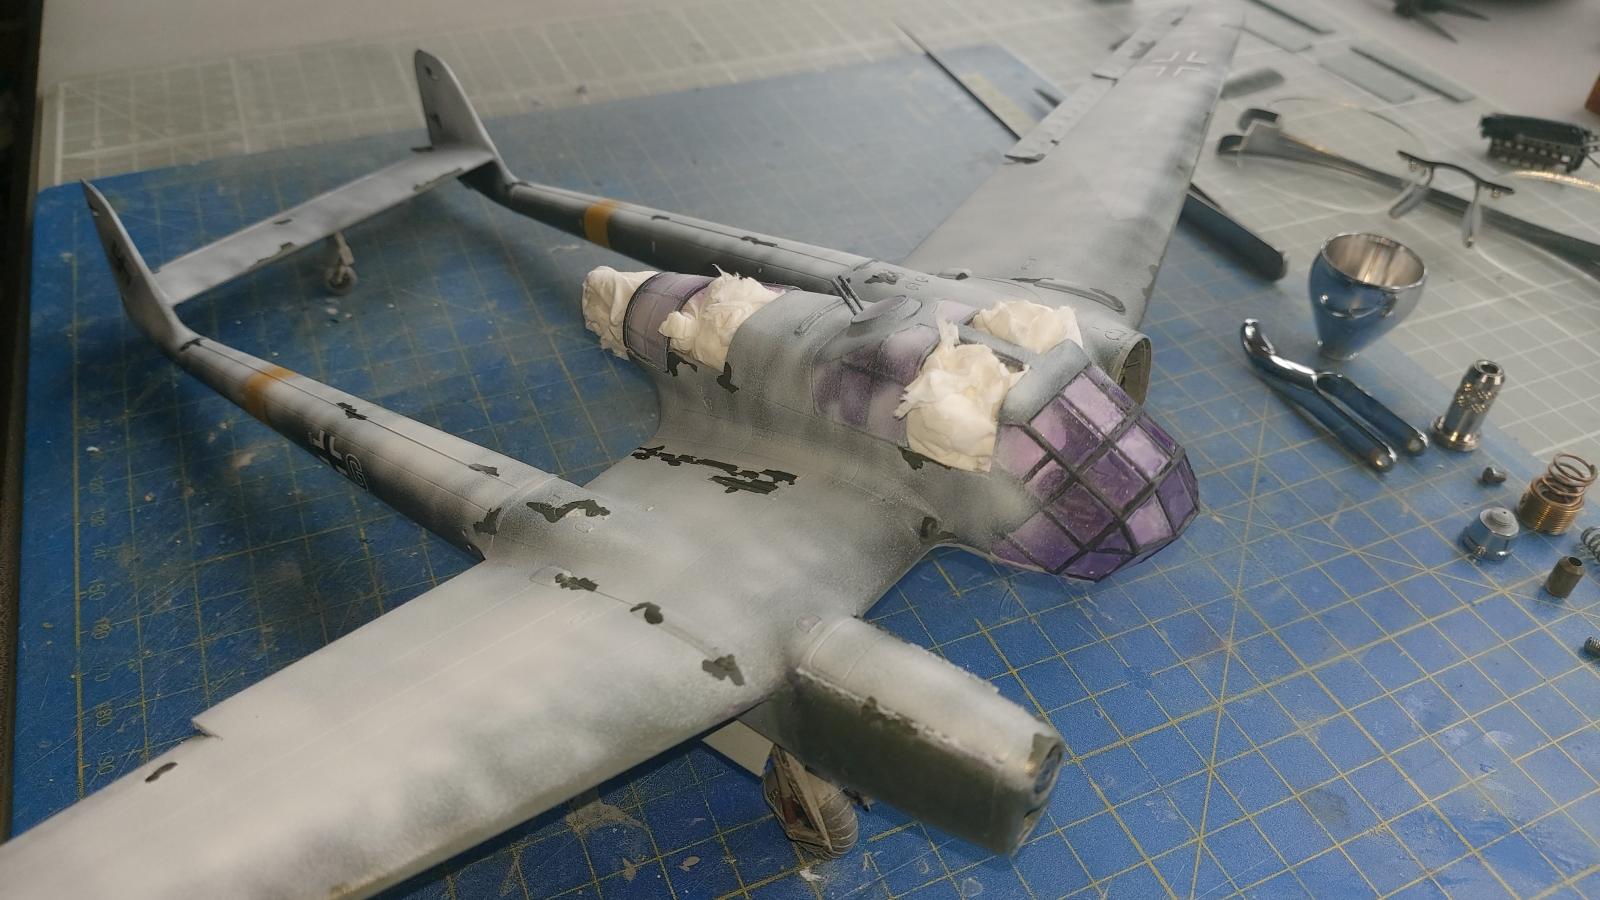
Additional to all of the above, a grey undercoat was added with black painted onto the underside detail as pre-shading, this being reduced to a shadow when applying pale blue to the undersides. The top surfaces received a standard dark green splinter pattern, later overpainted with white to create the winter scheme of an aircraft operational on the eastern front.
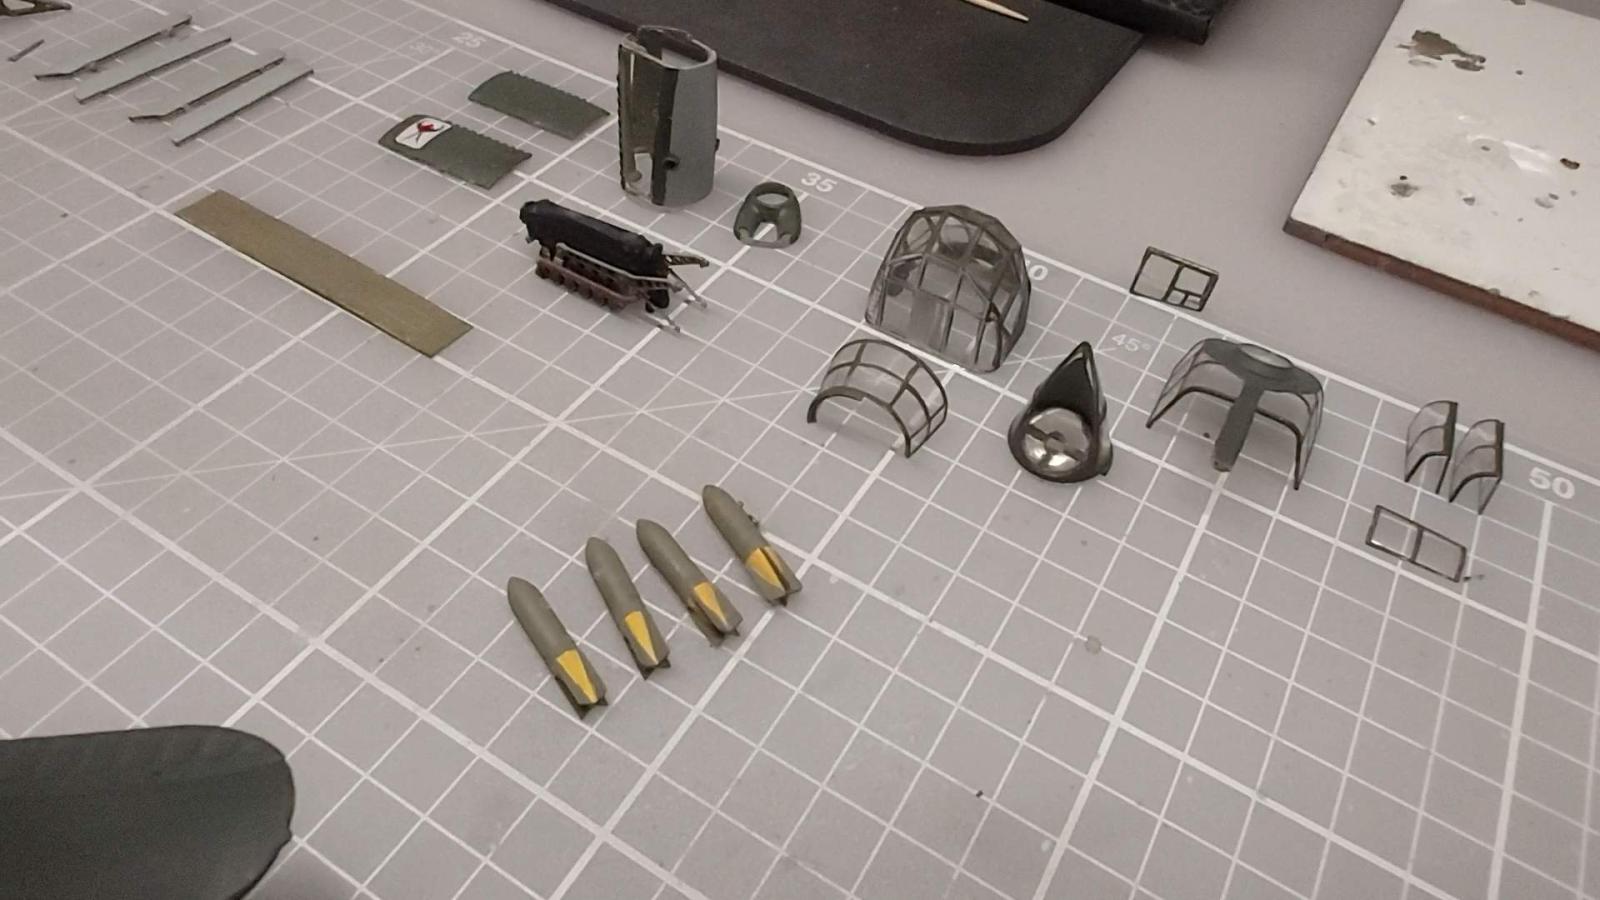
I added some Maskol rubber coating randomly onto small areas of the dark green prior to applying the white, and when this was removed, it replicated areas of the temporary white finish where it may have chipped. Blackwash was applied thereafter to finished the aircraft's appearance. The removed engine was reinserted into its cowling with the side covers nearby and the bombs from the kit were placed into the 'crate'; wheel chocks and the maintenance ladder come with the kit. My only slight issue is the forward transparency, where the framelines are a little bit thicker/pronounced than the frames on the other transparencies but the model still brushes up well despite this.
The transfers are from the spares box and the only real addition to the model was attaching the lengths of fuse wire to the instrument panel; the seat belts are included as PE parts, as are the flap inserts although these are extremely flimsy and should be handled with care. When I came to working on the central flap area under the crew cabin, there was a deep space with a bevelled centre area which I doubt would've been part of the actual plane. I filled this with some plastic card and closed off the remaining gap with water-based filler which could be smoothed out more or less immediately after application, and this was later painted over, sealing up the gap.
The model is in the markings of 2.(H)/Aufklärungsgruppe 13 on the eastern front during the winter of 1942. The video of the refurb can be found at this link - https://www.youtube.com/watch?v=UEWlciDbPEw&t=71s. Thanks for taking time to look in... ;-).

An exceptional save. Please share more shots of the final re-do with us.
Thank you, Bob. Kind of you to comment. Sadly, these are the only photos available, but if you have access to the internet, the above link to YouTube will show you a bit more... ;-).
Regards,
Paul
Excellent work and a great save.
Very nice work and resurrection of what is a difficult kit. You did a great job and put together a very nice presentation, I like the engine separated from the airplane.
Fantastic save and a really nice video, Paul!
Well done!
Thanks you, gents, for your comments... much appreciated ;-).
Bravo to you for a very nice redo. I don't have the guts to do that because I've tried and ended up making it worse.
Very impressive, Paul @paulh
You did really well on giving this Uhu a second life.
Especially the winter camo looks very realistic.
Dan/John... glad you like the outcome, and thank you both for your kind comments ;-).
An extraordinary refurb! The end result is an excellent model!
Thanks, Greg. I appreciate your comments. Pleased you like the end result ;-).