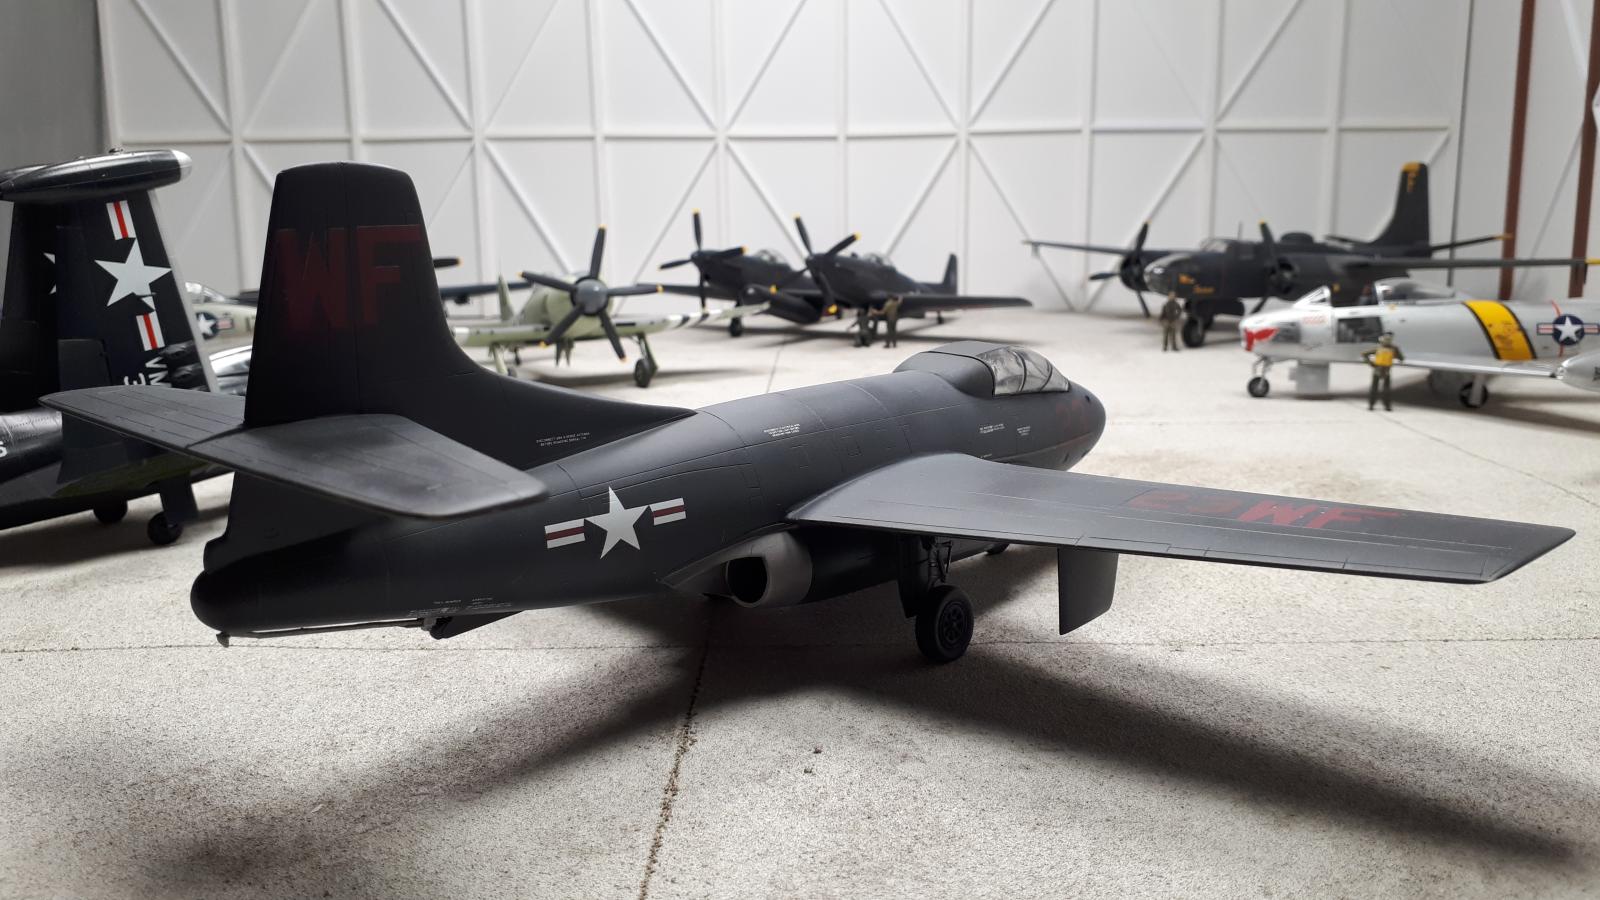
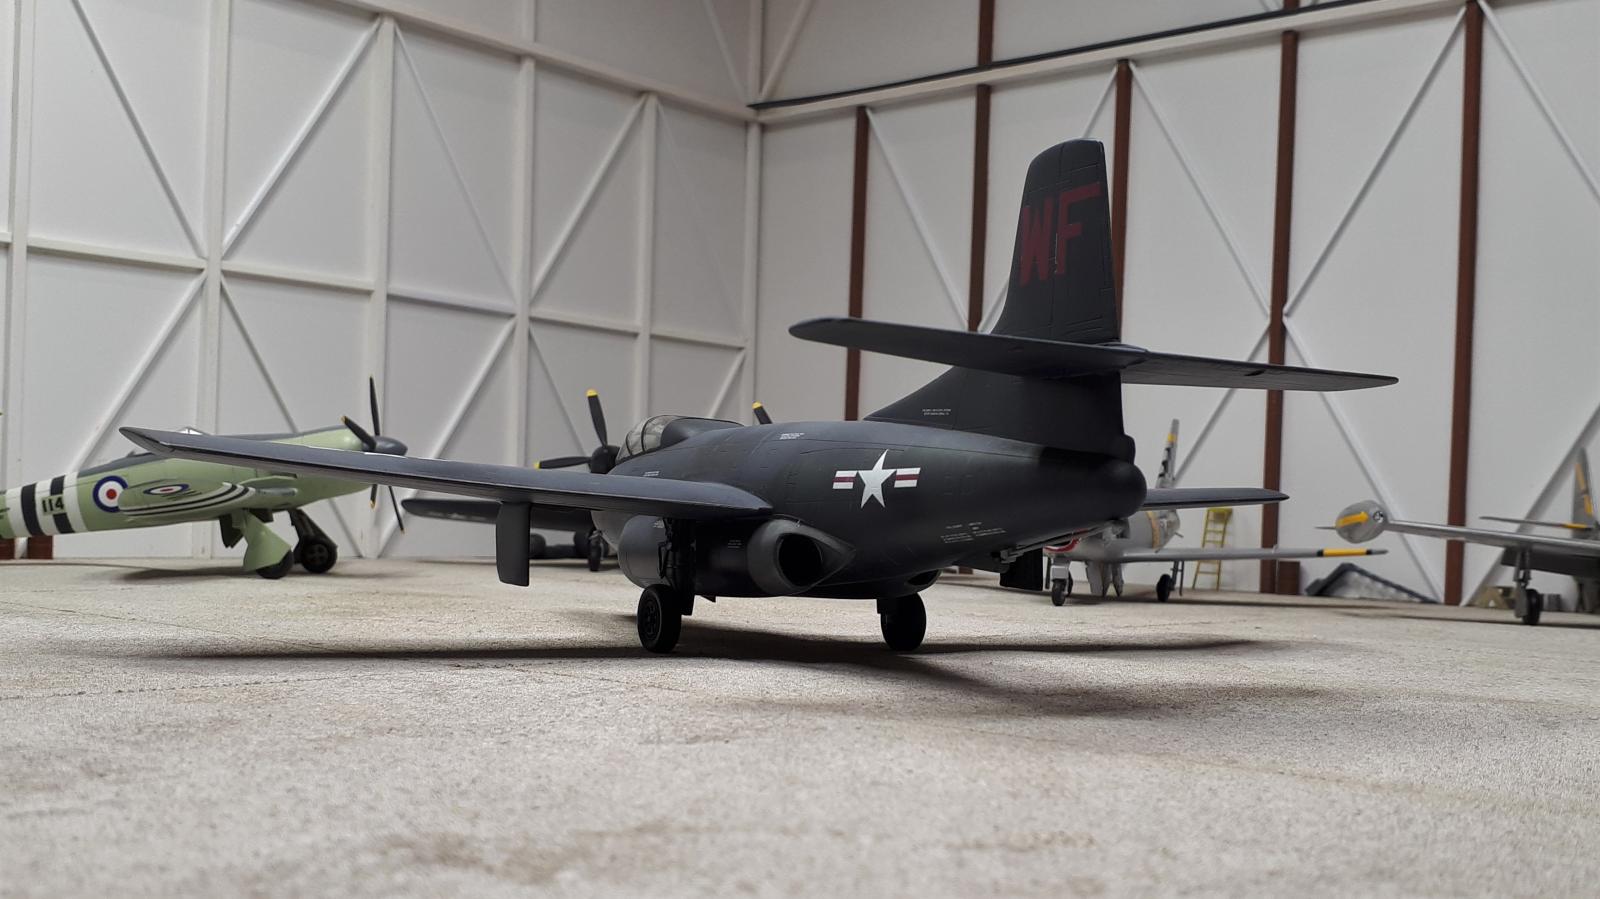
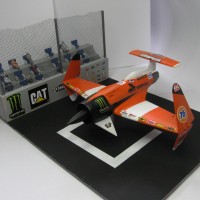
Midnight Sinner: 1/48th Czech Model F3D-2 Skyknight
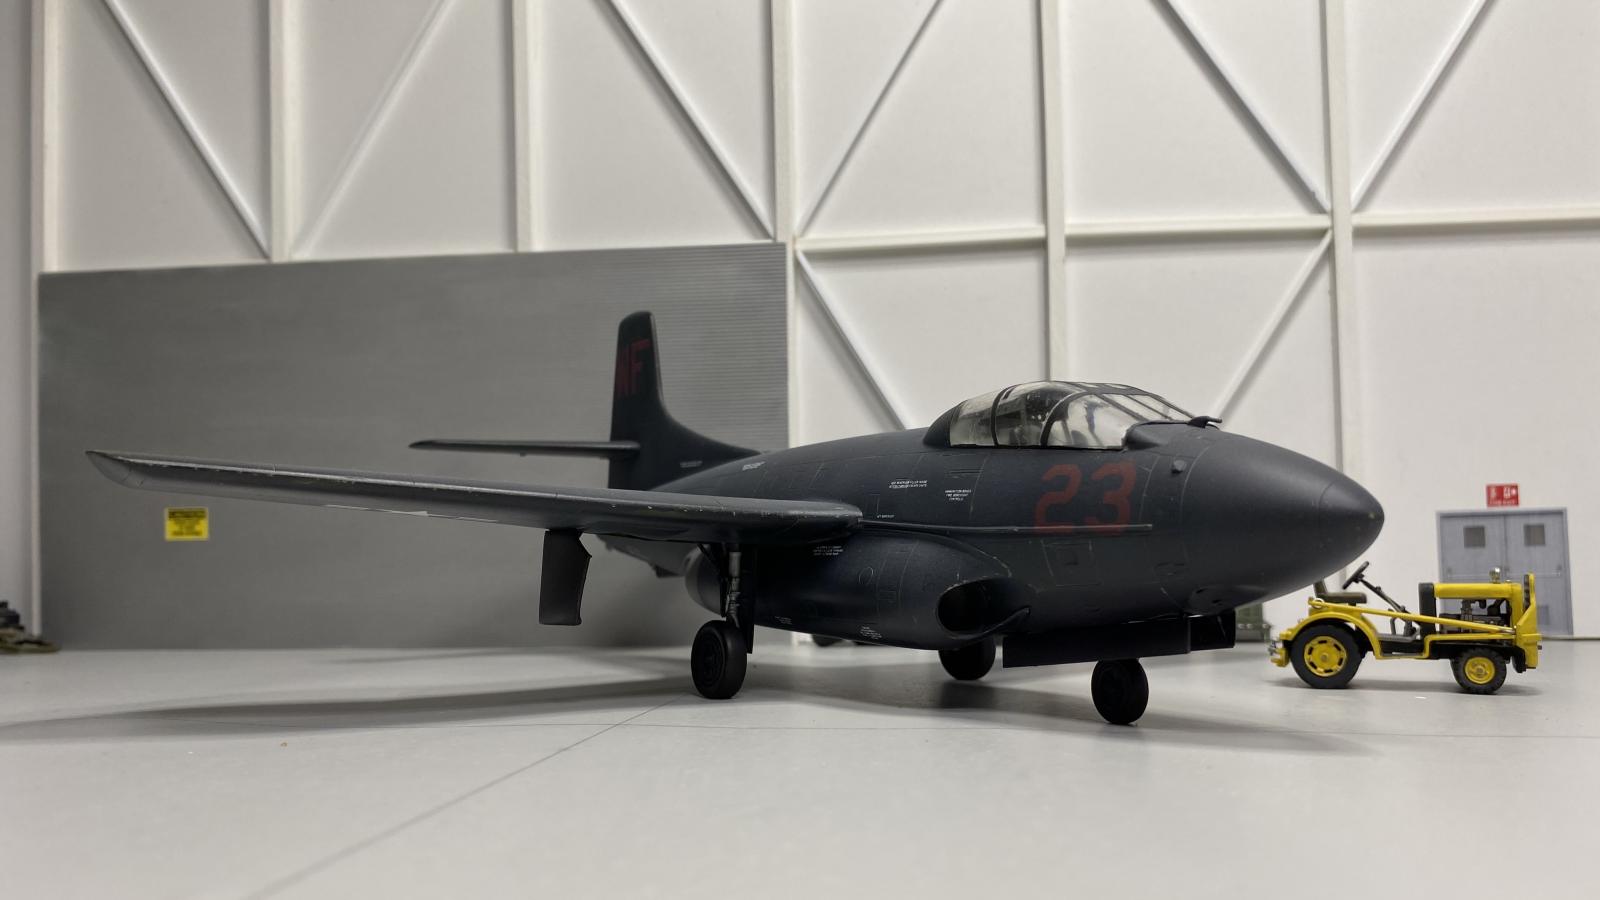
I picked up this 1/48th F3D Skyknight kit after Squadron produced a limited reissue. It had been previously released under the Encore / Czech Model brand. You don't see a lot of these Skyknight kits built... there is a reason for that... This is a limited run, multi-media kit and as such, requires a fair amount of dry fitting, sanding, filing (and sometimes scratch building) to get the parts to fit properly. There is typically more than the usual ejector pin marks & heavier runner sprues that will require careful attention during assembly.
You can get a nice replica from building this kit and it looks the part when done, but it won't come easy ...you might say this kit gave me "Nightmares" and I am glad to have it on the shelf 
You can see more in-depth detail of this build with additional photos at: https://www.flypastrush.com/post/midnight-sinner-1-48th-squadron-czech-model-f3d-2-skyknight
Thanks for looking & good luck on your next build.

Very nice build of a very tough kit.
I thought old Squadron named their brand Czech model because you need to check your sanity at the door attempting to build one of them.
Yes true enough Dave, probably the toughest kit I ever persevered through (Czech - Check )
)
Great build of a not so commonly seen aircraft, @flypastrush
Thanks John, Yes you really don't see many of these in 1/48th especially (now you know why!)
Nice - the Skyknight is such an underserved subject, but a cool little aircraft. Well done.
True Greg, considering it was used as a night-fighter in the Korean War, next as a platform for developing the AIM-7 and finally as an EW platform in the Vietnam War
Lovely, I have one in the stash and your model gives me hope...
Thanks Michiel, You can get a nice replica from this kit that looks the part when done, but it will take some model making skills and patience (and make you a more experienced builder in the process!)
Nice build and well done with your work-arounds. I've built several of the Czech models and go into a new project with full expectations of work. I knew about the poor fit of the engines, but didn't realize the canopy fit was so bad.
I looked at your link to the build detail but was unclear how you fixed the intakes. Could you tell me more?
Thanks Chuck (@charleshorner), I believe I resolved the intake issue by replacing them with an appropriate size of styrene tube. I went to check to see what diameter that may have been, but was unable to locate the tube in my spares box. The tube has to be shaped to fit the forward intake lip properly (but then that was true of the kit supplied part as well) Some sanding down of the inner diameter was necessary to smooth over the lip join transition as well. Once you establish the more visible front seams, connecting the rear intake faces can be done.
I have also used thin styrene sheet to form up intakes in other aircraft (which may be easier to source). I just set the seam of the rolled sheet on the upper (or hard to see angle) and this method works well too.
Had the F3D kit fuselage parts not been so badly warped (on my version) it may have been an easier build.
Good luck with your eventual build
In 1971 or so, I was TDY to a remote site, located on Holloman AFB New Mexico. My squadron of F-111A's had deployed from Nellis AFB to do some bare-bones testing. One afternoon, A white aircraft came taxying by our hangar. This happened to be a F-10 Skyknight, painted white, with US Army markings. I do not know what this old aircraft was doing, other than slowly taxying by; there was no ordnance hanging on the aircraft, so no clues as to its mission.
Holloman AFB has lots of secretive goings-on, so I'm sure this was one of them.
Interesting story Marvin, Seems like the Skyknight was still testing something for the US Military
Excellent result out of this very challenging kit!
Congratulations!
Thanks Spiros - It certainly did present a challenge