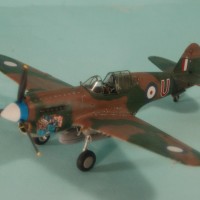
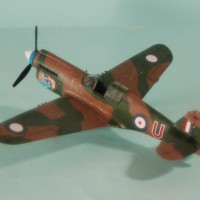
Hasegawa 1/48 RAAF P-40E-1 Kittyhawk I
The P-40E-1 was produced for service with the RAF under Lend-Lease, where it was known as the Kittyhawk. The aircraft served primarily in the Middle East and Far East, where it was the first fighter equipment for the RAAF.
As the Japanese advanced in the South West Pacific during early 1942, the RAAF hurriedly established three fighter units: 75, 76 and 77 Squadrons, quipped with Curtiss P-40E-1 Kittyhawks recently delivered from the United States. 77 Squadron was formed on March 16, 1942, at RAAF Station Pearce, Western Australia, where it was responsible for the air defense of Perth.
The squadron moved to Darwin in August, 1942, when the USAAF 49th Fighter Group began its move to New Guinea. By this time, the Japanese had reduced air activity over Darwin as the war in the Southwest Pacific required that units based in Indonesia move to Rabaul to counter the invasion of Guadalcanal.
77 Squadron initially operated from Batchelor Airfield near Darwin, as the first RAAF fighter unit to be stationed in the area, moving to Livingstone Airfield in September. Among the pilots in the unit was John Gorton, future Prime Minister of Australia.
77 Squadron defended Darwin from Japanese air raids and claimed its first aerial victory just after 5 a.m. on November 23, 1942, when the CO, Squadron Leader Richard Cresswell, a Mitsubishi G4M1 "Betty" bomber. It was the first victory for an RAAF squadron over the mainland, and the first night victory over Australia.
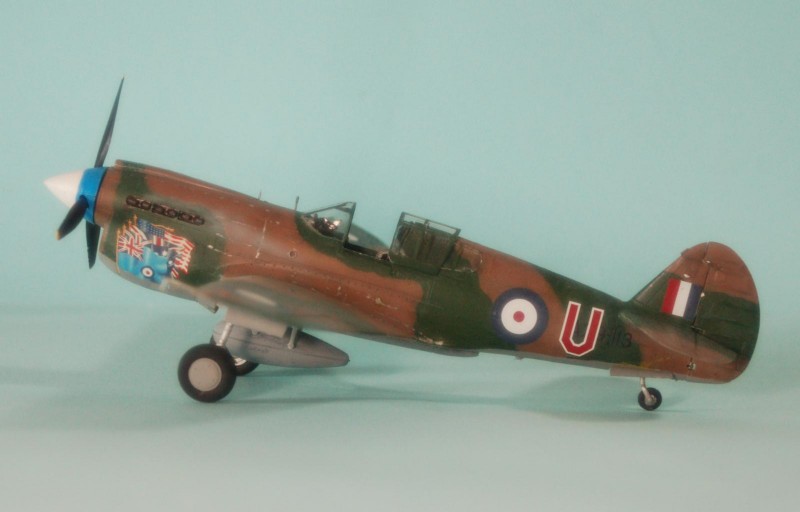
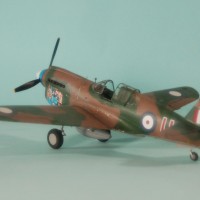
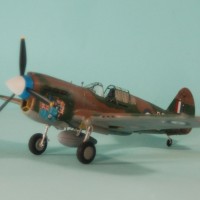
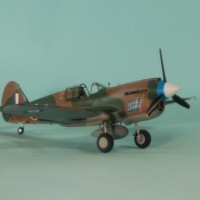
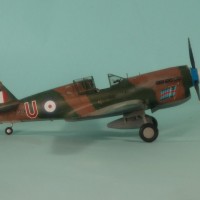
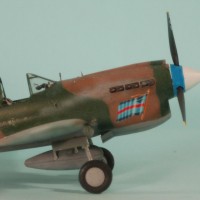
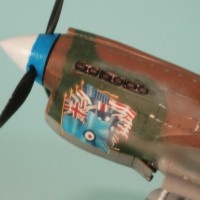
Cresswell's P-40E-1 is well-known for the spectacular artwork it carried - four flags of the RAAF, Australia, the Union Jack and the United States flag, all blowing in the wind. Cresswell kept the artwork by transferring the panels to the Kittyhawk IV he later flew.
Along with 75 and 76 Squadrons, 77 Squadron moved to New Guinea in February 1943, when the Spitfires of 1 Wing became operational at Darwin.
While the P-40E has been a constant presence for modelers in all three of the major scales, overall accuracy has always been a problem. The Hasegawa P-40 series is the most accurate available, though none of the kits are currently in production. The kit is well-known for is “modular” construction, which allows for short-tail, long-tail and the different canopies of the P-40E-M and the P-40N.
The Hasegawa P-40E gets all the various detail bits right - upturned wingtips of the right shape, rear windows of the right shape, spinner of the right shape, landing gear with the proper equipment, etc. The kit-supplied cockpit is head-and-shoulders above any other, though the True Details resin cockpit provides more delicate detail for those who are picky about this point. The separated canopy is thin enough that it can be successfully posed in the open position, though a vacuformed sliding section would be more accurate.
My only complaint about the model is that the fabric effect on the control surfaces is overdone. This is not a “deal breaker,” and reducing this would be an easy job for anyone with a sanding stick.
As is well-known, the major area of construction difficulty is due to the way in which the kit is broken down so as to facilitate the various different versions.
Neither the break between forward fuselage and tail, or the rear cockpit area, attach on a panel line. I found that the best way to assemble the fuselage was to attach the four major parts - forward fuselage, cockpit window area, rear fuselage and rudder - as complete halves. This allowed me to work on the fit of those joints from both sides, to get things lined up as closely as possible. Getting rid of the seams for the cockpit window area and fuselage joints is tricky, and required application of several coats of Mr. Surfacer 500, using a sanding stick to get a smooth surface while taking care not to sand away delicate surface detail. Once you have a seam like this apparently sanded away, it's a good idea to paint over the area, since seams tend to show up under paint, before deciding you've completed the job. As I said, it took me three times to get rid of these seams, and the centerline seam of the fuselage also required more than one application of Mr. Surfacer to get rid of that line.
I assembled the wing as a separate sub-assembly, and carefully attached the wing guns, so that filling and sanding out the seam was relatively easy.
I have wanted to do Cresswell's spectacular P-40E ever since I saw a photograph of it 50 years ago. Various decal makers have attempted it over the years, but only the Pyn-Up Decals from Cutting Edge was really accurate. When I found a P-40E kit at a reasonable price in an estate sale at the LHS, I knew I would use the Pyn-Up Decals I had been saving the past 12 years.
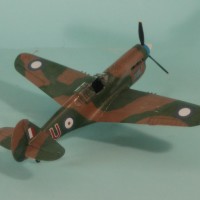
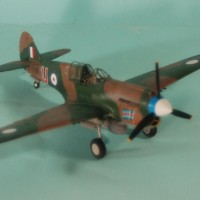
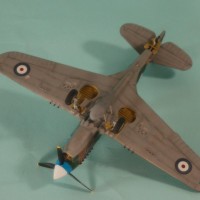
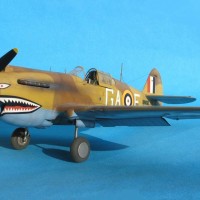
The model was painted freehand as a Lend-Lease P-40, in US Dark Earth, Medium Green, and Aircraft Grey, using Tamiya paints.
The Pyn-Up Decals require care in application, since they are very thin. One puts the white backing on first. Once it has settled in, the color panel is applied. Use plenty of water to allow it to “float” into position, then blot it with a tissue. You do not need to apply setting solution to these, since they are so thin. The decals are well-researched and allow the modeler to get the look of Cresswell's airplane at the time he scored his first victory in November 1942.
I unmasked the canopy and attached the sliding section in the open position. I attached the landing gear and prop and called it done.
Hasegawa's P-40 series are “comfort food” for modelers. Take care in assembly, and the result is nice-looking model of an important fighter. Recommended for modelers with some experience in careful assembly.
Review kit courtesy of a kit collector who died before he got around to it.
Tom Cleaver



Geez...ya scared me there for a second. I saw Hasegawa and Kitty Hawk in the same sentence. NOW I see whatcha meant. Whew!
Tom, good looking P-40E, great choice of nose art.
One of the things that modeling has taught me is that the Flying Tigers didn't own the exclusive rights to being the only user of the P-40. One can think of Claire Chennault and the history of the Tigers but, many other commonwealth countries used the type along with the Russians. Its good to see a P-40 with out the sharks teeth and to give credit to people who sacrificed with out all the press and glamour. I have to agree that the Hasegawa P-40 is a comfort kit.
I love the P-40 and have the Hasegawa kit on my Amazon "wish list." Any thoughts on the newer Airfix kit?
The Airfix P-40B is great. You can see two I've done here on IM.
That nose art is very special! And it is the cherry on top of a cracking build. Like many I have my eye on a P-40 so this critique of kits is really useful. Thank you!
Sweet Kitty.
Another very nice build Tom. Love the P-40, but have yet to do a Kittyhawk version...someday!
Nice work Tom. I've never seen the right side of this aircraft before and was surprised to see the S/L flag
Nice build