HK 1/32 DH Mosquito BMk XVI build Pt. 2
--- pic9 not found ---
Before I started work on this plane I went thru the instructions with a fine tooth comb looking for pitfalls and making sure I don't miss parts or placement. This gave me an idea on how I wanted to proceed. So I followed the kit steps pretty much as outlined in the instructions, and treated each part of the plane as a separate assembly to be joined after each section was complete.
For example, the instructions have you complete the forward half of the fuselage, then the aft portion with the empenage, the joining the two to complete the fuse, which is what I did, with a few minor deviations.
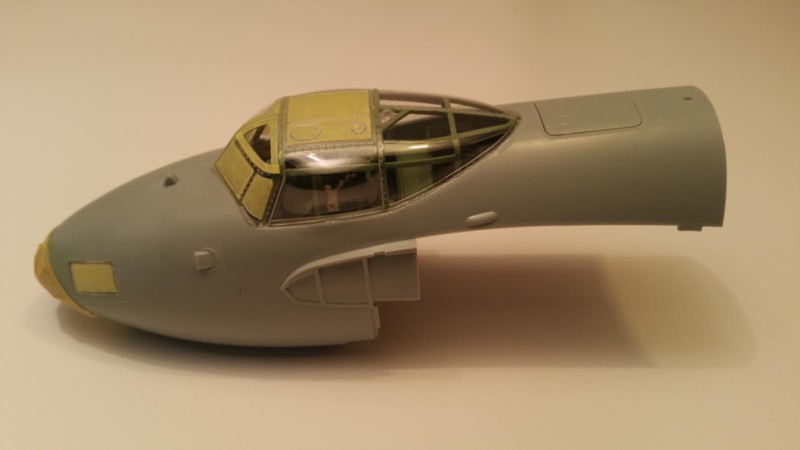
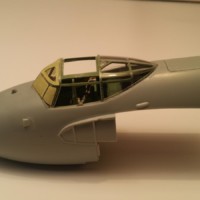
With the nose and cockpit joined, the next step would be to add the canopy parts. I have read in other reviews that the fit could be dodgy so I approached the whole sequence carefully. Each clear part was removed from the sprue with cutters and carefully trimmed, then dryfitted on the interior framework. This frame does not fit to the fuse but only held in place by the windscreen and rear hood. I went ahead and dry fitted all 5 parts to the frame and found the fit was Perfect! All 5 pieces snapped into place with no gaps and no forcing either. I used Testors clear cement to fix the windscreen and rear deck in place to avoid any capilary action crazing the clear parts by using Tamiya extra thin cement. Once set, the assy was placed on the fuse and cemented with Tamiya extra thin along the canopy to fuse contact points. One side bulge was added next, then the escape panel and finally the other side bulge and Done! The assembly was easy looks the part and fit precisely, really can't ask for a better fitting canopy!
I am using Eduard canopy masks all around and of course they work as advertized. I added the nose glass and side windows as well, the fit of the nose is a bit tight so I used a strip of tape to make sure there wouldn't be a gap. Finally I deviated from the instructions with the radio reciever shelf. The instructions would have you fit the shelf onto the top of the wing before joining the wing and fuse but during some dryfitting I found that if you do that you will be left with a noticeable gap between the front of the shelf and the back of the short wall behind the naviator's seat. So I simply cut off the pins on the shelf and glued the shelf to the rear of the cockpit and No Gap! Now the whole nose section is done and you don't have to manhandle a large heavy piece of plastic while adding the canopy and masking.
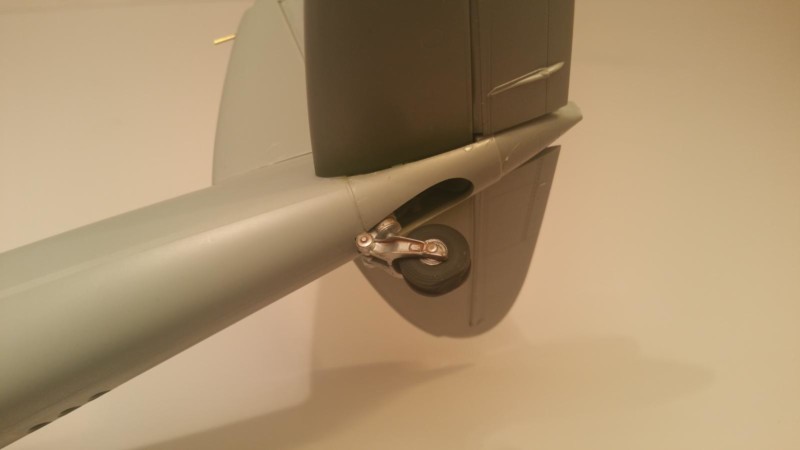
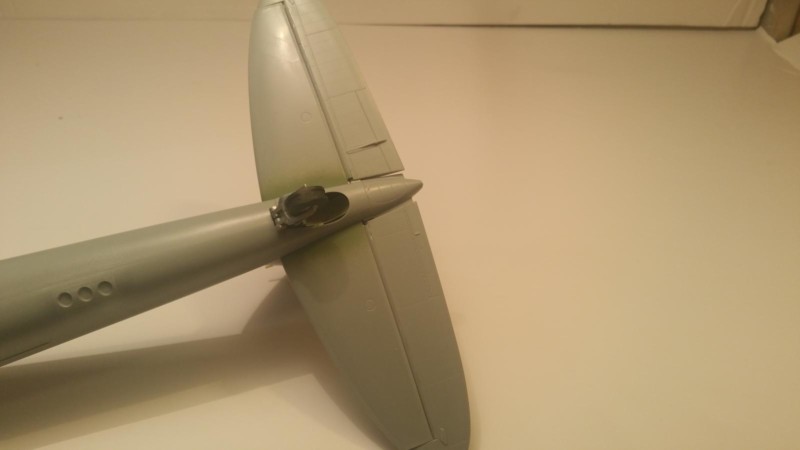
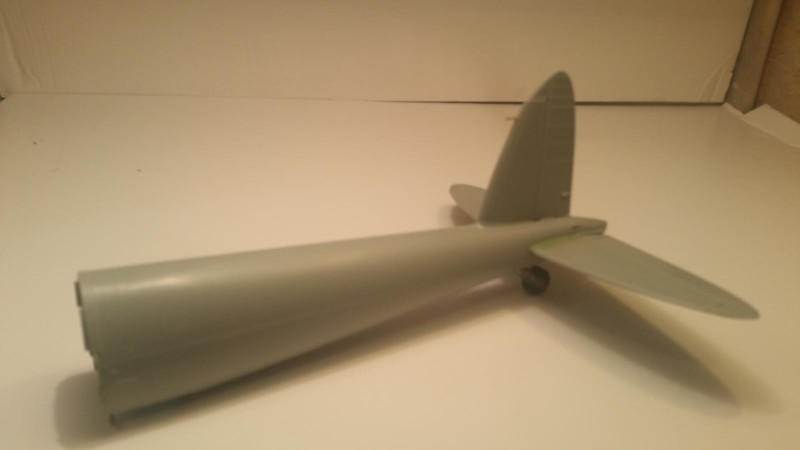
Next up is the rear fuse. Per the instructions I painted and assembled the tailwheel well, the horizontal stab and elevator and the tailwheel itself. The stab itself is a model in itself, molded in one piece, to which various inserts are added to render the airfoil shape and enable the addition of the elevator. The well parts are added to the stab. Unfortunately the tailwheel itself has to added befoe inserting the assy into the rear fuse. I used Eduard's Brassin tailwheel on this kit. After the stab/wheel well assy was complete came the next moment of truth...how well does the stap fit to the fuse? It was literally a Snap, with a little pressure the forward well bulkhead snapped into place without fuss. The fit is very tight with no gaps and looks Great!
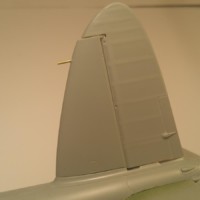
Before adding the vertical stab/rudder, I cut off the grossly oversized pitot tube from the stab and replaced it with one fashioned from .9mm Albion tubing for better scale appearance, then added this assy to the rear fuselage as well. Now I'm speeding along!
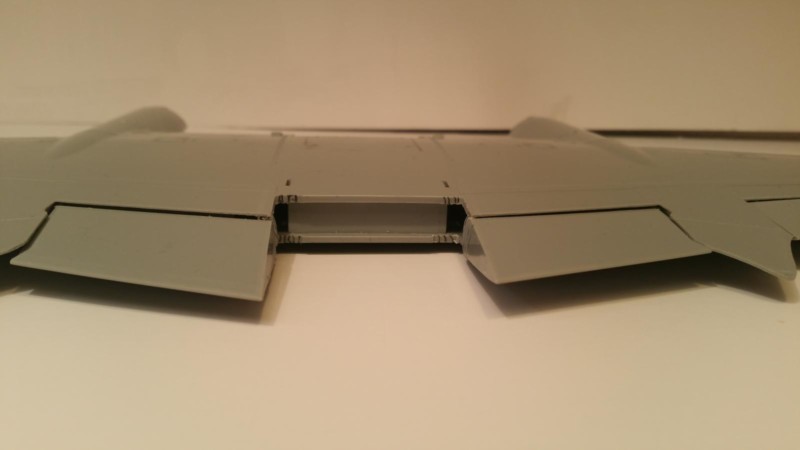
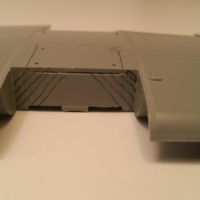
Now I started checking th fore-to-aft fit of the two fuselage pieces. I had to enlarge the socket into which the pin in the fore piece fit, but other than that the fit to each other was very tight with no gaps. With that I started to check the fit of both pieces to the wing itself (I deviated again from the instructions by building the wing first...but more on that later) and found that the cockpit section was too tight of a fit. After checking some more, I realized that the one-piece bomb bay in the wing center section extented just a tiny bit too far forward, affecting the fit. So I whipped out my Sharpie and marked the offending section in the front of the wing box and gently filed the plastic, a little at a time untile the fit was snug but not tight. I did the same to the back of the wing box by filing a slot on each side. None of this will be seen once the wing and fuselage are joined.
--- pic9 not found ---
I had read in a couple of reviews that the builders decided to join the cockpit section to the wing then add the rear section, but I followed the instructions and joined the fore and aft sections together first. I coated the inside of the join with epoxy to give me the strongest joint I could get, and set everything aside to set up. Stay tuned for part 3! Looks like this is going to be a Fast build!
That's gonna be a real nice lookin' build, Juan...I can tell already - 🙂
Thanx Craig, this really is an enjoyable build. I think its because it's not as daunting as building a 300+ part Tamiya mega opus Mossie requiring countless hours of detailed assembly, paint and finish work. This kit is cruder in many respects with less defined details that could and in some cases should have been molded better but for sheer fun it can't be beat! I think it will look great when done and...oh yes...I Will build the PR Mk35 when it is released!
Excellent progress Juan.
You're doing great and having great progress. Keep up the good work!
I've enjoyed Parts one and two, looking forward to the next episode.