Ansaldo A.1 Ballila - Progress
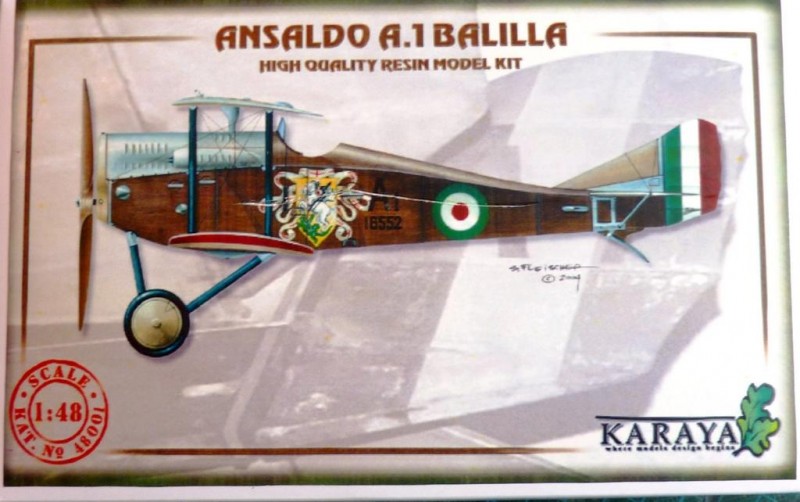
Another 1/48 resin kit from Karaya. It's the little Italian scout A.1 Ballila, which was developed from the ruins of Ansaldo's SVA project. I'll add a little more detail in a later post, but thought I'd show a few sections now. You'd be forgiven for thinking this was 1/72; it's TINY!
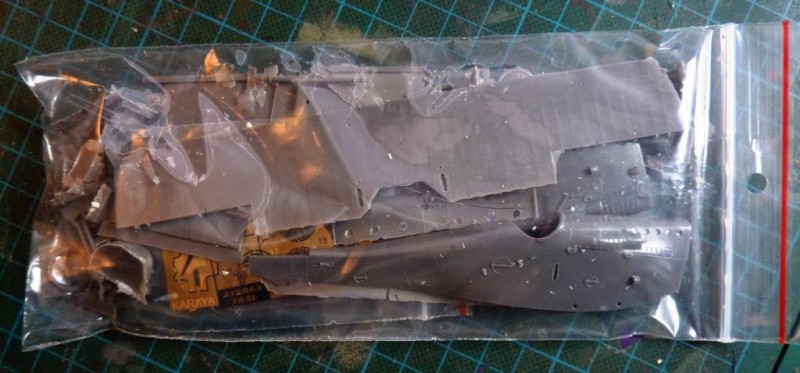
One thing you can always depend on with Karaya is that there are no airs and graces. This is packaging at a pretty basic level, but then kit was less than £25.
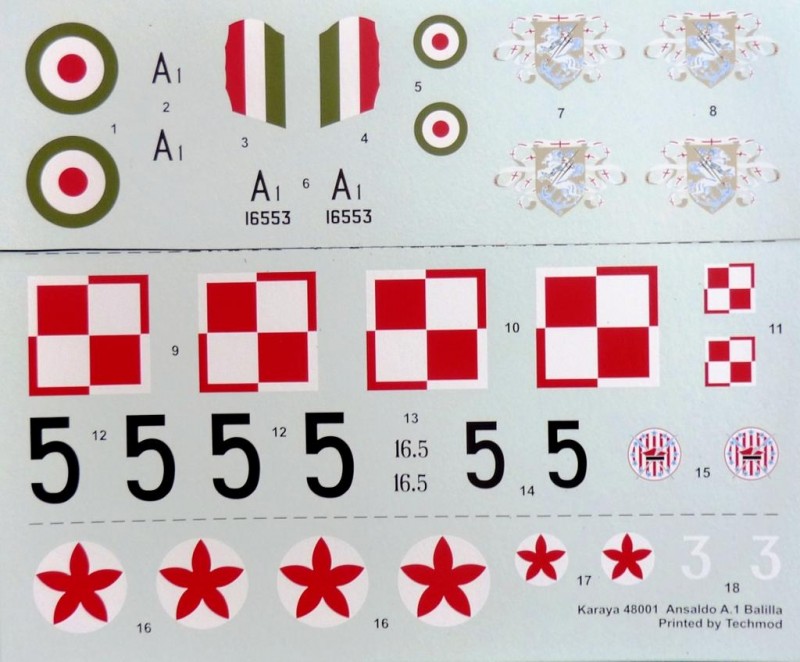
But the decals are nice.
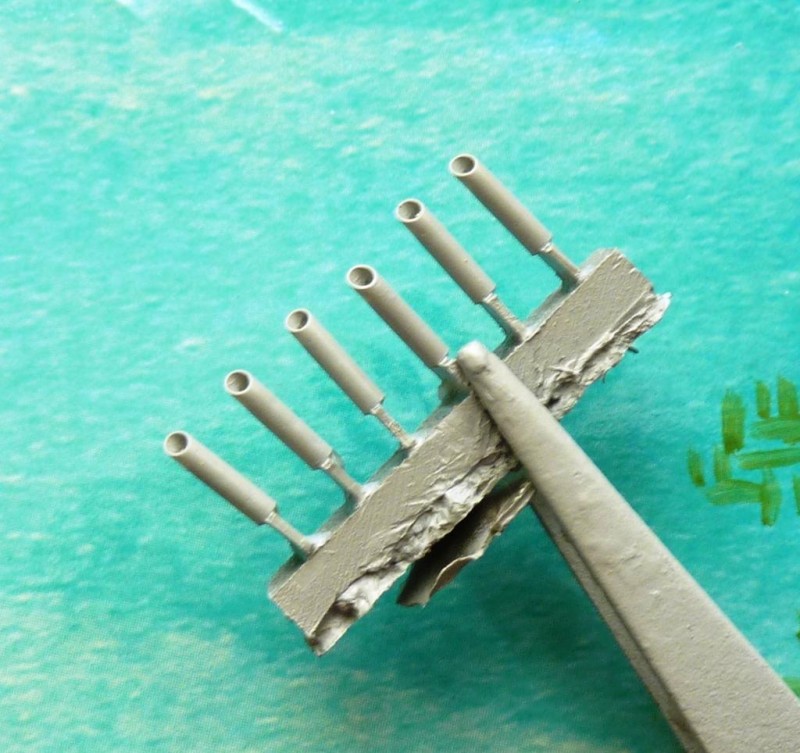
And the detailing in the casting excellent.
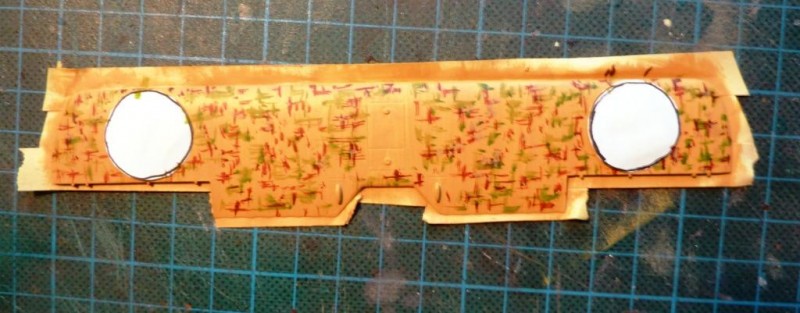
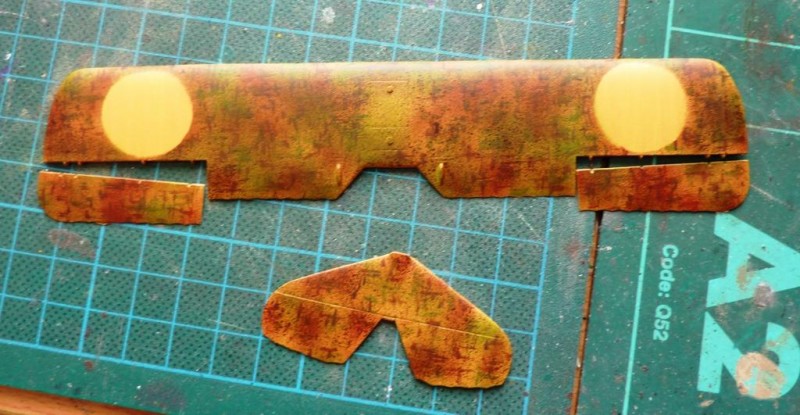
The Ballila had a pretty unique camo scheme - three colours, a base of yellow ochre, on which were applied random brush strokes of a reddish brown and green in loose vertical/horizontal crisscross patterns, and over which was applied a dusting of the green and red brown in a kind of haze. This was for upper surfaces only.
Here are the strokes applied over the ochre. The discs are paper, to protect the areas where the national insignia decals will go. I didn't want the dark colours to show through the white band in the roundels.
And here after dusting. There are still a few small metal panels to pick out, and of course the decals to apply.
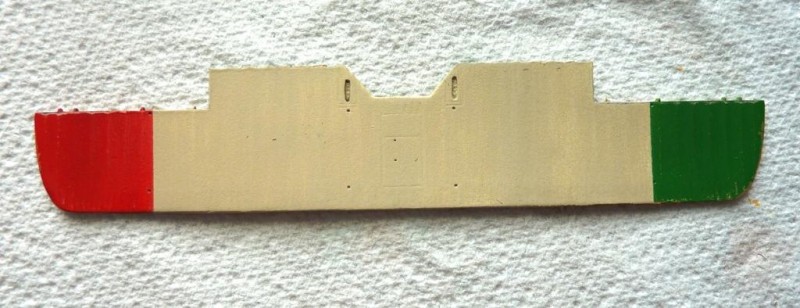
The underside tips of both wing planes are in red and green. I still have a little more to do on the CDL.
After some experimentation I decided that applying thin tape strips over the light-coloured ribs, overpainting with a darker CDL, and removing the tape to reveal lighter 'rib tapes' looked out of scale. No doubt there's someone out there who can/has done this effectively, but I decided that simply applying a light CDL, sealed then with Klear or similar, and overpainted as described above, worked fine. The secret appears to be in allowing all coats to dry thoroughly, and then to use a micro paper along the ribs lengthwise to reveal the just-lighter shade beneath on the rib areas alone, and this looked in scale, to me anyway.
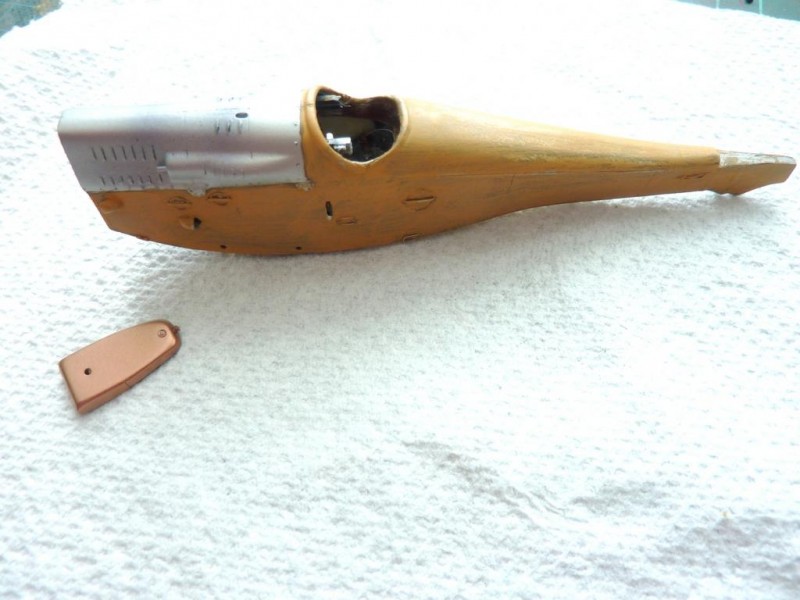
The fuselage is together. The Ballila had a reddish stain overall, which is the next step after the base coating as seen here.
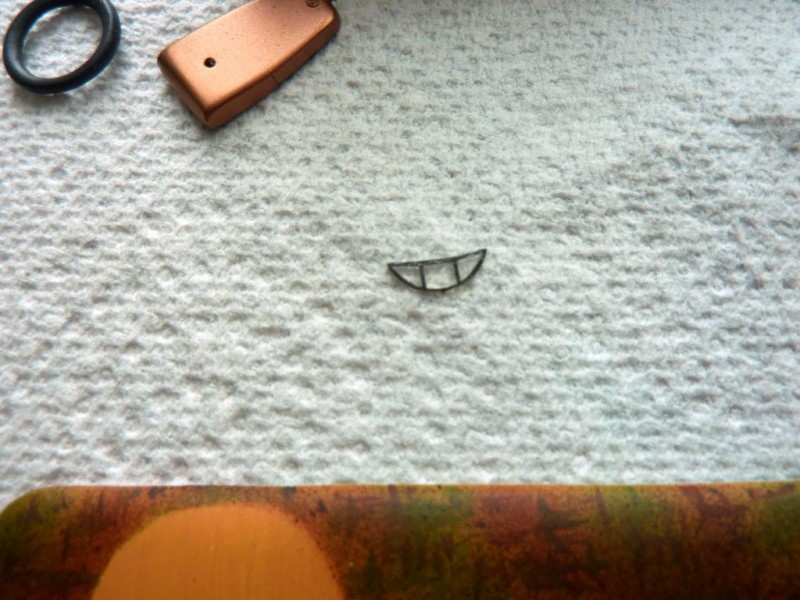
The diminutive windscreen is in PE and had an acetate piece to fit over, but it disappeared so I've just used Deluxe Materials Glue 'n Glaze to create the 'glass'. Looks fine.
Onwards!


That's a really nice kit, Rob. That camo scheme is really cool! Great looking plane. I look forward to the completion.
Off to a great start, my friend...your finishing process looks really nice.
really neat subject, looking good!
This is an interesting kit. Thanks for sharing it.
Very original in every sense. The camou style and your rendering of it is marvellous. The Italians always had style.
Wow this is amazing Rob ! Didn't these planes also have one wing a little longer to counter act the torque from the engine ?
and Stellan is right. The Italians have always had style with their planes (and cars too)...
Looking forward to your next installment. 🙂
They in fact experimented with three different overwing lengths to achieve better performance. The various length wings are impossible to differentiate from one another in photos, though.
Another fine model on the way, keep them coming, Rob.
Cheers, George. Early days yet, and compared to Aviatik’s 1/32 multimedia extravaganza (£160 + taxes + shipping!) this is pretty small beer, but I’m cracking on regardless because of several skills challenges it offers generally to those of unsound mind.
You pick such cool subjects! Keep it coming Rob!
Rob, I could watch your work all day. And I mean that.