Hobby Craft 1/32nd Mustang MK.1A/F-6A (Kit #1713)
Subject Background:
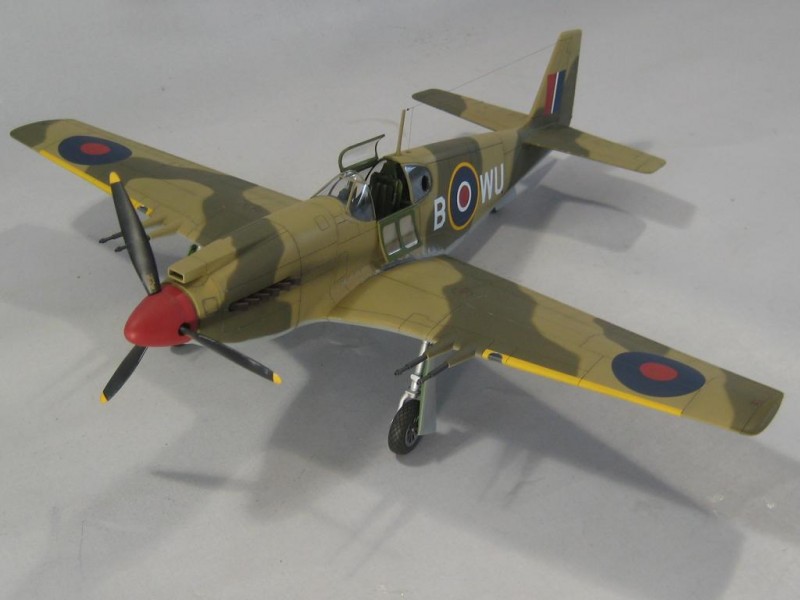
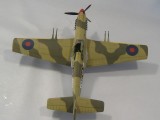
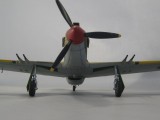
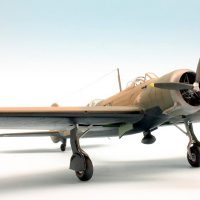
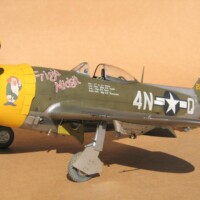
In March of 1943, 25 F-6A/P-51s were assigned to the 154th Observation Squadron of the 15th Air Force stationed at Oujda in French Morocco, North Africa. While operating there, No. 225 Squadron of the RAF frequently “borrowed” Mustangs from the 154th to augment its shorter- range Spitfires. This model represents machine WU•B, one of four F-6A/P-51 machines (USAAF serials 41-137361, 41-137366, 41-137424 or 41-137428) acquired by RAF No 225 Sqn. in 1943. The exact serial No. for WU•B is not known.
Assembly:
My initial plan was to build this kit entirely OOB, but after opening up the box, it was clear that some additions and modifications to the kit had to be done. Truth be told, a lot more work than I put into this kit would be required to make it into a truly accurate model. Basically, Hobby Craft's kit is a scaled up version of the Accurate Miniatures 1/48th scale kits as far as parts breakdown goes, but it lacks the crisp accurate molding of the AM kits. Overall, the fit of the parts was OK. The major airframe parts had a “pebbly” texture that needed to be thoroughly sanded down, the smaller detail parts and most of the interior parts were clumsily molded and the clear canopy parts were thick and in my hands, ill-fitting. The main wing trailing edges are thick and need to be thinned down (way more than what I did).
Interior:
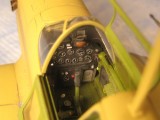
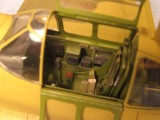
I added some extra interior details such as instrument dials (MDC), spare PE lever parts and a few old Waldron placards. Additional detail was also added to the camera and surrounding area (wires and PE parts). The kit wheels were poorly molded and aftermarket resin replacements were used. PE oelo torsion springs, towing rings from wire and hydraulic lines from fine lead wire were added to the main landing gear. The gear bay is molded wrong -typical for almost all P-51 model kits produced. I didn't think that the extra work would be worth the effort or cost of a resin replacement set. The main gear doors on the early P-51's should be in the closed position while parked, which is how I assembled mine
Exterior:
The kit exhaust stacks were replaced with tin MosKit stacks made for a P-40 Warhawk. For now, they‘ll have to do, as the kit parts were mis-molded horrible things (believe me) and there was no other quick replacement option for me at the time. I intend to replace them (anyone have any ideas on good options?). The kit's 20 mm Hispano cannons were equally as bad as the exhausts so new ones were fabricated from fine tubing and fine lead wire. The kit comes with two types of propellers and I ended up using the pointed Curtiss props in place of the paddle blade type also offered.
Painting/Weathering:
I used AeroMaster and Model Master Enamels paints throughout the build and applied the paint as per the colors/paint scheme outlined in On Target Profiles (2) RAF & Commonwealth P-51 Mustangs by Jon Freeman: US Olive Drab over Neutral Grey followed by sections of disruptive Middle Stone over the Olive Drab. My reference also stated that this AC “may” have carried “shortened” yellow ID stripes on the leading edge of the wings…vague description -mine may be too short. The HC painting instructions for the spinner was “Red”. Since this AC was originally a USAAF machine, I went with Insignia Red. Since I really like the sleek lines of the early Allison powered Mustangs, I opted for a “cleaner” look on this model as opposed to a battered desert sun-faded look. I applied some subtle post shading with darker and lighter tones of the base colors and added chipping with a sliver PrimsaColor pencil. Next, the entire model was given a hand brushed coat of Future Floor Wax with a few drops of a water based burnt umber wash in it to further help blend the colors.
Decals/Final Details:
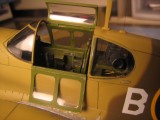
The kit decal sheet provides large narrow light blue Sqn. codes- they should be smaller and white-I procured some old AeroMaster RAF letters (thanks Frank!) that looked right and applied them. The remaining decals are from the kit and went down well without setting solution. A final dull coat was applied using a mix of PolyScale Acrylic Flat with a few drops of Dust. I then added some oil staining on the fuselage, wings and landing gear using an oil base burnt umber wash. The panel lines were highlighted with a finely sharpened 0.5 mm soft lead drafting pencil. Finally, using a soft blush brush, I gently brushed the entire model to soften the penciled in panel lines.
I enjoyed building this kit. Does it have its problems?...Yep, but what the heck, I picked it up for $20 at a swap meet and added about $12 more in aftermarket parts/paint supplies-not a bad deal. In the end, with a little extra effort, I think the kit built up into a respectable model.
Happy Modeling,
Erich
Very nice...very nice indeed. Was this an offspring of the A-36 Apache?
The F-6A was an armed low-level photo recce variant of the Allison Mustang.
Glad you liked it. I believe that this was a mark that came after the A-36 Apache, no wing dive brakes on this AC.
Erich...Funny how so many OOB projects get out of hand. Your Mustang looks great.
Nice work to bring it up to standards. You've convinced me to stick with Accurate Miniatures and 1/48 scale!
beautiful job...i was just looking at that kit on evil bay last night
Well done, very nice finish. Did a great job refining a rough kit!
Erich,
This stunning. I love the scheme and the overall job you did with this kit. Great job.
Nice!
All that extra work has really paid off, Erich, it's a great model. I especially like the photographs of the cockpit detail.
Wonderful work!
Looks just great Erich. I love the combination of the early Mustang & the RAF style camouflage. I nearly bought this kit a few months ago. Think I'll stick with the Tamiya 'D'. Wouldn't it be great if they brought out a 'B' in 1/32?
Tony, I couldn't agree with you more- I'm partial to the early "razorback" Mustangs over the D models and a 1/32nd P-51B model by Tamiya would be awesome. I have the Trumpeter 1/32nd 'B' kit-its not bad at all, but will definitely take more work to do away with all of the rivets on the fuselage and wings...Or you can just live with them and still have a good looking model.