My Dad…a Bridge…and a Bomber…
My Dad…
Clifford J. “Tex” Rodgers, Jr, was a Captain in the U.S. Army during WWII. He was an Engineering officer who helped build the Alcan Highway across Alaska and Canada in 1942. From there, he went to Jolly Olde England where he and his soldiers fought from Normandy, through Luxemburg, and into Germany. March of 1945 found him and the engineering company he commanded in the little town of Remagen. Before them was the Ludendorff Bridge…the last standing bridge across the Rhine River, the last large natural barrier blocking the allied advance into the heart of Nazi Germany.
The Bridge…
The Germans, in their retreat, tried to destroy ALL of the road and railroad bridges that crossed the Rhine. They succeeded in doing this…except for the Ludendorff Bridge, a major rail bridge across the river. The bridge had been rigged with demolition charges like all of the other bridges and was supposed to have been destroyed, but when the charges were set off, not all exploded and the resulting damage was not great enough to destroy the bridge.
When the bridge was discovered still standing by elements of the U.S. 9th Armored Division, it became the focus of both sides. For the allies, it was the bridge needed to cross the river and breakout into the heartland of Germany to end the war. For the Germans, the bridge was a glaring weakness in defense of “Fortress Germany”…and it needed to be destroyed at all cost.
My dad and his soldiers were tasked with deactivating all of the remaining demolition charges and also with repairing the damage that had already been done…this all while soldiers, trucks, and tanks were crossing it to establish the bridgehead on the east side of the river.
The Bomber…
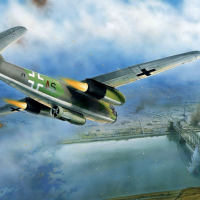
The Germans for their part launched hundreds of Luftwaffe sorties to bomb and destroy the bridge. They used all of the aircraft types in their arsenal, but one of note was the Arado Ar 234 B-2 “Blitz” bomber. This was Germany's first operational jet bomber (the Me 262 bomber version was converted from a fighter design). This plane was groundbreaking in other ways. Besides having a pressurized cockpit, it also had an ejection seat. When the pilot ejected, the whole nose forward of the aft bulkhead was jettisoned. For weapons delivery, it had a bombsight/computer for level bombing and an optical sight in the periscope for dive bombing as well as “checking six”. To help shorten the landing roll it also had brake/drag chute.
Though this bomber was used elsewhere at the end of the war, the Ar 234's of III/KG76 were tasked during this period specifically with destroying the Ludendorff bridge. To that end, the unit attacked the bridge continuously from March 3rd until March 17th using SC 1000 2,200lb bombs but failed to make a direct hit and drop the bridge. One of the Ar 234 pilots was Ofw. (Flight Sergeant) Friedrich Bruchlos, and his aircraft is the subject of this post. A more detailed and better history of the Ar 234 can be found in Tom Cleaver's writeup here on iModeler.
In the end, my dad and Ofw. Bruchlos both failed in their respective missions. On March 13th, my dad and a few other engineers were in the rear asking higher headquarters to close the bridge so that much needed repairs could be made to the damage done by the German demolition charges. They were turned down flat. On March 15th, the bridge suddenly collapsed into the river, killing twenty-eight of my dad's soldiers and wounding many others. What Ofw. Bruchlos and the other German bombers could not accomplish, i.e. destroying the bridge, fate did. As long as my dad lived, he said his biggest regret was not being able to convince his commanders to stop the traffic on the bridge, complete the needed repairs, and thus save his soldiers' lives.
Revised, May 2, 2020: Ofw Bruchlos was killed on this mission, March 9, 1945 by AAA fire defending the bridge. The wreckage oof his bomber were not found until many years later...
The build…
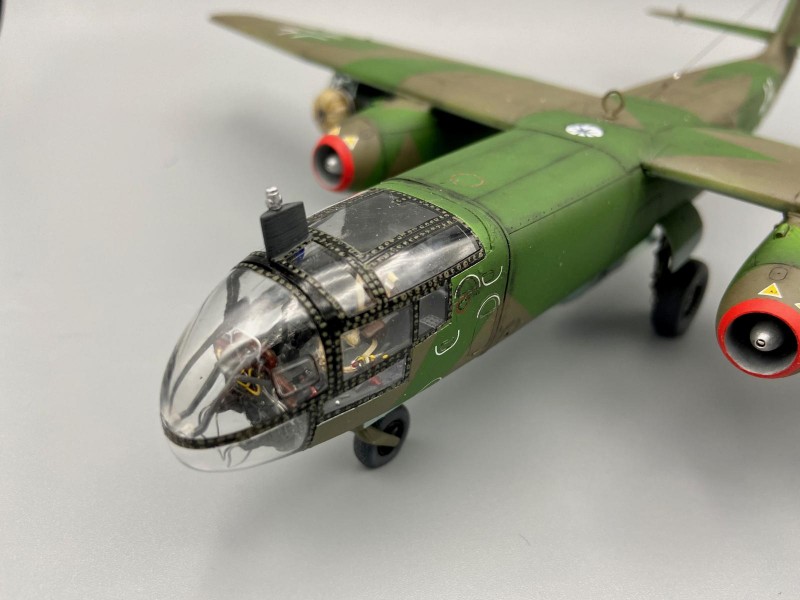
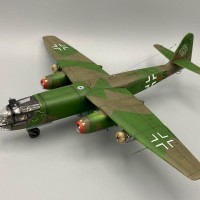
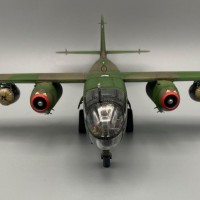
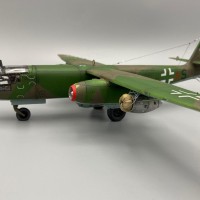
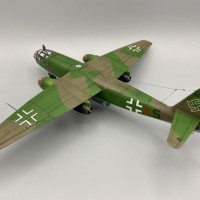
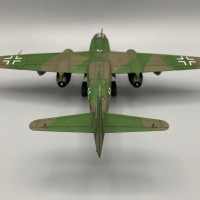
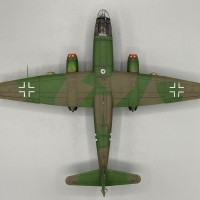
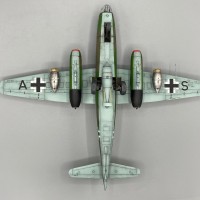
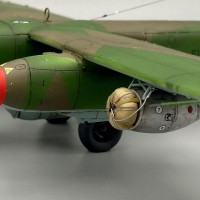
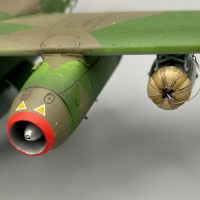
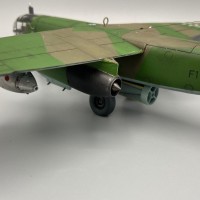
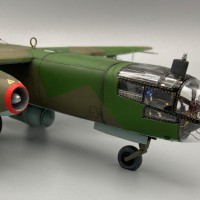
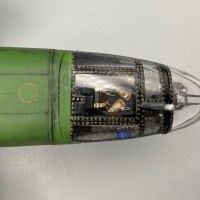
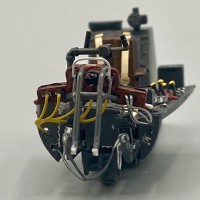
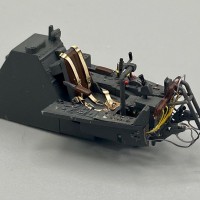
This is the 1/48 Hasegawa Arado Ar234 B-2 kit. This kit has excellent detail and the fit is very good for the most part. There are three issues that are easily fixed. First is the aft cockpit bulkhead which needs to be trimmed so that it fits properly inside the fuselage halves and thus they go together properly without a gap. The second was caused by the locating pins on the upper and lower wing halves. If these are used, there is a noticeable gap where the lower wing meets the fuselage. First I glued the top part of the wing to the fuselage. Next I cut off the locating pins. Then I glued the lower wing halves in place…snug to the fuselage. NO gaps and nor seams to fill. The last had more to do with ease of build. I normally leave the landing gear off until after painting so they don't get in the way or get broken. In this case it is MUCH EASIER to follow the instructions and just mask the wheel wells and struts instead of trying to install them later (h/t to Tom Cleaver for these three tips that I gleaned from his previous build writeups). I used Eduard's fantastic PE set and canopy mask for the cockpit. Because this is the focal point of the aircraft, it had to be as nice as possible. They worked out great.
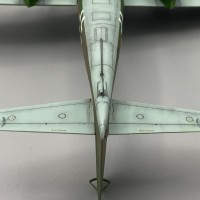
Very little was needed in the way of seam filling and the model was ready for paint. I kept the engine pods and fuselage separate until after the final satin clear coat for ease of painting and masking. I used Stynlrez primer, which I have had very great success with for the past two years. Once primed, I used Vallejo Air paints throughout…RLM 81 and 82 for the top camo and RLM 76 on the bottom. This was followed by a clear coat of Alclad Aqua Gloss prior to applying the decals…in this case XtraDecals Ar 234 sheet X008-48. These went down with no problem. After sealing the decals, I applied a light oil pin wash to highlight the panel lines. Weathering was very limited because these aircraft had come pretty much straight from the factory. Because of fuel shortages, they didn't get much use and thus not much wear and tear. A coat of Satin Clear Acrylic varnish was applied to tied it all together. Lastly, the radio antenna (EZ Line) and the pitot tube (hypo needles) was added to complete the build.
I hope you like my little tale…and my build.

Looks great! I knew about the bridge, but hadn't heard of the aircraft. Between the Alcan highway and what you father did in Europe...Wow.
Well done Tom, well done indeed. Great story as well most veterans from WWII have shared lots of stories that paint a different picture versus what's recorded in history books.
Very nice Arado and camo work.
wonderful story
Tom, I really enjoyed your write up about your fathers experience. Your build looks great, you did a wonderful job building this interesting aircraft. Well done !
Tom @trod348, great looking build and a great story as the lead in.
Well done!
Very well done, Tom! The story and the historical background add a lot to the impression of this model.
That's a fantastic build after an amazing story, Tom. I loved your job: cockpit meticulously rendered, rest of kit put together nicely, great painjob and appropriate weathering; accompanied by the relevant great story.
Thanks for sharing!
Amazing build, attention to detail and history, congratulations!
Thanks for sharing Dad's memories.
Amazing build and story Tom!
Beautiful build and great story.
Well done, Tom. I hope to build the same kit some time this year, and if you don't mind, I will be going to this post quite often for guidance. The whole build is outstanding, especially the paint and weathering!
I think you will find the build enjoyable. Just remember those three little tips I got from Tom Cleaver and you will be fine.
Thank you for sharing the story, the model and those beautiful pictures. Well done.
I will echo what the others have already said - very interesting write up and very nice build! Did you scratch some of the cockpit details as well? Seems a bit over and above just what the Eduard details provide? It looks great with the cables, etc
The only bits that I scratch built in the cockpit were the throttle controls and fuel control levers on the left console, They were originally PE but I lost a few so I made new ones out of starched sprue. Everything, the instrument cables, brake lines, etc were from the Eduard PE set.
Fantastic build and great history!
Beautiful build - looks fantastic!
Impressive detailing and wiring job on the cockpit! Thanks for sharing your interesting dad story. Guess those 234 pilots couldn’t hit the side of a barn...I mean “bridge”.
They tried, along Fw 190 Jabos...the Army had AAA all over the place to protect the bridge. The Germans eleven tried using Frogmen with demolition charges.
Fab story Tom, the build looks great too! Look at that cockpit! Thanks for posting!
That really is a great story and a way to bring a personal touch to a build. You did a great job with that kit, I really like your colors, just really seem to make the plane "pop". Its really great that you were able to get that story from your dad. I built that kit also, and enjoyed it also. I do remember one fit issue being the cockpit to the fuselage.
Great model, super story. Your usual great modeling work. Good to get a personal account of the bridge.
Thanks Tom. My dad had told me the story many times, and later doing some research, I found out that the Ar 234 was used to attack the bridge. The project all came together when I saw the decal sheet with the Bruchlos option.
Wow, excellent build Tom. Cockpit work is awesome.
Lovely build and paint work all 'round.