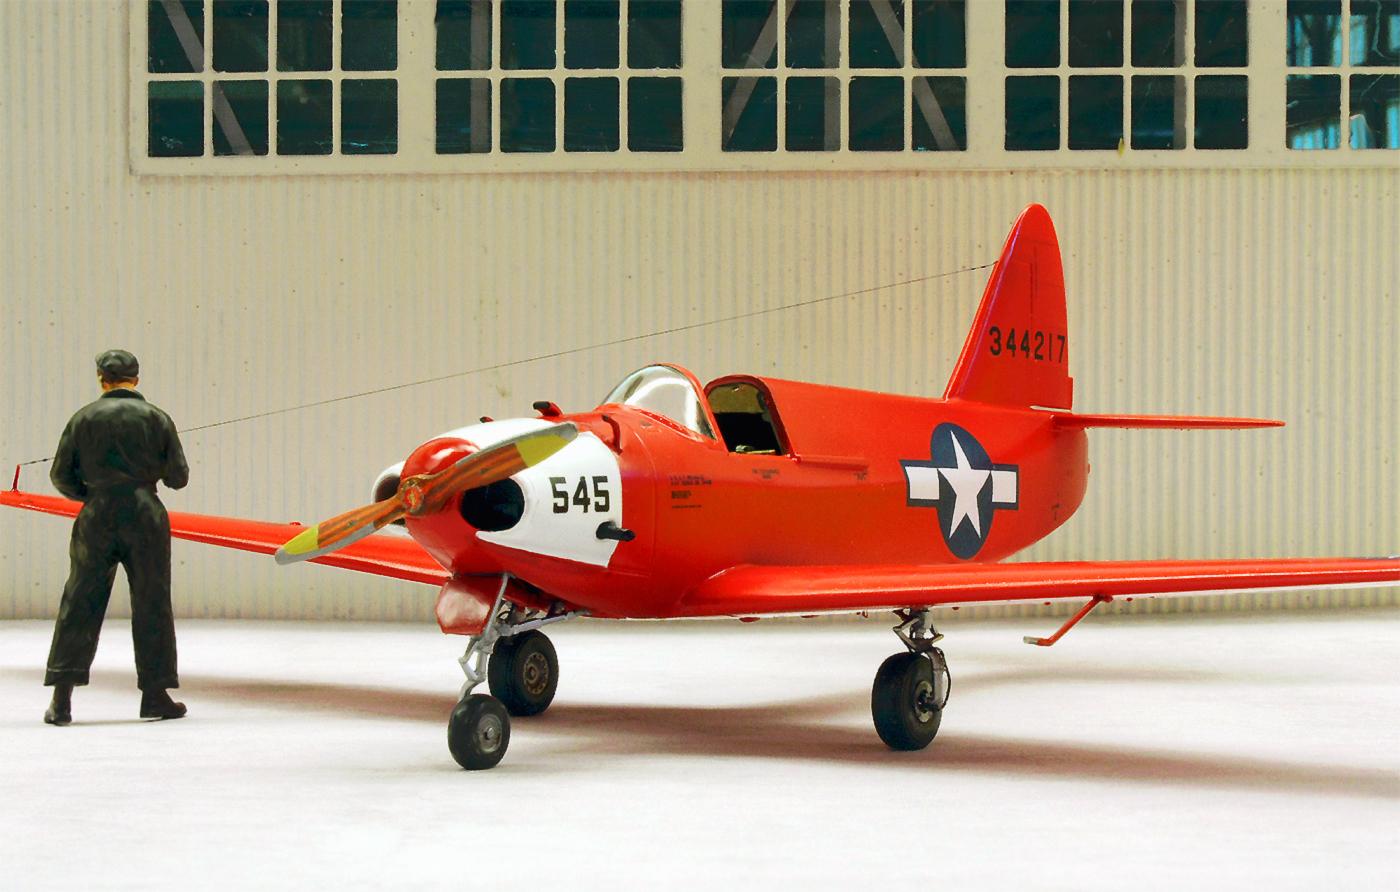
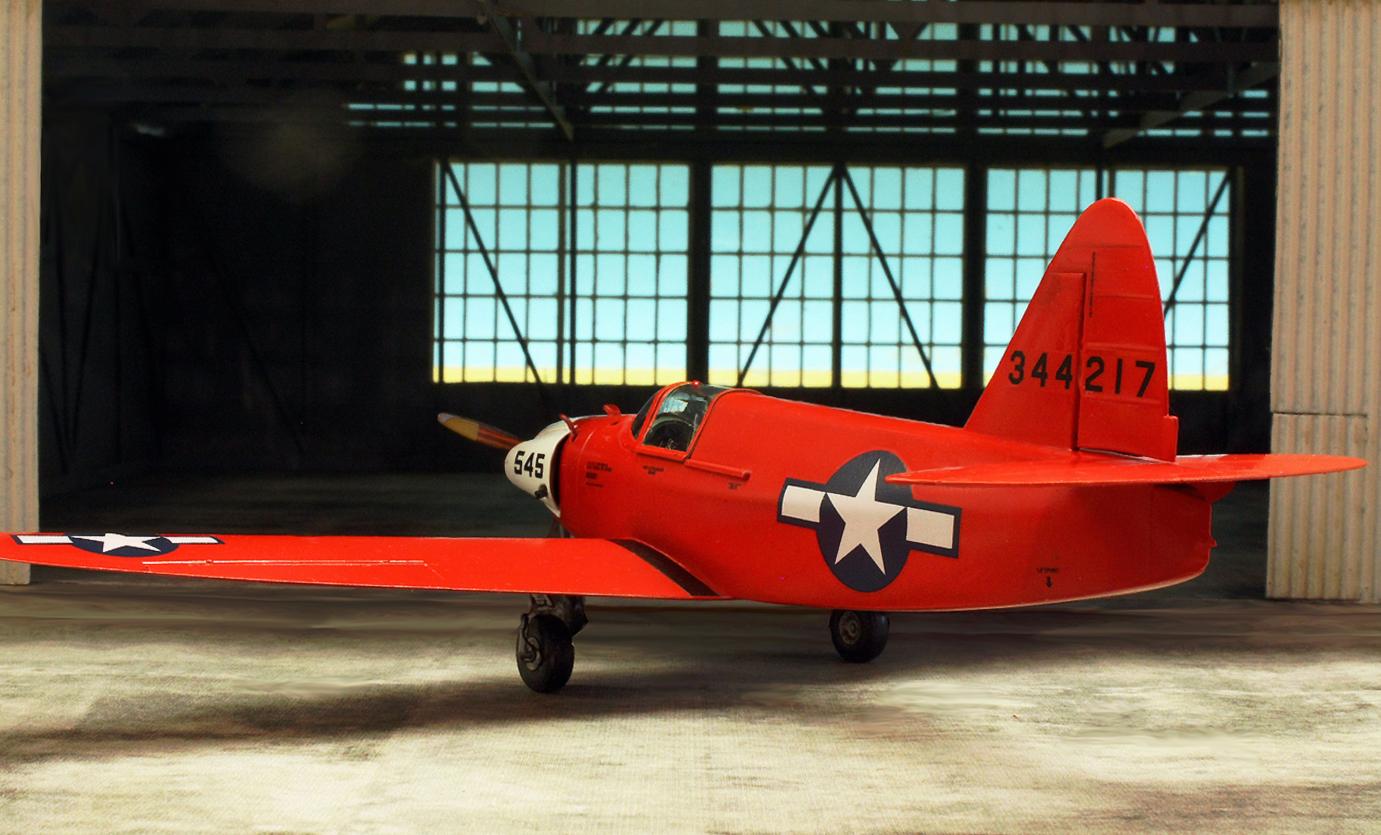
Bright red, nimble, good-looking -and doomed to a violent end: Culver PQ-14 target drone
Who would have expected to be able to put a target drone of the US armed forces from the 1940s on the workbench as the subject of a brand-new and really first-class kit in the popular 1:48 scale? Well, certainly not me! This can also be explained by the fact that I was not familiar with this aircraft or drone, but I also suspect that I was in the best of company with this ignorance, even among aviation enthusiasts. The motives of the Ukrainian manufacturer ‘Clear Prop' for taking on this unusual subject can only be surmised.
Is it because the buzzword ‘drone' seems to be on everyone's lips at the moment? Or has the astonishing number of Culver PQ-14s produced at the time contributed to this? The fact that this model is a military but attractive and clearly colourful aircraft that would appeal to connoisseurs and enthusiasts of exotic aircraft will certainly have helped - especially as the Culver PQ-14 has a surprisingly interesting history!
About the original: the Culver PQ-14
In the first half of the 1940s, 2043 examples of this sleek little aircraft were produced on behalf of the USAAC/USAAF. Of these, the US Navy took over the majority (1198), whereby the intended use was the same for both branches: the PQ-14s served as remote-controlled training targets for anti-aircraft gunners.
The Culver was controlled by radio from the ground or from a mother aircraft, but the cockpit of the aircraft remained fully instrumented: for transfer or occasional flights, the aircraft could be flown manned without conversion.
Only a handful of PQ-14s survived their use as target aircraft. However, after being sold from military stocks, these dozen or so aircraft had good prospects of a more enjoyable civilian career: the Culver PQ-14 proved to be easy and pleasant to fly, reliable in operation and so cheap to maintain that it continued to enjoy great popularity as a sports aircraft for some time.
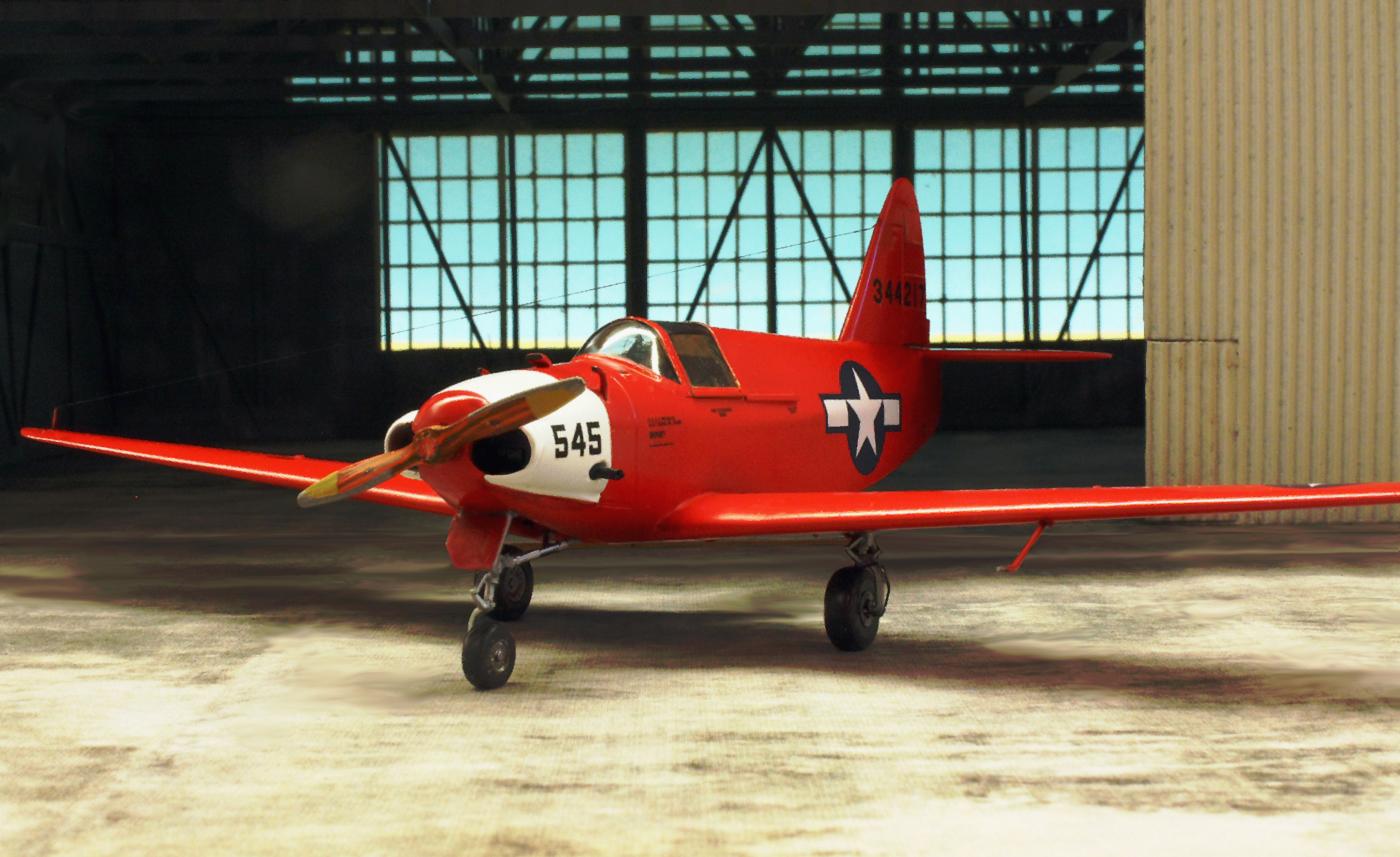
This is not entirely surprising when you realise that the versatile drone was developed from the two-seater Culver LFA Cadet sports aircraft. After the USAAC approached the Culver Aircraft Company in 1940, the PQ-8 target drone was derived from the tried-and-tested Cadet, of which a good 200 were subsequently delivered. However, the PQ-14 went into series production as an improved successor as early as 1942. With retractable nose wheel landing gear, aerodynamically refined lines and an engine boosted to 150 hp, a leap in performance was achieved that would also benefit the model in its later civilian role.
Just under 6 metres long and with a rather small wingspan of 9.14 metres, the construction with its 150 hp Franklin 6ACT boxer engine soared through the occasionally explosive and shrapnel--filled skies at a respectable maximum speed of 300 km/h.
About the kit and the building process
If there was some speculation at the beginning about the motivation for producing such an exotic aircraft, my motivation for building it is easily explained! In fact, the PQ-14 was a welcome opportunity for me to finally try out a kit from ‘Clear Prop'. The fact that such a rare bird with an attractive shape and colour scheme was to be the subject of my efforts made it irresistible! In fact, this kit made a record-breakingly fast journey from its first appearance to my workbench and, last but not least, to the finished model.
The latter is, unsurprisingly, mainly due to the simple structure of this small aeroplane. ‘Clear Prop' has really not skimped on details, the graphically very well-made instructions also take their time to arrange them in surprisingly numerous construction steps to create a coherent and deeply structured reproduction of the sleek shapes of this aircraft.
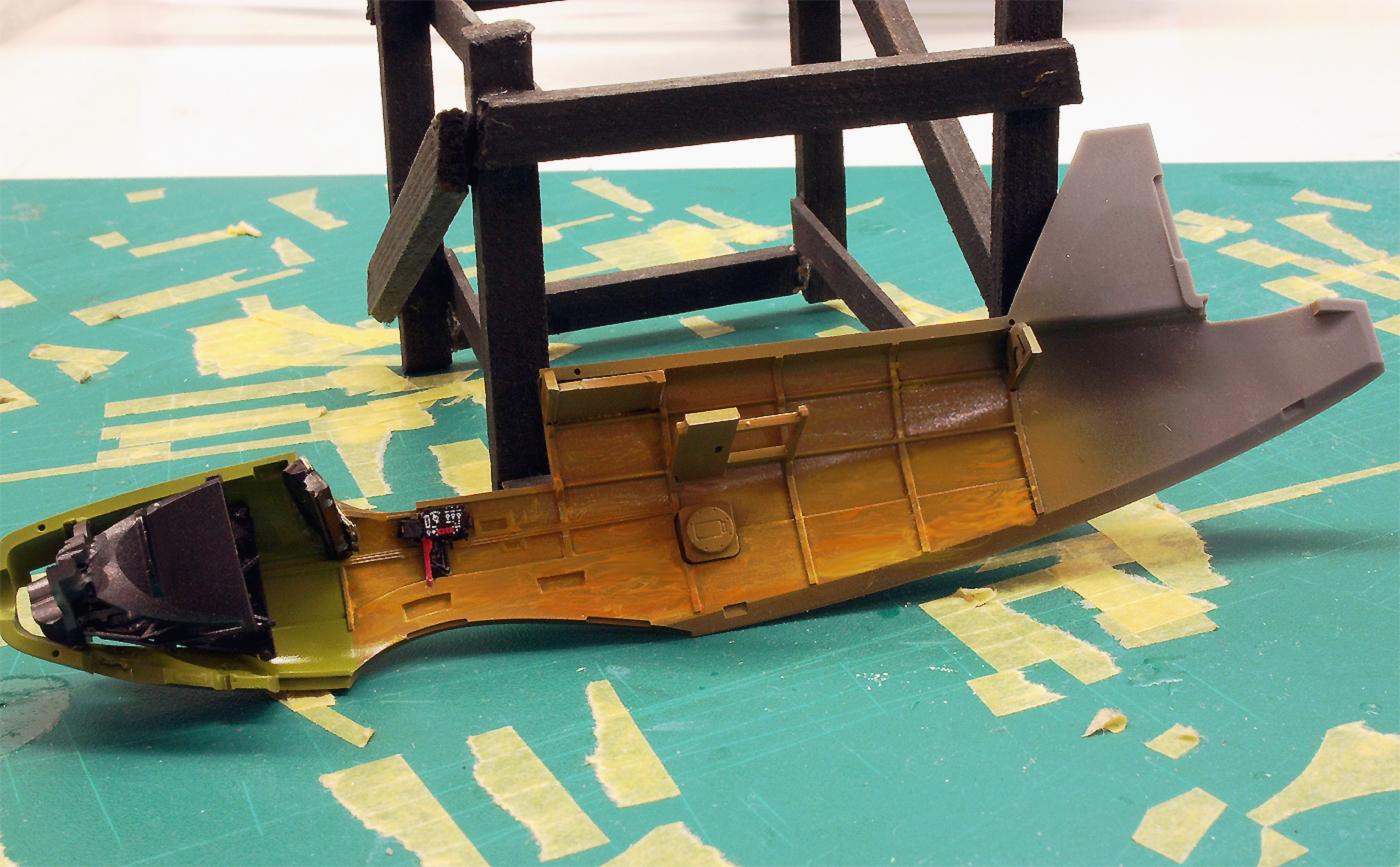
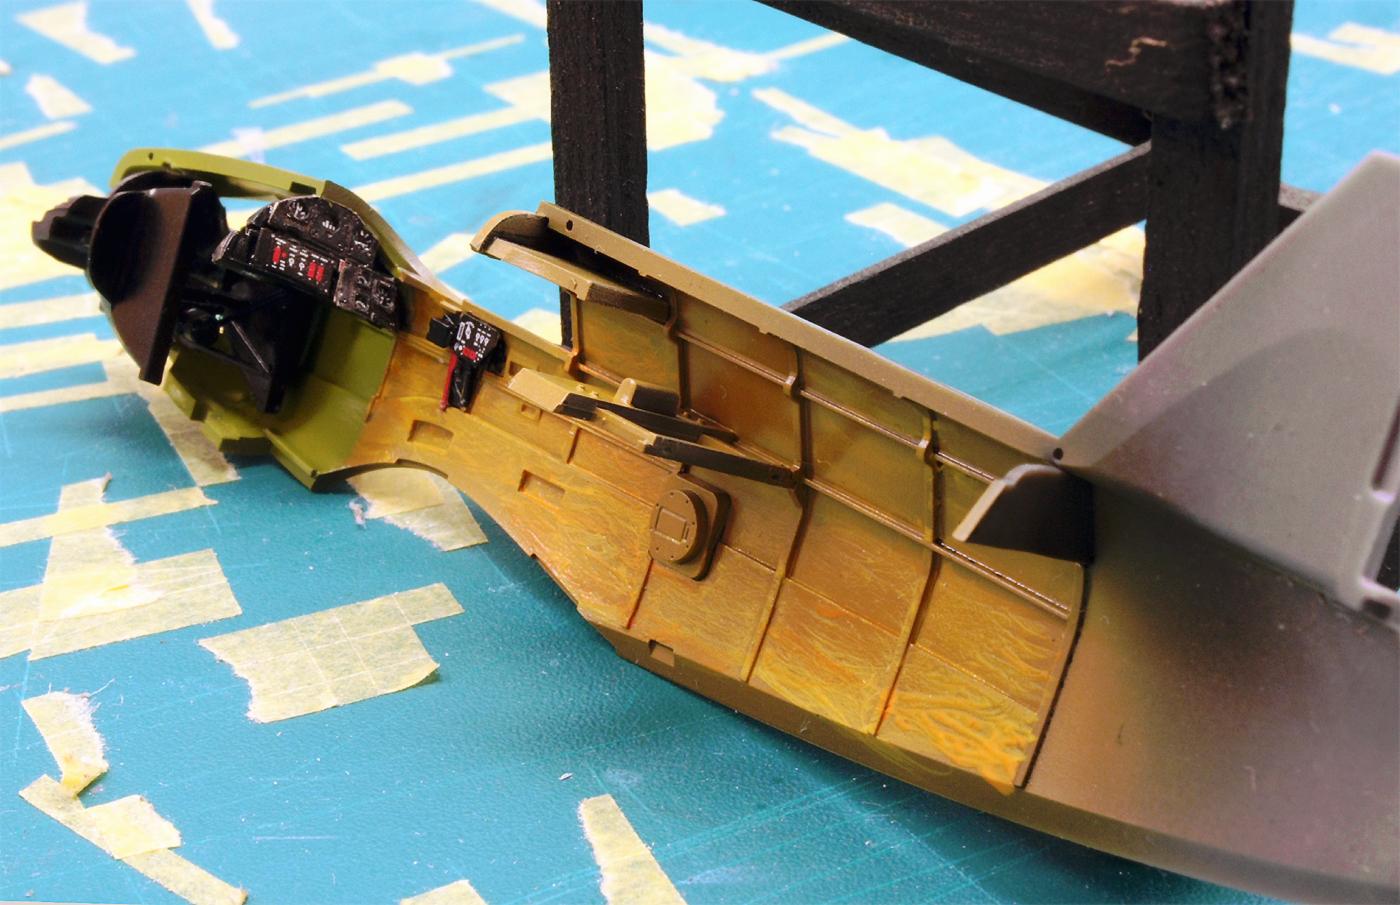
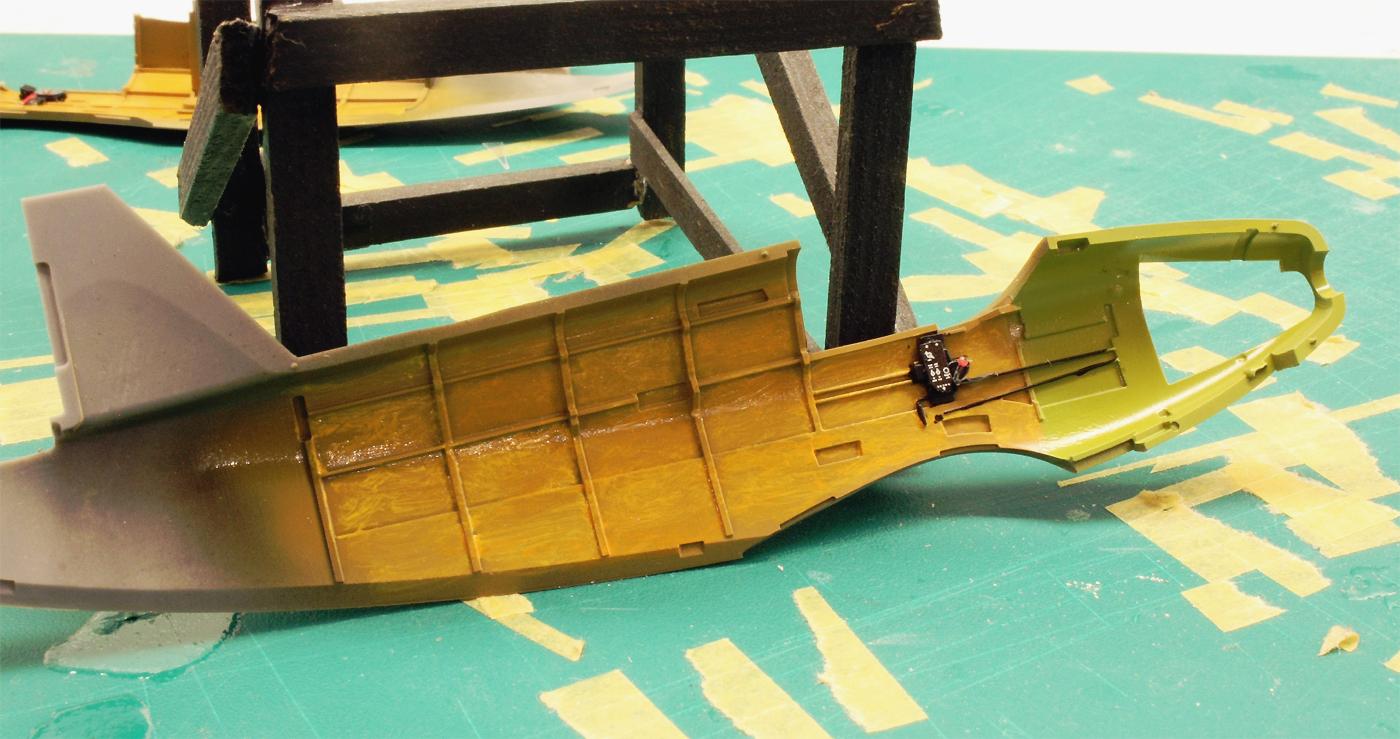
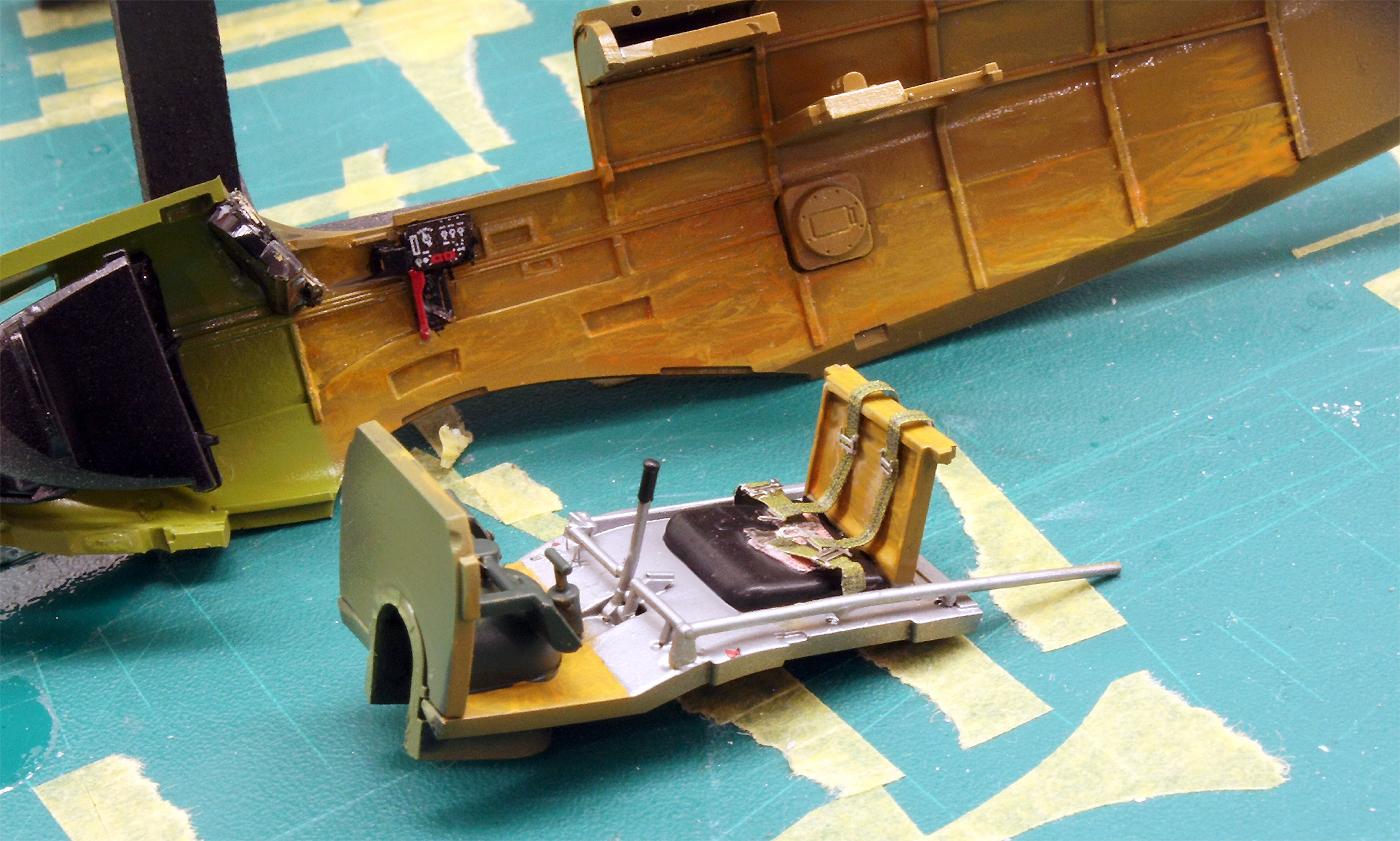
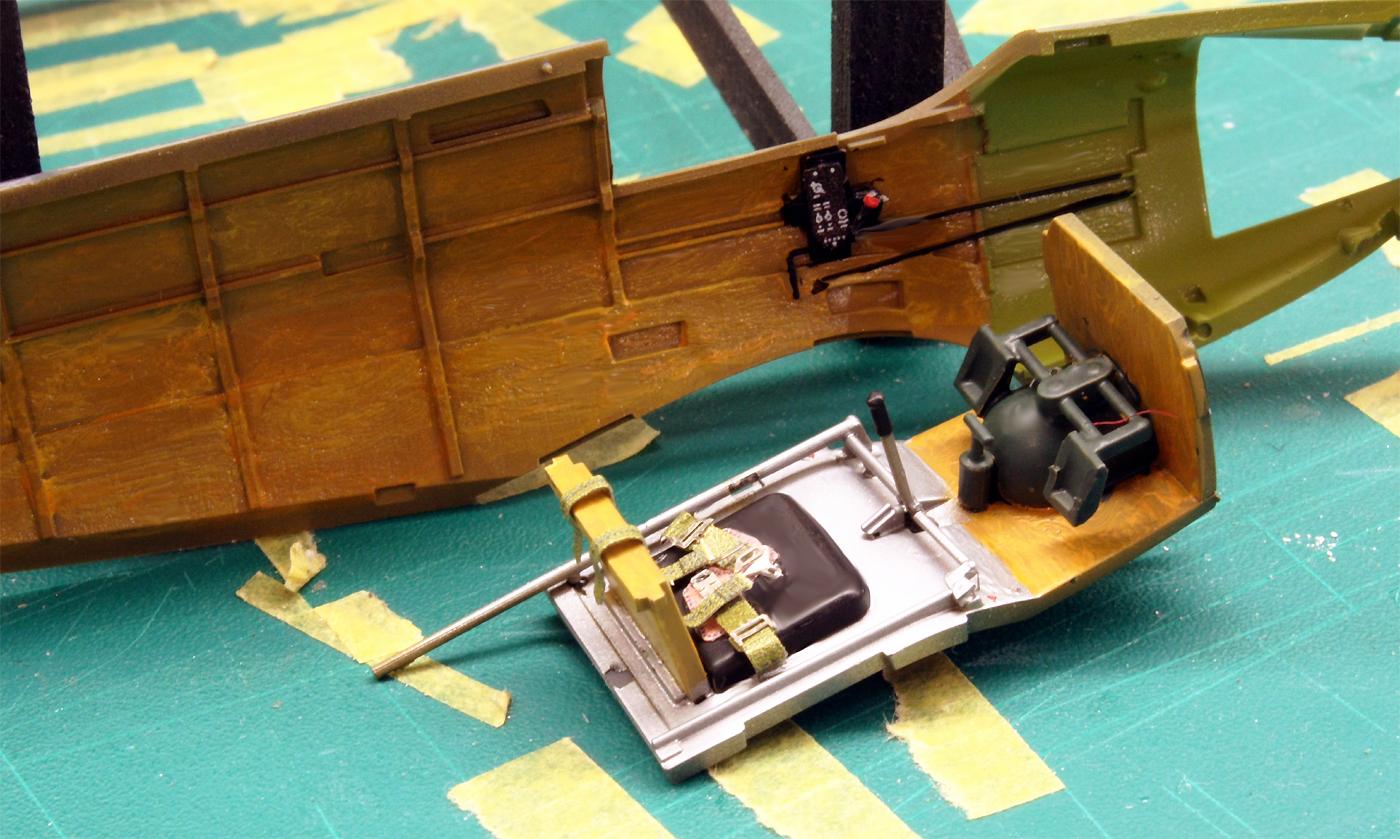
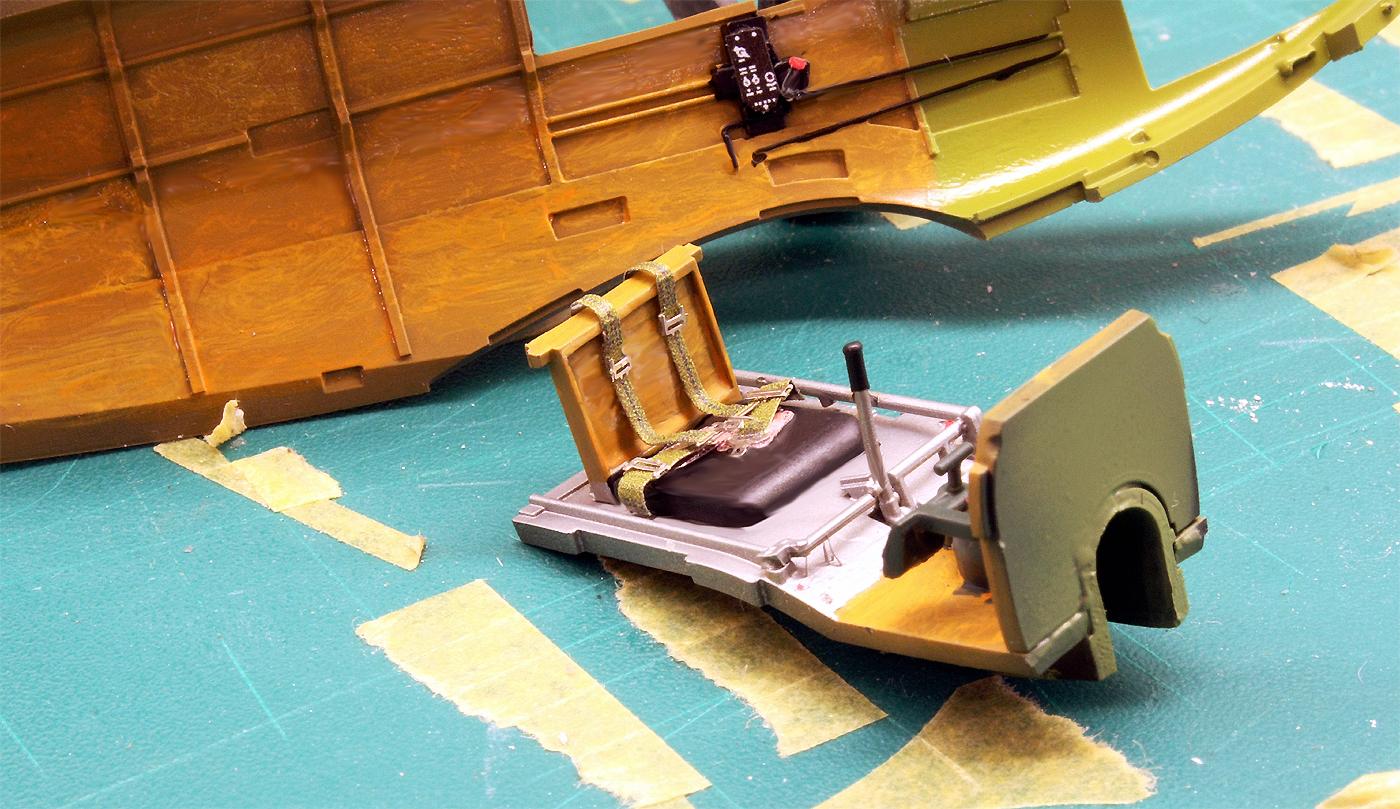
This already applies to the interior of the aircraft. Here, however, the order in which the pedals, control stick and various linkages are assembled needs to be carefully considered, as they have to be painted in at least four different colours. The depiction of wooden surfaces is always an entertaining challenge: there is enough space to practise in the hidden interior of the fuselage, but further forward things get serious: the cockpit with the generous glazing of the sliding canopy remains clearly visible.
The accuracy of fit of the parts is excellent throughout, and the parts also have another important quality: the nature of the plastic allows the many fragile, delicate parts to be separated from the cast branches without damage.
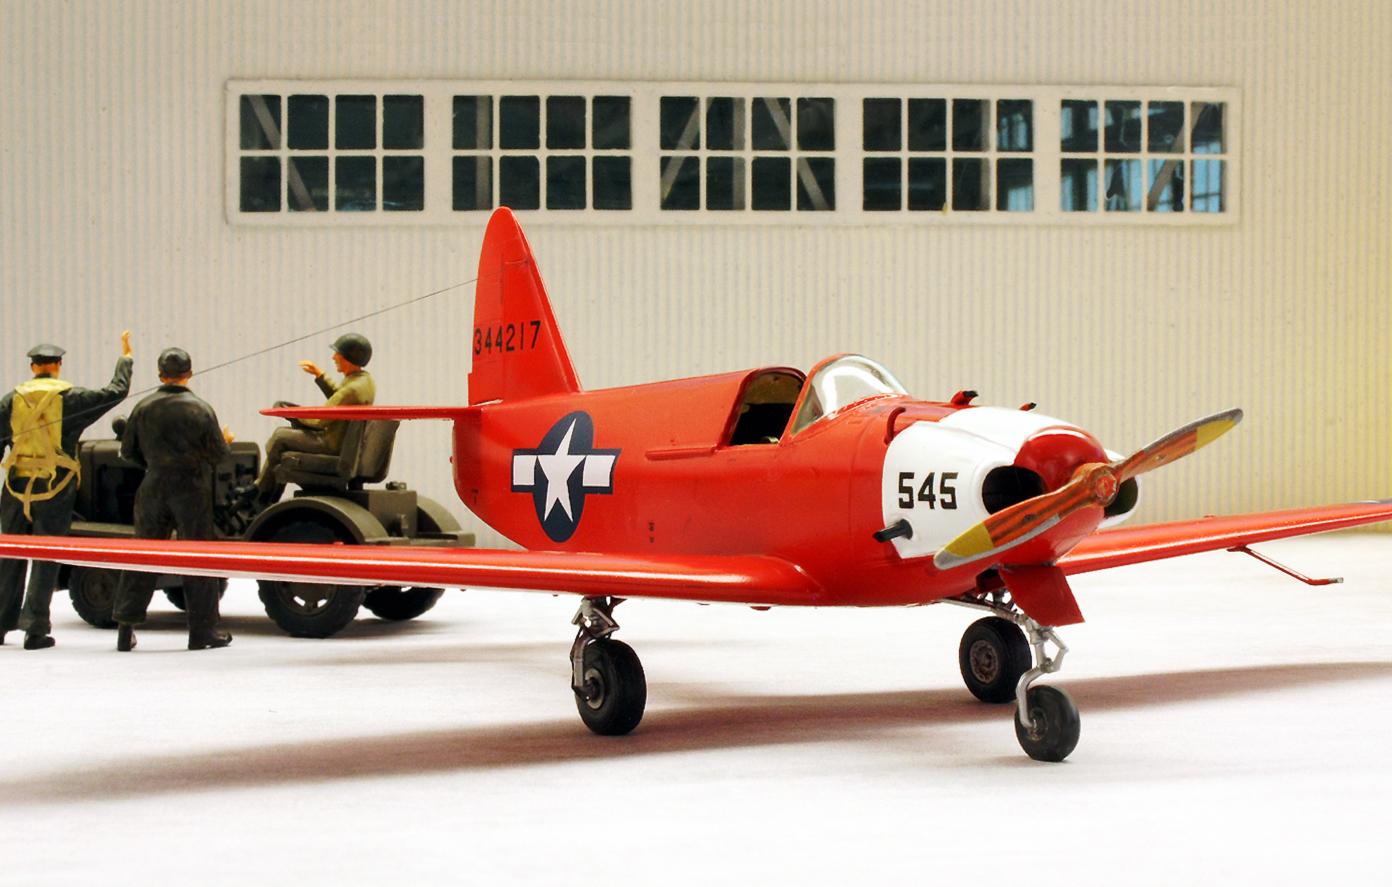
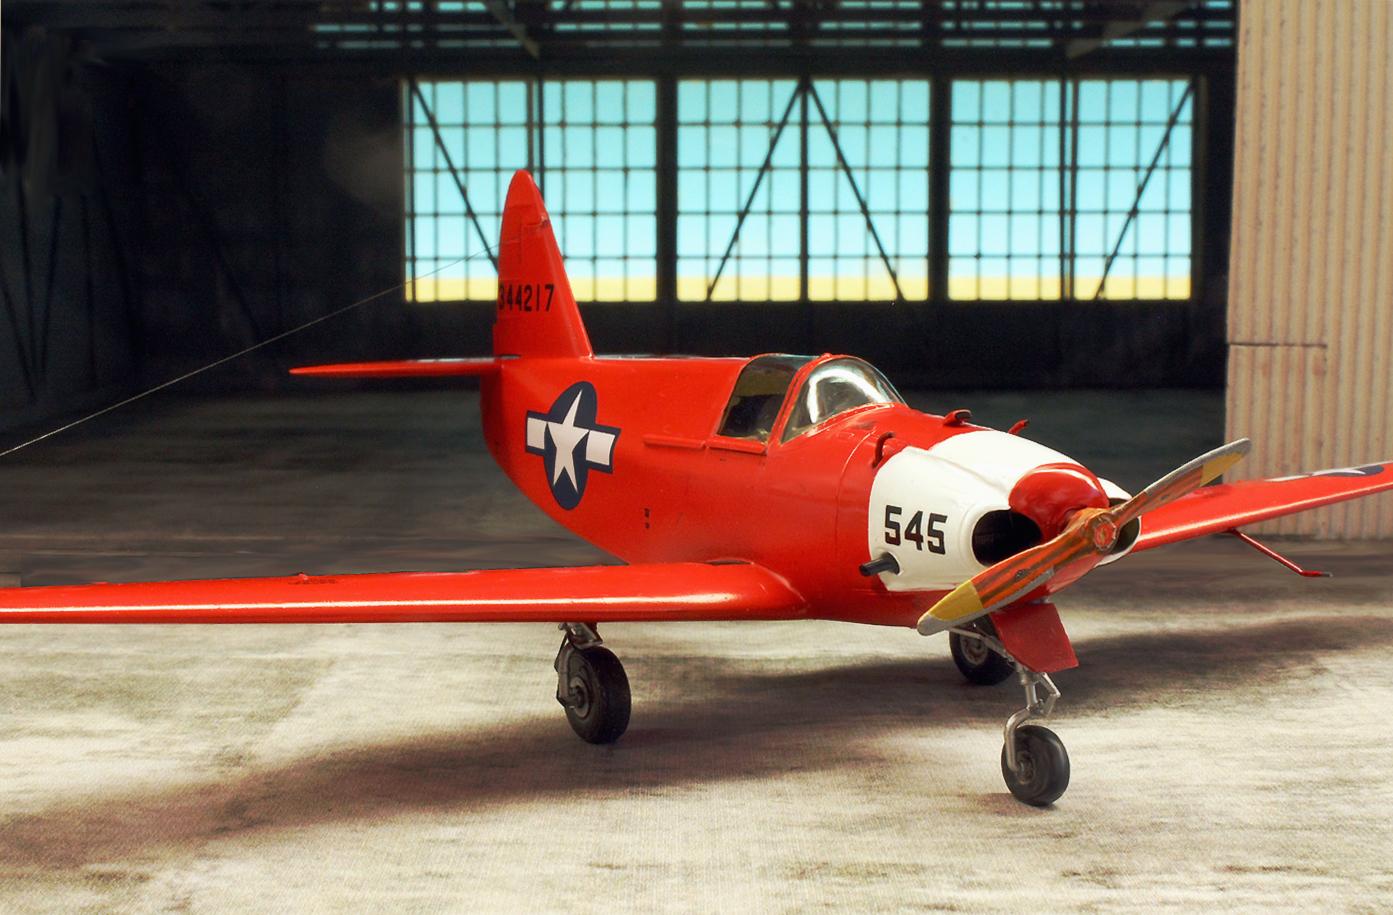
In this project, I only replaced the exhaust tubes - using stripped cable insulation - and the intake manifolds protruding from the top of the engine cowling. These were made from bent wire. In addition to the aerial wiring, the brake lines on the two main undercarriage legs and the etched part harness from Eduard in the cockpit are new additions.
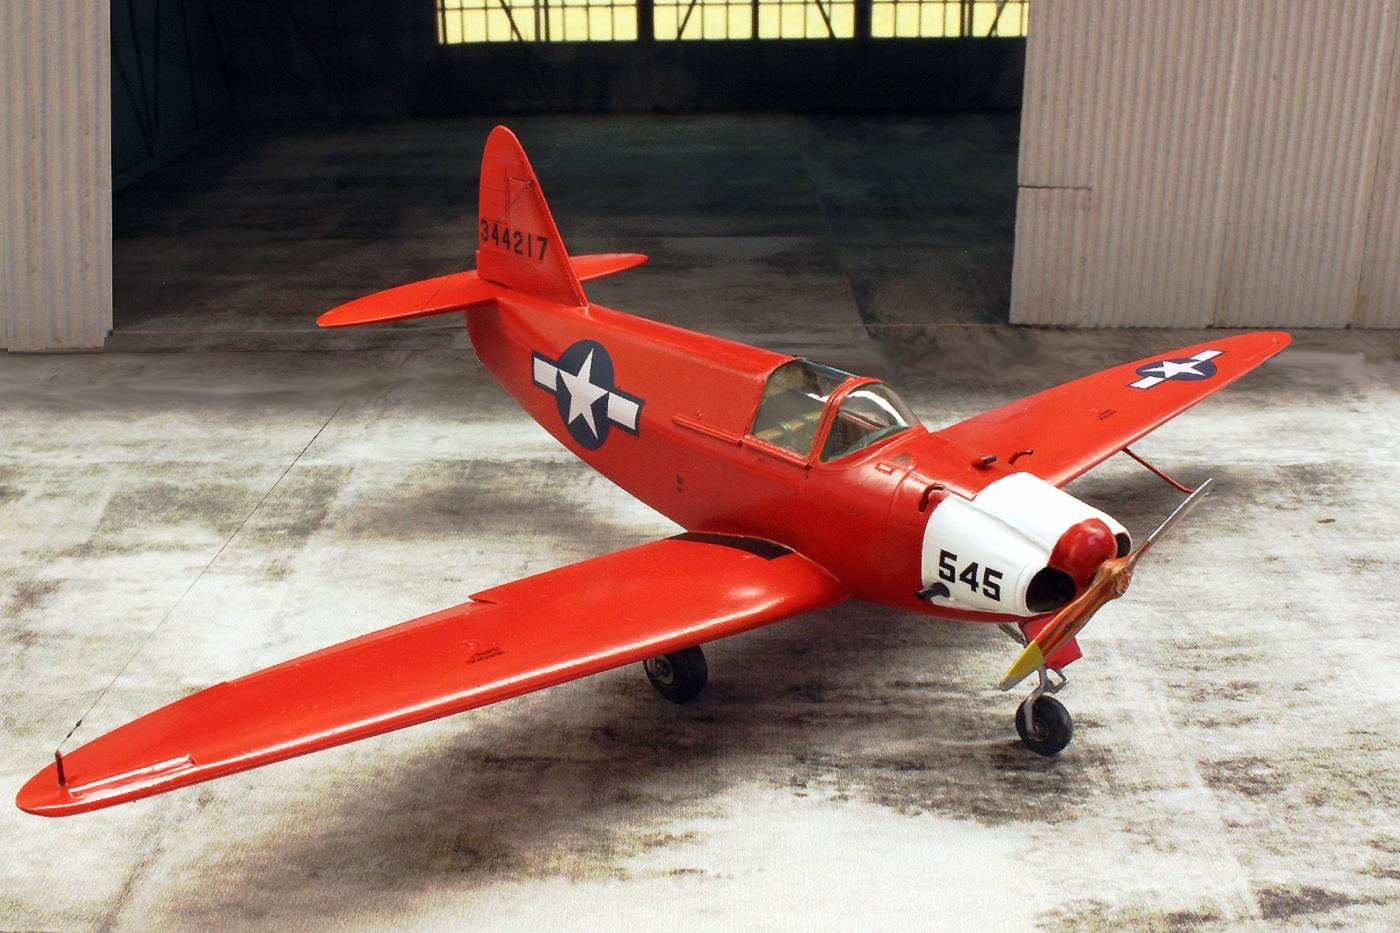
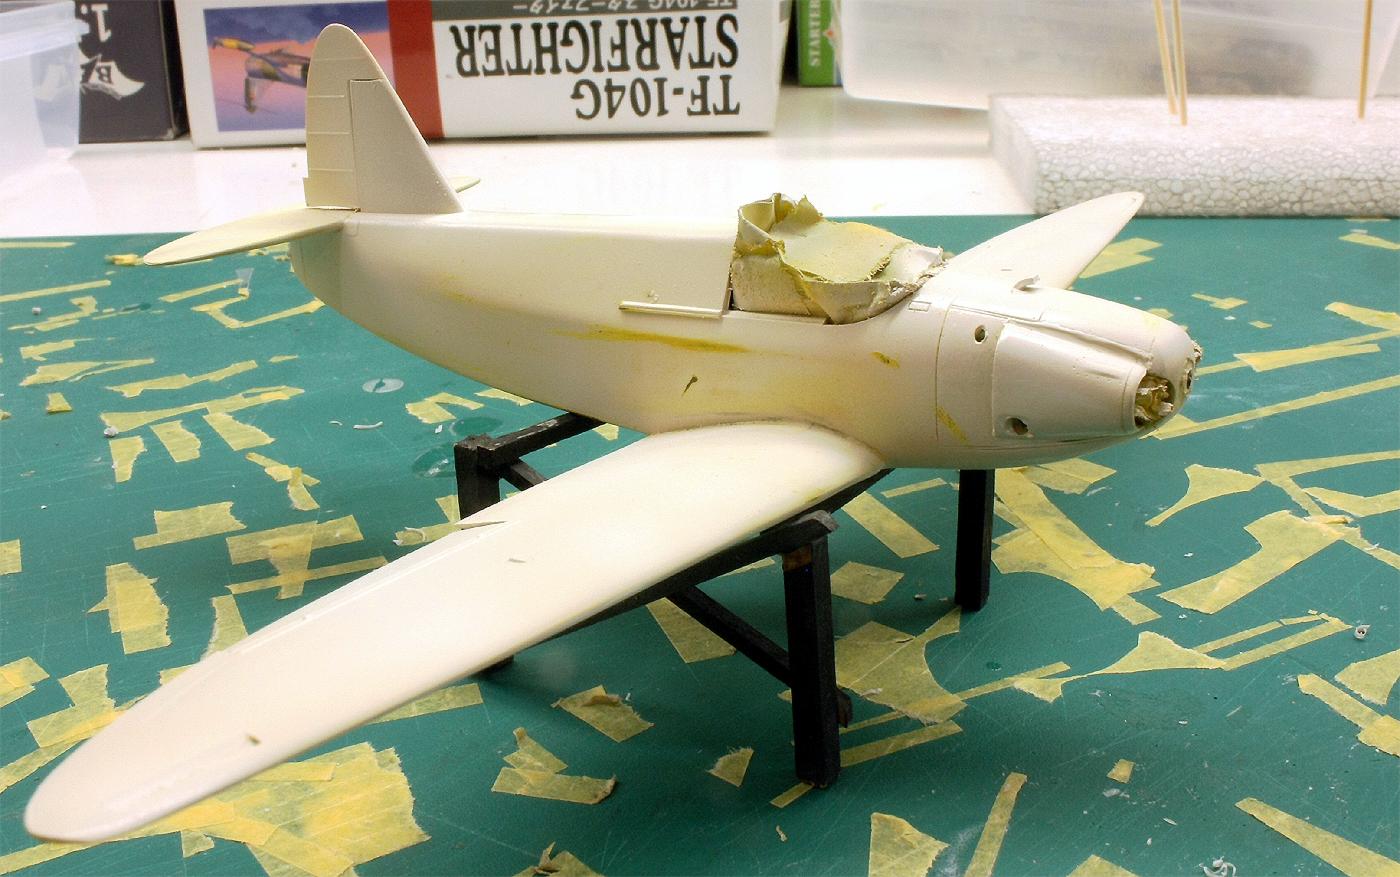
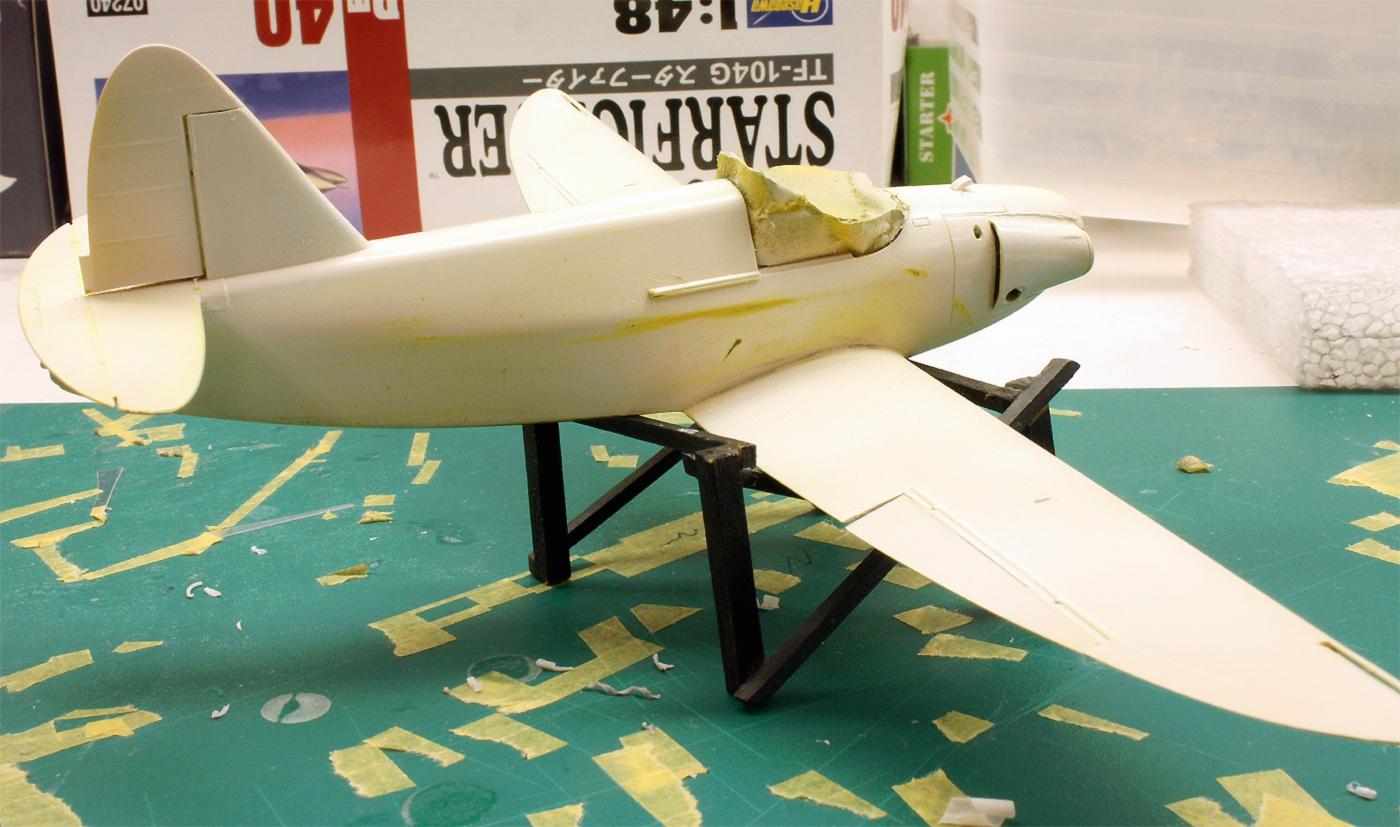
One ‘weighty' point at the end: it got a bit stressful when it came to installing the necessary weights to keep the PQ-14 on the nose wheel. I have not weighed up how much was ultimately installed, but I can only advise you not to skimp on weight! You have to be a bit resourceful to find enough space for it (see build photos), because the space in the nose is almost completely filled with a nice rendition of the Franklin 6ACT.
In conclusion, there is nothing but praise for my ‘first contact' with Clear Prop: praise for the interesting (and probably also courageous) thematic selection, praise for the parts layout and their fit, the great mould casting and praise - all good things come in threes - for the attractive equipment of the kit. I look forward to a future project with a kit from this manufacturer with continued curiosity and pleasure!


This was clearly an enjoyable build with fantastic outcome, Roland @rosachsenhofer
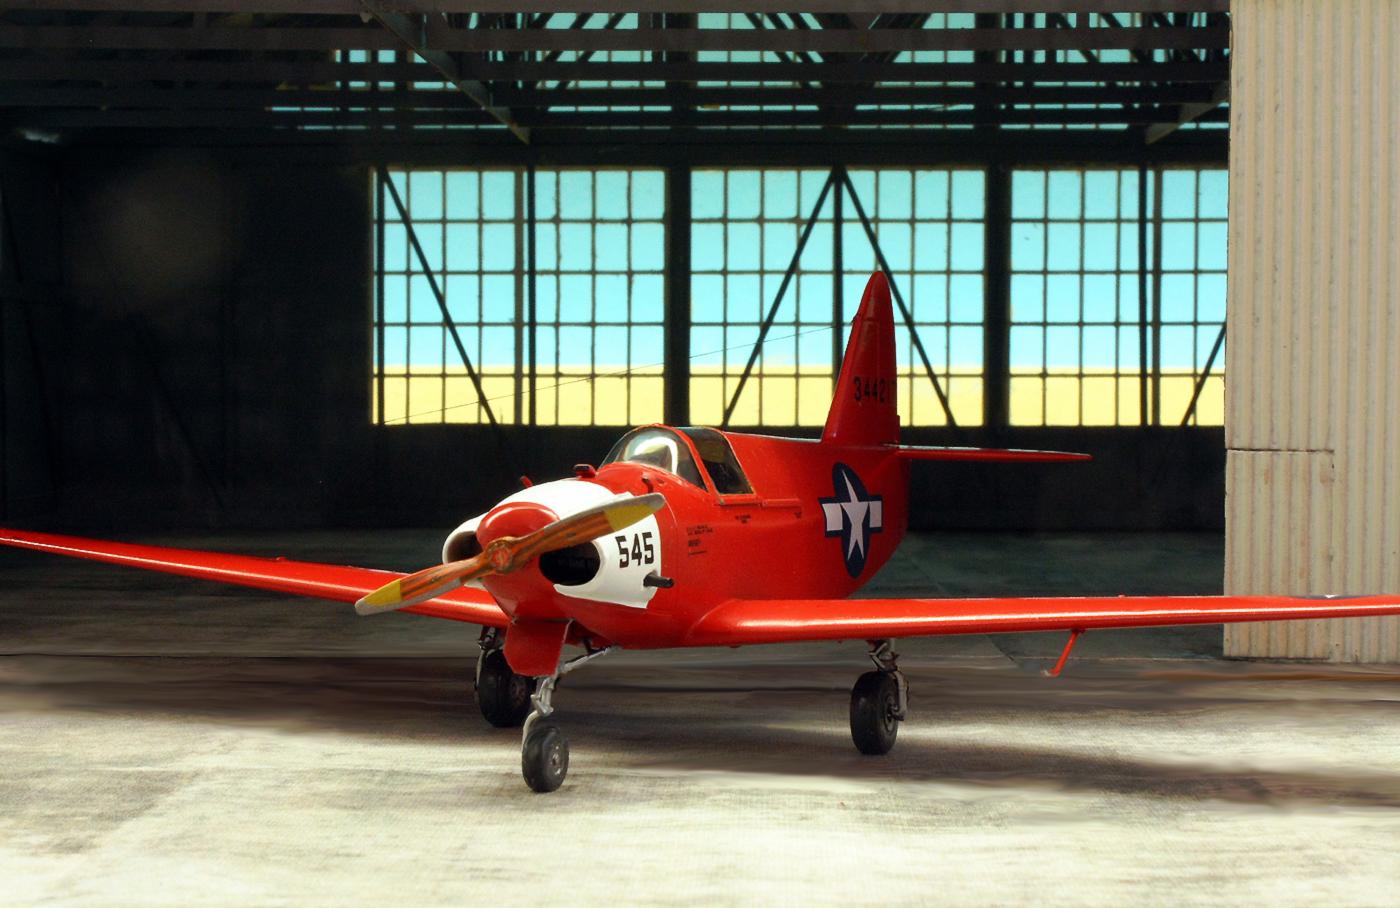
The wooden surfaces are beautifully done. May I ask how you created the wooden look of the propellor.
Please excuse the late reply! The prop was given the following treatment: I used Vallejo acrylic paints with a fine brush to draw the lines of the various coloured woods as carefully and straight as possible on a brown primer... To match the colour tones, a light shade of red was applied over everything after drying with heavily diluted artist's watercolour paint. Finally, the whole thing was coated with glossy clear varnish.
Fantastic job and superb result, Roland!
Awesome model, Roland @rosachsenhofer. I saw an advertisement for this model and I wasn't sure if it would be a good build or not. You have certainly answered the question for this really cool model.
Well, I'm very pleased!
Nicely done!
I am always drawn to red planes. This is the reddest of the red. Nice work Roland.
Really nice work as usual, Roland. I like this a lot.
Back around 1975, I saw one of these - painted red no less - at the Watsonville West Coast Antique Fly In.
That´s interesting- thank you!
Very nice, something a little different.
Well - there's an aircraft I was totally unaware of! Fantastic build!
Very cool, love the scheme
Thank you all for your comments and your interest- very appreciated and motivating!