1/48 Tamiya 61013 Nakajima Ki-84-1A Hayate (Frank)
This is the venerable Tamiya kit from the late 60's / early 1970's. (In all actuality it is more like a 1/50 scale model). Still it was a fun build.
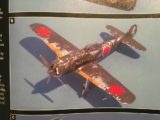
I accidentally arrived at this finish. It was featured in a magazine called "Great Scale Modeling 2003". It was professionally photographed at an IPMS contest in Titusville, FL. The professional photos have a light blue background.
Here's how it happened:
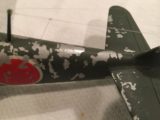
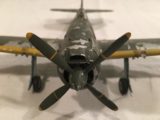
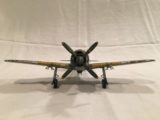
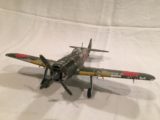
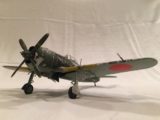
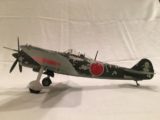
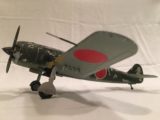
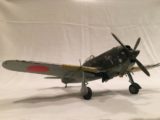
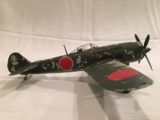
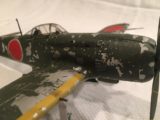
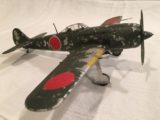
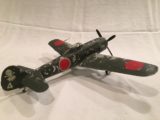
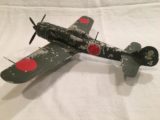
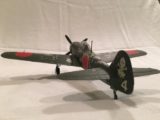
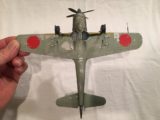
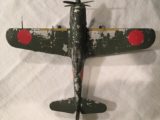
Back in late 2002 I decided to give this kit a try. I did some online research and found that some late war Ki-84's had bare aluminum cockpit interiors. Some of them also had the blue "Aotake" protective finish used in the landing gear wheel wells. Then I found that some were delivered in natural metal, with camouflage paint being applied at the unit level as time and supplies permitted. Due to extreme conditions of the environment in the jungles of the Pacific, and the effects of the salt spray and sun, the paints usually peeled off rather quickly. Most of the time no primer was used to act as an adhesive / bonding agent for the top color coatings. This hastened the life of the finish and it usually resulted in some of the planes looking like this one here...
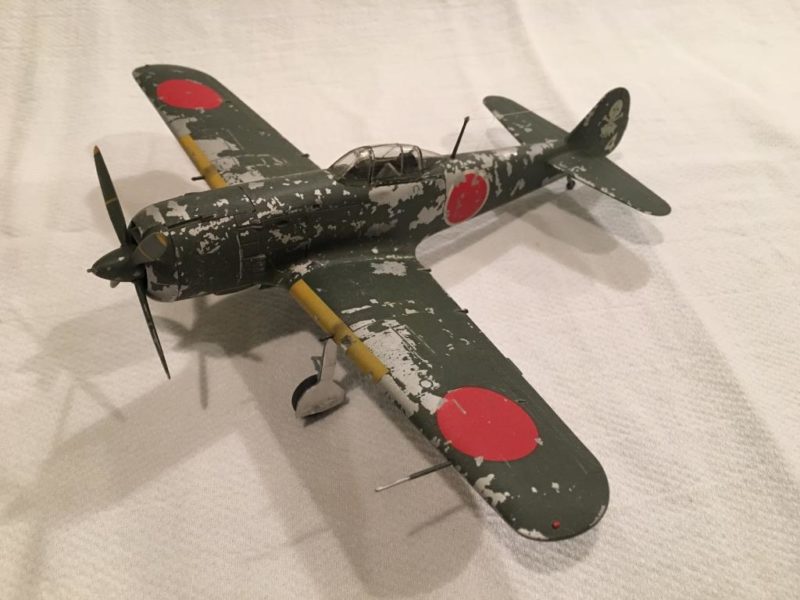
I built it out of the box and used the kit decals. I wanted to experiment with an idea I had about chipping away the upper finish to reveal exposed natural metal underneath. In order to provide the bare metal sub surface, I sprayed the entire kit with a coat of Model Master "Metalizer" aluminum plate. Then I spent some time buffing out the finish to a nice shine. I didn't use the Metalizer finish on the fabric control surfaces, as these wouldn't have had a bare metal finish under the paint.
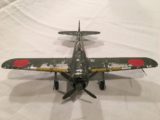
Once the shine was achieved to my satisfaction, I sprayed the Japanese Army Green and Gray, again using Model Master enamels. I didn't want to try and use a decal for the yellow leading edge wing stripes, so I decided to spray these on as well. So I masked the area off where I wanted to spray the yellow. So far so good... My intentions were to pick away at the finish using a tooth pick once everything had dried.
Then I removed the tape.
To my horror, some of the green came off with the tape. It came off in pretty big chunks too... Ooooops !
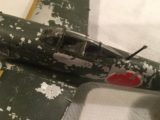
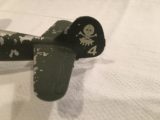
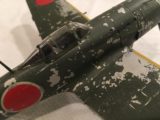
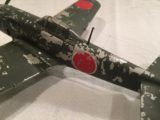
That's when I had another idea. I used tape and lightly touched the airframe in various locations. When I removed the tape, it pulled away some of the top color and revealed the shiny polished undersurface. So I started randomly touching the tape to various areas of the model. I made sure that the fabric control surfaces were not chipped.
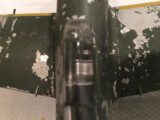
Then I sprayed the model using Metalizer Sealer. After the sealer dried I went over the surface again with tape. This time I pressed the tape against a paper towel first to remove some of the tackiness of the adhesive on the tape. I wanted to keep most of the clear coat in place this time. I was hoping to reveal some more "fresh" shiny metal as if the paint had just recently peeled from this area, and the aluminum didn't have time to oxidize yet. In one area it actually had a small sliver of paint that was still partially attached to the model, and had the appearance of actual peeling paint, since it had also curled.
Miraculously it worked...
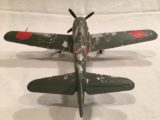
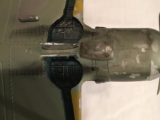
Once I was happy with the paint chipping effect, I subtly weathered the plane with exhaust staining, and gunpowder residue around the wing guns.
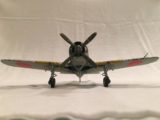
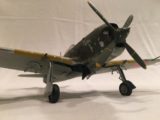
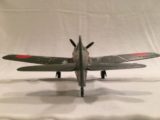
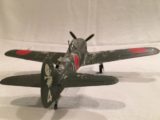
Here are some photos for your enjoyment, along with a few from the magazine.
As always, comments are welcome. I recently picked up the newer Hasegawa version. I'm curious to build it and place it side by side with the older Tamiya kit to see the differences.
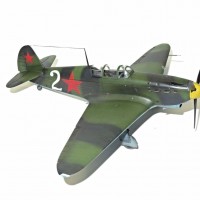
I like it, Louis...I've purposely used the "tape method" to achieve that look. Works pretty good, don't it...? Nice photos, too.
I stumbled across this by accident. I initially thought "I've done it now!". Luckily I was able to turn it around and make it work. Thanks for the compliment Sir !
Really nice I just bought this kit and i’m looking forward to seeing if i can do it that good!
Thanks William ! @wthunder321
I just noticed your reply. Sorry for the late response.
This kit is an oldie but still looks good once completed. The fit was good too. Please post up some pictures of yours when you can. I would really like to see it...
Take care.
Louis, I always liked the Tamiya KI-84, questions about scale notwithstanding. It makes up nicely. Plus, you get both a sitting and a standing pilot figures. I like figures to give perspective and the human angle.
Good save, mimics what went on late war. That's modeling!
And you got to be in a magazine!
Great stuff!
I was fortunate to have my kit in the right place at the right time... and I was able to salvage it from what I initially believed to be a mistake. Thanks friend !
Great look to this model Louis, very nice touch.
I am very much on the same mind set as Bernard when figures come too play, they make for a good perspective in many angles plus one gets to put in use other skills in this our hobby.
Thanks for sharing the images.
The figures give you a nice reference for the actual size of the model for sure. However it's not one of my strong points with painting them. I'll have to practice some before I consider myself to be decent at it. Thanks again for the compliments.
Your Frank looks great, Louis. The metal chipping is quite hefty but it looks very convincing.
The idea to paint the yellow on the wings leading edges is wise because these decals have begun to disintegrate on my japanese kits, build around 20 years ago.
I had a similar experience with the yellow leading edge disintegrating after time. That's what prompted me to paint it on.
Thanks for the compliments Bernd !
Wonderful model! Only the antenna from the line, I would have painted black. Now they are very bright.
Thank you Dmitry !
I decided to leave the antennae in the natural clear state because the originals on most planes are made from stainless steel cable (on American built planes anyway). The natural light hitting the clear stretched plastic sprue gives it the effect of looking like stainless steel to me. Maybe one day I will try it with black to see how I like it. Thanks for the suggestion.
Very nice.
Thanks Paul !
Looks good Louis...nice results with the weathering.
Thanks Jim... I appreciate the compliment Sir !
Great looking Frank. I've also found that "accidents" can sometimes lead to a satisfactory result! Gotta love modeling!
Thank you Greg. I took your advice and bought white construction paper to help me with photographing my models. I really like the difference...
Looks great! Interesting technique for the chipping.
I discovered this chipping technique by accident...I'm sure that others have done this before me.
Thank you my friend.
Looks great ! Similar method I used on my Mavis, but I had planned to do the chipping. I foind narrow strips of tape worked well.
Thanks Phil. I used regular 3/4 inch wide tape to do this. I may try thinner width tape in the future. Thanks for the tip.
Very nice! great affect.
Thanks Robert. It was purely accidental on my part, with no skill intended...
nice
Thanks PK !