A Work in Progress: Hobby Boss USS Arizona in 1/350, part 1
This article is part of a series:
In January 2016 I started working on a new project, with the goal of having it finished by December 7th. Having been a s****r for American military history for most of my life, the 75th anniversary of the attack on Pearl Harbor was all the motivation I needed to tackle this kit, although I knew I would be in for some craziness. Now, almost a year later, I can safely say that I underestimated the sheer amount of work that needs to go into this kit if you want to bring it up to a certain standard...
To put it short, my targeted deadline was not going to happen. This kit is still a work in progress, mainly because I had to step away from it a couple of times and build something else – purely to keep me motivated and not lose the drive.
My build style might need some explanation as well, as it may seem a bit all over the place. With large projects like this one, I simply cannot be bothered with following the routine of building all the subassemblies, then painting them. Rather than that, I treat subassemblies as kits of their own, basically building, detailing, painting and weathering them as a whole before moving on to the next area. This is why you will find pictures of let's say the gun turrets all painted up and finished next to a hull that has not even been filled and sanded. So up front: Apologies for any confusion!
Resources
With a build like this, reference material is invaluable. There is a bunch of pictures of the Arizona on the internet, showing her in various periods of her service life and different configurations. The trick is to study these photographs carefully, comparing details to other sources, and to get used to interpreting what you see on grainy images almost 80 years of age.
Even more important, however, is a good set of ship plans. I decided to go with the plans provided by Profile Morskie (www.blueprintsofwarships.com.pl), a Polish company offering plan drawings for many different warships. Another invaluable resource is scans of the original ship plans, provided by Tracy White on http://www.researcheratlarge.com
The Kit
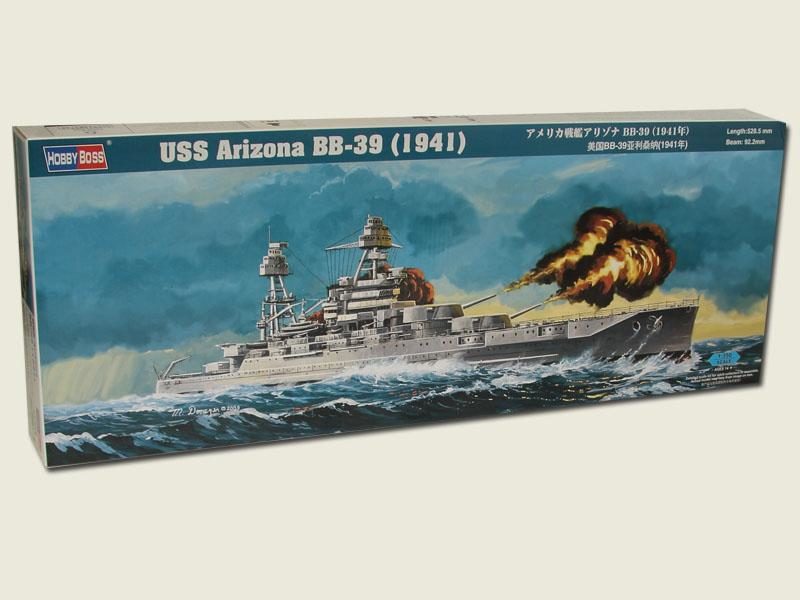
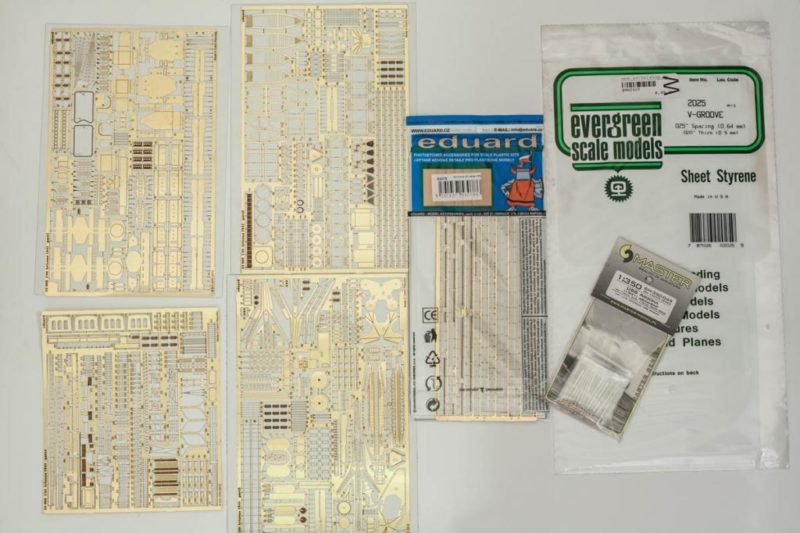
In 350th scale, the Hobby Boss kit is the only one available, although it started its career as a Banner and/or Trumpeter offering. The initial molding is some 15 years old, detail is somewhat hit-and-miss and there are shape issues of all sorts. Luckily there are a couple of aftermarket items that can be used to bring the basic kit up to speed. GMM, WEM and Eduard each produce their own PE sets, and there are turned metal barrels available from Aber and Master Models (I am sure I missed some manufacturers. Sorry!)
I opted to go with the Eduard set, as it is readily available in Europe and includes PE for some of the most problematic areas. I actually went full out and ordered the "Big Ed" set, which includes PE railings and pre-painted figures. The barrel set is Master Models and includes the main artillery as well as the secondaries.
Problem areas
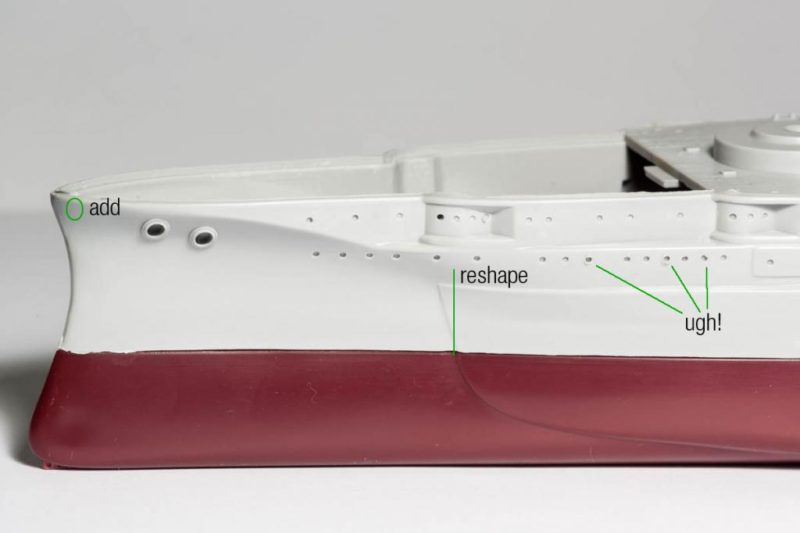
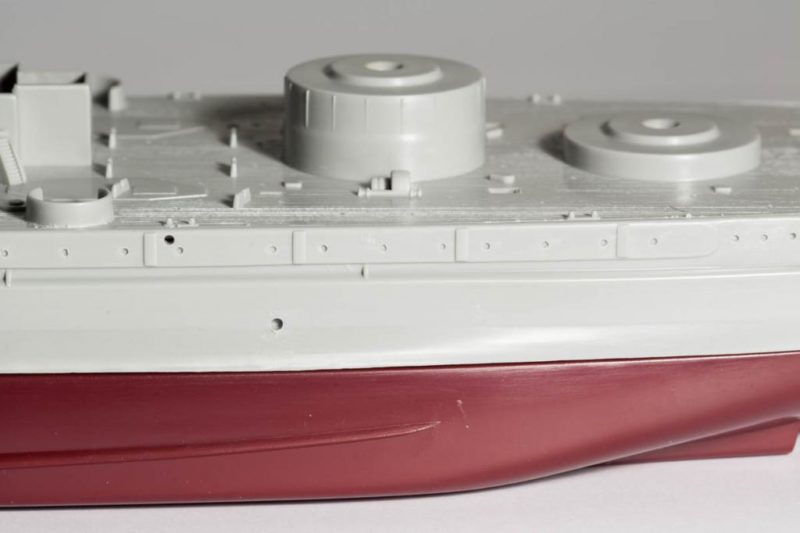
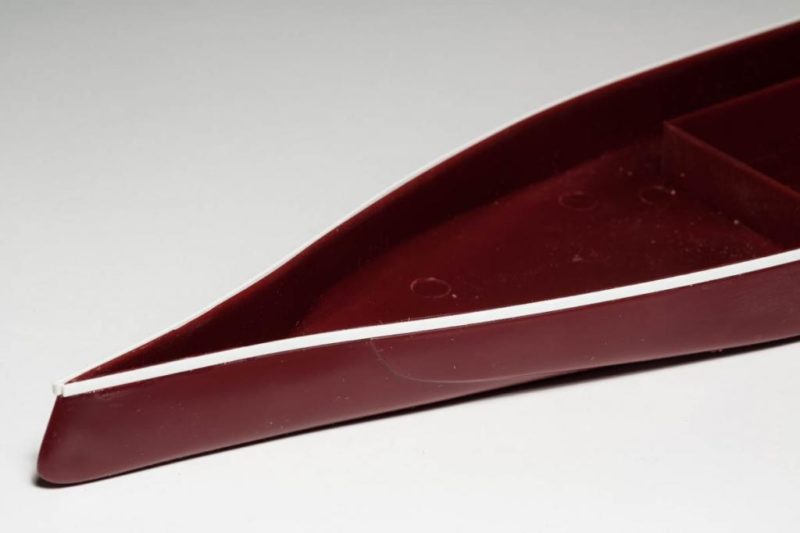
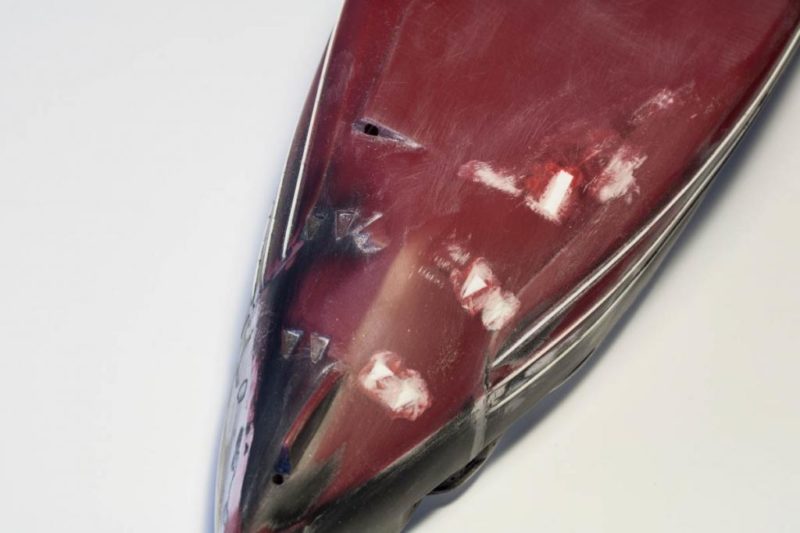
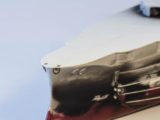
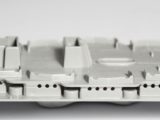
Where should I start... The lower hull has some shape issues, some of them can be fixed rather easily, some would require major reconstructive surgery. First off, the armor belt needs to be reshaped, at least its front portion. From the waterline up it should have a vertical edge. You can see the wrong shape in the following image, together with some other things - missing hawse pipes and the crude portholes which need to be drilled out and cleaned up.
The bilge keels (those curved protrusions on the torpedo blisters) need to be shaved off and repositioned further down the hull - and they should be straight, not curved.
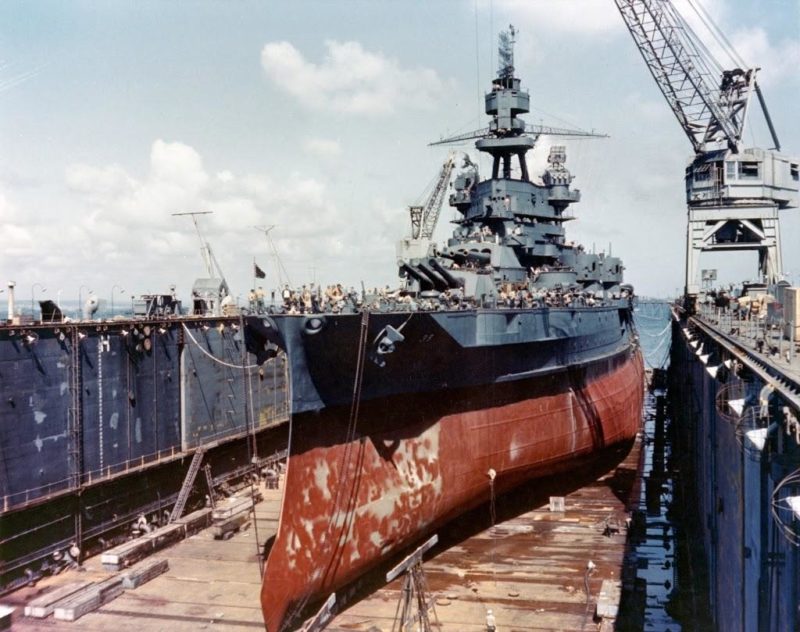
The lower hull will also receive some additional parts, like docking keels on the bottom and stiffener ribs on the torpedo blisters. This image of Arizona's sister ship shows what it should look like:
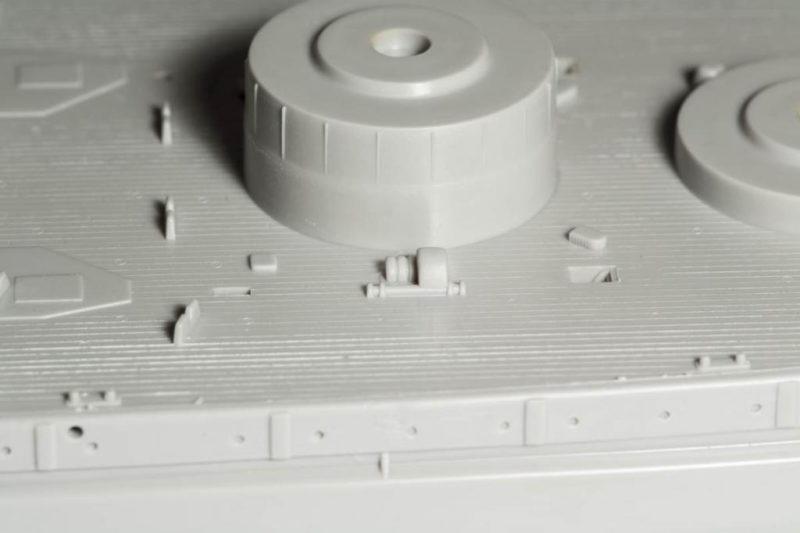
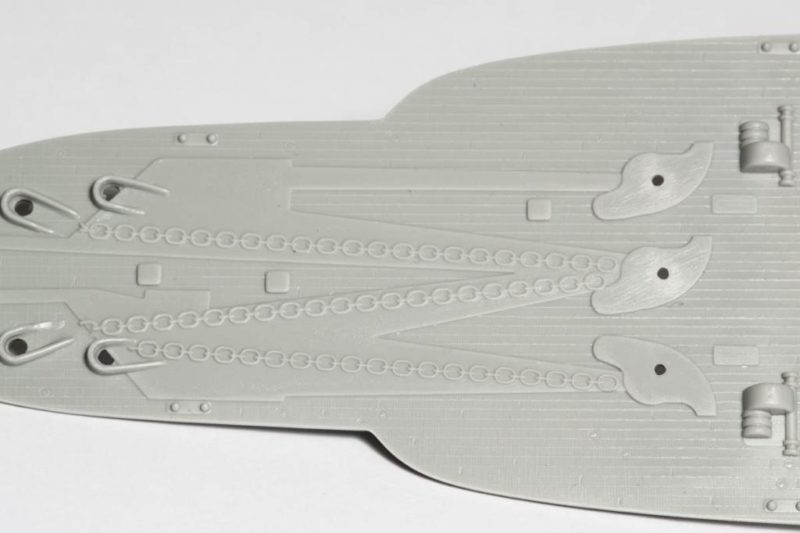
One of the major issues of the kit is the wood deck and the deck detail. The wood planking is raised, overscale and there are circular marks all over the place. Details like the four large winches next to turrets 1 and 3 are generic half reliefs. Even worse, the deck comes in four parts that do not align properly. Getting these parts to fit seamlessly would require lots of filling and sanding, thereby destroying the little bit of detail that is provided in the kit.
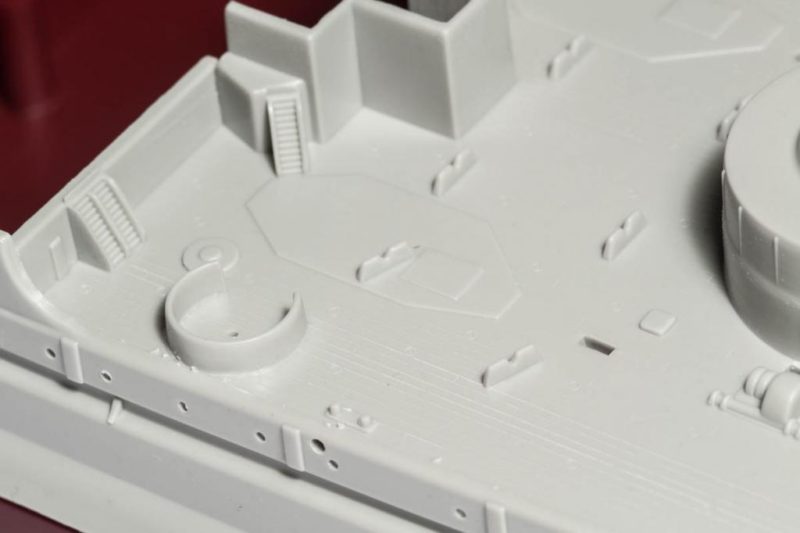
Watertight doors and inclined ladders are - well, rectangular blobs and Inca pyramids, respectively. And the tubular gun shields on the aft deck should actually be raised platforms. The Eduard set addresses most of these issues by replacing items with PE. Still some of them need a good amount of scratch building.
I decided to discard the whole deck and replace it with Evergreen V-groove sheet. Using aftermarket wood planking is not an option, as these sets include cut-outs for parts that will need to be relocated to more accurate positions anyway, thereby leaving gaps in the wood planking that would have to be closed. Looking forward to replacing all of that... yay!
By far the biggest letdown of this kit is the whole casemate area. The 01 and 02 levels come as two parts, split right through the portholes. What a brilliant idea. Apart from that some of the bulkheads are too far inboard and should be flush with the sides of the hull. Eduard to the rescue again, although I am sure I will have to perform some surgery to fix the bulkhead positions.
The casemate guns themselves are depicted as round turrets with a barrel sticking out, whereas there should actually be open gun mounts in the casemate compartments. As I was not yet able to find replacement 5"/51 guns, I am not sure how to tackle this issue. Oh and take a look at what should be vertical walls on the deck houses...
First steps
I decided to start with the dirty work of hacking everything apart, removing stuff and salvaging the parts I will need later on.
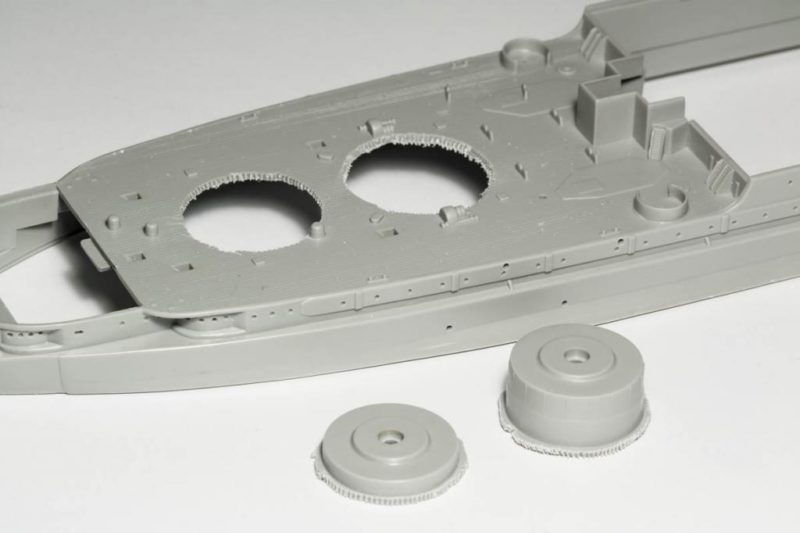
The barbettes need to be cut out from the deck. The thick plastic made it necessary to chain drill around them.
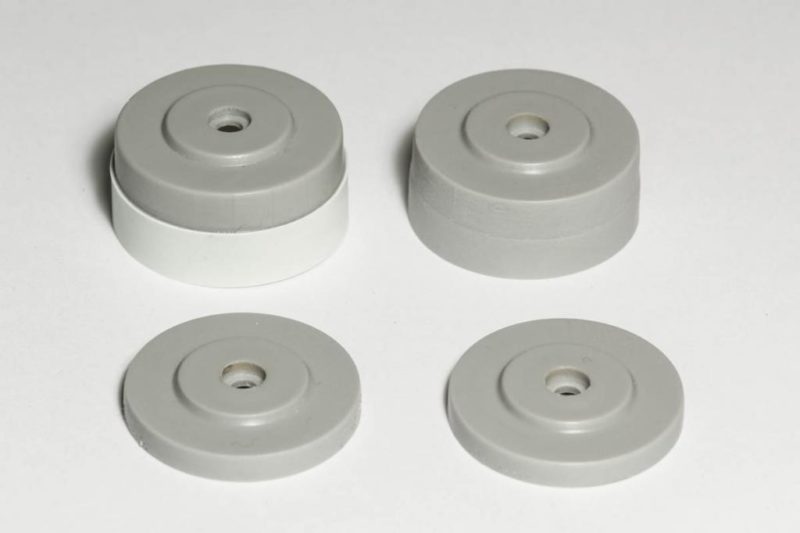
After cleanup they are ready to be installed on the new deck later on. I glued a strip of thin plastic card around the no. 2 barbette to hide an ugly seam and the locating holes for the paravanes.
Compared to available plans, the whole hull is to low by 2mm - it looks like Trumpeter cut a 2mm groove into the bottom part to help align upper and lower hull, instead of providing a flange on top of that part. I filled the recess with 1x2mm plastic strips and will add additional strips when joining the hull parts.
Removing the decks and the bilge keels took some heavy machinery... for anyone attempting to do the same: have your vacuum cleaner nearby
Main battery
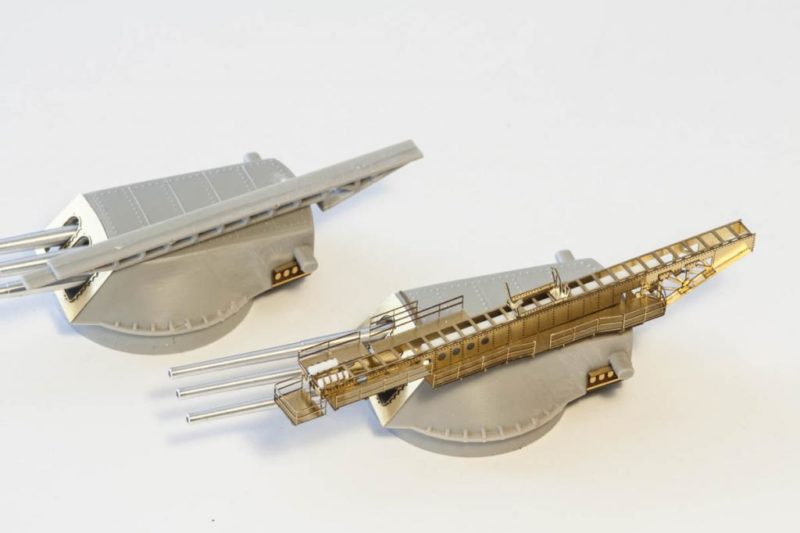
While all this surgery was going on, I started on the necessary turret modifications. The kit turrets are mediocre (and therefore much better than the rest of the kit...) with open bottoms and barrels that are noticeably too short.
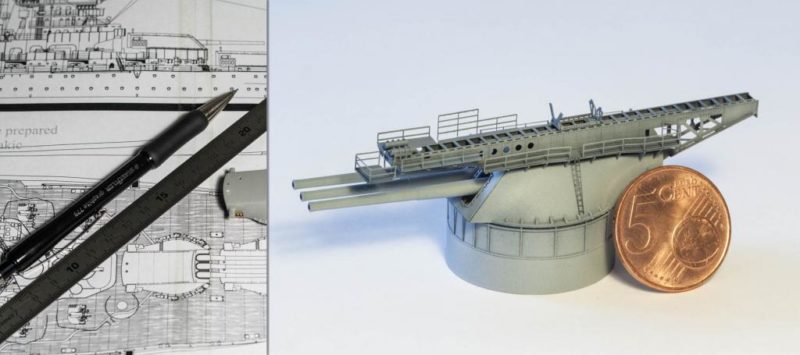
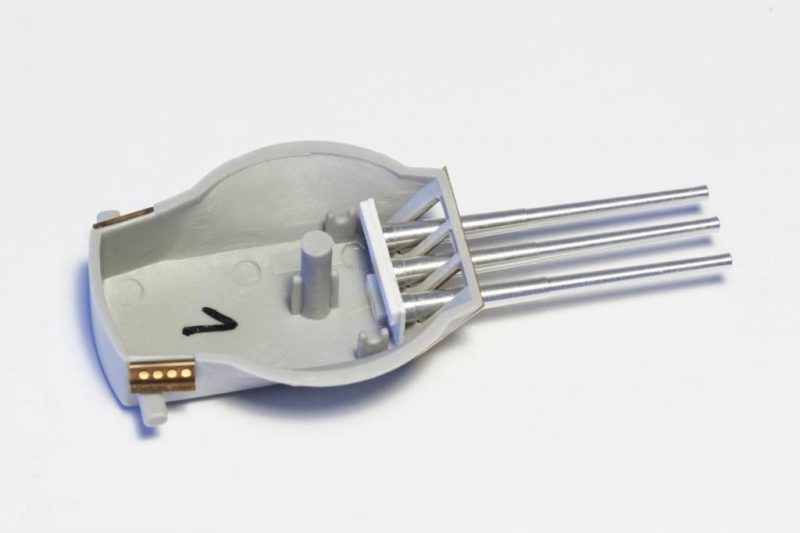
Replacing them with Master Models turned aluminium barrels requires a bit of creativity - the original mounting points are too far aft, so I installed new supports for the barrels. The Arizona's guns could not be elevated independently from each other, so I had to be careful to align them properly.
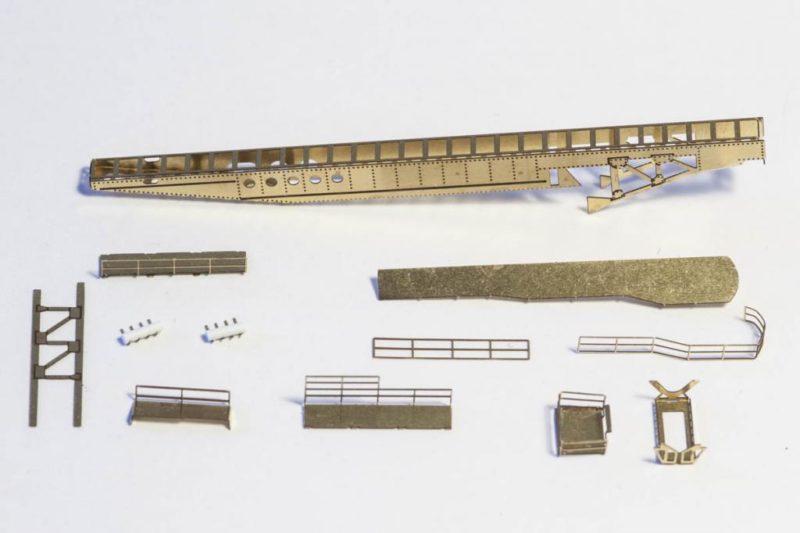
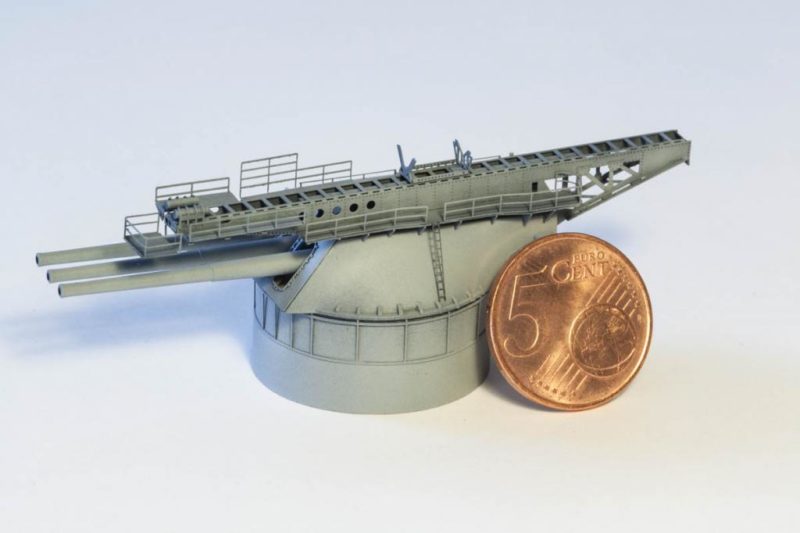
Eduard provides very nice catapults in their set, which is absolutely necessary, given the sad state of the kit parts. I know, comparing plastic parts to PE aftermarket is somewhat unfair, but as with much of the rest of the kit, Hobby Boss didn't even try.
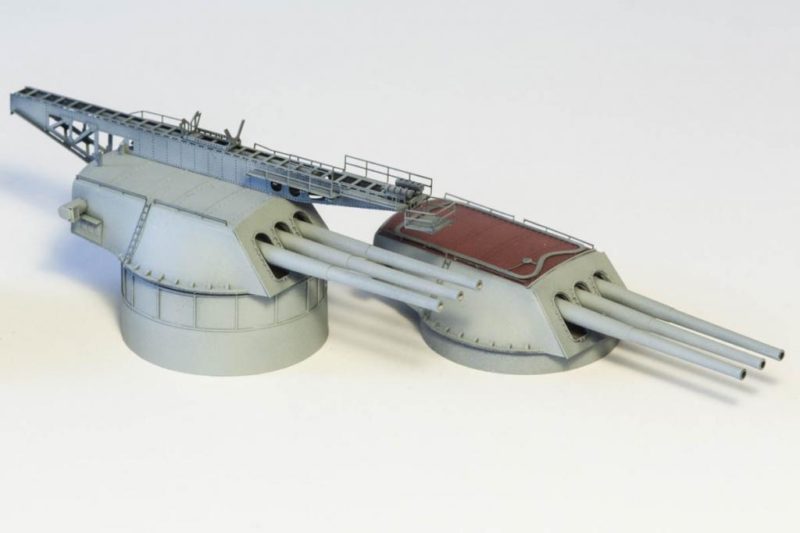
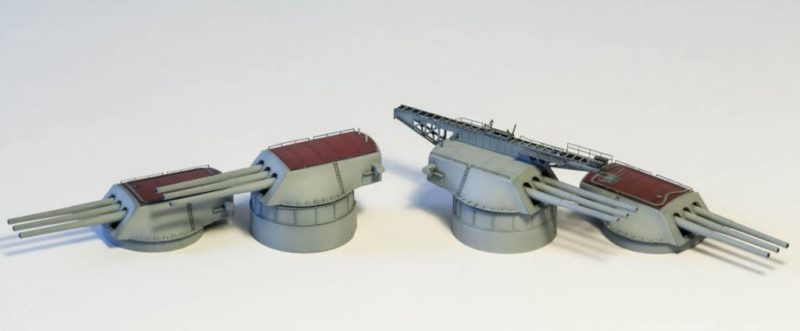
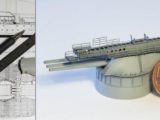
The finished main battery. The whole assembly is a mixture of kit parts, Eduard PE, Master Models barrels and a little scratch building.
First everything was primed with Tamiya XF-1 Flat Black and then airbrushed with Vallejo Model Air "Pale Blue Grey". The red turret tops were done with Tamiya Flat Red, again over black primer.
Fixing the hull
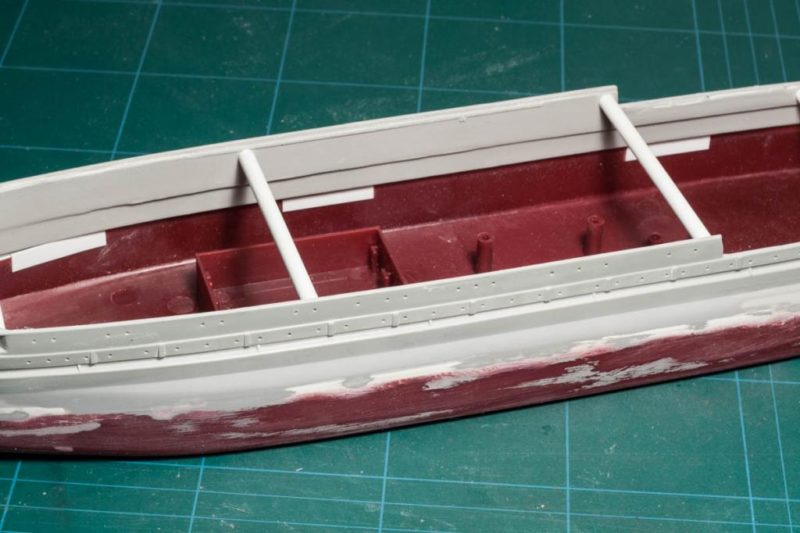
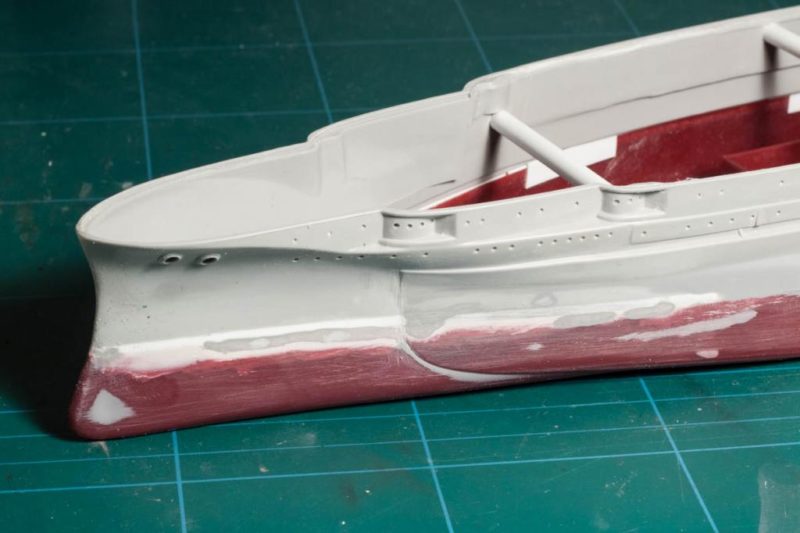
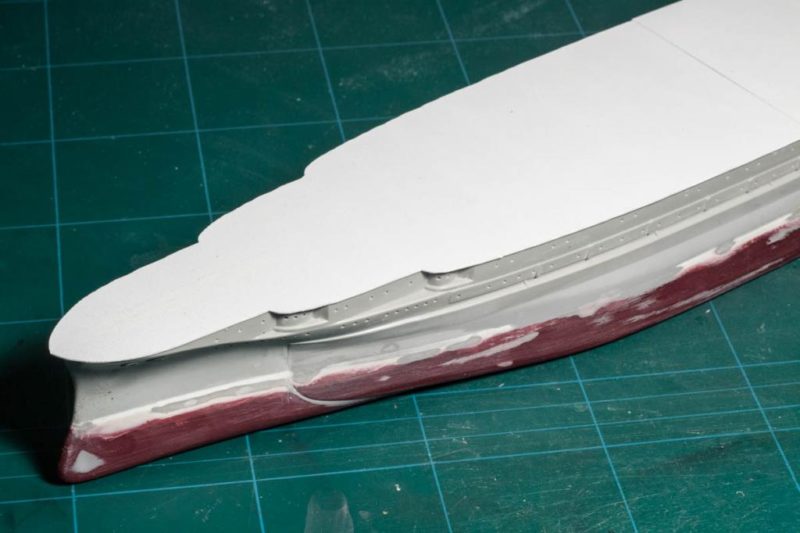
After the upper and lower hull parts were joined, there was a lot of filling and sanding to be done. I honestly lost count of how many times I had to fill, sand, and prime certain areas, checking for small blemishes and repeating the process until I was satisfied.
5mm diameter plastic tubing was used to keep the hull sides at the correct spacing, I also had to glue styrene strips to the inside of the joint to strengthen it.
...yep, "small" blemishes
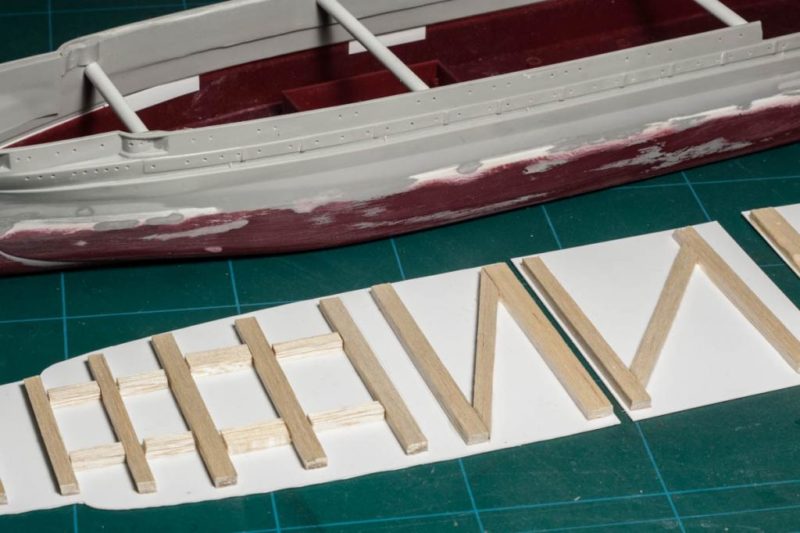
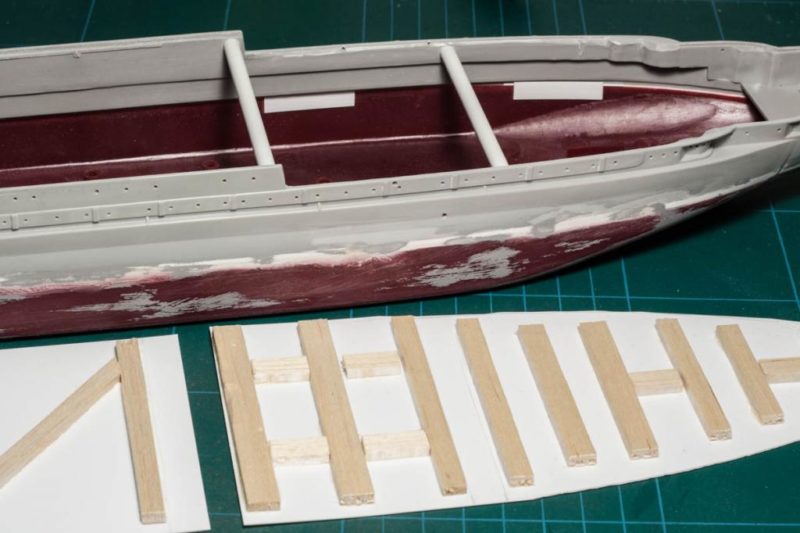
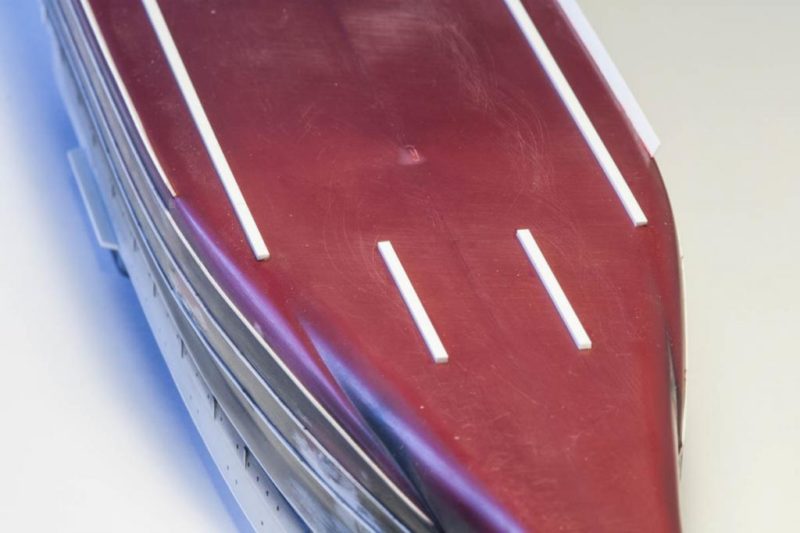
The Plastruct sheet I used for the wooden decks is really thin, 0.5mm I guess. To keep it from flexing, I glued strips of 5mm balsa wood to the bottoms of the three sections. I cut the deck sections a bit too wide on purpose, as it is easier to cut them down to size after gluing them to the hull.
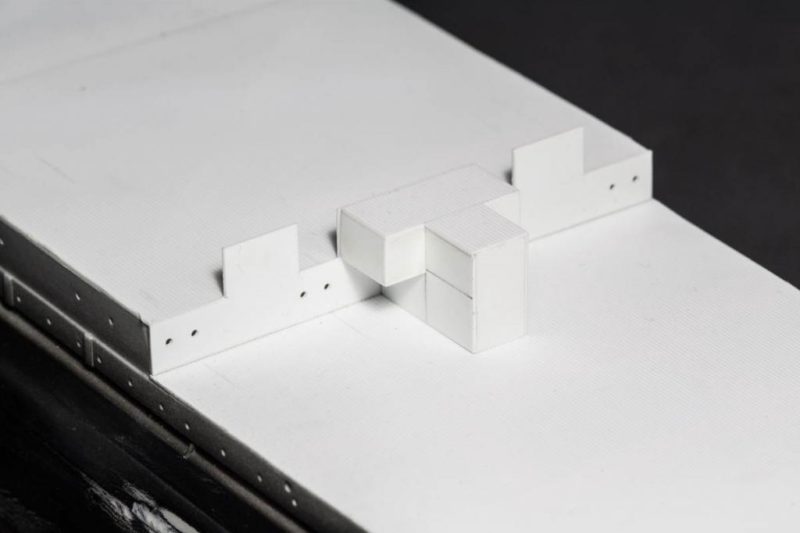
As this annoying part of the project was drawing to an end, I started building all the little parts that will go onto the main decks. Biggest area of concern is the bulkhead where the main deck meets the aft deck - Hobby Boss' representation is rather fictional.
The bulkhead is 0.5mm sheet, as is the structure behind it. This, by the way, is the vegetable locker, the overhanging cubicle on the left side holds the potato peeling room...
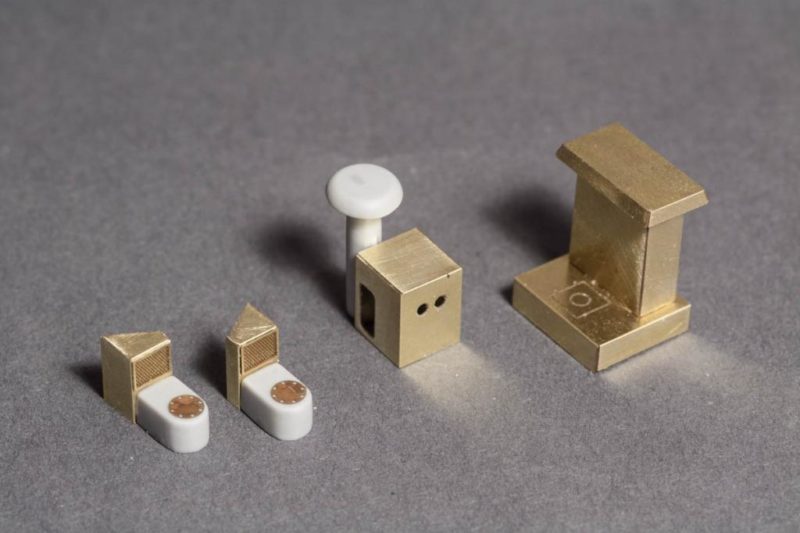
Some of the deck structures are provided in the Eduard PE set. So far I did not need to solder anything - careful bending, filling the joints with a load of thin CA, and sanding everything smooth was all it took.
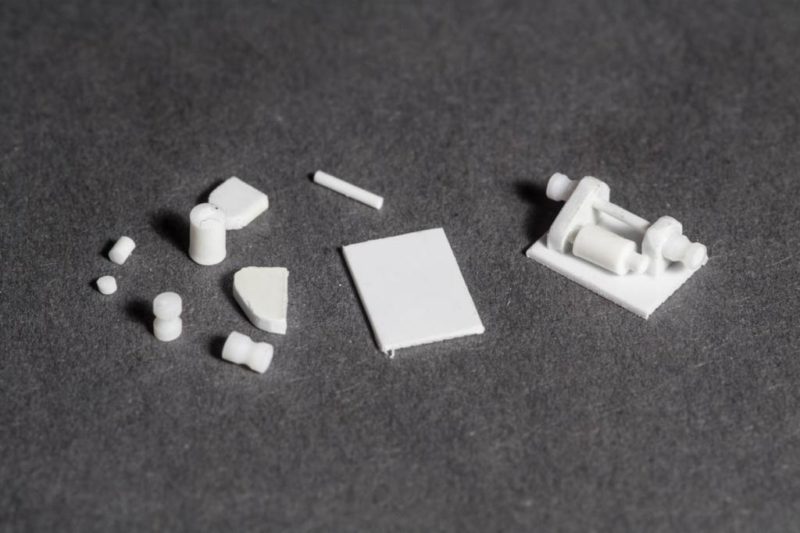
One feature that really stands out in its mediocrity is HB's half relief representation of the gipsy winches. Four of these rather large winches were mounted on Arizona's decks, I scratch built them using styrene sheet, stock and rod.
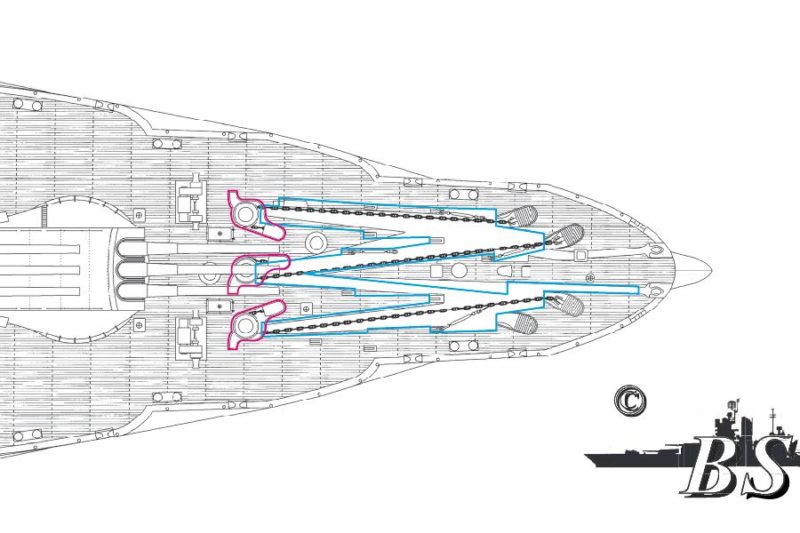
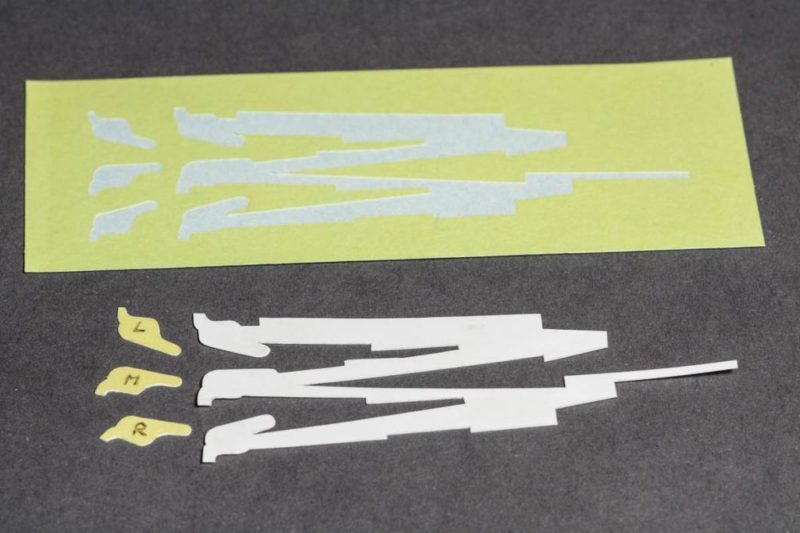
Moving to the foredeck, I started by building a new anchor plate. Its shape is somewhat complex, and I couldn't see myself having any degree of success by simply cutting it out with the help of a steel ruler. So here is what I did:
First, the shape was traced from the ship plans in a vector graphics software - the plans are not entirely correct, so I had to make some adjustments based on period photos and the original ship plans.
Next, I fed this drawing into my cutting machine and cut the shape out of some Tamiya masking sheet. This was then transferred onto 0.2mm styrene sheet and cut out with a sharp scalpel.
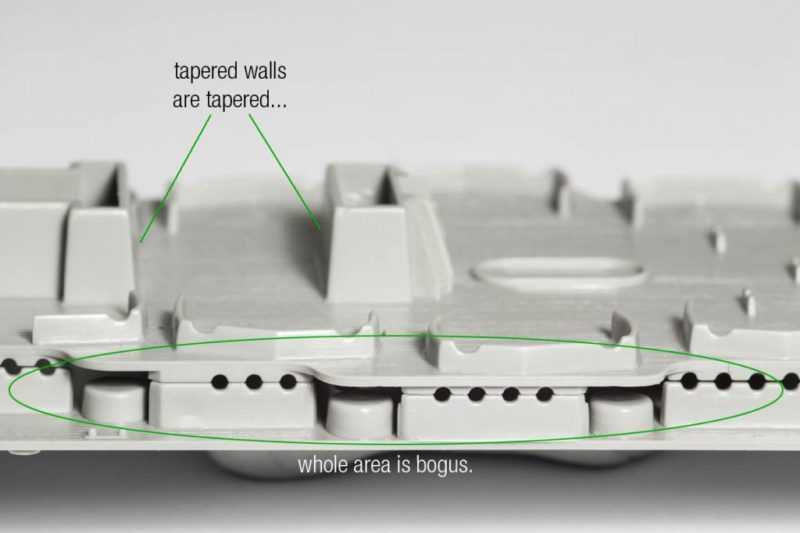
The whole propeller shaft assembly is bogus, with a hull shape that is way off.
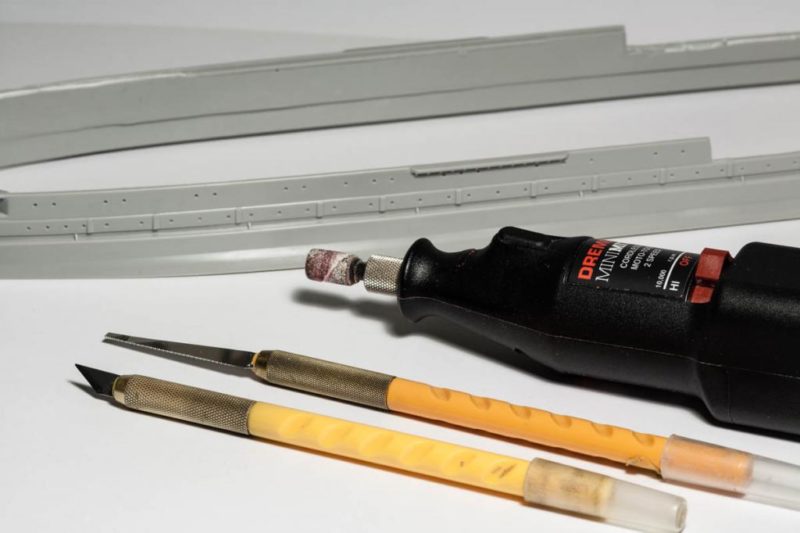
I had to Dremel away lots of plastic and reshape the hull. The left side of the pic shows the original configuration, right side already fixed.
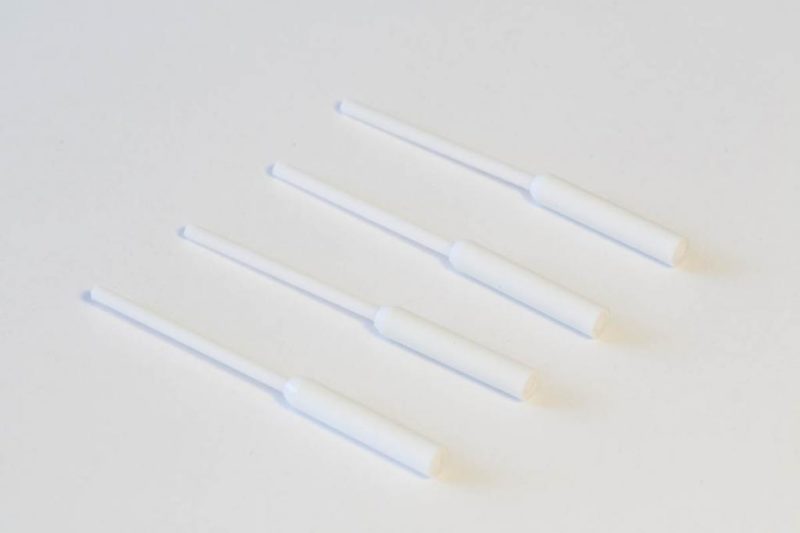
I fabricated the prop shafts using 3mm styrene tubing and 1.6mm styrene rod. The ends of the stern tubes were bevelled by chucking them into my Dremel and sanding the ends to a taper on a slow speed setting.
Getting them to sit square and with the correct spacing required a bit of guess work, as I was not able to find clear drawings of their exact position.
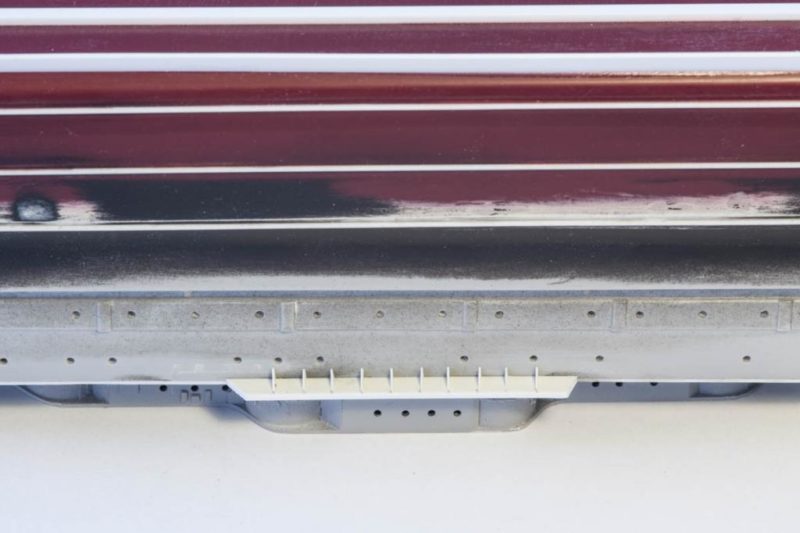
The docking keels were a straightforward affair, using lengths of 2x1mm strip styrene, slightly sanded after gluing them on to break the edges.
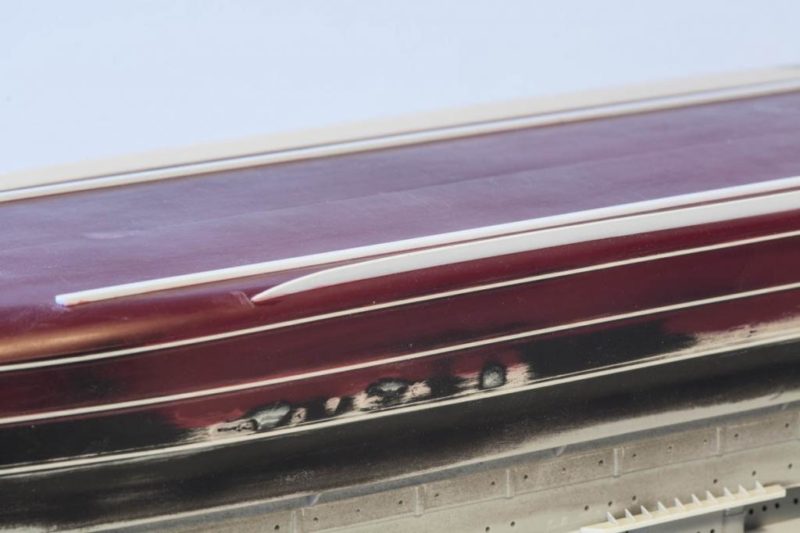
For the new bilge keels I used 4x1mm strip styrene. After the glue had set, I cut and sanded them to the correct shape.
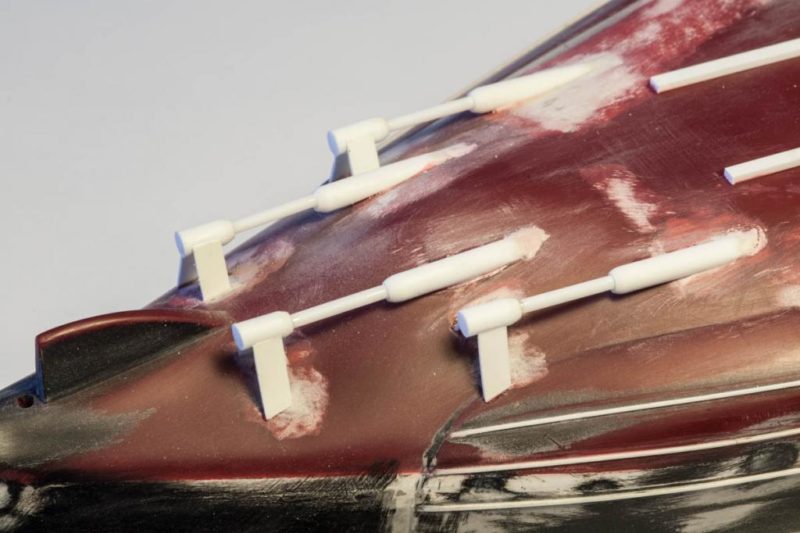
Finally, the supports for the level 01 catwalks are 2.5x1.5mm triangles, cut from .25mm styrene sheet. The Chopper II, a recent addition to my toolbox, proved invaluable in obtaining consistently sized parts.
The next instalment will take a look at the casemate deck deck and all the small deck fittings.




This is going to be amazing when completed! Keep up the great work!
Thank you! I just noticed I cannot add more than 50 pics to an article, will have to split that up into two parts.
Stunning workmanship...gonna be a show-stopper for sure.
Wow, makings of a museum piece.
This is simply amazing ! I understand wanting to get a model built specifically in time for the 75th anniversary. I tried doing that too, but didn't meet my objective. However in the long run I decided to stop rushing myself for fear of making a mistake and ruining everything.
You will be happy in the long run that you took your time and got everything right. I really like your original era photos too. You are a master craftsman indeed. Thanks for sharing with us.
Boris, my sincere admiration! Keep up the excellent and inspirational work!
You boat builders...why can´t you just build a Sherman or Pz IV? Stunning attention to details, wow!
Bacause they have bigger guns! :-))) But seriously, I just recently started building ships, was a strictly armor guy for 25 years. They just make for a nice change of pace - and I learnt a lot of new things!
Intriguing work, Boris. Great attention to detail.
Before you go too much further, Arizona was a much darker grey. There's a model over at Hyperscale in their files that is right colors.
Thanks for the reminder of why my kit will likely never be finished. You're doing great work.
Thanks Tom! Oh, the colors... Early on in this build I decided to paint her in her pre-war scheme of #5 Standard Navy Gray, which she wore until November 41 - for two reasons. First, I like the clean look of that scheme together with the natural wood decks. And second, we will most probably never be sure if she was painted Dark Gray (from November 41 onwards), Sea Blue or even a mix of both on December 7th.
Incredible work so far !
Your research and knowledge of the real thing is really paying off, together with your excellent building skills, of course.
Simply wow Boris.Really looking forward to seeing her finished.