Tamiya 1/48 Douglas F4D-1 Skyray

Started by Chuck A. Villanueva · 56 · 5 years ago
  • Profile Photo
    Chuck A. Villanueva said 5 years, 5 months ago:

    Thanks John, this is one fun kit to work on. Rick, it is one of those builds when things are just clicking right along. Just happy to get to this stage of the build.

  • Profile Photo
    Chuck A. Villanueva said 5 years, 5 months ago:

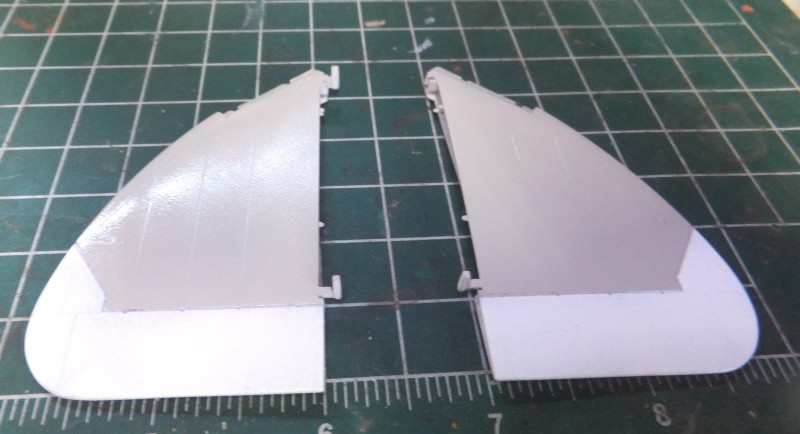
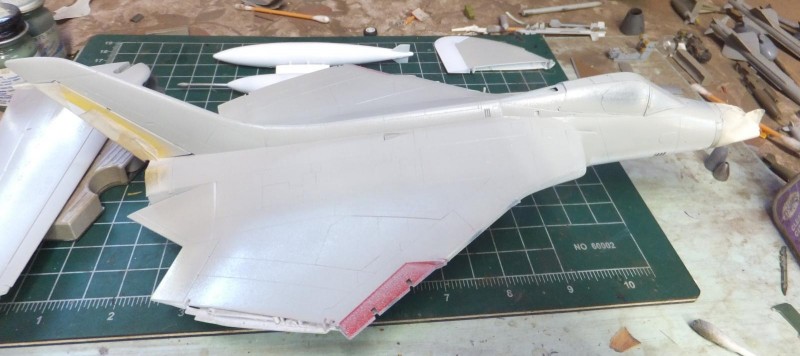
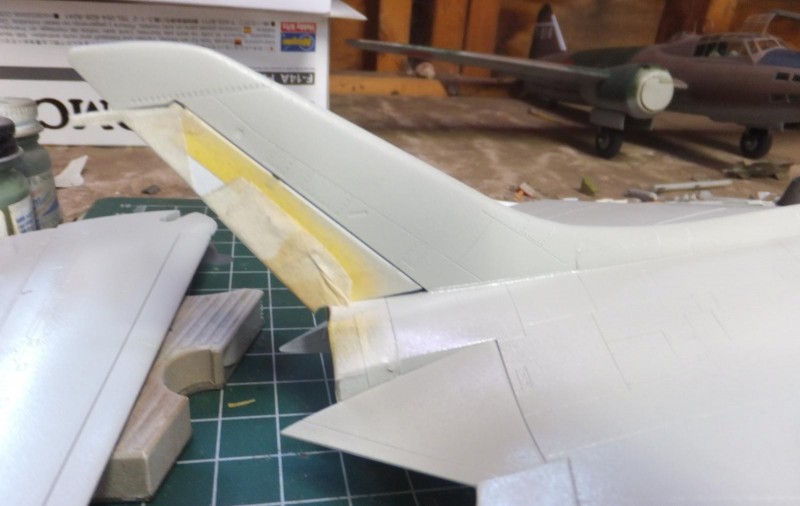
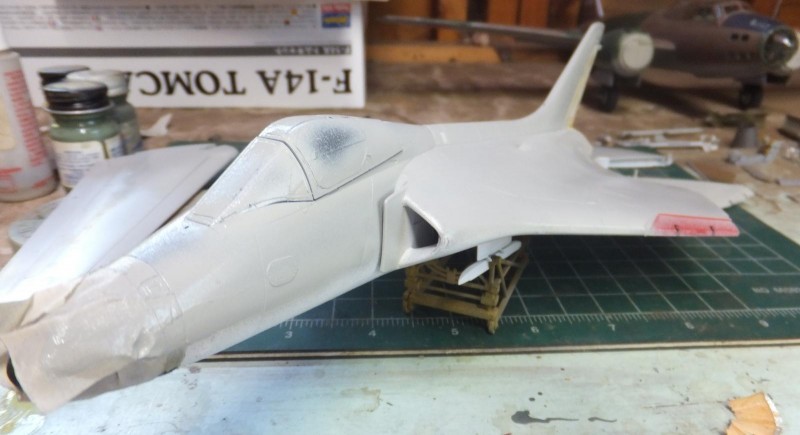
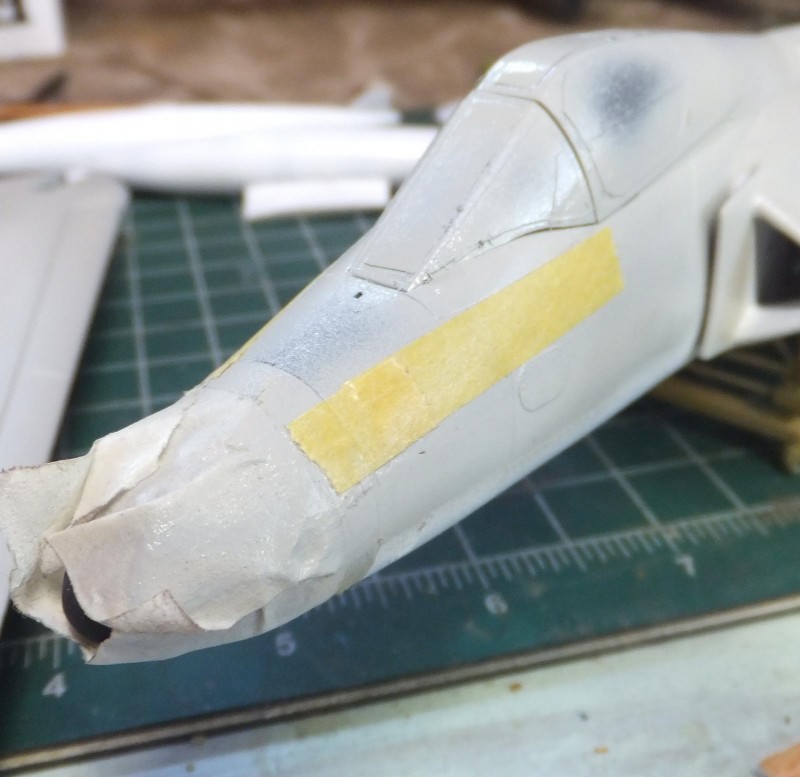
    With the white flying surfaces masked off. Time to airbrush the Lt Gull Grey. FS 16440. I will be using Gunze Sangyo Mr Color Acrylic. This sprays very well out of the brush. Also Masked off the anti glare panel on the nose. I only pre-shaded the outer panels of the wings. These were really kept pretty clean even when on the boat.


    Airbrushed the Gull Grey over the upper surfaces and the slats. The demarcation line was free handed and feathered.

    This scheme I was using had the elevons in Lt Gull Grey as well.

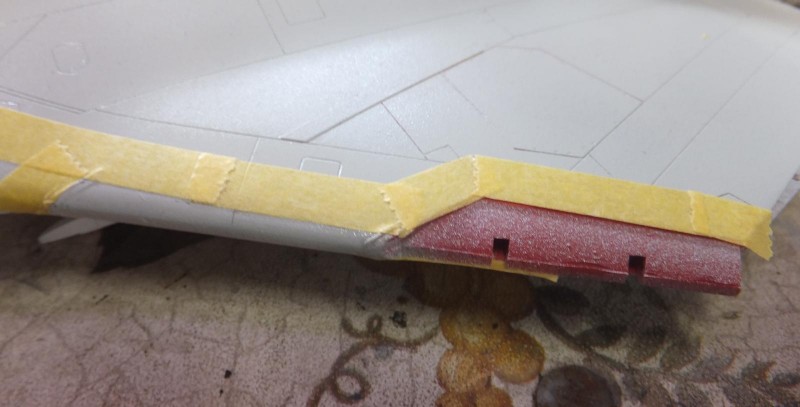
    Once the Lt Grey was applied. I masked off the nose to paint the anti-glare panel. And also the leading edges to paint them Aluminum and the inside portion of the slats Insignia Red.

    First painting the slat sections Red and the inner section of the intakes as well. As a precaution when I apply the intake warning decals.

    Next to paint the Aluminum leading edges. I used Vallejo Aluminum for this section.

    Next I will use Nato Black for the anti-glare panel and the top forward section of the drop tanks. Masking off the top portion of the drop tanks before applying Nato Black.

    Next remove the masking tape from the tail, drop tanks and nose.

    Also removing the masks to reveal the alum edges and Insignia Red slat areas of the outer wing panels.

    Finally masking off and painting the top edge of the tail in black. Using Tamiya black for this process.

    Put it off to the side and shoot the clear coat on the upper surfaces for the decal phase. more to follow.

  • Profile Photo
    Jeff Bailey said 5 years, 5 months ago:

    Really fine looking Skyray, Chuck!

  • Profile Photo
    John Healy said 5 years, 5 months ago:

    Looking good Chuck! I started one about a month ago but put it on the shelf when my Airfix Spitfire XIVs showed up and I dived into them. What squadron are you doing? I’m doing VF-13 with Superscale decals. The rudder colors are wrong on the decal but it’s eady enough to paint it.

  • Profile Photo
    Greg Kittinger said 5 years, 5 months ago:

    Coming along!

  • Profile Photo
    Chuck A. Villanueva said 5 years, 5 months ago:

    Thanks Jeff, want to get this done. Though it has been a fun build so far.
    John, thanks, this will be a VF-13 circa 1960 bird. Flying off the USS Essex. Studying some images of this squadron at sea, the decal sheet is a bit off. But a great starting point.
    Thanks Greg, its quite an unusual air frame to say the least. Now if I can get myself to do a Cutlass down the road.

  • Profile Photo
    George R Blair Jr said 5 years, 5 months ago:

    Navy planes from this era have a lot of masking. I think the Cutlass would have even more, but both the Cutlass and the Skyray had some really cool paint schemes. Good job!

  • Profile Photo
    Erik Gjørup said 5 years, 4 months ago:

    Great build! - I simply had to add one to my stash, and found a "metallic" version that has bright metalized sprues at my local kitpusherstore. However the decals are the same sheet as yours, with three grey/white marked planes. So I'm off to the internet to search decals out, but for now I shall keep following your build with interest - thank you for sharing!

  • Profile Photo
    Chuck A. Villanueva said 5 years, 4 months ago:

    Thanks George, the Gull Grey schemes are not as simple as a multi color camo scheme can be. The flying surfaces in general are white overall. Some have the Silver leading edges, or the corroguard tape which is a yellowish tan color. Nose and anti glare panels, tail and wing tips also depending on the squadron. So all kinds of masking at times.

    Hi Erik,thanks, I have heard of some special versions of some Tam kits, was not aware of a NMF Skyray. That is one to see. Silver Navy birds are quite rare. I'm hoping will share that with us some day when you start your project.

  • Profile Photo
    Chuck A. Villanueva said 5 years, 4 months ago:

    Decal time. After a coat of future is applied over the top. Not so under as the surfaces are already glossy white. Decal sheet is an old Super Scale sheet of a VF-13 Navy bird off the USS Essex circa 1960. So a little colorful result in the end.

    Starting with the squadron ID on the drop tanks.

    Then the national markings on the lower wings. Carefully cutting the decal before applying them on the lower wing.

    Then starting on the LH side of the air frame working front to back. Bureau number, national markings and warning rescue arrow on the nose.

    Cutting the decal before apply the 101AK over the top of the RH wing panel.

    Then the red/white stripes on the flaps and on the ailerons of the outer wing panels.

    Once the decals set. Will apply the flat coat over the top only, leaving the white Glossy. Will shoot a coat of future to seal the decals. Next to demask and add the landing gear. More to follow.

    The AK is applied on the tail rudder. The color slash on the lower part of the rudder may not be the correct colors, I found this out after the fact.

    The carrier and squadron code on the spine and upper portion of the main fuselage and serial number.

    3 additional images. Click to enlarge.

  • Profile Photo
    George R Blair Jr said 5 years, 4 months ago:

    Looks good, Chuck. The markings on these planes can really be colorful. I have run into some brittle decals a couple of times in recent builds and they can be really frustrating.

  • Profile Photo
    Chuck A. Villanueva said 5 years, 4 months ago:

    With air frame decalled. Time to de mask and start adding the final bits and pieces to the Skyray. First with exhaust nozzle. Then the tail hook and wheel. As shown in step 7.

    The exhaust tailpipe, turbine and duck tail extension.

    The 3 pieces assembled before being attached into the fuselage.

    Then it is installed into place on the rear fuselage. Very good fit.

    Next to paint and install the tail hook. Already white with the steel hook.

    Using a black Sharpie to draw in the ID stripes on the hook.

    Then attached into its place under the tail.

    Finally the tail bump wheel. And housing

    Assembled tire is painted Tamiya Rubber tire.

    Then attached in the same housing that houses the tail hook. The wheel does retract into this in flight.

    Next up the landing gear. More to follow.

  • Profile Photo
    Chuck A. Villanueva said 5 years, 3 months ago:

    Time to work on the nose gear.

    I don't always use masks on wheels. I use the old trusty capillary method at times to paint the tires. The wheels are already painted the color they will appear on the aircraft, in this case white. I will be using Testor's Rubber enamel that comes in the small square bottles. Being enamel it it much easier to work with that medium when using this method.

    Once you have the edge of the tire to the rim filled in. You paint the rest of the tire to complete the task. Not always perfect, but not hard to clean up.

    The wheel halves are removed and cleaned up. The sprue attachment point are touched up and assembled.

    The strut actuators and retracting mechanism are ready to attach.

    The nose strut is inserted in place. Very good attachment point here. Good for many years parked on the shelf.

    The rest of the pieces are installed and the nose gear assy is finished.

    Next up the main gear assy and the doors. More to follow

  • Profile Photo
    Erik Gjørup said 5 years, 3 months ago:

    Comin' along nicely! I have to get a molotow pen I think - great chrome effect from the looks of it. do you know if it is long-lasting when painted on?

  • Profile Photo
    Don Mk1a said 5 years, 3 months ago:

    That oleo is very extended. I wonder if it's copied from an empty museum aircraft somewhere. That's a Tamiya technique that sometimes causes problems.