With the white flying surfaces masked off. Time to airbrush the Lt Gull Grey. FS 16440. I will be using Gunze Sangyo Mr Color Acrylic. This sprays very well out of the brush. Also Masked off the anti glare panel on the nose. I only pre-shaded the outer panels of the wings. These were really kept pretty clean even when on the boat.
-
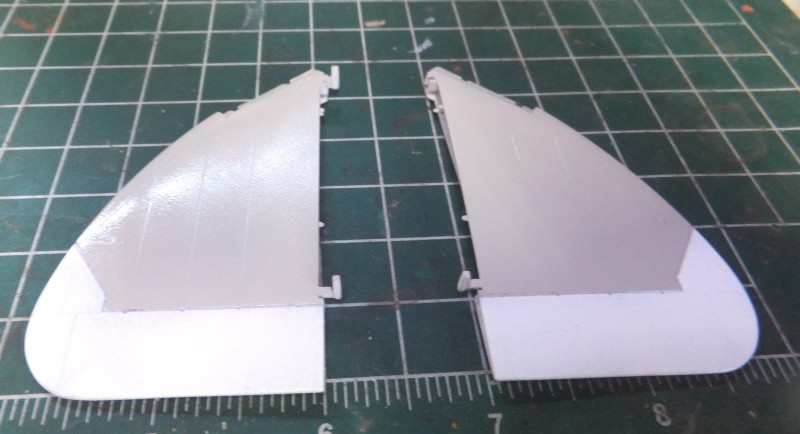
1. One of the folding hinge is missing on the RH wing panel
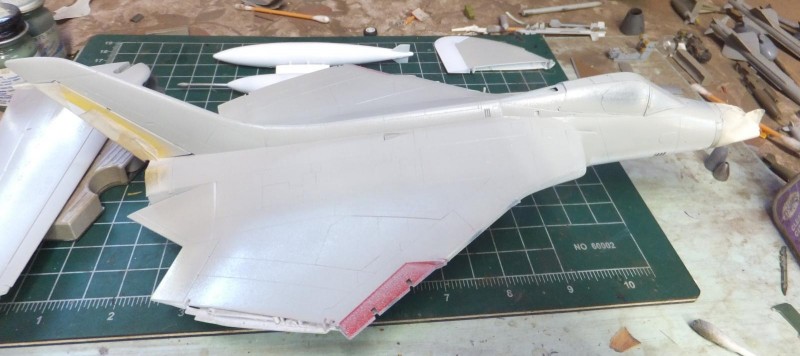
Airbrushed the Gull Grey over the upper surfaces and the slats. The demarcation line was free handed and feathered.
-
1. Will mask and re apply the Insignia Red
This scheme I was using had the elevons in Lt Gull Grey as well.
-
1. Rudder will remain white
2. Elevons are Lt Gull Grey
-
1. Demarcation line is feathered and freehanded
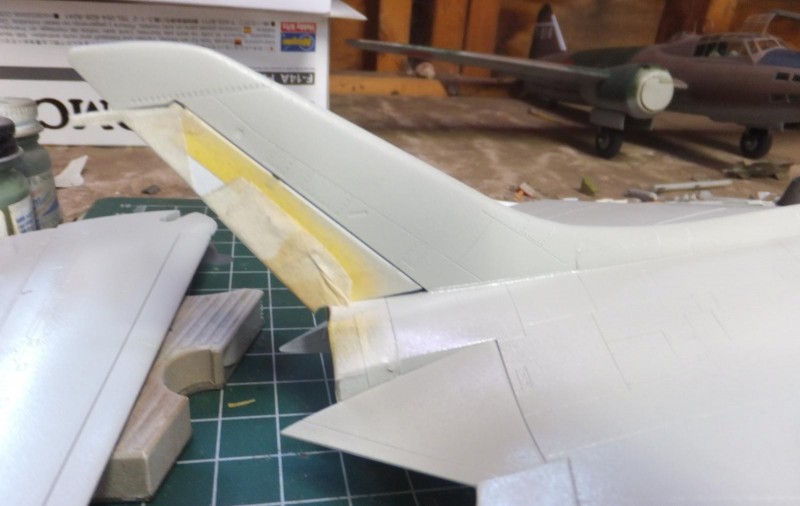
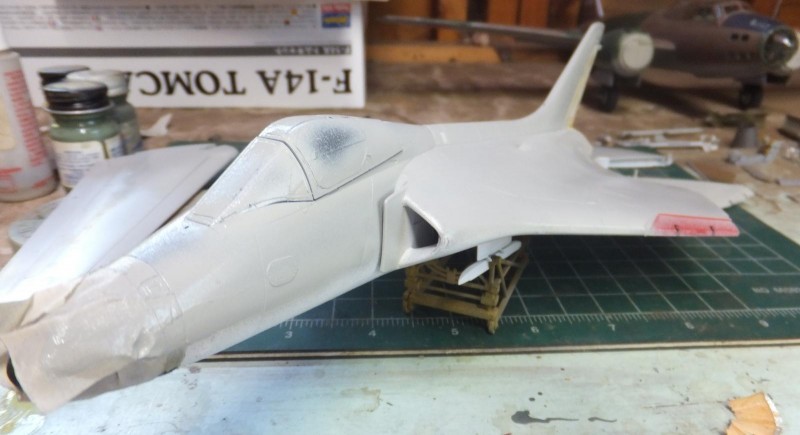
Once the Lt Grey was applied. I masked off the nose to paint the anti-glare panel. And also the leading edges to paint them Aluminum and the inside portion of the slats Insignia Red.
-
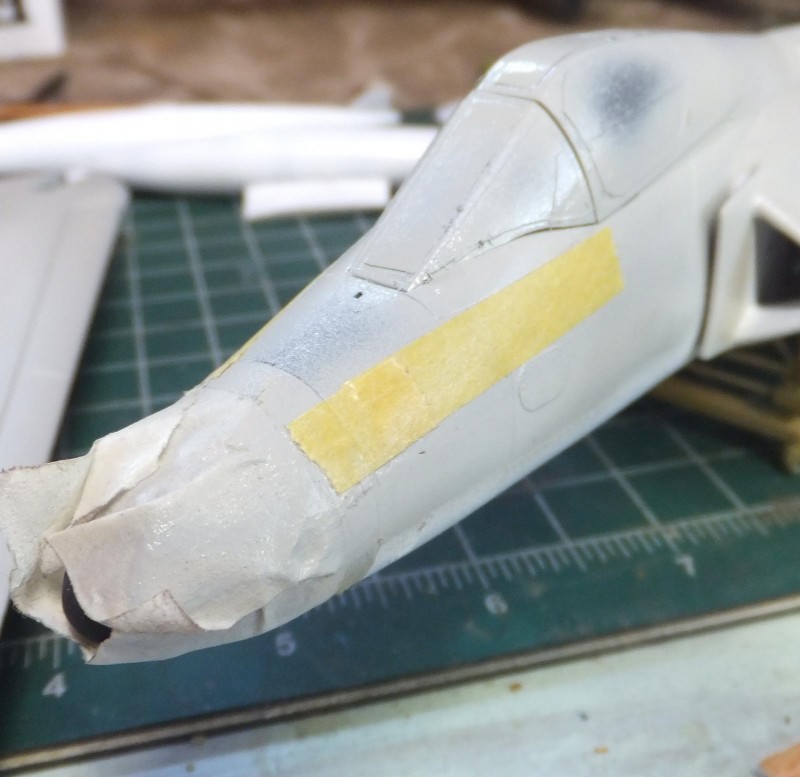
1. Masked off for the anti glare panel
-
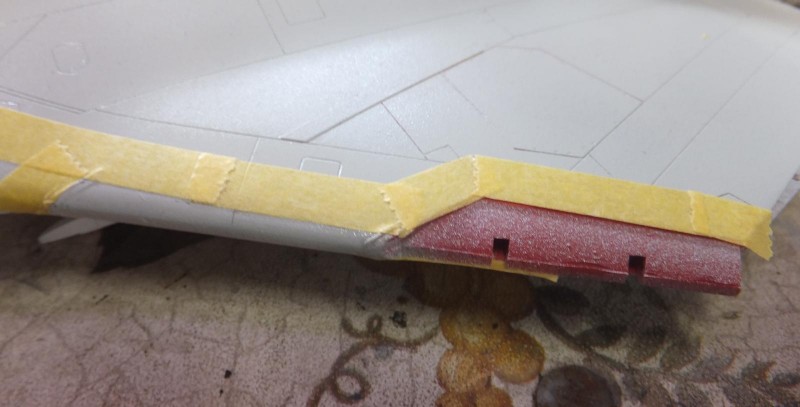
1. Wings masked for the aluminum leading edge
2. This will be repainted Insignia Red
First painting the slat sections Red and the inner section of the intakes as well. As a precaution when I apply the intake warning decals.
Next to paint the Aluminum leading edges. I used Vallejo Aluminum for this section.
Next I will use Nato Black for the anti-glare panel and the top forward section of the drop tanks. Masking off the top portion of the drop tanks before applying Nato Black.
Next remove the masking tape from the tail, drop tanks and nose.
Also removing the masks to reveal the alum edges and Insignia Red slat areas of the outer wing panels.
Finally masking off and painting the top edge of the tail in black. Using Tamiya black for this process.
Put it off to the side and shoot the clear coat on the upper surfaces for the decal phase. more to follow.