1/35 MENG Norwegian Leopard 1-A5-NO2: Work In Progress
A customer who purchased my Norwegian 1/35 AFV NM-116 Tank from an auction site requested some more work from me. He is a veteran from the Norwegian Military and wanted to have some models of the military vehicles he worked with, and encounted during his military career.
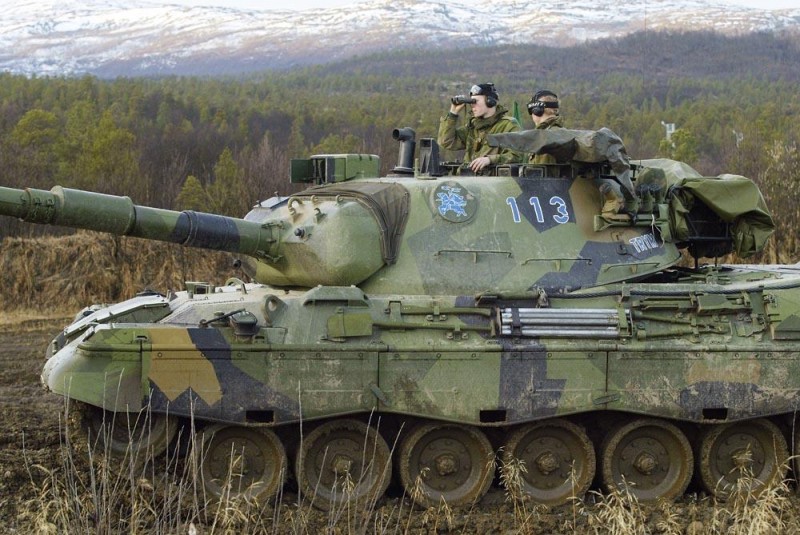
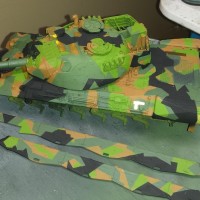
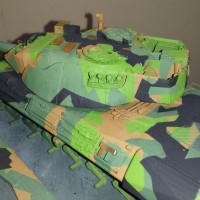
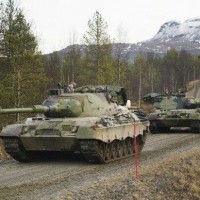
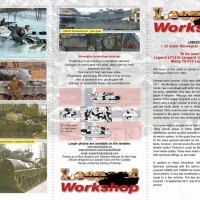
His 1st request was to make a Norwegian version of the famed Leopard 1 referred to as the Leopard 1A5-NO2. This is the upgraded Leopard 1 with the wrap around turret armor. He wanted it dressed in the Norwegian 4-Color Camo consisting of Dark Green, Light Green, Brown, and Black. It is arranged in a splinter pattern with hard demarcation lines. Despite having many color photos of tanks in this scheme I could not find a guide which referenced the exact colors specs such as FS codes. I purchased an aftermarket Decal set from Leopard Workshop and this included a very detailed paint guide which referenced Tamiya paints. Problem was it included the Tamiya colors to mix in order to achieve these authentic colors, sometimes up to 3 different colors, to mimic Dark Green or Light Green but no exact ratios. It simply instructed the builder to "mix to taste". Agggggg! So I did the best I could to get close but it was a complicated endeavor. So thankfully the instructions reported the Norwegians having many variants to this theme. SO this is my version of one of those variants. I will include several photo references demonstrating some of these differences.
Back to the build: There are lots of kit and build reviews already on-line regarding the MENG kit I used so I am not going to go into to much detail regarding it. Overall it is a decent kit with moderate level of details and great moldings. I would give the overall detail level a 3.7 out of 5.0. I would give the quality of the moldings to include level of molded detail a 3.9 out of 5.0. The details of the add-on tools were excellent with very nicely molded attachment clamps, and related details. The molded details on the suspension arms were non-existent but will not really be seen anyhow. I had a PE set to compliment these tools but the default level of detail was nice enough that it did not warrant the tremendous amount of extra work needed to add all these tiny PE details. I would of liked to have seen more weld lines in significant areas, as well as, heavier weld lines for the ones that were already present. The plastic was different from some other MENG kits I have assembled; I was not a fan of it in this kit. This is a very subjective comment but I it felt more like I was building a typical modern Revell armor model then a MENG. There were some prominent pour stubs but little to no flash present.
The overall engineering and fit of the kit was really nice with no complaints to report. I give this area a 4.2 out of 5.0. The oddest aspect of the kit was the wrap-around turret armor. It was a soft almost rubbery material and this worried me. You basically needed to add about 30 mounting stubs all over the turret sides which are the main attachment points for this soft armor material. Pay attention to the numbering b/c they may seem the same size but there are some subtle differences which if not right would mess up the whole look of the side armor and it may not fit at all.
The most difficult parts of the whole kit are the turret storage basket assemblies, and of coarse, the individual, movable, linked tracks.
Tracks: This is the 1st time I assembled workable tracks and I was very puzzled at 1st. A jig is supplied to help with the assembly but I wish this jig was longer to allow for larger assembled segments. This assembly was so challenging to me at 1st that I almost packed it up, and returned the kit to the customer. I am not joking. I was 5 minutes from this point. Then all of a sudden I got my act together and figured out an assembly process which worked well for me using the supplied jig. It just took a lot of frustrating practice and trial and error, but now I feel it is simple. I have not fit the completed tracks to the wheels yet so I cannot give you a final summary of this assembly. I pray it fits well and works!
Baskets: This process was fiddly at best but I took my time. After studying the process I thought I would have more trouble b/c there are minimal aids to help it all come together. You need to figure out angles, and such, of the individual parts and there are no specifics in the instructions to help with this. To my surprise it all came together well in the long-run and builds into a very strong structure. The trick for me was to use Tamiya thin cement which supplies the right amount of tackiness in a short time while allowing for some flexibility. This gave me time to align all the fragile, flimsy parts before it setting. I then went around to all the joints and applied drops of medium CA glue to strengthen these joints and allow me to work the remainder of the turret quicker, not needing to wait for the cement to dry.
Other odd assembly, as already mentioned, was the turret side armor. If you set all the many supports correctly on the turret then the armor actually fits perfectly and performs well with CA glue and acrylic paints. I did not put CA glue on all the supports at one time but instead applied glue starting at one point (front of turret side) and tacked on the armor as I moved reward. I did this on both sides then attached the rear piece. It looked great.
The Leopard version included in this kit recreates the latest variant of the Leopard 1 before all units switching to the Leopard 2, or I should say the last production variant. It mimics the German Army version but not the Norwegian version. So thankfully Legend Products produces a conversion kit to change the "A5" version to the "A5-NO" version. I purchased this conversion kit and applied it as needed to the basic kit. It was not easy to use mostly due to the lack of good directions and many, many tiny PE parts. Also, there are parts that are not mentioned in the MENG directions which must be used in place of the parts that are referenced in order to use some of the major components of the conversion kit. The most prominent example is to use the older style exhaust assembly included in the MENG kit, not the more modern assembly referenced in the instructions. I did not catch this at 1st b/c there is no "warning", or "mention" of this process in the Legend instruction sheet. I found you really needed to spend a good amount of time studying the 2 instruction manuals and then summarize a plan to incorporate the conversion kit into the base kit. I was some what successful with this process, still making errors in assembly sequences, due to the very poor conversion kit instructions.
I have not assembled the road wheels, and/or drive sprockets as of the writing of this article. I have completed 95% of the total assembly. It was ready to paint. I primed the whole tank including the wheels still on the parts trees, and the side skirts, with Vallejo Panzer-Grey Primer. I then airbrushed the "Dark-Green" mix (Tamiya) base paint. The splinter camo job requires hard demarcation lines so I needed to use a masking element. I choose masking tape and tamiya tape as the main masking element. The Leopard Workshop Norwegian Decals included a detailed paint guide for the camo pattern. It is an extremely difficult pattern to follow exactly, and based on my reference photos, the scheme pattern did not appear exactly the same over time, between like vehicles. So, I used the camo pattern supplied as a guide to capture the overall look, but it is not exact. Because it was a four color pattern it took a tremendous amount of detailed masking, with the surface structures creating lots of barriers and challenges. After I was done with the 1st 3-colors (Dark Green, Light Green, Brown), I was not left with enough room to appropriately capture the correct look using the final color of black. So I needed to re-mask a bit and apply the black as an after-thought over some of the already applied patterns. All in all I am satisfied with the look and the overall look matches many of the references close enough. It now needs a good amount of advanced finishing steps to include use of filters to blend and tone down sharp, bright contrasts of camo colors, and lots of washes and weathering.
More to come on this build with the following upcoming steps.
- Final Assembly
- Filters to tone down and weather the bright, contrasting camo.
- Pin Washes
- Chipping and Rust.
- Surface Dry-Brushing to enhance details and corners.
- Final Weathering with oils, pigments, etc.
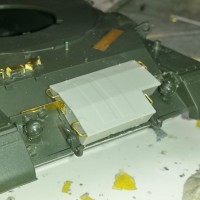
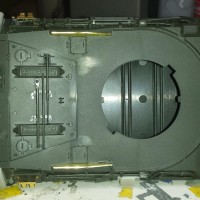
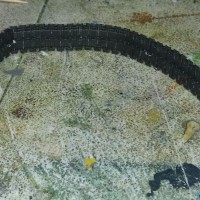
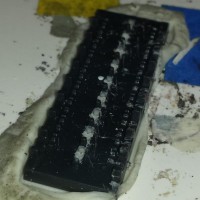
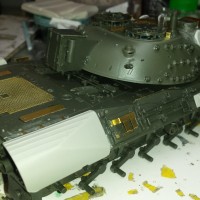
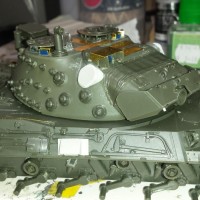
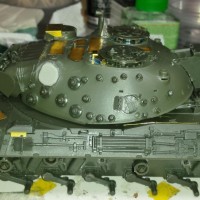
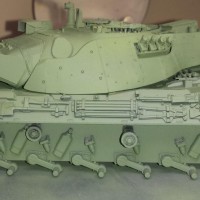
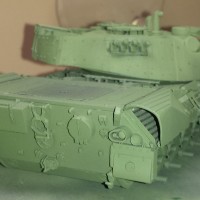
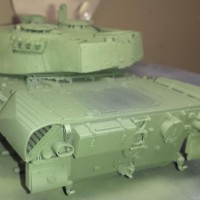
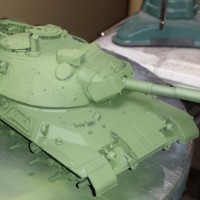
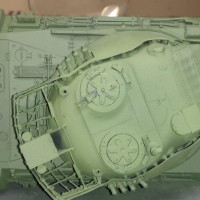
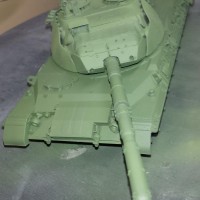
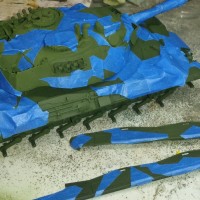
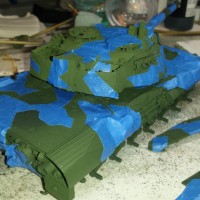
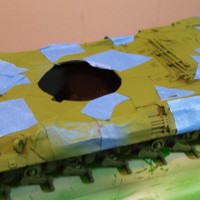
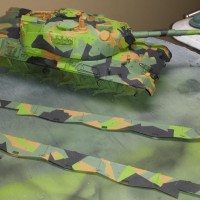
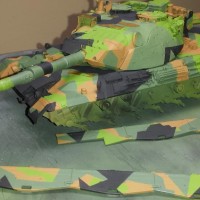
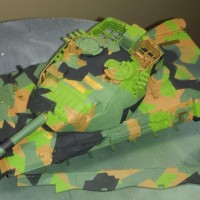
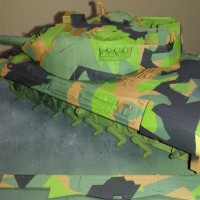
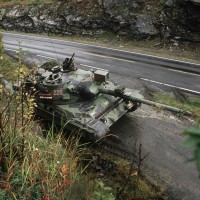
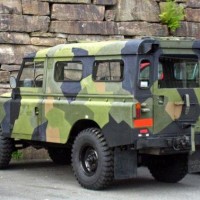
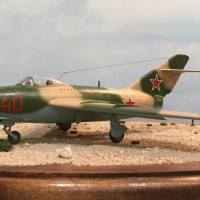

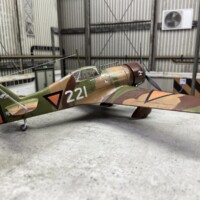

Coming along nicely!
Nice work on that camouflage pattern, Paul...I like it.
You're doing VERY well Paul - as usual. @jjetmec
I had the good fortune to spend 2 weeks with a German Platoon of tanks during Winter REFORGER 1983/4 and they had the Leo 1A5 version. Unless I'm mistaken, the add-on armor IS actually rubberized. Amazing, right!?! That type of add-on armour can be made of many different materials. It's called "stand-off" armour. Its' purpose is to detonate shaped-charge warheads - called "HEAT" rounds (High Explosive, Anti-Tank) on US vehicles which if set off inches away from the armour rather on it directly, makes it totally ineffective. Many modern vehicles have this feature either visibly added (slats, add-on plates, explosive bricks, even chicken-wire fence material) or incorporated in the tank body itself, i.e. - the British Chobham armour, or the modified Chobham armor with Depleted Uranium used on M1A1/M1A2 series tanks.
Perhaps Meng made the "soft almost rubbery material" to be accurate to the original. It AMAZED me when I studied the tanks I was with. Sorry that my only photo doesn't show much detail.
Ain't technology grand !?!
1 attached image. Click to enlarge.
Yes, not that you pointed that out it makes sense that MENG made it like a rubber soft material that actually wraps around the turret nicely. Another thing I failed to point out is that the material has an odd texture to it which when you reference nice close photos of the actual shield you can see the exact same texture. You can tell its not metal based on this texture. The texture must of been hard to create with a hard plastic used on rest of model. The texture looks great when it is highlighted with a wash and dusted over with pigment. It makes a huge difference. I should of said "CUDOS" to MENG for re-creating this so well.