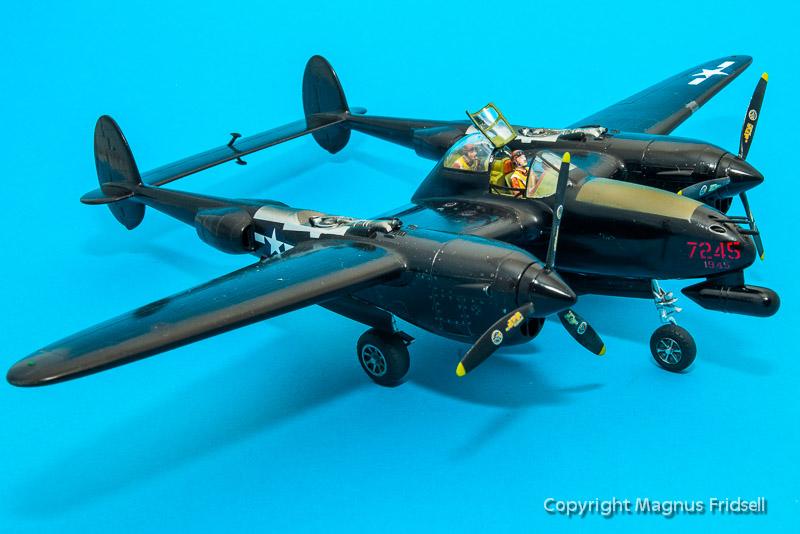
Monogram 1/48 P-38M “Night Lightning”
I finished this one a few months ago but I haven't gotten around to do an article on it until now. So hang on, here is my story of how I came to build an old 1/48 Monogram P-38!
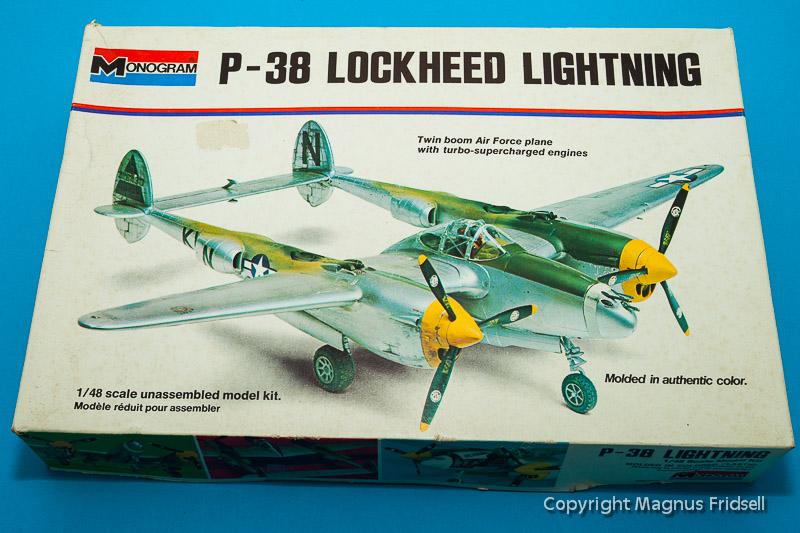
I am not a 1/48-guy, not at all really, but in 2013 my friend Ulf started a "build the Monogram dream-kit from your youth"-project that I couldn't resist. I think that for many those dreams were focused around the huge B-17 or B-24 but for me, it was the P-38. A friend of mine went to USA as an exchange student and brought one home, I remember drooling over the instructions with their fascinating conversion tips. It can, with some surgery, be built as either an ordinary fighter, a two-seat night fighter, a glass-nosed pathfinder and finally a recon bird with camera nose - not bad for a kit from the mid-sixties!
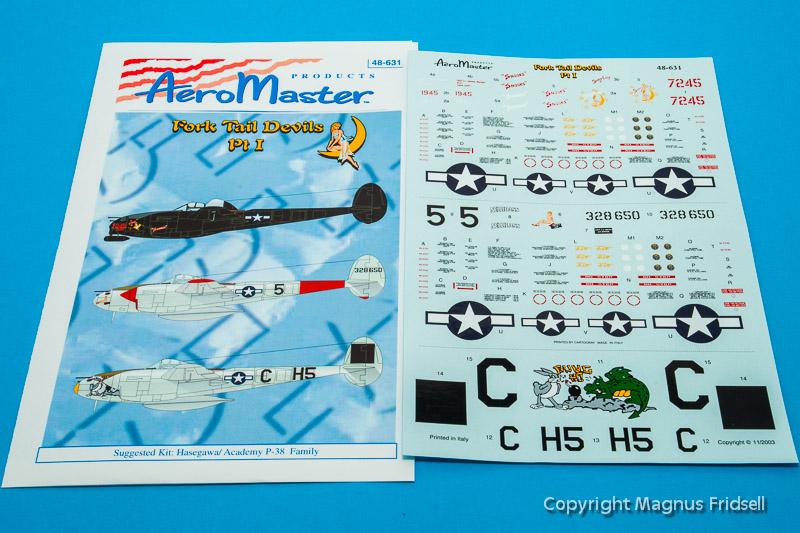
Since I really felt that I ought to build it "in the spirit of Monogram" I of course needed to do one of the conversions, the combination of a simple paint scheme (you can never go wrong with black...) and the availability of aftermarket decals (Aeromaster 48-631 can still be found on the open market) I went for the night fighter. The kit itself is neither hard to find, nor especially expensive, mine (and two further for two of my friends, who incidentally haven't finished theirs if I may tell you!) came from KingKit in the UK. I think they are 1974 issues of the kit, they did smell a bit mouldy but that doesn't affect the plastic!
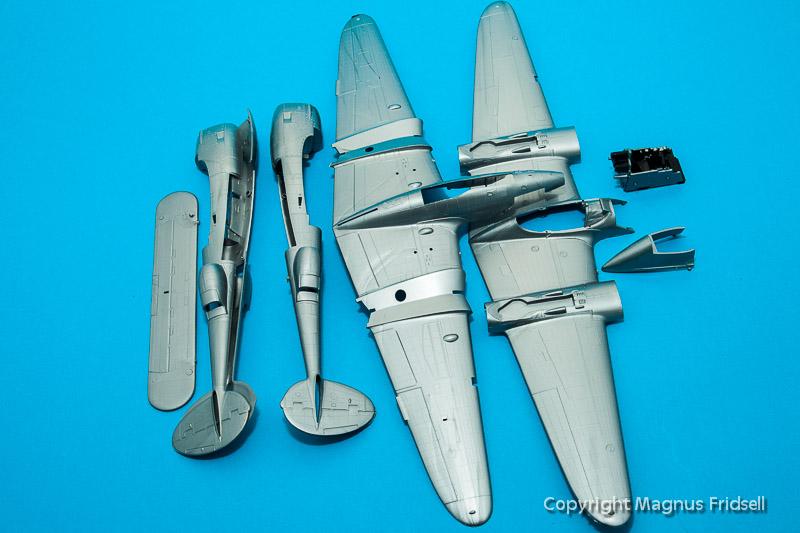
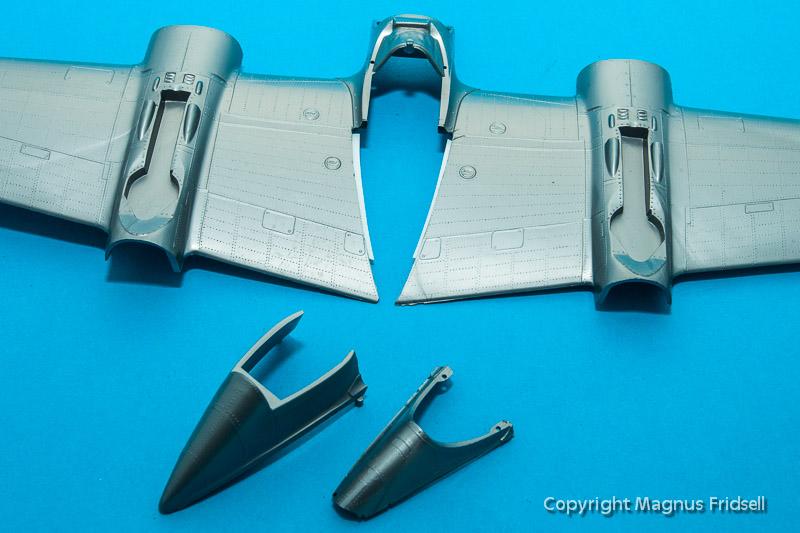
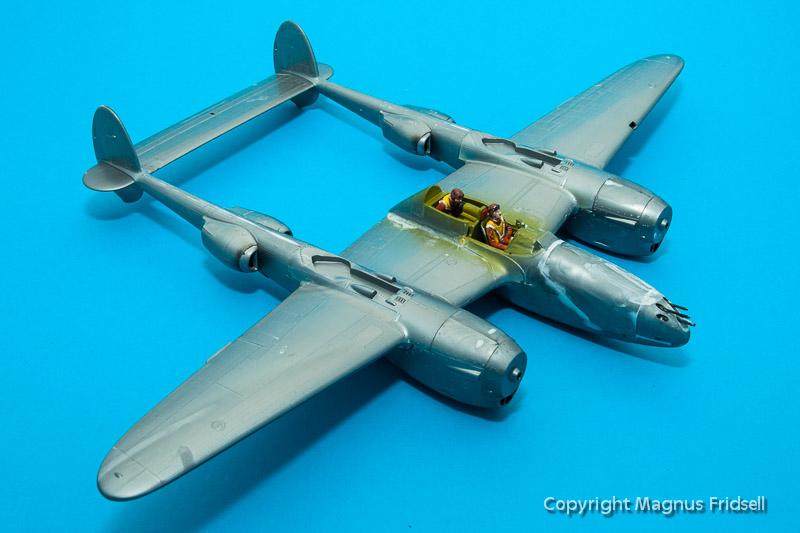
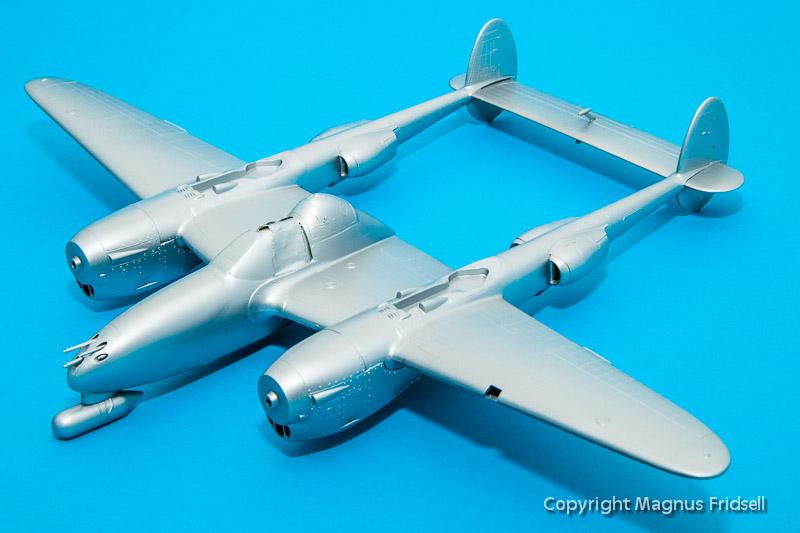
Kit is moulded in silver plastic for the larger parts and black for the smaller ones, lots of these rattled around in the box but none were missing! In order to do the different conversions, some surgery is required, followed by some transplantation of plastic. Speaking of larger parts: this is a big piece of flying machine that covers up a lot of real estate on the building table, especially for a 1/72-guy like me!
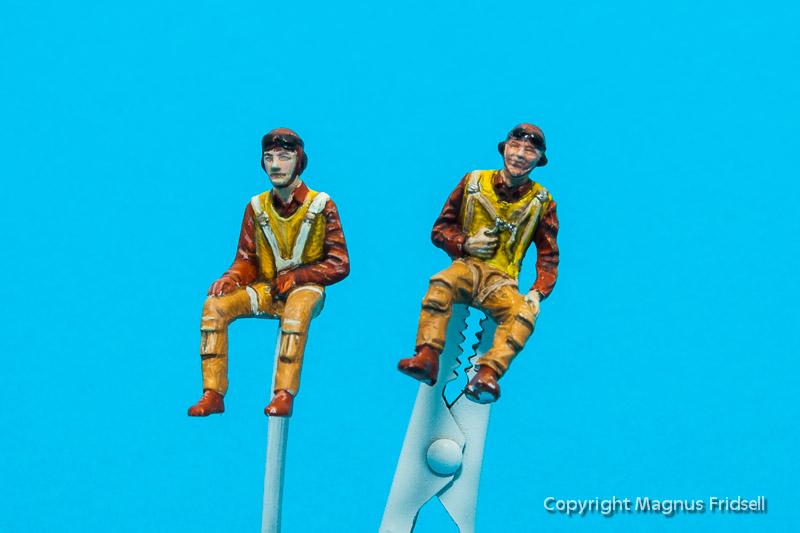
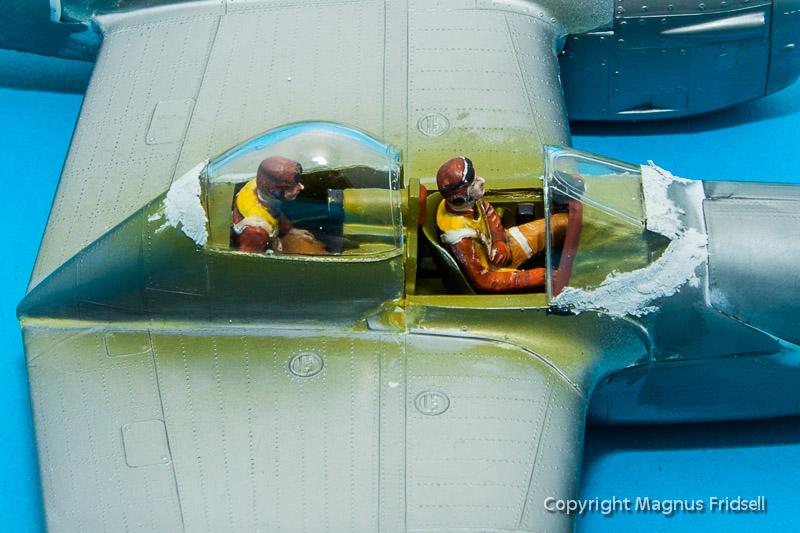
Finally, there is a crew included. That I will have to paint ("in the spirit of Monogram" it was, remember?), horror of horrors...
Since that cockpit part is make-it or break-it, let's start there! To improve the chances of success I added some scrap plastic to get a bit more support for the new part.
The model is liberally covered with rivets and raised panel lines, something I decided to not do a thing about ("In the spirit of jadajadajada...”). But there are other quite simple improvements that can be made! The boom radiators are very thick around their rear edges, thinning them is a simple trick that adds greatly to the appearance.
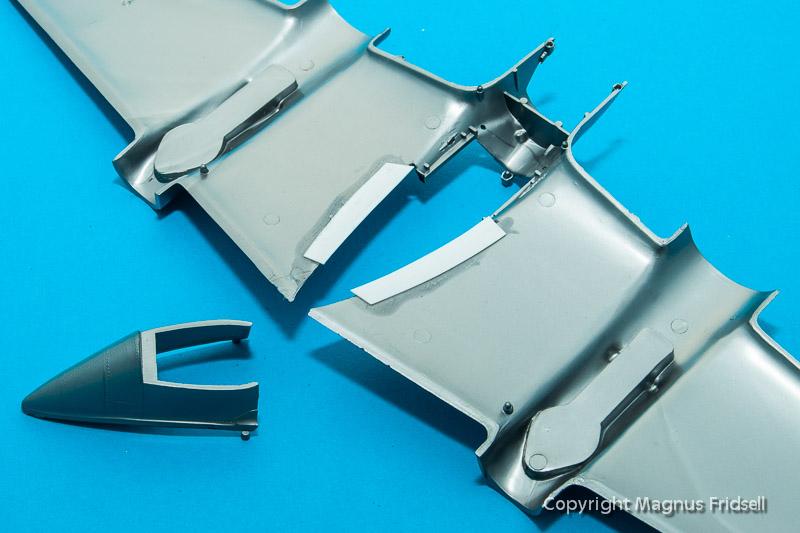
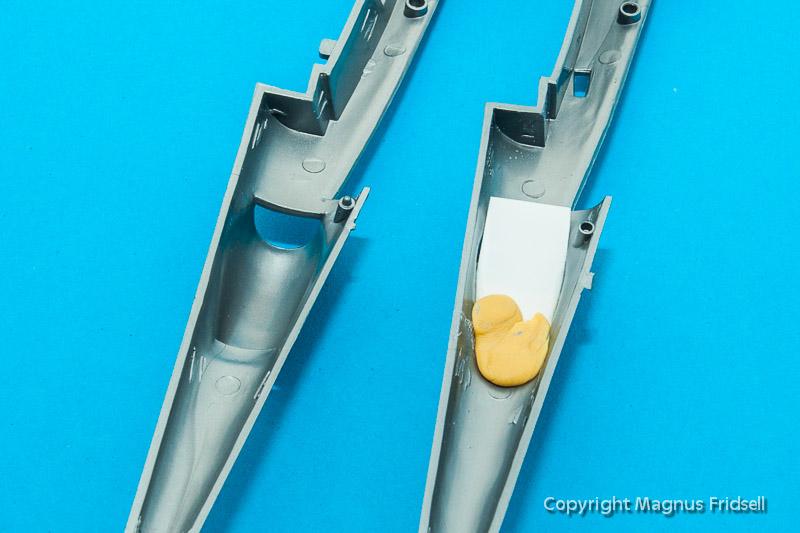
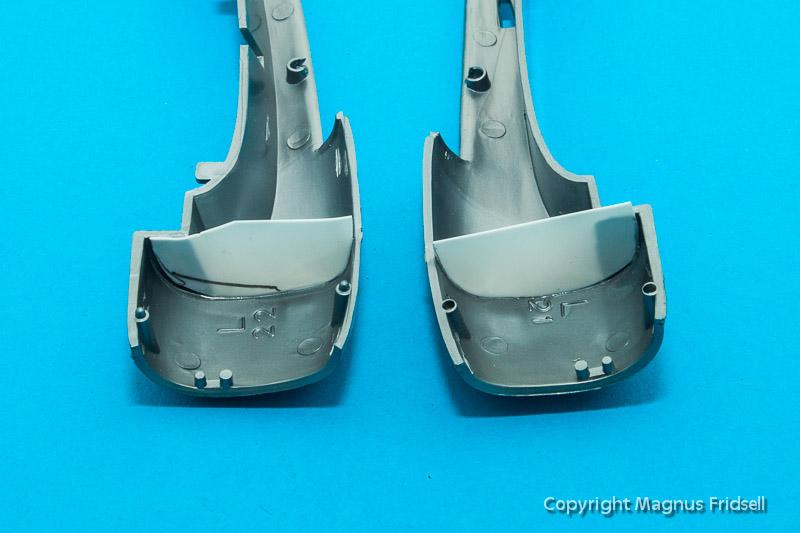
The same goes for blocking the see-through effect through the radiators. I added a lump of Tamiya epoxy putty in the middle of the housing and then added a piece of roughly cut-to-fit plasticard. Painted black, it doesn't have to be more refined than that!
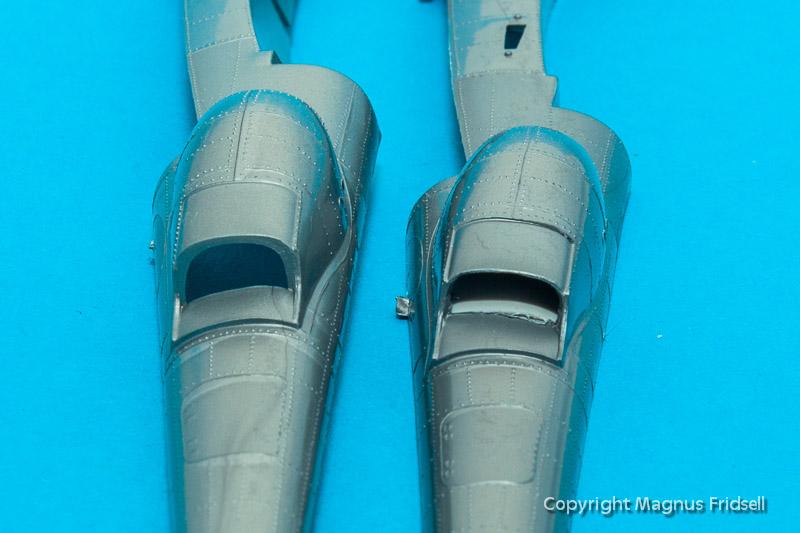
The cowling intakes has a set of odd-looking "rabbit's teeth" that were cut away.
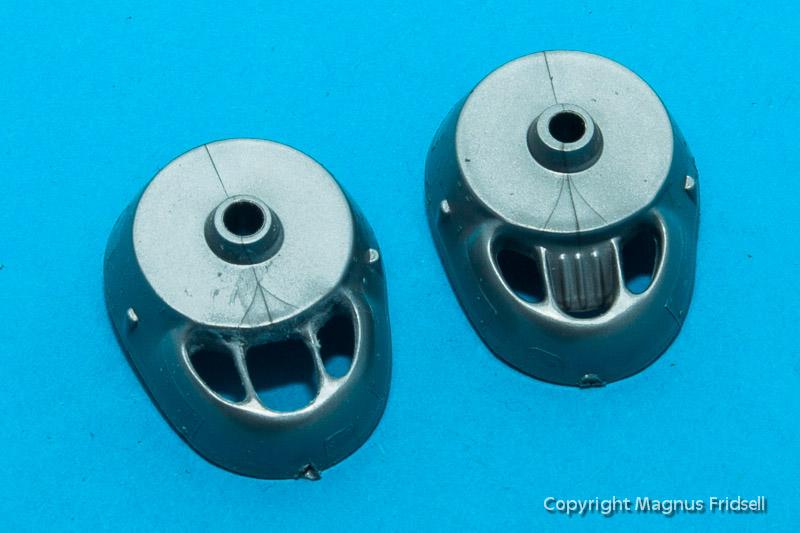
Another see-through area is the front end of the cowlings. I added some thin plasticard that overlaps the centreline between the boom halves, being thin and flexible they will overlap when the boom halves are glued together.
Finally, the most important step before committing to the glue: paint it all black! I didn't care about boxing in the gear wells, as long as you don't see the landing gear through the intakes I think it is quite OK!
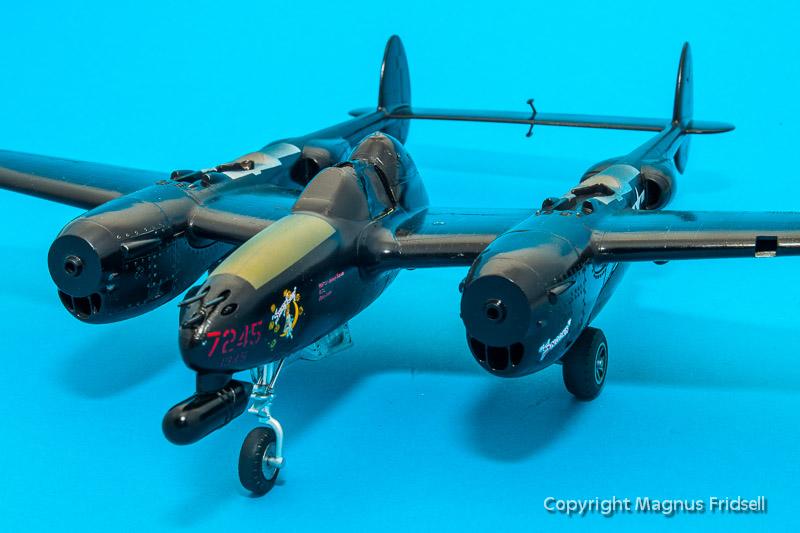
A small but very useful trick I picked up from another build that I found on the Internet: Monogram intended the main landing gear to be sandwiched between the boom halves during construction. By cutting the mounting point to a "C"-shape, the landing gear can be attached later in the build, avoiding some complicated masking and risky handling!
Returning to the pilots, I did my best... Paint is Vallejo that has become my favourite for brush painting. There are some great figure painting tutorials using those paints online, I recommend reading them for every modeller. Even if you don't intend to paint figures there are lots of stuff to learn that is useful in general. And you might even become inspired to try a figure which is not a bad thing either!
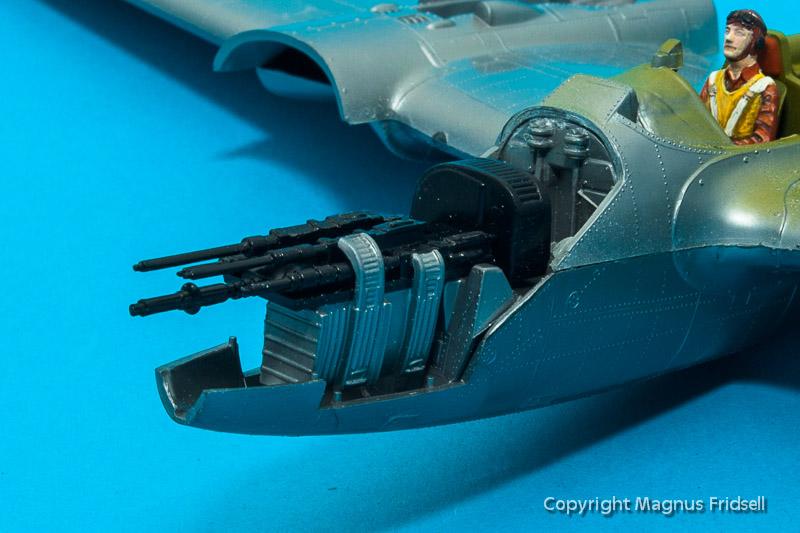
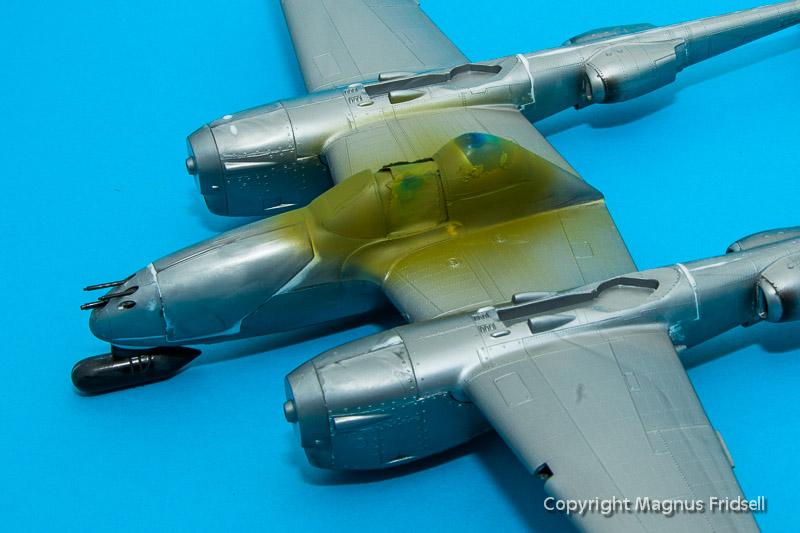
From here to a complete P-38, the process was rather swift! As usual when it comes to Monogram kits, there is all kinds of interesting interior detail that can be shown. I found it to be a bit illogical though with the crew ready for departure and the gun covers open. This quickly led to trouble - the covers don't fit very well. Apart from producing large gaps around their edges, they aren't of the same shape as the fuselage cross-section-wise either! But since I happen to own both a coarse sanding stick and other instruments for plastic torture as well this was a problem that could be solved.
When sanding the covers I lost quite a lot of detail around the nose area but going for an all-black finish, I gambled upon that it shouldn't be too obvious on the finished model!
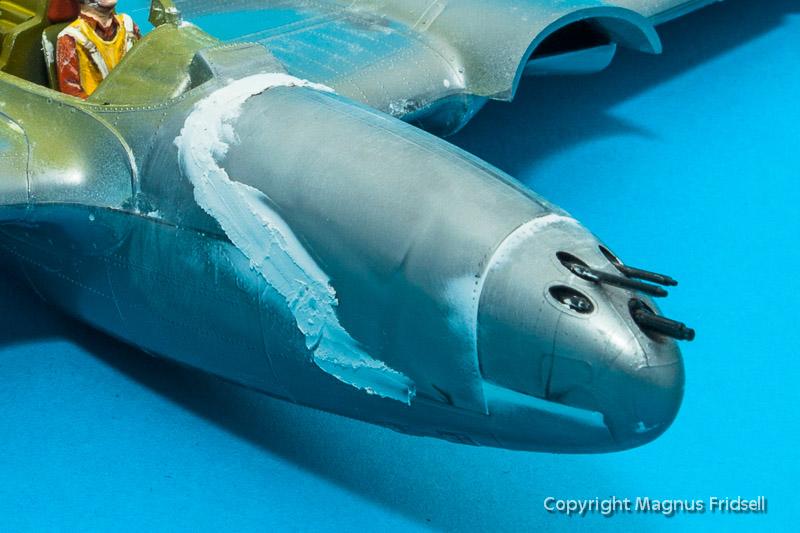
Canopy is an important eye catcher on this aircraft, with some putty it finally sat there! And some careful sanding and polishing later it turned out a lot better than I had imagined!
At this stage I felt I had passed a major milestone: construction finally finished! Time to take out the airbrush - and the rattle cans!
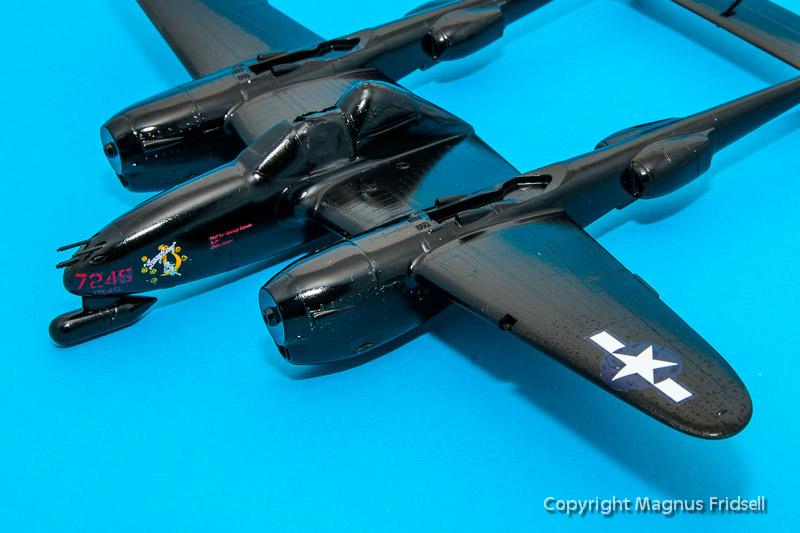
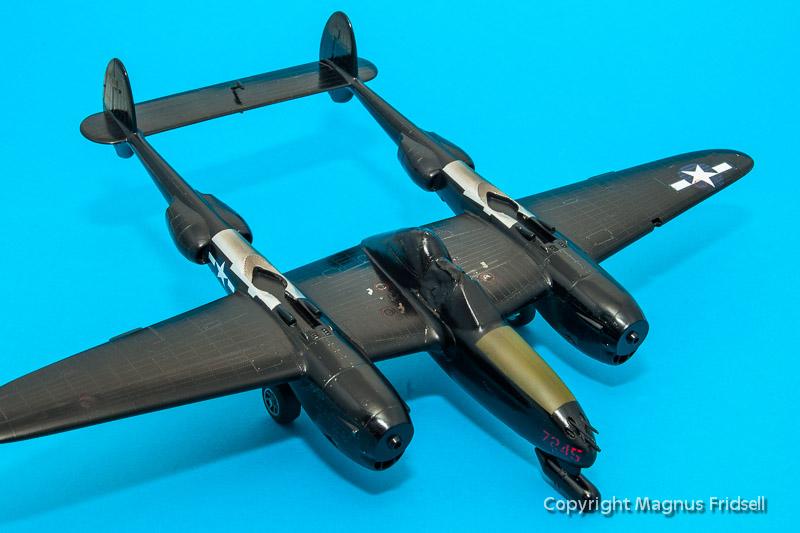
Decals went on OK, using a gloss black spray paint helps a lot! With the majority of the airframe in its correct shade of colour, I added the natural metal areas around the superchargers using Bare Metal foil. Finally, to bring some life into the finish, and to draw some advantage from the fact that I am too lazy to sand down and rescribe the aircraft, I went over the kit with a nail polisher to bring out the silver from the hundreds of raised rivets of the kit. Quite a neat effect if I may say so myself!
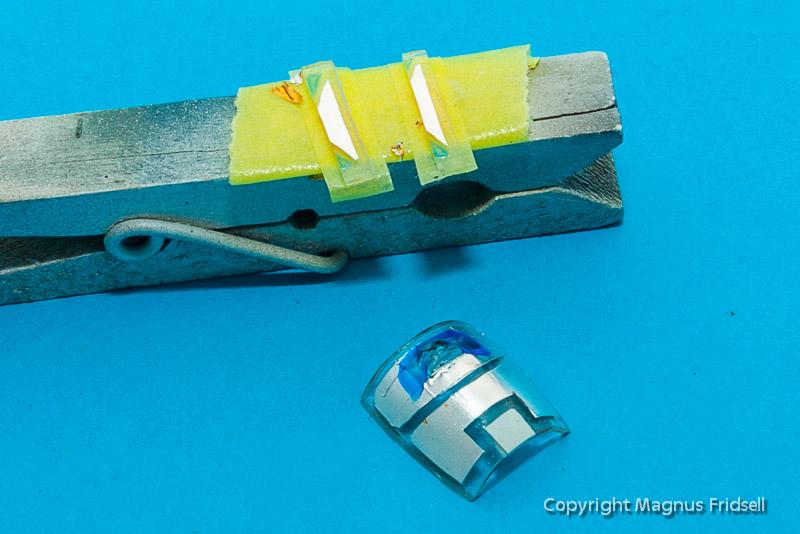
For the final touches, I masked off the anti glare panel and painted it olive drab and with the landing gear on I finally started to see the end of this build! For the landing light, I used cellotape that I attached to the wing leading edge and trimmed to shape.
There are more reasons than fresh air for the crew to build this one with an open canopy: the side screens and the roof fits rather badly. My solution to minimize the trouble was to cut down the side screens simulating them in the down position (works exactly like the windows in your car!) and to leave the roof part in its open position. It is designed with a rather clumsy hinge, the hole for which I filled with some odd smelling epoxy putty found in a hardware store. Sanded to shape it did the job very well!
So, my take on this classic! I think what fascinates me the most is that this one ruled supreme in 1/48-scale for a quarter of a century, before the Hasegawa and Academy kits appeared on the market. This build has really taught me how much work there have been invested in some of the masterpieces I've seen built from this kit. My Night Lightning is nowhere near these but I like it as a proof of the concept “good enough is good enough” and even a model that is no competition winner can be appreciated by both its builder and others on its own merits! A fun build!









Wow, a great one and the living proof, that a raised panel kit can shine !
For me, sanding the seams of clear parts, is the hardest part of a built.
Best
Bernd
A real eye catcher Magnus & thanks for the thorough walk through.
Great build Magnus, a walk back in time, a long way back.
Well done Magnus.
It actually dates from 1965, Magnus. Same year/summer as the P-40B. The P-51B was 1966. And yes, I am old enough to remember all that first-hand.
Nice work on the old girl.
...much older than me : - )
Magnus, I built that kit many times in my youth, but never with the care you've bestowed on this one. Beautifully done and an excellent narrative too.
Your landing gear approach is a must on many kits. Black paint job particularly well-done. Great overall work on a hard-to-do-right kit.
Magnus,
What a beautiful job on a classic Monogram kit. And a great story to go with it. Thanks!
What excellent work, and what an excellent write up! I especially love the positive attitude with which you took on this project. Hobbies are supposed to be fun and rewarding, and it definitely shows that that is EXACTLY what this build was for you. Keep up the good work, Magnus!
I really enjoyed this article, Magnus, it's exactly what iModeler is all about for me, and you've produced a great model!
Nice job on a rarely seen conversion build. Ya done gud!
Very nice! Good job on the conversion and I love the paint work
About time you posted this one Magnus! I enjoyed watching it progress in the WIP section. Excellent work on an old classic. Like it
To all of you: thanks for all the kind comments, I'm very happy that you like it!
And now to the specifics:
@berndm Bernd! Sanding around clear parts is not my favourite either but I have learnt that masking carefully before filling and sanding (and checking and replacing the masking as required during sanding) makes it manageable. And in case of accidents, there is always the possibility of very fine sand paper followed by BareMetal plastic polish !
!
@tcinla Tom! Are you sure about 1965? I am now convinced that my 1966 isn't correct but I have found quite a lot of references dating it to 1964! I have adjusted my text but went for a coward´s solution and changed the year to a more neutral "mid-sixties" ! Thanks for pointing it out anyway
  !
!
@anvil6 Ramon! I am not sure that I always was so positive when building but I think the article sums up my general feelings for the build quite well !
!
Once again, thanks!
Magnus
Hi Magnus, thank you for this advice, for disasters, i sand and polish with
tooth paste, but a "plan B " is always welcome, even on this incidents...
Bernd
great job on a miserable fitting kit
Nice clean build and a very different take on a popular aircraft, well done.
Very nice. It is a fun model that can be built in a weekend (if you forego the surgery) and it still looks nice on the table. I like the effect of the silver plastic coming through the black when you sanded it. Not too obtrusive, but "just enough"! Nice touch!
Magnus,
An incredible job considering the age of this kit. What you have done with is indeed inspiring. Overall the Monogram kit is one of the best and it allows one to build any of a number of variations of the P-38. You have put your heart into this model and have completed a real beauty of the P-38M. Overall the Monogram kit will hold it's own to any other 1/48 kit on the market. Great job and I really like what you have done with this kit.
Thank you for spreading the ‘‘Monogram dreams of the youth’’ gospel.
Be sure to exhibit this model on the ‘‘Monogram SIG’’ at 08-OPEN 2015.
I'll dig out some pics and write an article about my Monogram B 26.
I'll bring it Ulf! With a little bit of luck I might even be able to bring something new, I haven't decided exactly what yet though!
Regards
Magnus