My late-mark Spitfire adventure, Xtrakit and Airfix 1/72 Spit 22 and 24!
This was quite a lengthy process, this double-build was started in the autumn of 2012 but then something else caught my interest and these sat on the shelf of doom for two and a half year. However, they were certainly needed in my Spitfire collection and they represented a big chunk of invested modelling time so in February 2015 I decided to finally finish them!
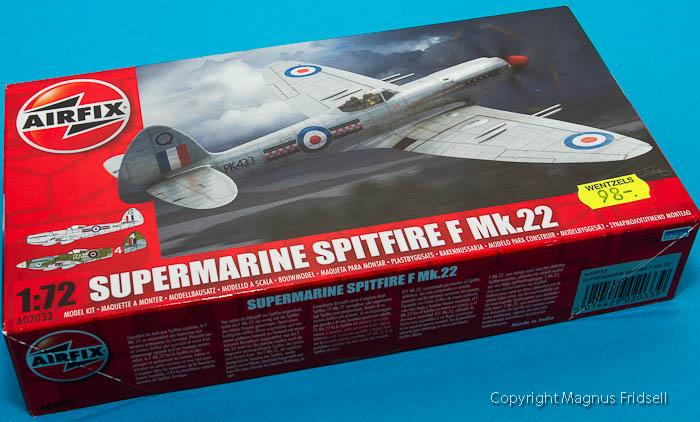
This build consists of two different kits, the Airfix kit of 2012 vintage...
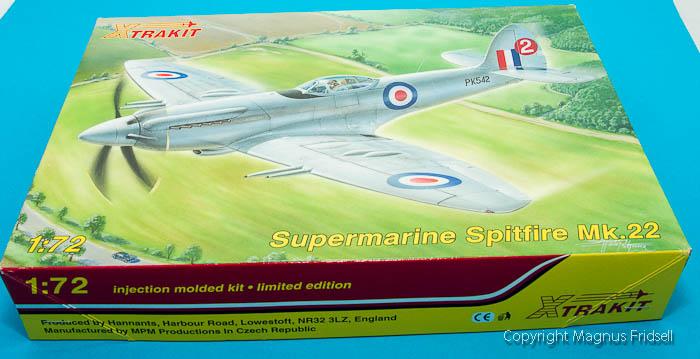
...and the Xtrakit (that also can be found in different reincarnations under the Special Hobby label) that was released a few years earlier...
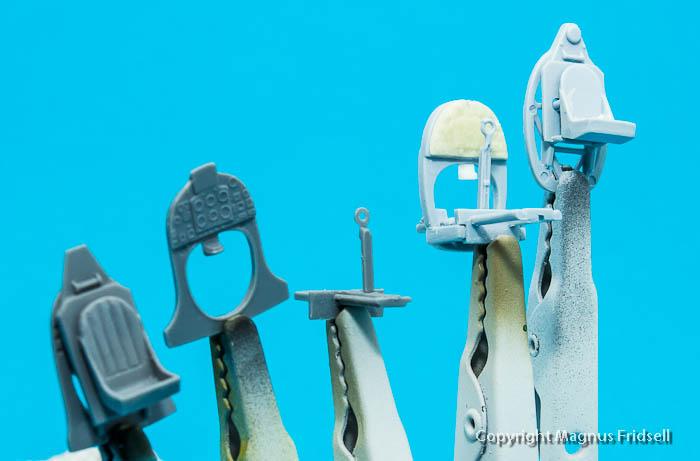
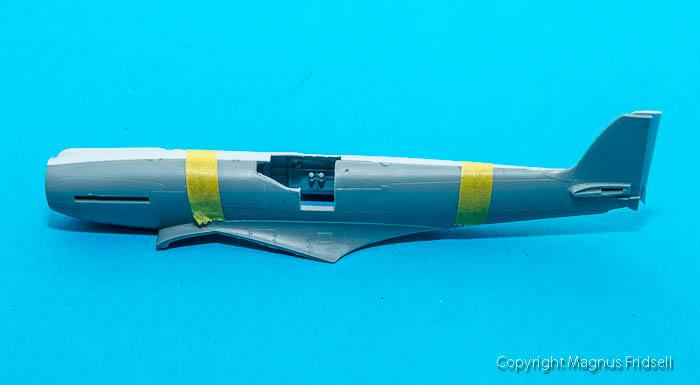
We start with the cockpit stuff, really nice from the box but Airfix supplies the instrument panel as a decal over a blank piece of plastic...
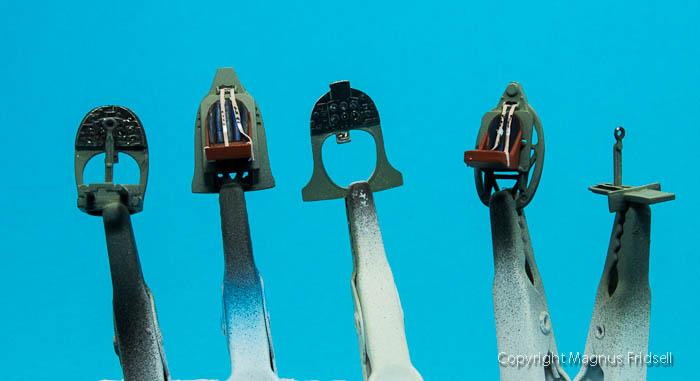
...quite easily overcome by using some cast-offs from an old resin set and a scratchbuilt compass (too bad if he gets lost)...
Very soon the observant builder realises that there are differences between the kits. Huge differences...
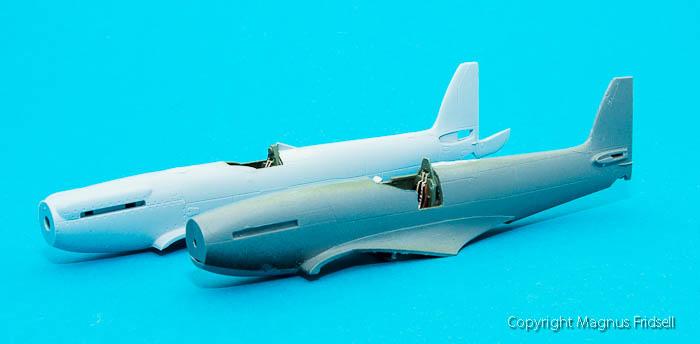
...not only the different partitions of the fuselage differ in length, the Xtrakit has an ample amount of "shape" around the nose that I think is far overdone.

Assembly went smoothly but could have been even smoother if the builder had been a bit more careful! As you can see, I had to spend more putty than I would have liked around the wing roots!

After some of my favourite Tamiya "Fine White" primer, there was still some more sanding to do...

A simple but effective upgrade: a Quickboost Mk 2 gyro gun sight. It is labeled as the K14 Acemaker sight, which is the american-made licensed version of the British Mk 2 gyro gun sight so will do fine for any late-mark Spit as well as for a D-Mustang.

This is easily the most disturbing aspect of the two kits: obviously both can't be correct! Judging from the look of the bubble canopies I suspect that Xtrakit got their fuselage far too wide and trying to keep the height within tolerances it all ended upp looking rather squashed. Airfix on the other side is probably a bit on the small side...

I went for the kit windscreens (I didn't want to risk insurmountable fitting problems) but in order to even out the differences I used up my two last Falcon Spit bubble canopies, as you can see this is quite literally the in-between solution!
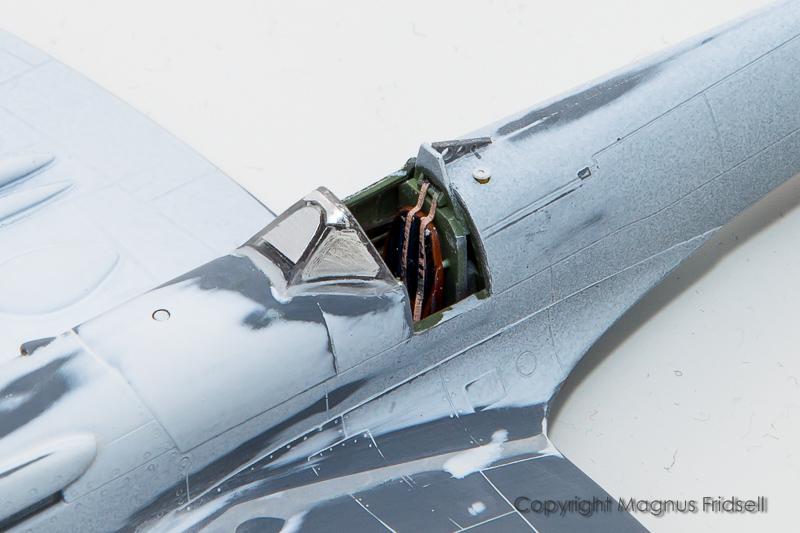
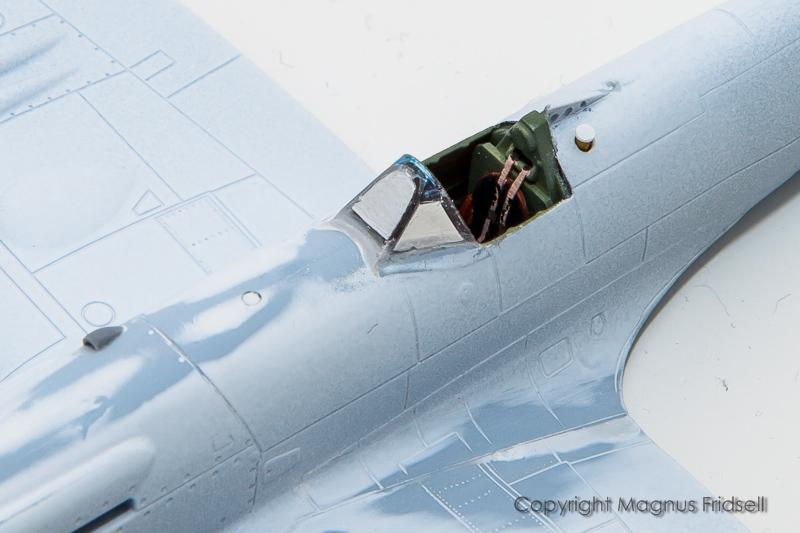
As you can see, the windscreens look very different but I'll have to live with that!

Finally at the painting stage! I messed around a bit with different paint choices, my first bet was using Tamiya's dedicated RAF colours (XF-81, 82 and 83) but they turned out to be a disappointment. I've seen them used in larger scales and there they look fine but in 1/72 they looked rather odd. I finally settled for a Gunze mix of 10 parts H335, 2 parts H93 and one part H11 that I think turned out good enough to use in the future as well!
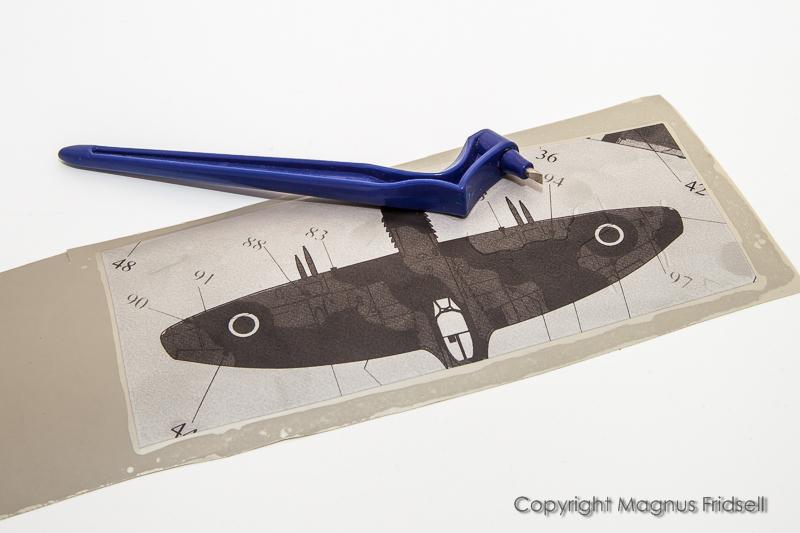
Cutting masks (a mix of the good and the bad...). I have bought a humongous roll of Oramask film that will probably outlast both my model stash and me (I'll have to interest my kids in modelling) and a very neat swivelling knife to cut the stuff with. Using a copier I enlarged the Xtradecal instructions to 1/72 size and happily started cutting. This way I ended up with an inaccurate camo scheme since the person who did the artwork for Xtradecal hadn't cared to study neither the official drawings (I have them in at least ten of my books) nor any photos. A huge disappointment and a thing to remember for the future!
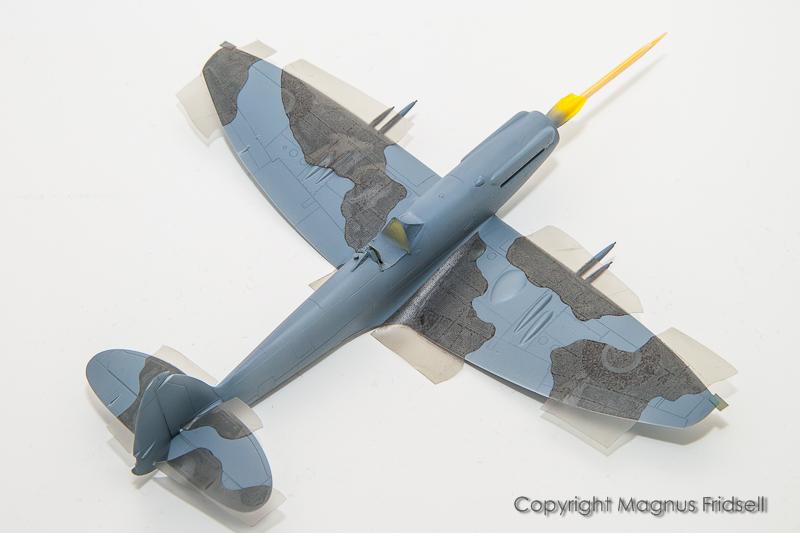
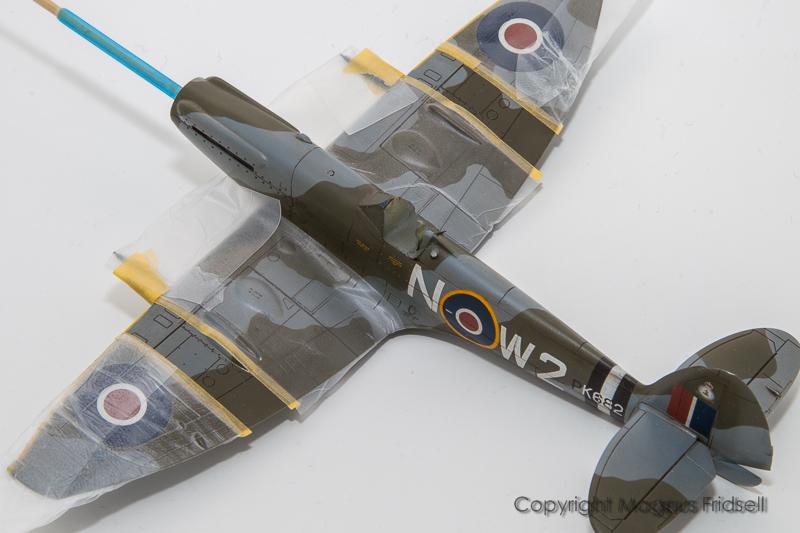
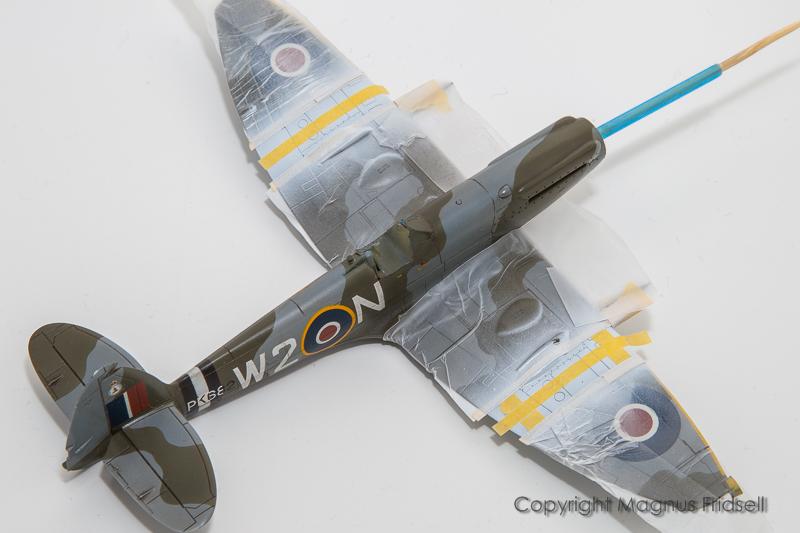
Masks in place...
...and an hour later, two identical Spitfires! The fact that they looked identical would cause all kinds of trouble later on...
...yellow leading edges painted and a gloss coat of Tamiya Clear added!

Decalling started with the lower surfaces in order to get used to the process once again...
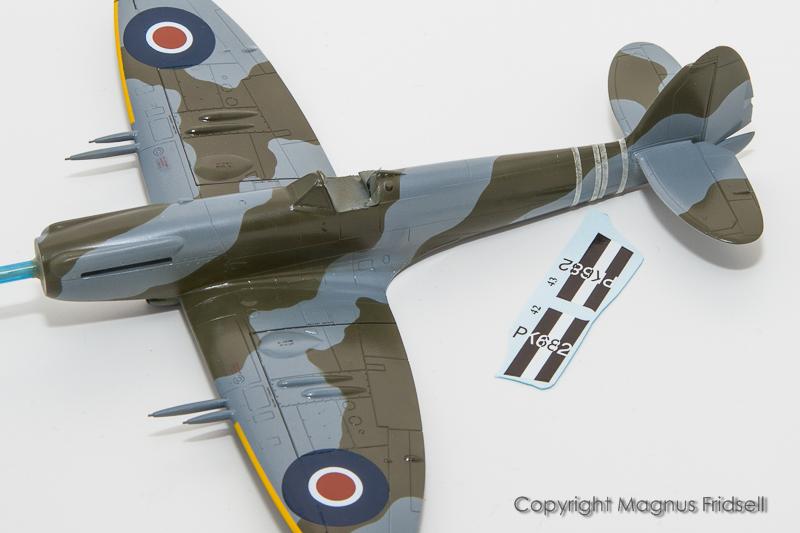
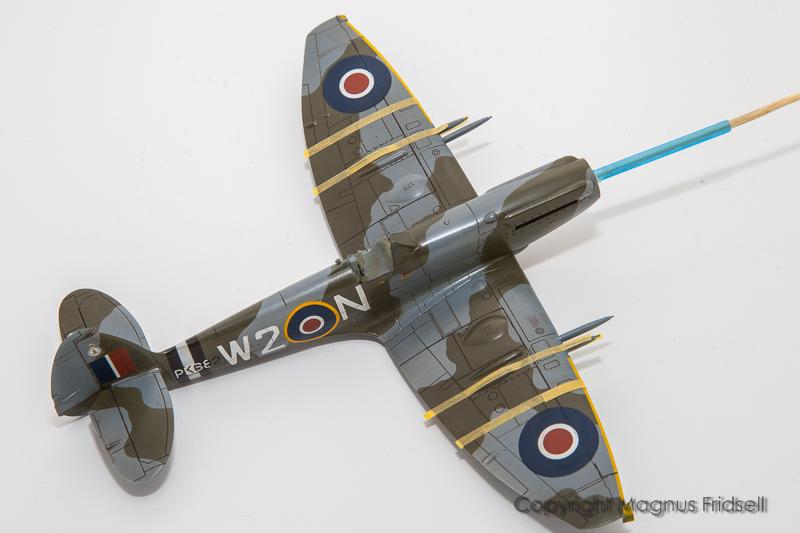
Rear fuselage band of the No 80 sqn Mk 24 was quite a process...
...that required a bit of masking and painting...

...as well as some decals for the numbers!
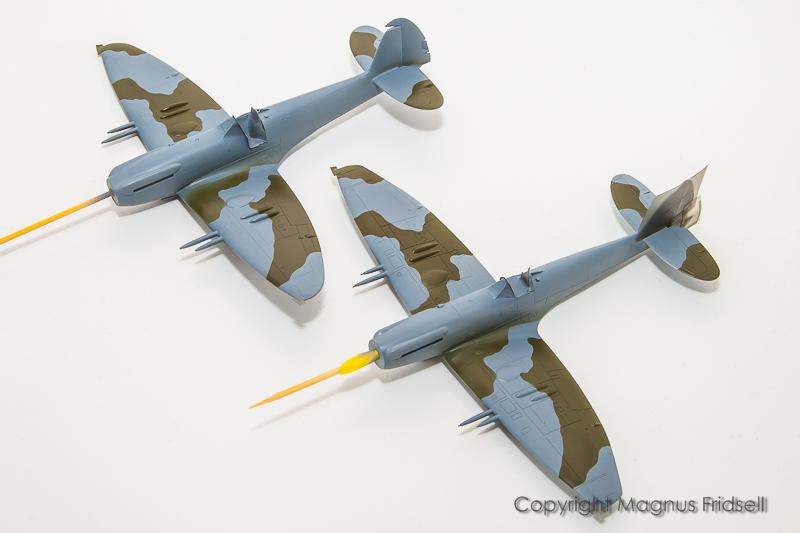
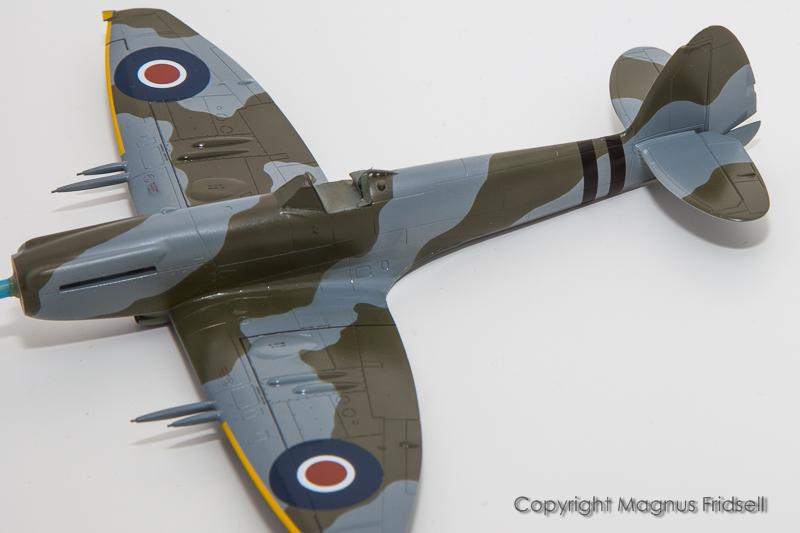
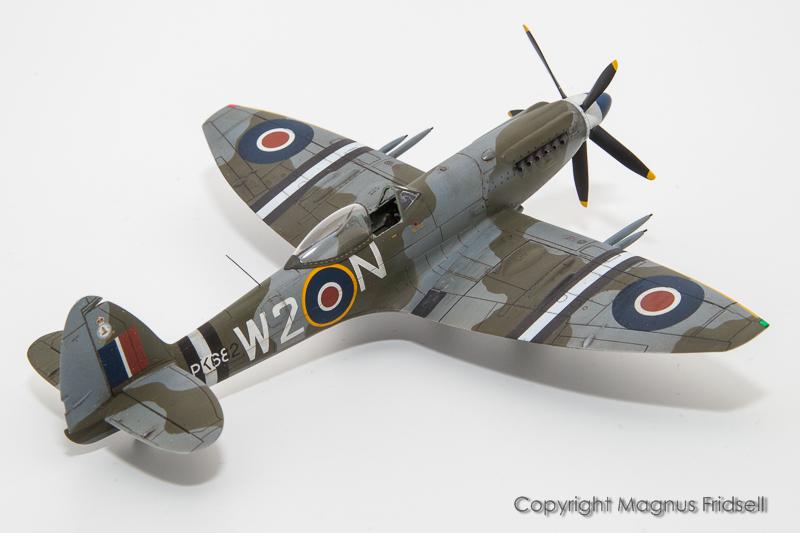
Now we're starting to get somewhere! The marking options were chosen so that there would be a bit of a different look to them. The Mk 24 has the wartime toned-down roundels with yellow outline to the fuselage roundel while the Malta-based No 73 sqn Mk 22 has the brighter peace-time roundels!
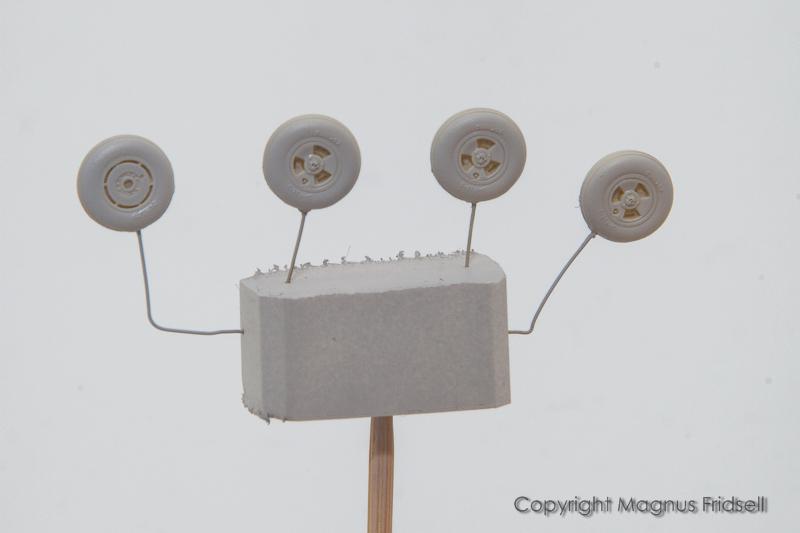
Right in the middle of the getting-somewhere-euphoria I got a serious attack of wheel-angst... Neither of the Airfix and Xtrakit wheels were up to scratch really, with the Xtrakit pair being the blobbiest of the lot. Two sets of Barracuda resin wheels were ordered. At a price higher than what the Airfix kit cost to start with! But they really are beautiful so who am I to complain?
Still a bit more striping to do...
...now the wings of the Mk 24...

...that were masked and painted off-white...
...and tire-black...

...in order to get a more subdued effect than from pure black and white...
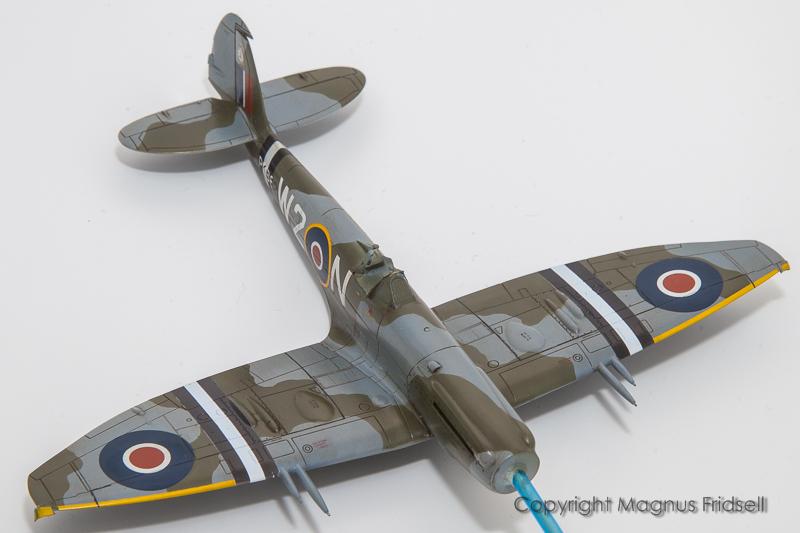
...Xtradecal shows the buzz numbers over-painted with the stripes. A fact that to me nowadays means nothing but there was no easy way for me to paint a number that is black over white and white over black so I decided that I had to take it for granted. I have also found some photos later on that indicates that this is correct.

Still recovering from the wheel-angst, I ran into a serious bout of prop-angst. To start with, I had by mistake painted the Xtrakit-prop for the Airfix Spit and the Airfix prop the other way around. I also thought that I had dryfitted both props carefully but when trying to squeeze together the not-to-evenly spaced blades of the Xtrakit prop with the equally not-to-evenly-spaced Xtrakit spinner and backing plate I realised that I had dryfitted far from enough. After some thinking I went to my local hobbyshop (the one where whatever you ask for will "come in next week" but, miracles of miracles, they had one (1) Airfix Spit on the shelf) and bought a spare Airfix kit to pick the prop from!

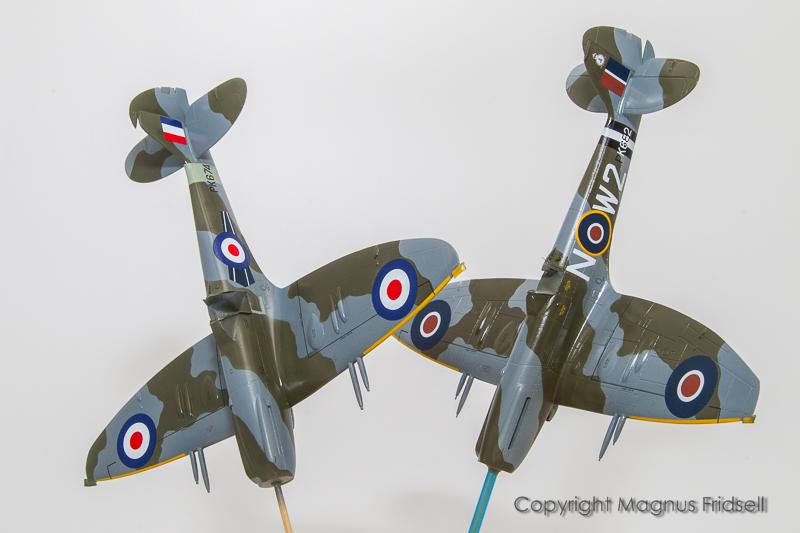
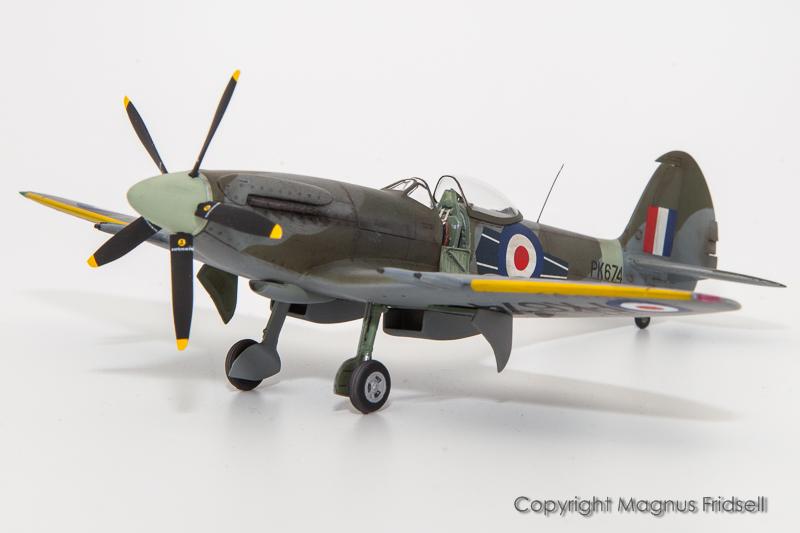
Airfix Spit 24 built as an aircraft from No 80 sqn, Kai Tak, Hong Kong, 1952, using Xtradecal decals.
An old favourite from the Matchbox 1/32-kit (had it as a kid but never finished it!).
Xtrakit Spit 22 finished as an aircraft of No 73 sqn, Ta Qali, Malta, 1949, using kit decals.

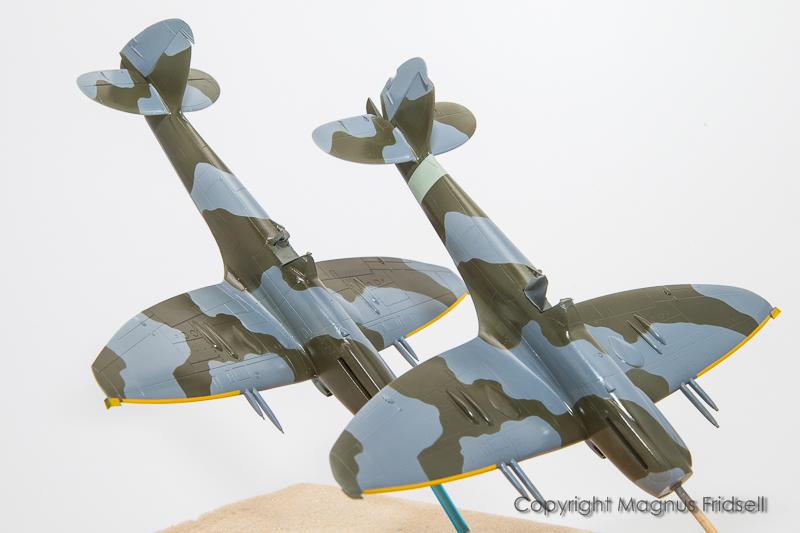
Regarding the "identical twin"-problem, this was solved (somehow) by going for a semi-gloss finish for the Mk 24 while the Mk 22 got a much matter finish. I won't do it again, it would have been a lot more clever to tint the colours a bit differently for the tow models, I prefer my 1/72-models semi-gloss!
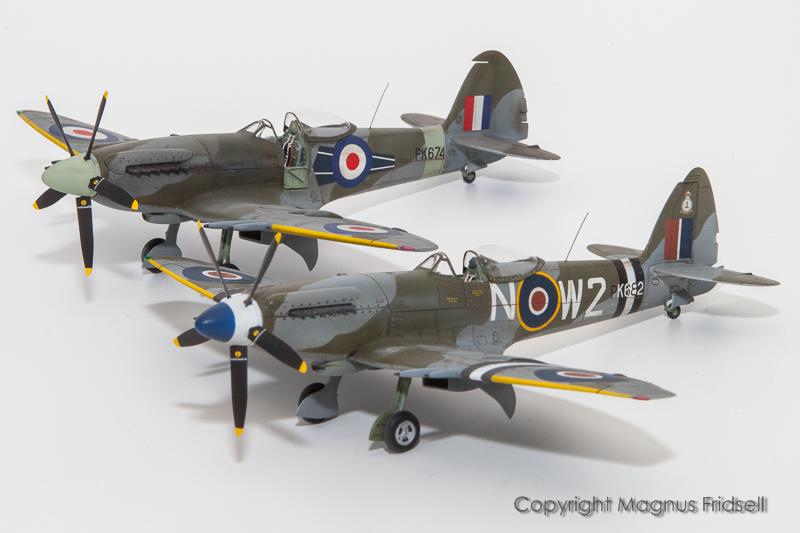
Regarding the shape-differences: they really aren't that apparent in real life, the camouflage does a good job of breaking up the lines while the Falcon canopies and Airfix props removes the most obvious clues to the differences! However, looking critically at the pair, one can see the overly wide cockpit and the bulbous nose of the Xtrakit Spit.
A fun project that fills two further gaps in my Spitfire line-up!
Magnus

Spectacular builds in any scale, but 1/72nd...?! Fabulous work (and equally great photographs). 🙂
Fantastic spitfires!
Love them. Great job. 🙂
Fine pair of Spits Magnus.
In 1/72 scale, fantastic.
Like!
Great work Magnus.
Magnus, beautiful spits and excellent workmanship! Congrats on getting these two beauties to the end zone!
Magnus,
These are stunning builds. Excellent and skillfully done.
Thanks for your kind comments! Best regards Magnus
Mangus, outstanding builds! And 73 Squadron! Love that fuselage flash! Shades of the 30s!
I love to read and see your your building steps to create two super looking models! 1/72 rocks!
Bernie! I have always had a soft spot for the thirties but I never get around to do anything from that decade. The new Airfix Gladiator would be a wonderful opportunity to cover all kinds of silvery beauties in colourful markings! Until then, this Spit will have to do...
Maurits! I'm up and running on a new build here!
Awesome builds, Magnus. I like the late Spits very much, looking great