Painting a Spitfire
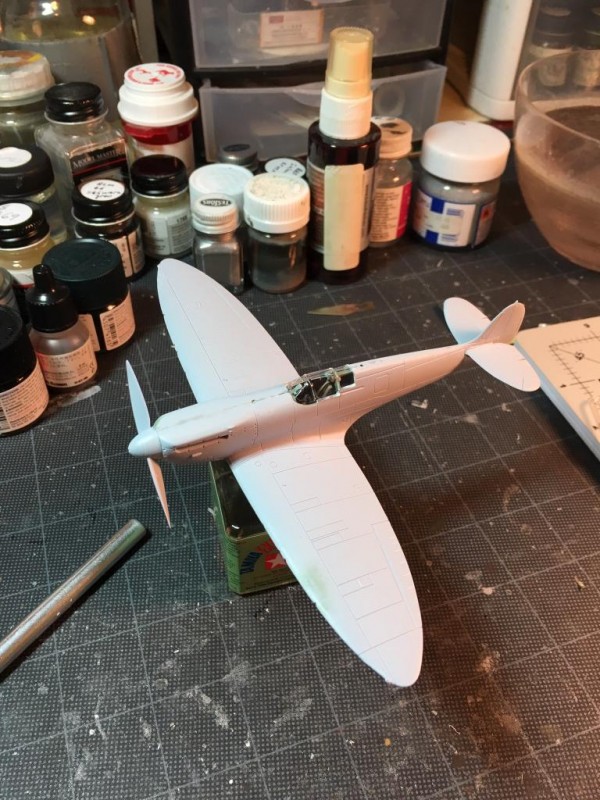
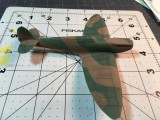
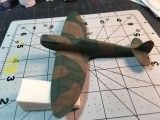
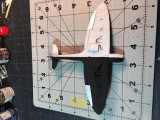
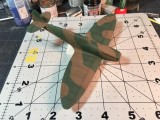
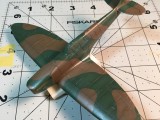
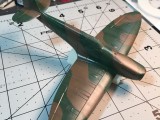
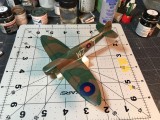
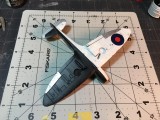
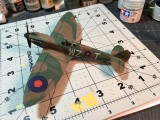
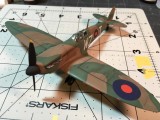
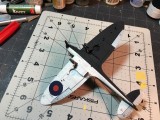
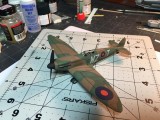
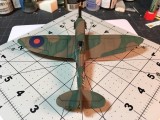
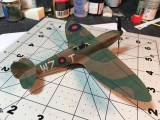
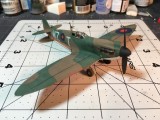
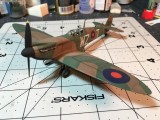
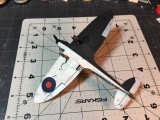
The iconic Spitfire is one of my three most favorite WW II aircraft, the others being the P-47 and P-51. Going all the way back to the old Hawk Models 1/72 Spitfire Mk. 22, 1/48 Monogram Mk. IX and Airfix 1/24 Mk. I, I've built at least 20 Spitfires over the years. This time I tackled the new Airfix Spitfire Mk. 1. It is a great little kit with very good parts fit, good detail and options to make the very early flat topped canopy/ twin bladed prop version. The panel lines are a bit overdone as is the case with many of the new Airfix kits, but this doesn't bother me. In fact, I like them because the panel lines show up well after painting without having to run some kind of wash into them. For this article I decided to document my painting and finishing process. A couple pictures show the kit mostly complete, the rest illustrate my current process.
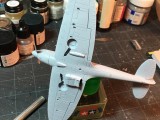
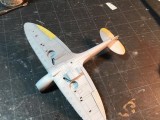
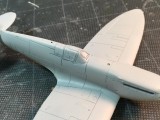
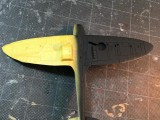
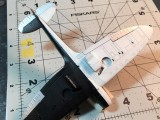
After constructing the fuselage, wings and empennage, I masked the canopy and sprayed the model with Tamiya primer. Usually, the primer coat shows up a couple of areas that need touching up. After touch ups were done I sprayed another coat of primer on the model. Generally, I like to start painting with the lightest color. In this case, it was kind of a tie between the silver dope and white underneath the wings and tail. I decanted some Tamiya silver from a rattle can and sprayed it through my airbrush onto the underside control surfaces. After those areas dried I masked them with Tamiya yellow tape. Then I used Model Master white thinned with Testors Airbrush Thinner to paint the white half of the underside, making sure I went a little past the areas I was going to mask when moving on to the next color. Letting the white dry for 24 hours I next painted the black half of the underside with a mix of 70% Model Master flat black and 30% schwartzgrau. Flat black out of the bottle is just a little too black for me in 1/72 scale. Again, I let the black dry for 24 hours and then masked it off in order to paint the upper surfaces.
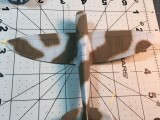
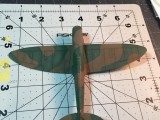
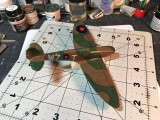
I penciled in the camouflage pattern and then sprayed on the dark earth. I first used Humbrol 29 earth brown out of the tin. Then I mixed in a little white and more thinner to make a thin lighter version of earth brown and blended that in mostly in the middle of panel areas. I cleaned out the airbrush and paint cup and then added more fresh dark earth and mixed in more thinner and schwartzgrau for a slightly darker version. I sprayed this mainly along panel lines. The thinner paints allow me to slowly build up the color trying to keep the color variation subtle as I don't like a “checkerboard” pattern I sometimes see on models.
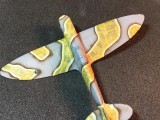
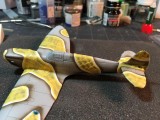
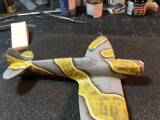
After letting the dark earth completely dry I masked off the edge of the pattern with Tamiya white curvy tape. This tape works amazingly well around all kinds of curves. The trick for me is to stretch the tape slightly as I run it along the pattern. At the same time I press it down with my thumb. I then fill in the rest of the area with yellow tape. When I finished masking the dark earth areas I painted in the dark green using Humbrol 30 and the same technique as on the dark earth. I used white to lighten the dark green and black to darken it.
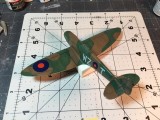
I removed the masks from all areas except the canopy and carefully used a brush to paint on two coats of Future to prepare for decaling. I used the kit decals which worked well, although the fuselage roundels are very slightly off register. I used Microscale Set to initially place the decals. After they dry for about 20 minutes I carefully flow a coat of Walthers Decal Solution to get the decals to snuggle down for that “painted on” look. To finish off the main painting I mist on several coats of Testors flat coat until I get the dullness I want.
The last steps were to remove the masking around the canopy and paint and glue on the “fiddly bits,” such as the landing gear, prop, antenna and pitot tube. I did a final bit of weathering with powders of the exhausts, wheels and a few spots on the fuselage and under the wings.
So, that's pretty much how I paint a model at this time. I hope you enjoyed the build and that you can glean something from my work.
Great article. The new white Tamiya tape seems to be all right. Any problems using it?
Thanks Stellan! The only problem I had with the white tape was while working on my Whitley. Some of the tape slipped during painting. But, that was due to user error, I believe. I didn't stretch the tape enough on one curve so it had too much stress for the tackiness of the tape. I had no problems with my Spitfire, although there was one place where I used a little liquid mask on the inside of the curve because of some folding. But the outside edge was fine.
I just got some of that Tamiya white tape for curves. Haven't used it yet, but it appears it'll work very well. Nice paint job.
Thanks Craig. One thing to be aware of using the tape is that you can get a ridge between layers so you do need to be careful of that if those ridges are an issue for you.
Looks very nice - and as others have mentioned, I'm gonna have to get me some of that white tape!
Thanks Greg!
Like
Thanks!
Super build.Built the monogram and the hawk way back, must get a current airfix. useful info on the masking.
Thanks Robert! I loved both of those kits when I was a kid.
I'll put up a short demonstration video of how I mask with the curvy tape within the week.
Great build really like it
Thanks Vincent!
Very nice job. I had trouble with the tamiya tape. It kept coming off. I didn't know I bad to stretch it so much though. Maybe my fault.
Thanks Paul! I had the same problem until I stumbled across stretching the tape. The tape is so low-tack that it still has difficulty adhering around complex curves on the model such as the fuselage or wing leading edge.
I'll try your method. Thank you.
Nice work. I think I'll try the Tamiya tape on my upcoming Halifax project.
Thanks John! I think the tape is perfect for a large bomber.
Great work. Guess now I need to finish up my curvy tape Airfix Hurricane.
Thanks Dennis! I'm looking forward to seeing your Hurricane finished. I started my Airfix 1/48 Hurricane.
Thanks for the tips Scott. The white tape looks like a time saver. The result looks good too; I'd better get busy.