Italian cruiser Pola. Part 1.
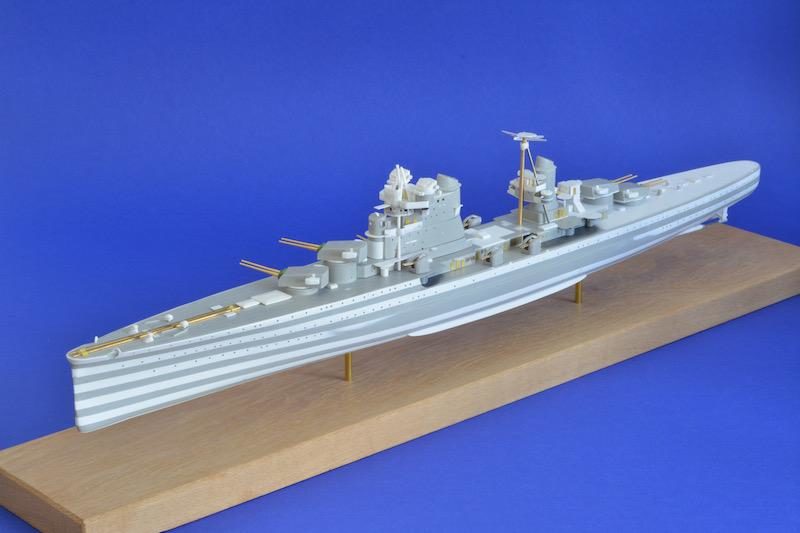
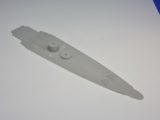
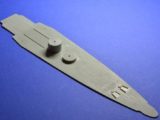
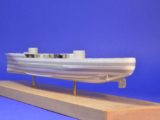
Hobbyboss' Pola in 1:350 sucks. It's the old kit from Tauro, that Hobbyboss has scaled up to 1:350. That means, that all the problems of the original kit, have been enlarged by one eight. In the process, Hobbyboss made some simplifications, that aren't exactly improvements. The only advantage of Hobbyboss' kit is, that the hull is in one piece.
The main dimensions of the hull and the superstructure are reasonably correct though, so the kit is a good starting point for an improvement project.
Also, it's the only injection moulded kit of an Italian cruiser of WW2, so for that reason alone, I had to build it.
My main sources of reference were plans and a booklet from Profile Morskie and ”Italian heavy cruisers of WW2” from Warship pictorials.
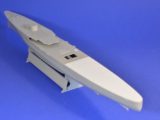
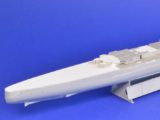
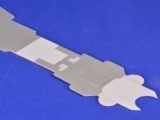
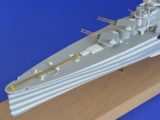
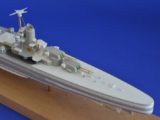
The build started with my usual strengthening of the hull, so that it would stand securely on the posts of the display stand. Then I cut away almost all the details from the foredeck, since they were either incorrect or too rough. I scribed the seams between the deck plates into all steel decks of the ship and replaced all wooden decks with scribed PC.
The stem of the hull was way too thick, so I thinned it down with a rasp. That's not exactly the most common tool for modelers, but here, it was the right one.
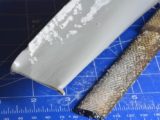
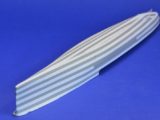
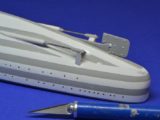
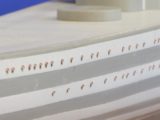
To replicate the hull plating, I first filled all the portholes with putty, sanded the hull smooth and glued 0,1 mm strips of PC, PlaPaper from Tamiya, to the hull. With liquid cement and some gentle stretching, they could be made to follow the complex curves of the hull. Then I drilled new portholes
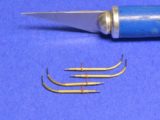
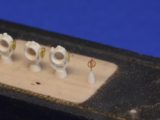
The propeller shafts of the kit were discarded and replaced with home made ones from plastic tubing and piano wire. To further detail the hull, I added ”eyebrows”, made from copper wire, to the portholes. I glued them in place with diluted white glue, since that gave time to adjust them into position.
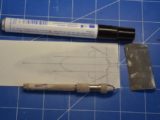
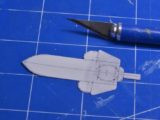
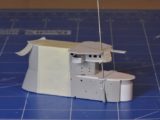
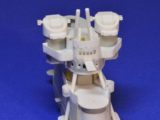
While I was cutting new decks for the bridge house, I came upon a method of making exact and clear lines to guide my cutting. First, I scribed the lines, using a bend needle, made fast to my hand chuck. I filled out the lines with a permanent marker and then wet sanded away the excess ink. With these lines as a guide, I could work to a much better precision than before.
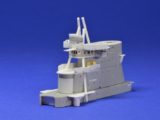
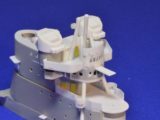
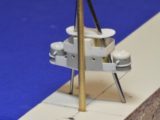
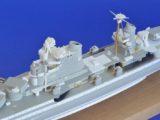
The main rangefinder of the Pola rested on four struts, that went diagonally through the deck of the bridge house. Drilling the holes for those struts in the right places in the decks was a major challenge. Hobbyboss has solved this problem by simply omitting the struts.
I started by drilling undersized holes through the decks and then checking their positions by probing with a piece of piano wire. The positions of the holes could them be adjusted when I drilled them to full size.
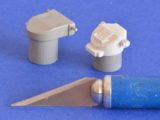
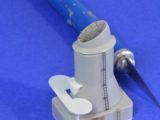
The kits parts for the secondary rangefinders are pure products of somebody's imagination, so I scratchbuilt new ones.
The tripod main mast caused problems similar to the ones of the bridge house. A number of platforms had to be fitted between the masts and its struts. I don't know how many platforms I discarded, before I got the holes in the right places on the platforms.
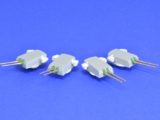
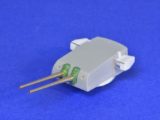
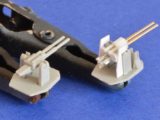
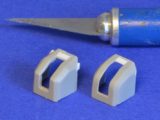
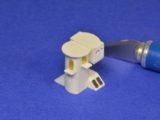
The main guns required quite a bit of work too. I sanded the sides of the turrets flat and then added scratchbuilt rangefinders and blast bags sculpted from Greenstuff. The brass barrels come from Master Models, and are the only aftermarket parts available for this kit, as far as I know.
The secondary armament received a similar treatment.
Most of the details of the model were scratch built, the kits part being either incorrect or too clumsy.
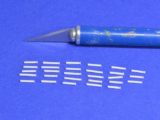
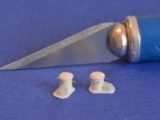
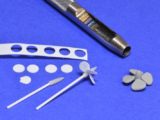
Of course, when making all those skylights, bitts, hatches, davits, fire hydrants and ventilators, its practically impossible to make them all perfectly uniform. The solution is to make more than you need and then to select the best ones.
So, why spend all this time and energy getting a crappy kit into shape when there are so many high quality kits and great aftermarket detailing sets available?
Because it's fun! It was an incredibly rewarding project and a step towards scratchbuilding models.
Sometimes it was like being a little boy again, being totally concentrated, captured in the present and unaware of the world around you.
A second article with the finished model is coming shortly.
Love that first sentence, Ulf. However, after seeing what you can do with ship building, I'm confident this one will turn out quite nicely despite all the obstacles.
Lovely work Ulf, no pulling punches there with the description of the kit.
Looks great.
Thanks Craig and Simon.
As for the quality of the kit, I'm tired of being diplomatic, like I have to, when I write for magazines. Here, I don't have to, hence the first sentence.
Ulf, thanks for the warning! Looks like you've taken its measure. Only game in town. Love the comment about the rasp. hat says a lot.
Apart from the fun reading this: many thanks for sharing the idea about finding a good guidance for cutting lines. I'm looking forward to give it a try ...
Very nice improvements Ulf...excellent reference for my future model. congrats.