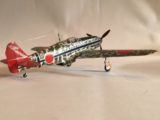
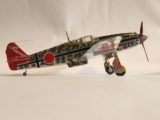
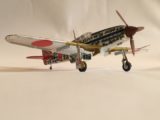
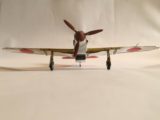
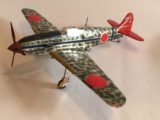
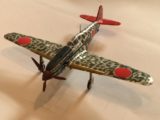
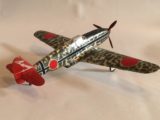
Second 1/48 Hasegawa Kawasaki Ki-61 Hien “Tony” flown by Major Kobayashi, Commander 244th Sentai
I have been anxiously awaiting the arrival of the new 1/48 scale Tamiya Ki-61. To me, the Ki-61 Hien “Tony” is one of the most graceful looking Japanese WW2 planes.
I purchased the new Tamiya kit from a hobby shop in Japan and hopefully it should arrive in a few days. When it does I'll post some photos of it and possibly do a kit review here on Imodeler. The new Tamiya kit is supposed to have and additional half of one side of the fuselage molded in clear styrene. This will give you the option of building the model as a “see through” plane or a typical build as seen here. From what I have seen on the internet, it also has a very nice cockpit and a complete "license built" Daimler Benz engine.
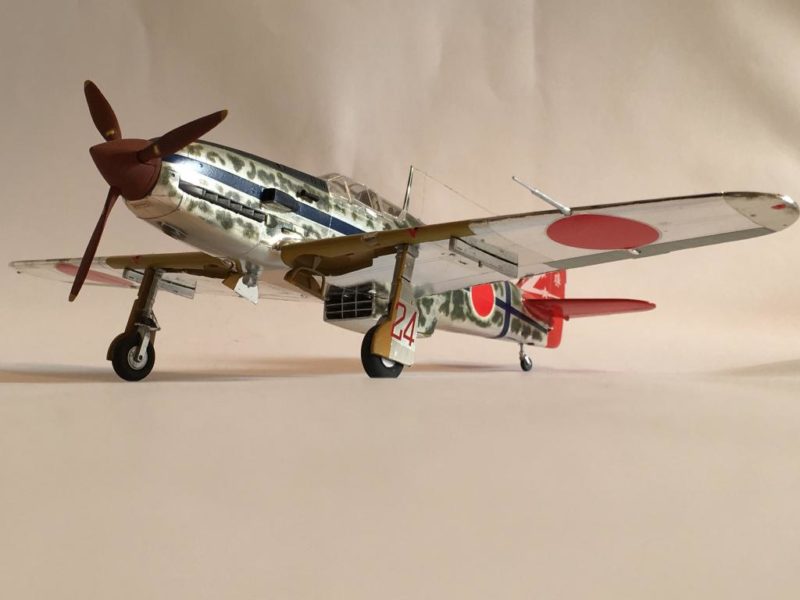
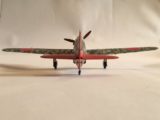
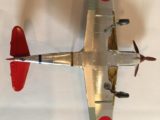
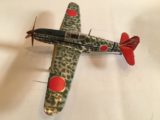
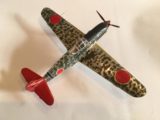
Meanwhile, this is a Hasegawa Ki-61 that I built several years ago. The Hasegawa kit builds into a really nice plane. I don't remember any problems during the build.
Much has been written about the exploits of the 244th Sentai. Their mission was the Homeland Defense of Japan, and their goal was to intercept high flying B-29's. Once they reached the altitude (normally above 30,000 feet) where the B-29's flew, they were to destroy them using any means available. Not many Japanese aircraft available during this time were capable of intercepting the B-29's at this height. For some this meant a ramming attack.
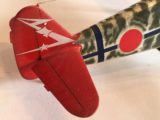
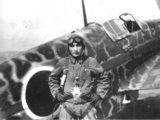
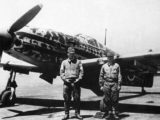
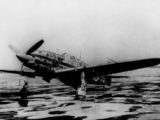
The Kanji characters on the rudder mean "confidence of victory", according to Henry Sakaida, in his book entitled "Aces of the Rising Sun 1937-1945". I used this book (which is an excellent reference) to gather some information on the man and his machine. My model represents Ki-61Kai c No. 3024. By the War's end, Kobayashi would be given credit for 14 victories. In all actuality, he had 3 B-29 kills and two Hellcats for a total of 5. The rest were actually damaged aircraft. One of Kobayashi's B-29 kills was the result of a ramming attack, in which his Hien was destroyed as well. He survived this attack after bailing out of his crippled plane. Desperate times called for desperate measures. The Major led his men by example. I have included several pictures of the "Real" number 24, along with the Major and several other unidentified persons.
I built this kit strictly out of the box, and used the kit decals. The exception is that I spray painted the blue stripe on the air intake on the side of the engine cowling. I thought the decal would not fit very well since it is a complex shape.
When I built this model I wasn't aware of the differences between the “Hei” and the “Tei” versions.
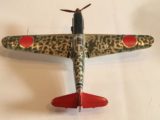
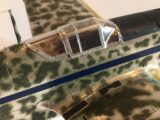
The aircraft was covered in various shades of Bare metal foil. I sprayed on the leading edge yellow IDFF (Identification Friend / Foe) markings using "Deep Yellow", and used "Guards Red" for the tail surfaces since it was a close match to the kit decals. I also mixed up a custom blue / black "anti glare" color for the upper portion of the engine cowling. The camouflage pattern was sprayed using my old trusty Aztek air brush. I used Model Master paints for the build. Imperial Japanese Army Green was used for the camouflage color. I sprayed IJA Green around the Hinomaru "Sun Discs" markings as they did on the real planes. One thing that I should have done was to place the Kanji characters on the wing first, then apply the sprayed on green camouflage.
The real planes came from the factory with these Kanji character stenciled on the upper surface of the wings. They were not normally masked off or re-stenciled after the camouflage was applied. Instead they were painted over sporadically as the dark green was applied.
I recently picked up several books on the Ki-61, and will be using them as a reference for the new Tamiya kit.
As usual, comments are encouraged.
Thanks for looking.

Now that right there's a sharp-lookin' build, Louis...I love it.
Thanks Craig. I appreciate the compliments buddy...
Louis, this is beautiful, a very sharp looking model. I like it !
Thanks my friend. I'm glad you liked it. I think the BMF and bright colors make this one really pop.
Nice and clean looking Louis.
I sometimes forget that the Japanese built some beautiful planes.
Well done sir.
Thanks for the compliments. The Japanese did build some really attractive looking planes. I think that the A5M Claude , D3A Val and the Ki-27 Nate also have great lines.
Rea nice sir!
Thanks Bob.
I just logged in and ... WOW! ... very impressive work and paint job Louis.
That is a paint scheme not seen too often.
Glad to have seen it and thank you very much for sharing this model and images.
I'm glad to see that you liked the article and the story behind the plane. Kobayashi flew several different Ki-61's, and this one was originally natural metal with the stripes. The "Squiggle" camouflage was added later. Eventually I plan on building a few more but was thinking about building one from the 68th Sentai in New Guinea, and one from the Akeno flying school.
Thanks again !
Outstanding build and presentation, Louis !
To capture the look of these aircraft isn t easy but your result is convincing.
Thanks my friend. I'm very pleased to see that you liked the article and the model. This "squiggle" scheme is a a hard one to paint. After looking a little closer at the original pictures, my squiggles are a little off...
Close enough for me though. Thanks again.
Thats the one, though a different set of markings, but you did an excellent job on the mottling, my eyes were cross eyed by the time I was done. I think this scheme is more difficult to do than doing a Luftwaffe scheme. Especially over the bare metal. Not much wiggle room to goof. Again excellent work, thanks for sharing.
Thanks Chuck. I just checked out your two part Tony articles. Yours is very nice and I think you did a fantastic job with it. You're correct about it being a hard scheme to try. It's very easy to mess it up if you're not very careful. I have about 4 more of these Hasegawa Ki-61's to build, and a few done of the Ki-100 which is the same plane with a "round" engine. I plan on eventually posting up some more articles on the later Ki-100's.
I'm glad you enjoyed the article and the build, (as I have yours too). Thanks again my friend.
I was just to build just the one, but with Tamiya doing one, I may just have to get one. ai yi yi
A mans gotta do what a mans gotta do !
Louis, love the splotch and squiggle camouflage! Thanks for [posting the photos of the real plane(s), I always figured the splotches were applied to NMF after the other markings were.
Looks like you succeeded in applying the paint just like they did.
Thanks for the tip about Guards Red. That looks real good!
I'm glad to help with recommendations from what I have found out through trial and error. I like to try and include pictures of the real planes and pilots when I can. This isn't always possible though.
I have observed in photos of some of the real planes that the "Squiggle" paint was very haphazardly applied. They often painted over the factory stencils and some even had runs in the paint ! Sometimes the paint was brushed on by hand instead of sprayed. They simply used whatever they had available on hand at the time.
This is a hard scheme to try, but the end result is worthwhile.
Thanks for the compliments my friend. I'm happy that you enjoyed it.
Two nice-looking Tony's Louis! The Raiden (Jack) and Tony are my 2 favorite Japanese fighters.
Thanks buddy. I appreciate the compliments. I like the Raiden too. It reminds me of a Japanese P-47 ! Short stubby thing, and it's a big plane to boot...
Top Pops "TONY"
Thanks PK !
Beautiful paint job and history
Thanks George. I'm glad you liked this one.