The Quonset hut
As previously stated, I try incorporating as many details from my life as possible in these dioramas. Thanks to the Marines, I have intimate familiarity with Quonset, or as the British say “Nissen”, hut and because we used them on more than one airfield, it was only natural to put one in my Caribbean Airport Cargo diorama.
Another work place with which I am intimately familiar is the “dope and fab” shop where fabric airplanes are recovered and restored. So the hut is going to be my dope and fab shop. Although small in size, I have actually been in such a shop set up in a Quonset hut.
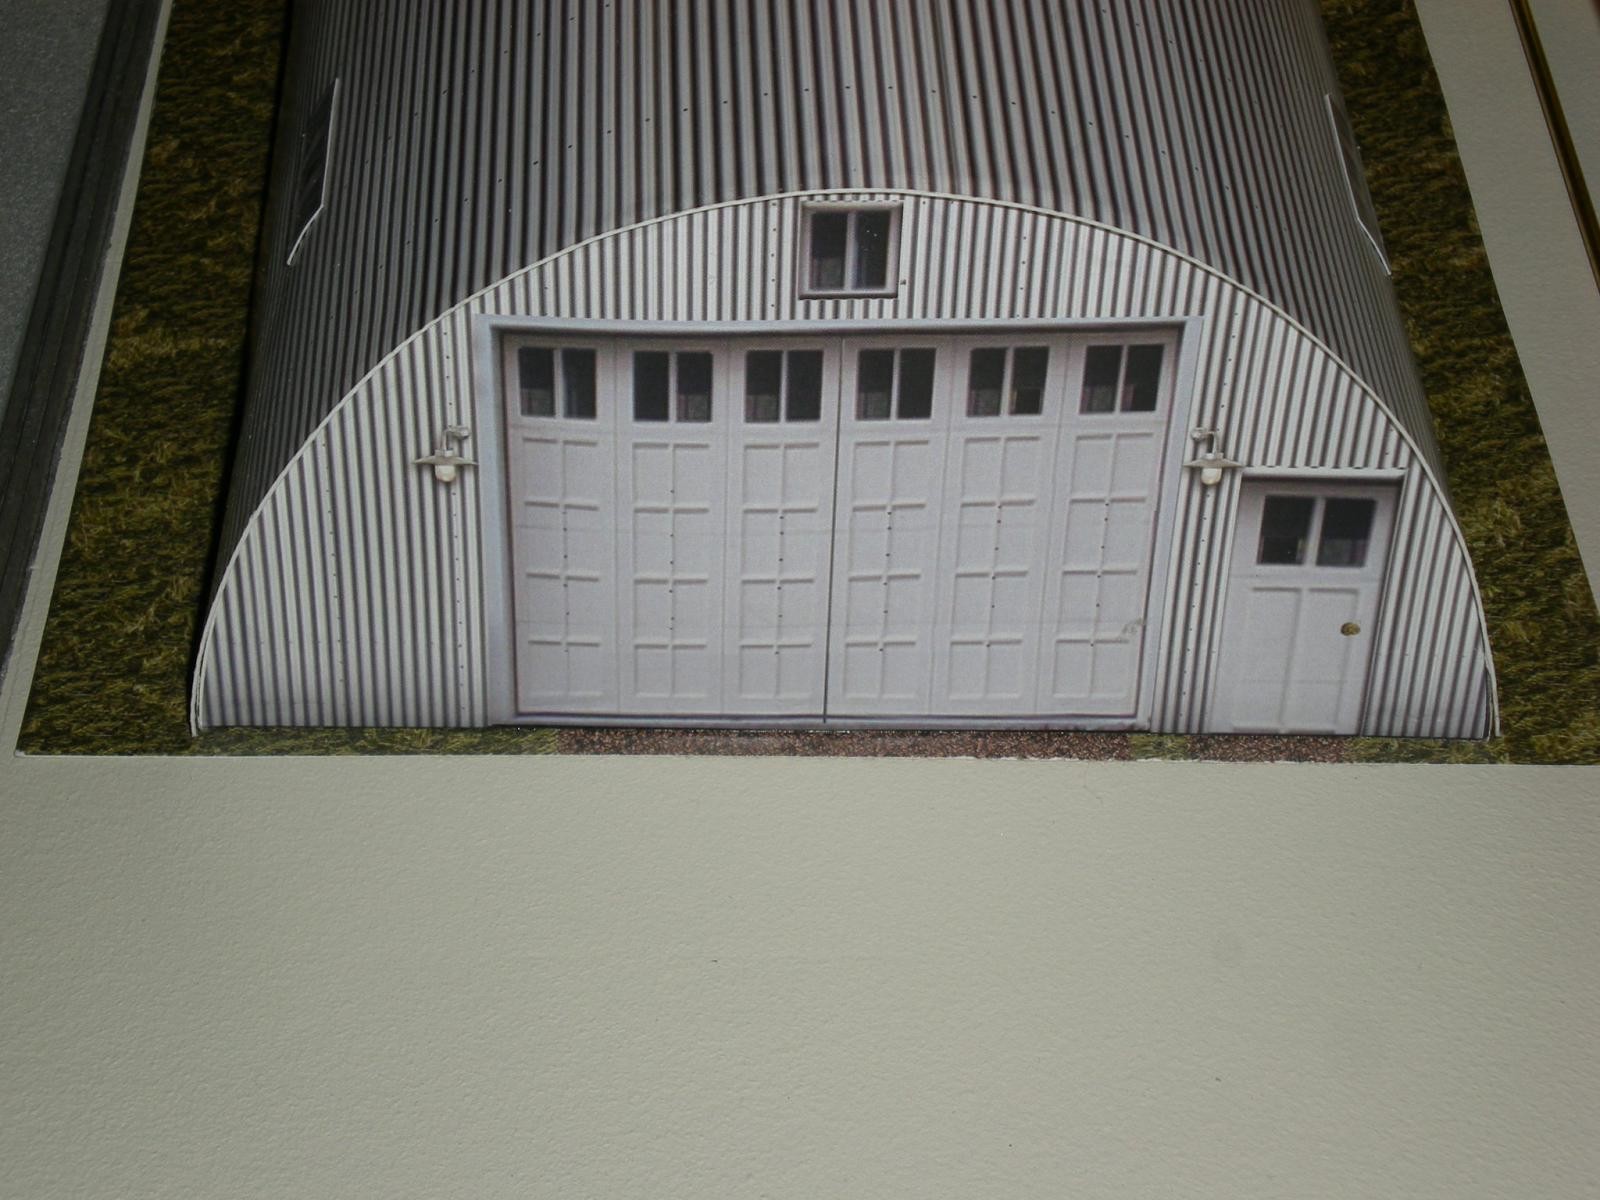
Originally, I purchased a paper model of the hut, but the more I added to the diorama, the more I thought the paper version would be a bit incongruous, especially when considering the other details going into the project. It was thus I embarked on a hut hunt.
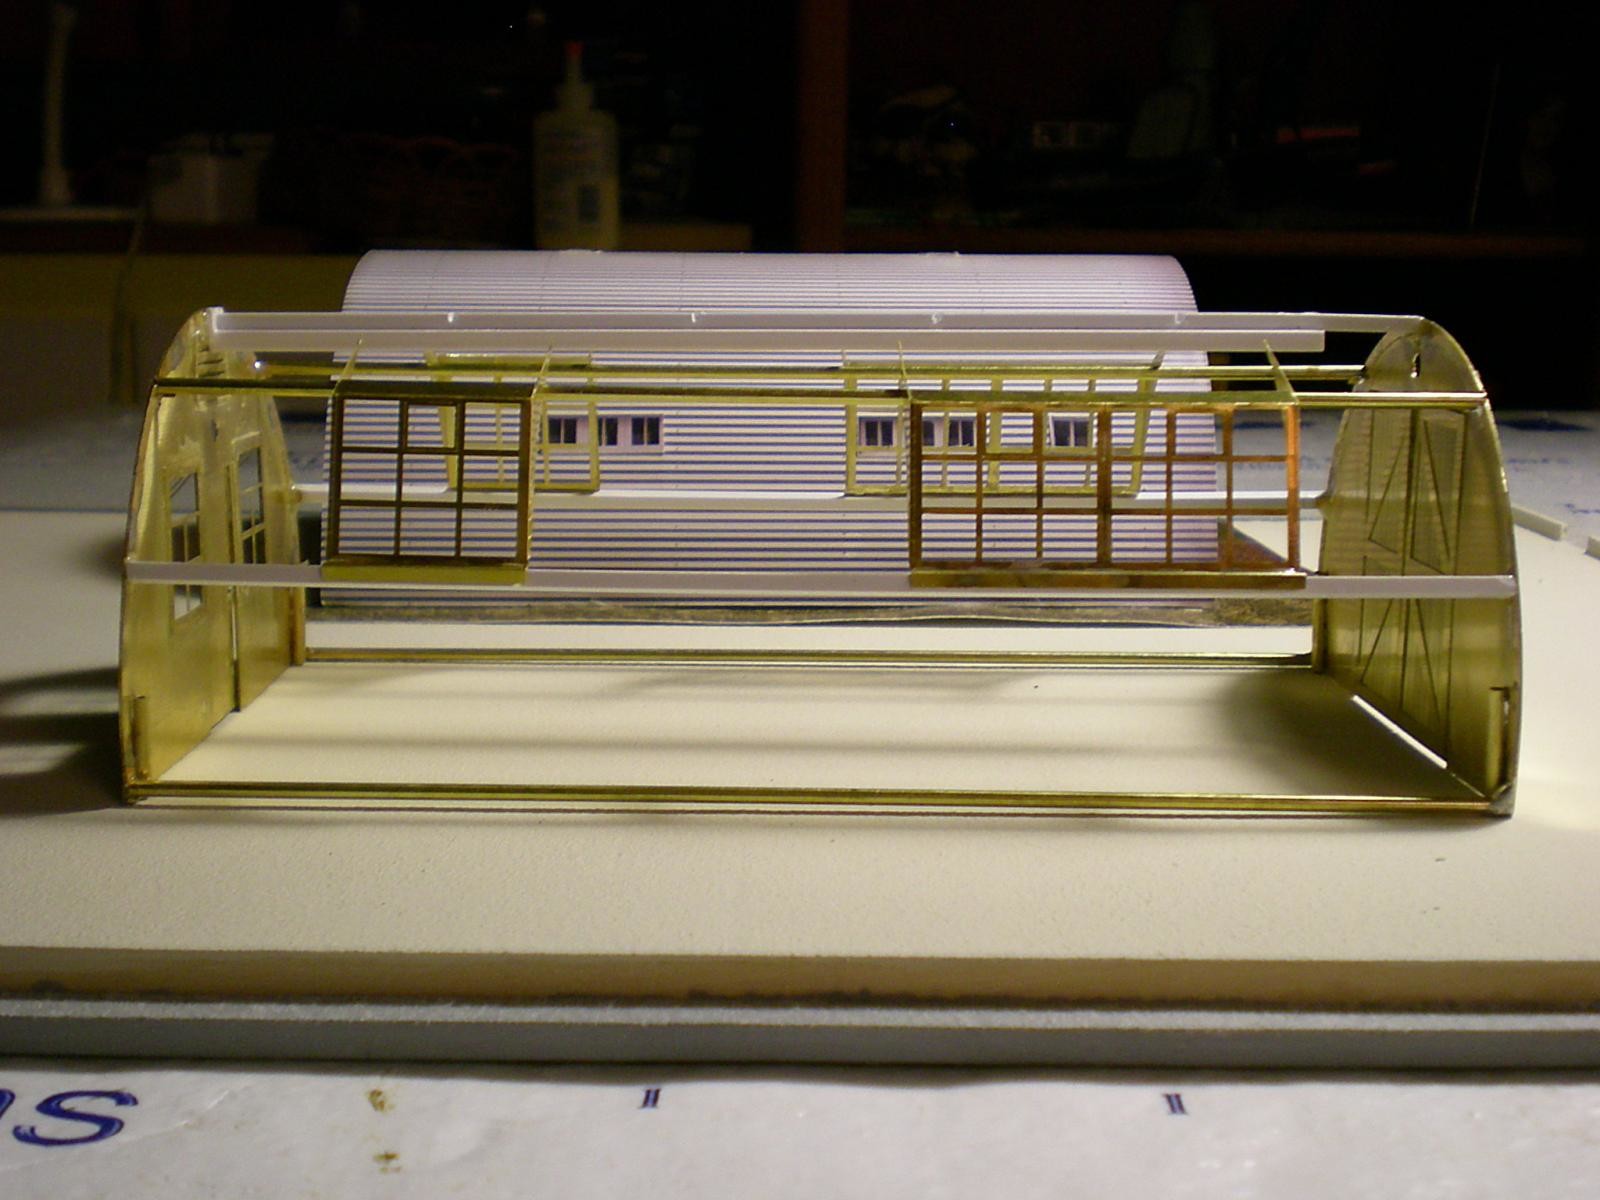
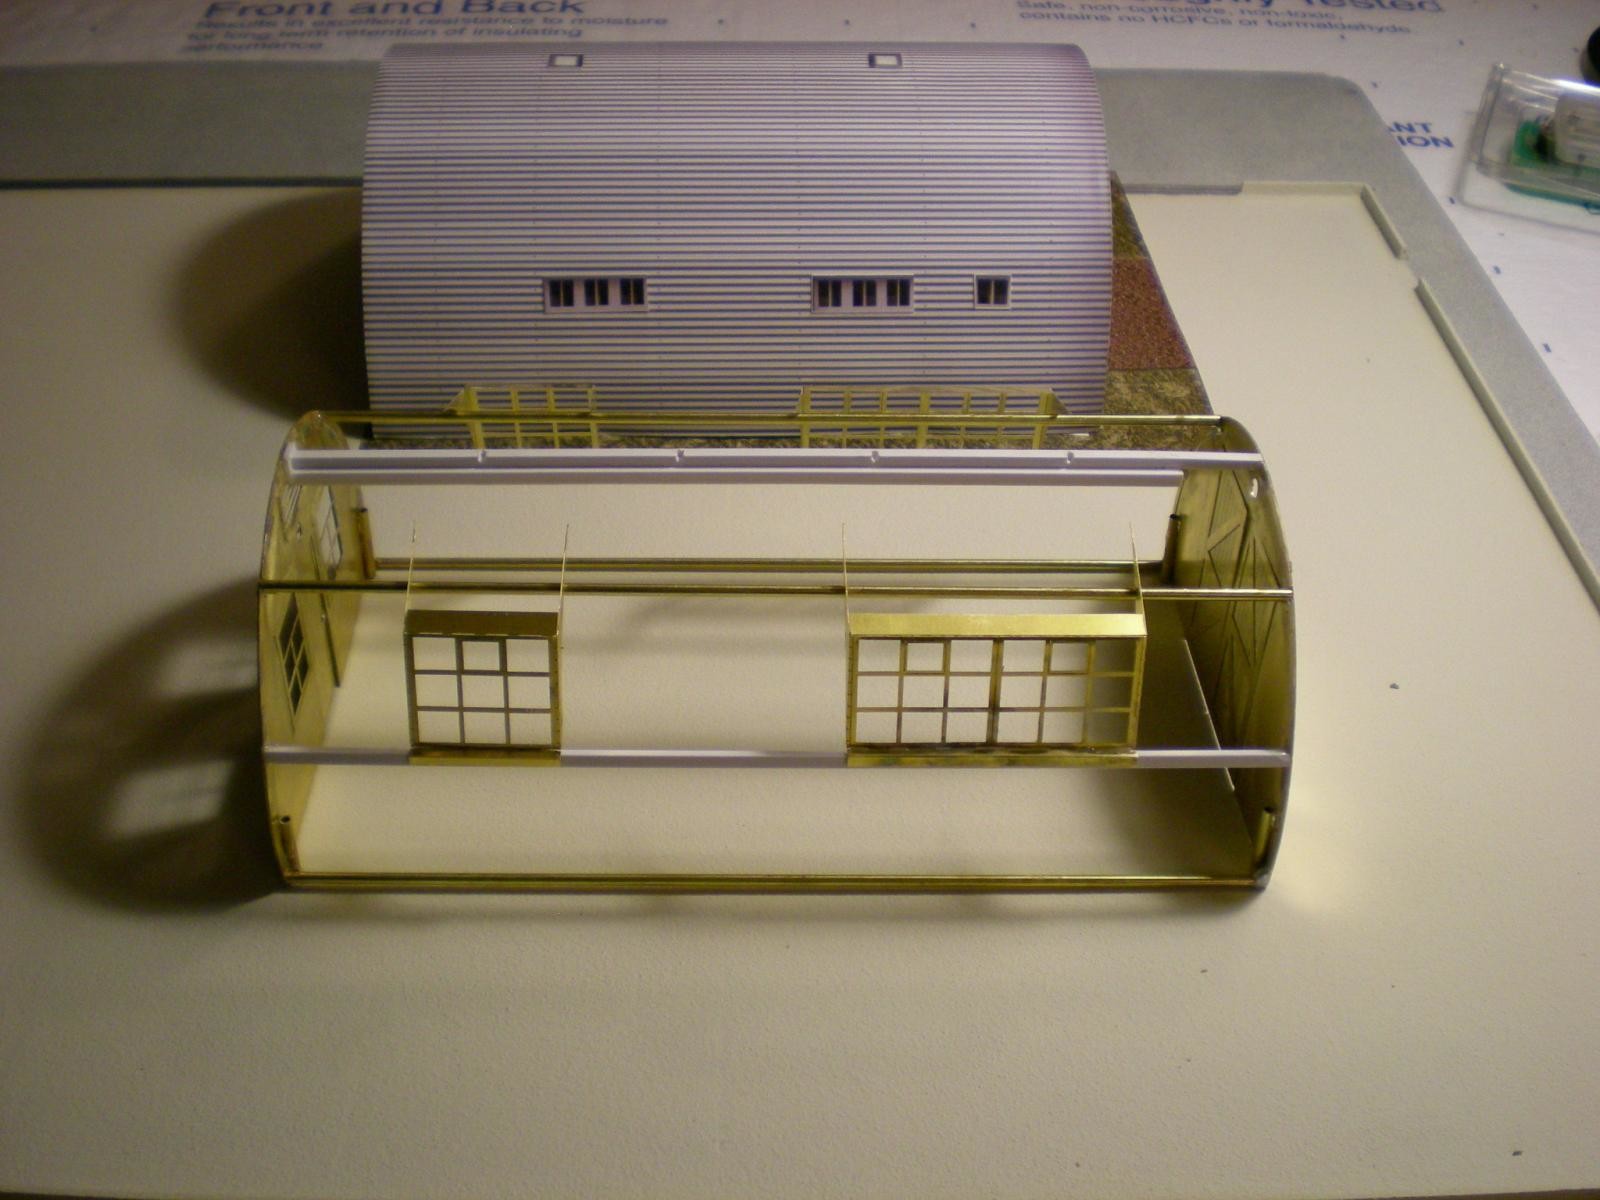
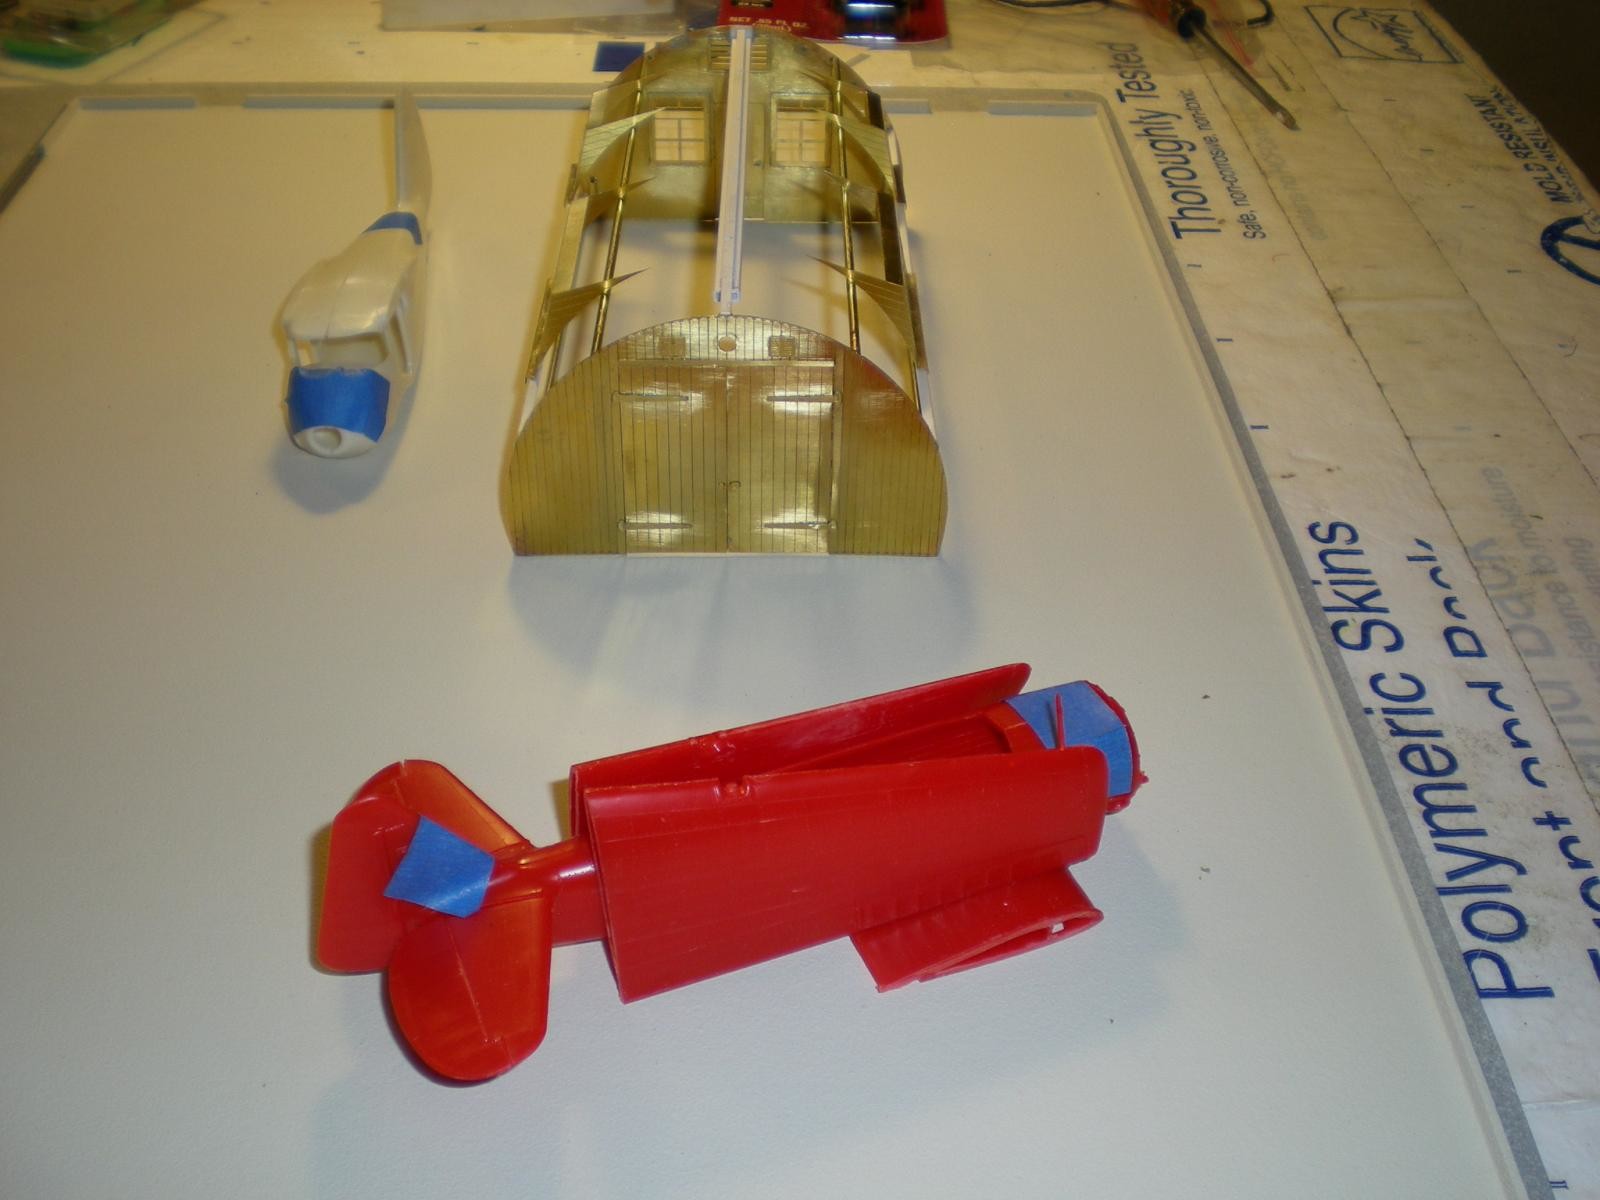
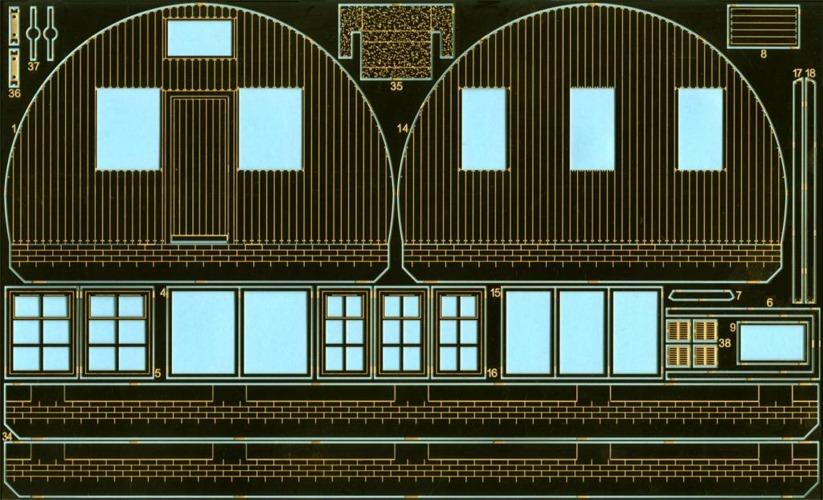
The pickings are slim – mighty slim - especially in 1/48 scale. Just when I was about to consider scratch building. I discovered this beautifully rendered hut in PE brass. https://www.djparkins.com/product.php?productid=17853&page=2. The paper model is "O" scale while the brass version is true 1/48.
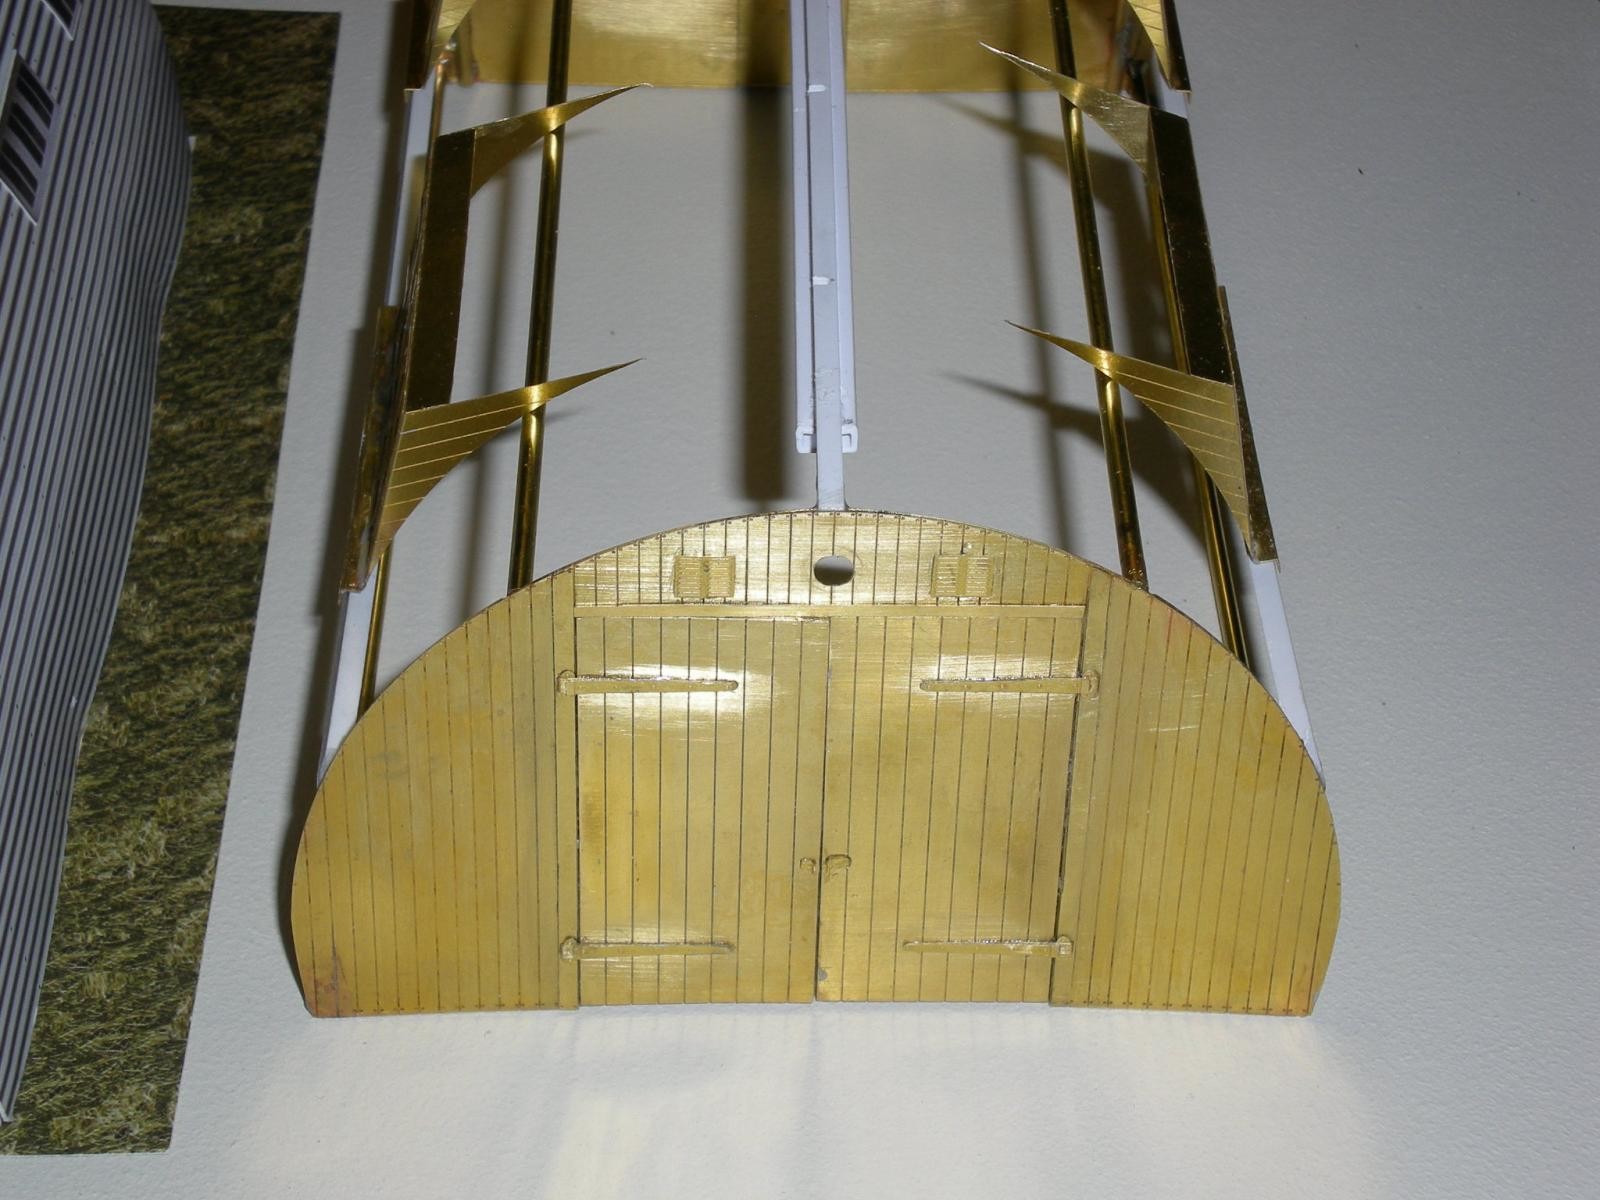
This is a beautiful model and the only one of its kind if one is seeking a 1/48 scale Quonset hut. The price is quite reasonable, considering its brass coming from Britain. The brass is quite thick and sturdy, especially after laminating the parts. There are two versions of the hut. My choice was “plank-on-frame” as it features the double doors. The other version has “rendered ends”. The kit comes in both 1/72 and 1/48 scale.
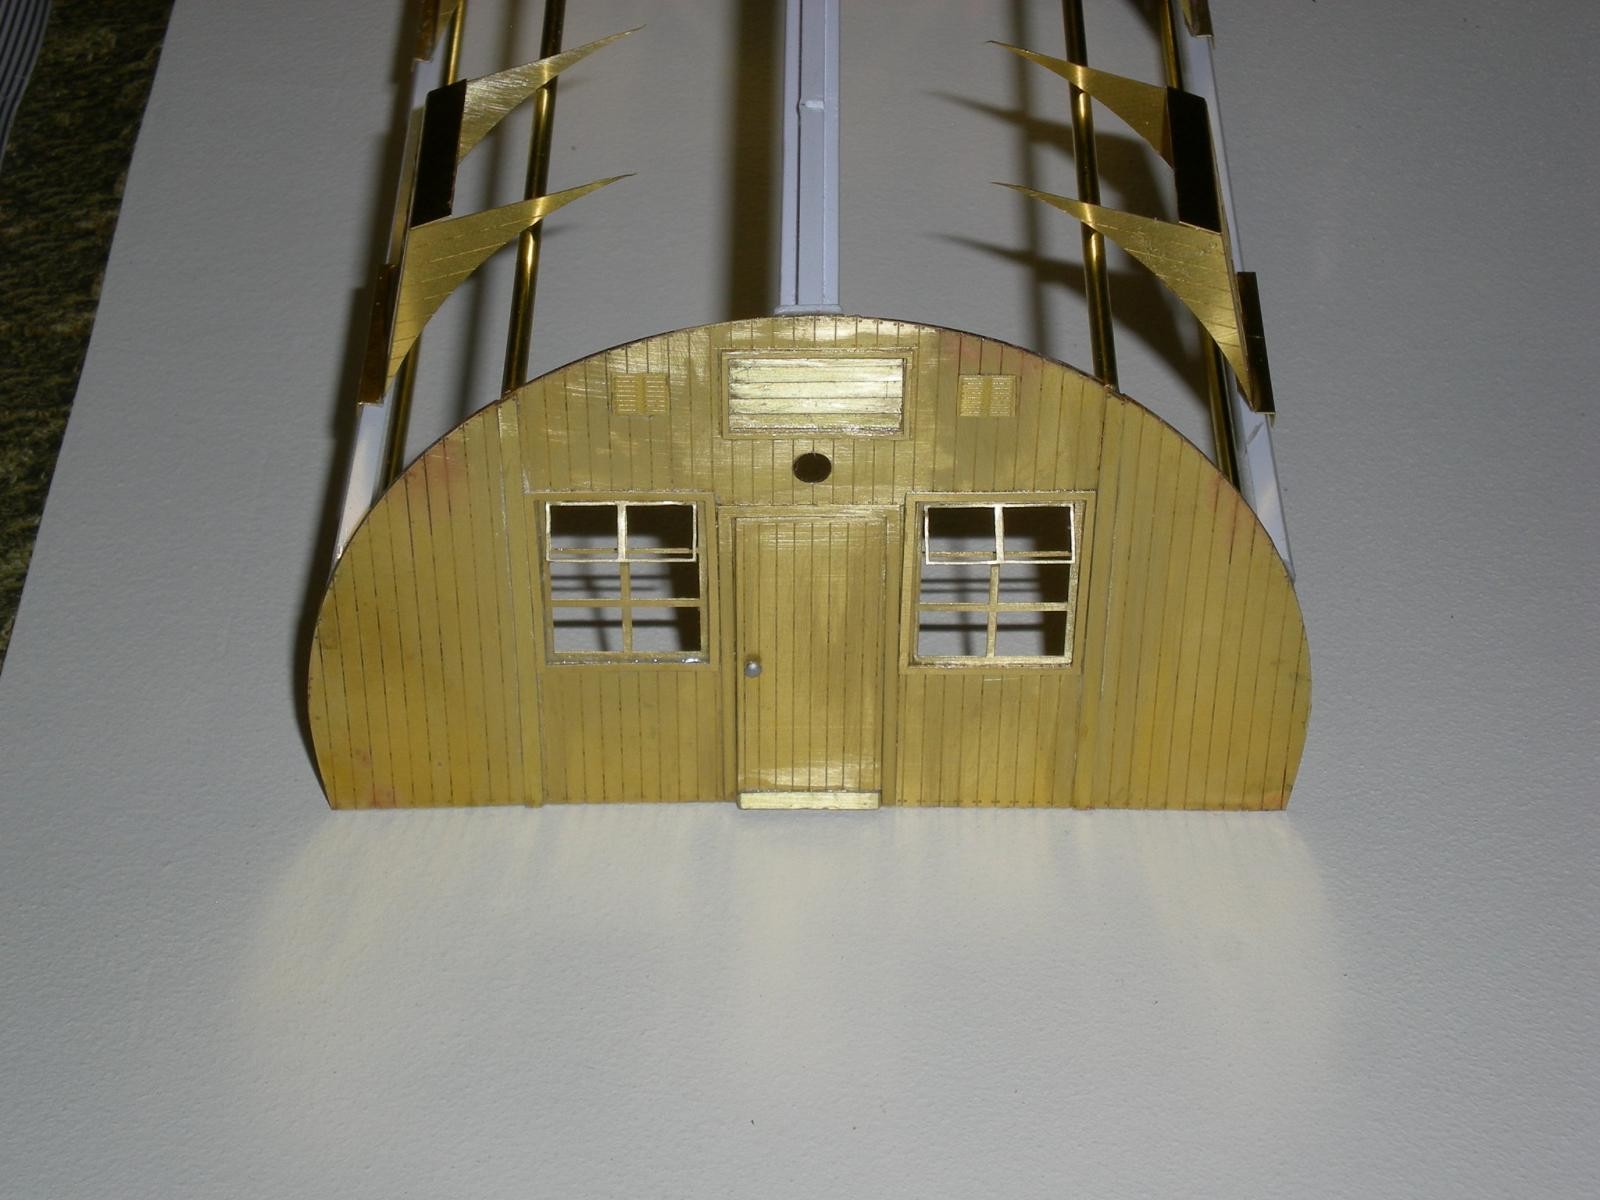
I haven't done much photo etch work and what brass work I have done has been maddening with those "fiddly" little parts being consumed by the carpet without even a belch of satisfaction. Up ‘till now I have used cyanoacrylate for the tiny details, but when I saw the relatively large, layered doors and wood support members in this kit, I knew instinctively glue was not going to suffice to hold it together. Sure enough, several of the smaller details fell off while handling the model.
While lacking in photo etch experience, as a former electronics tech I have done quite a bit of soldering, along with welding and brazing as an A&P. So I picked up the soldering iron and in one short step realized how much I had forgotten. Beginning again, I picked up my small propane torch designed for such delicate work and began by soldering the door panels together by sandwiching a line of very fine solder between the panels. Cleanliness is next to solderness, so I buffed each piece with fine grit before cleaning it with the mechanic's solve all, MEK. How that smell brings back memories.
Then there was the problem with detached details. As I now no longer trust cyanoacrylate for anything larger than a 1/32 scale throttle quadrant, I decided to use epoxy to attach the details. Five minute epoxy works great, providing one doesn't mind mixing numerous small batches because there is not enough time to do much in five minutes. I promptly switched to thirty minute epoxy and before I knew it, had epoxy all over my hands, but the parts have remained firmly stuck, sometime to my hands – maddening.
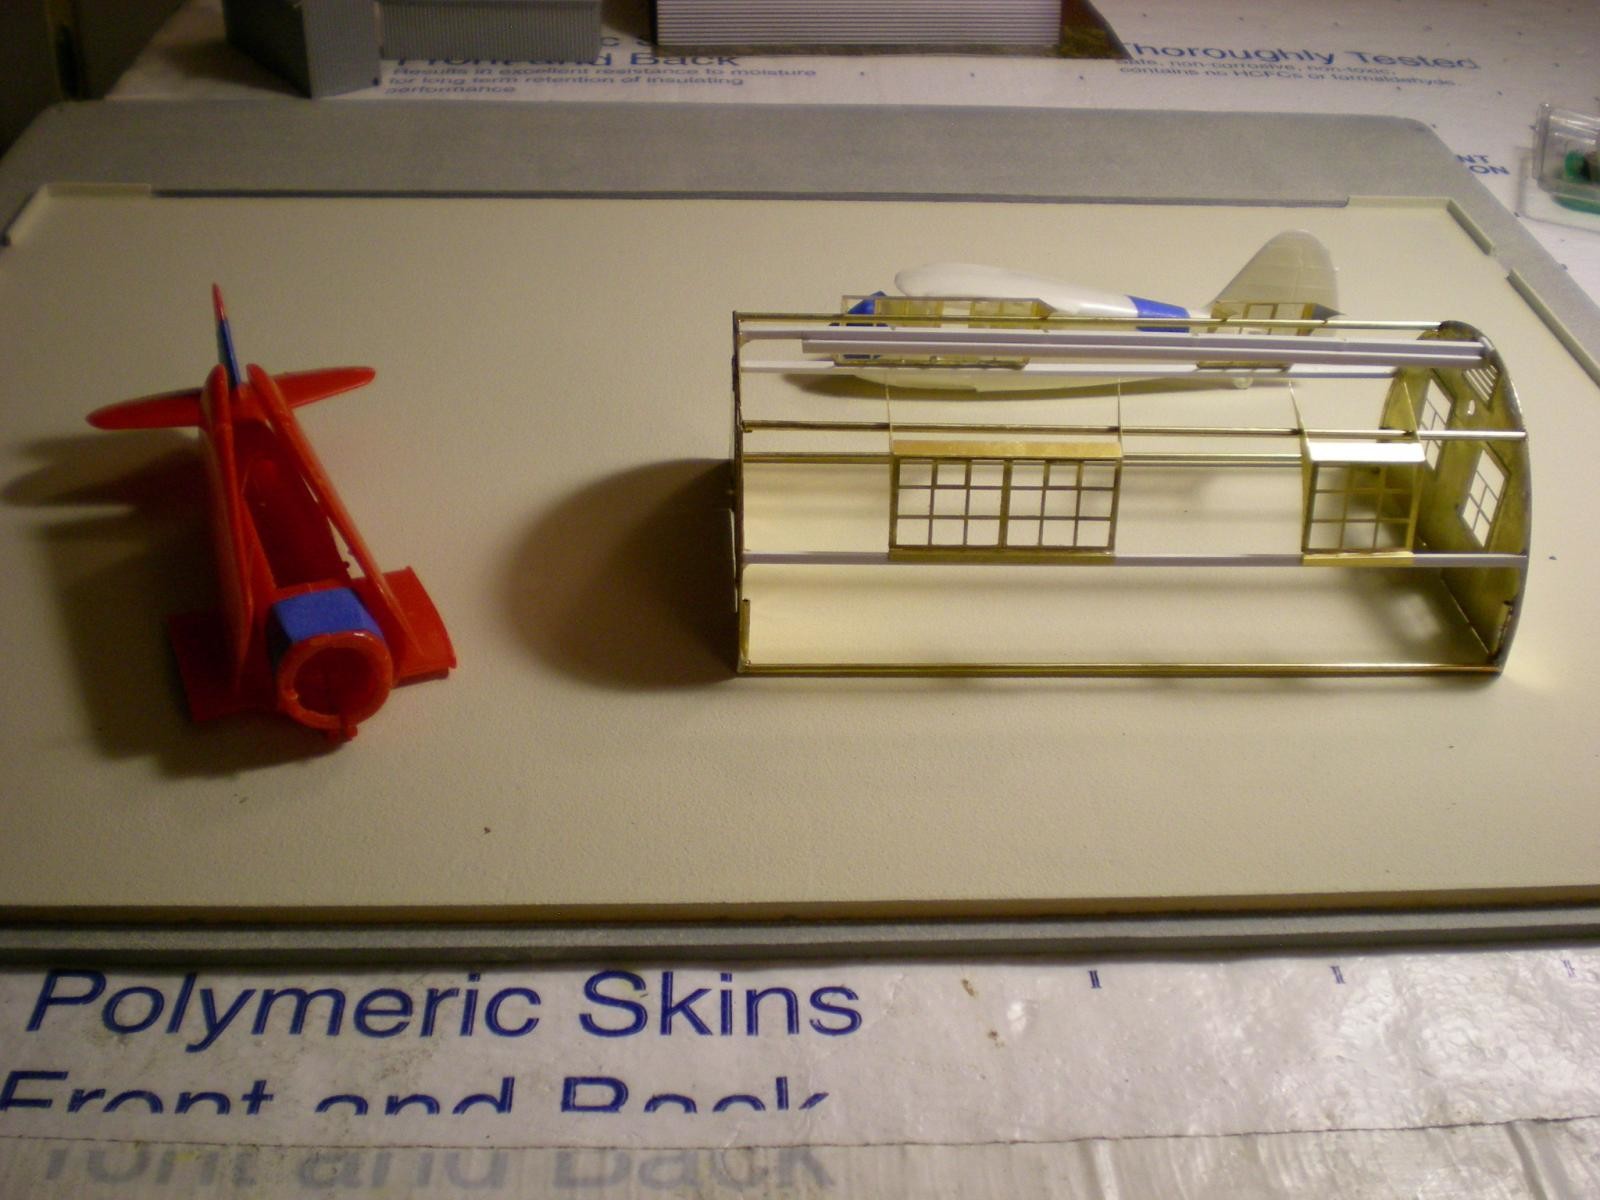
Now came the time to put in the structural members. The kit had square wood supplied for this, but considering the weight of the brass ends, I decided wood was too delicate. Then there was that sticking problem. I decided to use the scratch builder's dream Evergreen polystyrene. But after cutting all seven members, I realized that while sturdier than wood, the styrene was still far too flexible for my needs.
As I am making this structure removable using pins-into-tubing, I needed some serious rigidity in the structure. I went to the parts bin and came up with a single length of brass rod perfectly suited for the purpose. I cut and soldered the rods in place and then soldered the doorknob in place, which ironically was the only detail not made out of brass, but solder. One touch of the iron and it too was stuck.
As I was out of brass rod after the forth member, I used the plastic square I had originally cut for the members. Since I am lighting the hut with six lights, four inside and one on each end, there are now over seventy lights in the project including taxiway lights. I fabricated the overhead support member for the interior lights out of the previously cut square rod and a length of rectangular tubing. More on that later.
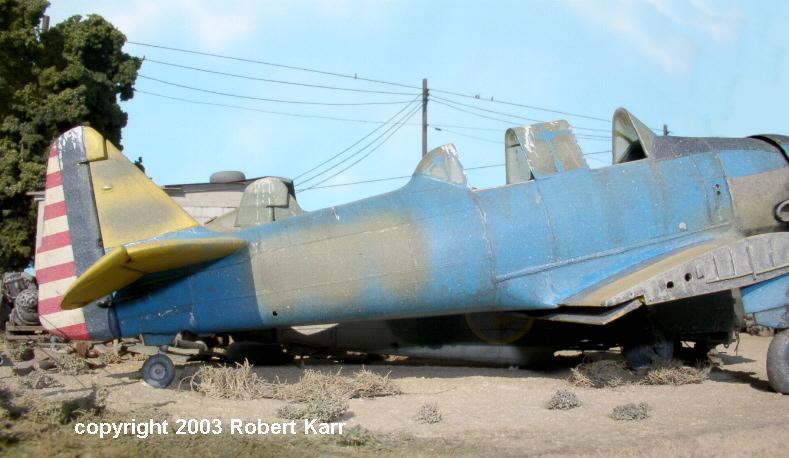
I'm going to put a small shop in the hut with a drill press and maybe a tiny sewing machine (if I can find one). There will be a plane, Cub or something similar, rolling out the rear double doors. There will also be a disassembled T-6 out back with a wingless Stinson Reliant fuselage in between the hanger and the hut. While the Cub will be yellow, (naturally) the T-6 will be stripped down to its aluminum. The Reliant will also be aluminum since it has just received its undercoat of aluminum dope.
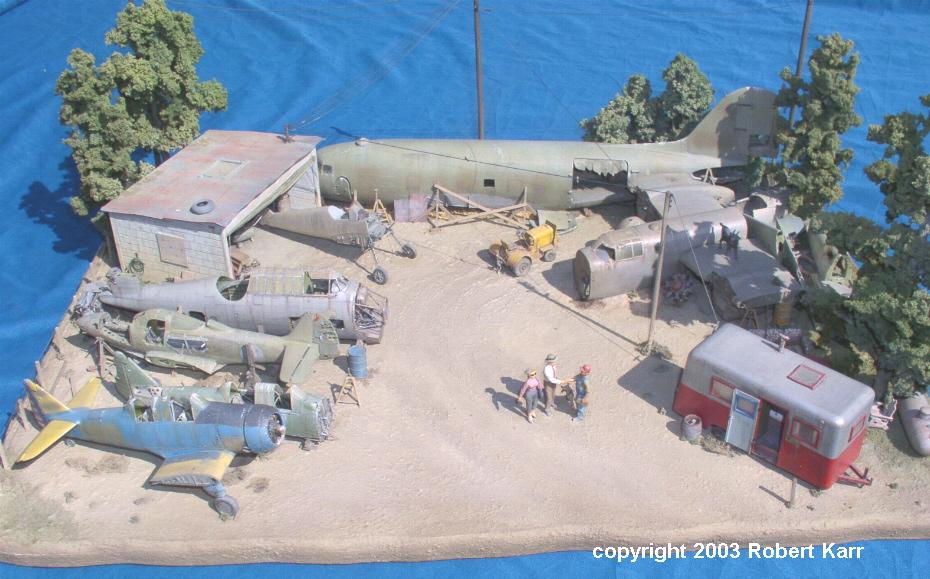
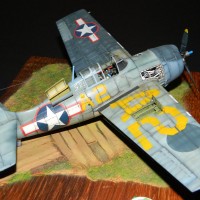
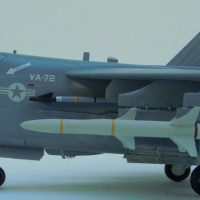
There is going to be at least four aluminum planes in the diorama. I dunno, maybe it's because they match my hair color. The T-6 idea came from a wonderful diorama I found twelve years go on the web titled “The Junkyard”. I have included a few pictures of that work as well. I hope Mr. Karr doesn't mind my posting his wonderfully imaginative work that has served as inspiration for my own efforts.


Very talented workmanship here, sir...not something I'd have much luck with I'm afraid. Your craftsmanship is exceptional. I like it already. 🙂
Very nice!
Fantastic! I really look forward to more reports like this, then the completed project !
Beautifully made and reported.
Looking great G. I'm sure the dio will look even better.
A fine project shaping up!
Nice work !
D J Parkins makes etched brass kits of modern British railways locomotives and rolling stock plus other accessories and military items which, I think, are designed to be constructed using solder. You have got off to a great start with kit and it will be a valuable addition to your diorama.
That brass quonset hut is really something!