1/35 Tamiya M60A1 USMC MBT with Reactive Armor: Desert Warrior
The M60 series although outdated is still my favorite tank of all time. I think it just looks like a MBT and to me represents an outstanding war machine of the cold-war era. It has that heavy, rough, and tough look that represents USMC Armor at its finest. When I 1st saw the box art on this Tamiya kit I knew I needed to build it.
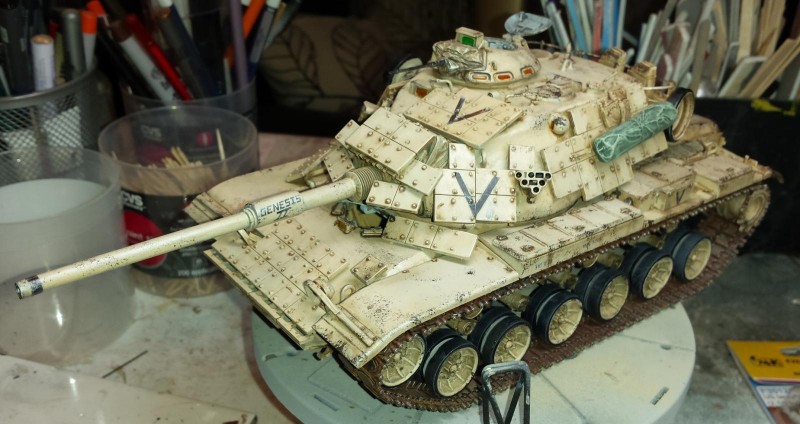
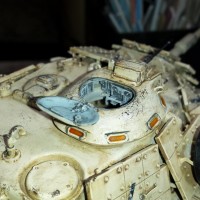
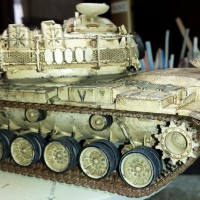
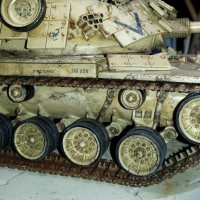
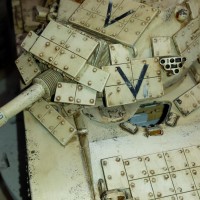
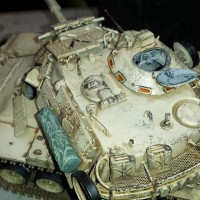
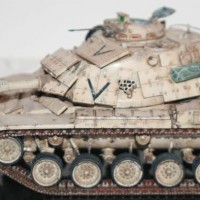
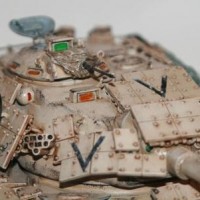
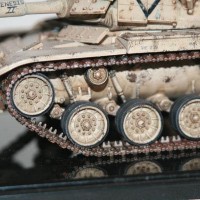
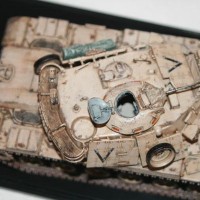
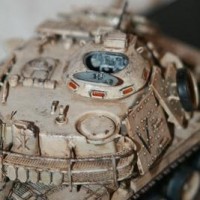
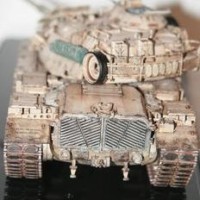
The build is typical Tamiya armor from that period. It is easy and straight forward to build with no real surprises. IMHO it is the perfect blend of "ease of build" vs. "detail level". It can be built to represent an M60a1 out of the box but I needed to add a few extra details to sharpen it a bit, and some changes I made were just based on my preferences. So, I felt the commanders cupola needed some work and extra detail especially if keeping the hatch open. So I purchased a resin after-market kit to improve on base kit and add some detail to interior section of the Assembly. The other change was to the road wheels. There is nothing wrong with the included road wheels but I preferred the wheels which had a spoked look. These where the "cast iron" road wheels found on many USMC M60's which fought in desert storm. They just look cooler to me sort of like putting mags on a muscle car.
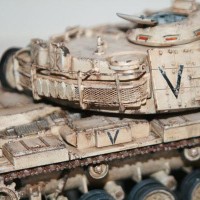
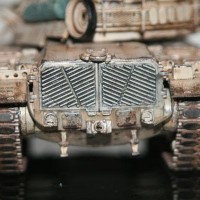
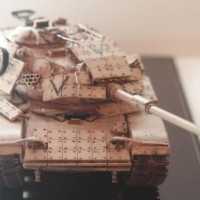
The rest of the build focused on my favorite part in the process. Painting and weathering. I used all acrylic paints for base finish including a line of desert sand colored paints from Vallejo, and AK interactive. After the base painting I always include a good amount of dry-brushing using lighter shades of base mix. Dry brushing to me is still the easiest way to add a base weathering layer without relying on fancy products and techniques. Finally came the enamel washes with some oils and pastel powders, nothing fancy. Chipping is mostly done using a dark German chocolate brown acrylic paint applied mostly with a sponge.
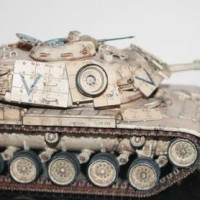
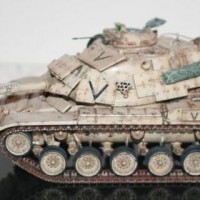
One interesting note when looking at the attached photos. Modelers spend a lot of time and indulge in a tremendous amount of research when it comes to finding a perfect base color to match actual vehicles. They often spend more time with the actual blending process once they locate the exact color. I am including myself in this group. But it all changes with the lighting and background. This is demonstrated in my pictures. They were taken at 2 different times in 2 different locations. Each location results in a completely different tone and warmth. The base color appears to change completely dependent on lighting used. So lesson learned is I dont need to be so obsessive when it comes to color research and color matching.

Very nice work, Paul...VERY nice!
It's got that tanklike look! Hard to define, but you know what I mean. Nicely done!
Paul, this is very nice, has a very realistic look to it. Well done !
Your so correct Paul, the M-60 does present toughness, love the Abrams, but when it comes to visualizing a tank, the M-60 comes to mind. Well done. The details, weathering is spot on, thanks for sharing.
You did a great job with your M-60. I served as a crewman in this series of tank when I was in the Army. I worked my way through all of the crew positions starting as a loader then next I was a driver. I logged over 2,000 miles behind the T-bar as a driver. I spent most of my time as a gunner but eventually ended up as a TC.
Here's a picture of one of the tanks I served in.
The last tanks I was in was the M-1A1 and that was a sweet ride ! I only spent about two months in these and then I returned home.
The road wheels you have on your tank are made from cast aluminum. They have a bolt on inner steel wear plate that keeps the track center guides from chewing the aluminum wheels to pieces.
They did this as part of a weight savings program.
Personally I preferred the solid steel road wheels as they lasted much longer in service. If you ever had change out a front compensating idler road wheel or a torsion bar you would know why I liked these solid steel wheels better.
The steel wheels are solid all the way around and don't have the fins.
On occasion we used both on our tanks since sometimes that all we had available.
Good job. It brought back some memories.
Thanks!
Paul, Louis covered what I was going to say. Like him, I started on M60A1s, then I went to M60A3s. It was later that I got my first M1, which was serial #15. A VERY early M1 that was actually the last 'hand-built' prototype right before the assembly line was complete at Lima, Ohio. We too used whichever wheels were available and nearly always had a mixture of steel wheels & aluminum. You had to have both road wheels (inner & outer, not Left set or R) the same because if my memory serves (it's been since 1983 that I had an M60) the steel wheels were about 1/2" (1.2cm) smaller in diameter. The aluminum were a fair bit easier to lug around, but they weren't as tough and the steel wear plates Lou mentioned would always come off at the most IN-opportune time. You didn't want to go very long without the wear plates! LoL!
Your M60A1 / Reactive is absolutely superb, my friend ! You hit this one out of the park, so to speak. Details, weathering ... it just looks great. Well done, Paul.
Great work! Interesting note on the lighting aspect. A lot of these tanks[ along with many A-6 Intruders] ended up as barrier reefs.
Awsome job I love the way you did the underside of the tanks. Could you be more specific how you did it. It looks so real and full of depth