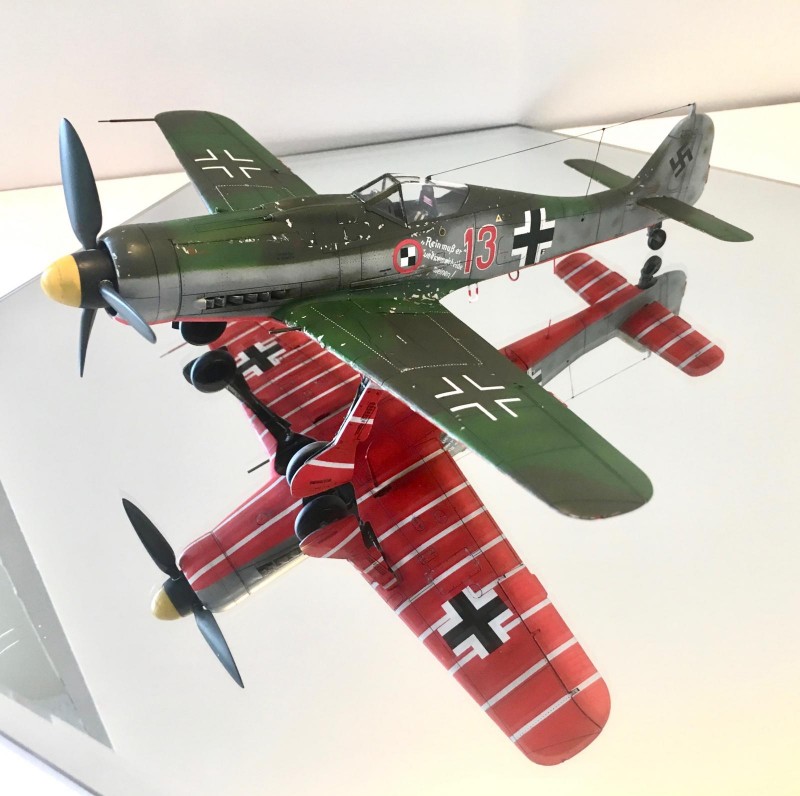
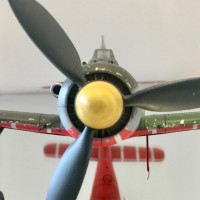
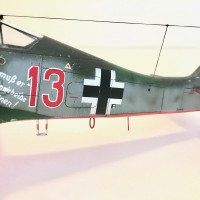
Rot 13, Eduard 1/48 Fw 190D-9
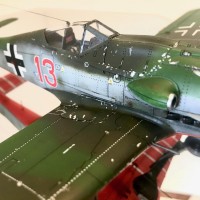
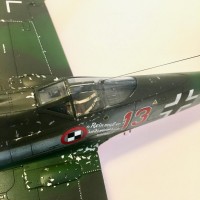
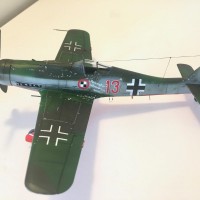
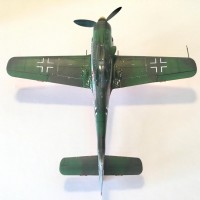
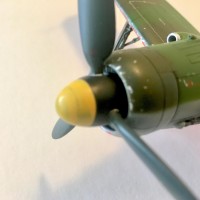
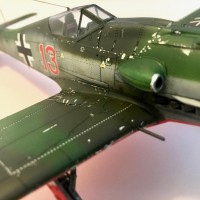
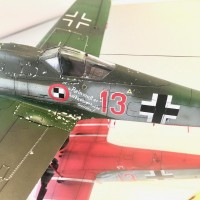
Fw 190D-9 flown by Oblt. Klaus Faber as part of the base defense flight of JV44 at Ainring Airfield, Germany in May 1945. They have been referred to as the "Papagaistaffel”(parrot flight), but this name for them was not used until after the war. Their mission was to protect the Me-262s of the “Galland Circus” during their takeoff and landing phase when they were very vulnerable to attacks by allied fighters. There were only five aircraft in the flight, and this aircraft would normally have been “number five.” Faber, however, demanded that he be allowed to use his favorite number. Each aircraft also had a somewhat sarcastic motto on the port side; and in this case the translation (corrected) is “He must go in – even if we both [will] cry”.
This build actually began life as an Eduard 1/48 “Overtrees” kit…just the plastic with no decals, PE, or instructions. This is a very good and fairly inexpensive (approx. $20) way to get a first rate kit. I downloaded the instructions for their Fw 190D-9 from the Eduard website.
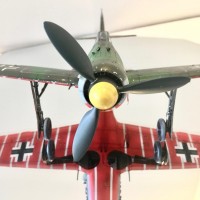
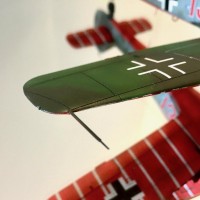
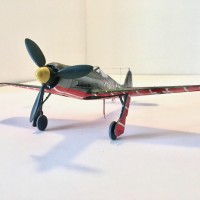
The kit went together fairly well but because I didn't leave all the possible access panels open, a bit of “plastic surgery” was need to get things to fit the way I wanted them to. Likewise, care must be taken to get the proper “Würger stance” of the landing gear. I recommend gluing the landing gear actuator to the rear main wing spar and letting it set up before attempting to install the main gear legs. This will provide a sturdy base to help get the angle right. I originally made some seat belts but didn't really like the way they looked so I used some PE belts from Eduard instead. The cannons and pitot tube are a bit fragile. I scratch built new ones from various gauge hypodermic needles so that won't be an issue. The brake lines were fashioned from thin lead wire and the radio antenna was made form EZ line.
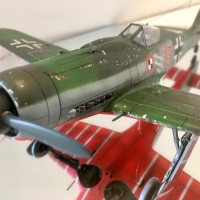
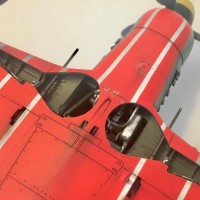
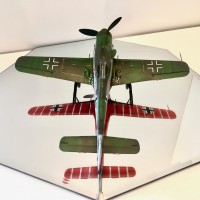
Paints were mostly Vallejo Air with some detail work done with Tamiya acrylics. The decals were from EagleCals (EC #14) and give the option of four JV 44 aircraft. The sheet provided thin white stripes for use on the bottom of the aircraft, but I decided to mask and paint these instead. Because the stripes were “field expedient mod”, they are not uniform in width and spacing. To begin the weathering process, I used MiG chipping fluid. This is the first time I tried this technique and I must say it is easy and works like a dream. A panel line wash was used to bring out the rest of the details. A coat of Vallejo satin varnish finished the build. I hope you like it.
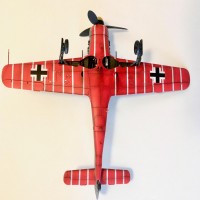
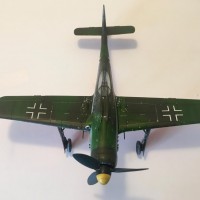

Looking very good Tom, the stripes are very neatly painted and the build really looks solid. Where did you got the decals? Besides an old Kommandeur sheet the only time I found “red 13” was in a Revell reboxing of the trimester kit.
And a quick question if I may, was there no stripes down the fuselage underside? It’s the second model here I noticed this and in my mind those stripes run the slim fuselage down into the rear wheel, but to be honest never saw a photo that proves any of it. Thanks for sharing
Thanks Pedro. The decals are from EagleCals, Eagle Editions Ltd. P.O. 580, Hamilton, MT 59840. This sheet is EagleCals EC#14 in 1/48. They have it in other scales too. You can google them. According to the documentation provided and "The Fw 190 Dora, Vol 2 by Jerry Crandall (THE Fw 190 guru) the center stripes did not go past the wheel wells on Rot 13. On Rot 1 and 3, the stripes went all the way to the tail. There is no definitive reference for the stripes on Rot 4. I hope this helps.
Beautifully done, my friend...I like it !
Thanks.
This is one of my favorite planes, and I really like how yours looks. I have a few of these, and I'm fairly certain that one (or possibly two) of the "Parrot Flight" planes were the D-11 variants. These late war Luftwaffe birds always catch my attention...
Well done ! I like it a lot...
4 was a D-11. The rest were D-9s.
Nice job. Good lookin build.
Beautiful Dora, Tom. Excellent workmanship and the photos are top notch, too.
Thanks. I’m working on my photos because it’s hard at times to really show what the model looks like.
Very nice work like it!
The correct translation is a bit different: "He must go in - even if we both [will] cry."
Hans, thanks very much for the correction. Colloquialisms can be very tricky, especially in translation.
My favourite colour scheme for the 190, and you've done it very well, thanks for sharing it with us.
The decal sheet had white stripes for the underside but I was worried that the “red” might bleed through. If that happened, it would be too late to fix. That is why I dedided to mask and paint.
A beautiful butcher bird! Was always as stand-out scheme, and your weathering and detailing really make it a standout!
Thanks, this is the first time I tried “chipping fluid”. I swear by it now. So easy to use. I also like the way I can modulate tones with the panel line pin wash.
Excellent work on this Tom. I like it a lot.
Thanks Tom. Praise from the Master...I’ll take it.
This is beautiful Tom, the mirror is a brilliant way to exhibit it too - perfect! As has been said by many, the most striking late war scheme - and I am guessing quite difficult to get that red right - you have nailed it - fantastic!
Thanks Paul. I thought it came out pretty well too. White Stynylrez primer, Vallejo Air White base coat for white stripes, mask and then Vallejo Air RLM 23 Rot. Finally a black oil pin wash for panel lines and rivets which tones the red down a bit.
Thanks for the details Tom!
Absolutely beautiful build! Luv these subjects paint scheme.
You’re good!
Bo
Nicely done Tom, the mirror really shows off your excellent weathered paint scheme.
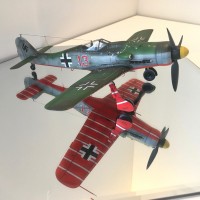
I like the mirror because you can see the bottom very well with out lifting the model. Helps protect the”fiddly bits” from breaking. I bought various shape and size mirrors at the local craft store for about $3-5 each. Easy, cheap answer for a base.
Really great build. Love how you finished the challenging red underside with white stripes. I would of evaded this scheme like the plague. But you pulled it off!
Thanks Paul. The paint job on the bottom was a challenge but not really that hard if you take your time and plan ahead. Priming and base coat were no problem. The secret to the stripes is to have strips of masking tape that are the proper width and spacing. The stripes on the original airplane were painted in a “ field expedient” manner. Thus they were spaced “sort of even” but not quite. The stripes were not exactly the same width but because of the scale of the model, I couldn’t vary them enough to where it would be noticeable but still look right. I took my time laying down the masking strips and made sure they went where I wanted them with reference to the decal sheet and Eduard plans. All that was left was to spray the red and unmask.