Bf 109 E-4, Maj Helmut Wick
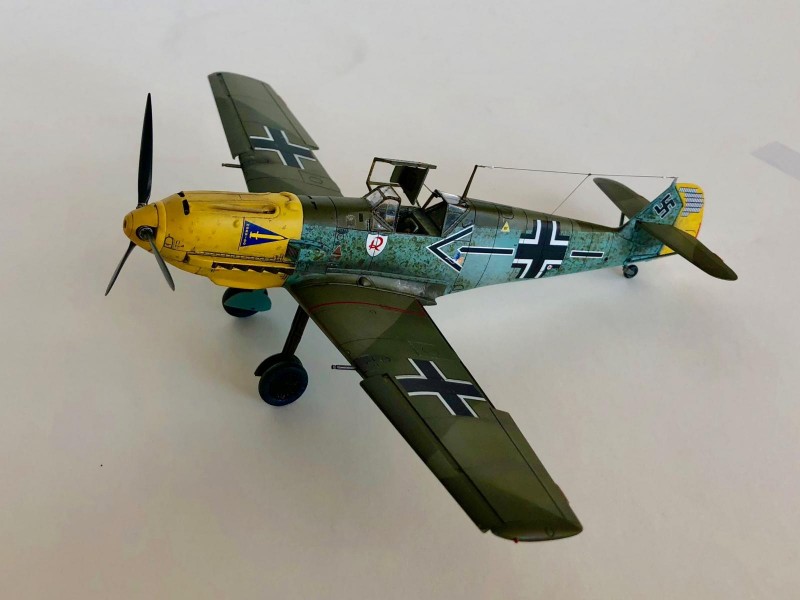
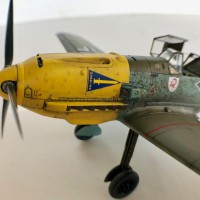
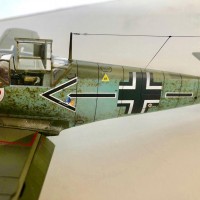
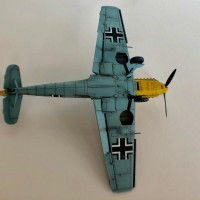
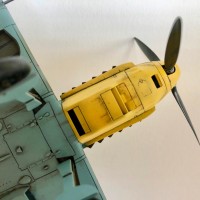
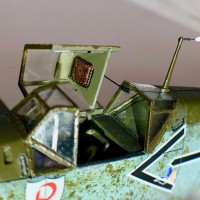
Tamiya 1/48 Bf 109 E-4, W. Nr 5344. The markings are those of Maj. Helmut Wick, Geschwaderkommodore, JG2, Beaumont, France, Nov 1940. These are the final markings for this aircraft. At this time Wick was the leading Luftwaffe ace and was just before his death in combat with several RAF Spitfires on Nov 28, 1940.
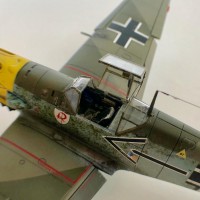
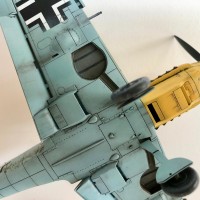
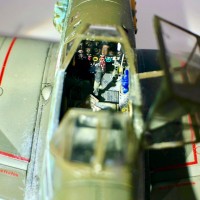
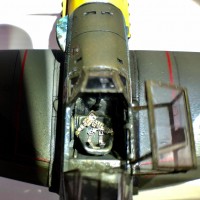
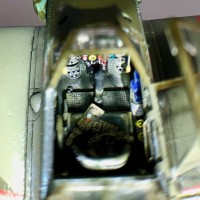
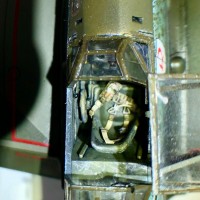
The parts fit of this kit is truly amazing. It went together nicely with no annoying gaps anywhere. I only used some CA along the fuselage to ensure a smooth base for scribing the top and bottom seams. Eduard PE was used for the cockpit, E-Z line for the radio antenna, and the canopy brace was scratch built from .008 guitar string.
Before painting, I primed with white Stynylrez. I've tried various primers and really like this the best. It goes on smooth and easy, dries quickly, and doesn't “pill up” like some acrylic primers do if you find you need to do some light sanding afterwards. Oh, and did I say it dries and cures quickly…no need to wait over nigh to paint.
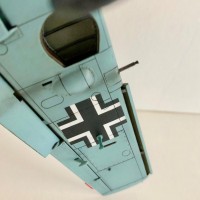
For color, I used primarily Vallejo Air acrylics with some Tamiya acrylics for the position lights and some of the cockpit detail. Camouflage was standard RLM 65/02/71 with the nose and tail being RLM 04. I used a very stiff brush to stipple the RLM 71 on the sides of the fuselage over the base coat of RLM 65. The area in front of the national cross is over sprayed to cover the double chevron markings when Wick was the Gruppe C.O. of I/JG2. The decals are from the Tamiya kit except for the “Horrido” banner and Geschwaderommodore markings, which I stole from my Eduard Bf 109 E-4/7 kit. The decals went down nicely with no problems. This was followed by some light weathering with an oil pin wash and a final coat of Vallejo satin varnish to tie it all together.
Like I said, this was an easy, fun build with no real issues. That said, I can be “anal” at times about dry fitting parts to make sure things work before I use glue.

Excellent !
This is a great build Tom. I enjoyed the article as well. I have the same markings in 1/48 from a decal set manufactured several years ago by a company called FCM. They were included in the Battle of Britain set. I thought about building this plane but using the 1/32 scale old school Hasegawa kit with a few upgrades, but like you said the 1/48 Tamiya kit is a real gem. That's an option ...
I especially like how you stippled the colors on the fuselage. Do you think it would be feasible to try it with a sponge in 1/32 scale ? The cockpit looks fantastic too... very realistic.
Nicely done. I like it a LOT !
There's just something about a yellow nosed 109 ...
Louis, a sponge should work...a real little one. I used a small bit of sponge to stipple these markings on the old 1/24 MPC kit when I built it back in 1972. The splotches came out nicely “random”. I’d practice on some scrap first.
Thanks for the feedback. I also just noticed you mentioning the little plastic Testors brushes. I'd definitely do a few practice runs before I committed to the actual model.
Thanks again !
One of the best -109's I've seen on here. Superb all around work!
Thanks
I particularly like how well the "stipple" came out, because that is Not Easy At All to accomplish in 1/48. The whole model looks super.
Thanks Tom. I tried several different brushes and bits of sponge before choosing those little white Testors disposable plastic brushes. Just the right stiffness.
Tom, The old Tamiya kit has been around a long time and still a very nice kit, and you have done a very nice bit of modeling with it. Well done !
Nice Emil Tom, especially the mottle effect of the fuselage sides. JG.2 used this unique effect to tone down the light blue 65 for a period around 1940/41. Your model replicates it very well, I would dare saying better than others made in bigger scales. The only remark if I may are the wheels, their angle should be parallel to the struts. Thanks for posting this beauty!
1 attached image. Click to enlarge.
Tom - A great rendition of Helmut's last 109. The weathering is impressively modest 'cos all the stuff I've read about this guy says he really worked the machines he flew, always driven to get that extra abschuss, which ultimately was his downfall. Great job! Paul
Nice looking one. Great to see a fairly early 109. What specific Vallejo numbers did you use for the 65/02/71 combination?
Stellan, here are the colors I used. RLM 65/71.008 plus a little white added. The RLM 65 out of the bottle just looked a bit too "Blue" to me...that just might be my eye though. RLM 02/71.044, RLM 71/71.015. I hope this helps.
Thanks for your reply.
Tom, Drop dead gorgeous "109"! I really mean it. I see lots of them but this one takes the cake! Magnificent finish overall. Interior looks so awesome and right on. One of the best looking "109"s I have seen in this scale. Beautiful!
Thanks, Paul. Your comments mean a lot.
Hello Tom,
I missed this article also. Studying your pictures I came to the conclusion that this model is a jewel among the other "109"models. My compliments.
Regards, Dirk.
A beautiful 109, as others have already said, so I'll just "pile on!"