Scratchbuilding the Duca d’Aosta
I always wanted her.
Who?
The Duca d'Aosta of course, the Italian Beauty!
Between the two World Wars, the Italians built a series of twelve light cruisers in five classes, the so called Condottieri Cruisers. The first classes were weakly built ships, where protection and stability were sacrificed for a high speed. As the design evolved however, more focus was put on protection and stability and the last two classes, the Aosta class and particularly the Abruzzi class, were successful designs with a good balance between speed, armament, protection and seakeeping abilities.
The Condottieri cruisers were some of the most elegant ships of their time and I always wanted to build one of them. (Actually, I want to build one of each class of them, but let's be realistic here…)
The Duca d'Aosta, named after the WWI Italian general the Duke of Aosta, was launched in April 1934. During the war, she took part in the Battle of Punta Stilo and the First Battle of Sirte as well as in a number of escort and minelaying missions.
She was a lucky ship and apart from bomb damage during an USAAF raid on Naples in December 1942, she survived the war without major damage.
After the Italian surrender, she served with the Allies as an anti-blockade-breaker in the Atlantic. After the war she served in the Soviet Navy until 1959 under the names Stalingrad and then Kerch.
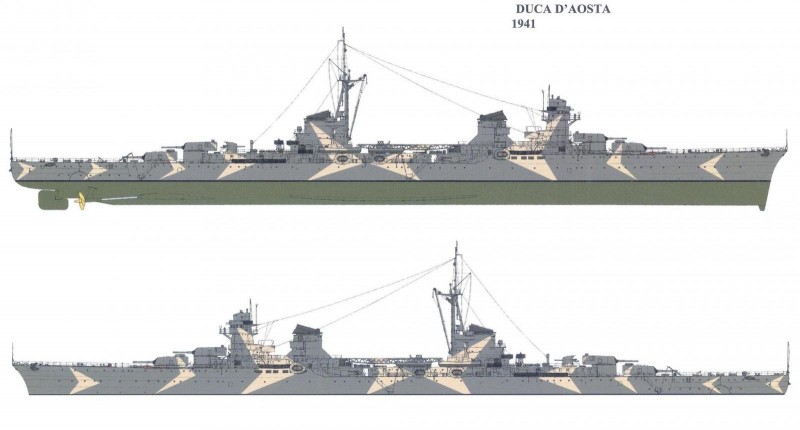
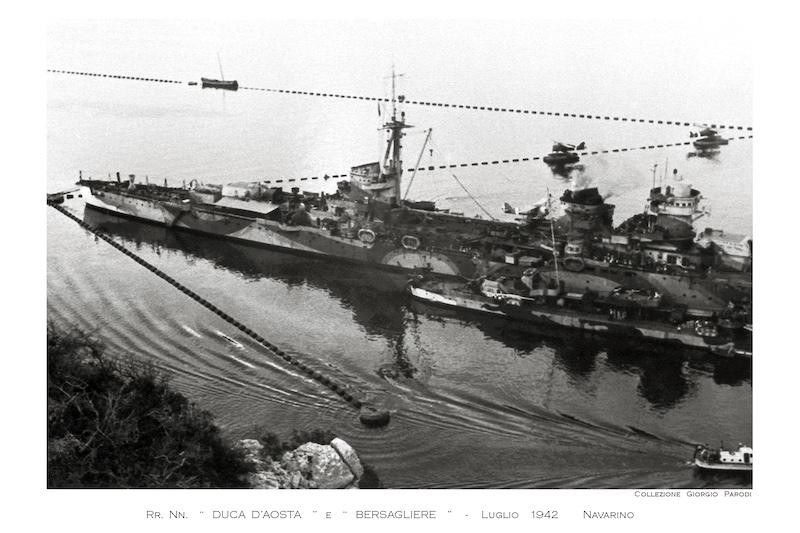
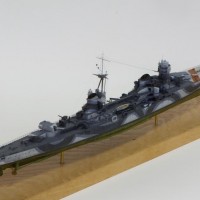
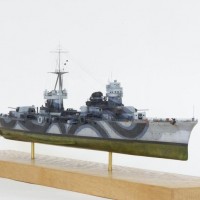
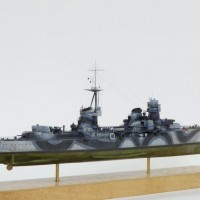
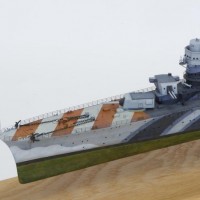
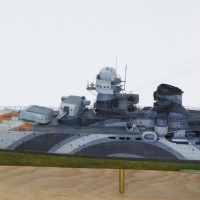
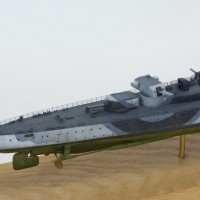
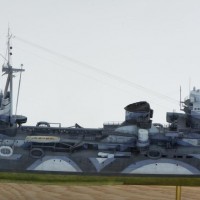
The Aosta was also a ship on which the Italian navy tried out some of its wonderful camouflage patterns. She was the first ship to receive the so called ”double fishbone pattern”.
In July 1942 she was painted in a unique three color scheme.
This lovely crazy scheme, that looks as if some giant has been playing around with a gigantic marking pen all over her hull sides, was one of the reasons I wanted to build her. The other reasons were of course her beautiful lines and proportions.
There is no kit in 1:350 of the Aosta, so scratch building was the only option. I was ready for it though. My first scratch build, the Saetta, was actually an exercise project in order to prepare me for this build.
https://imodeler.com/2018/10/it-was-inevitable-after-building-the-roma-where/
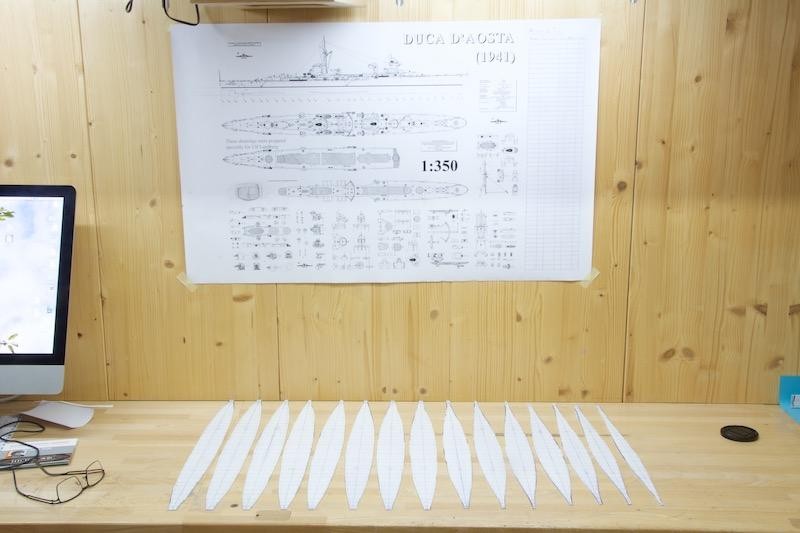
I had ordered plans from Profile Morskie well in advance.
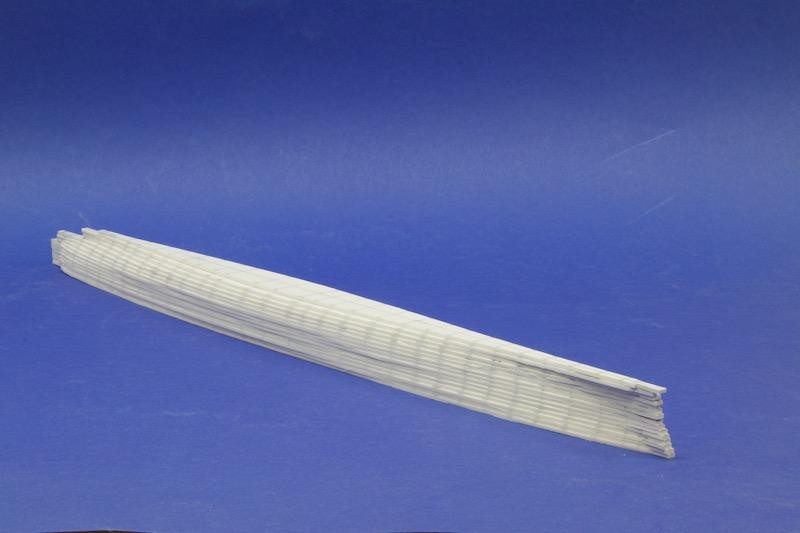
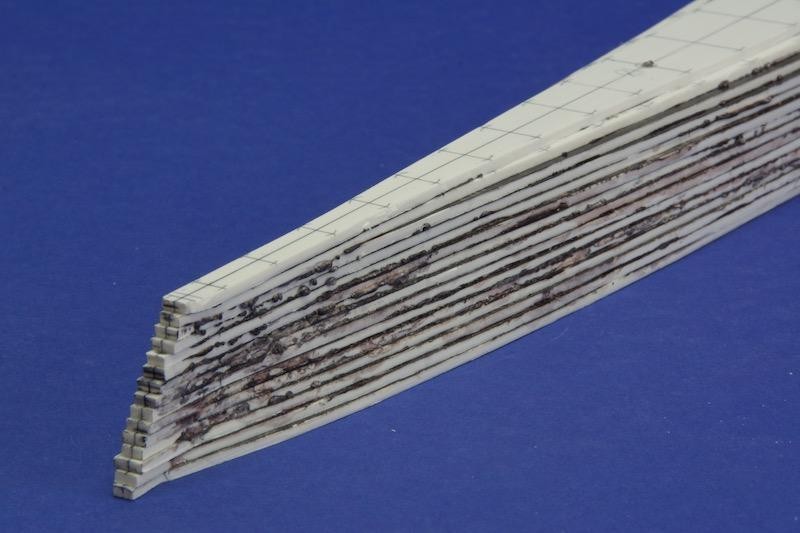
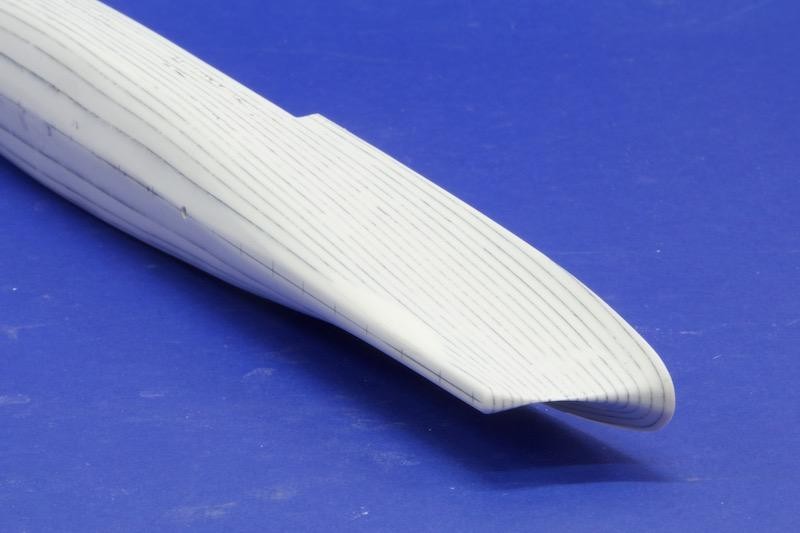
The hull was built in 2 mm layers of styrene stock.
Before gluing the layers together, I colored all the layers with a black marking pen, to make the joints more visible.
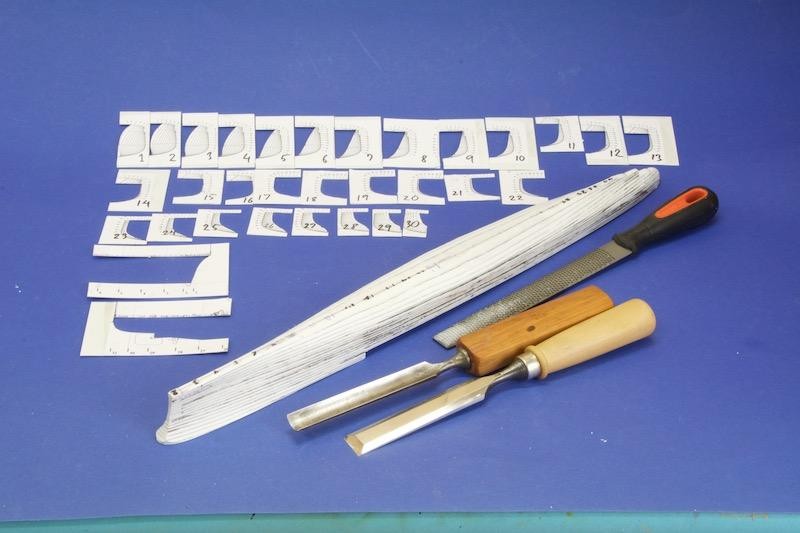
The first rough shaping of the hull was done with chisels and a rasp.
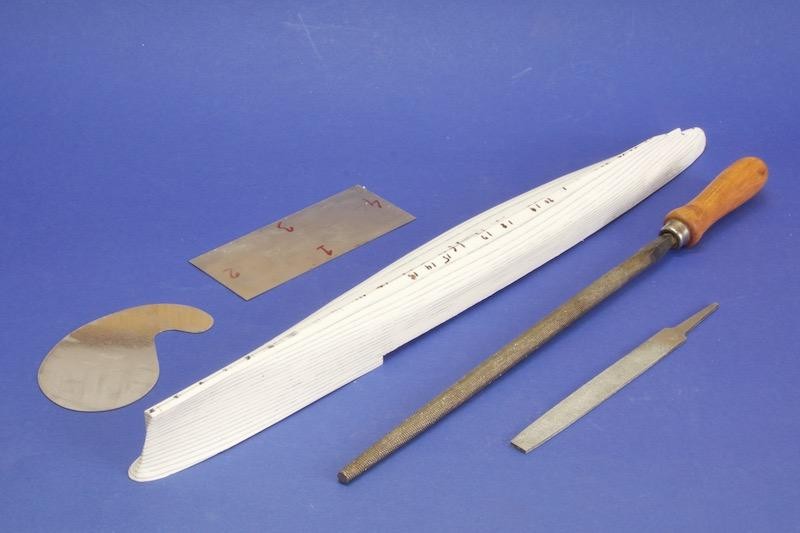
Then I went on with files and cabinet scrapers.
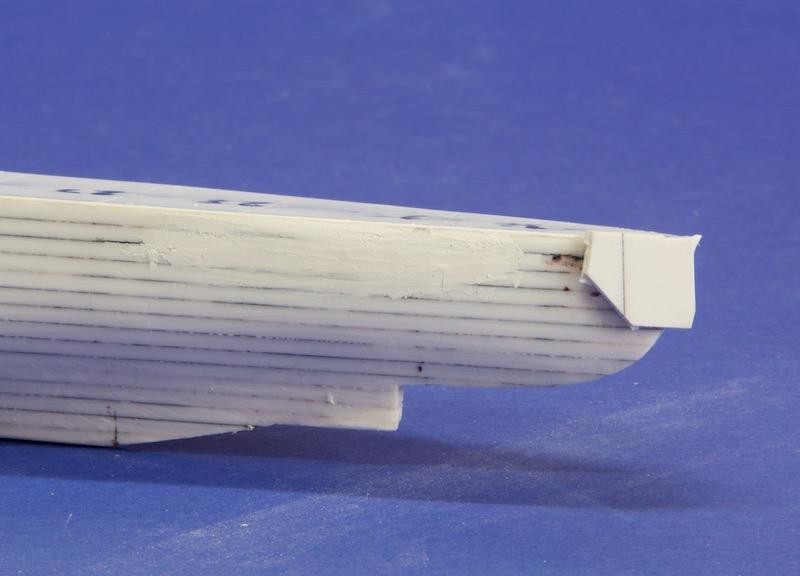
Before the final sanding, I had to do some filling with putty or styrene stock, where I had been a bit too stingy when cutting the layers to shape.
The colored glue joints were very helpful, when sanding the hull to its final shape.
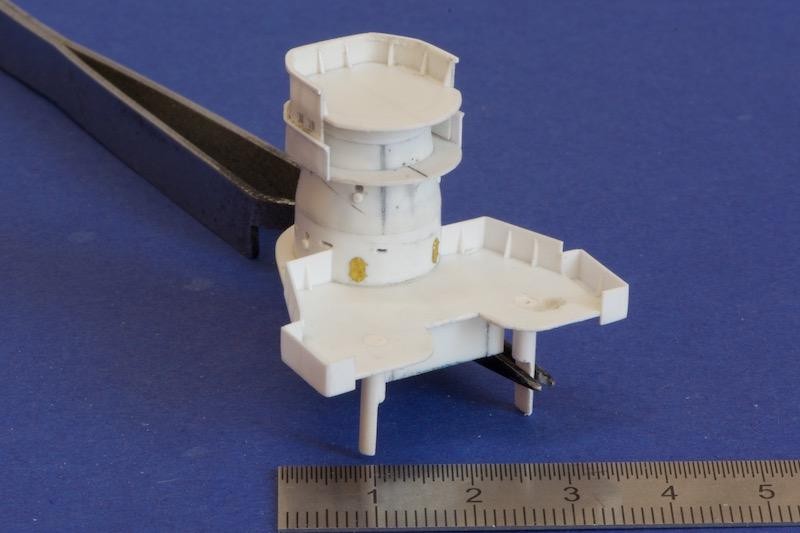
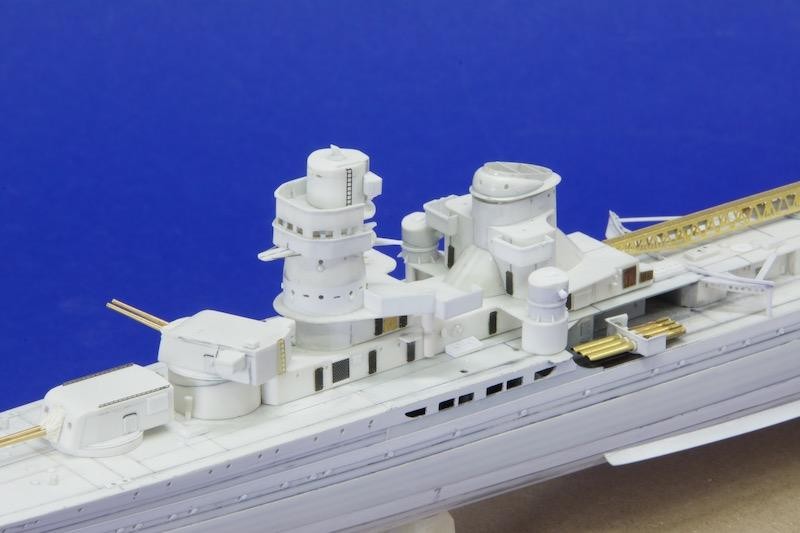
One important aspect of scratch building is, that once you get the hang of working with styrene stock, you can do better than kit manufacturers.
Platforms from ,5 mm stock and bulwarks from ,3 mm are thinner and crisper than anything kit manufacturers can mould or cast.
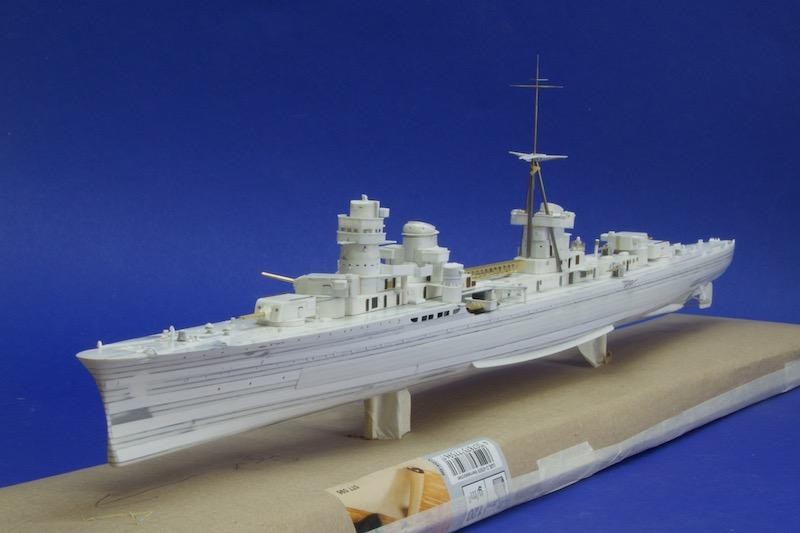
It was almost a pity to paint the model. I liked the way it looked before painting. Maybe some day I'll scratch build a model and leave it unpainted, just to show how it was made.
The paint job was a challenge I didn't want to miss though.
The first problem was to determine how she was painted. There aren't too many pictures of her in her late 1942 guise. From the pictures that I had, I made what I thought was a revolutionary interpretation.
To get some feedback and practice, I painted a hull from my spares box and posted pictures of it on some Facebook ship building pages, and asked for comments.
That way I came into contact with Marco Ghiglino, who had just finished his book ”Italian Naval Camouflage of World War II”. Marco was kind enough to send me some pictures I hadn't seen. They made it clear to me that my ”revolutionary interpretation” wasn't revolutionary at all. It was just plain simply wrong.
I painted the ship according to the color plates in the book.
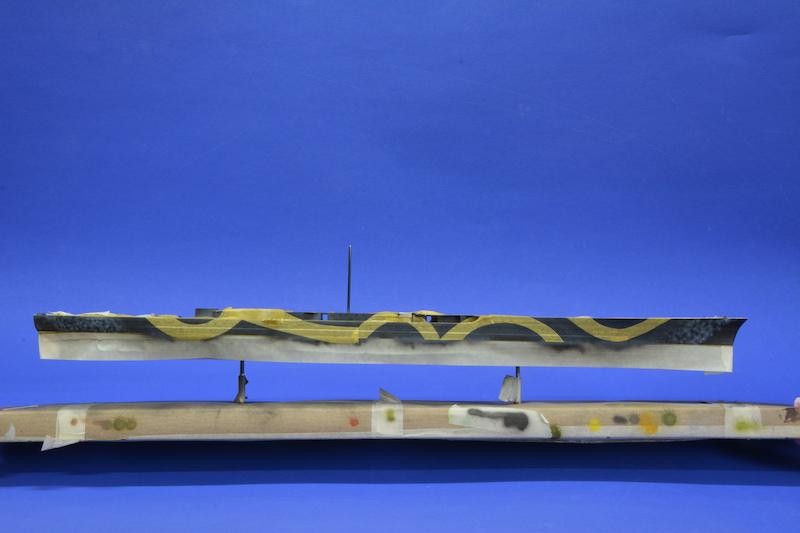
The lower hull and the dark grey of the hull sides have been painted and masked off. You can start to see that wonderfully crazy cammo scheme.
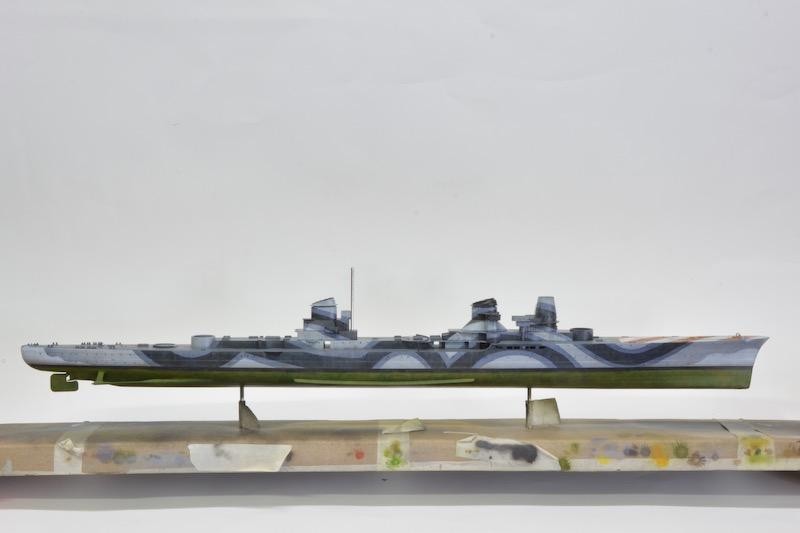
Once the basic paint job was done, I kept adjusting it with thin half transparent layers of paint until I reached something that gave me an impression similar to what she looked like on those late 1942 pictures. Here I'm about halfway through that process.
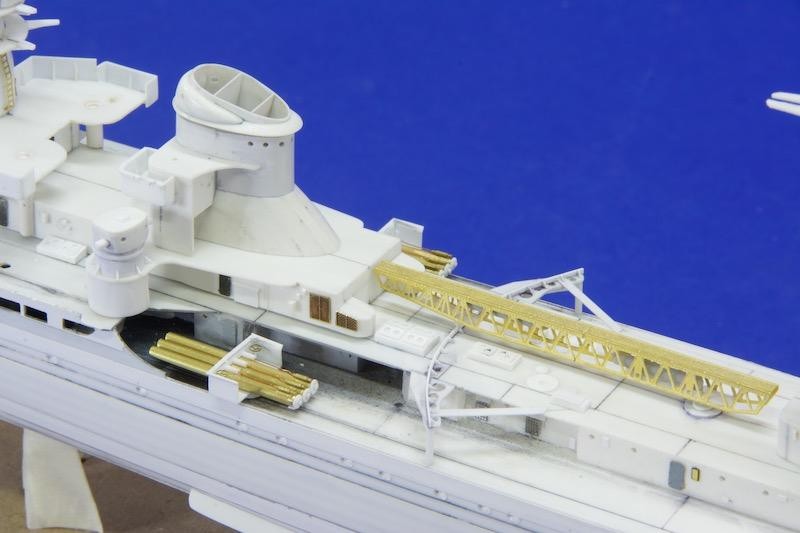
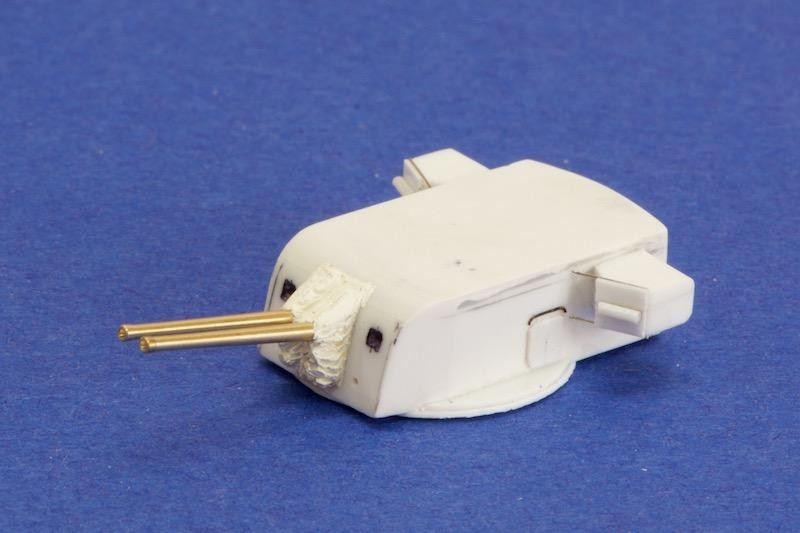
While I was fine tuning the paint job, I built the last details.
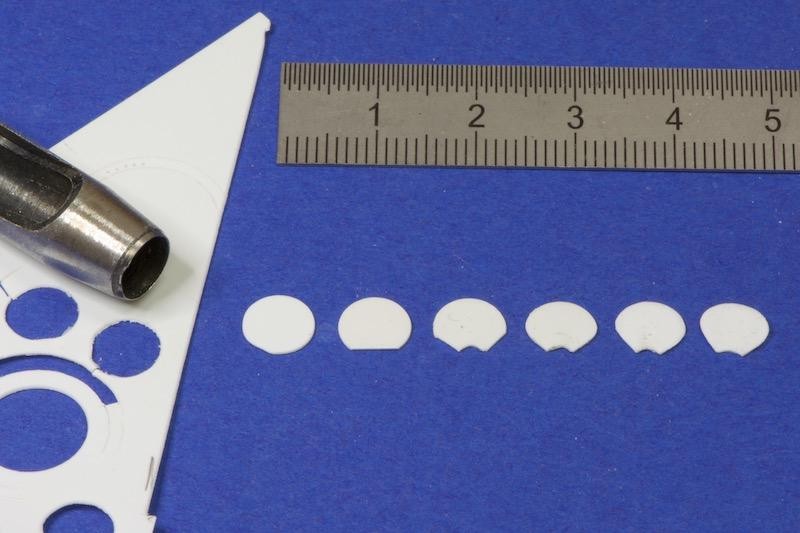
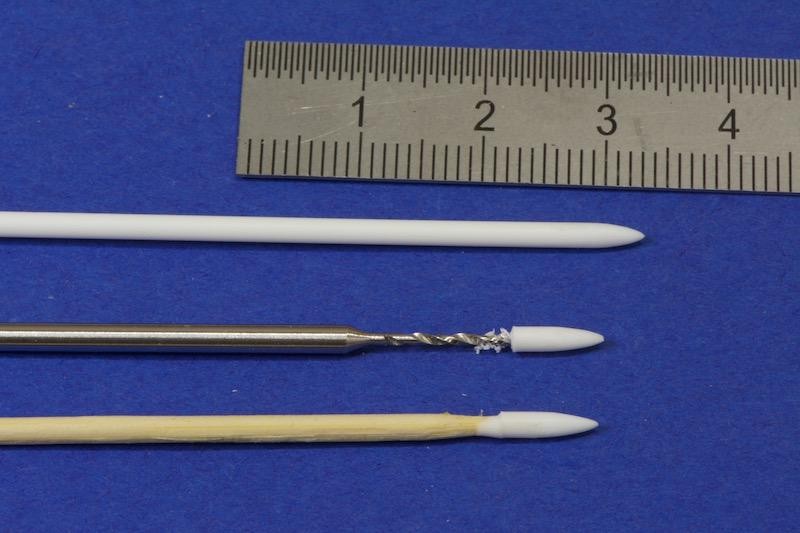
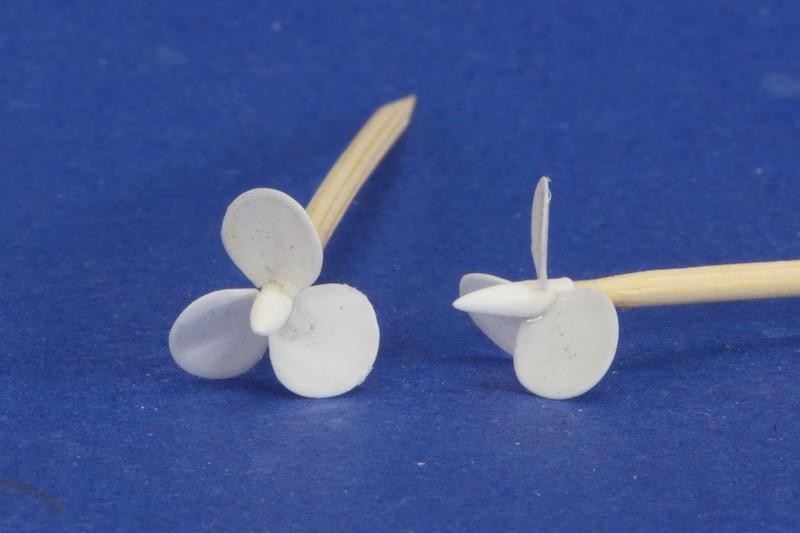
Building propellers step by step.
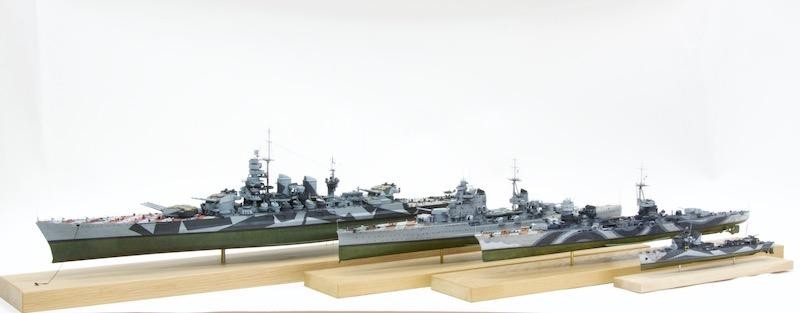
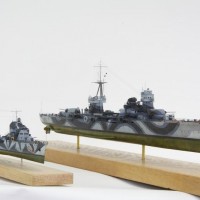
Once I had finished the model, I set up a group photo of my Italian squadron.
From left to right: Trumpeters Roma, HobbyBoss Pola, the Duca d'Aosta, the Saetta.
For a more extensive article on the build, check out FineScaleModelers book ”Modeling World War II in Europe”, which contains a nine page article about it.
For german speaking readers, there will be an even more extensive article in two parts in the ModellFan, hopefully in the July and August issues this year.
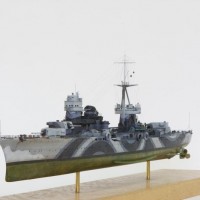
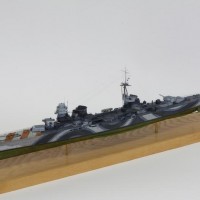
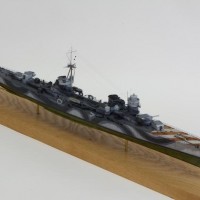
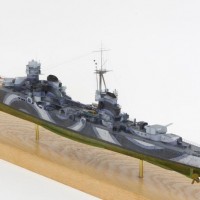
Wow! A fantastic build! She looks great.
Absolutely superior work!
Inspiring work Ulf, and of course, outstanding results! I can only imagine the time invested, and would love to have just a fraction of your styrene forming capabilities.
I love the fleet photo too, she fits right in!
412 Hours if I remember correctly. I actually kept a record of the hours I worked.
IMPRESSIVE...
Beautiful work. I only wish the photos were larger so that we can see all that beautiful detail.
Ok, I’m going to take up golf now - Ulf, you have won modelling.
Mind blowing!
Marvelous.
Ulf … I am having a very good time just watching these models and the display of your well toned craftmanship. So far the electrical power here has not died out which I am glad ( after Hurricanes Irma and Maria, things have not ben the same yet ), I get too see these. Beautiful work and photography, thanks for sharing these images.
FANTASTIC
This is modeling! Love it
very nice job !
Absolutely gorgeous, Ulf! Thanks for sharing.
Not just a Fabulous build Ulf, but a great post too!
Magnificent! I stand in awe of your scratchbuilding skills. You truly show what can be accomplished with patience and skill! Congratulations.
Beautiful work, and a beautiful subject. Well done!
Wow! Amazing work. Congrats Ulf. I'm going to buy the FSM issue and get some pointers.
That "thud" was my jaw hitting the floor... fantastic!
Absolutely wonderful work, really jewel and masterpiece, congratulations Ulf.
Ulf, I really liked your entry on this one in Modellfan! Kudo's, Michel.
I'm genuinely impressed. Very well done, sir. Bravo!
WOW! Shaping the plastic layers certainly takes far more effort and care than the balsa layers my little models are built up from. A superb model!
My D'Aosta is a wee bit smaller using the old JFS scale of 1"=128' or 1:1536.
It is very interesting seeing your buildup of your excellent model; nice, nice work. DFO
DFO
1 attached image. Click to enlarge.
Thank you Dennis!
Thats a nice little collection of Italian cruisers you have there.